DOMESTIKA COURSE – ISLAMIC ART – WORKING ON THE FINAL DRAWING
Inking over the transfer
After I had transferred the tracing of the drawing onto the watercolour paper, it all looked rather messy. It was hard to see the detail which was quite confusing. To tidy things up, I decided to go over the whole thing with a fine grey permanent fineliner and erase all the graphite marks.
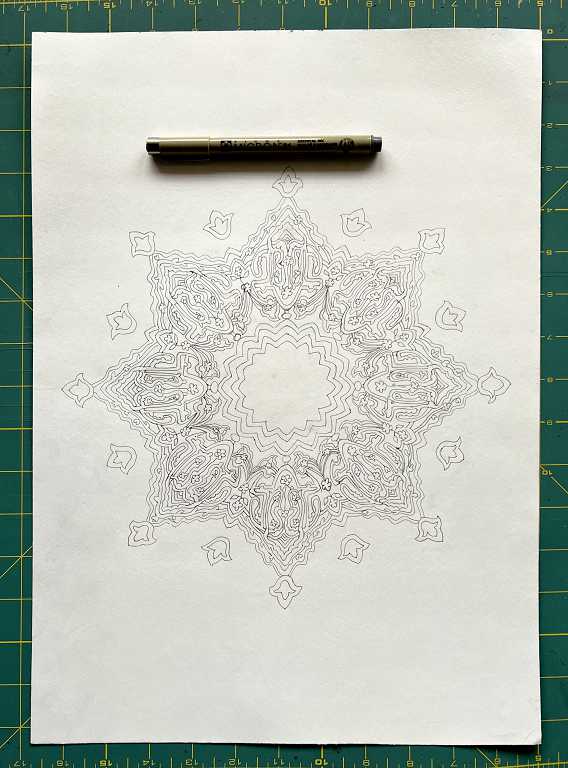
I know this was departing from the brief, but the result was a lot clearer.
I found it extremely difficult to follow our teacher Esra’s drawing, so I made a close-up of a small section of it from the pdf, making sure I’d got a pattern repeat, and printed it out. It was a bit pixelated but certainly clearer than what I’d been struggling with before. It was then that I could see how much my own drawing had departed from her original. Although I had planned to follow her instructions completely, it was quite impossible to do so. In the end it didn’t really matter because she gave us freedom to do our own thing. I should have preferred this to be out of choice, though, and not because I couldn’t see what she was doing!
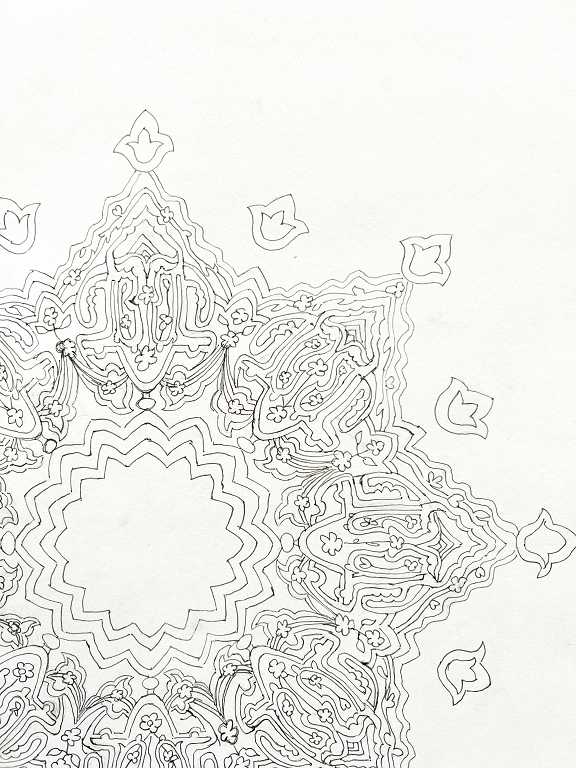
The grey fineliner looked like pencil, and it was a lot easier to see. The grey pen marks would easily be covered by the paint and ink later. Here’s a closer look.
Adding the colour
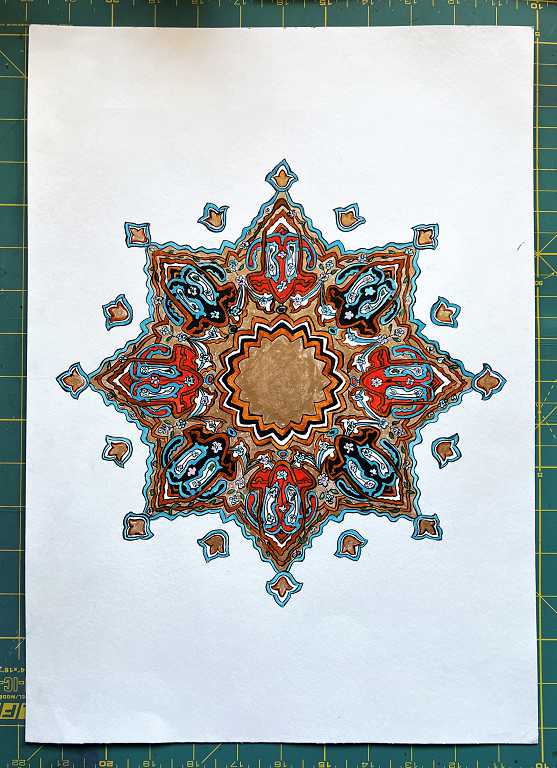
I chose to use my Kuretake watercolour set, partly because I really like the colours, and partly because when used with less water, they behave more like gouache and are more opaque. The black was watercolour from my regular set.
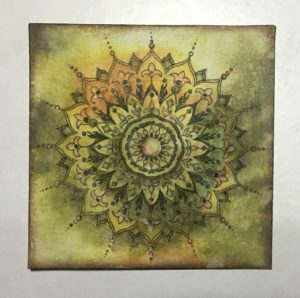
Adding the gold
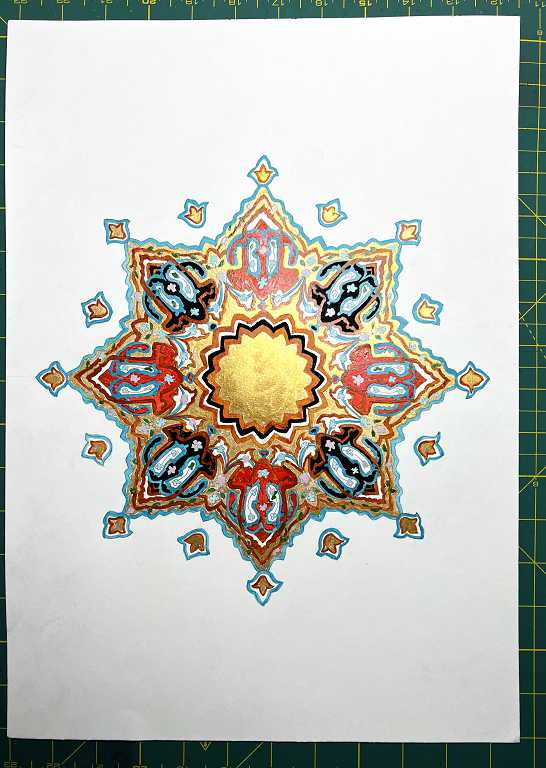
I used Dr. Ph. Martin’s gold ink for this. At this stage, the drawing is really beginning to take shape.
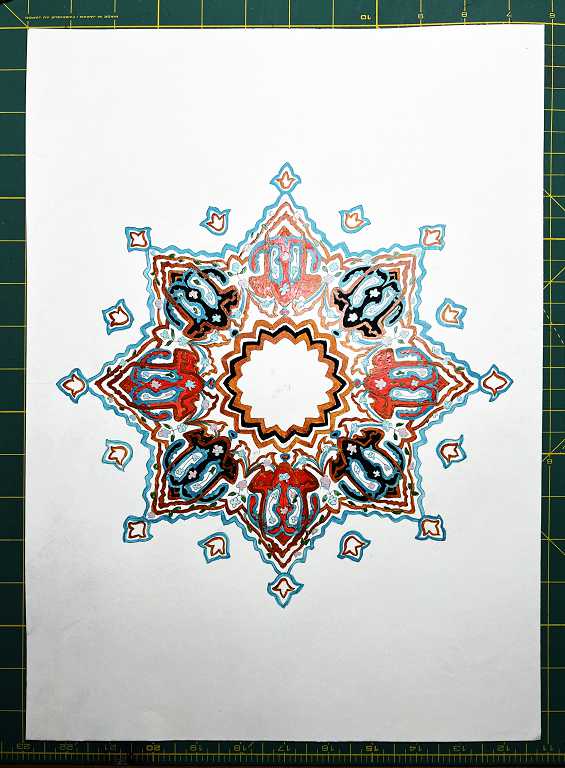
In this close-up shot you can see that there are several gaps in the painting, and also in the colour. I would need to add a second coat of everything to smooth things out, but first of all I needed to do some outlining.
This picture shows the brush outlining in progress. I bought a couple of lovely Pro Arte watercolour brushes recently for this, and they did a much better job than my original brush, which I used for my outlining practice exercises. I didn’t find it too difficult to do at all.
The next picture shows the brush outlining completed.
Completing the main part of the drawing
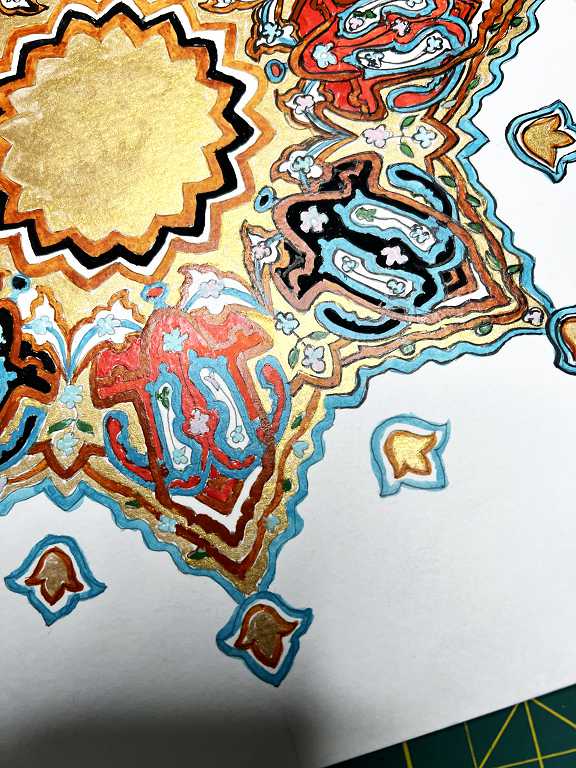
The second coat of watercolour and gold ink obscured some of the outlining, and rather than going through the whole process again with the brush, which took ages, I chose to outline the whole thing with a black fineliner.
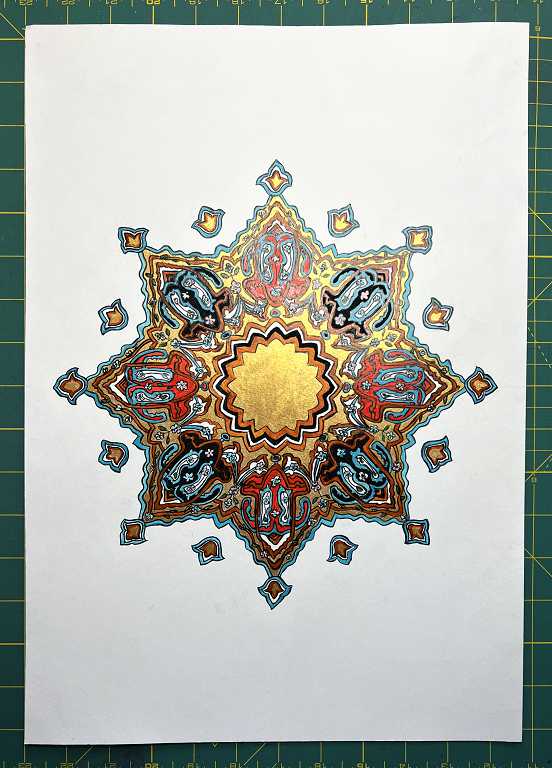
Again, this was departing from the brief but I was pleased with the result. I am glad to have learnt how to do the brush outlining on this course, and the technique is a useful brush skill which will come in handy in many future projects, I am sure – Islamic art or otherwise. However, if I do more of this style of Islamic art, I shall probably just use the fineliner pen which is a lot easier.
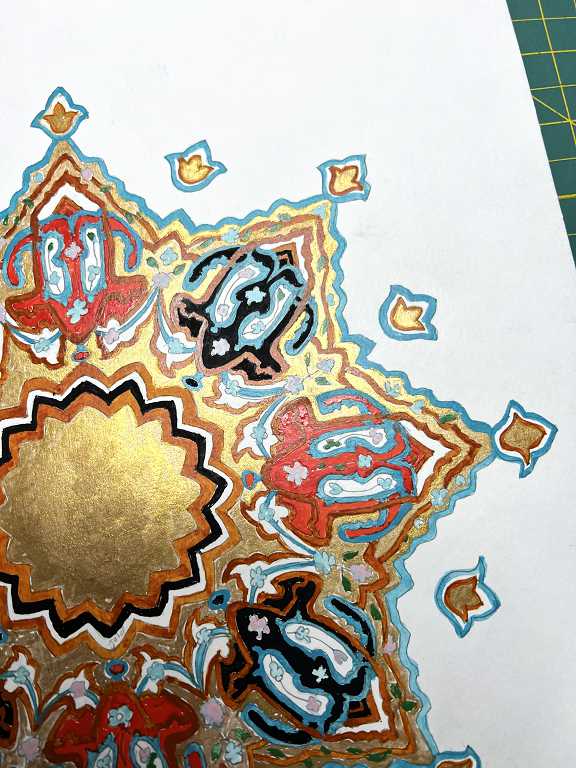
Here is a close-up shot of the drawing at this stage.
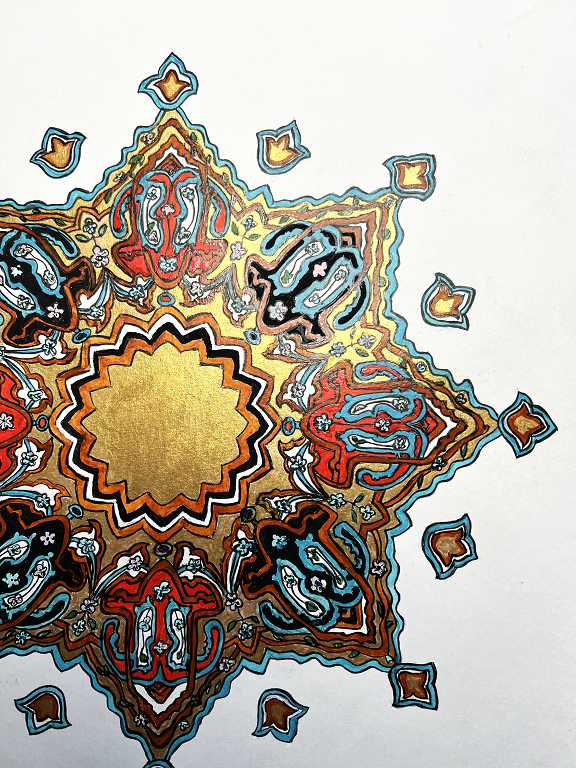
There is no more to be done on the main part if the drawing now, but there is one final stage. This is to add the “sun rays,” and I’ll do a further post about that in due course. I am hoping to finish this project before the end of the month.