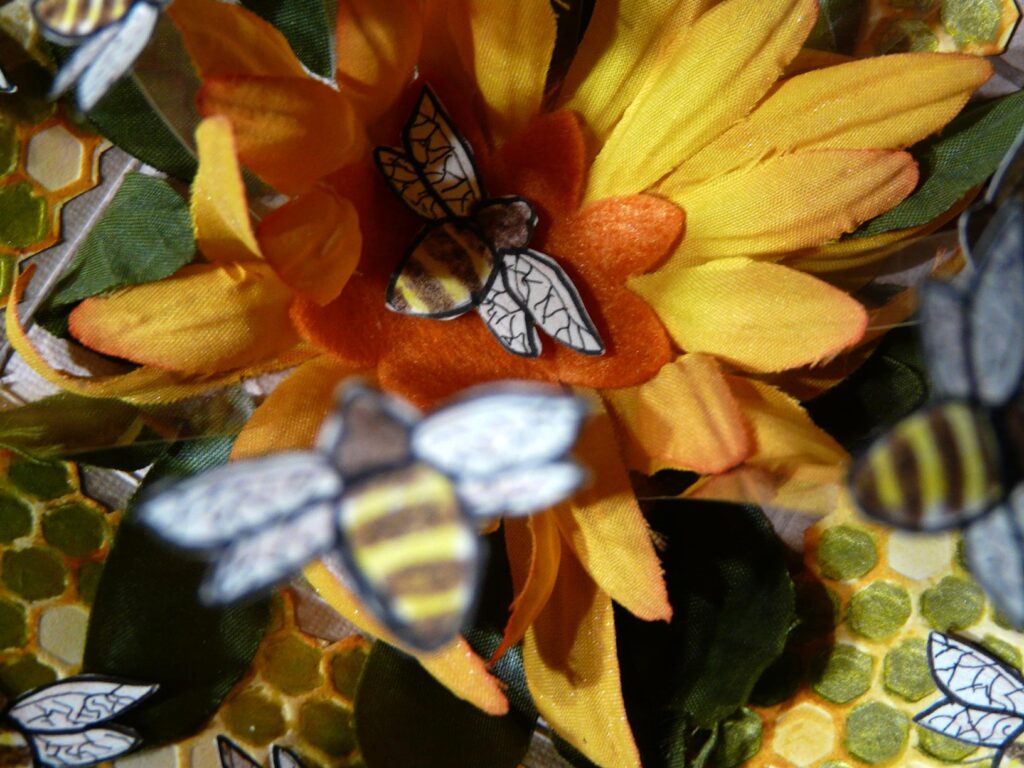
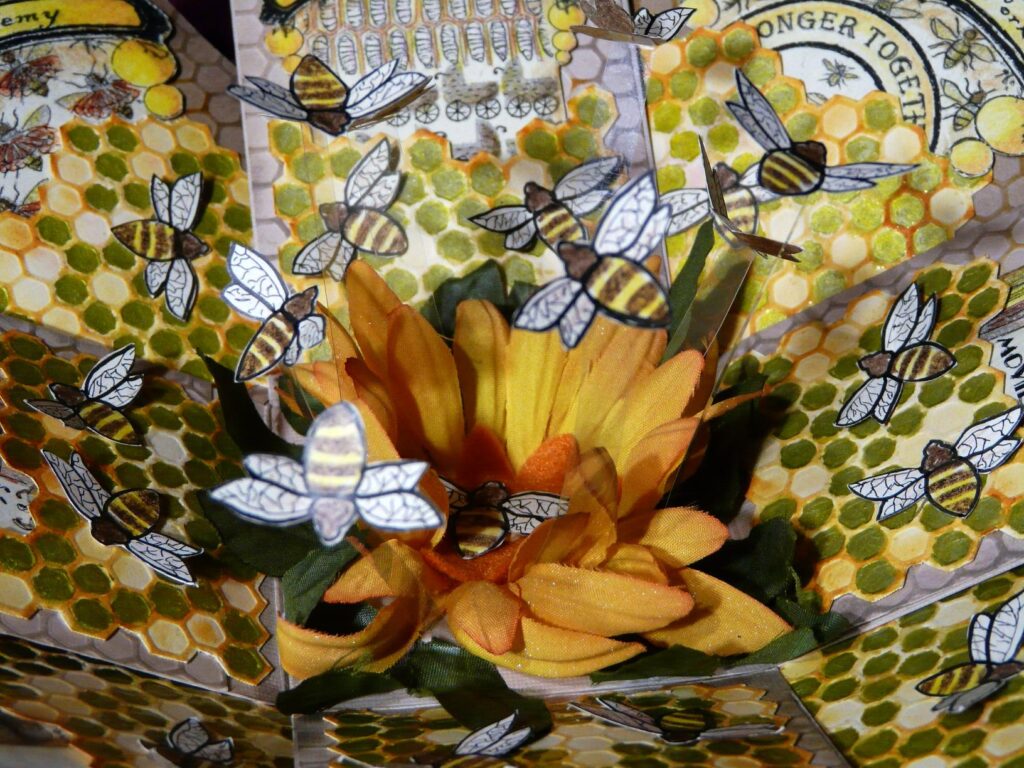
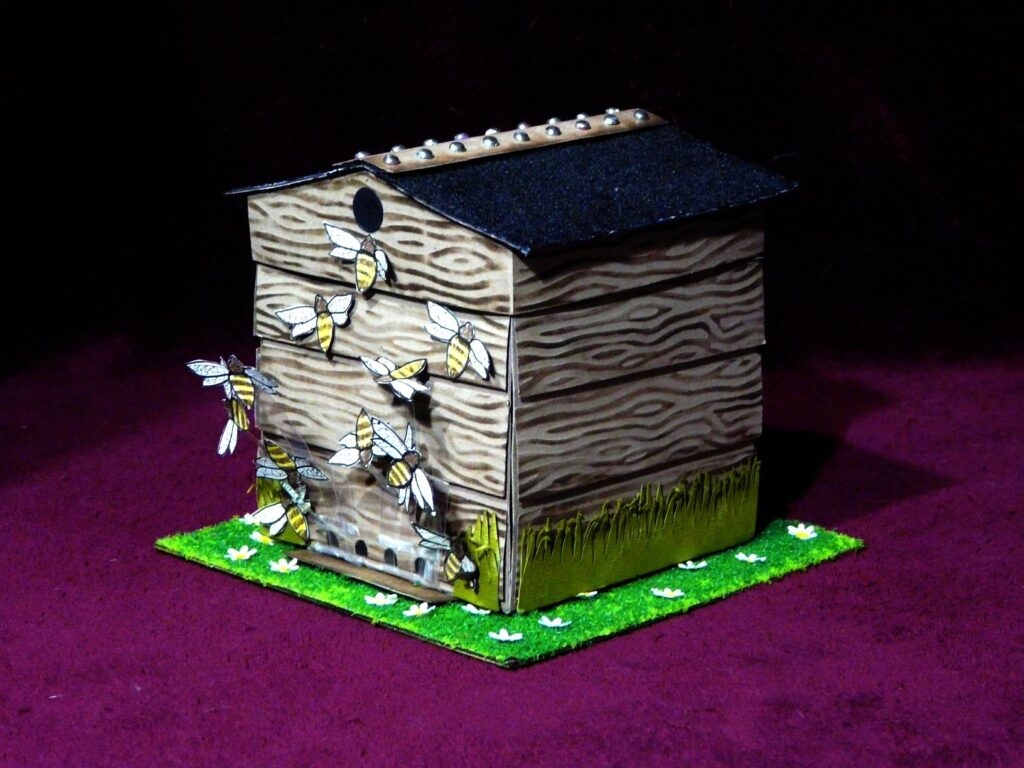
The final step in completing the box was to add the flying bees to the outside, and to mount the whole thing on the base I had made from mounting board covered with Flowersoft, with some tiny white flowers which I cut on Jiminy Cricut.
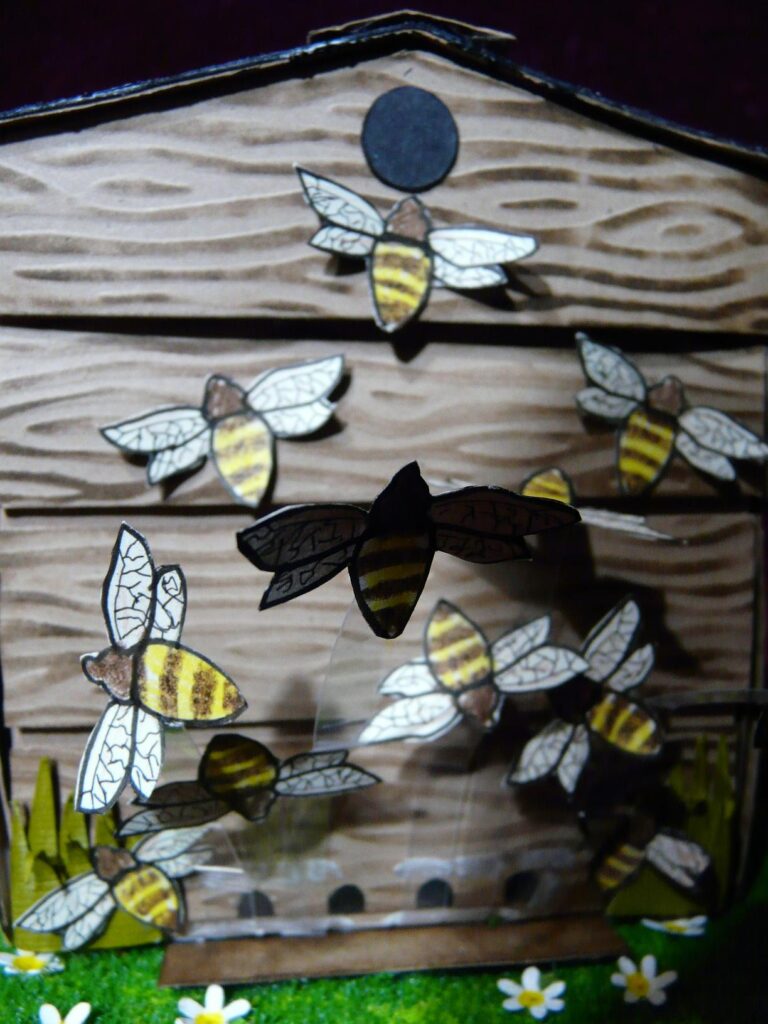
This is the front view, showing the bees flying around the hive.

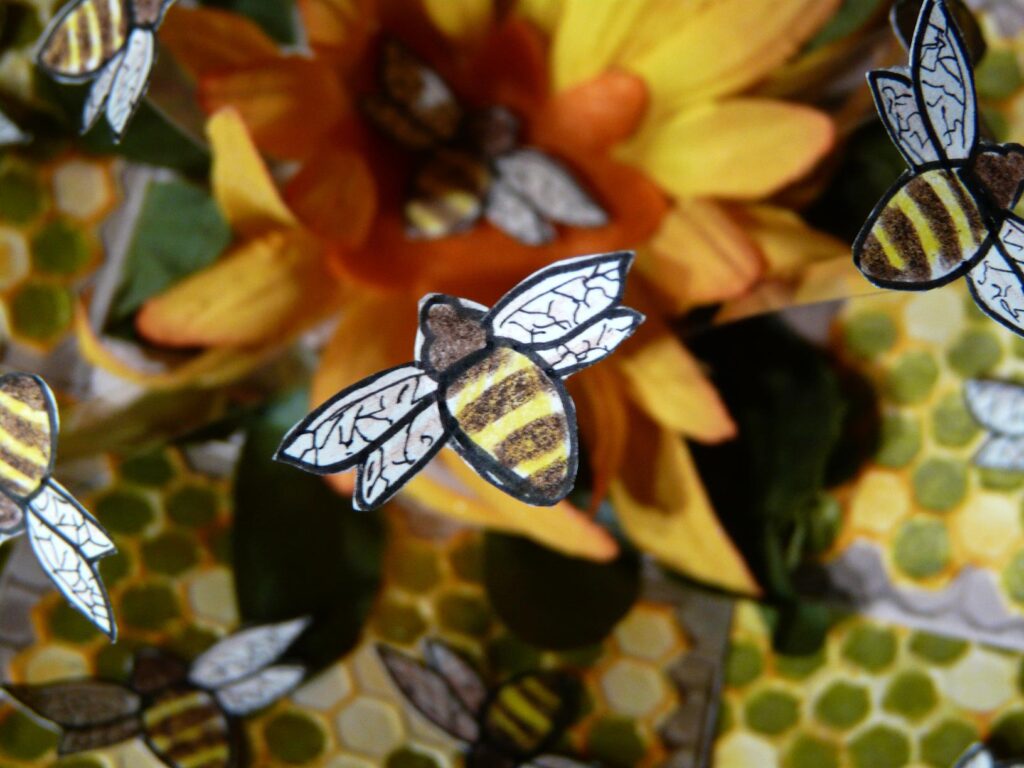
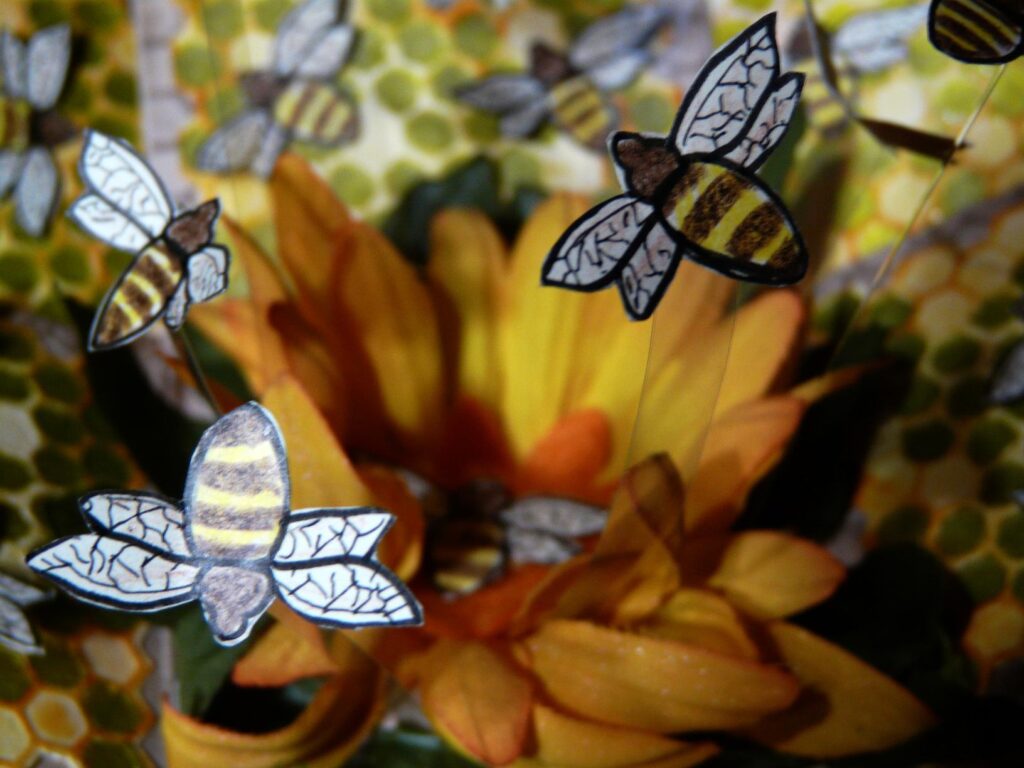
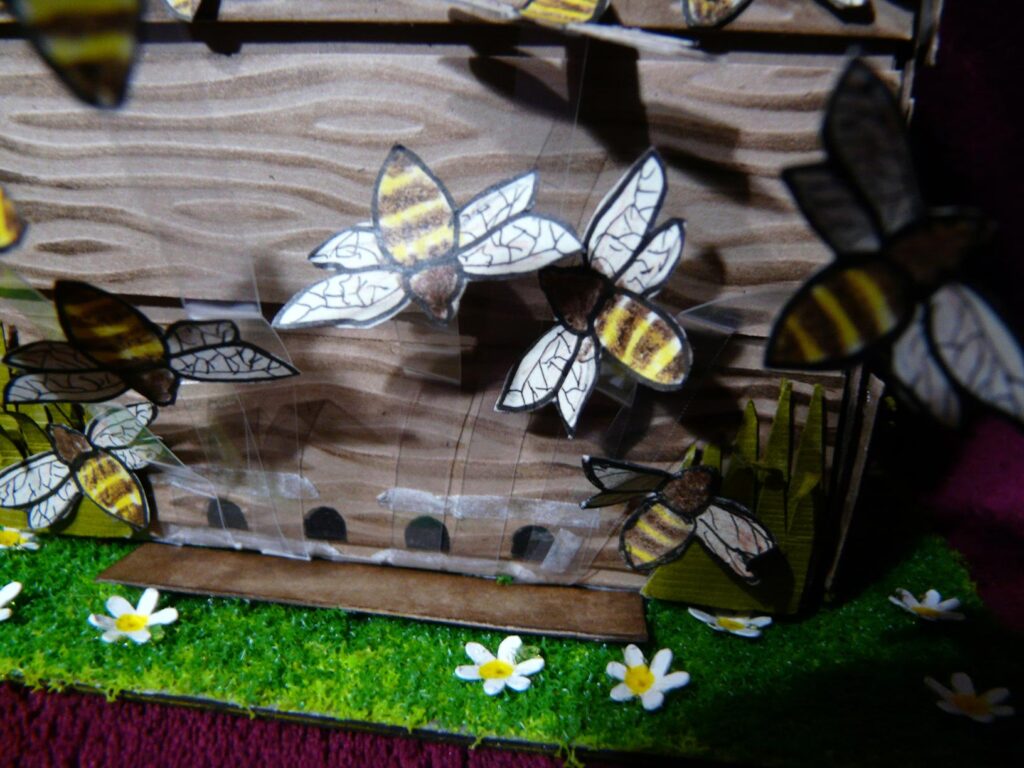
A couple of views from the sides, showing how the bees float in front of the box, on their acetate strips:

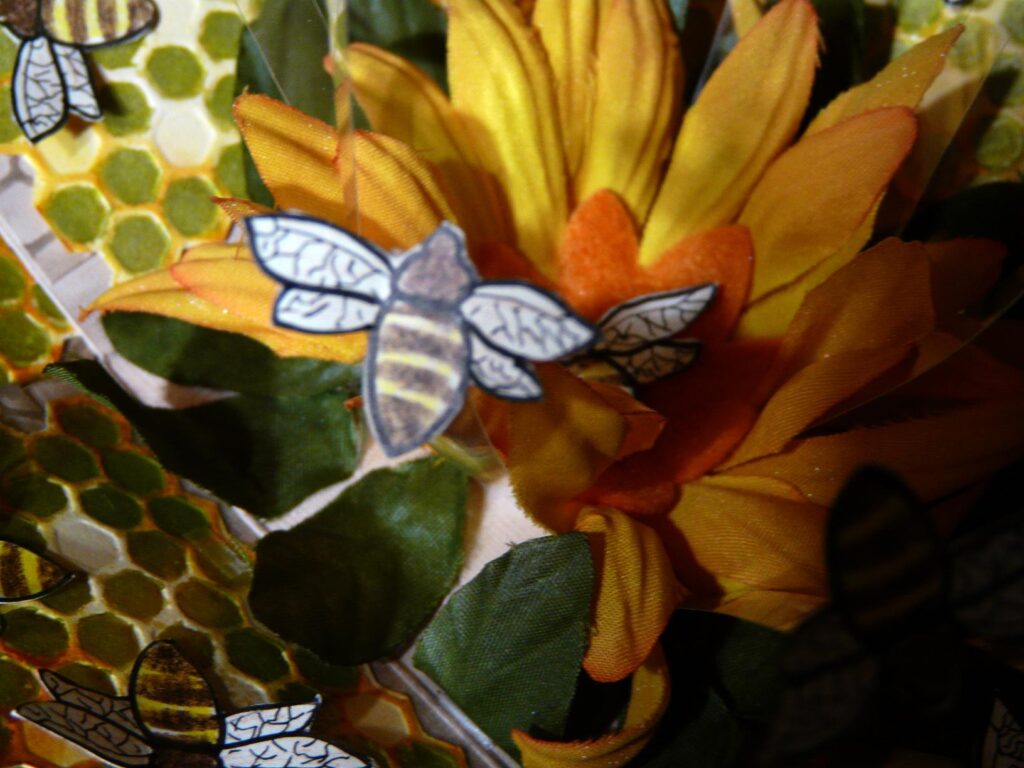
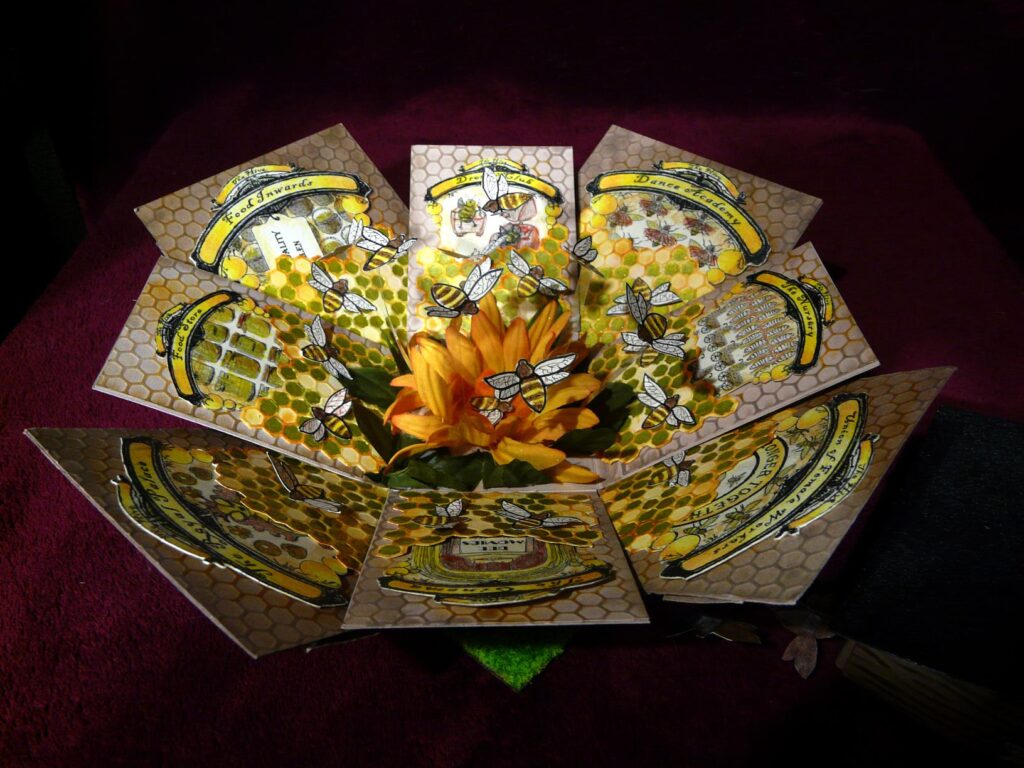
and now a couple more showing the box in its exploded state:

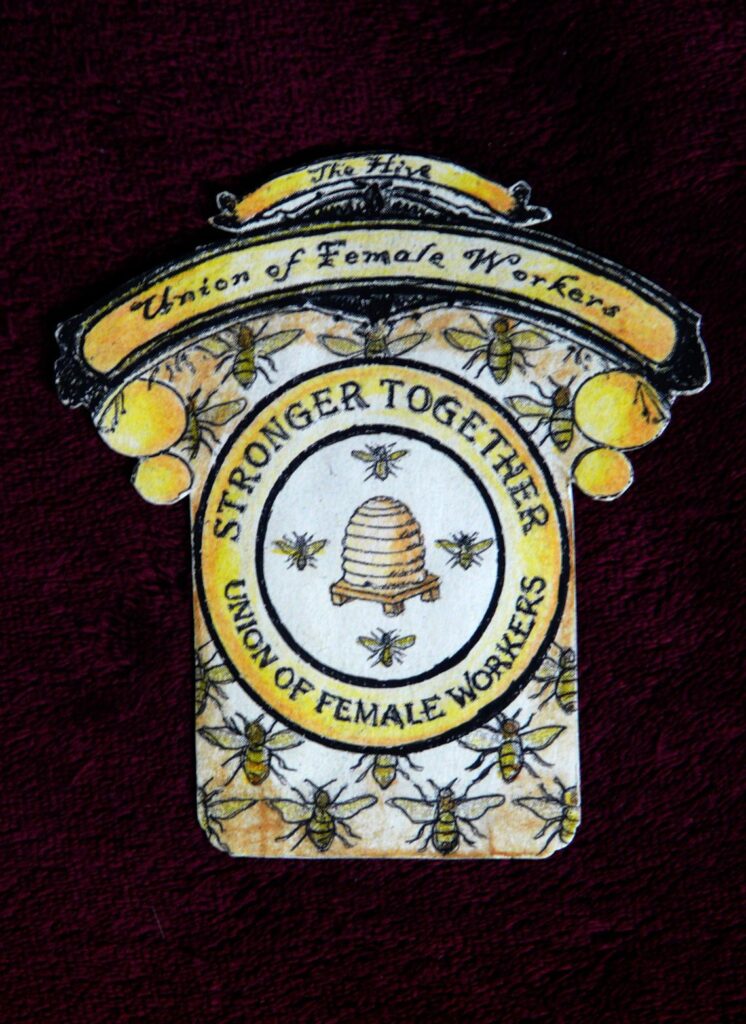
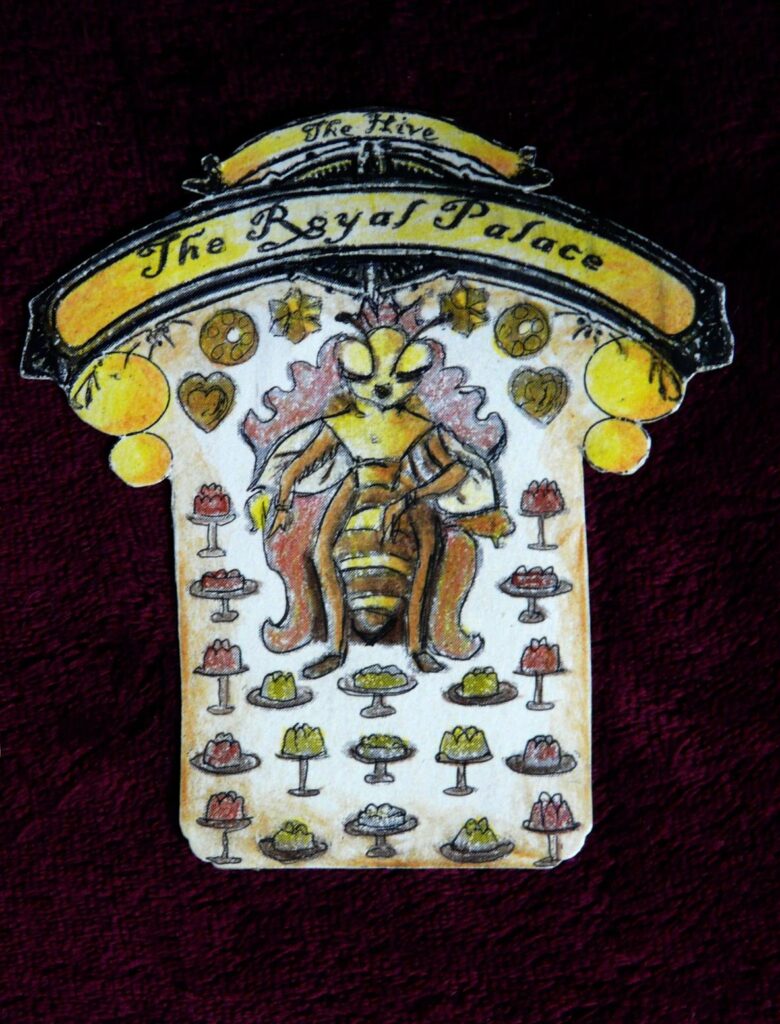
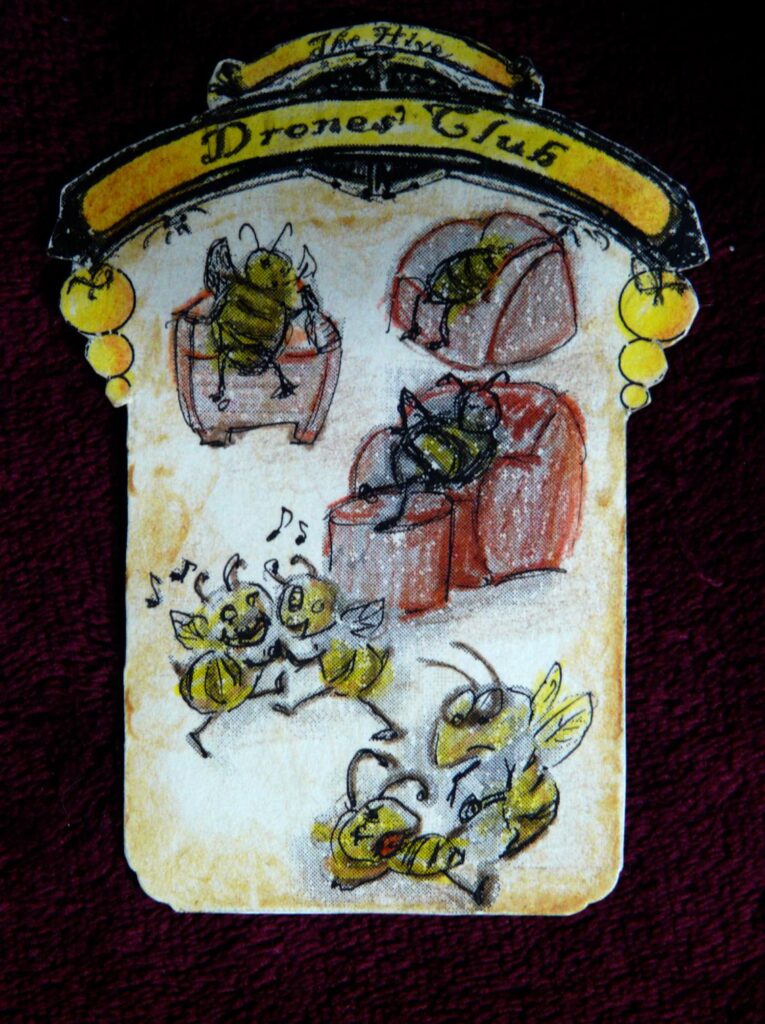
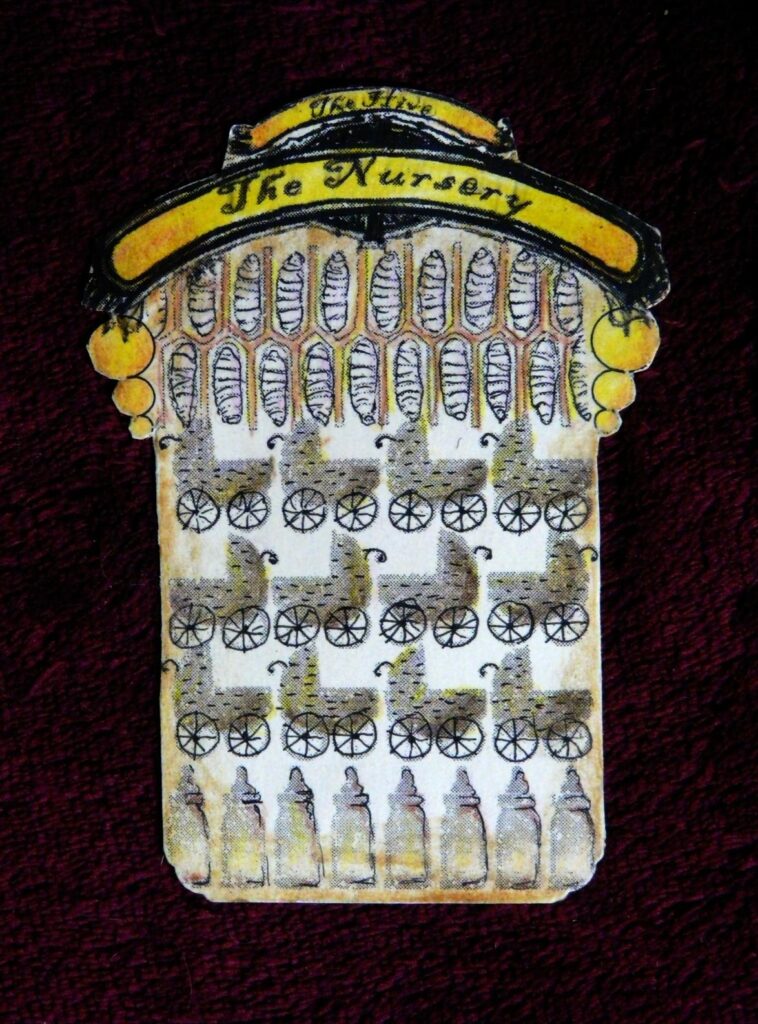
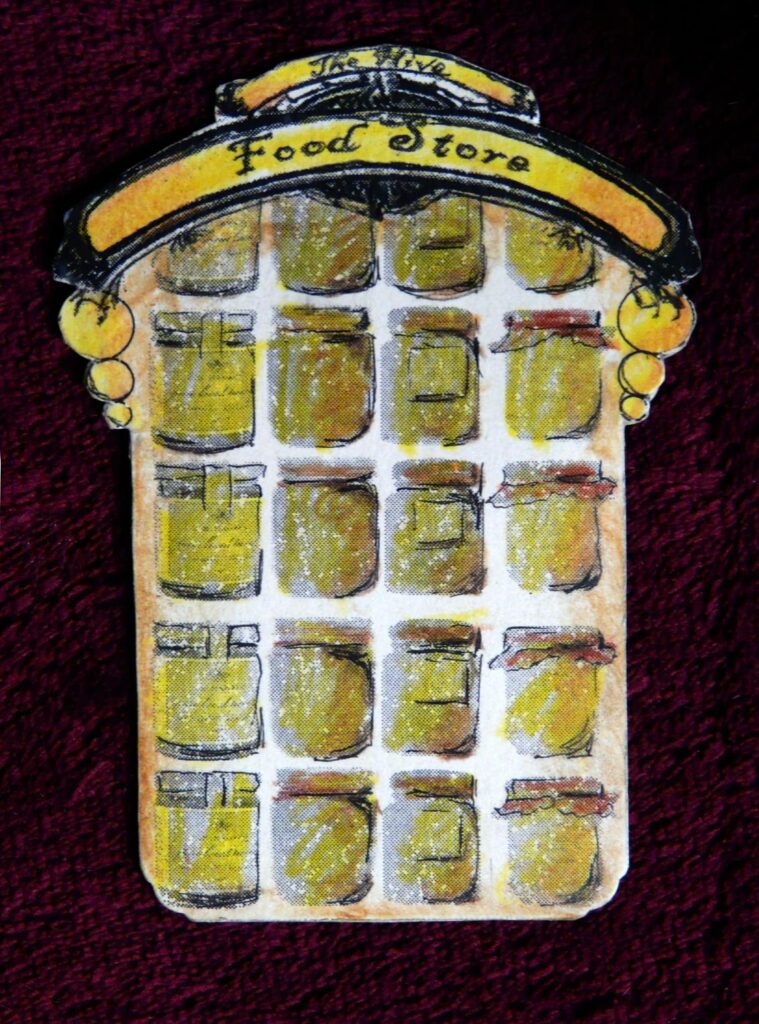
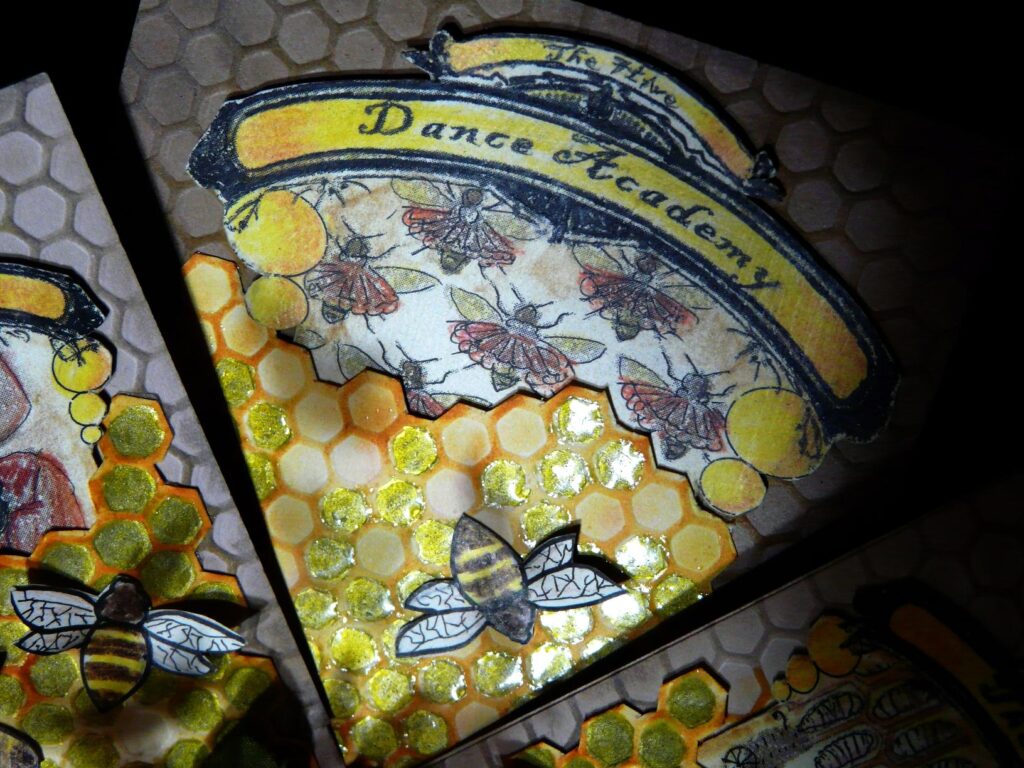
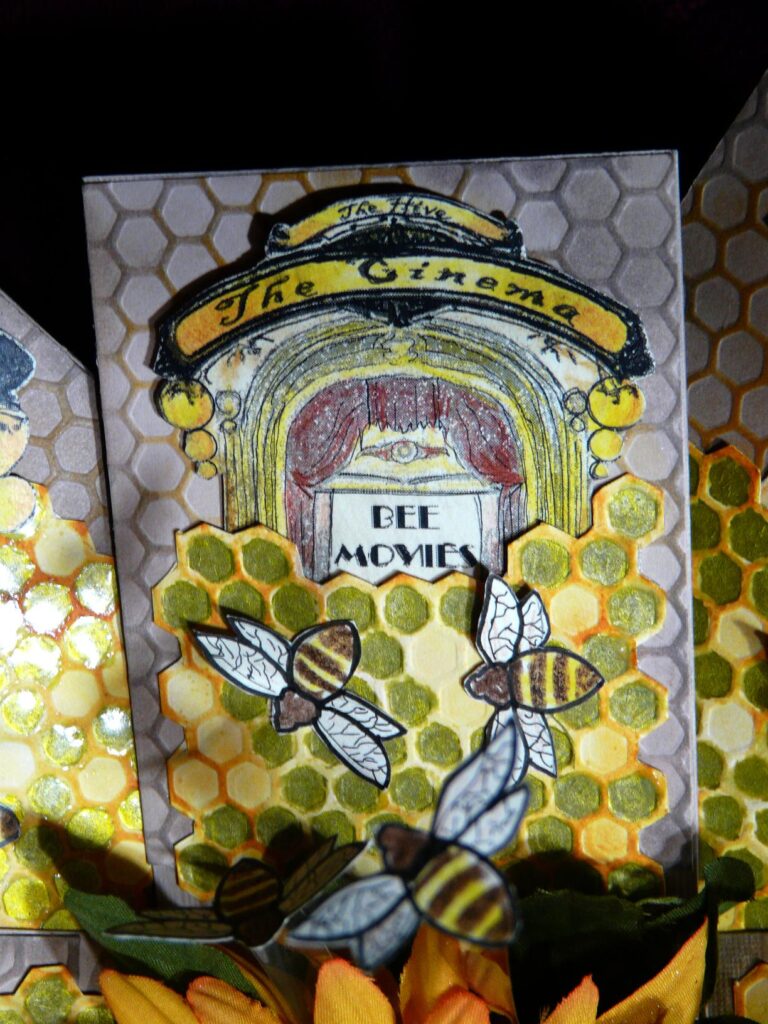
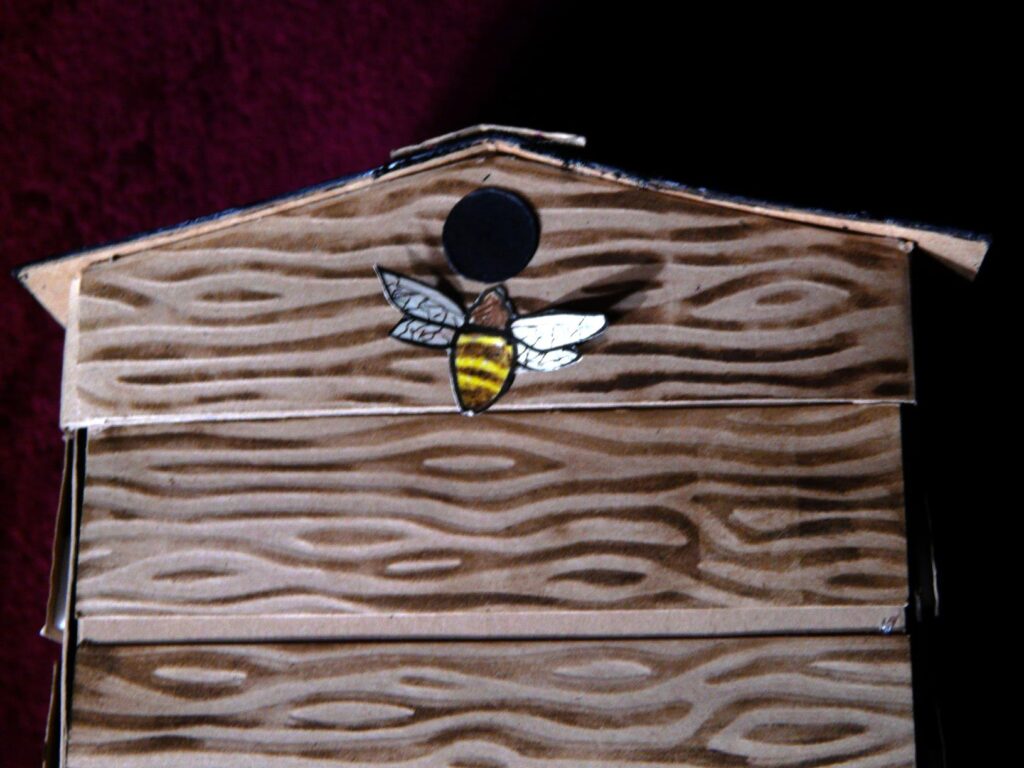
I realised that when I did my original posts on this project, although I posted pictures of the graphics for the individual tags, I did not photograph each finished tag individually, but only in groups. I thought you might like to see each one in close-up so that you can appreciate the detail and the colouring. For a full explanation of the meaning of each one, see the post “Beehive Explosion Box Pt 3.”
Here are the large tags from the outer flaps of the box: