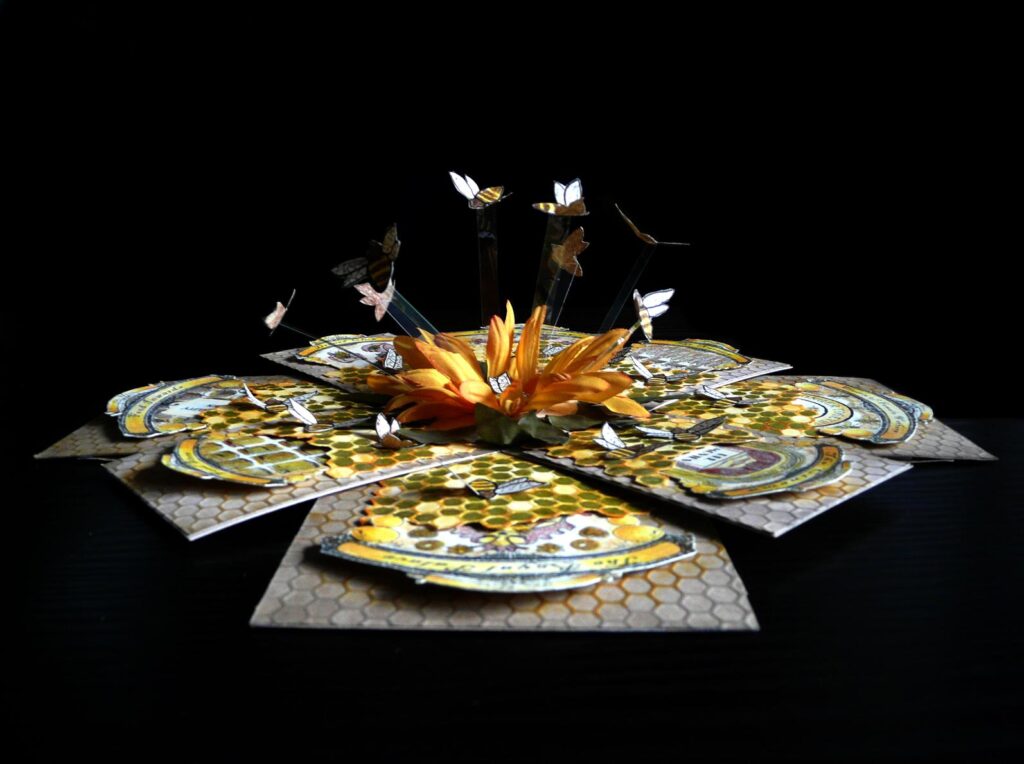
This afternoon I cut the pieces of acetate and attached the bees – these suspend the bees over the central flower, and when the box explodes, they move, making the bees appear to be flying around. I used this device on my previous explosion box, and I like the effect so much that I think it will probably be a signature feature on all future ones too!

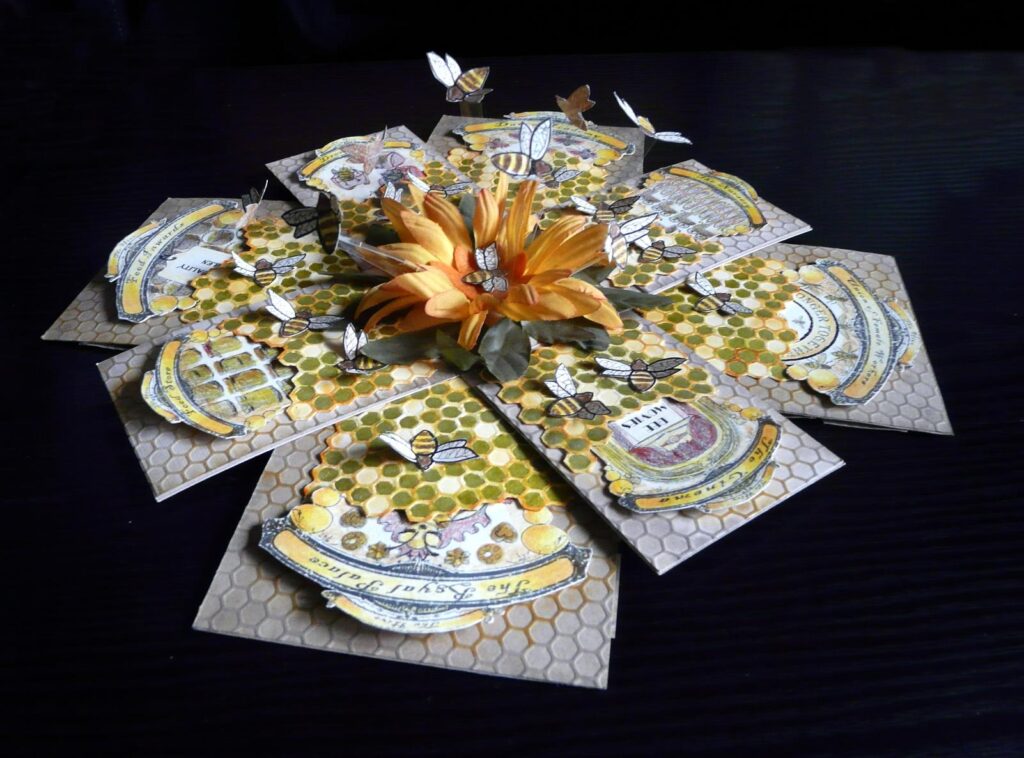
As well as making some of the bees fly, I have also stuck some on the flaps of the box, on the honeycomb.
This final view is taken from the side, which shows the bees “in flight” above the flower.
With the addition of some silk leaves around the flower to cover the base, this completes the inside of the box. I am hoping that when the outside is done, the flaps will not fall completely flat when the box is exploded – I quite like the look of it when they open more like the petals of a flower, because it gives the box more dimension when it is open.
I have several more bees, which are going to be used to decorate the outside of the box. Depending on how it goes, I may have some more on acetate strips, flying around the door, but this may not be practical when the box explodes, so I shall have to experiment.
Still to do: the lid, which will have more woodgrain embossing and distress inking to match the sides; and probably some flowers and grass around the base of the hive, which will help support the flaps as the box explodes. The whole box will be attached to a base which extends out a little from the base of the hive.