Having looked around online, I found a couple of gorgeous templates for boxes in the shape of a handbag on Mel Stampz’s blog:
http://melstampz.blogspot.com/2008/09/j-is-for-jeweled-purse-boxes-for-abc.html
http://melstampz.blogspot.com/2008/12/note-top-purse-templates-cardstock-blog.html
Mel has such fabulous stuff on her blog and has a lovely humorous way of putting things – she’s well worth following!! I always enjoy her blog. I decided to make a combination of these two designs and this is what I came up with.
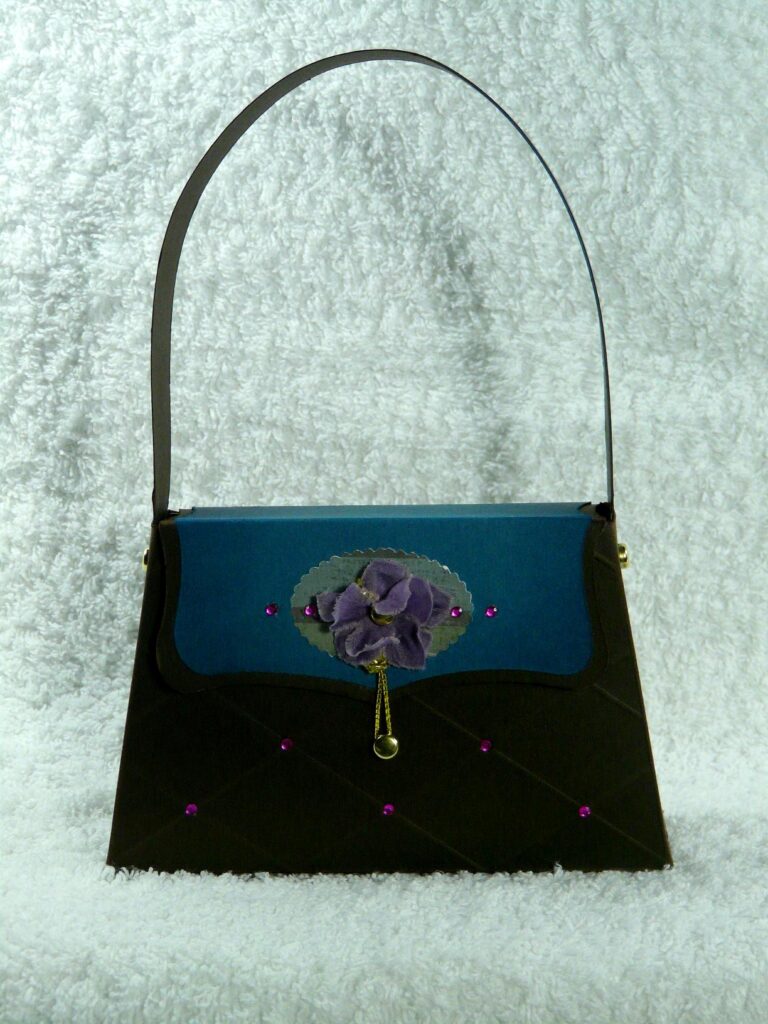
This is the box with the flap closed. I made a fastener out of a piece of gold elastic, attached at the top to the brad fastening the embellishment onto the flap, and at the bottom it hooks around another brad.
This is the box with the flap open, showing the lining. If I do this again, I am going to cut the lining in one piece, rather than lining the flap separately, so that there is no join.
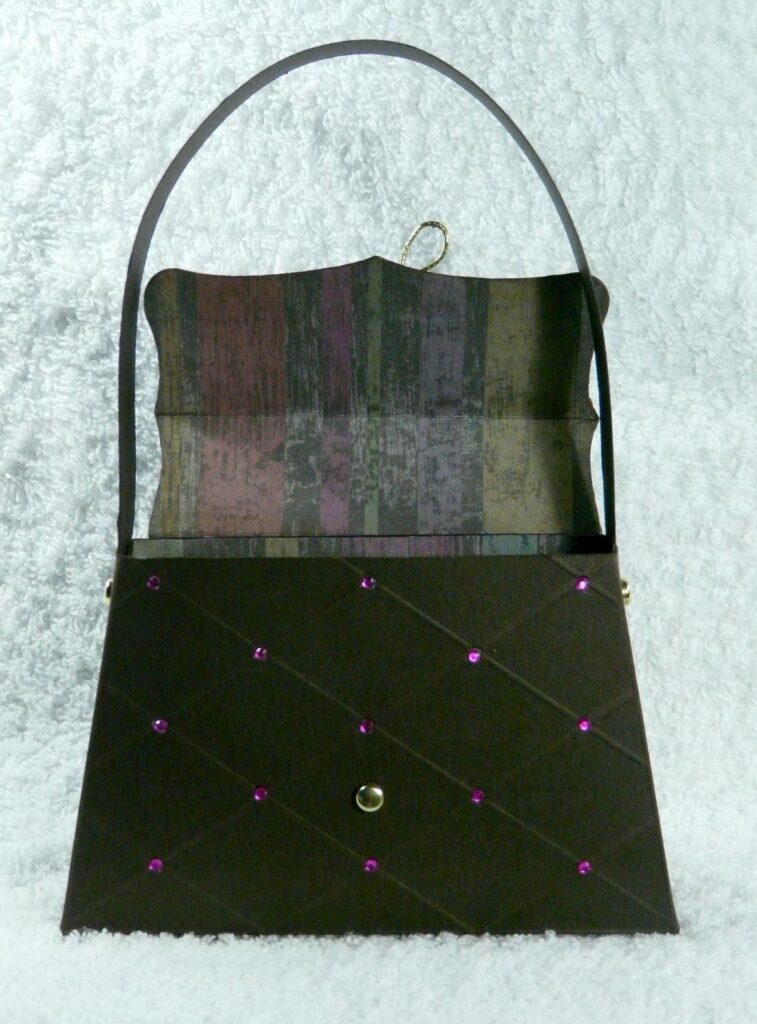
The box was made from chocolate brown cardstock and lined with some patterned scrapbooking paper I had. Mel suggests an 8 inch long piece for the handle, but I made this 12 inches long, because if it was shorter, the flap would not open fully enough for me to get the bag of chocolates in and out. I cut one piece 12 x 1 in from the brown cardstock, and then another, 12 x 3/4 in from turquoise cardstock to match the flap of the bag and glued this on top of the brown so that 1/8 in showed either side, which made it stronger as well as more decorative. The edges of the turquoise card were inked with Chipped Sapphire Distress Ink.
I have taken these templates and created svg cut files which I have uploaded to my Microsoft OneDrive (details on the left-hand side of my blog). Mel asks that anyone who makes up these templates credits her blog, so I have added a “read-me” file to this effect.
In order to make the lining, I have not made a cut file; next time I make this box, after attaching the flap to the back of the bag with glue and brads, I am going to glue it onto a piece of paper somewhat larger than the back of the box and the flap, and then trim this down to the size of the outer part, and then make up the box. The sides of the box are not lined, and I don’t think the front really needs lining either, because the inside will usually only be viewed from the front, in the same way as a lined envelope.
I embossed the front of the bag with my ScorPal, and then added some hotfix gems. For the flap embellishment, I used a small scalloped oval shape (one of Penny Duncan’s shaplie files) to which I attached a pink silk flower which I’d pulled apart, inked with Dusty Concord Distress Ink, fixing it with a brad, and I then added a few hotfix gems to match the front of the bag.
This is such a fun little box – I love boxes in the shape of different things, and they make such a nice little gift, really special, and they bring a lot of joy. I definitely want to make more of these! Thanks Mel!