You may remember a while back my posting the flowers that I made for this card – I then had to start on my mum’s 90th birthday card because the deadline for that was sooner. Here are the pictures of the flowers again:
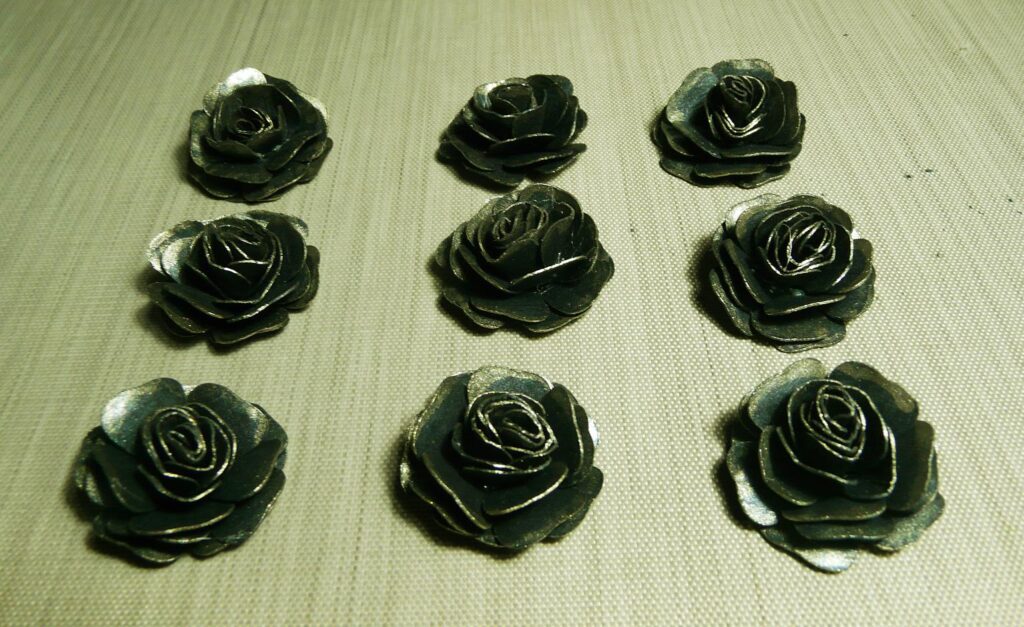
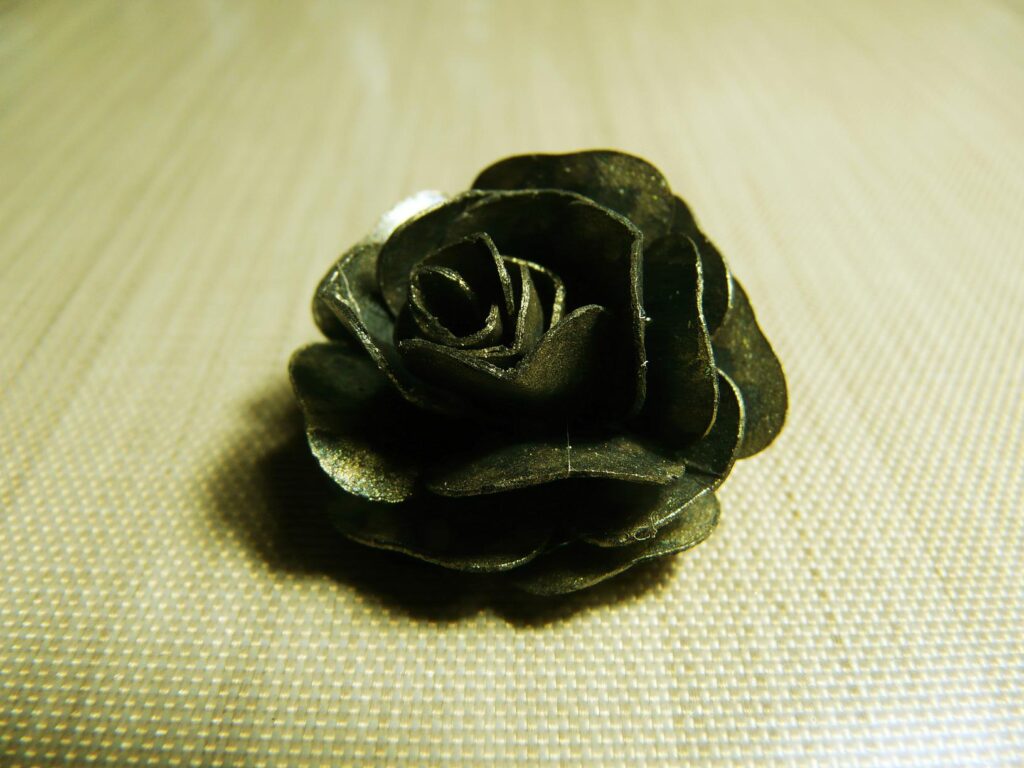
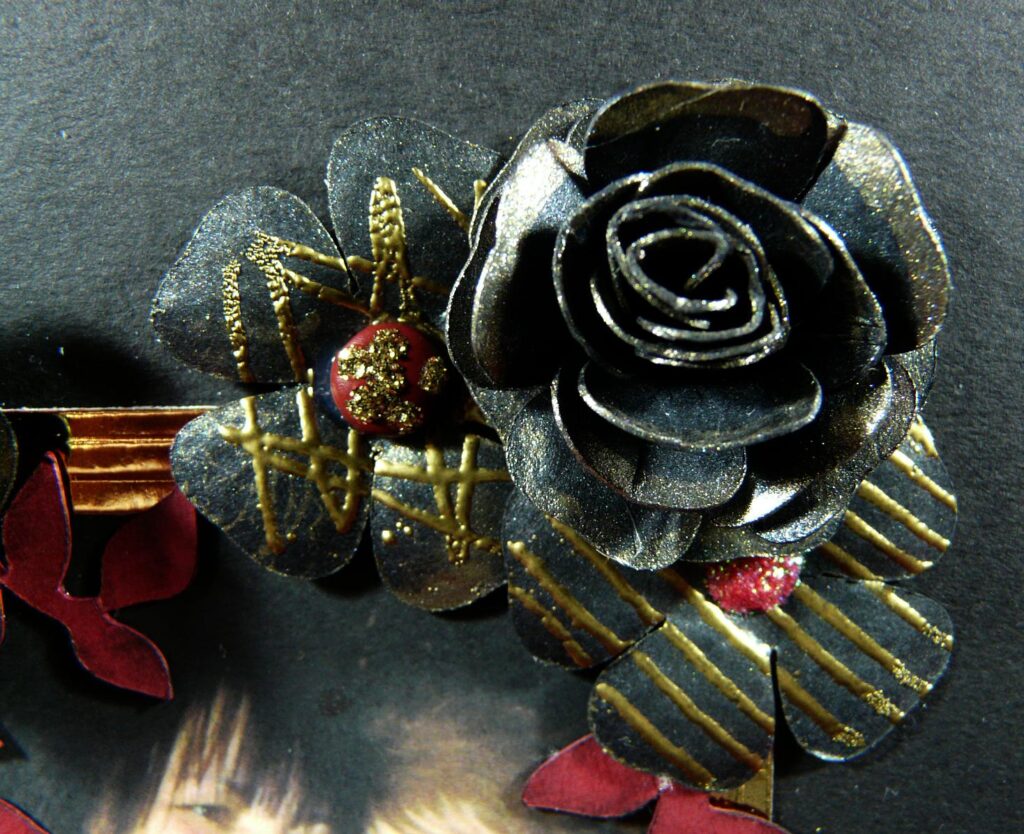
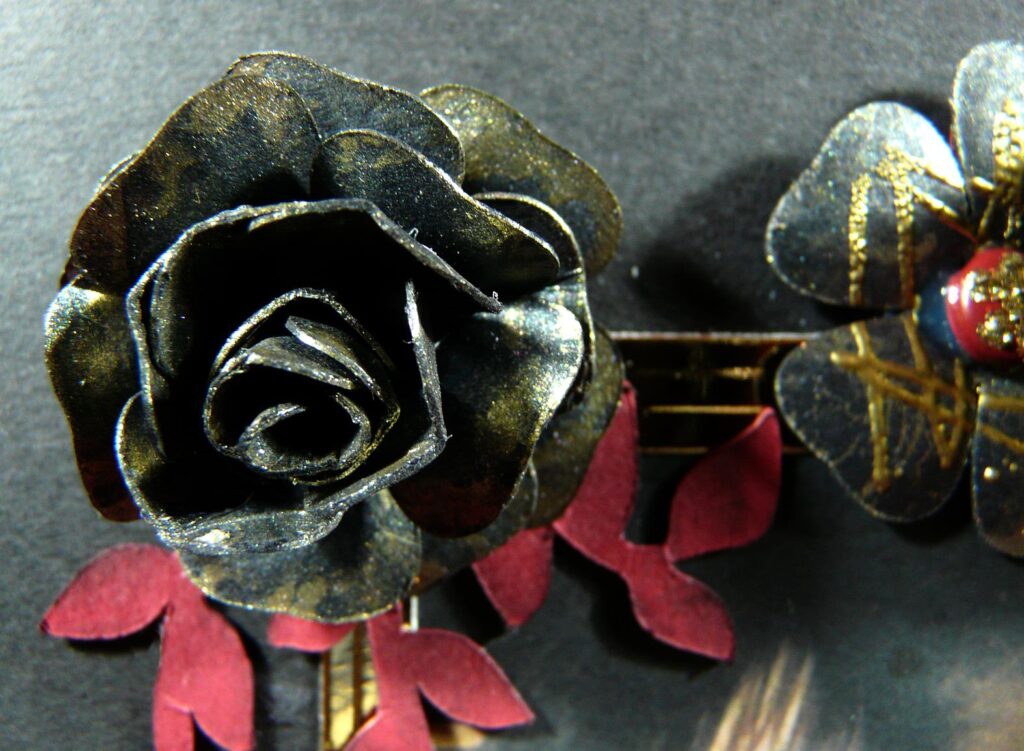
These roses were made from Penny Duncan’s design – you can find her blog in my blog list.
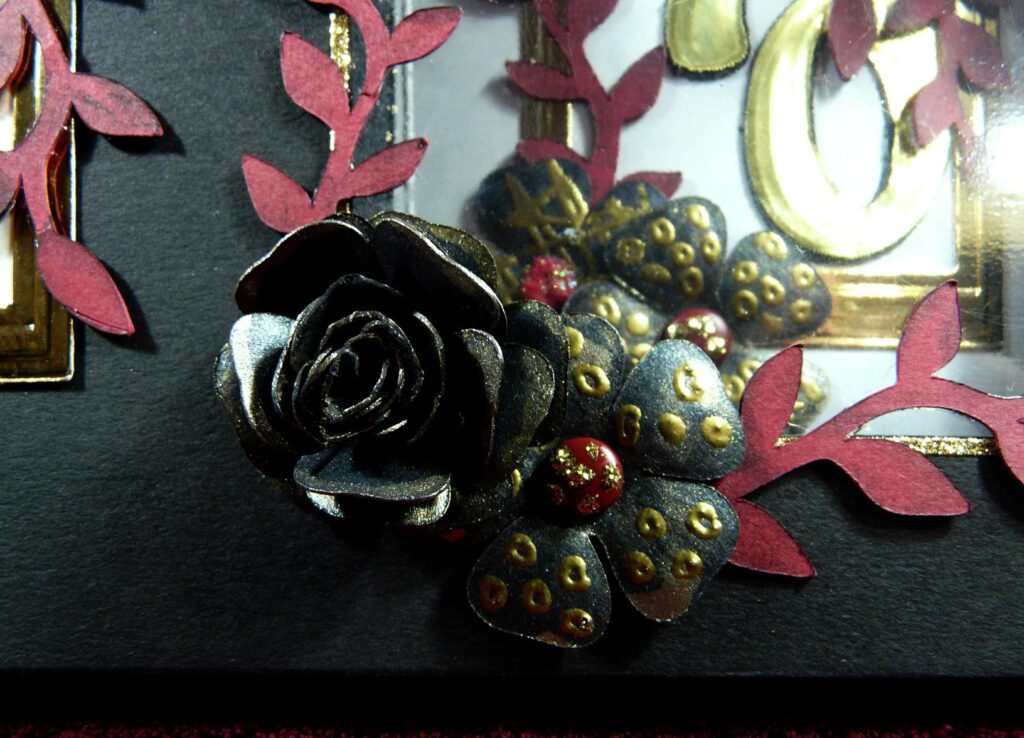
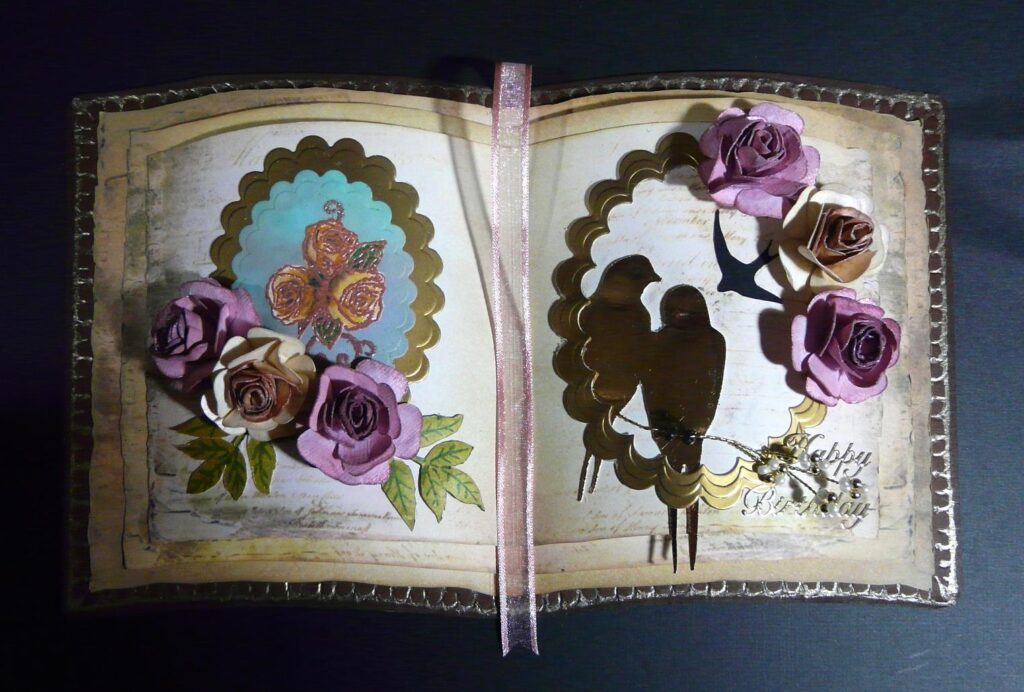
These flowers were made from spare rose parts that I cut by mistake, which explains why some have holes in the centre and some do not.
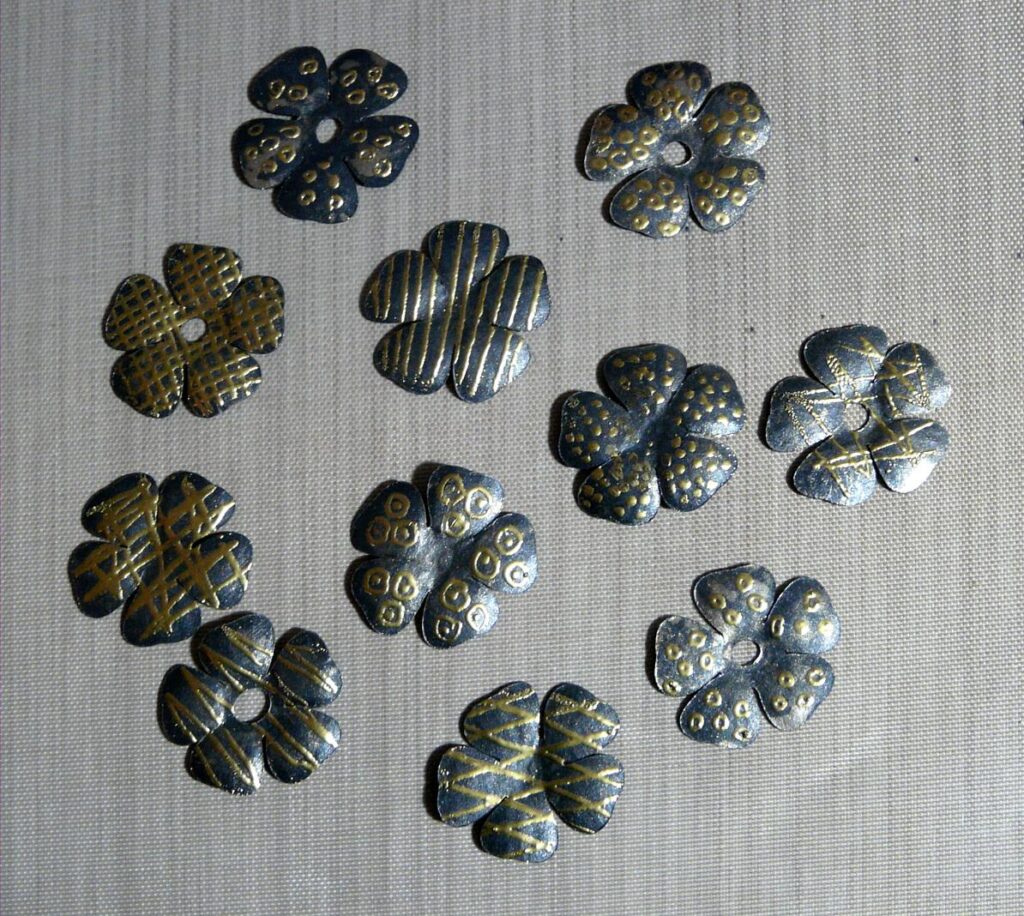
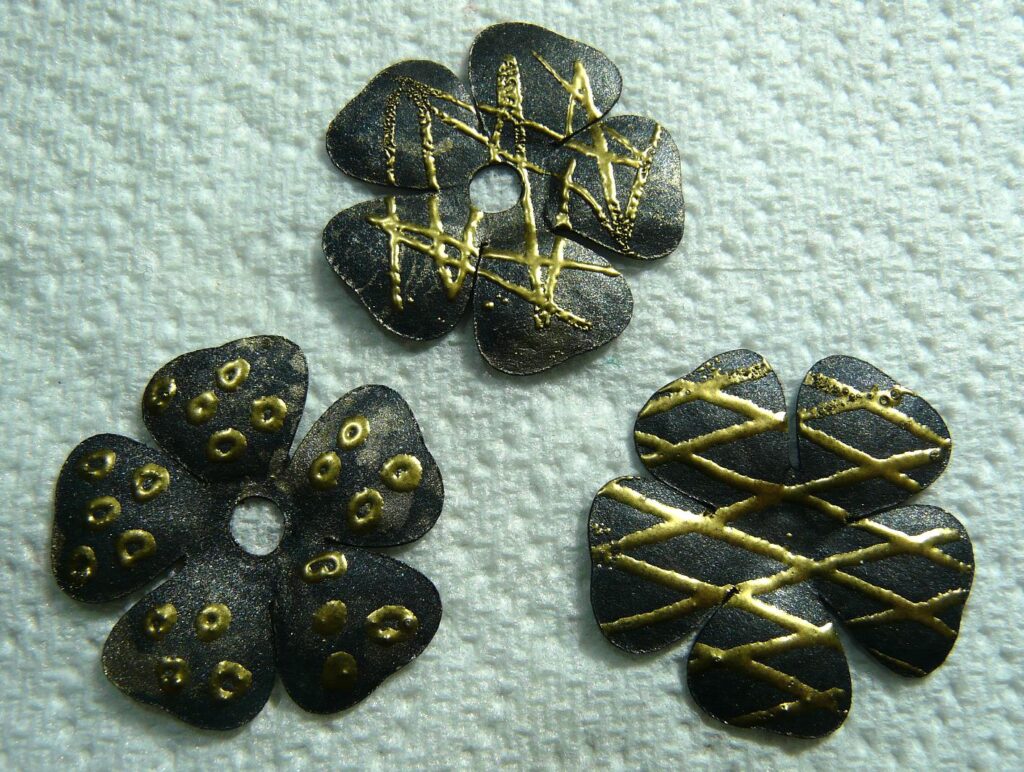
They were decorated with an embossing pen and gold heat embossing. In use on the card, the ones with holes now have brads inserted, and all the centres have been decorated with Stickles in gold and red.
Wonderwoman had asked me to design the card with a black and gold colour scheme with red accents as her mum has a bold, modern-style living room and she thought that if it co-ordinated, she might leave her card up for longer!
Also, unlike my mum’s card, where the “pages” of the book were fixed, she wanted the pages to be moveable, and have some photos of her and her mum on them.
Here is the finished card, in its box, which is also decorated with the flowers.
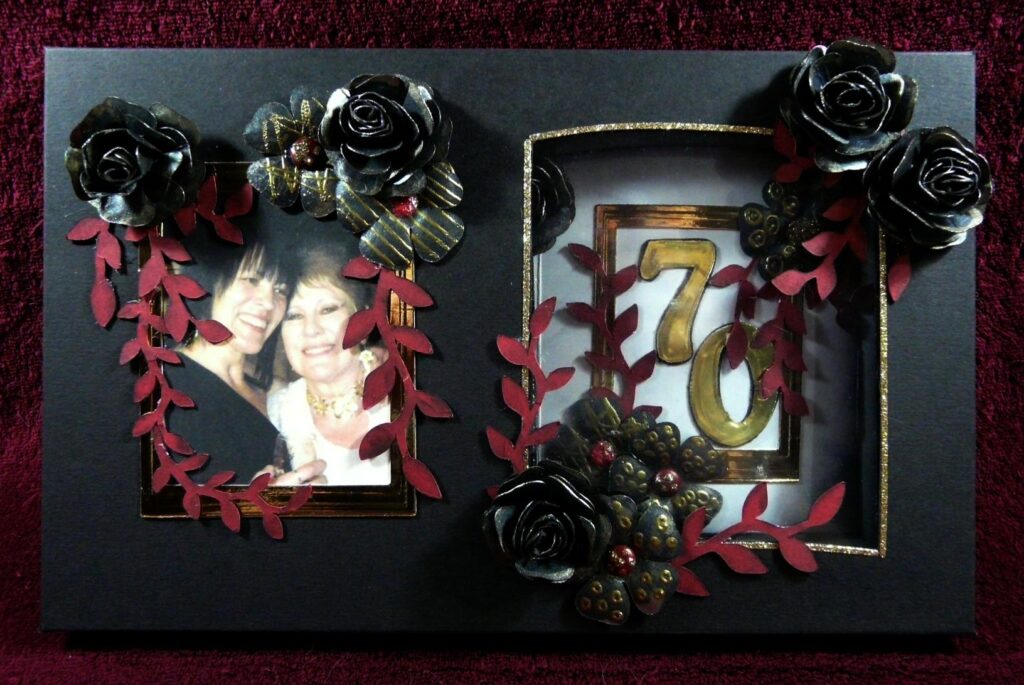
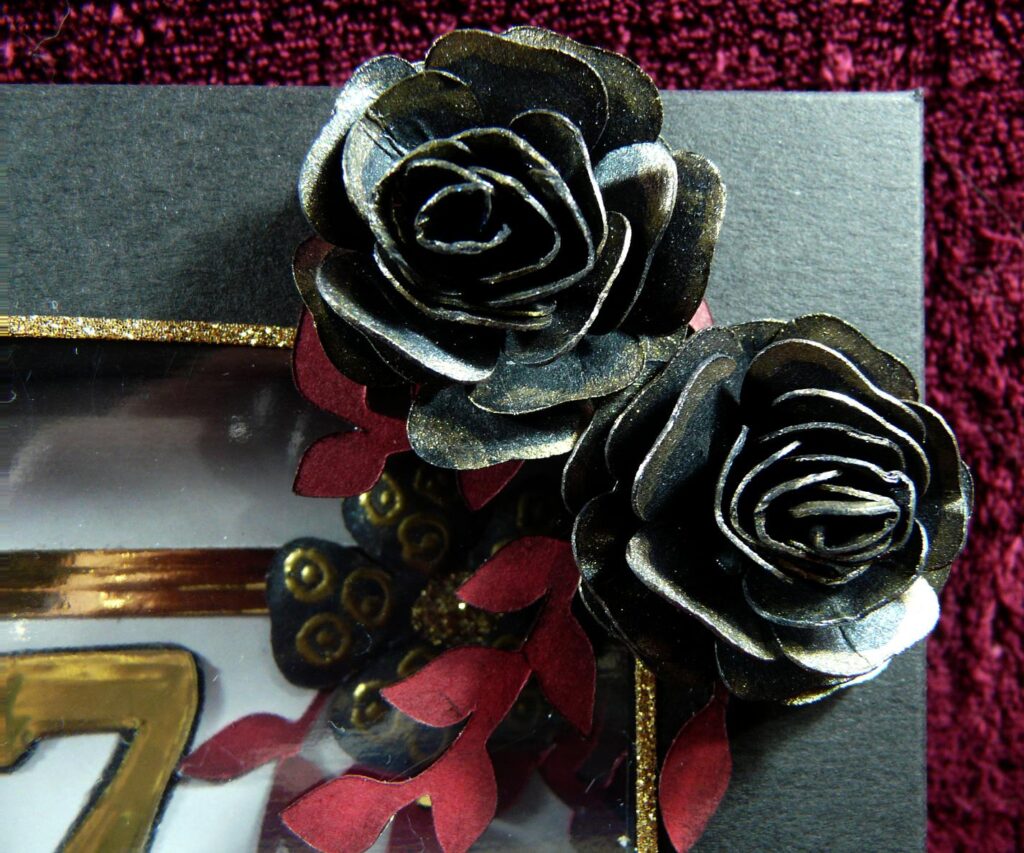
The following photos are details of the flowers on the lid of the box.
The frame for the photo on the box was made from gold mirror board using Spellbinders Nestabilities, cut and embossed using my Cuttlebug. I did the same for the frame on the card itself.
This is the book-style card on its stand, which is the same as the stand I made for my mum’s 90th birthday card, but this time cut from two layers of black card.
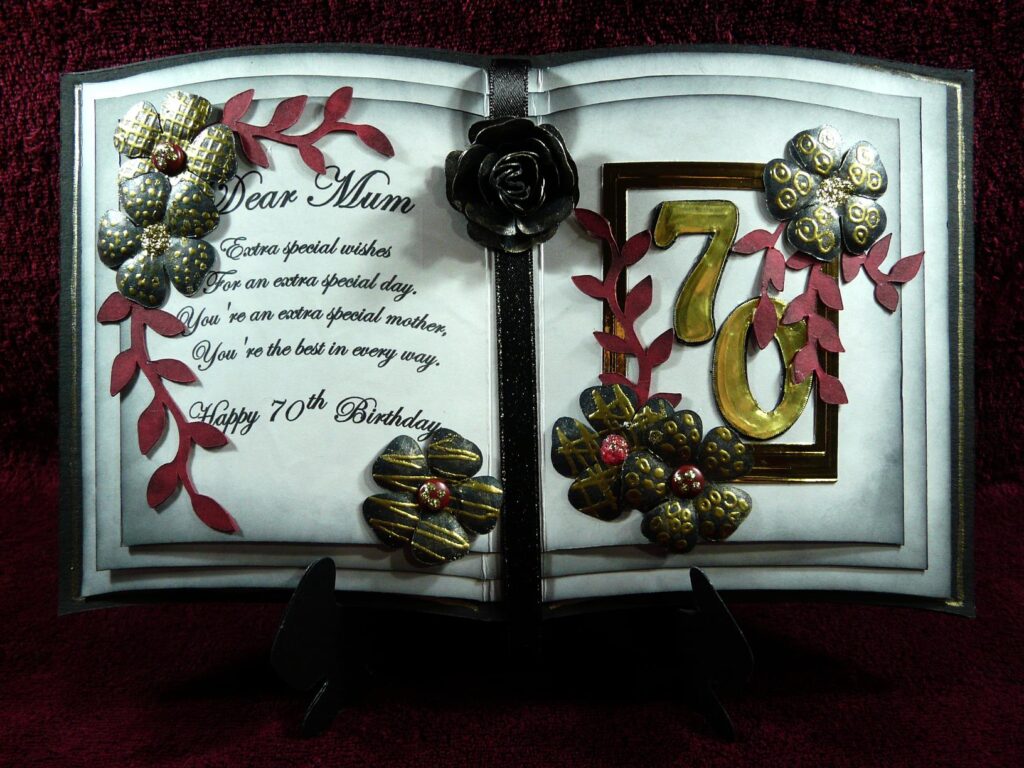
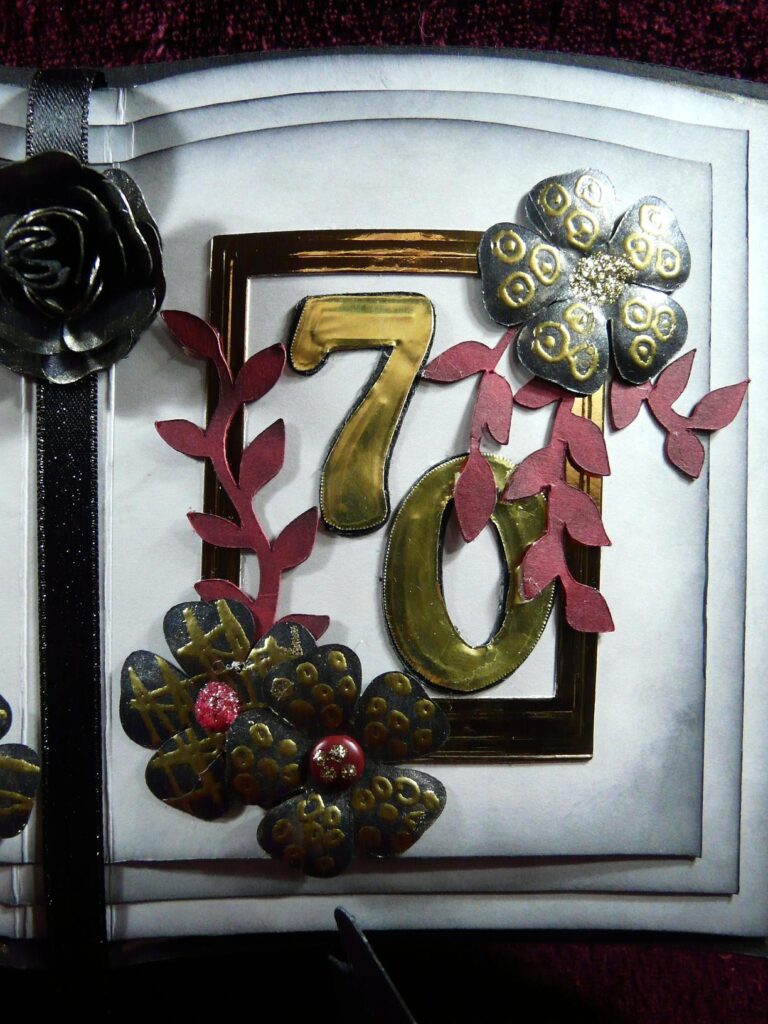
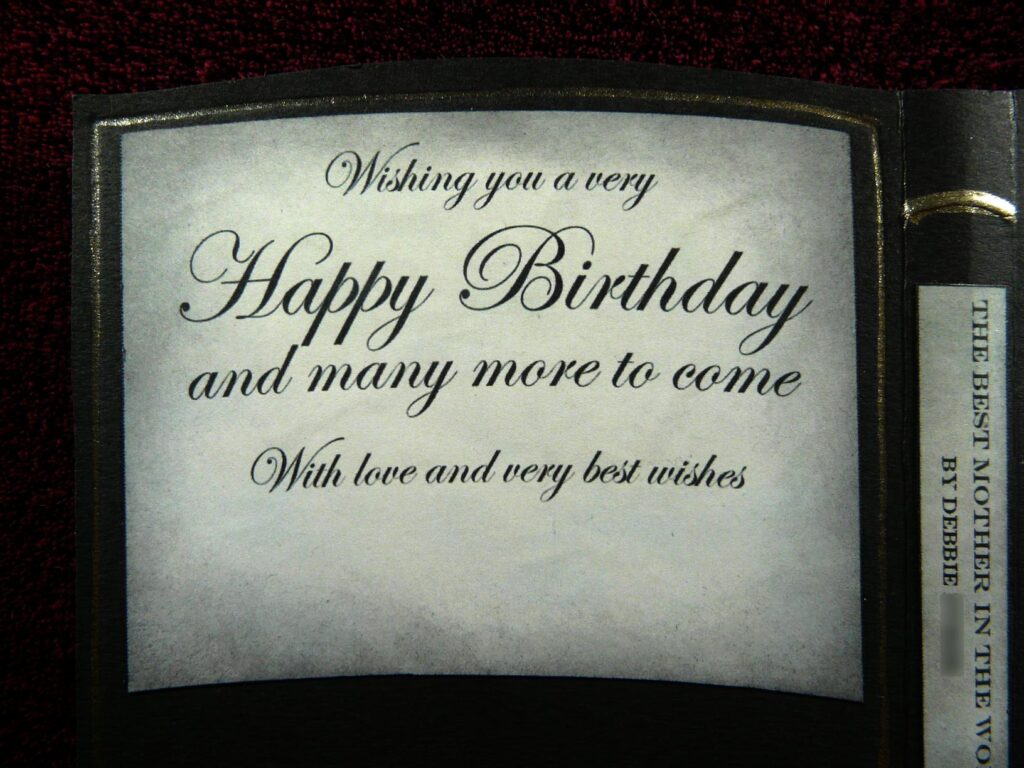
Wonderwoman composed the verse herself for her mum. The rose in the centre is attached to the bookmark ribbon and not to the actual card, because the pages of the book need to lift up without obstruction. The “70” is metal, embossed using my new embossing kit for the Cricut, which I have to say I’m not over-thrilled with – I probably need to tweak a few settings to get it better (thanks to Penny Duncan for her pointers in the right direction when I emailed her for help!) – I had to cut the numbers out by hand and cutting the centre of the “0” was far from easy. Practice makes perfect!! (Hopefully…)
Here are some details of the front of the card.
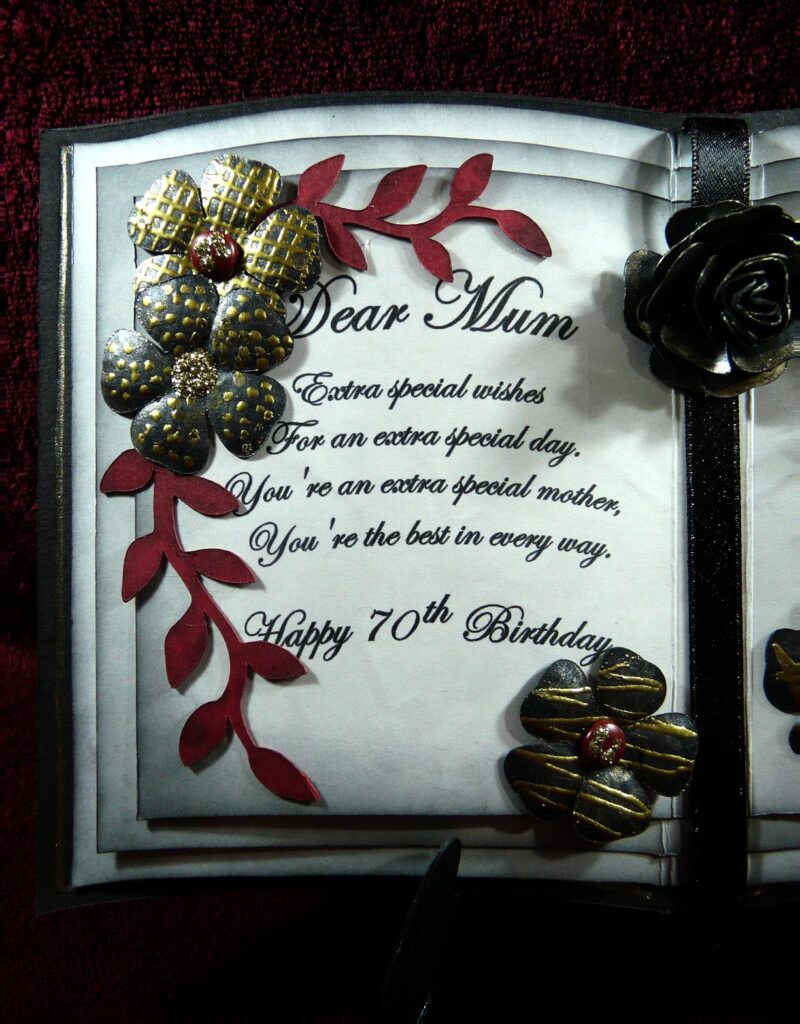
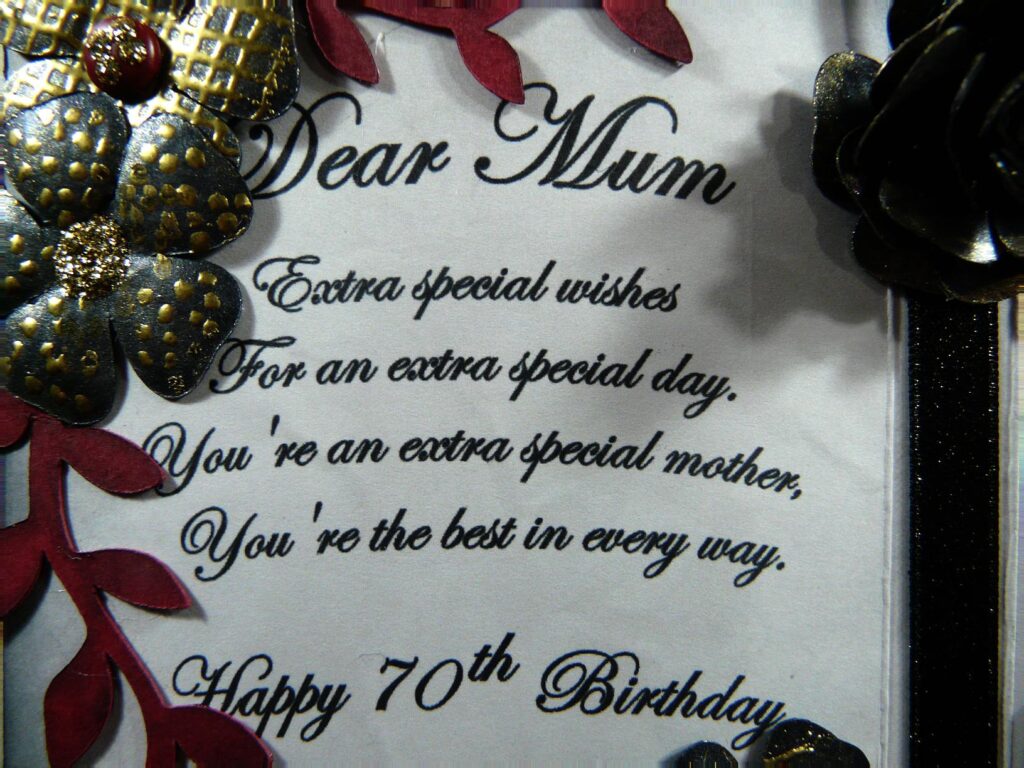
All the text on this card was done in Serif DrawPlus, mostly in Edwardian Script font, “text on a path” to create the illusion of the curvature of the pages. If the text was straight, it did not look right.
For this card, I created a new leaf trail, which is now on my Microsoft OneDrive and can be downloaded free in .svg format for use on cutting machines.
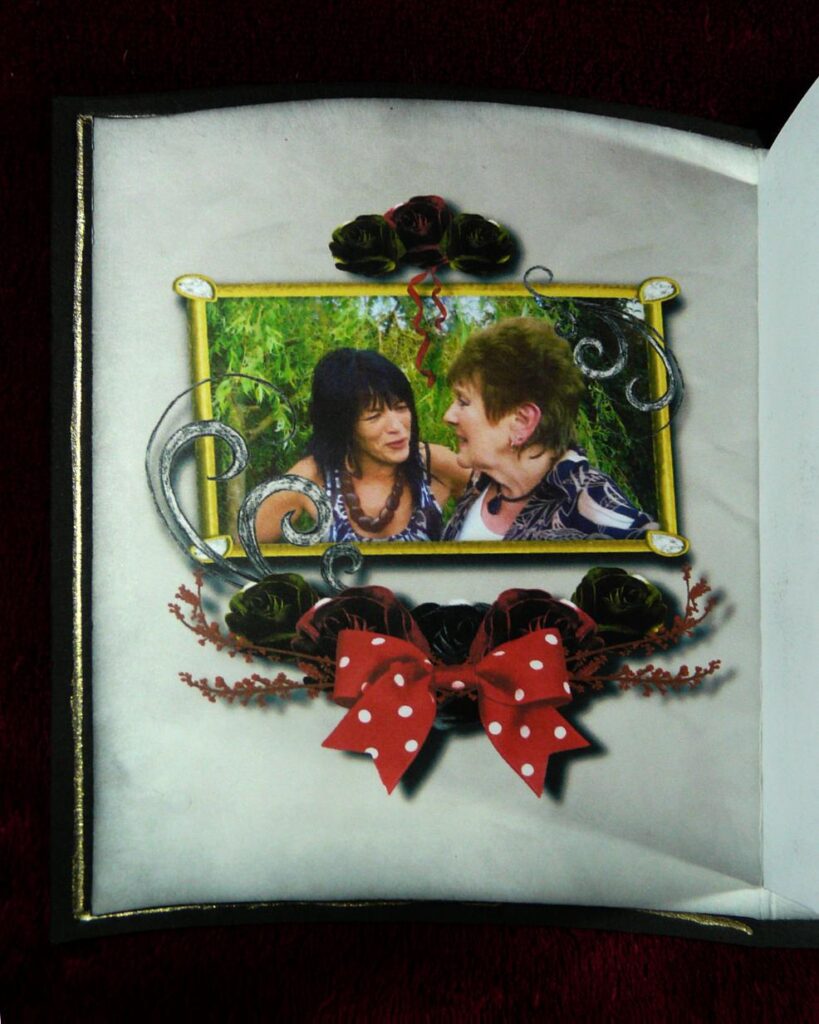
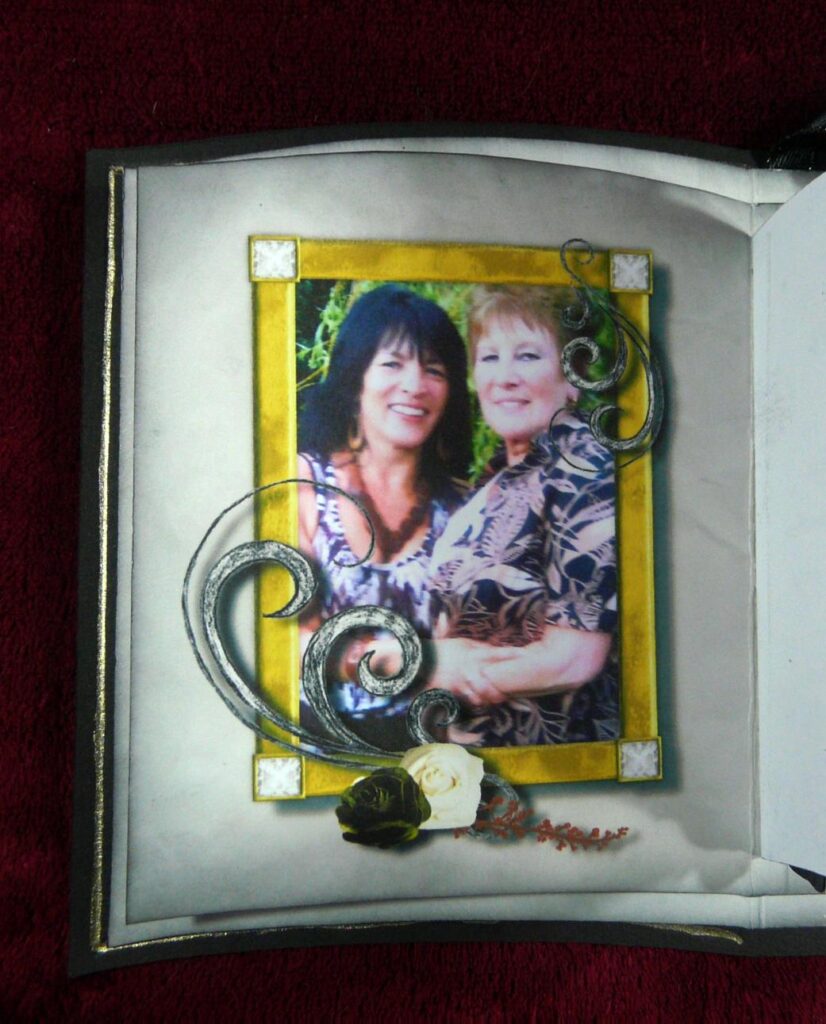
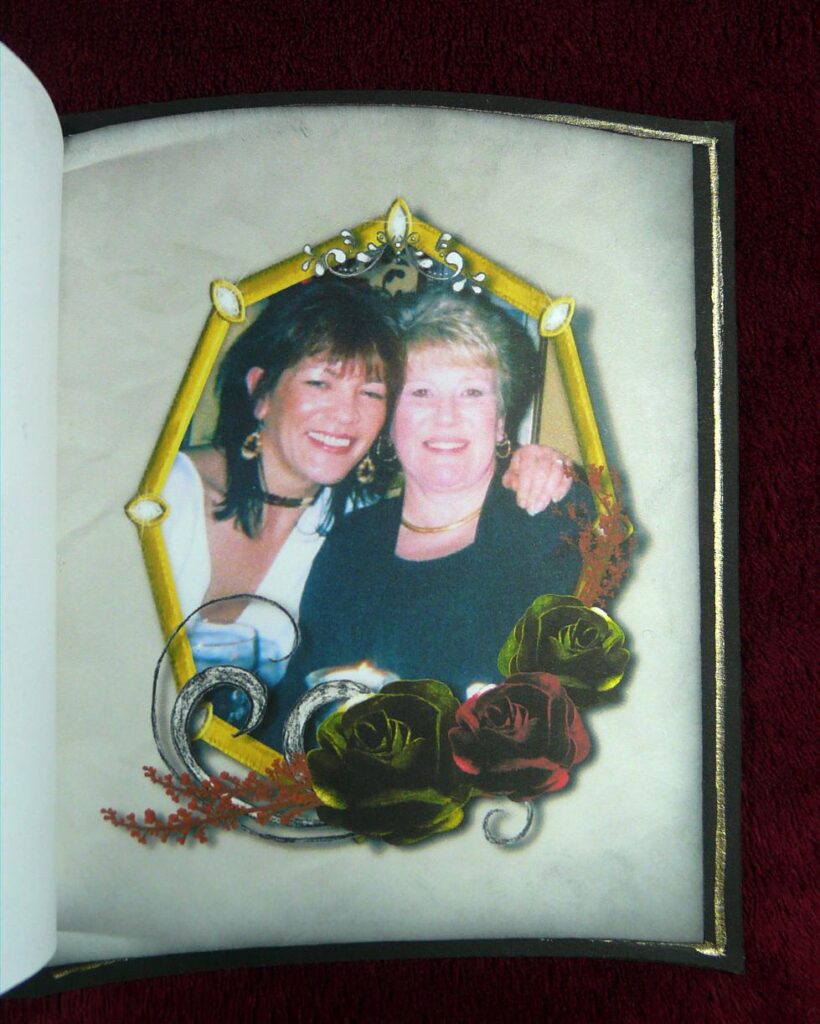
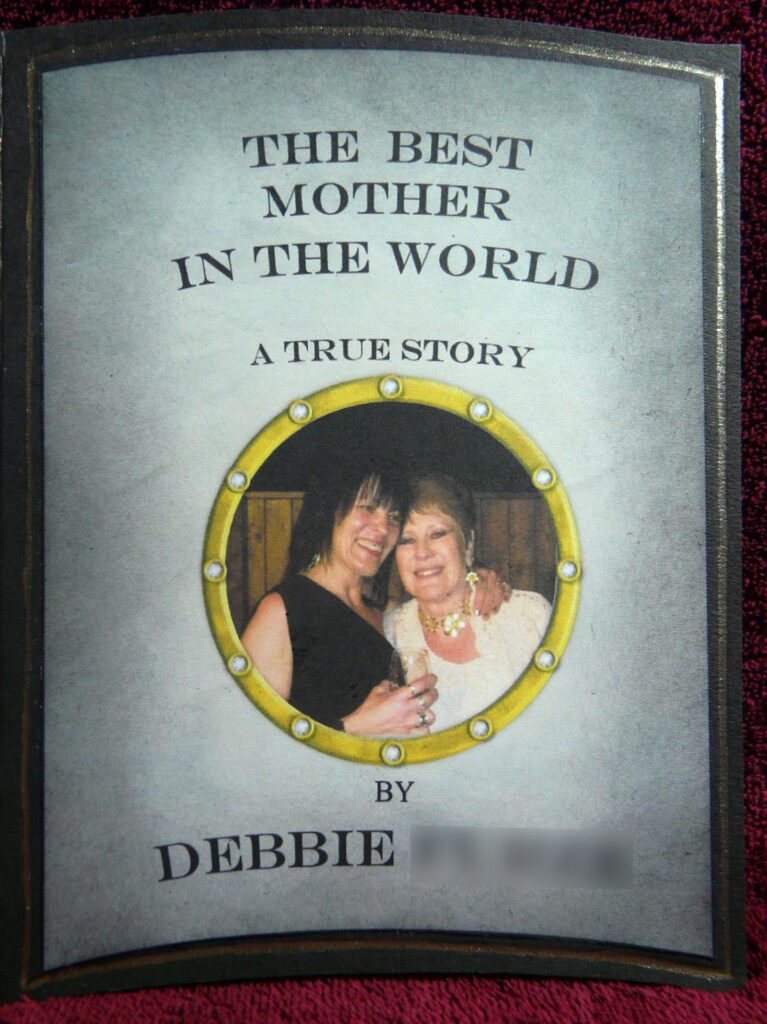
The pages lift up to reveal several photos underneath, which Wonderwoman brought me so that I could scan them. I used Serif CraftArtist to create layouts for them to co-ordinate with the card and to add a bit of glamour, while at the same time keeping them flat.
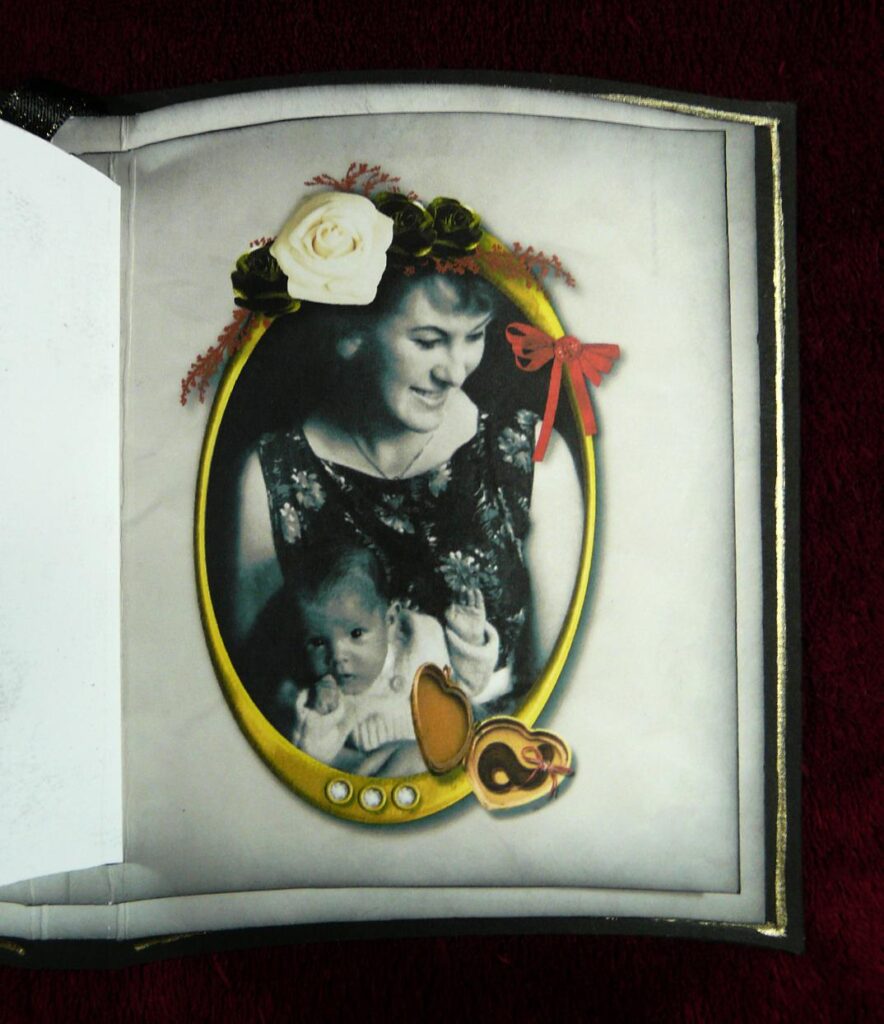
This final picture is a very precious one to Wonderwoman and her mum, because it shows Wonderwoman as a baby. When she gave me the photo, I wasn’t at all sure the quality was good enough, because this is the state it was in, with quite a bit of damage – creases, spots where the photo had disappeared, and a strip down one side which she told me had been Sellotape, and it was also mis-shapen where it had been cut with scissors at some point…
However, with my wonderful Serif PhotoPlus, I was able to remedy most of these faults, and I think you’ll agree the result is quite acceptable:
It’s such a sweet picture, and well worth the effort! Wonderwoman was absolutely thrilled when she saw it. I shall print it out for her as an enlargement, as the original is quite small.
I then decided to have some fun with the back of the card. Since this is a book-style card, I thought it would be good to make it look more like a book cover – when I did my mum’s card it was just flat, with some inking and a place for us to write our message for her. Here is what I’ve done for Wonderwoman:
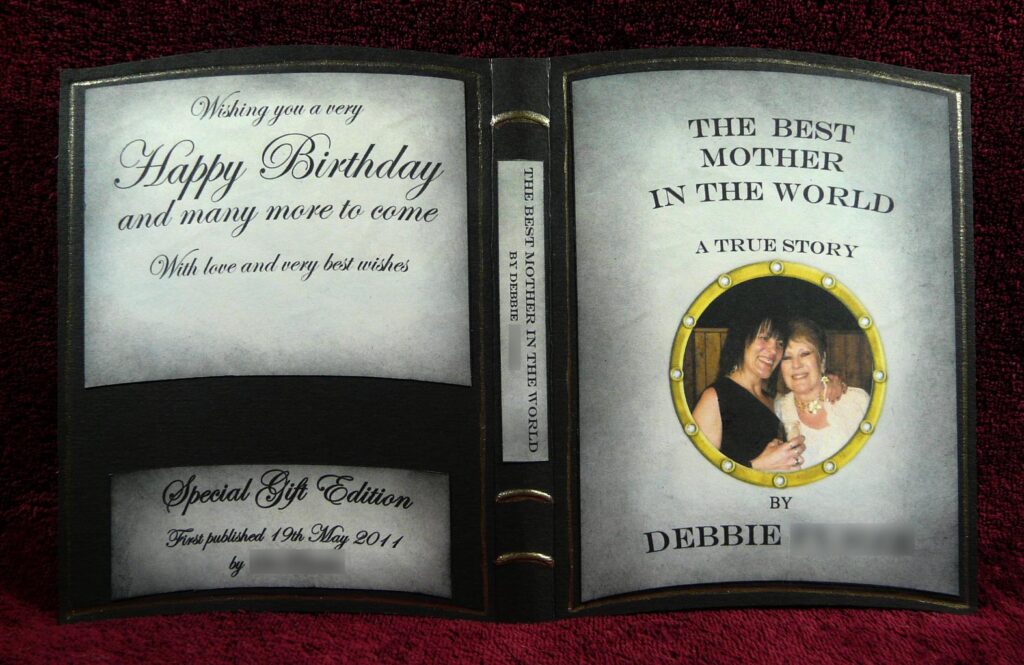
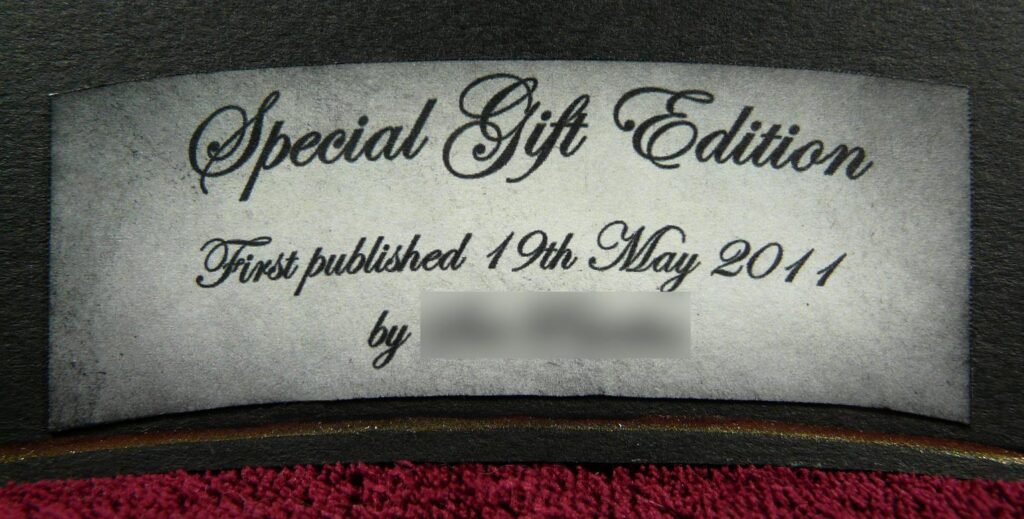
Again, I’ve done the text on a path to give the illusion of a curve. All the background papers in this card were a Serif CraftArtist marbled grey background, and I inked the edges of them all with Black Soot Distress Ink.
I gave the “book” a “title” and a “first edition” notice with my name as publisher! The date is her mum’s actual birthday.
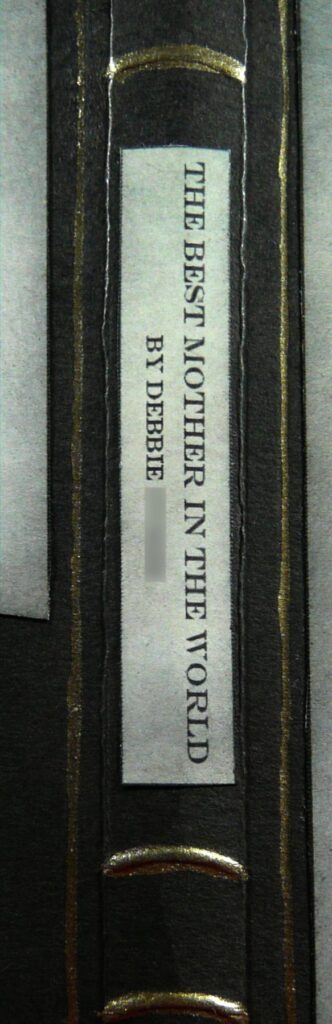
To make the spine, I curved the mid-section of the card around some dowel, and when I glued it onto the inside part, I filled it with Pinflair glue to make sure it wouldn’t get squashed flat. I hand-embossed it and painted it with gold Perfect Pearls. The outer edge, and that of the inside of the cover, were decorated in the same way. On the top left panel, I have left some space for Wonderwoman to sign her name. Here are some more detailed photos:
Finally, to compare, here is the other book-style card I made, for my mum’s 90th birthday.
A very different style!
So far I’ve managed to meet all my deadlines. Next job: birthday card for my hubby – I’m hoping to make him a mechanical card with a pop-up inside – as long as I can get it to work! Then a card for him for our Silver Wedding, and a present. After that I must think about a card for my dad’s birthday in mid-June, and then a card and present for our nephew’s wedding in August. After that, I shall hardly have time to draw breath before thinking about Christmas!!! (And I really wanted to have time this year to do some stuff just for me – some experimental stuff, decorating some storage boxes for my ARTHaven, decorating my new wheelchair, and also doing some more video-ing, as well as playing with my new melting pot which I haven’t even used yet. Ah well. Such is life.)