Please see my previous blog post for the background of this project, and details of the various elements which make up a Tudor gown.
My plans and preparation
In my costume, I shall omit the petticoat/kirtle and will not include either kind of farthingale, because I do not want the bulk.
For ideas, for an authentic look, and for practical instructions and advice, the Internet to the rescue! As always, there was a wealth of information to draw on, especially as there are so many groups these days taking part in re-enactments and cosplay. You might think that the opulent fabrics required would be very expensive, but recycled curtains can make an excellent substitute, and can often be obtained quite cheaply from charity shops or on Ebay.
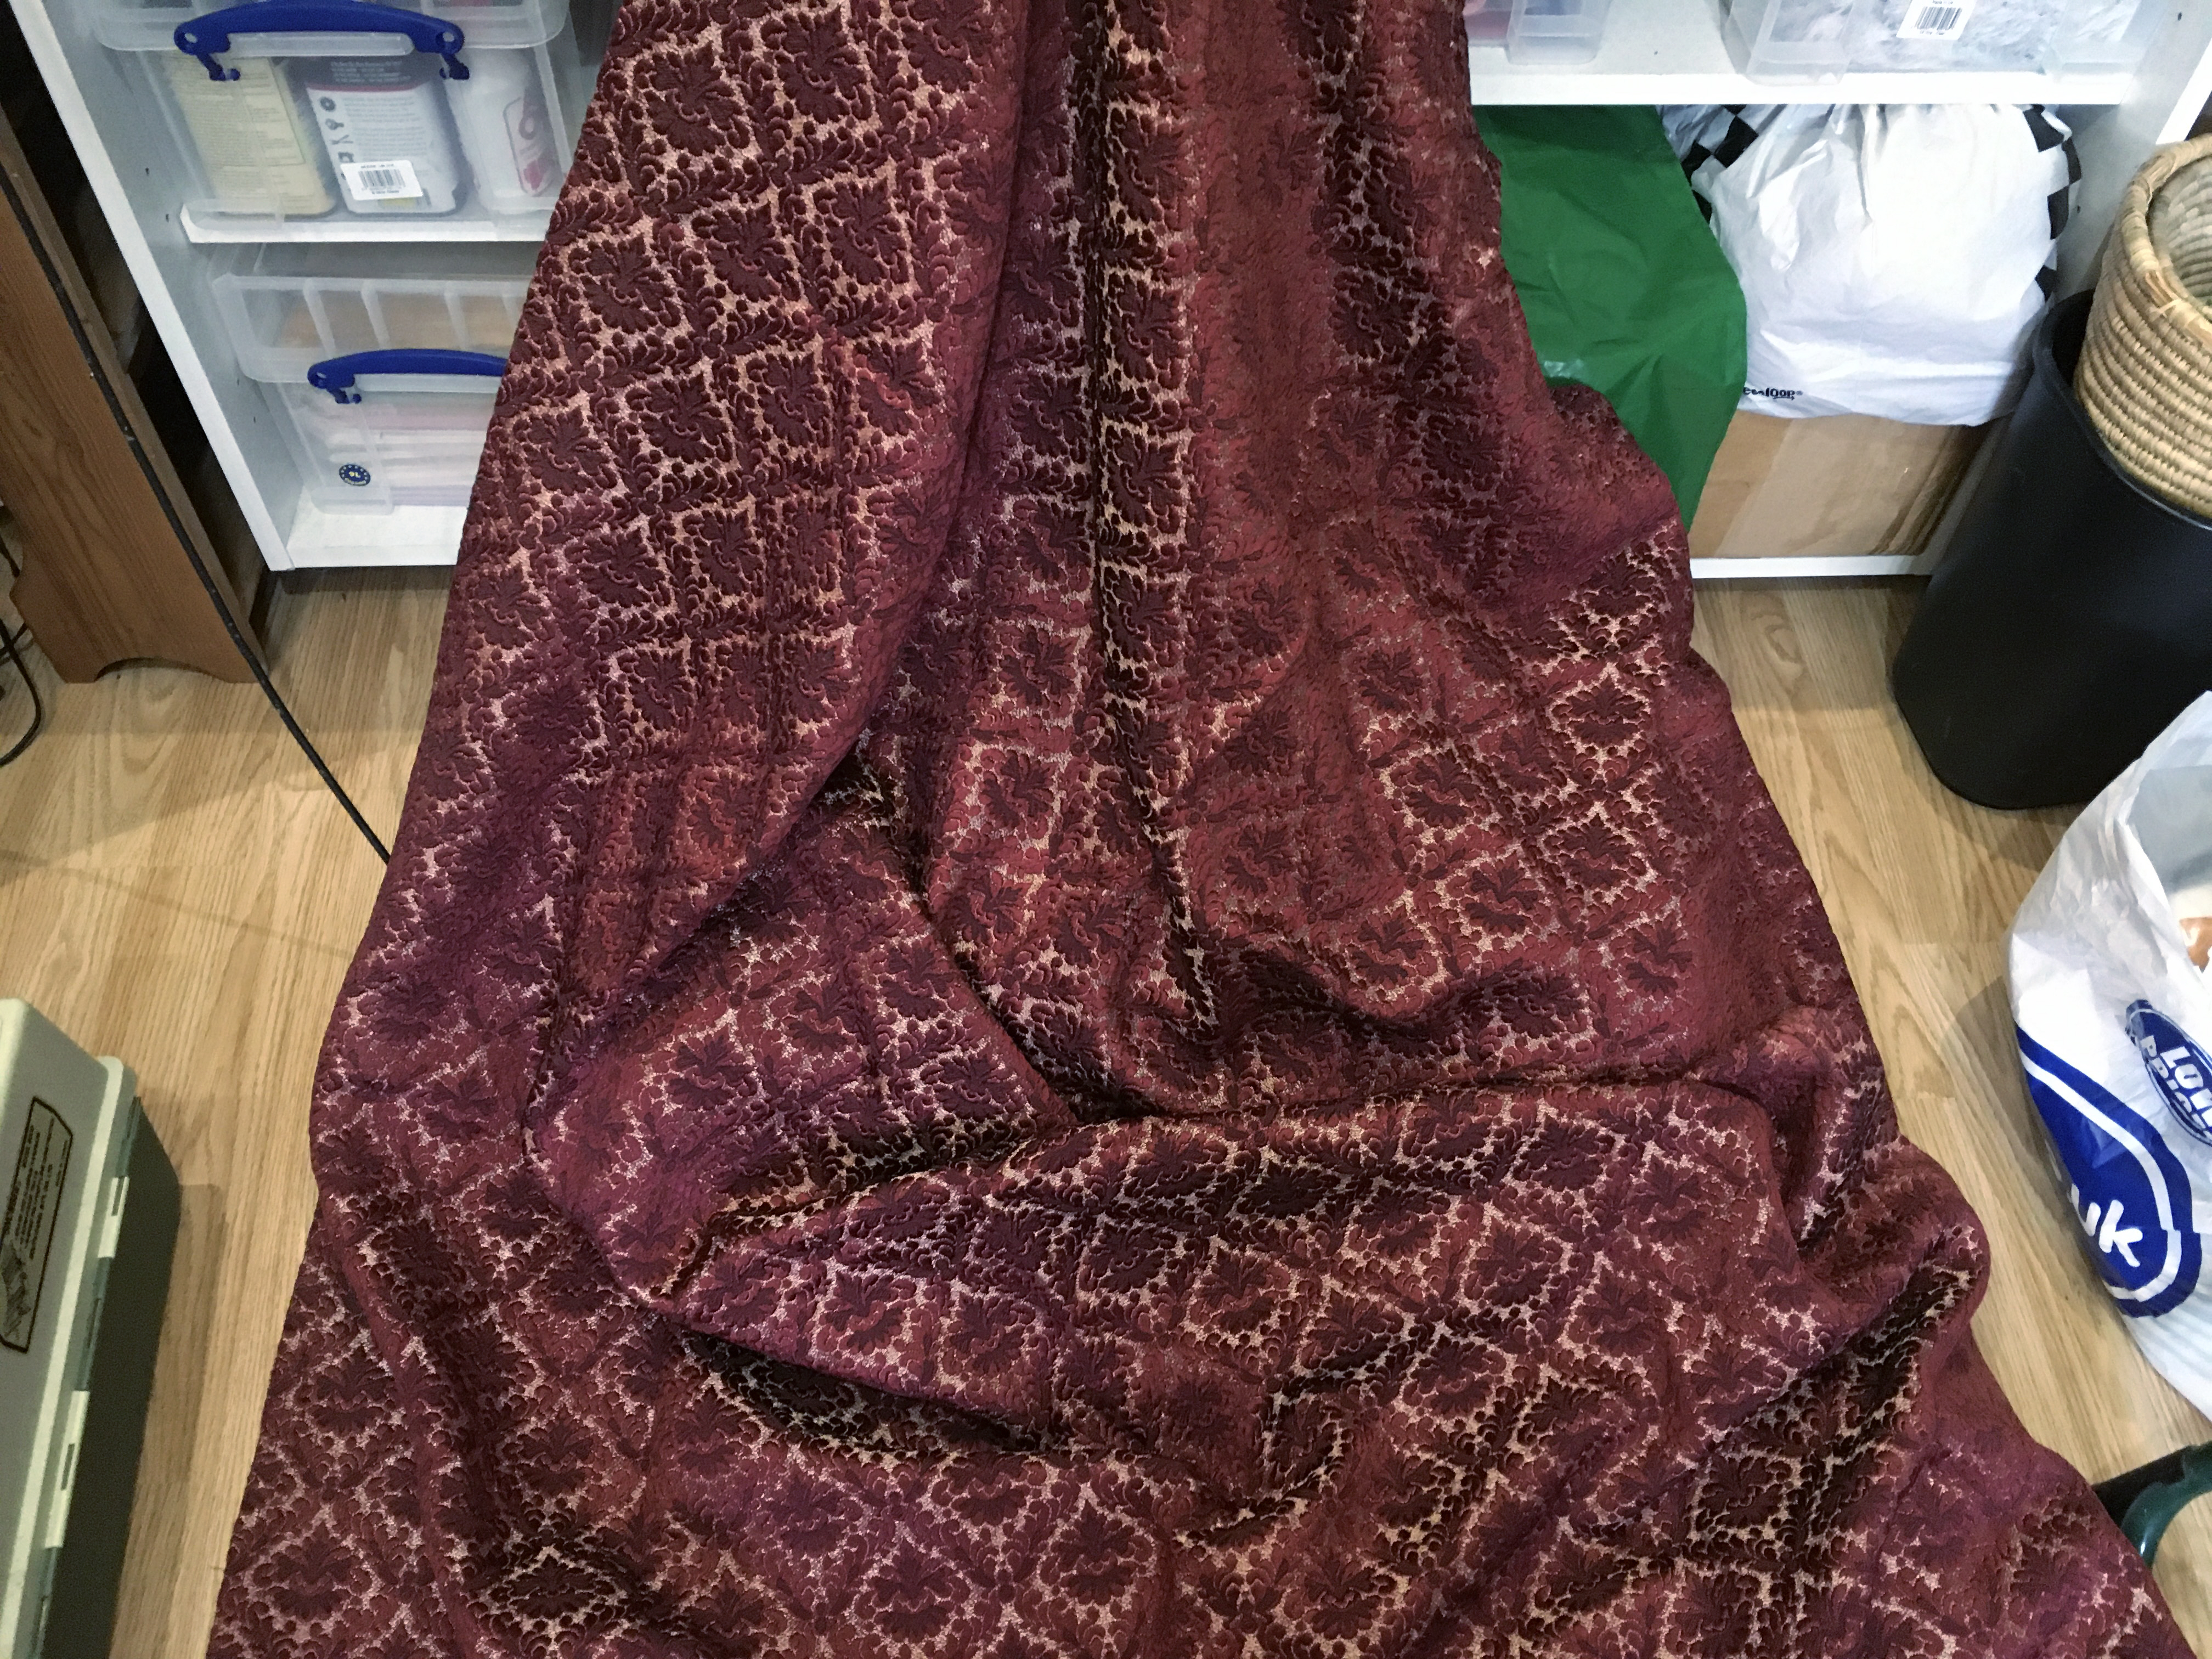
I found a set of dark red brocade curtains on Ebay and ordered them, and was happy to discover at the checkout that the seller was offering quite a substantial reduction in the price. Before the arrival of this fabric, I was able begin other preparations.
The curtains arrived in due course, and proved to be exactly what was required – plenty of high-quality heavy furnishing fabric to play with, in a perfect colour. The only slight disadvantage is its thickness – my sewing machine will not cope with multiple layers of this so there will have to be quite a bit of hand sewing involved. Not a major problem, but it will add to the time and work involved.


This dark red fabric is for the skirt and the headdress, covering the bodice and possibly for part of the sleeves as well. I have decided to make a plain, single-layered skirt rather than the alternative, which is the kirtle with a rich fabric panel revealed by an overskirt open at the front. This is for purely practical reasons; firstly, it would add considerably to the weight, and secondly, since I shall be sitting down for the majority of the time, I will need as little bulk as possible. Also, because we don’t have much time until the event, I wanted to keep the project as simple as possible, without losing any of the dramatic effect.
Some time ago I had a spare set of cream self-patterned curtains but I couldn’t find them. My hubby looked in the loft but they were not there, and he thought we’d got rid of them, along with some others, at the time of our house move. I had hoped to use this fabric for the front of the bodice. Time to dig around in my stash and see if there was an alternative, and also to see if I had anything else that would be of use in the project.
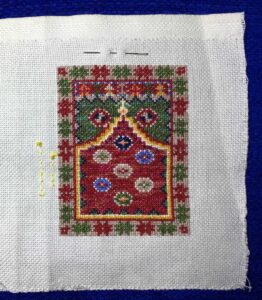
Two or three years ago I had a shopping spree around the charity shops and bought up quite a few bits and pieces with a view to doing some clothing upcycling and adapting. However, I was taken ill at the time and wasn’t able to do it, and the stuff all remained in a large storage box in my studio. Amongst the hoard was a large pink and cream satin bed quilt with some floral embroidery on it, which I had thought I might cut up and use for something. I got it out again, and discovered that there was a central embroidered panel with three separate motifs. They are exactly the right size for the front panel of a Tudor bodice, and the colour is right, too.
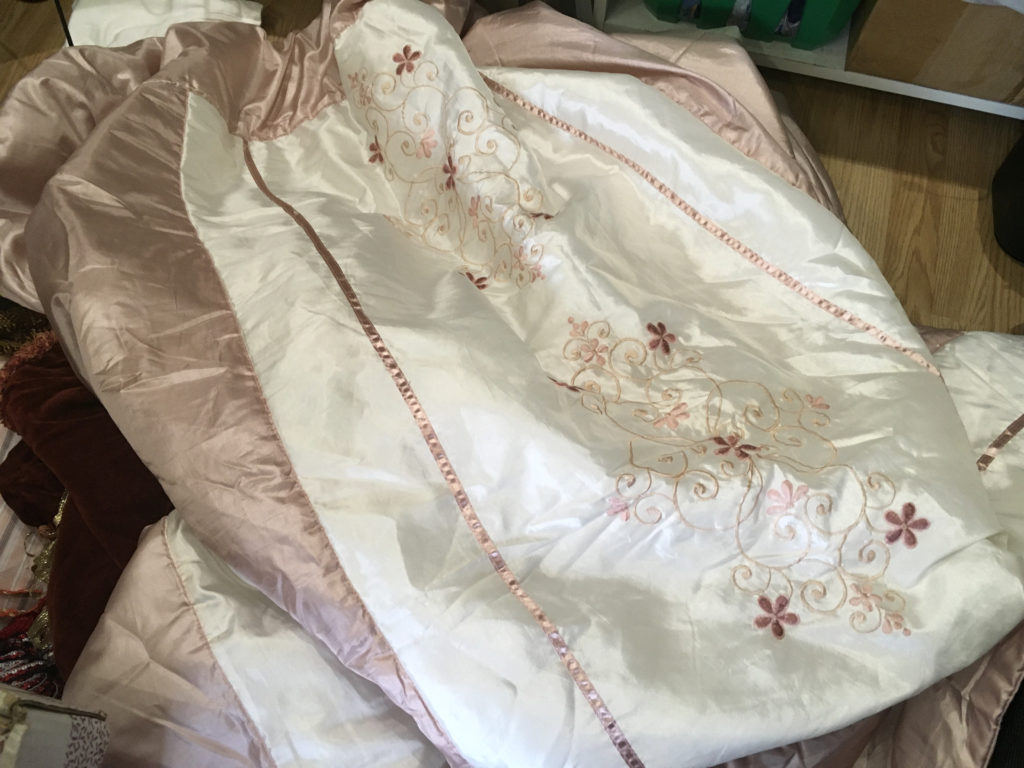
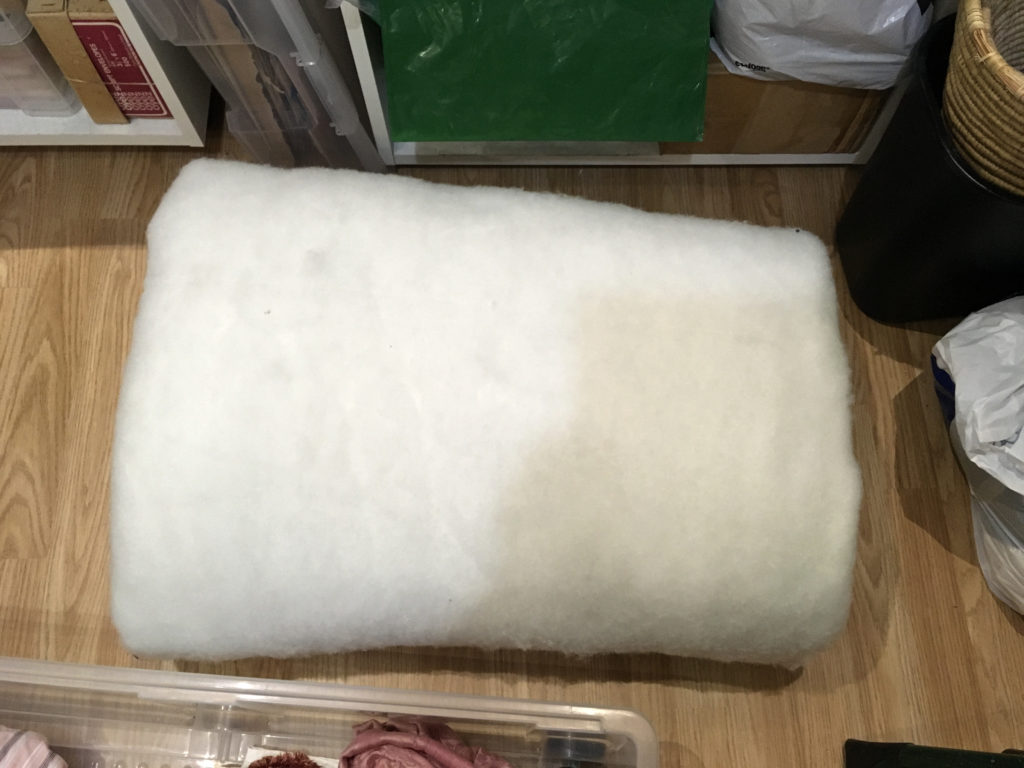
Part of my preparation involved taking this quilt apart. This proved to be quite difficult as it was rather well made! I sat with it on my lap and worked at freeing the central panel with a seam ripper. Several times I felt quite overwhelmed by the billowing mass of the quilt, and could hardly see over the top of it!! Once this was done, I removed and retained the pink ribbon borders of the panel. Then I unpicked the quilting, and the seam around the perimeter, and was a able to free up a HUGE piece of polyester wadding which I shall find useful for other projects.
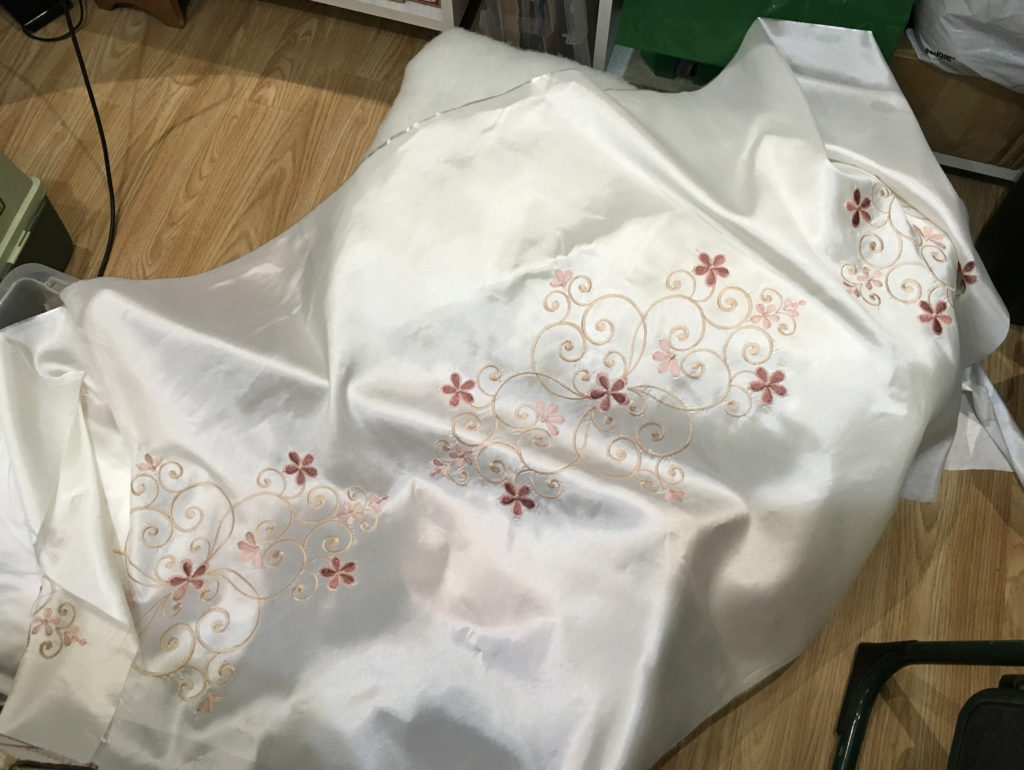
Here is the embroidered panel removed from the quilt, ironed and ready for use.
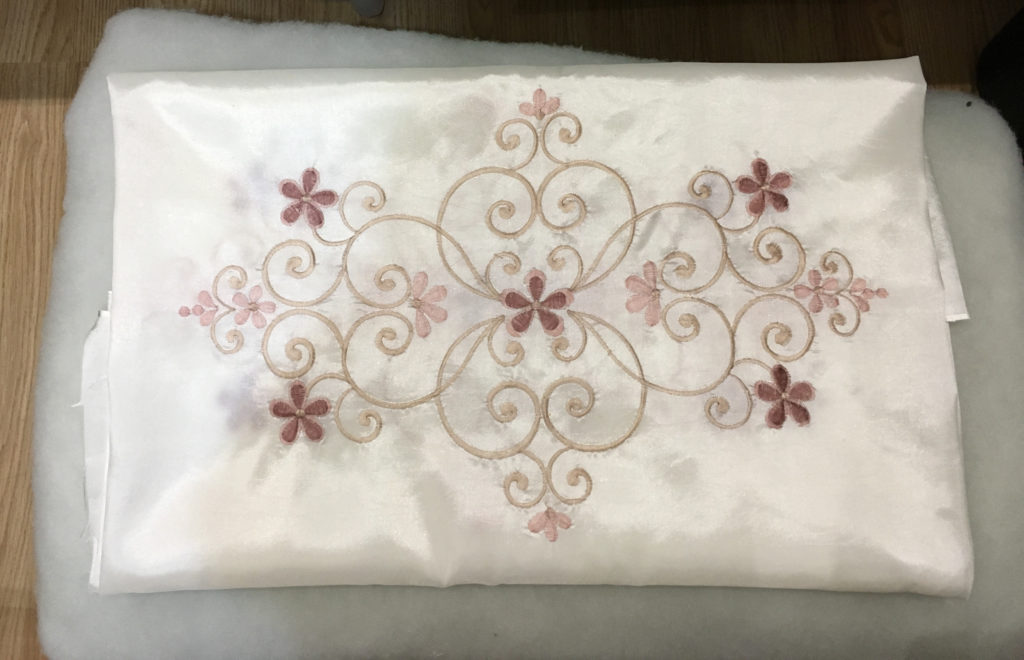
Folded so as to reveal a single embroidered motif.
When I took the quilt apart, there were several quite large pieces of plain pink fabric which had made up the underside of the quilt. There was plenty here to make the lining for the skirt.
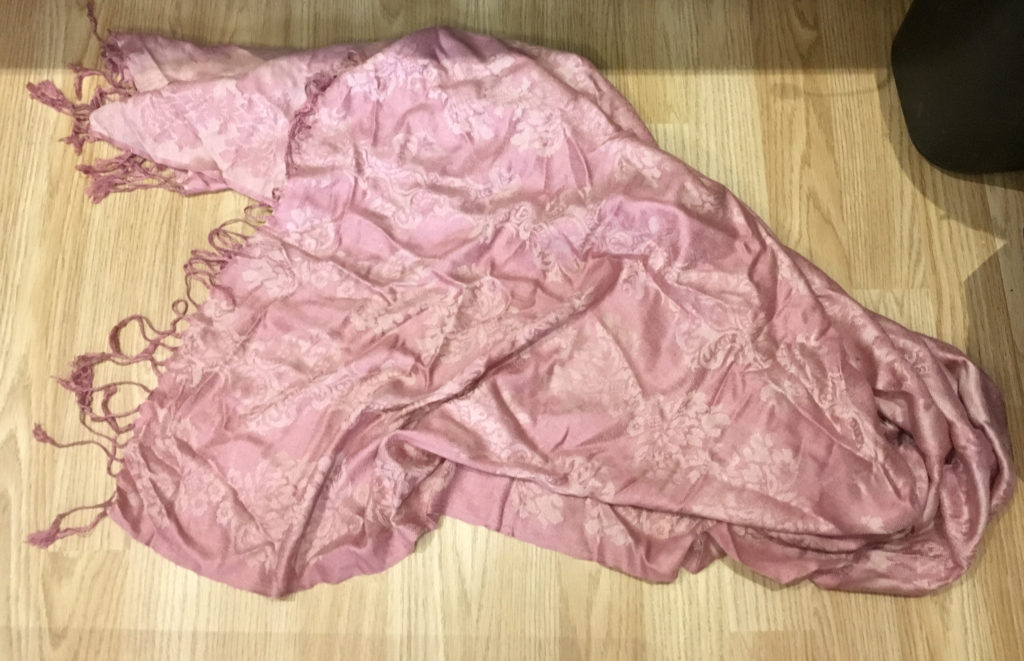
Also in the charity shop haul was a pink self-patterned scarf made of soft fabric. Again, the colour is fine for the scheme, but I am not yet sure if, or how I might incorporate it.
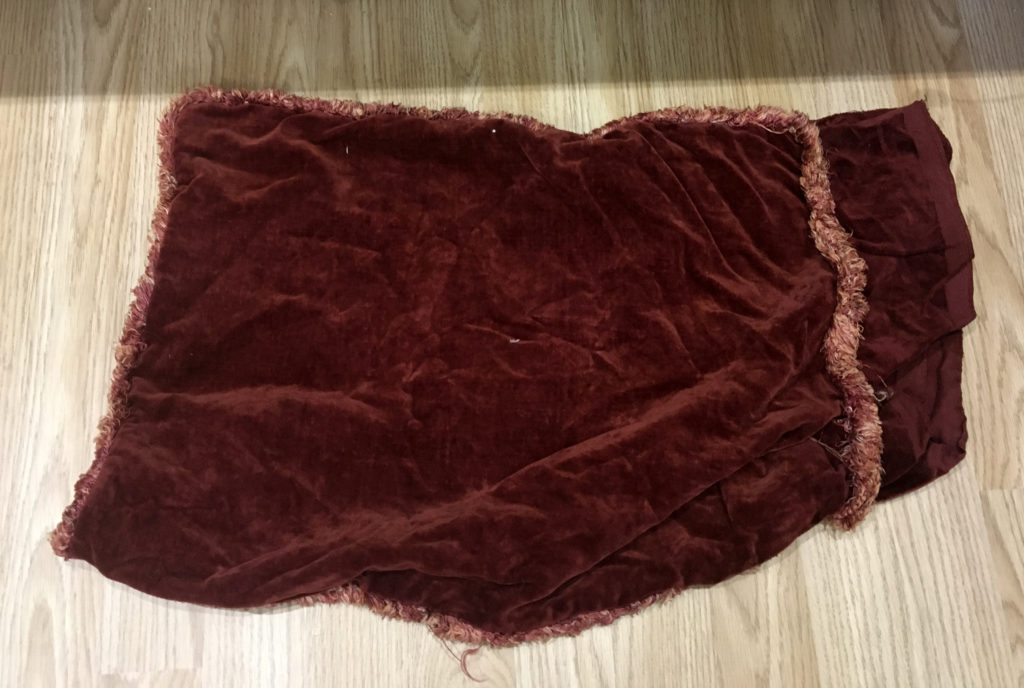
In my fabric stash I found an old rectangular cushion cover of Mum’s, in dark red velvet. I thought there might be just enough to make the sleeves, or at least part of them, out of this.
For the bodice, probably the most complicated part to make, one excellent website recommended buying a boned bodice and covering it. I looked on Ebay and immediately found one in my size! It is a Marks and Spencer Per Una one, in black, and with shoulder straps and straight across at the front – perfect for a Tudor dress. The bottom of the front has a slight downward curve in the centre, and I will need to add some fabric and some extra boning in order to bring this down to a deep point – essential if I am going to use the embroidered panel. I had originally intended to cut the bodice down the centre back and introduce a laced fastening in the traditional fashion, but the bodice has a zip at the side, which I have decided to retain, and not bother with the lacing because it will be covered by the veil of the headdress anyway.
When the bodice arrived, it proved to be brand new, complete with labels, and never worn – the price was still on it, and I got it for a fraction of this! Being Marks & Spencer, it is of very high quality and excellently made and finished, and above all, it is a perfect fit!! I was a bit concerned it might be rather tight and that I would have to let in side panels, but all is well.
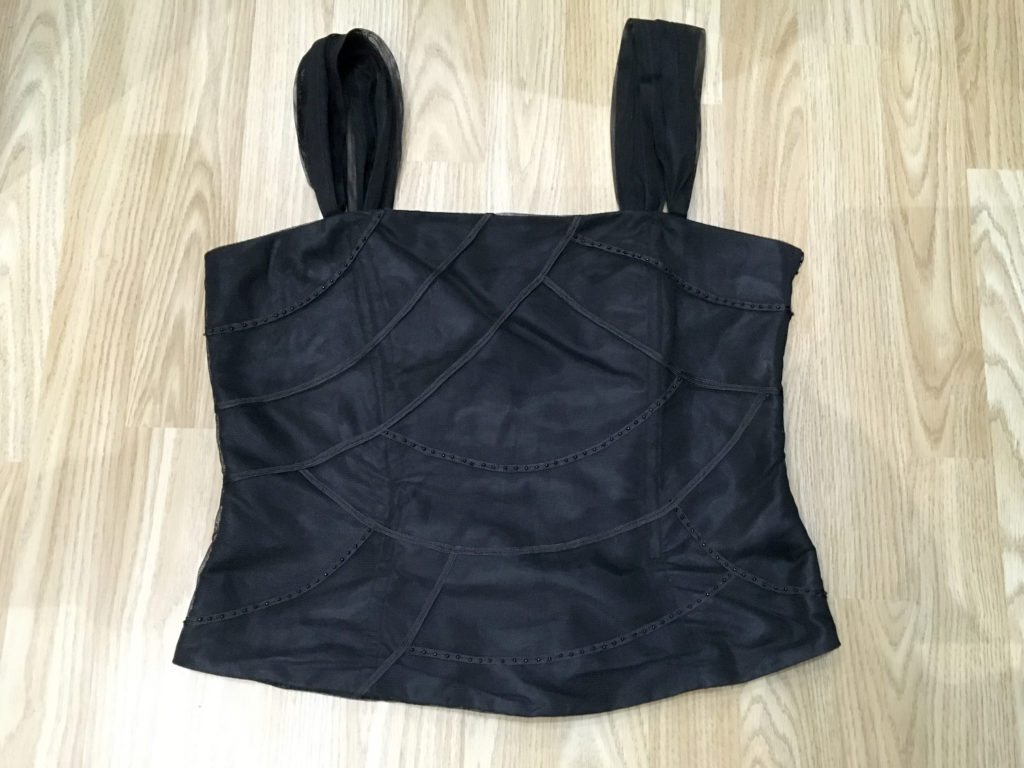
The bodice was covered with a top layer of black net with beaded strips of braid sewn on. I cut off this net at the seams, to make the bodice more stable and to reduce any surplus material to a minimum. Eventually I may get round to unpicking the braid and removing the small black beads to put in my stash.
My plan for the sleeves is that they will be attached to the bodice with ties. This part of the design is not yet finalised, but they will probably be long and narrow, made from the red velvet cushion cover, with added wide sleeve extensions over the forearms. The cuffs will be plain white linen trimmed with black lace to resemble Tudor blackwork embroidery, to mimic the cuffs of the traditional chemise. It would be fun to do the real thing, but time is of the essence with this project, so I have to be practical.
There were various styles of sleeve but I have opted for the narrow sleeve with the added forearm extension. This will be in two parts, with the inner layer being slashed to allow some of the linen lining to be pulled through. The trumpet-shaped outer sleeve extensions were often trimmed with fur, so time for another studio rummage to see if I had anything suitable! Years ago, I made my hubby a gold-coloured teddy bear and had some fur fabric left over, but it was not enough for this project, unfortunately. EBay to the rescue again!
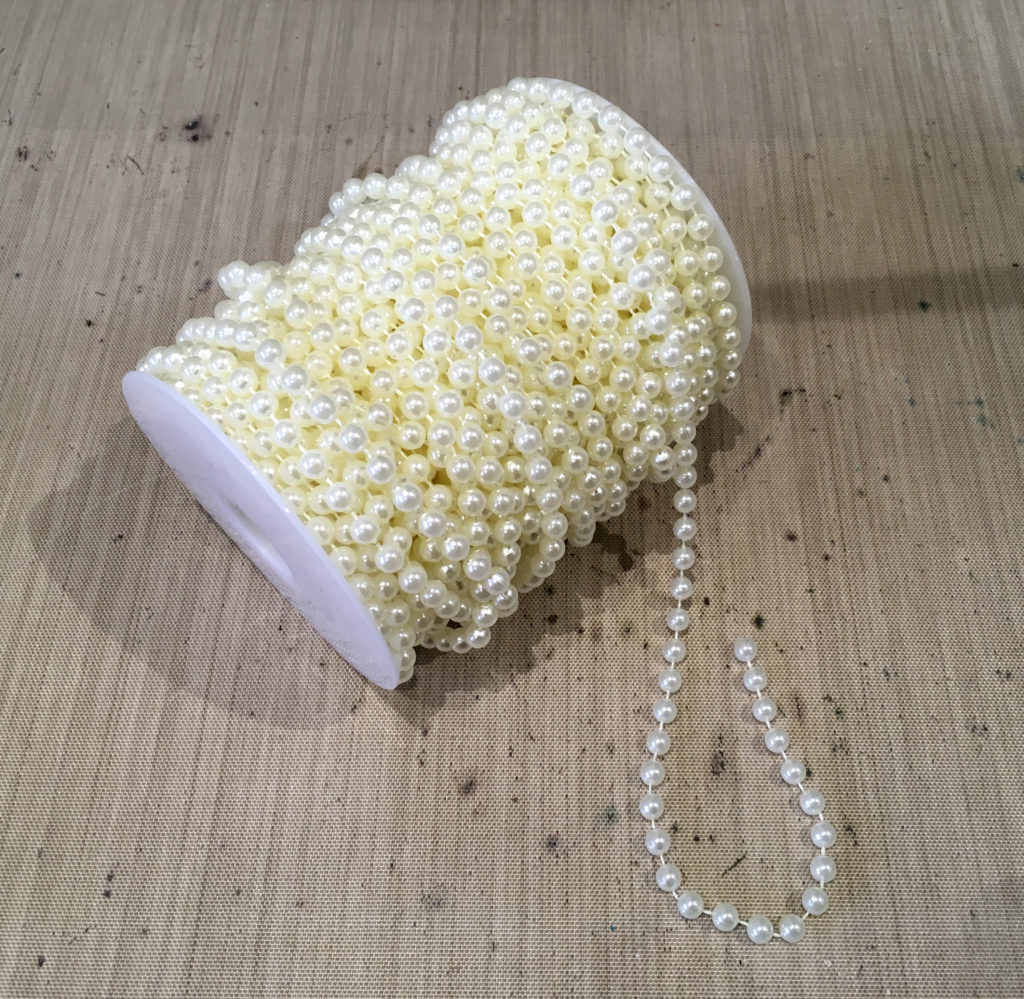
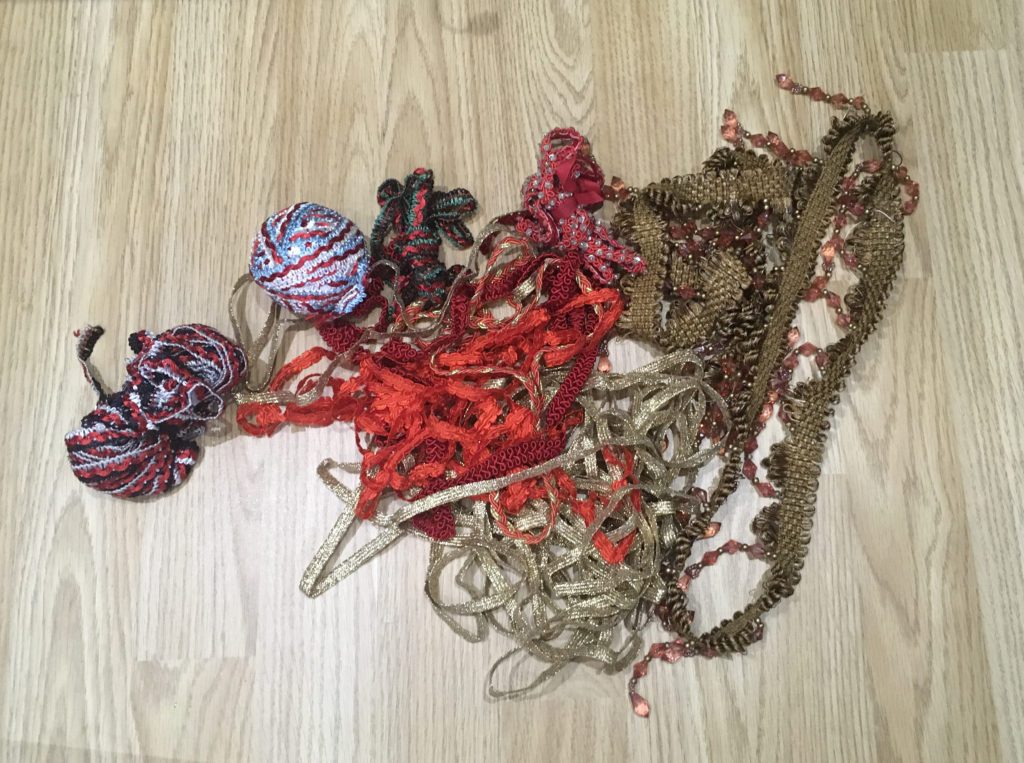
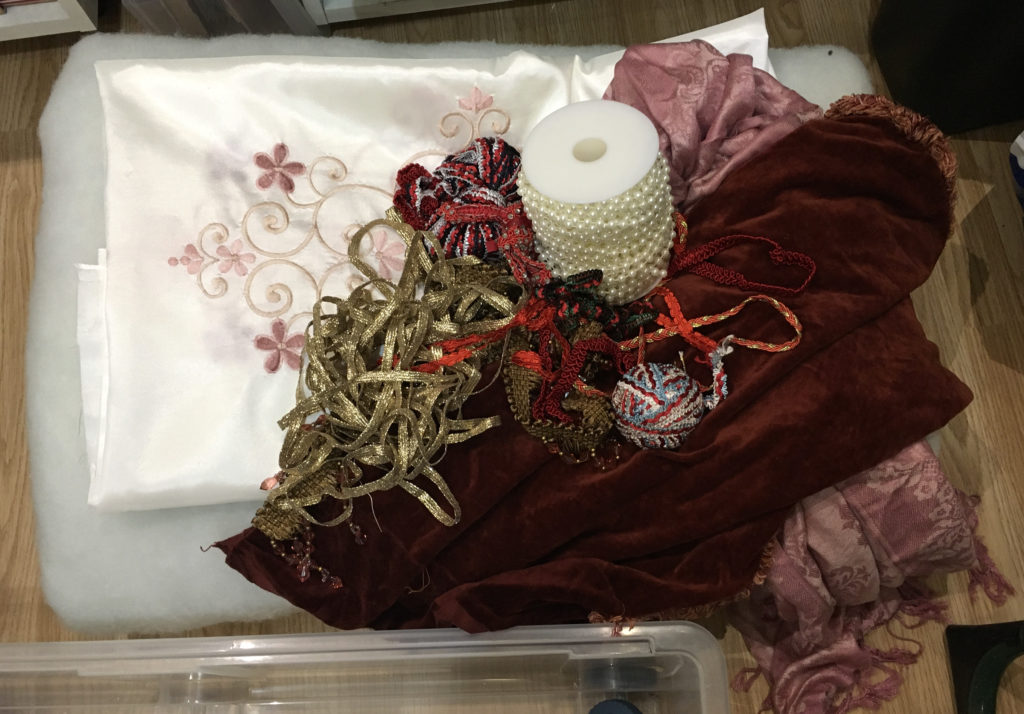
So far, I have managed to collect the materials from my stash, recycled fabrics from charity shops, extra supplies from Ebay (often used), and I have not had to buy much new material. I did find a lovely really cheap spool of pearl bead trimming on Ebay and there should be ample on this for plenty of embellishment on the gown and the headdress.
I have a lot of trimmings and lace in my stash which will be suitable as well.
I am now ready to make a start on the project.