
I spent a considerable amount of time and effort drafting a pattern for the sleeves. I cut one out in old sheeting as a mock-up and tacked it onto the bodice and tried it on. This way I could see what alterations needed to be made.
Initially I cut the pattern in the traditional way, as a single piece with an underarm seam. Then I redrafted it so that there would also be a seam along the upper edge of the sleeve. This way, I was able to measure and pin to mark regular gaps in the seam, forming slits through which the sleeve of the chemise could be pulled through. The Tudors were very keen on this form of embellishment on their garments, for both men and women.
A bit of historical background
During Elizabethan times, this practice, along with other sartorial excesses, were much castigated by the Church (by then, the Protestant Church of England). Queen Elizabeth had brought in a ruling that every parish church should have a copy of the Bible in English, as well as a book of sermons, in order the keep the ordinary people on the straight and narrow, and hopefully not to revert to Roman Catholicism.
Where we used to live, our old village church still had these books, and also a copy of Foxe’s Book of Martyrs (which was also obligatory), which makes pretty gruesome reading even for those with a strong stomach. Before the parish record books were required to be sent to the Diocesan Office, my hubby brought them home and I photographed quite a few of the pages (some of which I incorporated into my blog background) and also pages from the old sermon book, printed in the contemporary Gothic script. There was a simply marvellous sermon on the excess of dress in the period, which I quoted in my old blog when I had the opportunity to see these books, and because I am thinking about Tudor dress a great deal at the moment, I thought I would quote it again here. I have retained the “long s” where it appears in the printing, because, looking like an “f” it does make for very amusing reading!!
Here is what I wrote in my old blog:
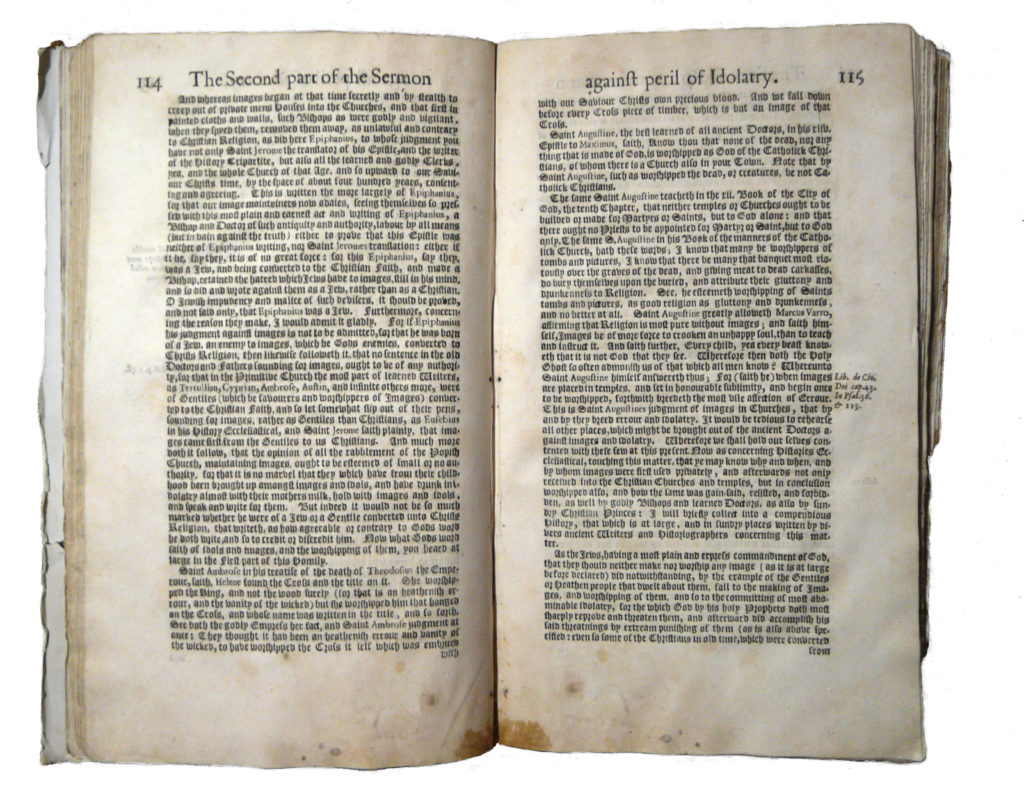
It is a printed book, entitled “Certain Sermons or Homilies Appointed to be Read in Churches, in the Time of Queen Elizabeth of famous memory: and Now thought fit to be Reprinted by the Authority from the King’s moft Excellent Majefty” (note long “s”s) published in 1676, during the reign of Charles II. The print is in the old Gothic style and the pages are wonderfully dog-eared and distressed – it’s a real treasure! As far as the subject matter is concerned, listen to this:
A Table of the Sermons Contained in this prefent Volume.
I. A Fruitful Exhortation to the reading of Holy Scripture.
II. Of the mifery of all Mankind.
…
VII. Againft Swearing and Perjury.
…
X. An Exhortation to Obedience.
XI. Againft Whoredom and Adultery.
…and so on!
There is one entitled “An Homily Against Disobedience and Wilful Rebellion” in six parts, followed by “A Thanksgiving for The Supprefsion of the Laft Rebellion.”
My hubby had already told me about one of the sermons, which is entitled “An Homily Against Excefs of Apparel” which had amused him greatly, so I made a point of looking at this one. I love the ancient spellings, too; in its introduction, there is a passage quoting David in one of the psalms, referring to “wine to make glad the heart, and oyls and oyntments to make the face to fhine” which I love! (Doesn’t “oyl” sound so much more “oyly” than “oil,” and “oyntments” so much more potent than “ointments”?)
Later it says, “Which, if it were obferved, many one doubtlefs fhould be compelled to wear a ruffet-coat, which now ruffleth in filks and velvets, fpending more by the year in fumptuous apparel, than their Fathers received for their whole Revenue of their Lands…” “he that ruffleth in his Sables, in his fine furred gown, corked flippers (!) trim busking, and warm mittons, is more ready to chill for cold, than the poor labouring man, which can abide in the Field all the day long, when the North-wind blows, with a few beggarly clouts about him.” “We must have one Gown for the day, another for the night, one long, another fhort, one for Winter, another for Summer, one through-furred, another but faced, one for the working-day, another for the holy-day, one of this colour, another of that colour, one of Cloath, another of Silk or Damask. We must have change of apparel, one afore dinner, and another after, one of the Spanifh fafhion, another Turky: and to be brief, never content with fufficient.” Isn’t this simply marvellous? “Thus with our phantaftical devices, we make our felves laughing-stocks to other Nations, while one fpendeth his Patrimony upon pounces and cuts, another beftoweth more on a dancing fhirt, than might fuffice to buy him honeft and comely apparel for his whole body.” (As my hubby says, this is just the MEN!!!)
This “tome” is an absolute gem! You never hear sermons like that these days.
You have been warned. No more ruffling in filks and velvets, and get those corked flippers off, and put on some honest beggarly clouts!
The slashing of the outer layer of clothing to reveal the under layer is referred to here as “cuts.”
Never fear – I shall not be wearing my “excefs of apparel” for longer than the duration of the Tudor banquet. After that, it will be back to the beggarly clouts again.
Making the sleeves
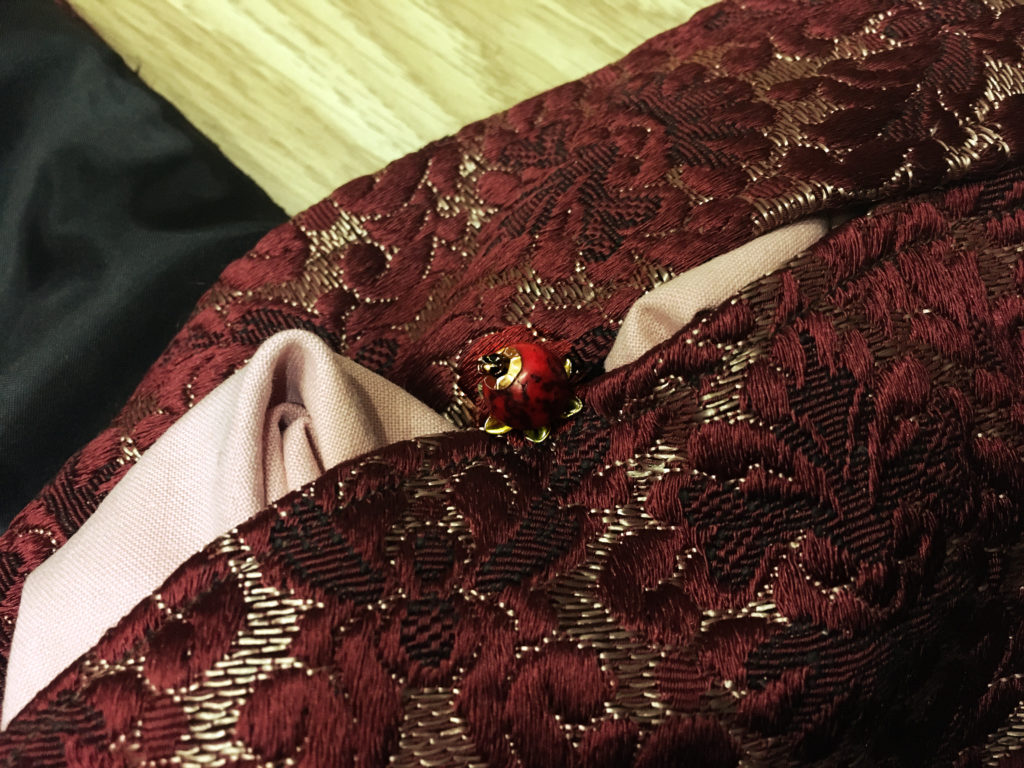
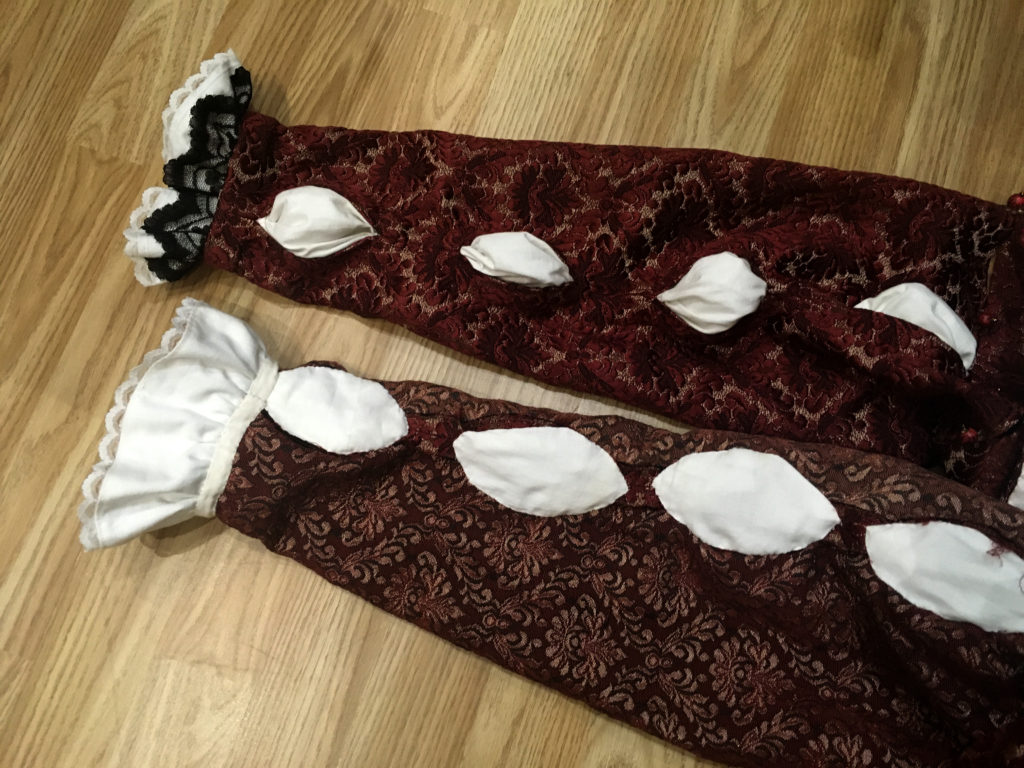
To return to my sleeves, this is a picture of one of the completed sleeves. When cutting the pieces, with a seam down the outside, I had to be very careful to match the pattern to the best of my ability.
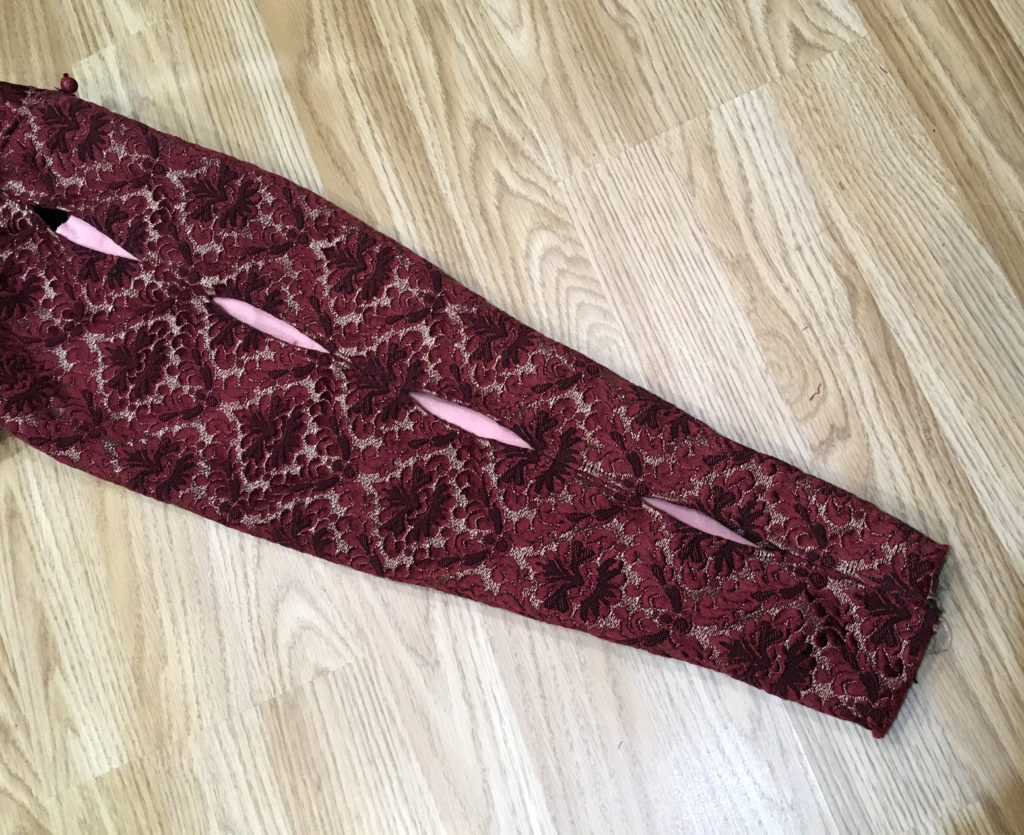
To make the “cuts” in the sleeves more obvious, after sewing the interrupted seam down the upper side of the sleeve, I neatened the raw edges and then top-stitched either side of the seam. When I came to the “cut,” I pulled the seam allowance outwards to emphasise the gap between the two sleeve pieces, to make a narrow, lozenge-shaped hole. This is quite effective, I think.
I sewed some black buckram ribbon onto the tops and onto the straps of the bodice, to tie the sleeves in place. However, this didn’t work too well, as the ribbon tended to slip a bit, and the bows were far too prominent. I unpicked them all, and decided to sew the sleeves in place instead; trying on the bodice with the ties in place proved to me that I could still get it on with ease and there seemed to be no point in having the sleeves detachable. I just stitched them in place where the ribbon ties had been, and then embellished the join with beads.
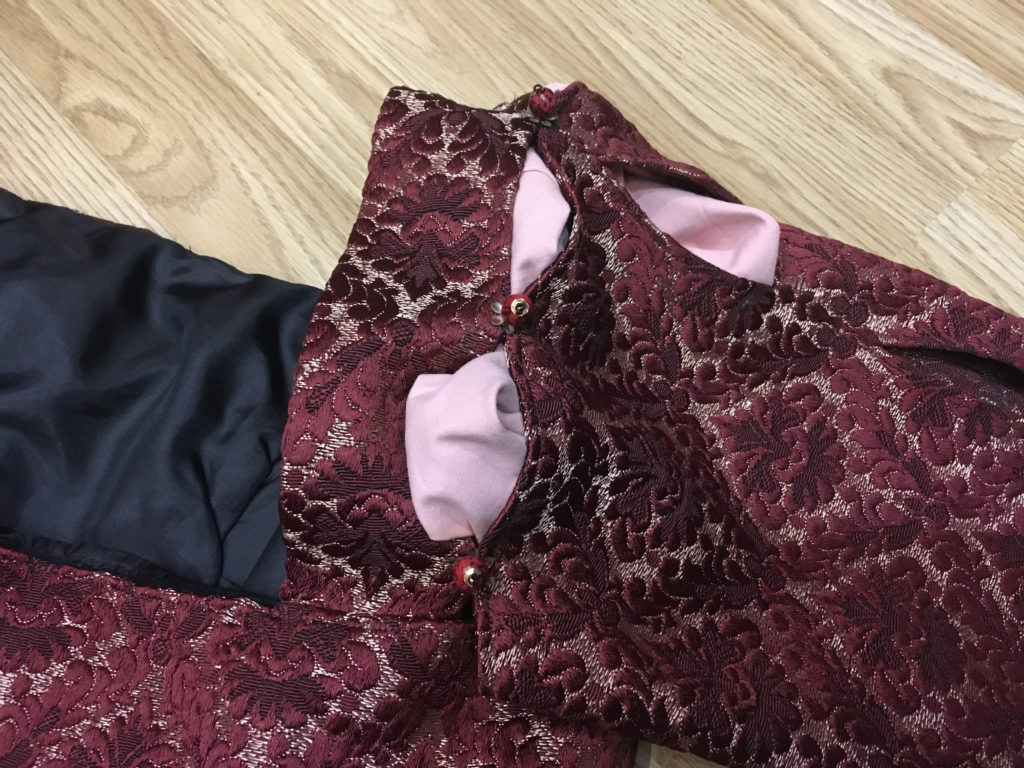
In both these photos, I put a piece of light-coloured fabric underneath to show the gaps a bit better.
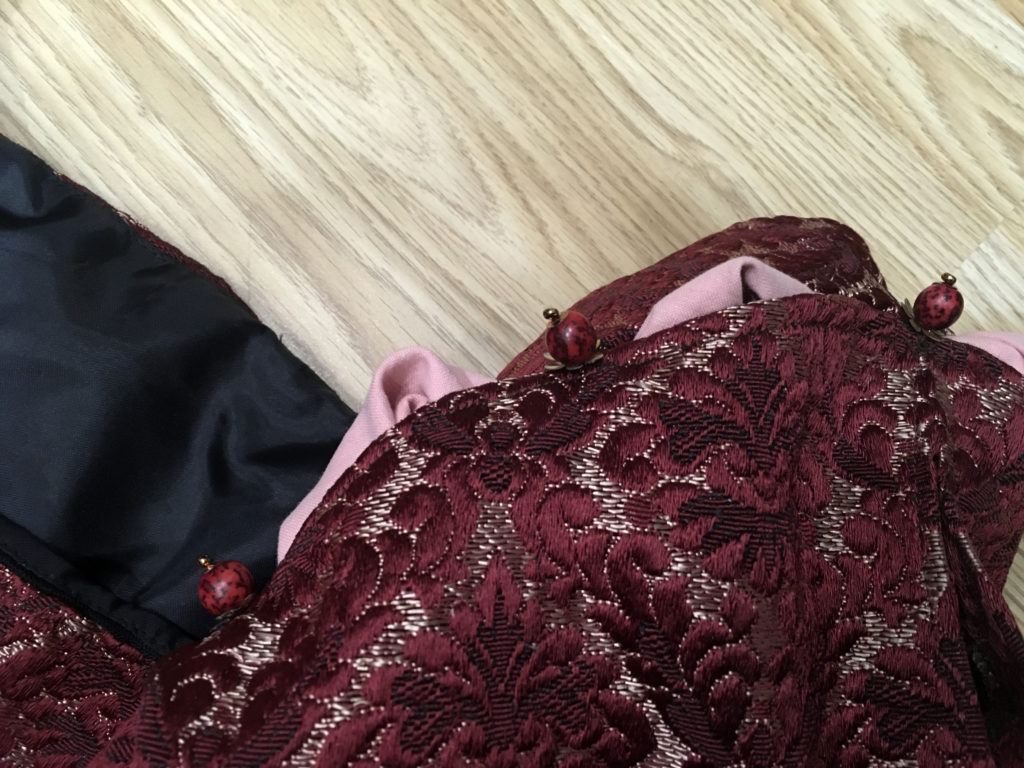
The embellishment in each case consists of a flower-shaped gold cup sequin at the base, followed by the mottled red bead, then another gold cup sequin to cover the rather large hole in the bead, followed by a small bronze bead to hold everything in place. Of course, the gold doesn’t show up very well on the photos and looks very dull. In the next photo, showing a detail of the bead embellishment, I have enhanced the photo a little to show this off better.
As expected, the sleeves do tend to drag the shoulder straps of the bodice down over my shoulders, and I thought the simplest remedy would be to pin them in place to the clothing underneath. However, when I tried to do this, not only did it involve me in impossible contortions, but when I managed to get one pin in place, it really didn’t do the job. Feeling stymied by this, I looked around the bedroom in desperation for some inspiration to fix the problem, and my eye rested upon a collection of little wrapped cord necklaces I bought last summer – I got several different colours and can wear them either alone, or with a pendant, to co-ordinate with whatever I am wearing.
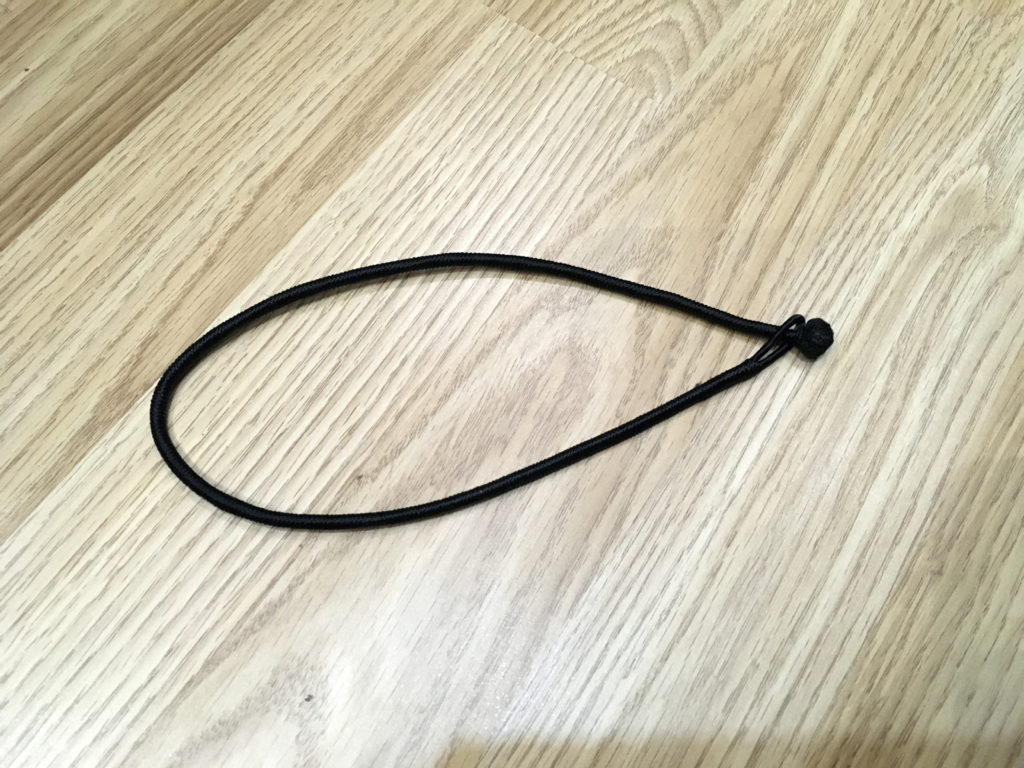
It occurred to me that I could loop one of these around the bodice straps at the back, and do it up. OK, rather a Heath-Robinson solution and not the most elegant, but worth a try!
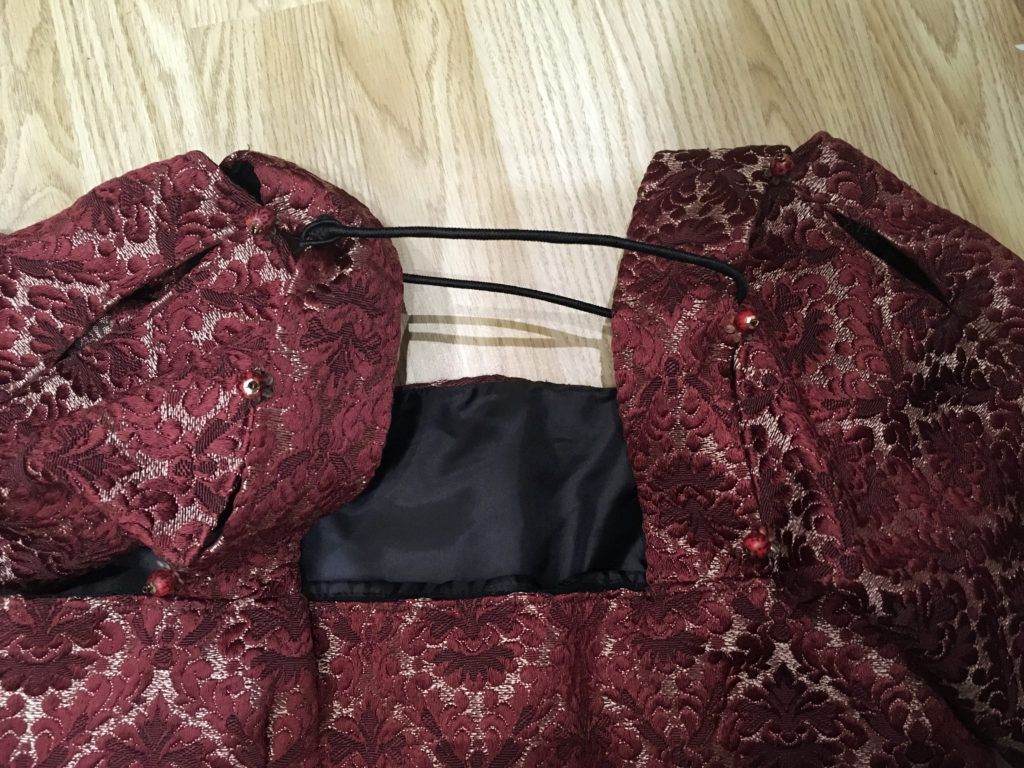
It actually works an absolute treat! I am not worried about the appearance, because it will be hidden by the veil of the French hood. If I had had more time, and if this had been a professional commission, I would have approached the whole project differently anyway, and drafted a bodice pattern from scratch, with the correct structure at the back, which would most likely have avoided this problem in the first place.
Puffs and cuffs
Officially, the fabric pulled through the slits in the outer layer are called “pulls,” but I prefer “puffs” because that is what they look like!
I had some problems with this. I was hoping that the Romanian blouse (substitute for the chemise) would be pulled through, but there wasn’t enough fabric and anyway, the puffs wouldn’t stay in place. Time for Plan B, and making some false puffs!
Here are the materials for the puffs and cuffs.
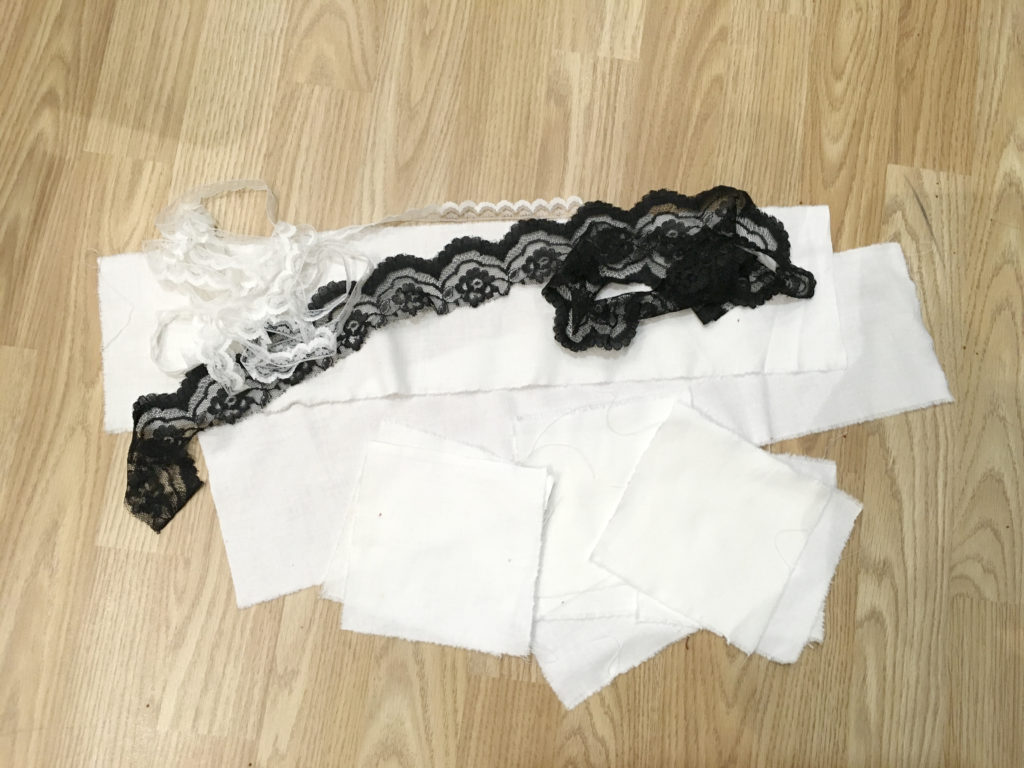
I made the cuffs from some strips of white cotton sheeting material. Originally there might have been some blackwork embroidery on the chemise, and this would show at the sleeve cuffs. To give this impression, I chose to add some black lace. I also trimmed the cuff with some narrow white lace along the edge.
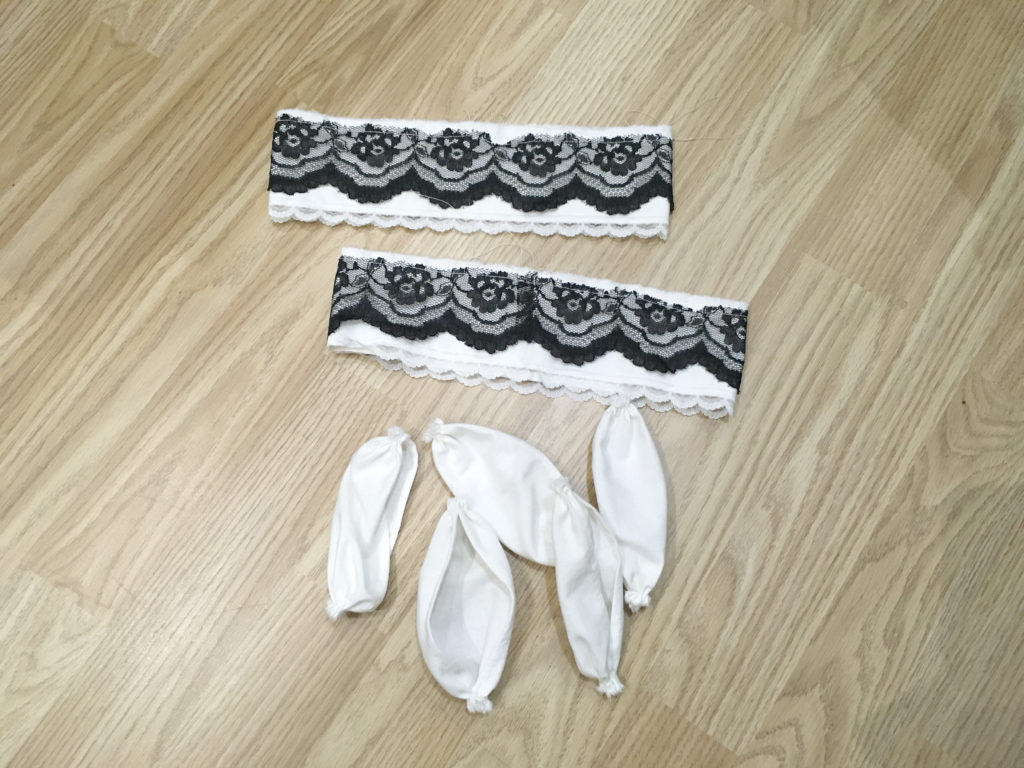
I hand-hemmed the sleeves at the wrists. I ran a machine gathering thread along the raw edges of the folded sheeting, and hand-sewed the cuffs onto the sleeves. I sewed some white seam binding tape over the join to neaten it, as you can see in the next photo.
Moving on to the puffs, I cut eight squares of white sheeting and gathered opposite ends, and hand-stitched them to keep the gathers in place. They came out nice and puffy.
I stitched each puff onto the inside of the sleeve so that it would puff out through the slit. However, I had the same problem I’d had with the chemise – the puffs wouldn’t stay puffed out, but kept going back inside!
To remedy this problem, I cut some squares of wadding from my stash, and stuffed the puffs with these, and then hjand-sewed a patch made from white sheeting over each puff on the inside. This was a huge amount of work and I spent most of Monday doing this! However, it was worth it in the end, because the puffs are lovely and puffy now, and they stay put. The above photo shows one sleeve the right way out (top), and the other inside out (bottom) to show the patches over the puffs, and also the inside of the cuff with its tape, and the white edge of lace showing.
Oversleeves
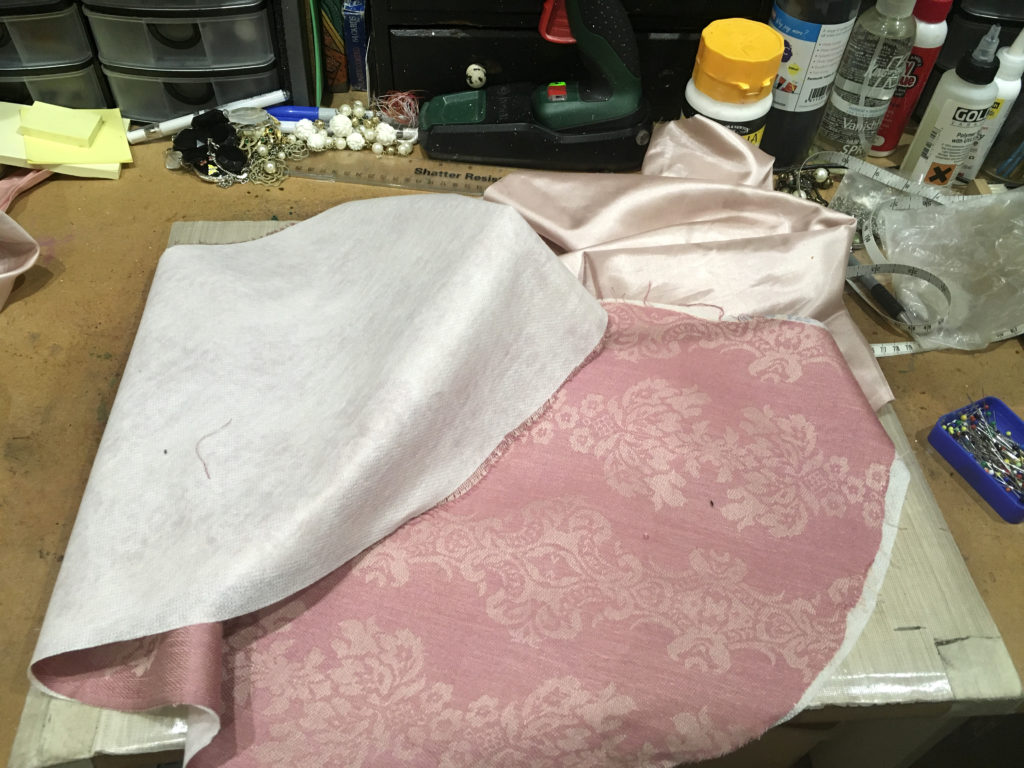
Originally my plan was to make the main sleeves out of the old velvet cushion cover, but the two pieces are not large enough, which is why I made the sleeves from the brocade curtain fabric. In the end, I made the oversleeves from the pink scarf that I bought in the charity shop where I got the quilt, and then trimmed them with the cushion cover velvet. I do not have enough fur fabric in my stash to use for this, and didn’t want to have to buy any more fabric if I could help it. I have made the oversleeves smaller than they would have been, partly to save on bulk and fabric, and also to make the gown easier to wear. I lined the oversleeves with more of the pink satin fabric from the quilt, with which I also lined the skirt.
In the above photo, you can see the pink scarf material, backed with some iron-on interfacing. This was necessary, because this fabric is extremely soft and floppy, and really quite difficult to handle, and the interfacing stabilised it nicely. As with the main sleeves, I had to do some trial and error before I got the shape right.
I have made the tops of the oversleeves to come just above the elbow, and trimmed them with a braided band. I made the bands from the main material, and with a short length of elastic at the underarm seam position, with a slit in the top of the oversleeve to correspond with this, to allow it to stretch. I will then be able to pull on the oversleeves and the elastic will keep the band and oversleeve in place above the elbow. This means I can wear the gown with or without the oversleeves. Also, if they prove too cumbersome during the meal, I can simply whip them off and put them on my lap until after we have eaten. Being able to put them on and off quickly will also enable me to propel myself in my wheelchair – something Tudor ladies didn’t have to contend with! With the long oversleeves this would have been quite impossible and my hubby would have had to push me.
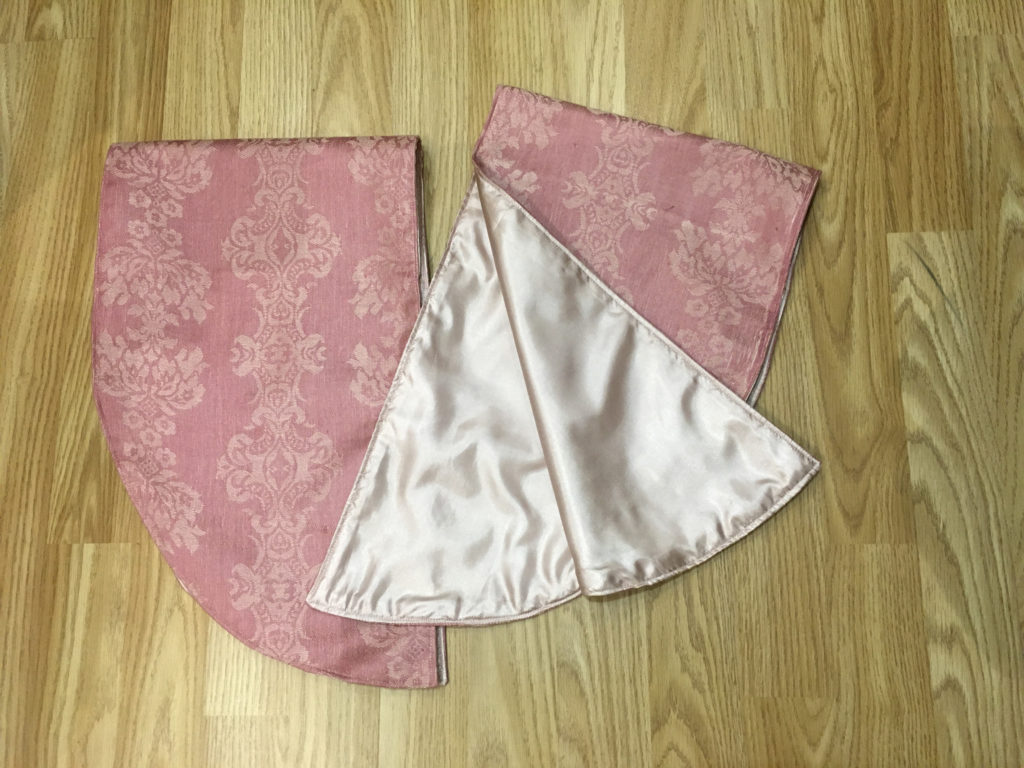
Here are the oversleeve pieces, lined with the pink satin.
Here they are with the elbow bands and the velvet trim added.
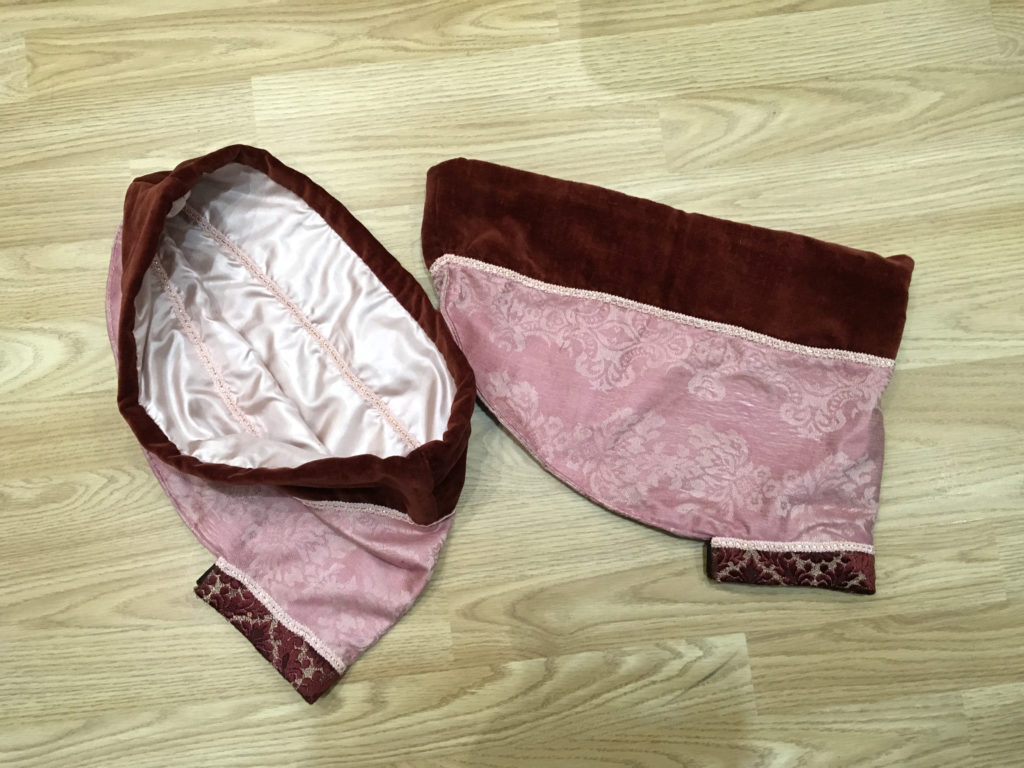
You can see that there is some braid running around the inside of the oversleeve. I did not originally intend to do this, but when I stitched the red velvet fabric on, I forgot to change the colour in the bobbin of the sewing machine, and it ended up with an ugly dark line of stitching, so I covered it with the braid. It actually looks great, and gives a bit more interest o the gown because the ends of the oversleeves are very wide and the lining is visible.
Here is how the bodice with sleeves in place looks at this stage.
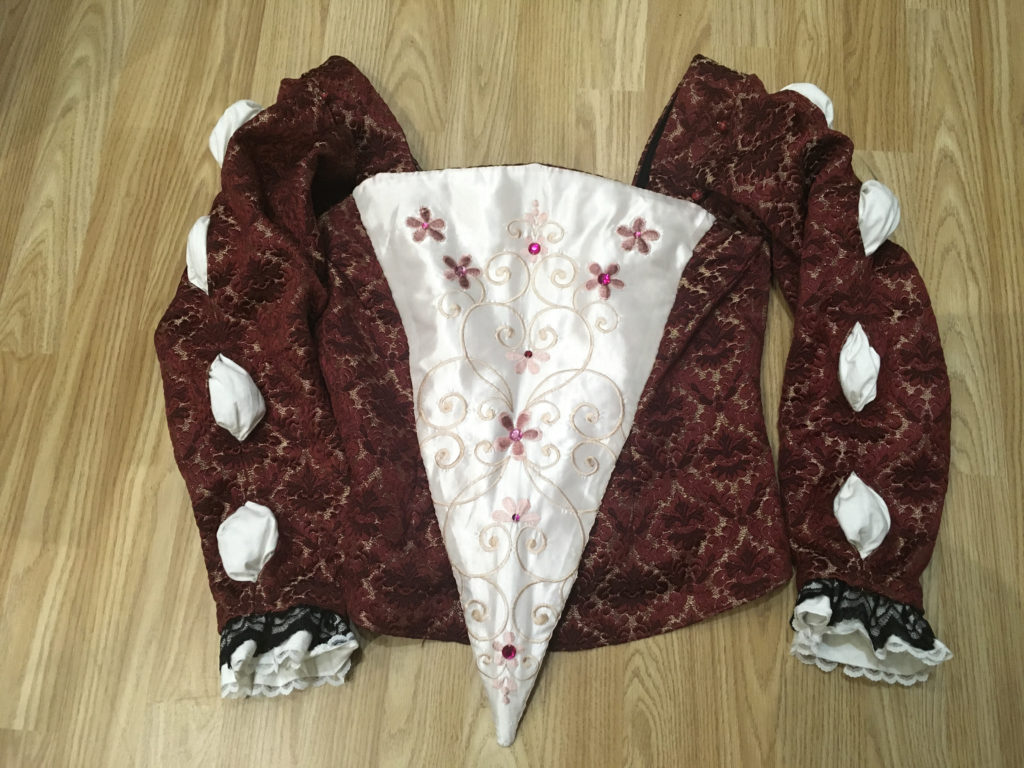
I am very pleased with how this project is going so far. The bodice and sleeves are a pretty snug fit on me, but these garments are not supposed to be loose!
The next step is to work on the French hood, and then complete the embellishing on the gown. I have several commitments during the rest of the week, so I shall definitely be pulling out all the stops in my free time, in order to get it finished by Saturday.
Hi there! I am making a tudor gown and want this exact style of sleeves! Yours are the only example I can seem to find and they are perfect. Is there any chance you would share the pattern with me?
Thanks so much for your time!
Cora