Well, I have been busy. I can’t remember the last time I did two posts in one day!
Pressed into service
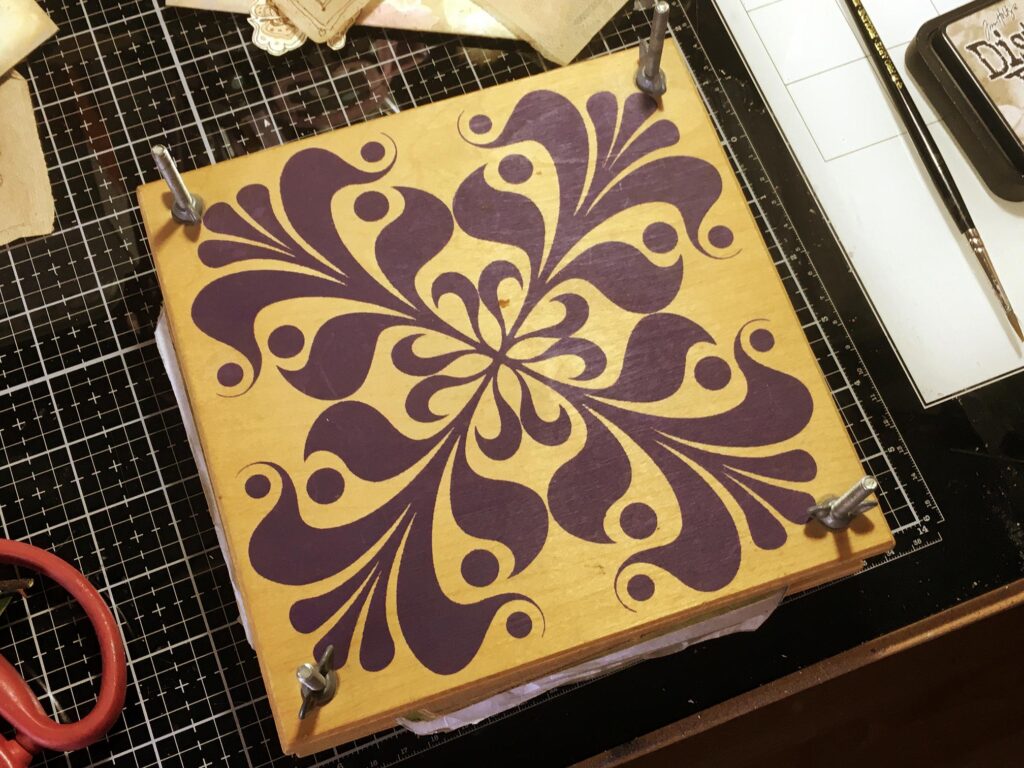
Thinking about my larger teabag mini-albums, I thought it would be fun to add some pressed flowers and leaves. Several years ago I bought a second-hand flower press on Ebay, not with any thought of pressing flowers at the time, but because I thought it might be useful for flattening things. It has hardly been used since.
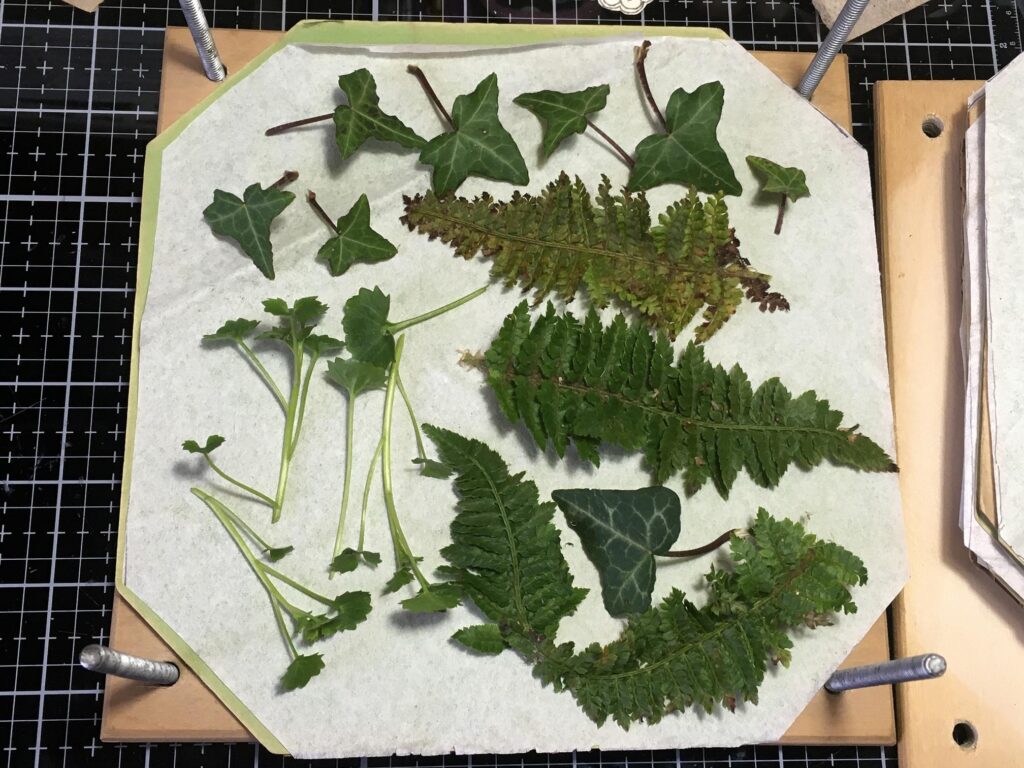
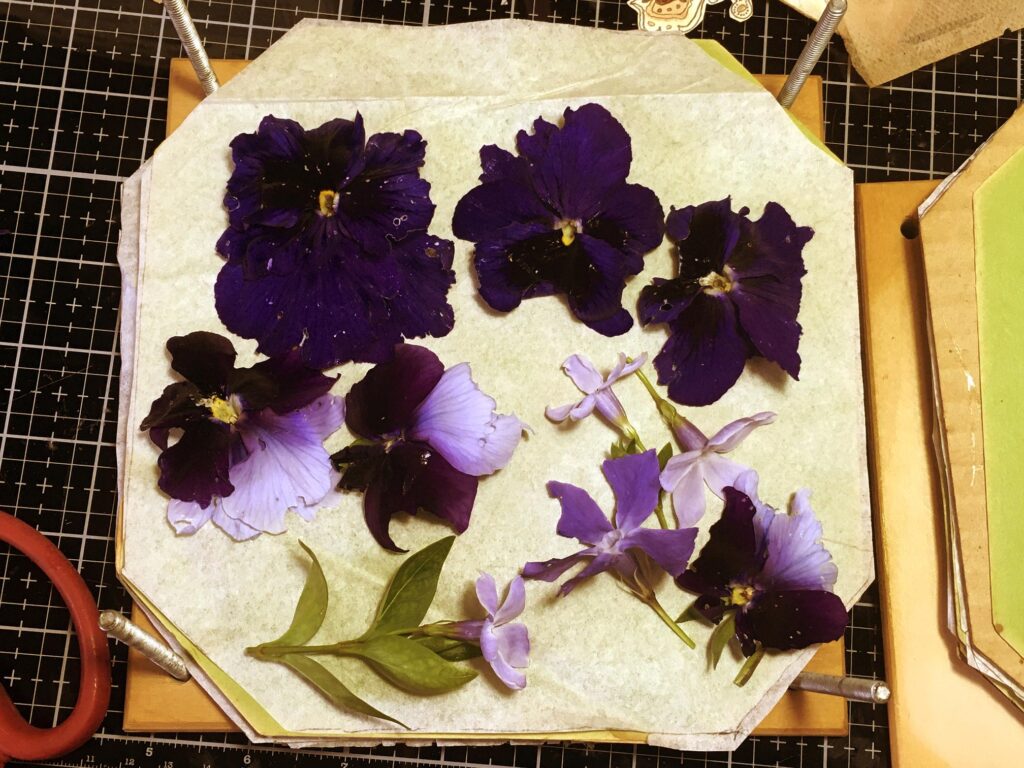
I pottered about in the garden today, picking a few bits and pieces to put in it, mostly leaves and a few flowers.
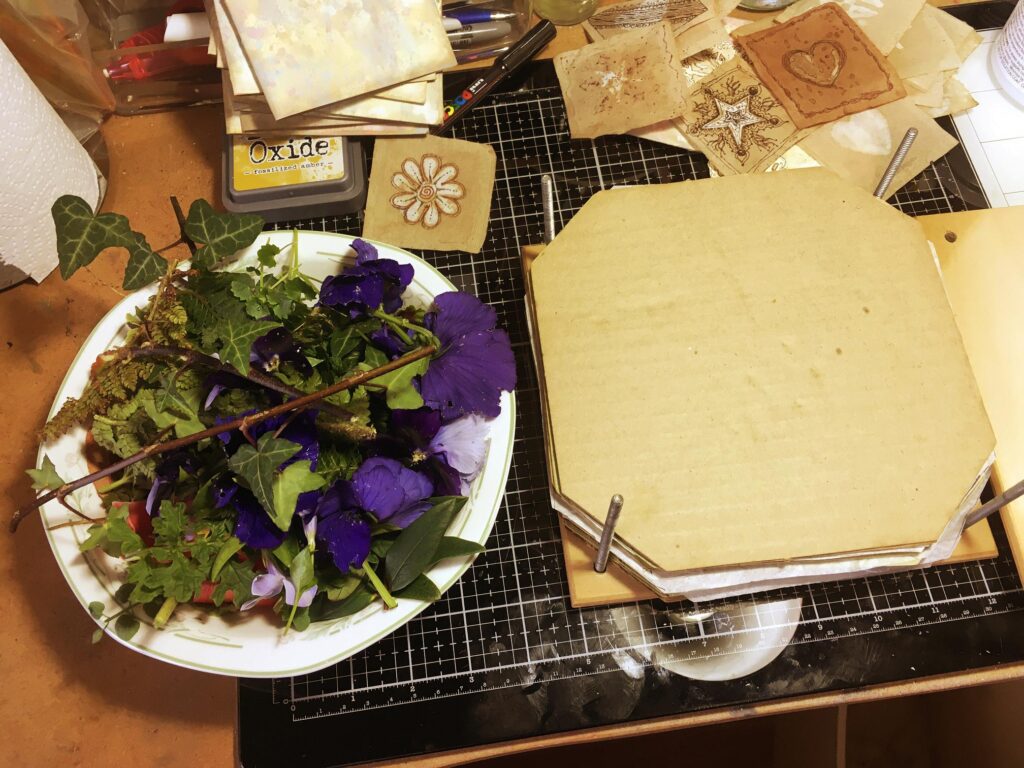
There’s not much out yet apart from daffodils and the first of the tulips. The remaining pansies are mostly being eaten by something but I managed to get a few decent ones, and some primroses.
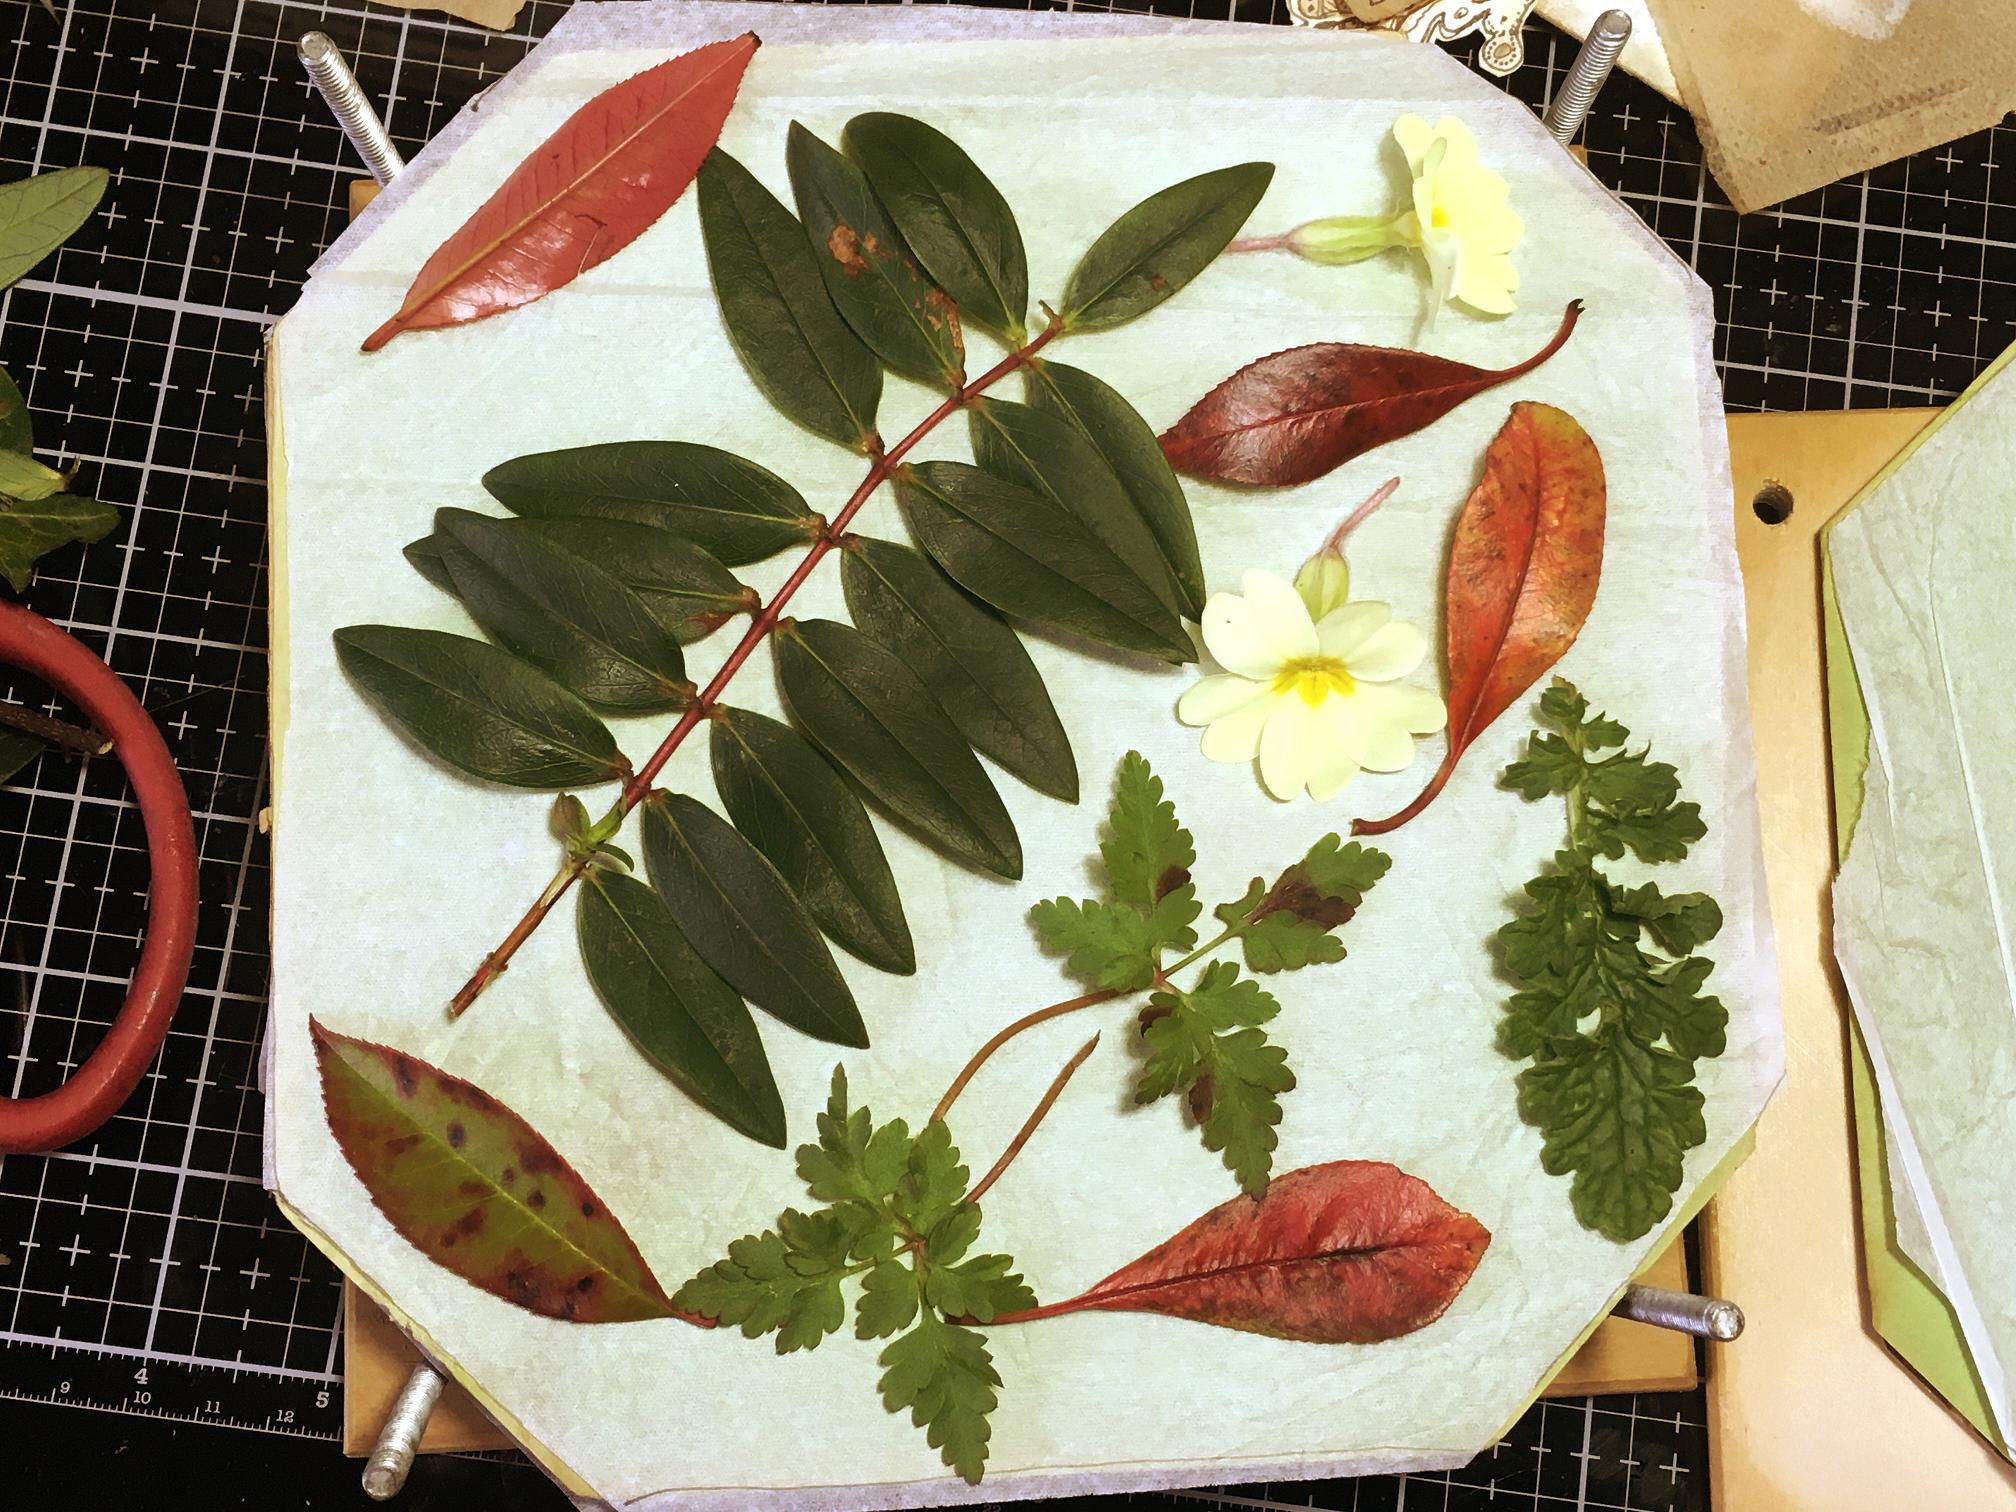
Layering them up between the sheets of the flower press.

Screwing the lid down on the flower press. It’s really very pretty!
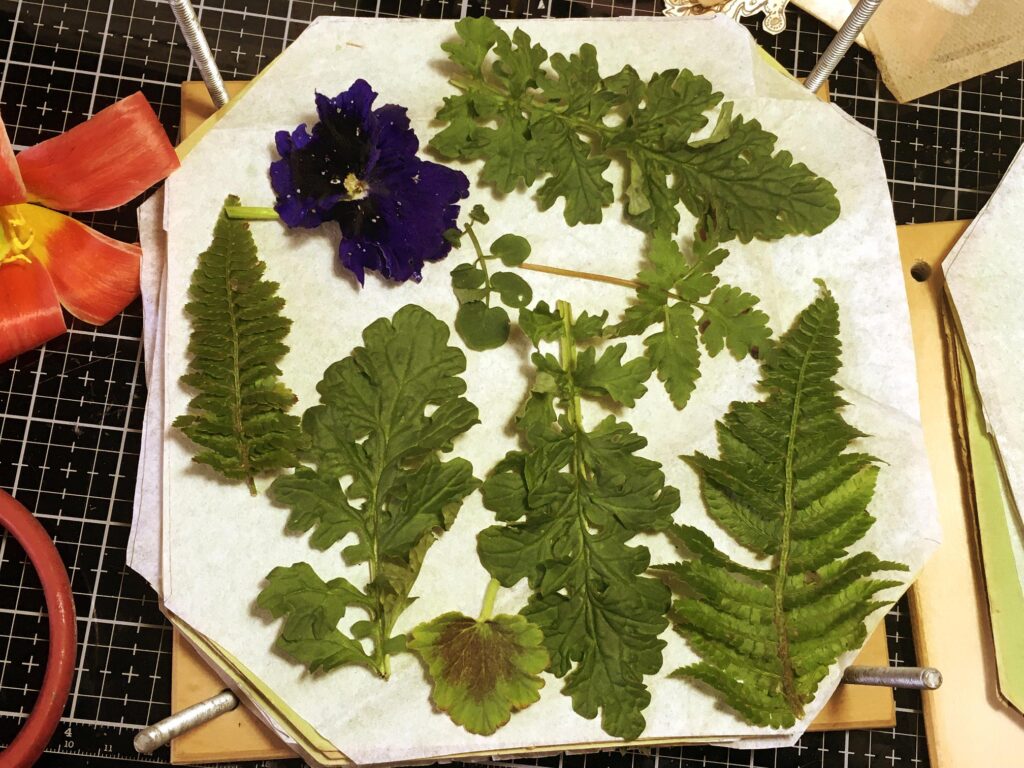
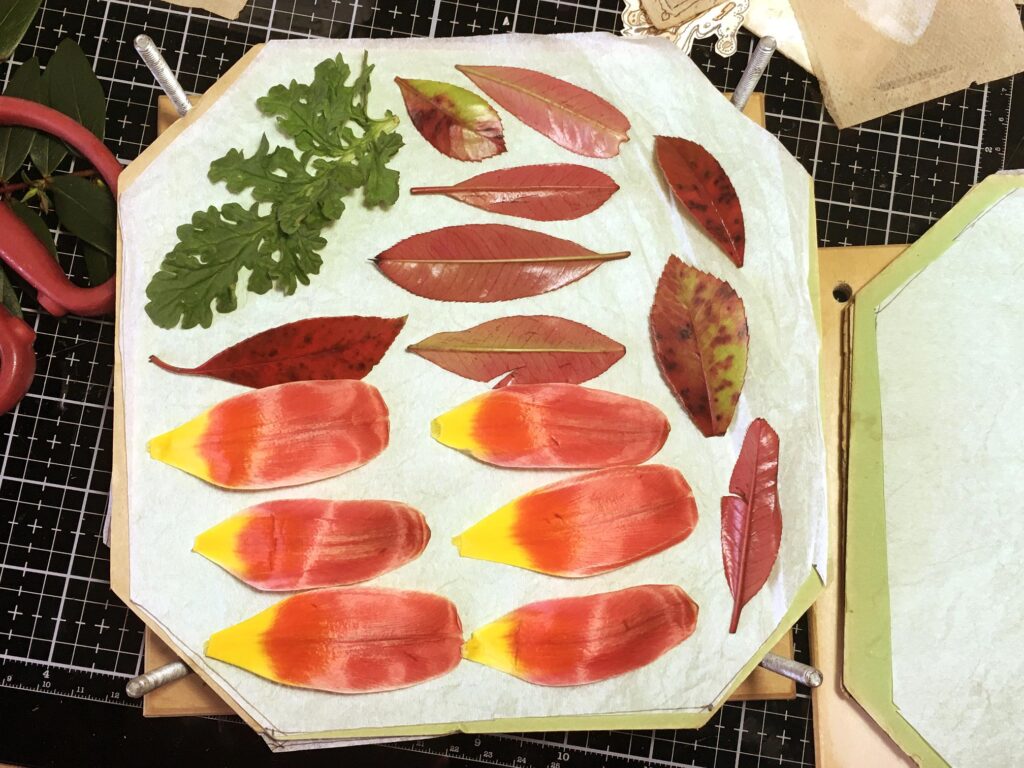
I had picked too many flowers and leaves to fit in the flower press, so I arranged the rest between the pages of a large scrapbook.
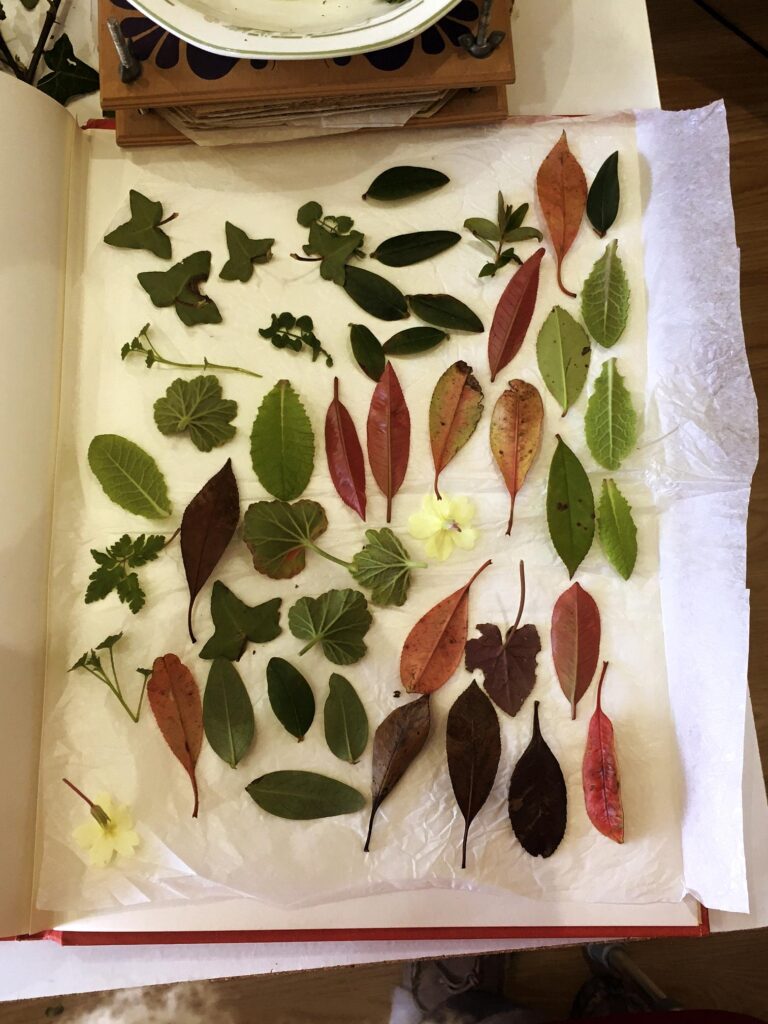
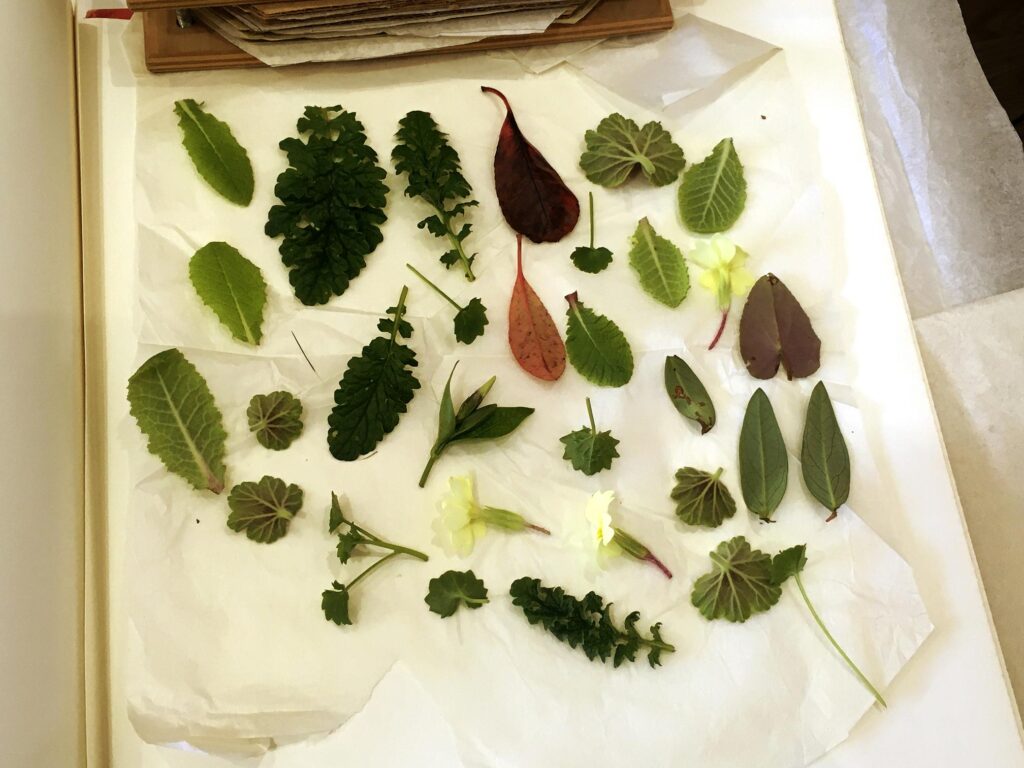
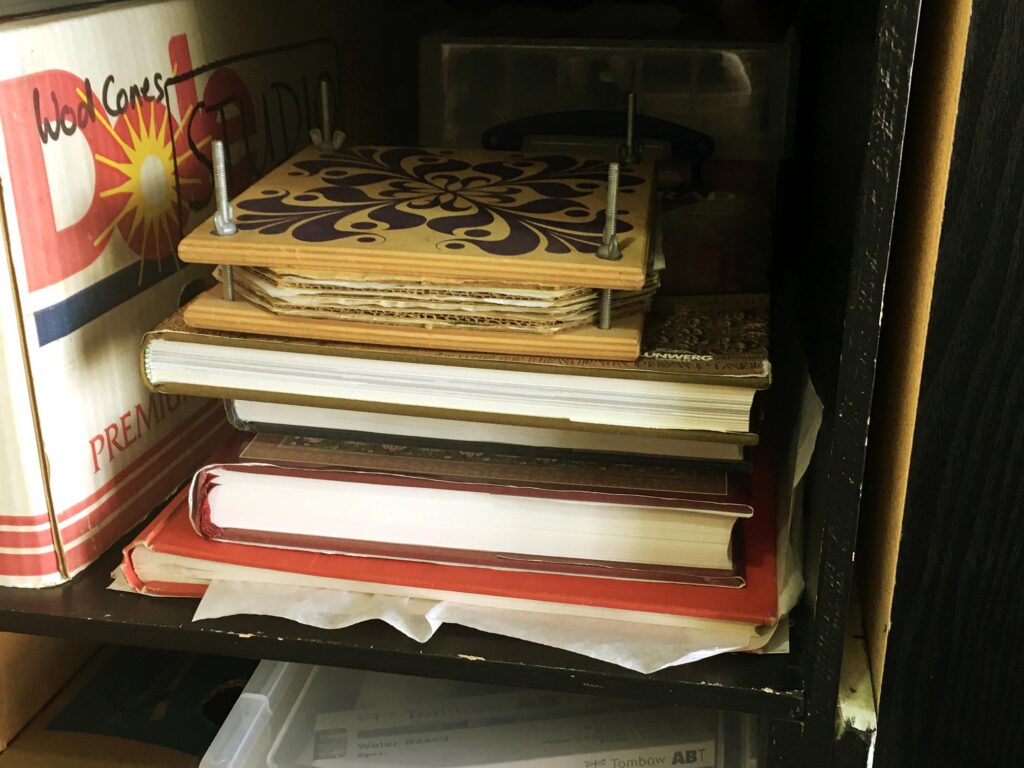
This then went under a pile of heavy books on one of my large storage shelves.
I’m not sure how long I am supposed to leave them but no doubt I’ll find an answer somewhere online!
Completing the pages of the first teabag mini-album
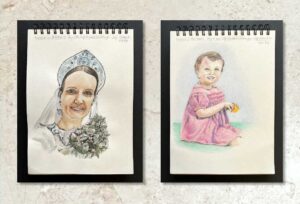
This afternoon I finished embellishing the final few pages of the first mini-album. Here are pages 10 and 11.
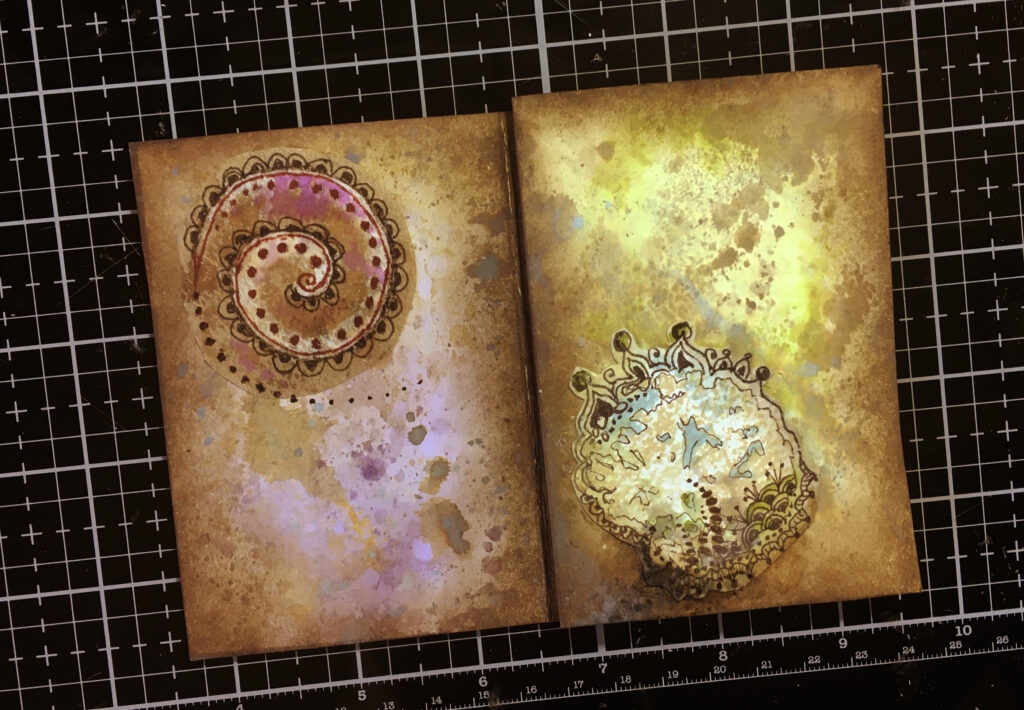
As before, I added a bit more colour to the doodles with Distress Inks and Distress Oxides, and on page 10, continued the curving line of little dots with a fineliner pen. This doodle was done on one of the latest batch of bleached teabags, and then cut out around the circular design, so that I wouldn’t obscure too much background. Page 11 features another of my teabag stain doodles, cut out and applied with regular matte gel medium. (I am attaching the teabags with soft matte gel medium because they are too delicate for the regular.)
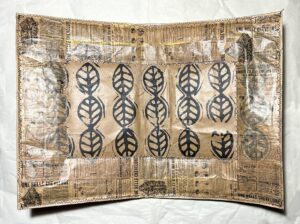
Pages 12 and 13, the centrefold of the second signature.
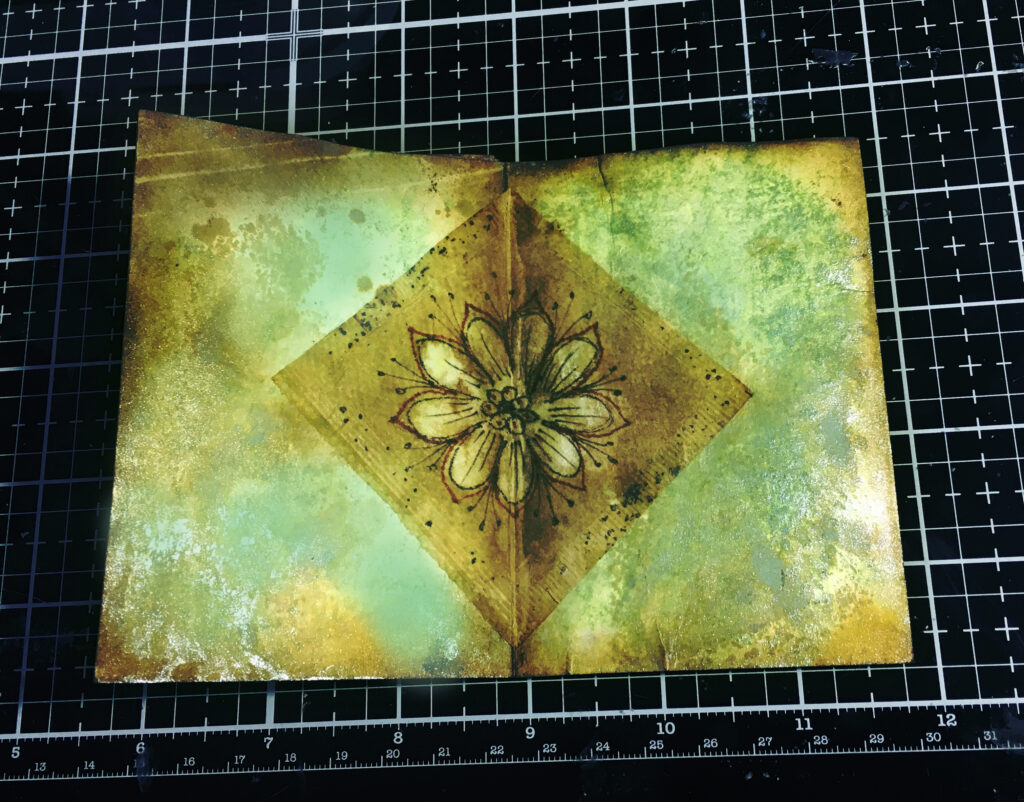
A couple of points to make about this. If I had thought ahead (which I am very bad at doing!) I would have delayed attaching the teabag untill after I’d stitched the signatures, so that it would have covered up the thread. Now, as it stands, the stitching will have to be on top of the teabag. My only thought is that perhaps I can make a feature of it, and turn the knot into some sort of flower centre! Apart from that, I am very pleased with how this looks, and hope the binding of the book won’t spoil it.
This background was one of the old ones in my stash, to which I added further inks. It has some shimmer spray on it so it catches the light a bit. Not possible to show this on the photo, of course. It’s very subtle and not immediately noticeable – you can see a bit of it at the bottom left. It gives the paper a rather nice tactile texture which is different from the Distress Oxides.
Pages 14 and 15.
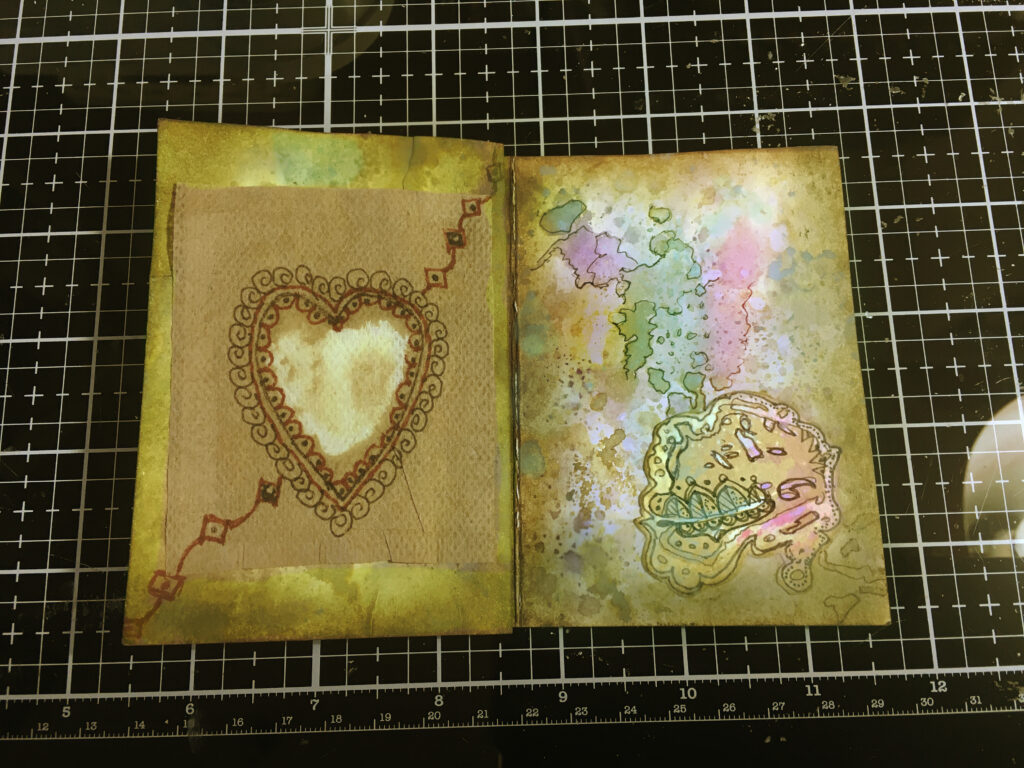
The teabag on page 14 is one of the recent batch of bleached teabags. After I’d stuck it down, I extended the lines to the corners of the page. Nothing else was done to this. The teabag is stuck down along the right-hand edge only, so that it can be lifted up to reveal the background.
On page 15, I applied another of my teabag stain doodles and added some more colour, painting on Distress Oxides which I’d activated with water on my palette. In the same way, I also enhanced some of the colour on the background, and added some outlines with my finest sepia archival pen.
The final page, page 16.
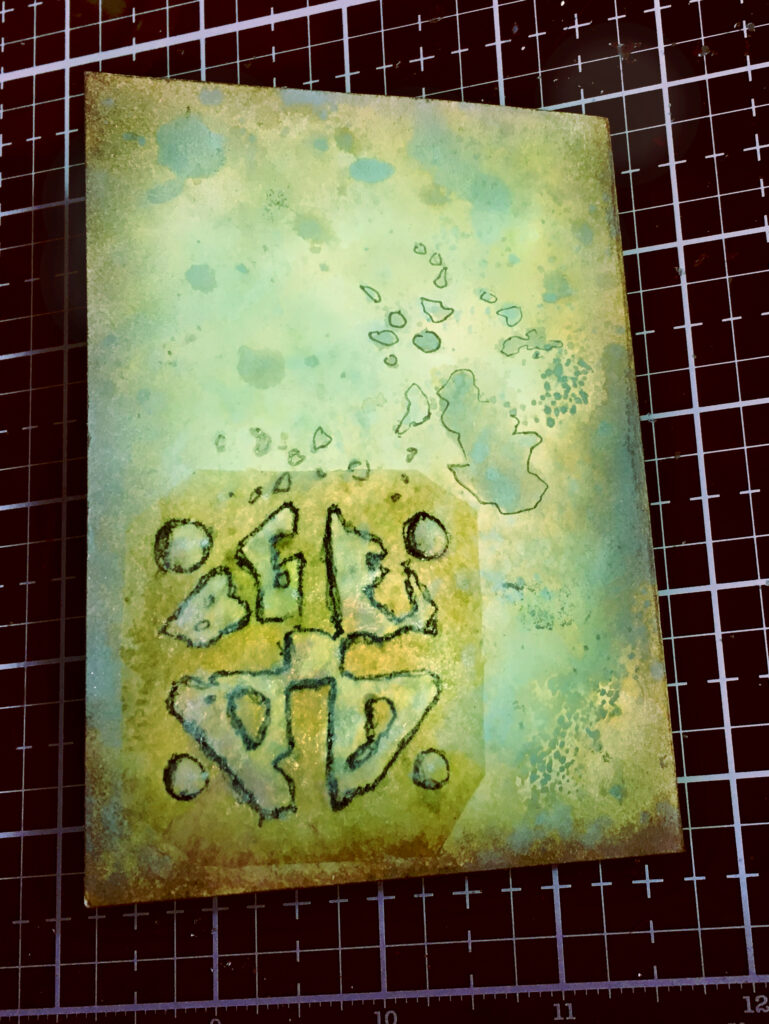
I had to take this phot at a rather strange angle because it wouldn’t lie flat. This teabag is one of the original bleached ones, and again I’ve outlined the design, flaws and all, with a sepia pen. Because I didn’t want to obscure too much of the bakground, I cut this teabag down. Having removed the seams, the back came off, so I had to handle it with great care once I’d painted the soft matte gel medium on the back.
Throughout this project, I have had great difficulty with the photographs. None of the colours came out right, and I had to spend some considerable time editing them, adjusting the colour balance, brightness, contrast, saturation, etc etc. Different areas were selected and worked on in isolation. I have now got them as close to the originals as possible, and they look OK on my computer. I hope they are showing accurately on other people’s screens as well! The colours are very subtle and the combination of the camera and LED lighting tend to bleed out much of the reds and yellows. Normally I just shift the balance back in that direction and the photos look OK, but with so many subtle variations of muted colours in this project, as soon as I adjusted one parameter, something else would be out of kilter. Today I have used features on my photo editor which I’d never used before, so it was all good experience!
The nextstep is to stitch the signatures and then make a cover. With the aged appearance of the pages, I am now thinking I might make a vintage-style cover and distress it a bit.
Other bits and pieces
Following my experiments with the Stabilo Woodies the other day, I have now ordered some Ranger Frosted Crystal embossing powder. This does not give the normal smooth plastic finish of regular embossing powders, but has some tooth. Having established that clear embossing powder does seal the waxy Stabilo crayons, I think the Frosted Crystal embossing powder should work a lot better than trying to rough up regular clear embossing powder with sandpaper. To accompany this, I have also ordered a Ranger embossing dabber which will make it easier to apply the embossing ink to the surface. I am hoping that I shall not only be able to seal the waxy surface of the crayons, but also create a substrate onto which I can draw and write with marker pens, to add fine detail. As the embossed surface will be stable, there should be less risk of ruining the pens, as has so often occurred in the past when I’ve tried to write over acrylic.
I have also ordered a small pot of black gouache paint so that I can use the highlighting technique I have just learnt, with the Tombow blender pen. It works brilliantly with white gouache and also with Dr. Ph. Martin’s Opaque White, which is a water-based pigment seemingly very like gouache.
All these things should greatly help me as I mix and match my various materials and experiment with what goes with what! It can be a frustrating journey at times, but an interesting one, and there is great satisfaction to be had when you discover something that really works, especially if nobody else has thought of doing it!