The Results of my fruit “tea” experiments
All the papers and teabags from the fruit “tea” experiment are now dry. They didn’t take as long as I thought they would. The ones at the bottom of the pile in the sink were stuck on and some of them ripped when I got them out, but it’s no big deal as I’ve got plenty to play with, and I was going to cut up the doilies anyway.
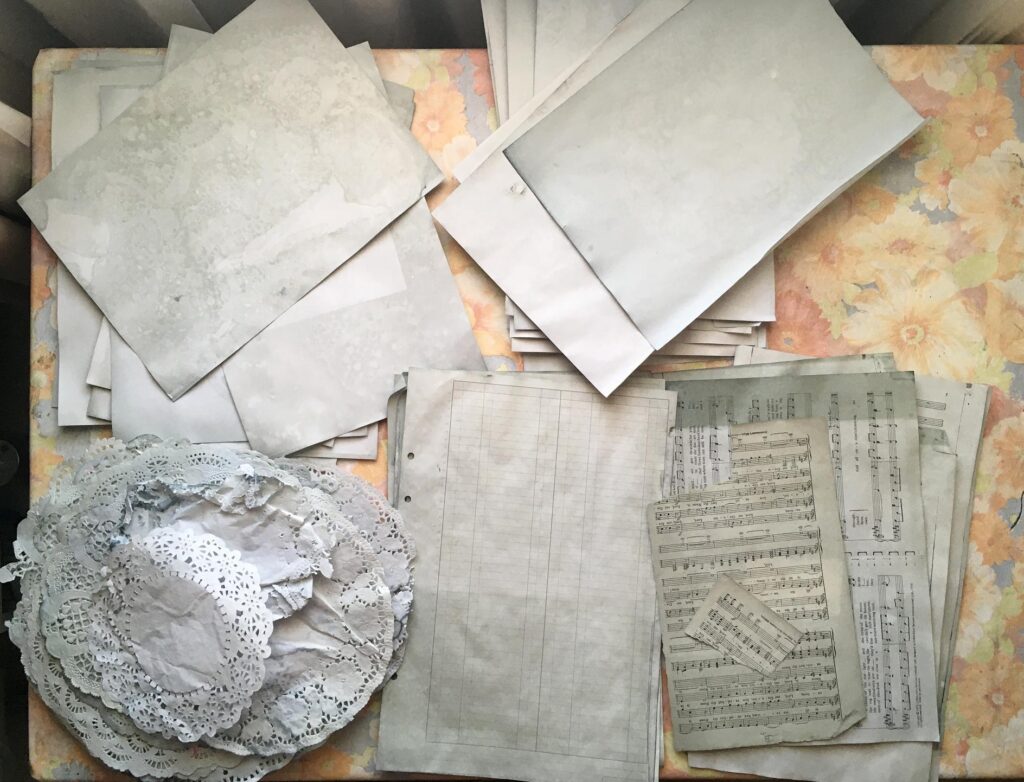
Most of the papers are pretty dull, but a few have interesting patterns on them where they were in contact with others during the drying process. I think I can use them OK, though.
Next time I shall try doing it with real tea. The results other people are getting from this are much more interesting than my weird grey ones!
Teabag drying
The fruit bags dried out beautifully, and for some reason they retained their pink colour and didn’t turn grey. The stains they left were grey, though.
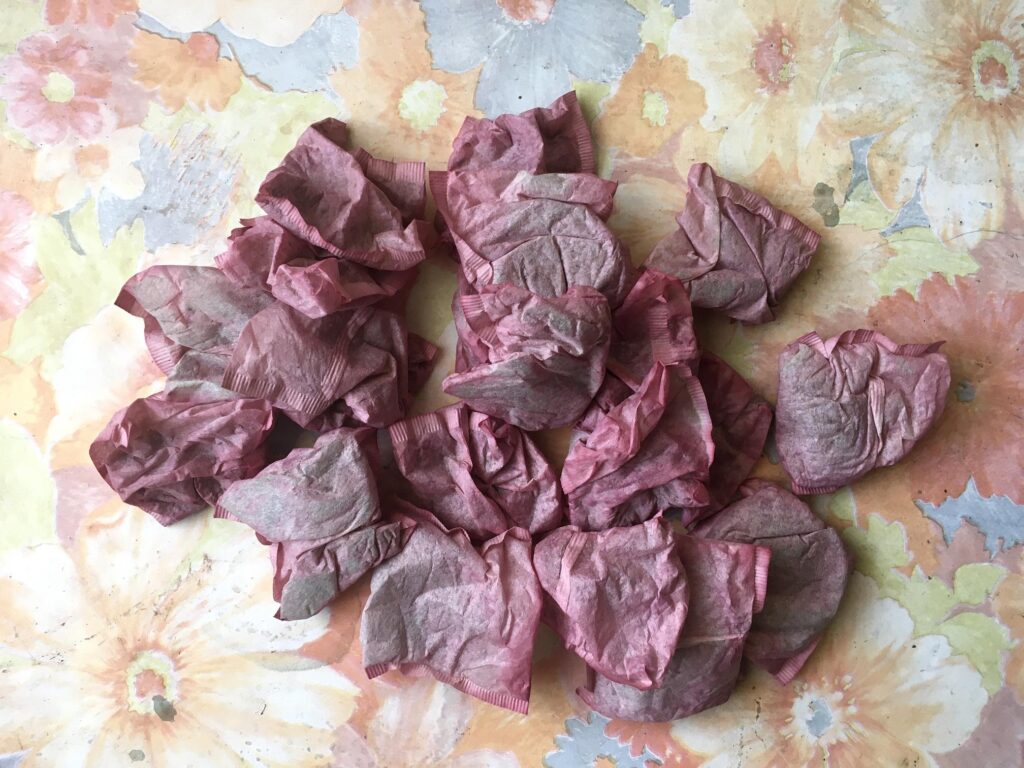
I spread them out flat so that they could dry completely.
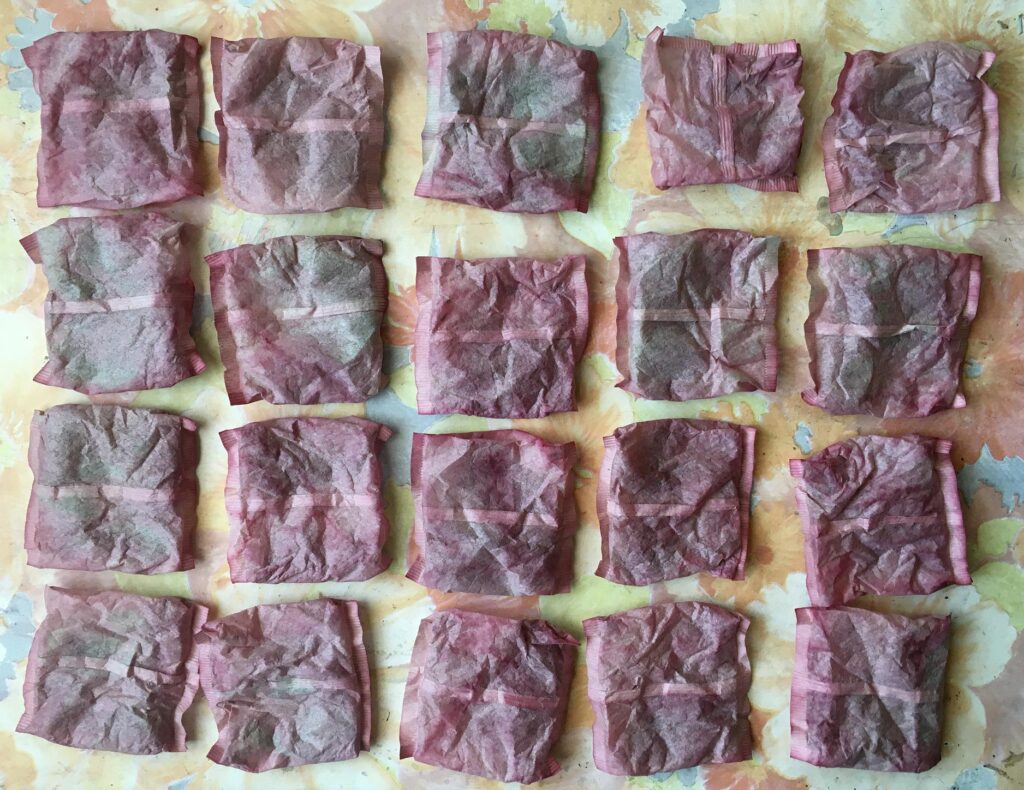
I had hoped that I would be able to split them apart down the centre seam but they were stuck firmly. I didn’t want to rip them, so I cut the ends off so that I could empty out the solids, and then carefully cut down the centre of the resulting tube, so that I ended up with flat sheets.
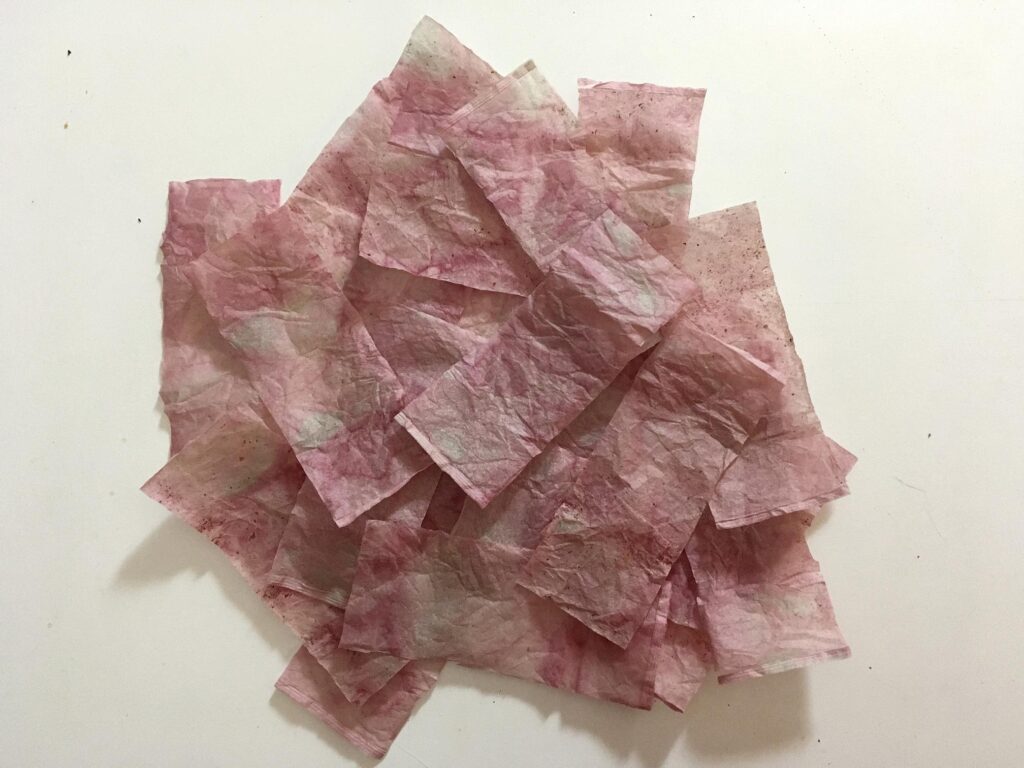
These teabag papers are absolutely gorgeous. They are a lovely shade of pink, with subtle patterns in them of darker pink. I am delighted with the result of this part of the experiment and shall definitey be using more fruit “tea” for art purposes even if I don’t end up using the liquid. Now all I have to do is to decide how I am going to use these little papers.
This is the bowl of solids, mixed with the trimmed off ends. I think I shall be able to use both – the solids are quite pink and should mix well with clear acrylic medium to produce a pink textured paste of some sort. The scraps of teabag paper can be used for embellishments.
![]()
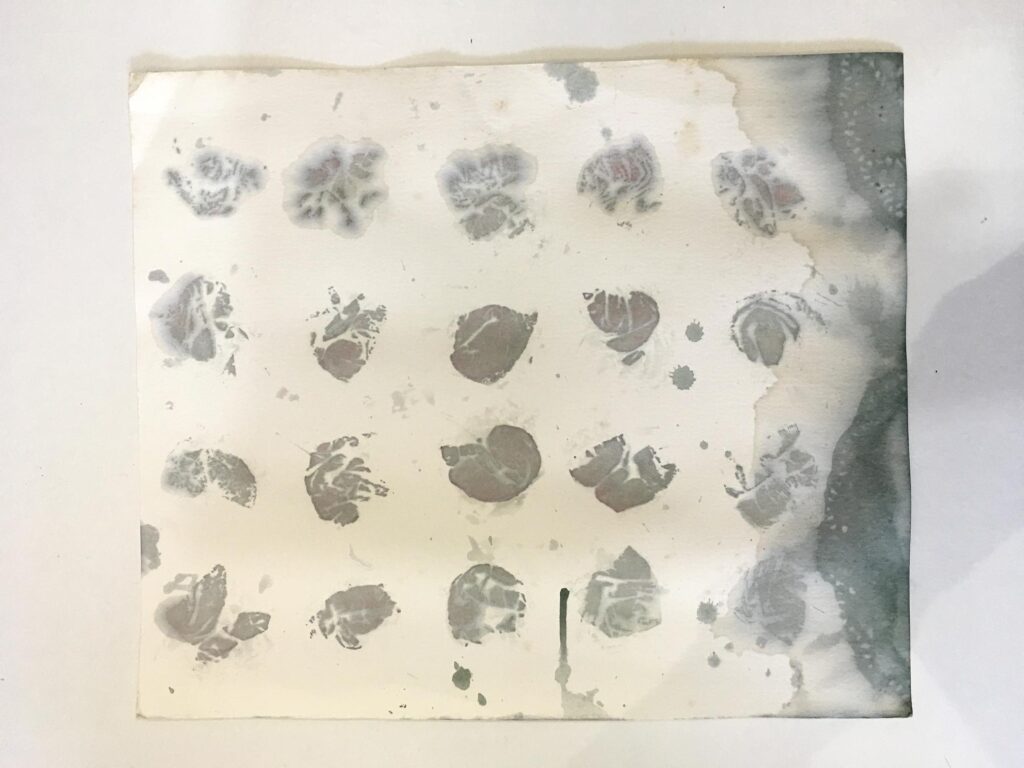
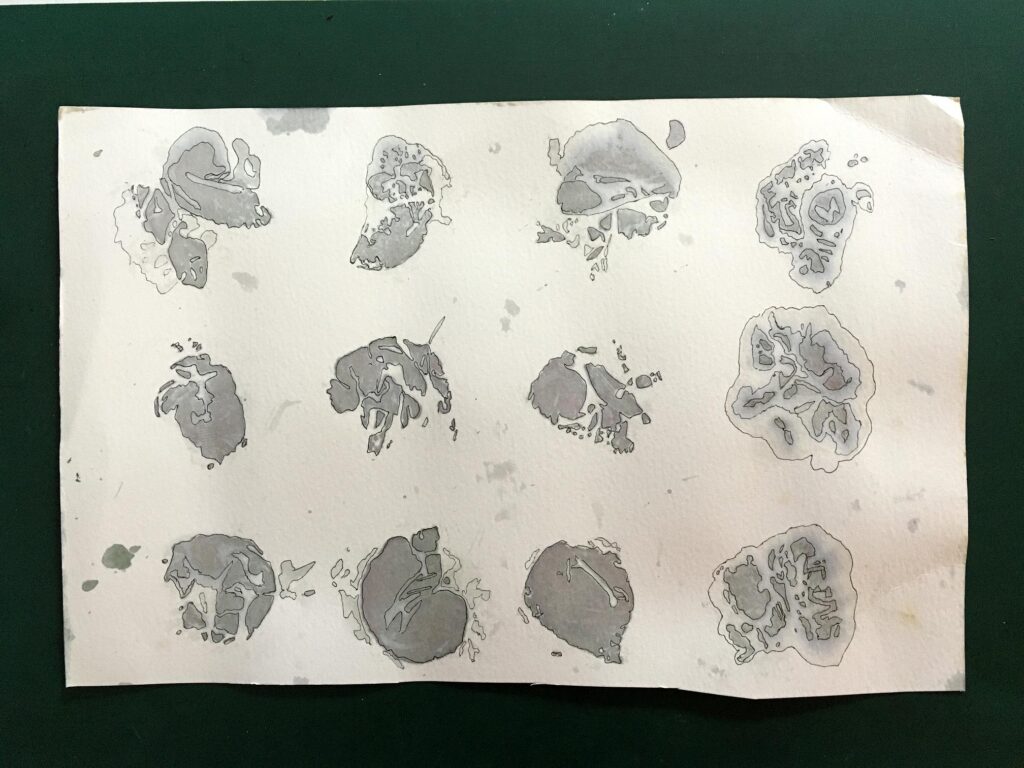
The grey teabag stains are lovely. There are also some interesting doily stains at the edge of the paper which I can probably use.
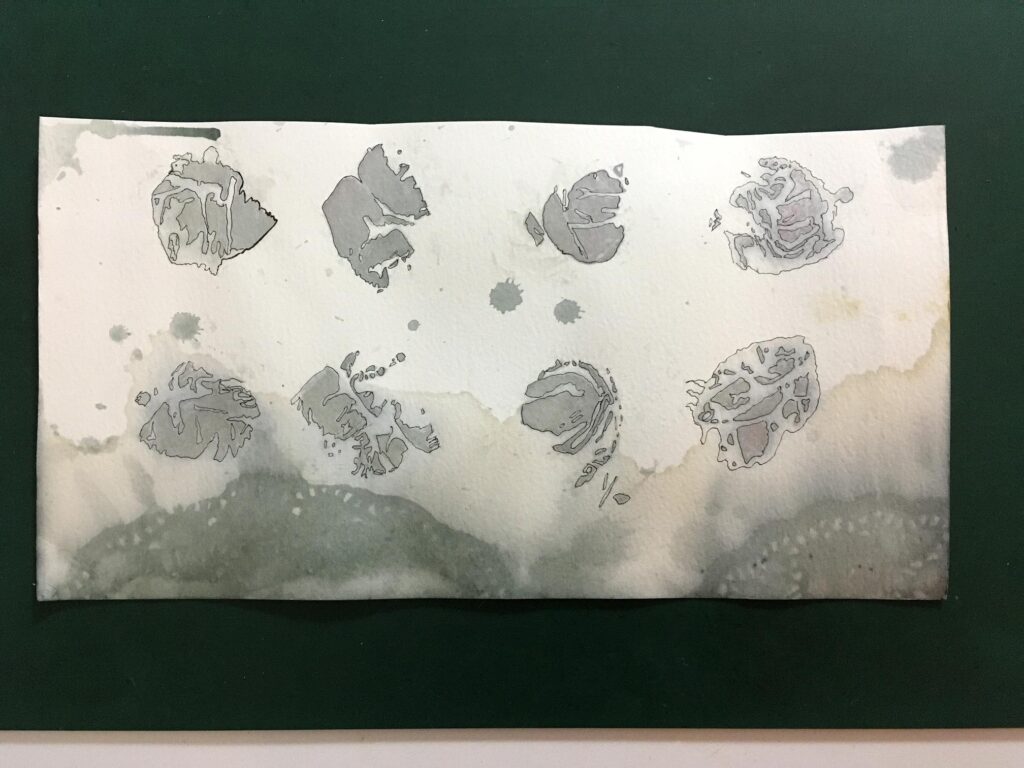
I cut the large sheet of watercolour paper two, to make it easier to handle, and I have started working on them, adding outlines with a fine archival pen. This time I am using black rather than sepia, which is what I use for regular tea. I shall be doing some doodles on them soon.
So even though the paper dyeing part of this experiment wasn’t so successful, I have ended up with lots of useable material for art! My original plan was to use the teabags and the stains left by drying them, anyway, and the paper dyeing was only by the way, so no great loss.
Teabag mini-album #1
This is now completed, and I am mega delighted with the result.
Working on the cover
I stuck six teabags together along their edges, resulting in a sheet of teabag paper which was slightly larger than the cover.
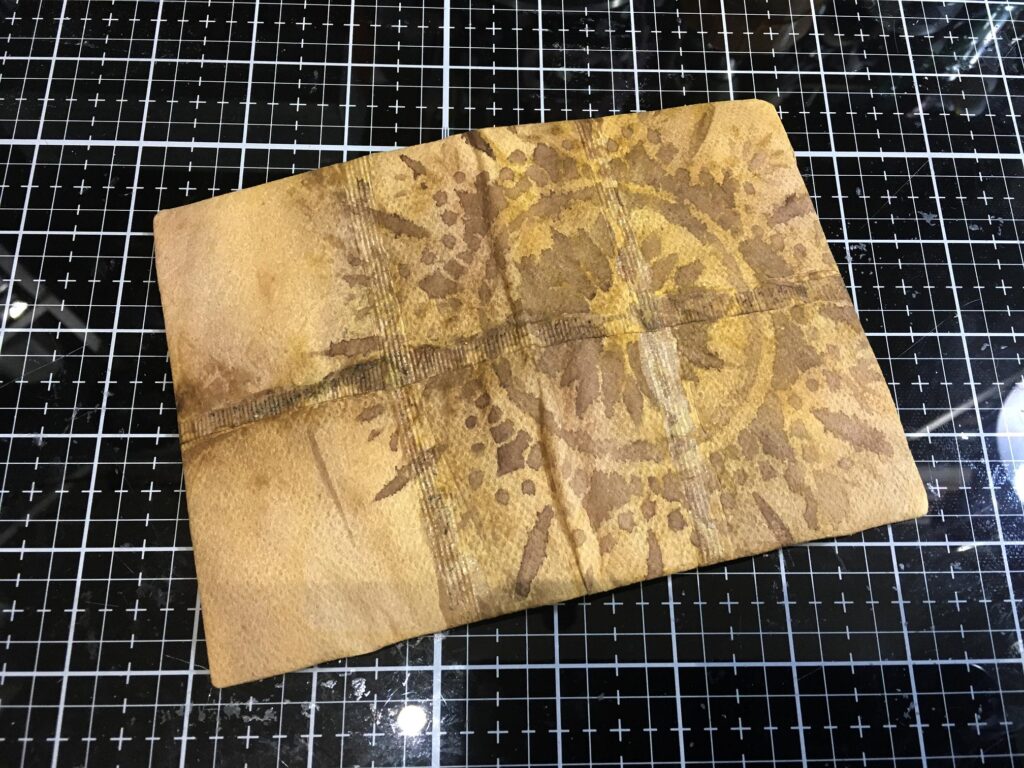
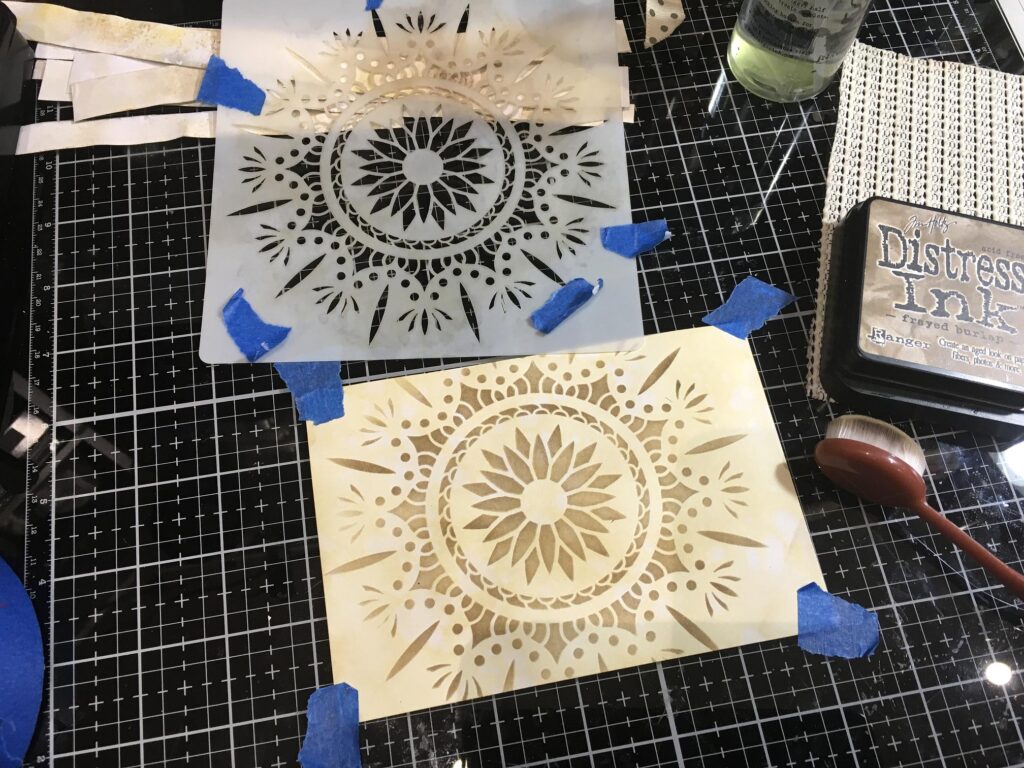
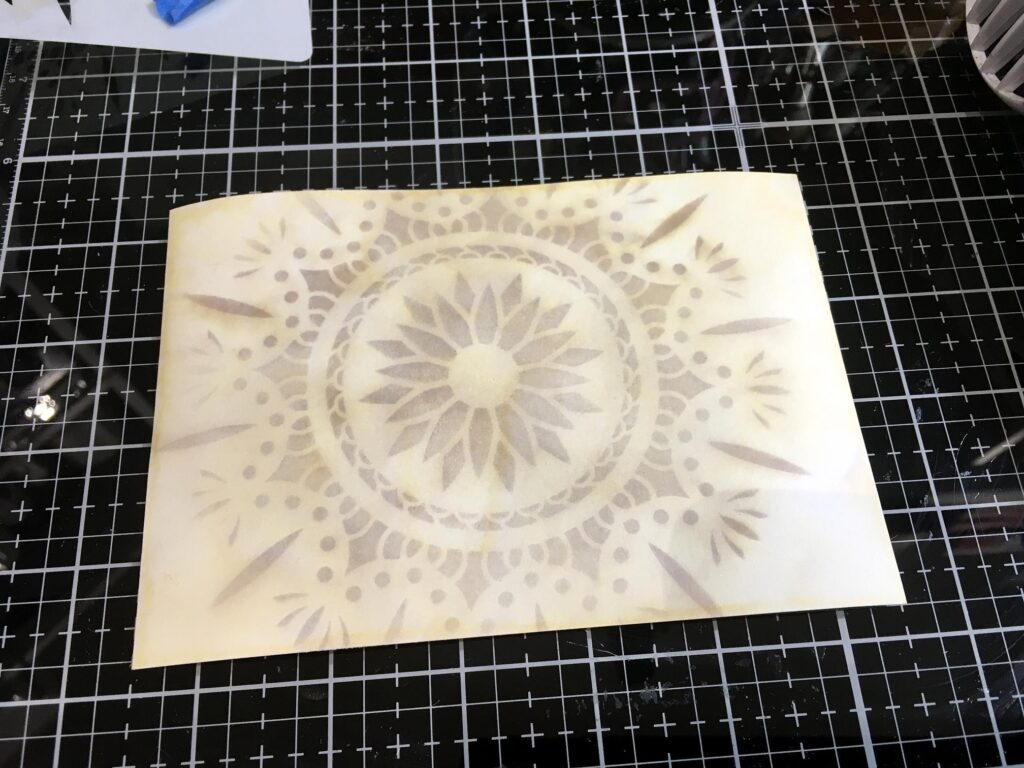
I decided to try an experiment I saw someone doing very successfully on YouTube. You lay your sheet of teabags down and wet them thoroughly, either with a soft brush or spritzing them with water. You then paint on watercolour randomly – I did what she had done, and chose brown and yellow to match the teabag colour. You then lay something on top with a pattern, such as a piece of lace or a stencil – in my case a stencil because the lace didn’t work at all! – and let it dry. This is supposed to leave a gorgeous pattern. The stencil left a faint impression but the results were distinctly underwhelming compared with hers. I lined up the stencil again, and painted through it, using a brown Tombow Dual Brush Marker which I’d scribbled onto my media mat and picked up with a wet brush. The results were great – really grungey and smudgy.
I thought that the delicate teabag fabric might be better with some padding underneath to protect it, and also to give a more luxurious feel to the book. I forgot to photograph this stage, but I took one teabag and laid it centrally on half of the cover, and then added more teabags, working outwards so that it was thicker in the middle, and one teabag thick at the edges. I stuck them together with a bit of glue stick just to hold them in place. Before sticking them down, I took a little strip of double thickness kitchen paper and stuck this over the spine of the cover with glue stick, and then overlaid the teabag paddings so that they covered the edges. After this I was able to turn the whole thing over, and stick the excess onto the inside of the cover. Before doing so, I rounded off the corners of the cover a little so that they wouldn’t pierce through the delicate teabag fabric.
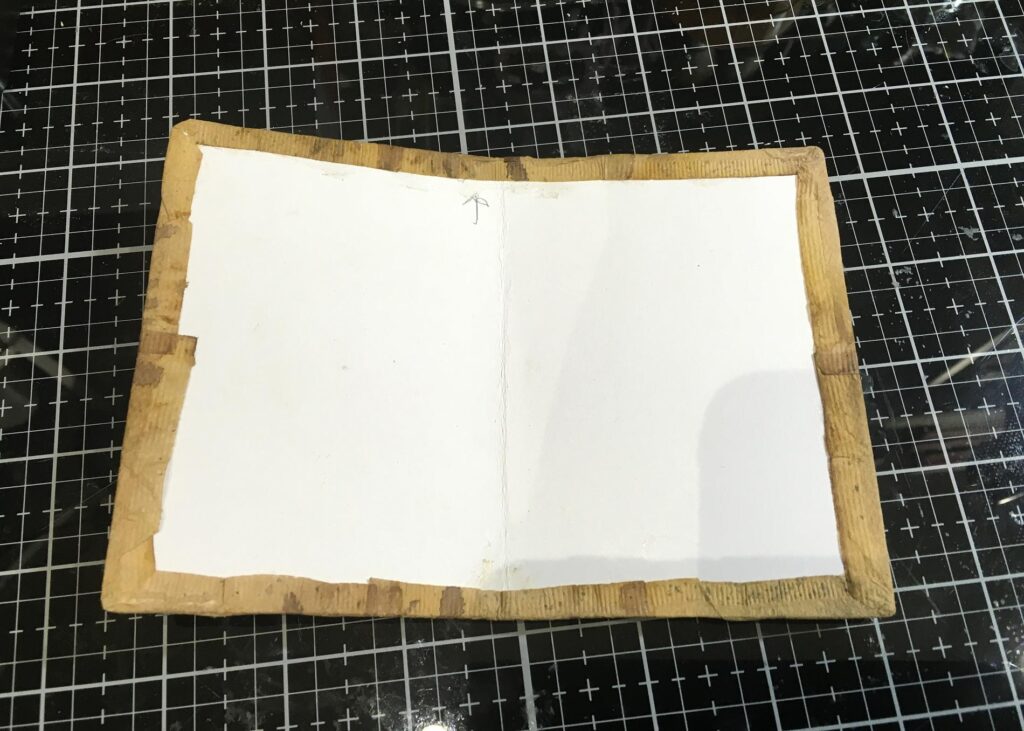
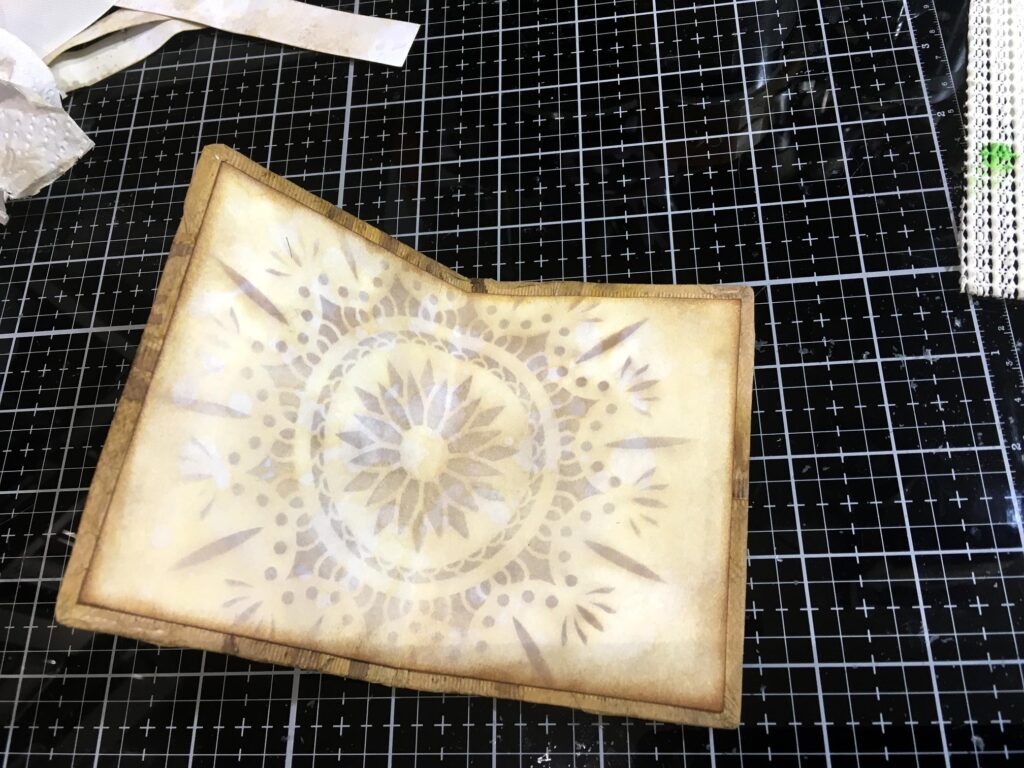
I was then ready to make the cover lining. I measured a piece of cardstock slightly smaller than the cover, and inked it with Antique Linen Distress Ink, using a blending brush. I then took the same stencil that I had used for the outside of the cover, and taped everything down, and used a blending brush to apply Frayed Burlap Distress Ink through the stencil.
I felt that the result was a bit harsh, so I spritzed it with water to let the ink wick a little. This was much better.
Once everything was dry, I distressed the edges with more Frayed Burlap, and a little Vintage Photo Distress Ink, and it was then ready to be stuck down onto the inside of the cover with tacky glue.
The resulting cover feels gorgeous – really soft and luxuriant with the padding.
I bound the two signatures with waxed buff-coloured linen thread, using a three-hole pamphlet stich. I had been concerned that the stitching would interfere with the centrefold of the second signature, but it is really inconspicuous, so I needn’t have worried. I bound both signatures into the cover, using the same method, working between the two signatures and catching the thread around the existing stitching, which seemed to work pretty well – I don’t know if this was the correct method, but for this little book it worked fine.
It was hard to come to a decision about the closure for the book. It certainly needed one because without, it wouldn’t lie flat. In the end I selected some ribbon from my stash, which I stained with Vintage Photo Distress Ink.
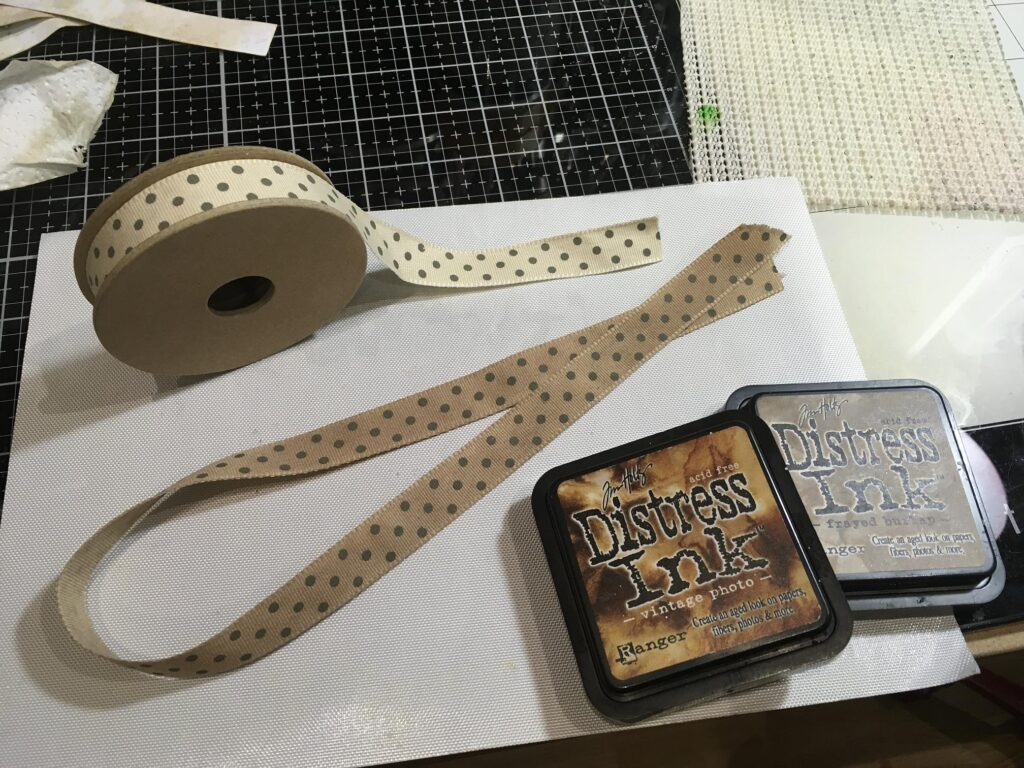
When it was dry, it came out lighter, but it looks OK.
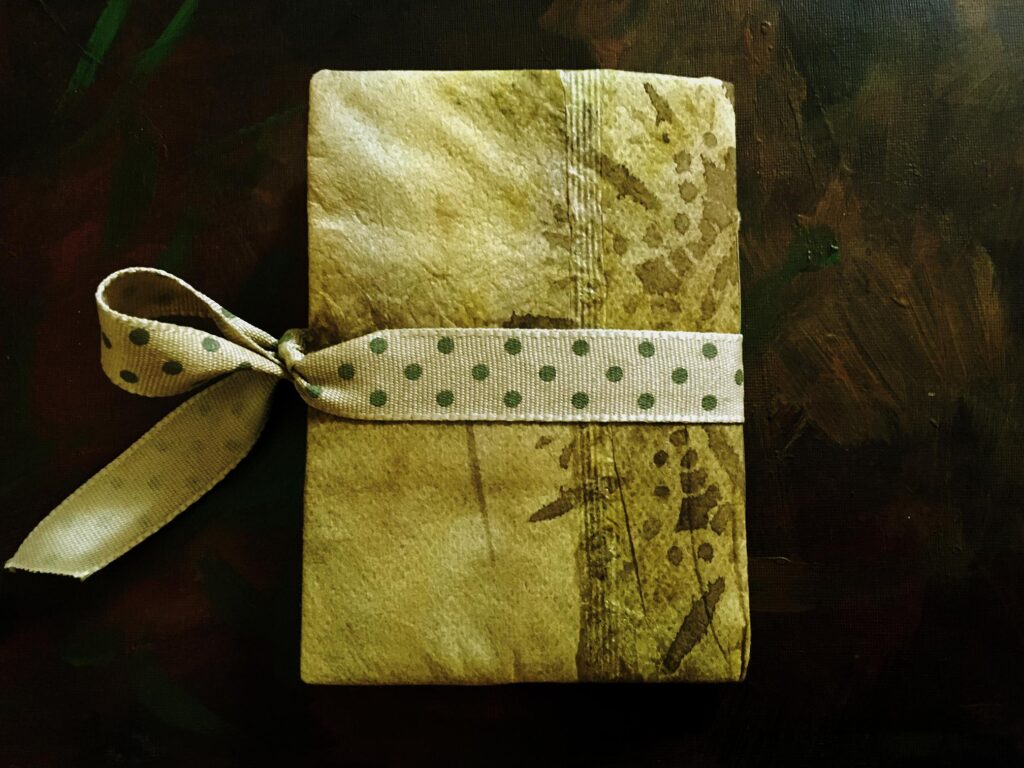
The finished teabag mini-album
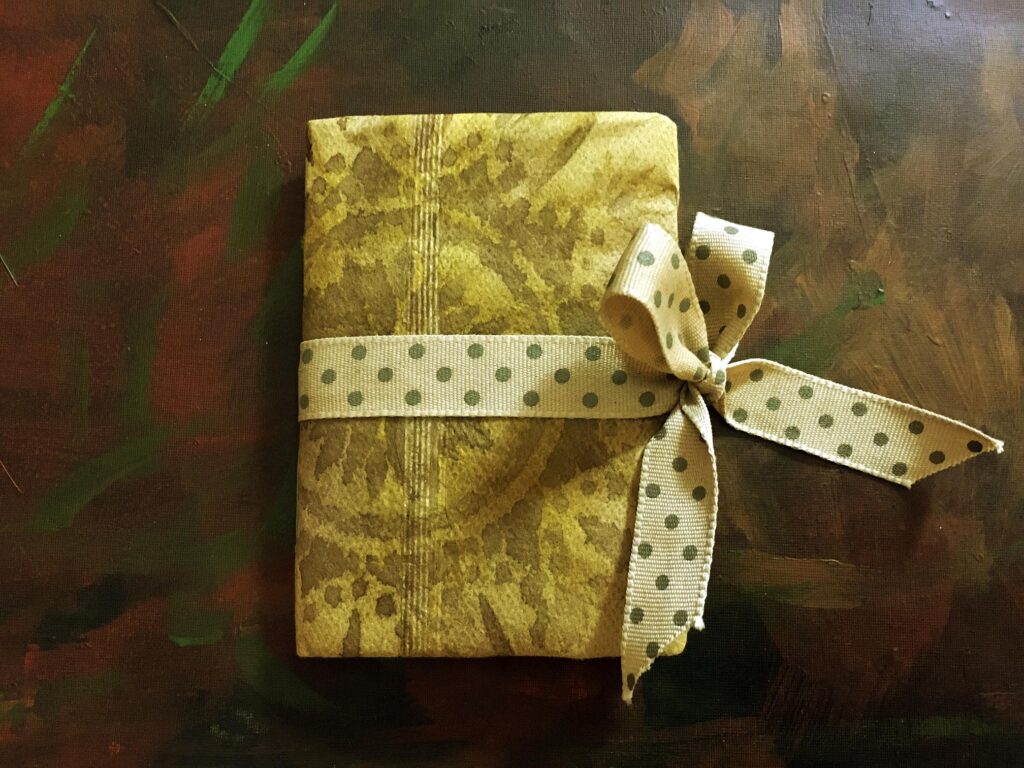
This is the front cover with the ribbon closure. It covers the horizontal seam of the teabag sheet nicely. It is attached around the spine and a little way across both the front and back of the book with extra strong double sided tape, and the ends are free to tie.
The back of the book.
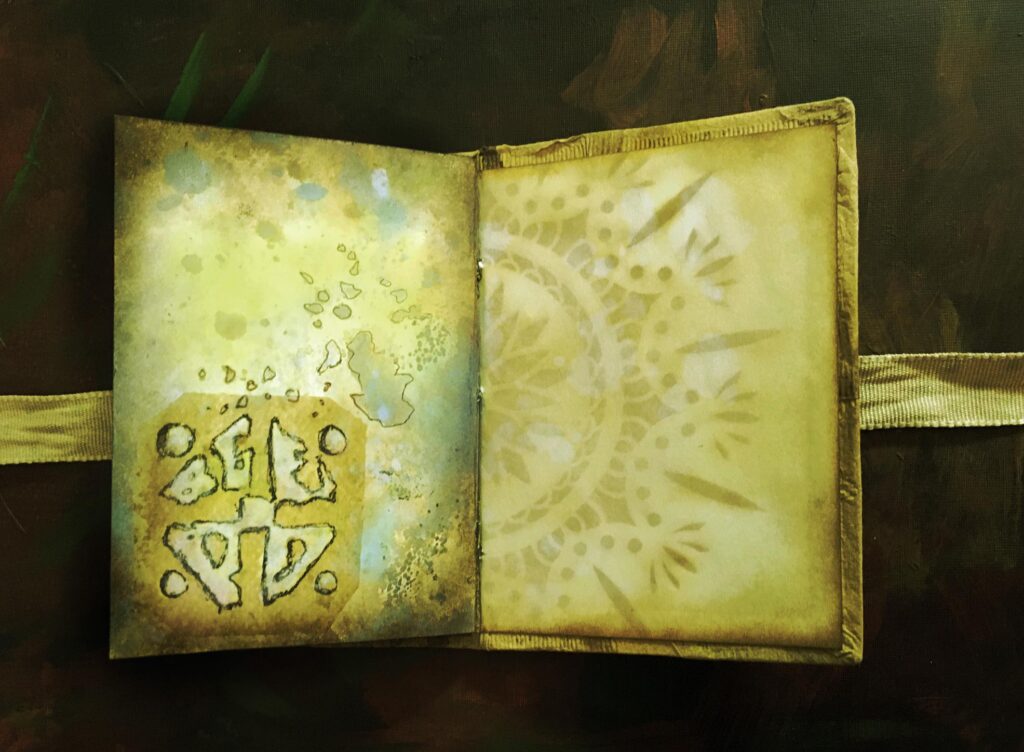
The inside front cover and page 1.
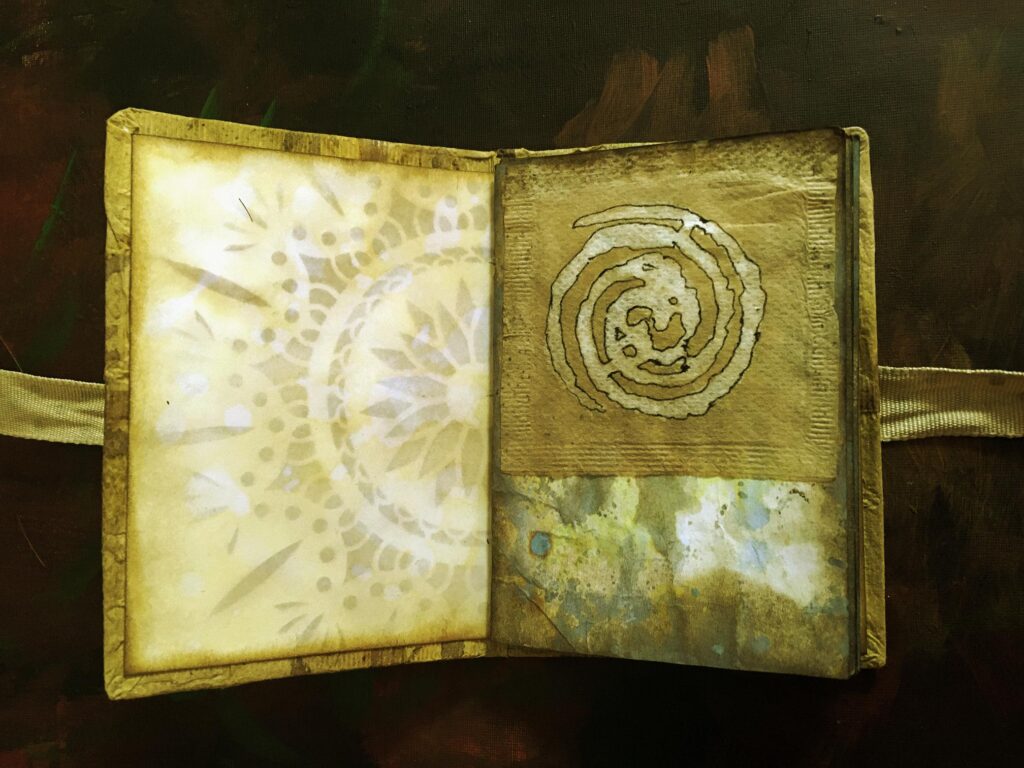
My original plan was to attach this teabag along the top edge only, so that it could be lifted up to expose the background underneath, but it was curling at the edges, so I stuck it down on all four sides. The teabag is one of the recent bleach session ones, where I painted on the bleach rather than trying to stamp it with an Indian wood block as I had done before – the results of that experiment were variable to say the least.
Pages 2 and 3. The teabag on page 2 is from my original bleached set, and the one on page 3 is one of the recent ones.
The teabag on page 3 remains attached only along one side, so that it can be lifted up:

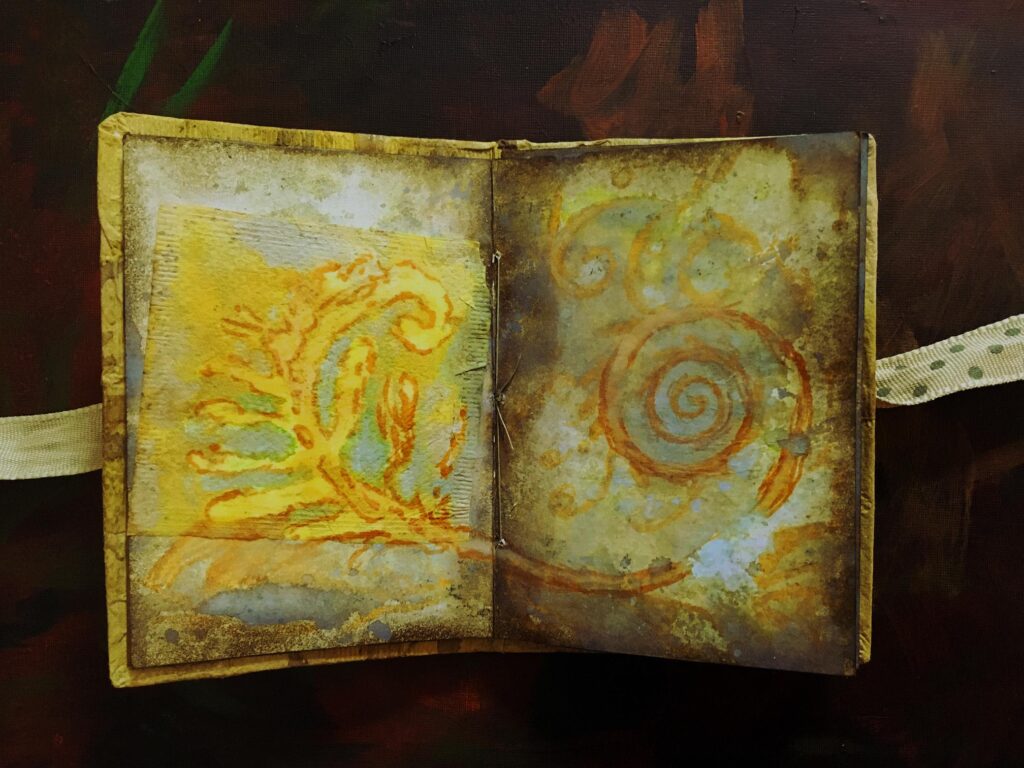
Pages 4 and 5. The teabag on page 4 is an original bleached one. There is nothing applied to page 5. I coninued the design on page 4, emphasising some circular shapes on page 5. The teabag is angled slightly to provide the correct angle for the curve. It looks a bit off in the photo but that is because the pages are not lying flat.
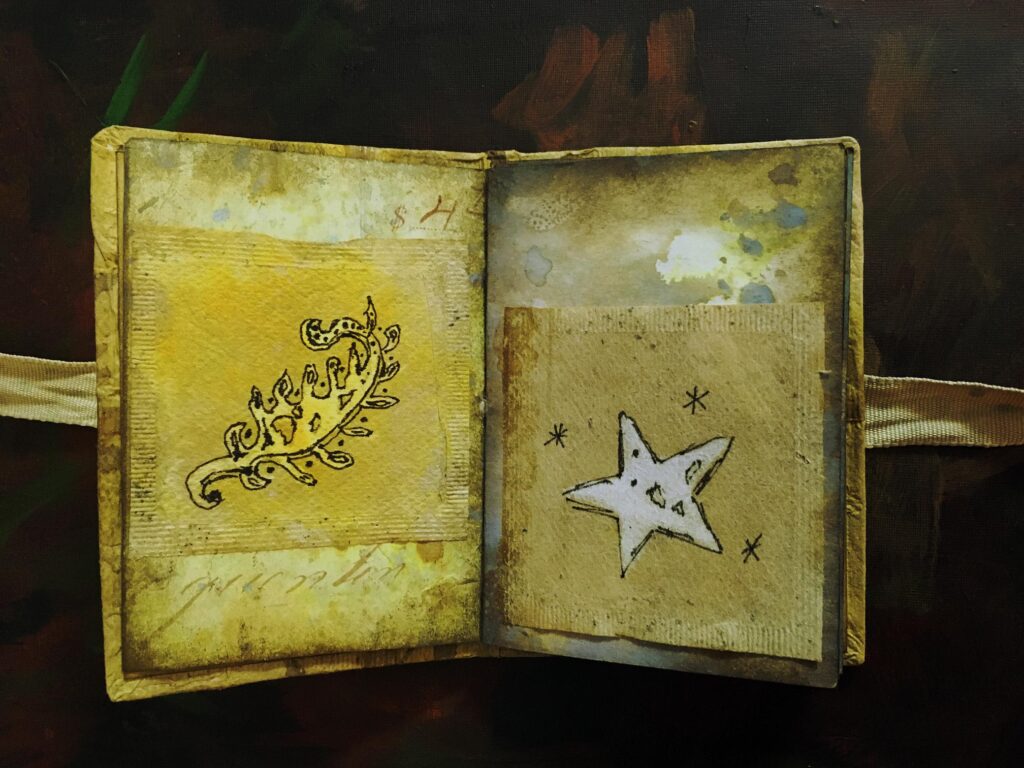
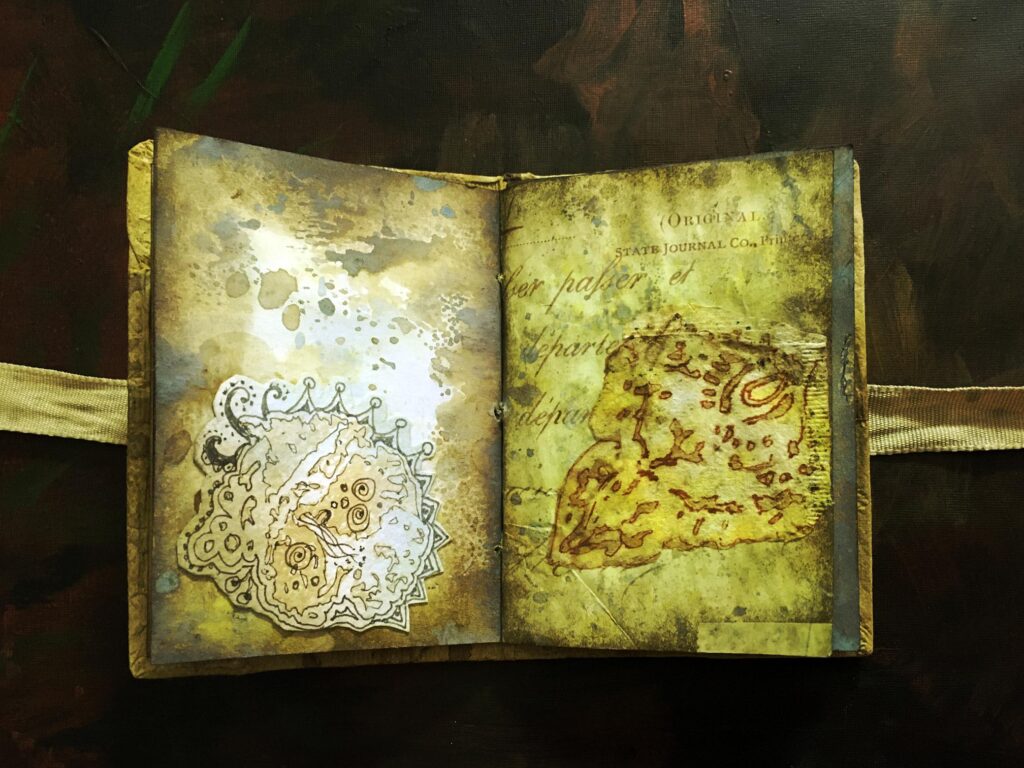
Pages 6 and 7. Page 6 has one of my teabag stain doodles, and on page 7, I have cut out the stamped bleached image from one of the original set and stuck it down, so as not to obscure too much of the background – I love the vintage text on it.
Pages 8 and 9. Page 8 has one of the latest bleached teabags applied, and page 9 is just the background, with some outlining and minimal doodling to embellish it.

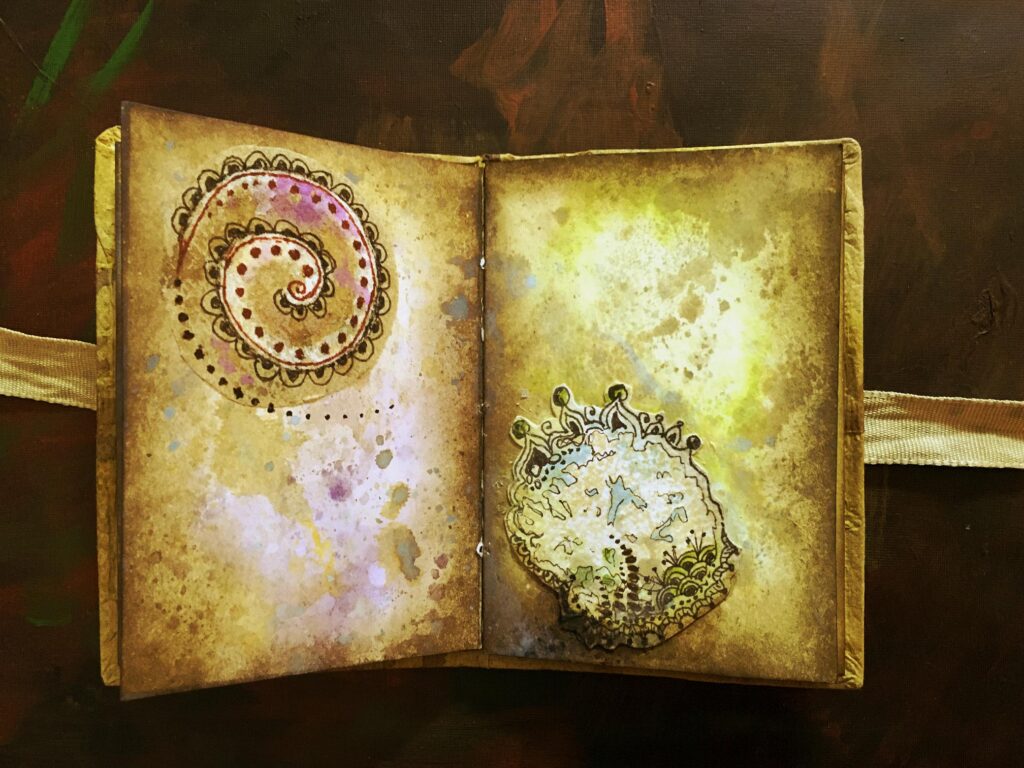
Pages 10 and 11. The teabag on page 10, from the latest bleach set, has been trimmed down, and additional doodling added to carry this onto the page. There is another of my teabag stain doodles on page 11.
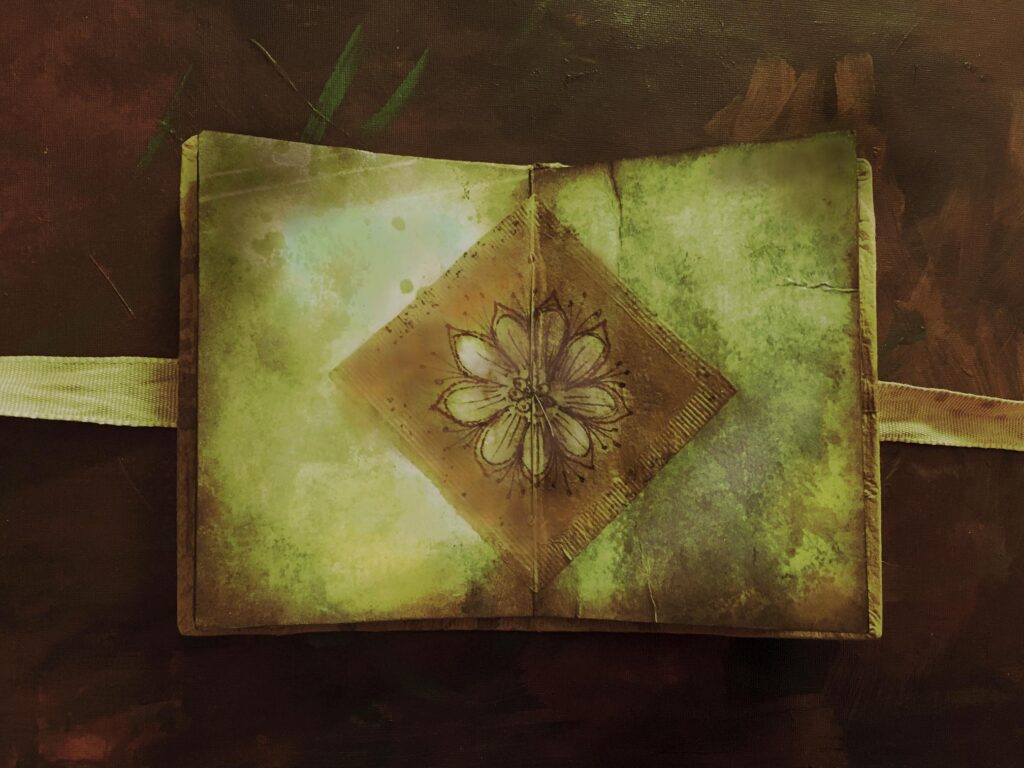
Pages 12 and 13. This is the centrefold of the second signature, that I was worried about with the stitching. You can see that it presents no problem at all. This teabag is one of the latest bleached ones, stuck down diagonally across the centrefold.
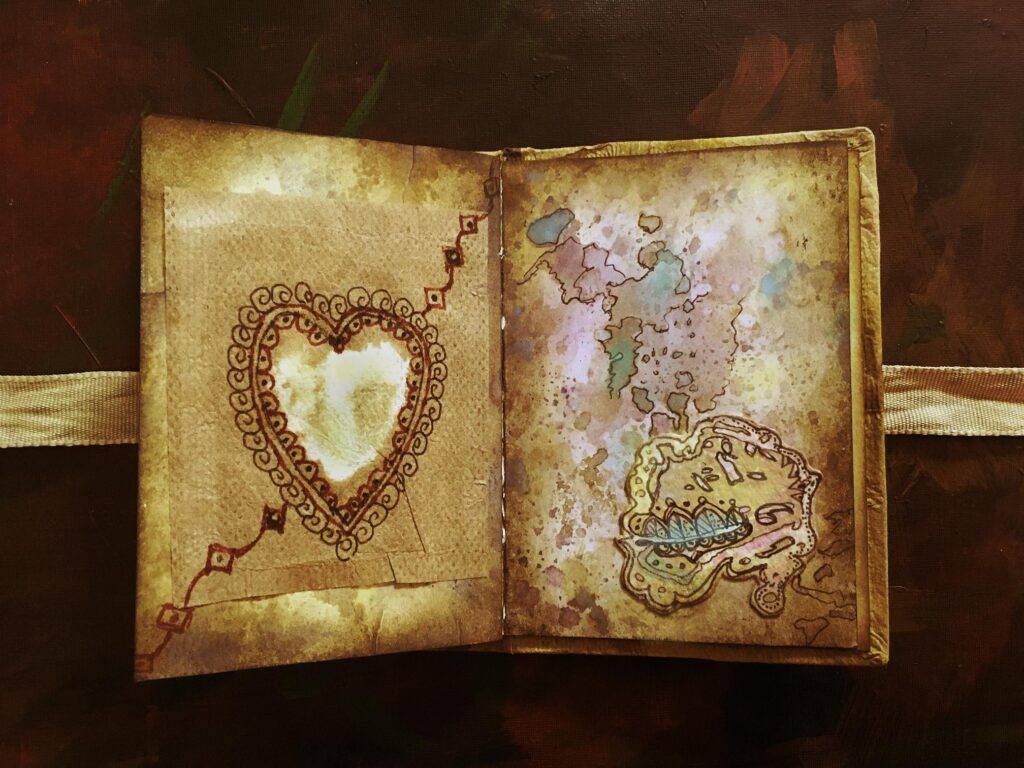
Pages 14 and 15. An applied teabag from the latest bleach set on page 14 with the doodling extending beyond the teabag onto the page, and one of my teabag stain doodles on page 15. This also has some outlining added to the shapes in the background.
Page 16 and inside the back cover. Again, the applied teabag on page 16, one of the original bleach set ones, has been trimmed down so that not too much of the background has been obscured.
This completes the project. As before, I had great difficulty with the photos not coming out like the original at all. I had to do extensive editing to try and get the colours right. I am hoping they will display correctly on any device people are viewing them on.
I wish you could feel how deliciously tactile this little book is, with its padded cover, and the softness of the teabag papers on the pages. The inks (mostly Distress Oxide) also give the pages a wonderful silky feel. All I want to do is stroke this book!!
I am absolutely thrilled with this current teabag project. Work on my huge stash of teabags (literally thousands!) is long overdue. If I’d known how much fun I would have, maybe I’d have started sooner! Today I made a start on the second of the small books, this time working first on the cover. I shall be posting about this in due course. It has a different closure for a bit of variety. I have yet to decide what embellishments are going on the pages, which so far are just folded backgrounds – no binding as yet. Watch this space.
Making books and small art objects has to be my first love, I think, as far as studio creativity goes. I make cards because I have to, and while this is now a lot more enjoyable than it used to be since I developed my system of making elements in advance, and using my new storage system, what I really love to do is art for art’s sake – just letting the creative juices flow, with no deadlines, and no definite end in view. I knew I was going to make teabag books but at the outset, I didn’t know that they would come out like this!
I am also keen to get into junk journaling – not necessarily in the usual style which often has loads of space for journaling etc., but with a view to making some interesting ways of storing my bits of art that aren’t in books and are just floating about, and also the various sample pieces that I have made over the years, and which don’t have a definite home. Lots of pages with pockets and tuck spots, and plain pages onto which I can stick various drawings etc. I think these albums will be a cross between junk journals and art journals – we shall see! My recent paper dyeing experiments are a start. It will also be a good opportunity to use up a lot of paper I’ve got in my stash that I don’t particularly like. I also have sample books of furnishing fabrics and wallpaper which could be pressed into service. Definitely time to use up all this stuff that has been taking up space in my studio for years, and which I didn’t know what to do with, but couldn’t throw away because it’s lovely!