DRAW AWESOME ALBUM PART 1 – PREPARING THE PAGES
Background
Throughout last year I took part in the online drawing course “DrawAwesome” presented by Phil Davies. I came across his ad on YouTube with a link to a free tutorial, and I was hooked. He is an amazing teacher and very early in the course I was blown away by what I was able to achieve!
Until a few years ago, I always believed that drawing ability was due to inate talent. My hubby and I attended a reunion at my school and got into a long conversation with the art teacher. He showed us all the work the girls had been producing and I was staggered at the maturity of it – diploma material! I remarked on their talent and he said that none of them had any experience of art until they entered his class. He simply taught them how to see, how to think, and how to use the materials. Phil’s teaching has been the same. Everyone can draw if they are shown how!
I went from this:
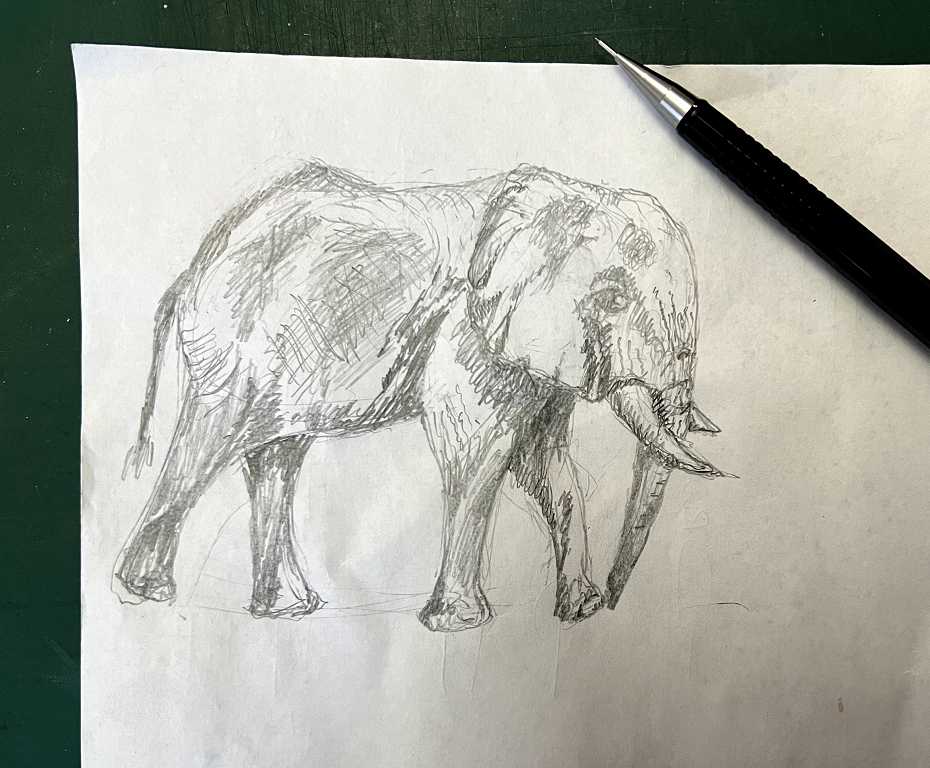
(result of his free tutorial, with my own extra shading) to this:
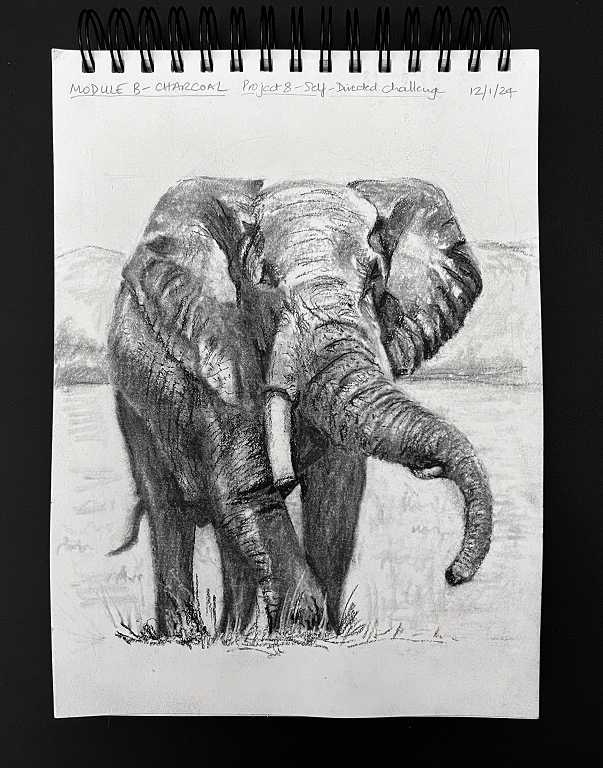
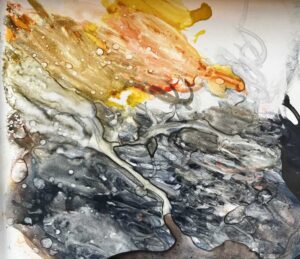
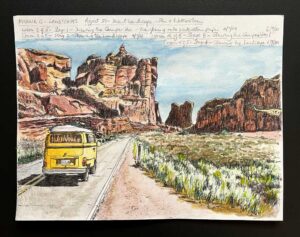
in a couple of short months, and ended up with this standard of work towards the end of the course.
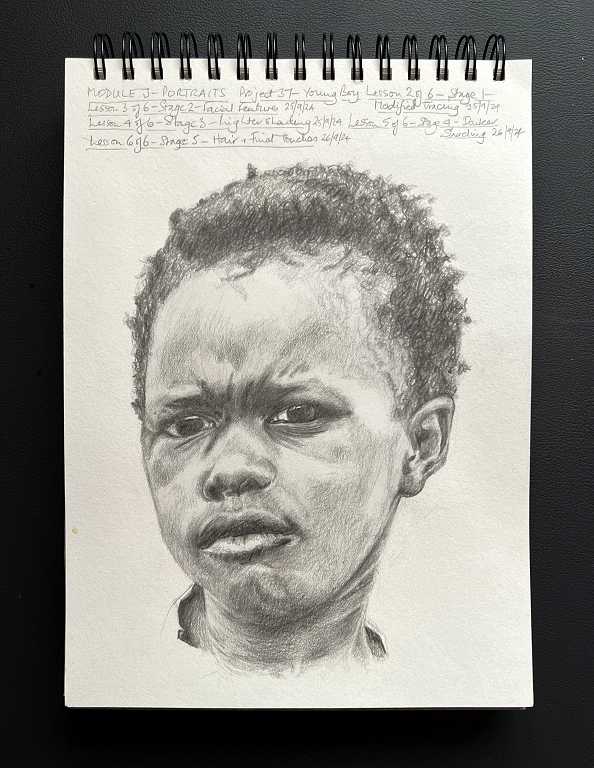
I still find it hard to believe that I actually drew these… Good teaching, and practice… anything is possible! The more you do, the more confident you become, and the more you are able to do!
Decision to make the book
I ended up with a lot of separate art works! In the beginning I often drew on the backs of pages, which I later regretted when I decided to make a book. The art works were mostly in my main sketch book but also on many different sheets, all stuffed into a portfolio. I knew this was not a good way to preserve a year’s worth of work which deserved a better way of collating it. I wanted a consecutive record of what I had done, in a celebratory book format, so I could leaf through it whenever I wanted, and it would be in a form that would be an interactive art work in itself. Time to have some fun!
Materials
I am happy to report that I have used only materials already in my stash. When I started my creative journey in earnest (crafting in those days), I bought a lot of cardstock and other stuff that I thought I would use. I only used bits, and the rest ended up packed away in drawers and boxes. At my current stage, I knew that I would never use a lot of this stuff in the way I might have done in the past, so time to dig it out, use it up and do something completely different with it! So far I’ve only had to replenish my glue stick stash!
There were a couple of 12 x 12 pads of “Core-dinations” papers in my stash which had been there for many years. You are supposed to emboss this card and then sand the projections to reveal the core colour of the card. I decided that I was never going to use it, so I might as well make my book pages out of it, and choose different colours to co-ordinate with the various art pieces.
For the simpler art pieces, I added embellishment to the pages, including various markers, acrylic marker pens, stencils, ink pens etc. Some of the more complex pieces I left alone, to speak for themselves.
I used my sewing machine throughout, and also added some lace and trimmings to the fore-edges of the pages. Glue stick, tacky glue and Fabri-Tac were the main adhesives I used.
Assembling the pages
Most of the drawings were smaller than the 12 x 12-in pages, but in a few cases they were slightly larger, so I had to trim them down. Not too much material was lost.
I got all the drawings in order and stacked them up. I chose different coloured card for the pages, to suit the subject matter, and glued the art pieces down. In some cases the sketch pad paper in particular was prone to buckling even with the dry glue stick, which is unfortunate. To keep these pages in place I also ran a straight stitch around them with my sewing machine. Functional, but also adding an extra layer of texture.
I placed the pages back-to-back and glued around the three sides away from the binding, leaving that side open, to take the binding pieces.
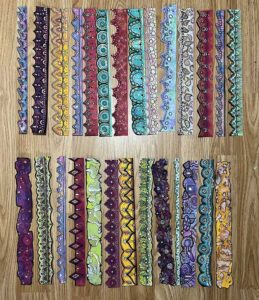
Here are some of the pages with machine stitching around the edges, to make sure they would not split apart in use. I really like the effect of this. It adds another layer of interest as well as being practical, and is also very tactile!
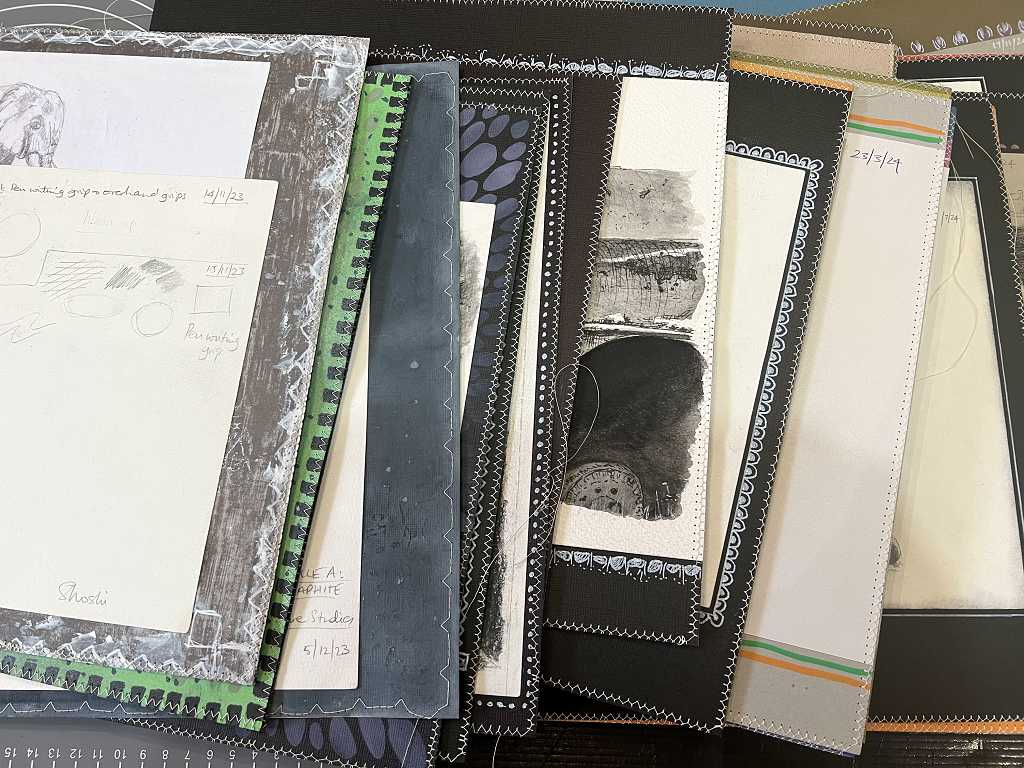
For those pages with drawings on both sides, I stuck down only the edge, so that they could be flipped over to see the reverse. I am thining of punching a quarter-circle out of the corners of these pieces, to indicate that they can be lifted up.
A detail of the stitching. I only made one mistake, sewing through a piece which needs to lift up, so this piece now has a row of holes along the edge!

Once all the art works were attached to the pages, I was able to begin the process of binding.