DIY WASHI TAPE – PAPER, PRINTING, CUTTING AND STORING
The washi paper
I really shouldn’t say “washi paper” because “washi” means paper in Japanese! Anyway, the paper arrived. I was a little disappointed initially because it was not self-adhesive as I’d expected. After further research I discovered that the self-adhesive version is only suitable for inkjet printers and not laser printers. It’s not a problem really, because I can always use a glue stick.

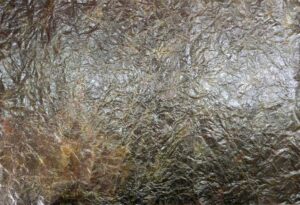
As you can see, the paper is translucent. It is only 53 gsm. The front surface is slightly shiny, and the reverse is matte with a slight texture, which will take glue pretty well, I think.
Printing
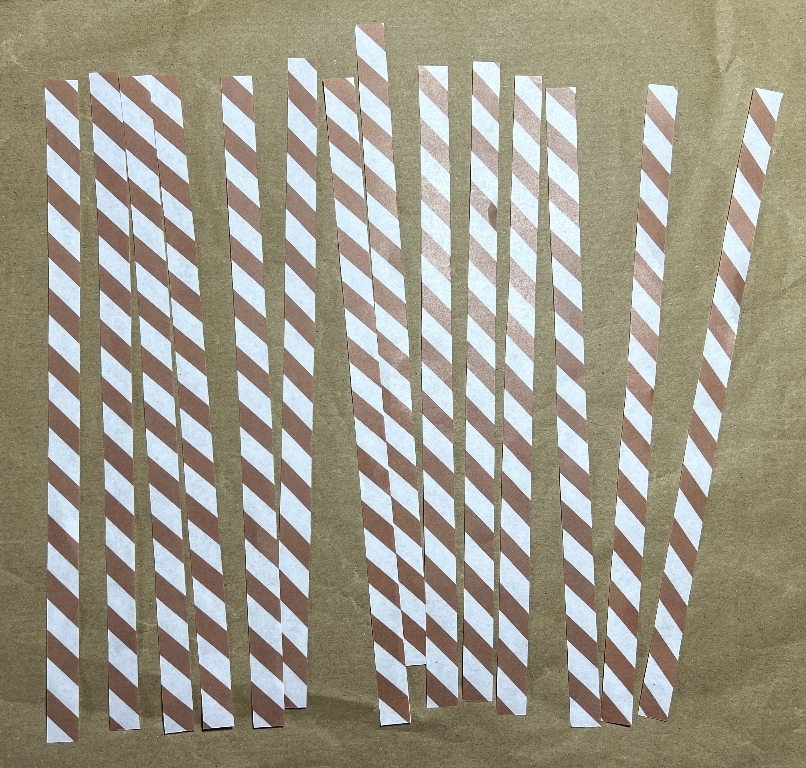
I set my printer to the lightest paper setting, and it printed very well. Here is the result.
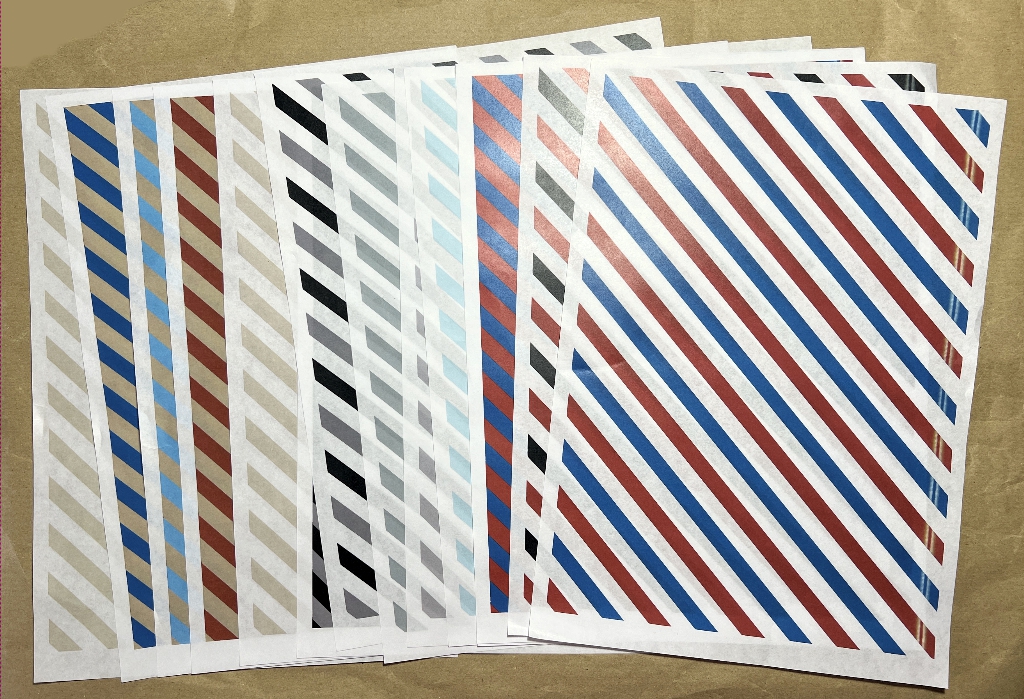
My laser printer won’t print to the edges so these had to be trimmed. Also, over the past few weeks, I have noticed that on every sheet, there is a double line down the right hand side which hasn’t printed properly. I have tried cleaning the relevant parts in the printer, and replaced one of the cartridges which was getting a bit low, but to no avail. Mostly it doesn’t matter, and in this case, I can just trim this bit off, but it is a pain because I have to bear it in mind when printing anything important on a full sheet.
Cutting
I was a bit stupid over this because I thought it was impossible to cut these sheets into strips on my guillotine or my paper trimmer. I can’t line up 1/2 in accurately from the blade. I therefore cut the first sheet with a metal ruler and knife on a cutting mat, which took ages.
I saw online that someone actually cut her quilling paper strips with a pasta making machine! Her short video showed her feeding the paper in carefully with both hands, while her young son cranked the handle! Talk about thinking outside the box… I thought about my paper shredder but this is a cross-cut one which obviously wouldn’t be a good idea. Cutting by hand with a ruler and knife means you can cut only one sheet at a time and this is very inefficient.
Later I thought about it more sensibly, and realised that if I trim off the mis-printed edge so that the width of the paper measures a full number of half-inches, I can line it up on the ruler at the top of the guillotine on the left-hand edge and simply move the paper in increments of half an inch until I haven’t got enough left to hang onto, when I will go back to the knife and ruler method. This way, I can cut quite a few sheets at once as the guillotine is well up to that job. So the rest of the cutting into strips shouldn’t take much time at all.
I am pleased with my first batch, though, however long they took to cut.
Storage
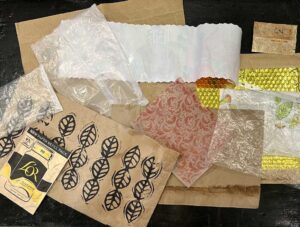
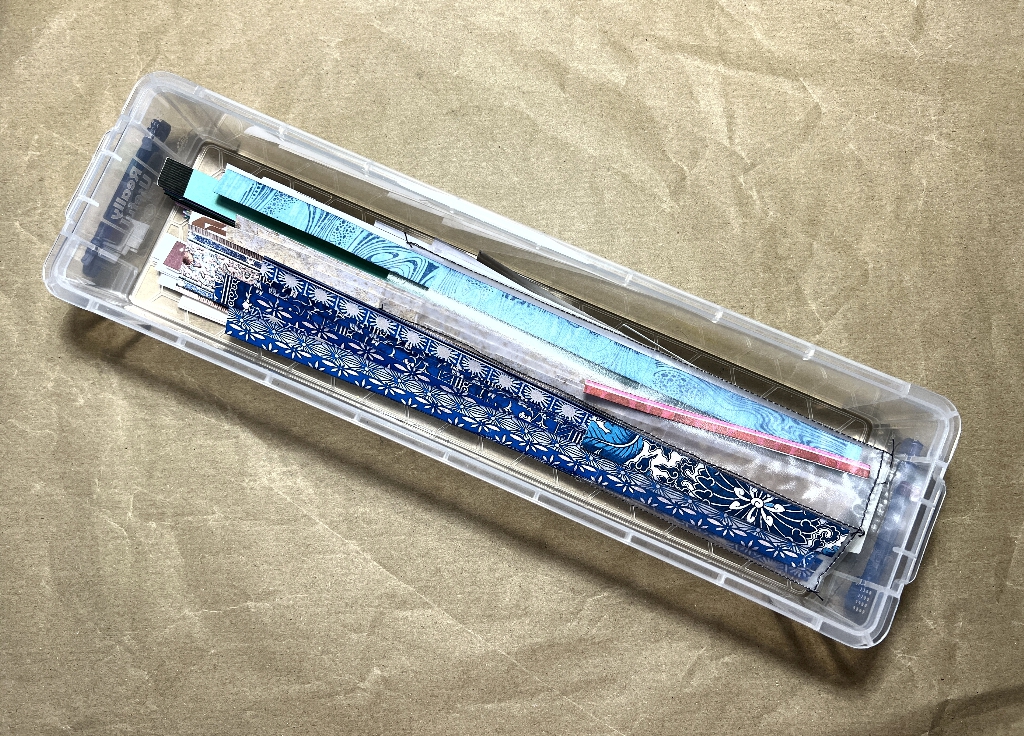
My current method of storing decorative strips of paper is in a long narrow Really Useful Box.
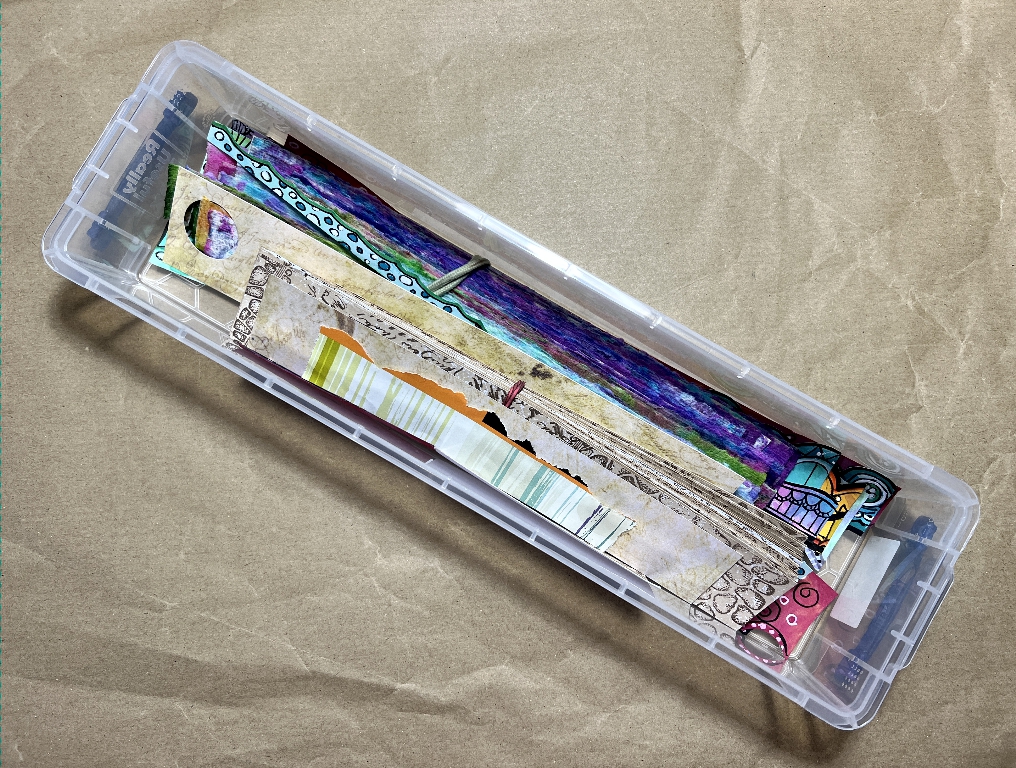
I have put bands around some groups of similar papers, but the system is a pain and really difficult to find what you want. The strips turn over and you can’t see the design on the front. I really didn’t want to use this method for my washi strips, and it got me thinking that if I could find a suitable method for storing those, it might also work for my other strips. I have put double-sided tape on the back of many of these so they are quick and easy to stick down onto projects when needed. When you have a storage system that isn’t working well, you tend not to use the contents and they stay on the shelf gathering dust.
I wasn’t sure how I was going to store my washi and other strips. Commercial washi tape comes on a roll. I did an online search for storing strips of washi tape but all I got was endless different methods of storing the rolls of tape. Nobody seemed to be storing strips!
Guidance for good online searching usually recommends being as specific as possible, to get the best results. In this case, though, it wasn’t working at all, so I decided to widen my search parameters and be less specific. I searched for “storing paper strips,” and omitting the word “washi” I got a whole lot of interesting stuff, mostly to do with quilling.
I don’t do the craft of quilling but know about it in theory. It involves bending and curling strips of paper and sticking the resulting shapes down vertically onto a surface. People buy paper strips cut to the correct width and there are many different ways of storing these, it seems.
The perfect storage solution
I came across a brilliant video (“Quilling Paper Strips – Organize and Store 1-11 inch length with Easy Pattern”) where the person gave instructions on how to use her free template to create a transparent pouch system, with three separate compartments for tall, medium and short pieces. She went through her various iterations until she got it right. Many storage methods don’t take account of the small offcuts, but her method worked a treat. I wasn’t sure if it would work with the very flexible thin paper washi strips, though, as the quilling paper is stiffer.
I decided to give it a go and see if it would work. Her template was based on the American letter sized paper so I made my own, based on A4. I also designed it to have six pockets rather than her five wider ones, but I can actually make these pockets as wide as I want. The storage pouch is made from a transparent document sleeve, open at the top, and with the holes down the side to fit in a ring binder. You slip the template into the sleeve and use it as a guide for cutting, and scoring the lines to divide the pouch into sections with the sewing machine.
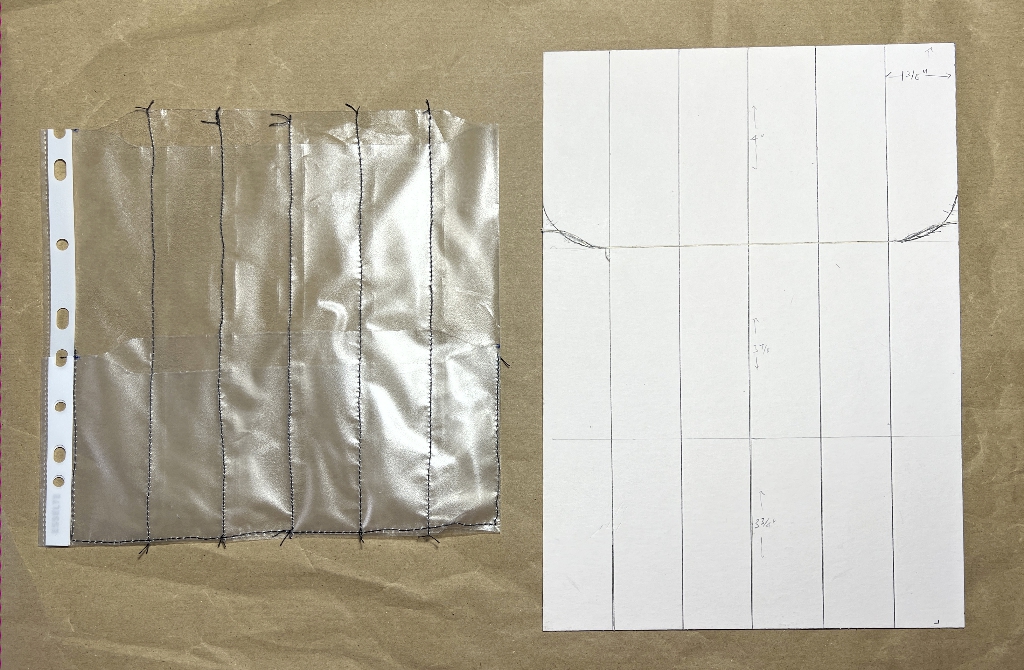
I made my template from a piece of mount board as I thought it would survive repeated cutting better than regular cardboard. I made a slight mistake in the shape of the cut but amended it, and I am able to ignore the incorrect shape there.
With the template in the sleeve, you score down all the vertical lines, which gives you some guides for when you come to sew it. You cut along the line with the curved ends. This just cuts through the front surface of the sleeve. You then remove the template and turn it over, front to back, and top to bottom, and reinsert it, matching the cutting line of the template to the ends of the first cut. You turn it over and cut again, this time on the other side of the sleeve. When you remove the template, the top section will come away when you cut through the hole-punched border. You flip the small section top to bottom, and lay it at the bottom of the larger piece. You can them sew the two pieces together along the vertical lines, and finally around the sides and bottom to complete the pouch. I know this sounds complicated and I had to watch the video several times when I was doing it, so I got it right!
The pouch you end up with is therefore shorter than the original sleeve, but flipping the bottom part over means that the punched holes down the side line up with the larger piece.
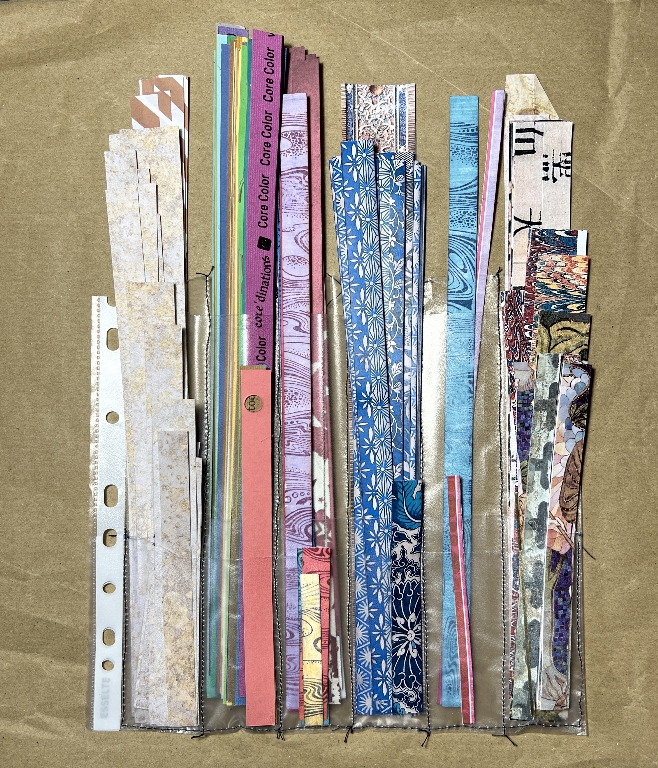
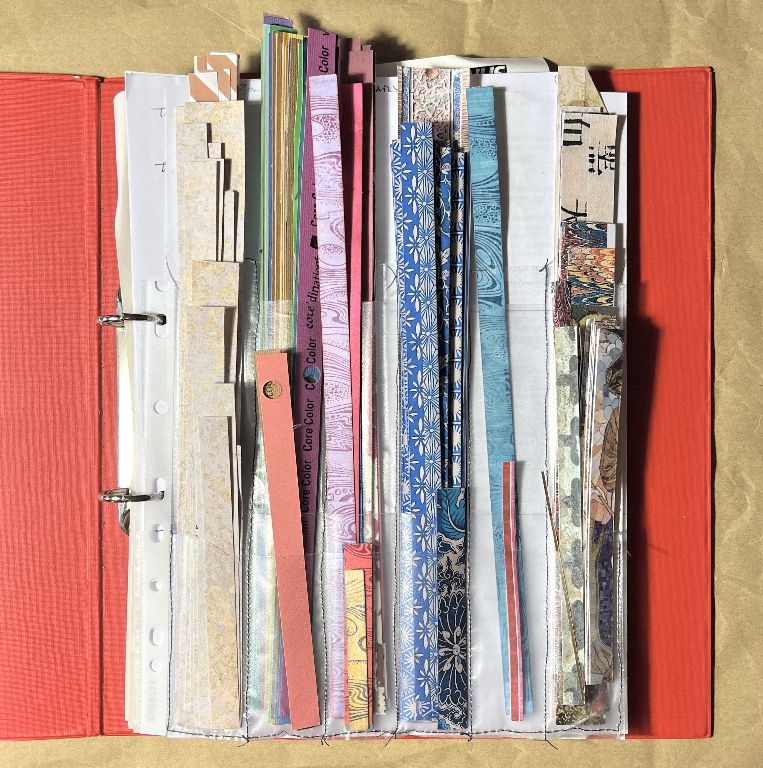
What you end up with, which is rather difficult to see in the photo because it is transparent, is a series of openings along the top edge, into which you insert your longest strips, and push them down to the bottom. About two thirds of the way down is the top edge of the smaller piece, which forms pockets on top of the tall ones, into which you slip your medium length strips. At the bottom is an opening for the shortest pieces.
This pouch system means you can store all your strips face up, separated according to colour or whatever, and according to length. In my following examples, I have selected a lot of my existing strips from the box, and put them in with the first lot of new washi strips. This is only temporary. I have cut several more of the pouches but have yet to stitch them, and after this I will make a more organised system of all my existing decorative strips, but keep them separate from the new washi strips. I discovered that the thin paper of the washi strips slipped into the pouch with no problem at all.
Storing the pouches
There is also a choice as to how you store the whole pouch. Having the punched holes down the sides, you can store the pouches in a ring binder.
You can roll up the pouches and tie them with a tape, or you can stand them up in a jar.
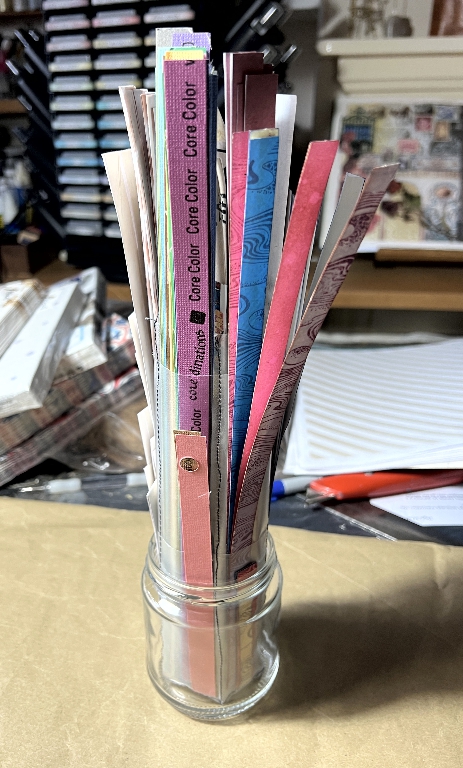
This is a great solution, because it has a very small footprint, and you can easily reach for the strips you want when working on a project. You can have a single pouch containing all the colours and styles of strip you need for whatever you are working on. All the fronts of the strips are facing outwards and are easy to see, with the long ones in the middle, the medium ones next, and the short ones on the outside.
Finally, I could roll up the pouches and put them back in my original box! This would be a great solution for the times when I am working on other projects that do not require any strips. I can get out the pouches as I need them, and rearrange the contents according to what I need, as well.
I am super-thrilled with this solution. It’s a bit of a faff making the pouches, but once you’ve got a few, they are ready for use. I shall complete the sewing on the remaining ones I have cut, and in the meantime, attempt the better method of cutting the washi strips with my guillotine.