MASK AND SPRAY – VISITING AN OLD TECHNIQUE
In the process of re-thinking the binding of my Infusions Mini-Album because of an unexpected problem, I needed some flowers for the process. When I was doing this technique several years ago, I made a lot of Infusions-coloured flower pieces but I had used most of them and didn’t have enough matching ones left.
Mask and Spray
This is a technique I think I can say I invented myself. I’ve never seen anyone else do it. I cut shapes (e.g. flowers, leaves, butterflies) on the cutting machine or as die-cuts and laid them on a large sheet of paper. I then sprayed the whole thing with ink, or alternatively sprinkled it with Infusions and spritzed with water and let it dry. I removed the flowers which had acted as a mask, revealing uncoloured paper beneath. Sometimes the ink or Infusions would spread underneath the flowers a bit.
The next step was to turn the flowers over and replace them on the paper, but in different places. When I sprayed again, the backs of the flowers got coloured, and they acted as masks elsewhere on the paper, resulting in a layered effect. The original masked shapes ended up a lighter shade than the rest because they had only received one layer of spraying.
My project today
The problem was that it was so long ago that I did this, that I had forgotten the finer details. I should have referred back to my old blog to see if I’d gone into enough detail there.
The first sheet
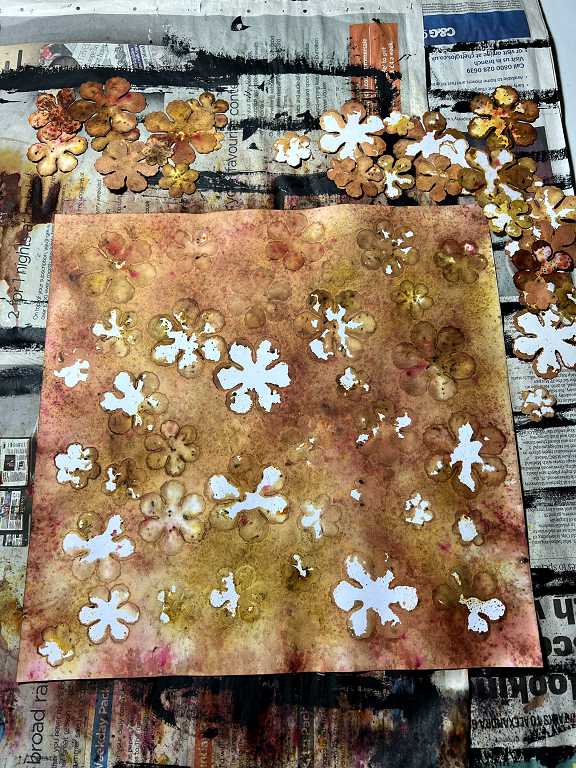
I was concerned that the Infusions wouldn’t cover the sheet sufficiently. I cut a lot of flower pieces with a die, and used the negative spaces as a stencil to cover the page.
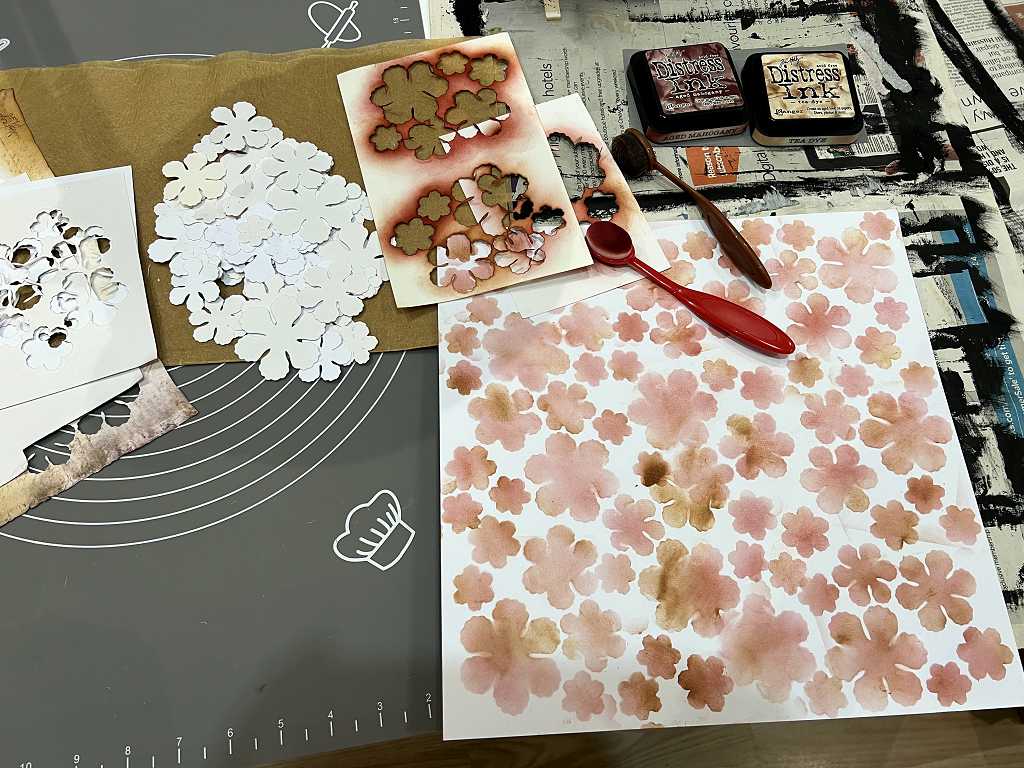
There were several stages during this project where I wished I’d stopped. This was one of them. I really liked this effect, and it would have made a nice background in its own right, maybe with the addition of some more ink to reduce the starkness of the white background. As it happened, for the Mask and Spray technique, this stage was totally unnecessary. It all got covered up, and it also contributed to the end result being darker than I wanted.
The first spraying, using Golden Sands, Rusty Car and Rocky Road Infusions. My second mistake – it would have been much better without the Rocky Road, which made everything too dark. On its own it is glorious, but in combination, it produced too much brown.
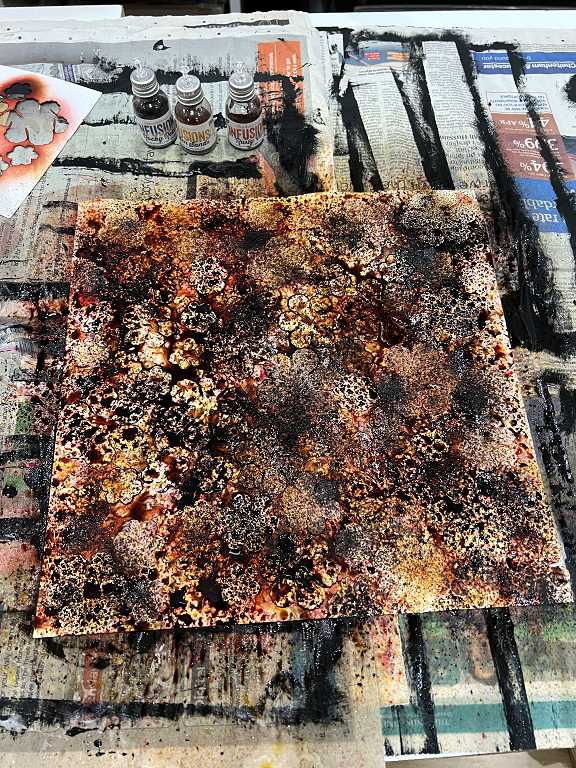
This is the sheet, dried, with the flower shapes still in place.
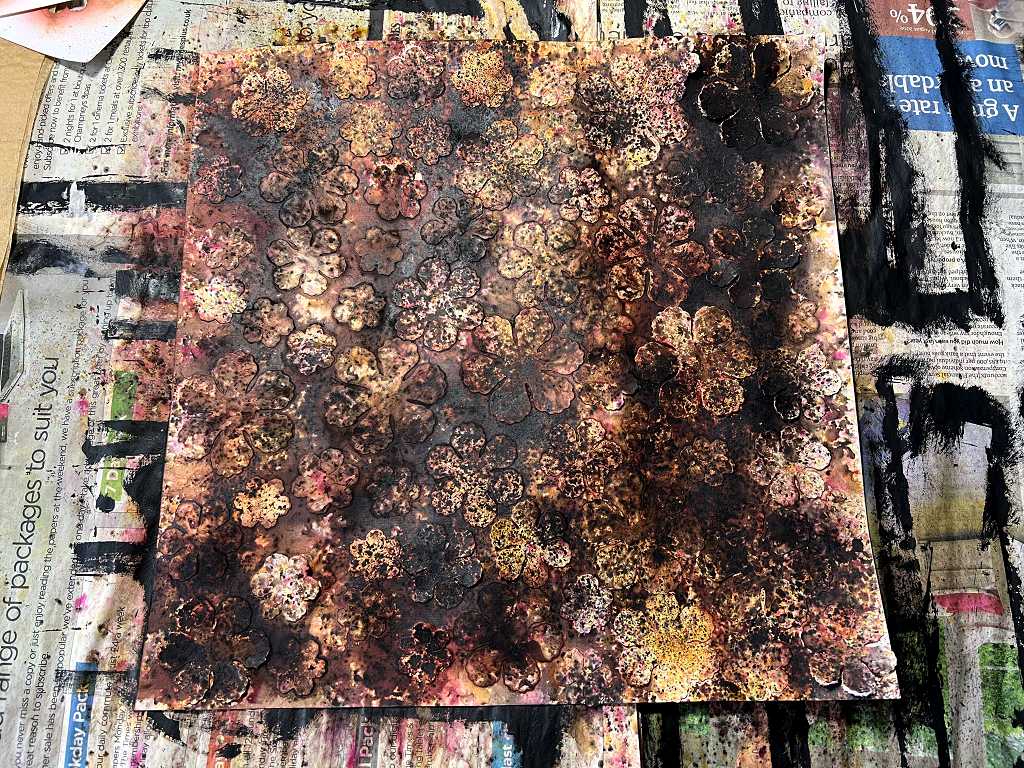
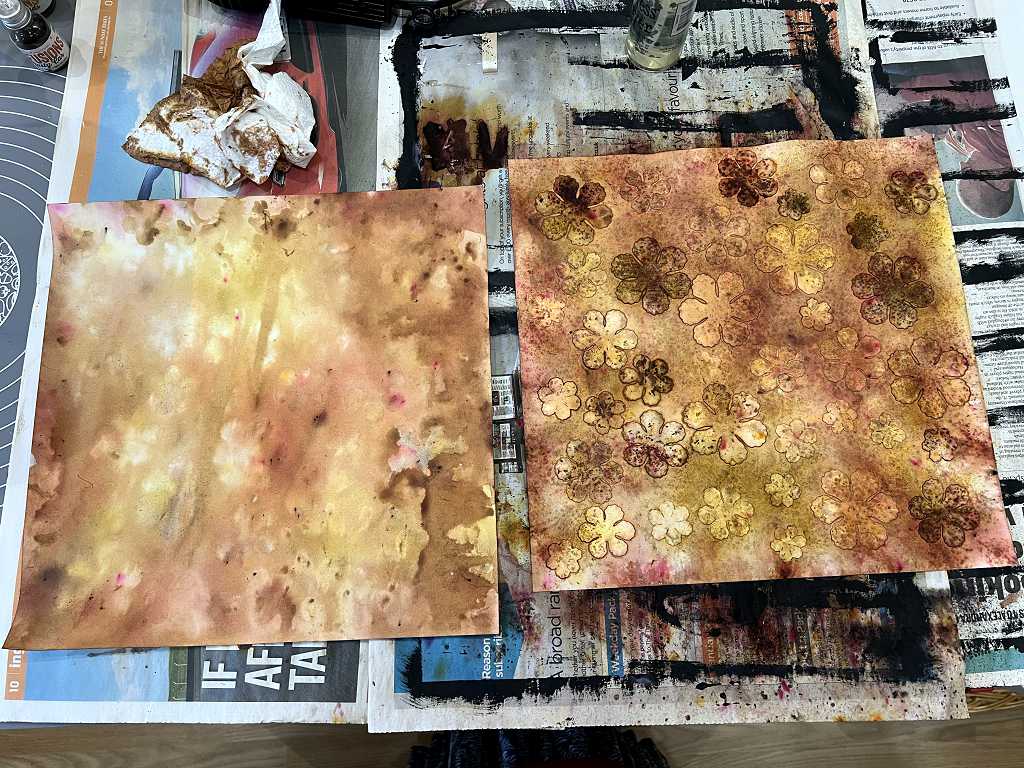
After removing the flowers.
This was another stage where I could have left it. Where the flowers had masked the background, it was possible to see the original stencilled background and I liked the pink.
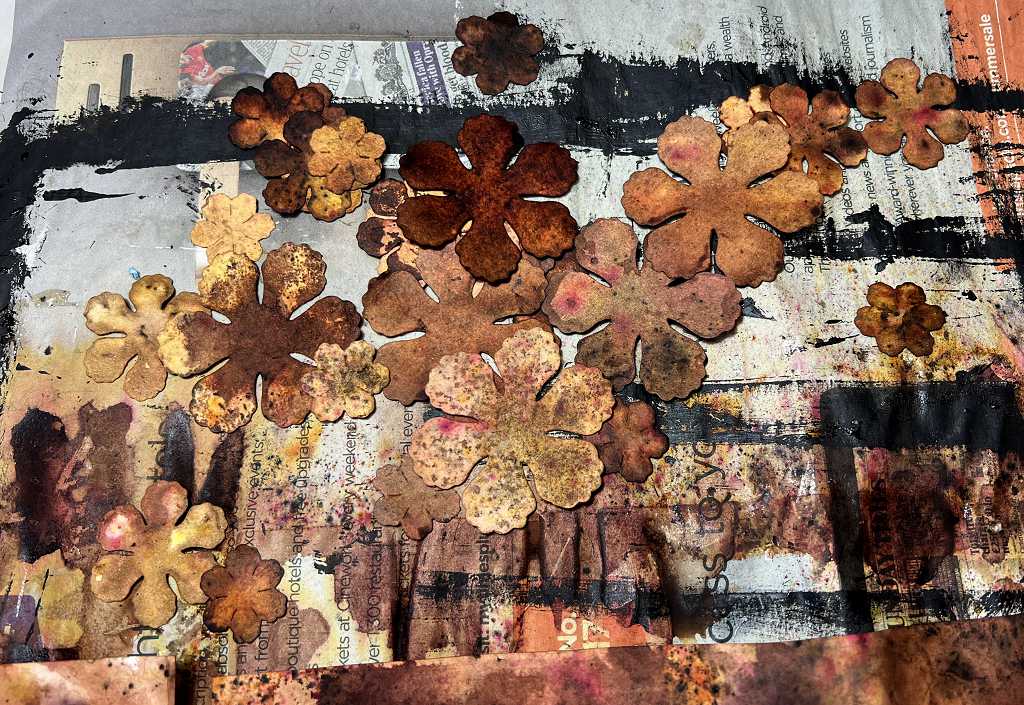
The flowers. The ones on the left are the right way up, and the ones on the right have been turned over. You can see that there has been quite a bit of bleeding of colour underneath the flowers. Some have been almost completely covered, while others remain mostly white.
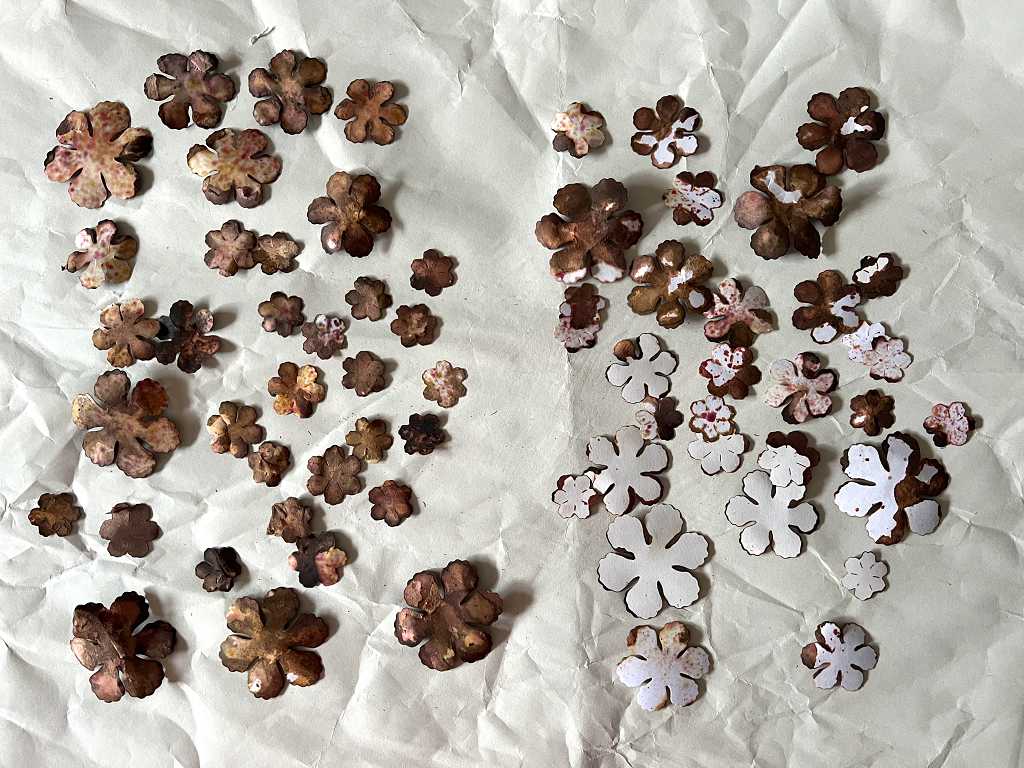
A closer look at the flowers.
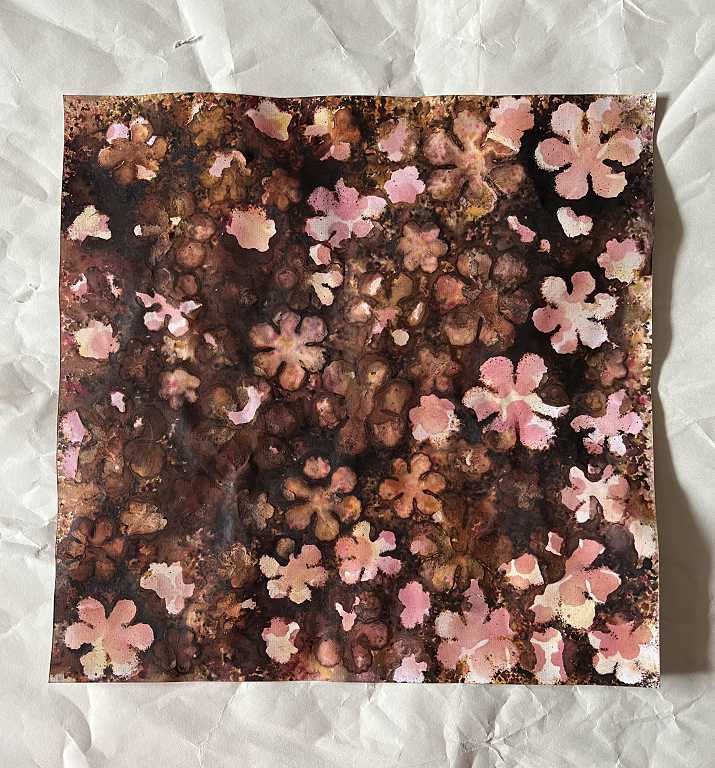
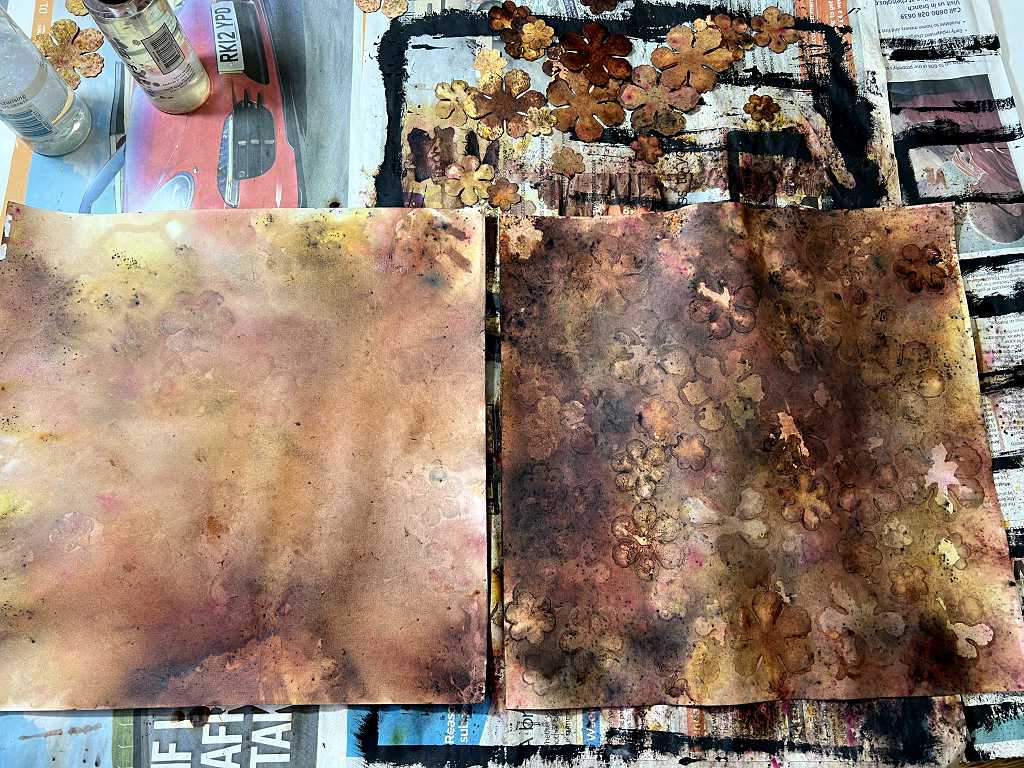
Replacing the flowers face down, in different places from before. This is the result.
The second sheet
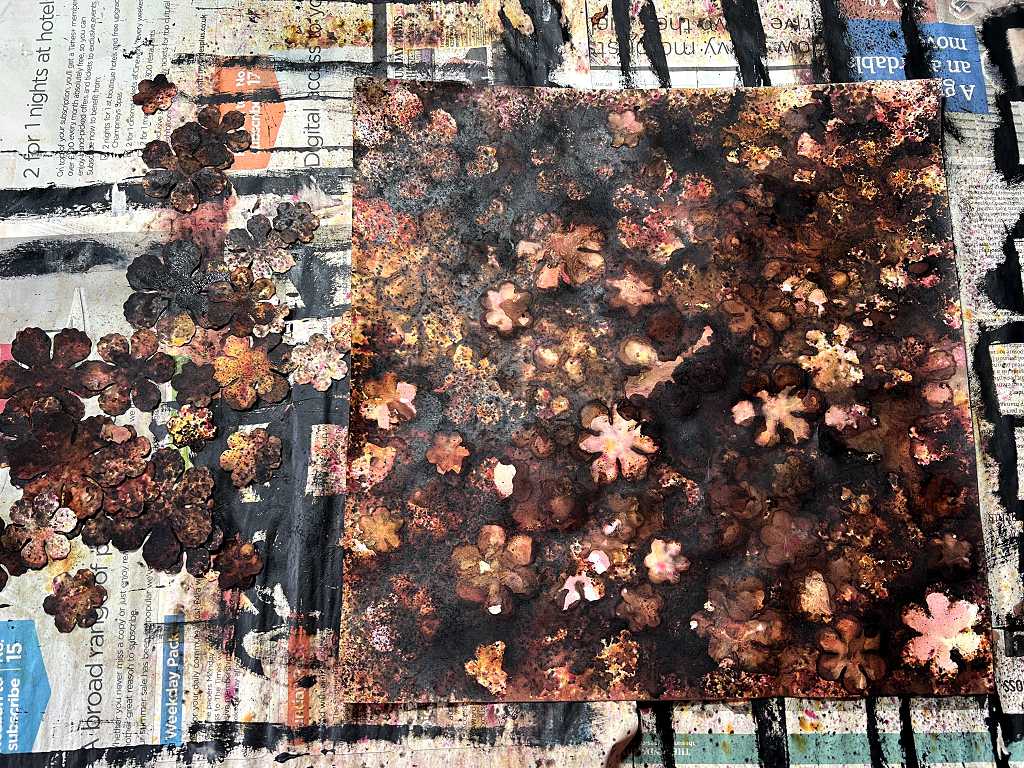
When I sprinkled on more Infusions and spritzed the whole thing generously with water, there was a huge amount of pooling of the colour and it was very dark. I therefore took a fresh sheet and placed this down exactly over the top and pressed it down to blot off a lot of the liquid. This produced a gorgeous background piece!
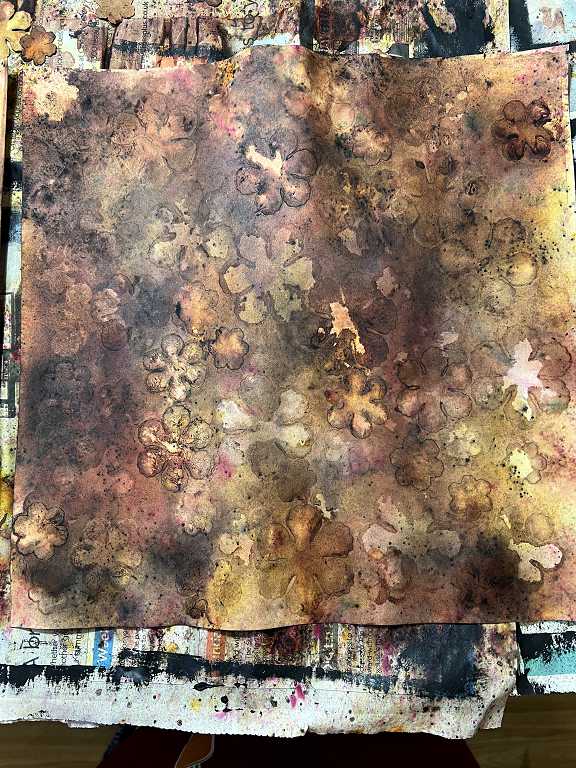
The resulting sheet, with the flowers still in place.

After removing the flowers, I replaced some of them upside down. Some went back where they were because I liked that previous result and didn’t want to spray over it again. As a result there were quite a few flowers that didn’t go back and get sprayed again.
Spraying and blotting off again. Another useful background generated.
Removing the flowers.
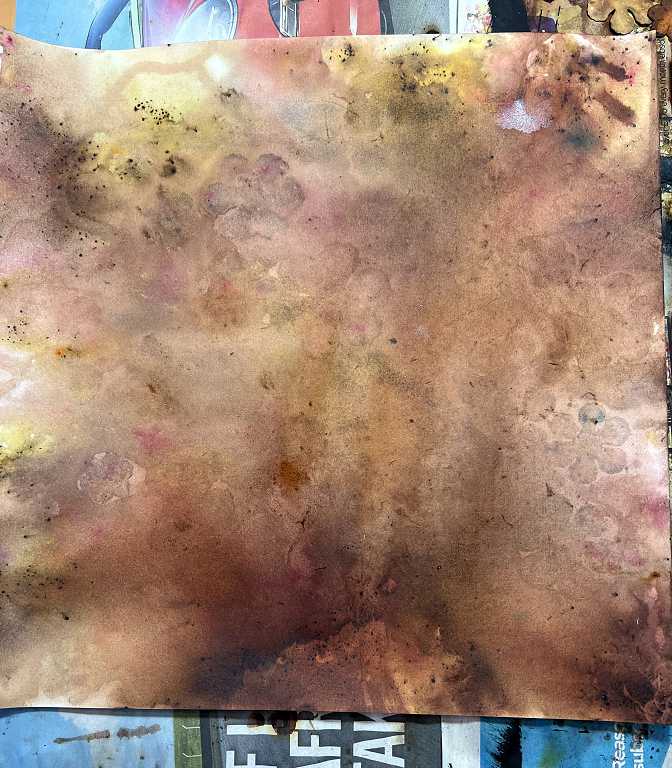
The blot-off sheet.
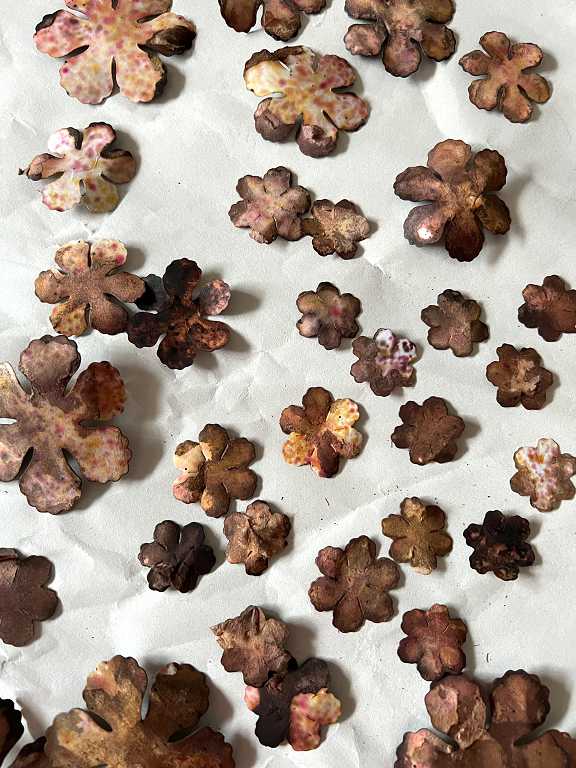
The flowers.
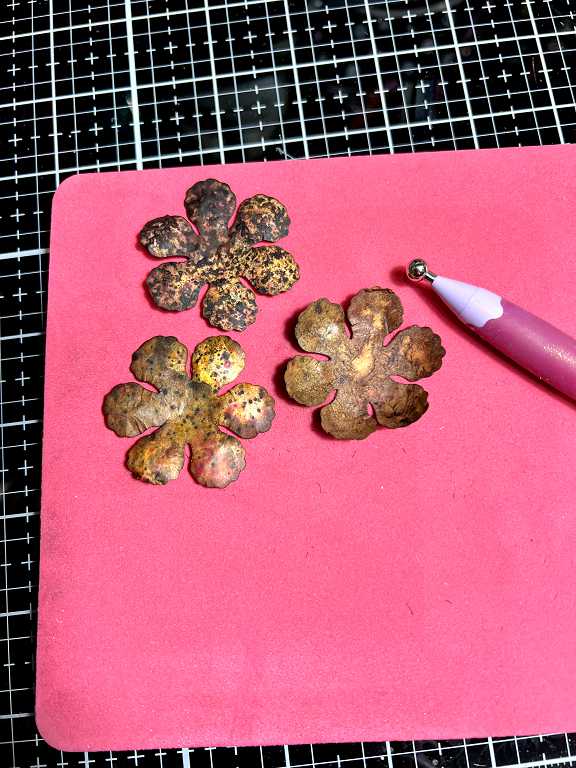
Hand-embossing the flowers using a ball embossing tool. I pressed this into the back of the flower petals, working on a foam mat. Then I flipped the flower over and pressed down into the centre using the same tool.
Observations
I noticed in particular on the second sheet that when I sprayed it, the water seemed to bead up on the paper. I sprayed on more water which helped, but it flooded the whole thing, and caused some pooling. I added a few drops of washing up liquid to my spray bottle and this reduced the surface tension of the water sufficiently to prevent this happening again. Using a blotting off sheet was great because I ened up with some useful sheets for other projects.
Using the Rocky Road was a mistake. It all came out too dark.
On the first sheet, I left it to dry almost completely before removing the flowers. This was a mistake because a lot of them were quite stuck on. It took some time and effort to remove them carefully so they wouldn’t rip. When I did the second sheet, I removed them while they were still a bit more damp, and that worked OK.
I have ended up with some useful flower pieces for my mini-album project. The different sizes of flower shapes can be layered after embossing which looks great. I have been able to lift the ultra-grungy-ness of the flowers with the addition of a little gilding wax around the edges.
I shall be doing some more Mask and Spray with other colours, but using either a single colour, or no more than two colours so that it doesn’t get so dark.