INFUSIONS MINI-ALBUM – COMPLETING THE COVER
I have at last completed the cover with its inner parts, but I have had to re-think various things which were not going to work.
Vellum disaster!
Vellum can be a pain to deal with. It’s very sensitive to moisture and 99 percent of glues aren’t any good with it because they show through. When you get it right, though, it’s a star player in a project and can lift it to a new level.
The first problem with my vellum was that the inked stencilling was too dark and wouldn’t have allowed anything to show through. I wanted a subtle effect and this was not it. I tried wiping off some of the ink with a slightly damp piece of kitchen paper. Later I found that the edges of the vellum were curling upwards. I gave it the heavy book treatment for several hours without success. I sprayed it with water and sandwiched it between baking parchment and again gave it the heavy books.
Later I came back, and for the first few minutes it looked OK apart from a few wrinkles, but as it dried, this happened.
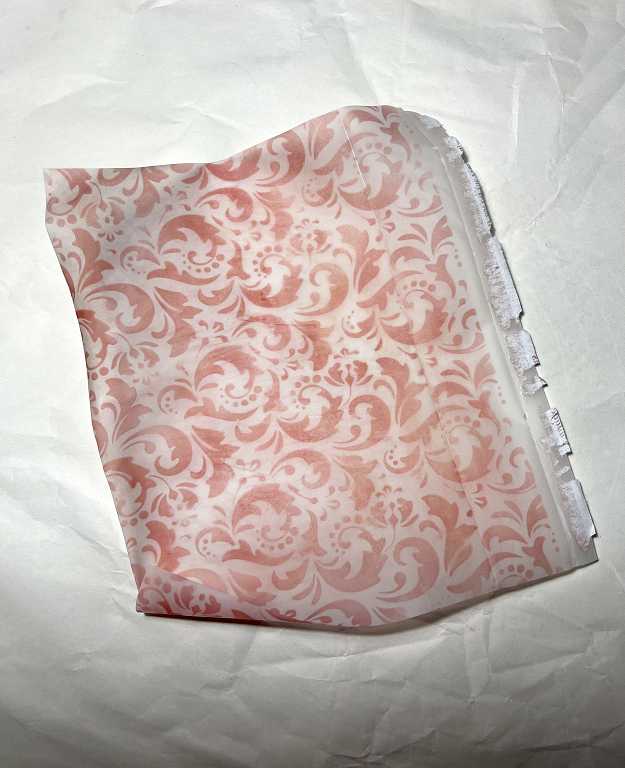
Total disaster. The photo shows it after I’d ripped it off. I’ve kept it as it might come in handy for collage or something.
Title page re-think
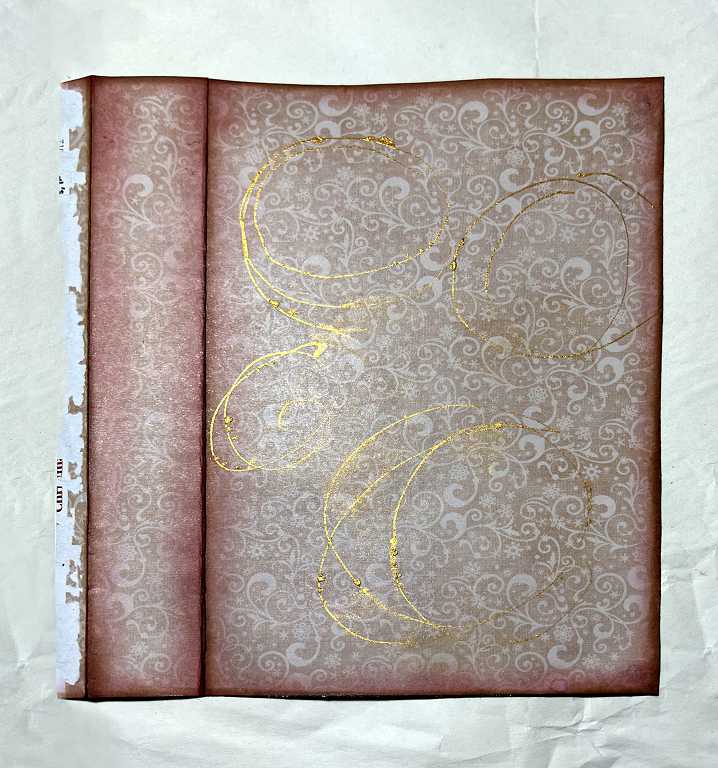
So – back to the drawing board and a major re-think about the appearance of the inside of the book.
I decided to go with the patterned paper, but to add a bit of embellishment to it in the form of the same gold swirls I put on the outer cover. You can see the tatty flap on the left where I ripped off the vellum, but this will be glued down onto the back cover and won’t show.
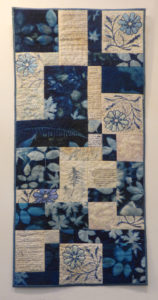
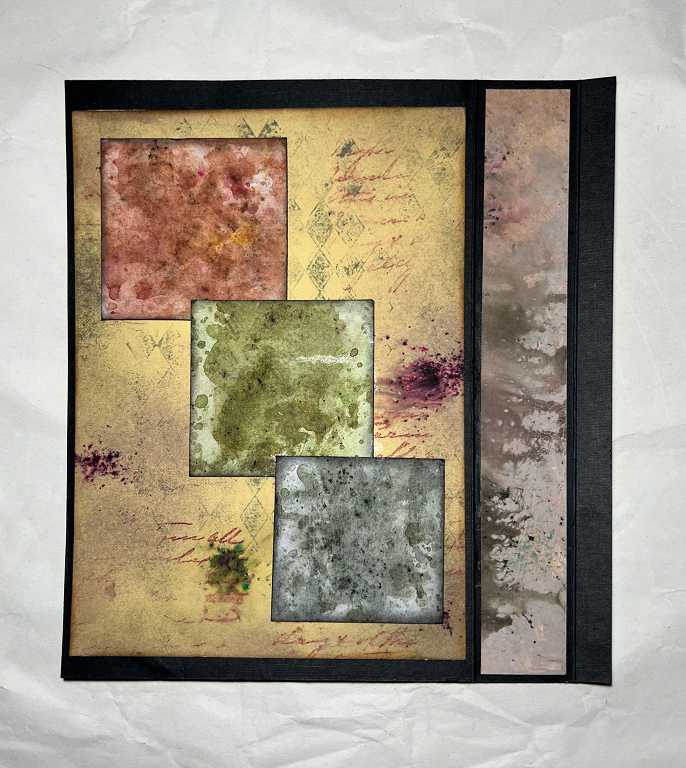
The back of the title page
On the other side, I stuck down some pieces of Infusions paper I’d done when I started the project back in 2017. There was quite a lot of material in the box and I thought I might as well make use of it. The small squares were originally going to be part of card toppers. I’ve got quite a few left and they will be useful in other projects, for sure. The larger piece for the background was a sampler piece, experimenting with stamping on a background of Infusions, and unfortunately it wasn’t quite tall enough to fill the page but I think it looks OK. I used one of the narrow offcuts from the other large pieces to cover the spine. The flap of black card on the right is the tab to be glued down onto the inside of the back cover – the reverse of the tatty part in the previous photos.
Labels and titles
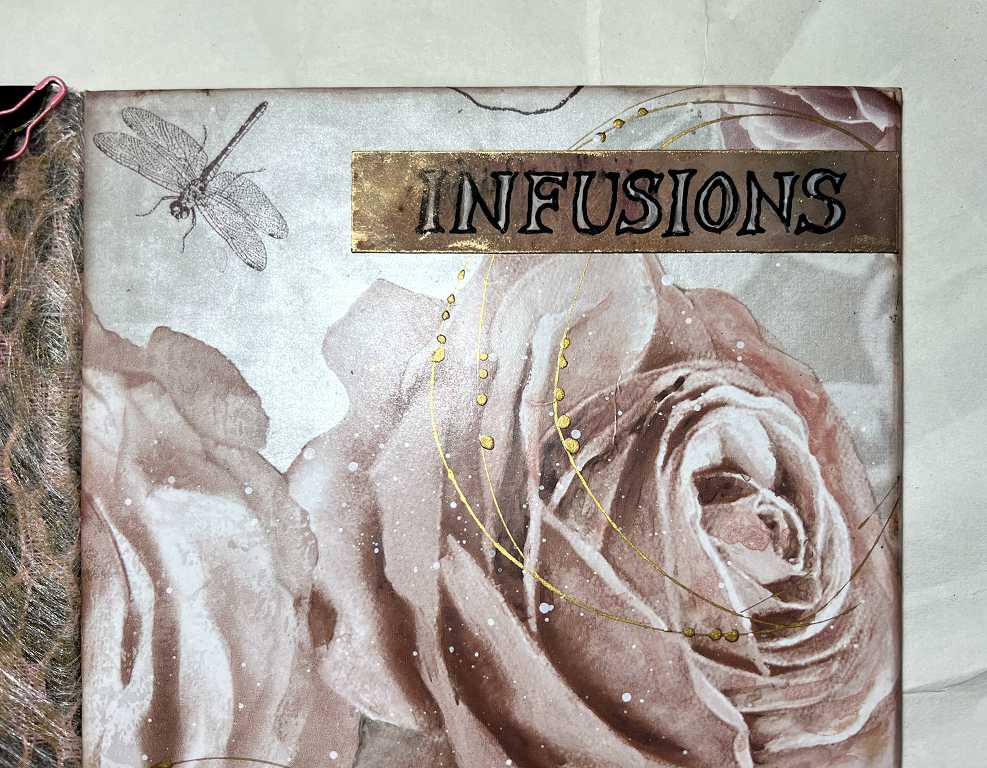
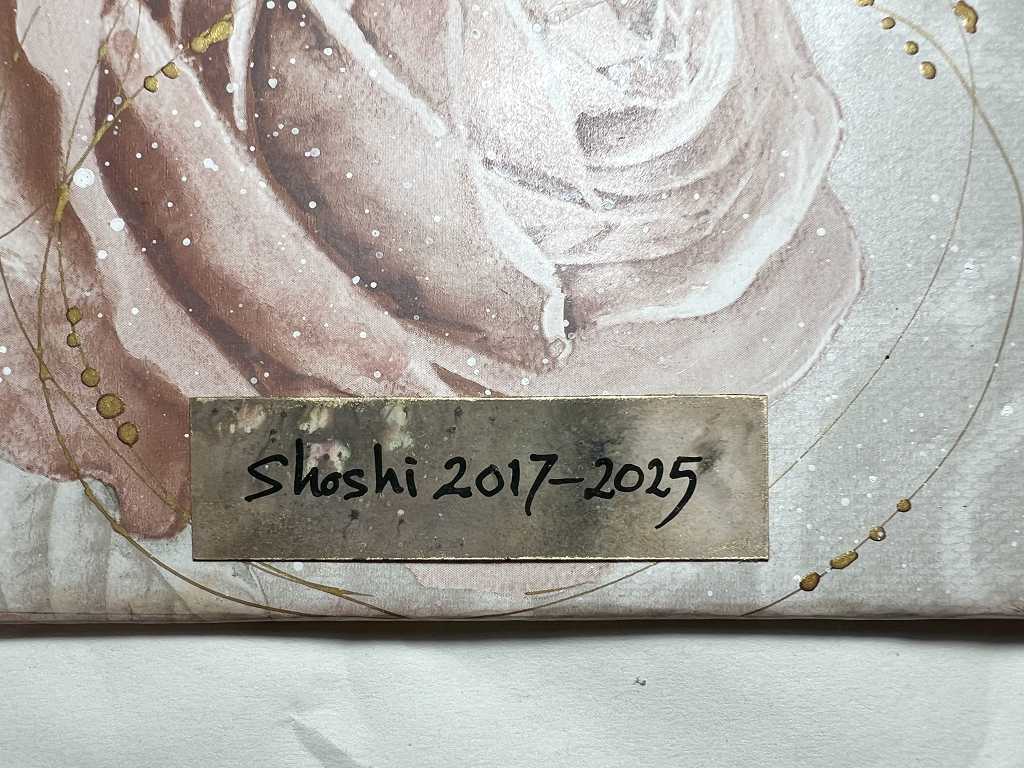
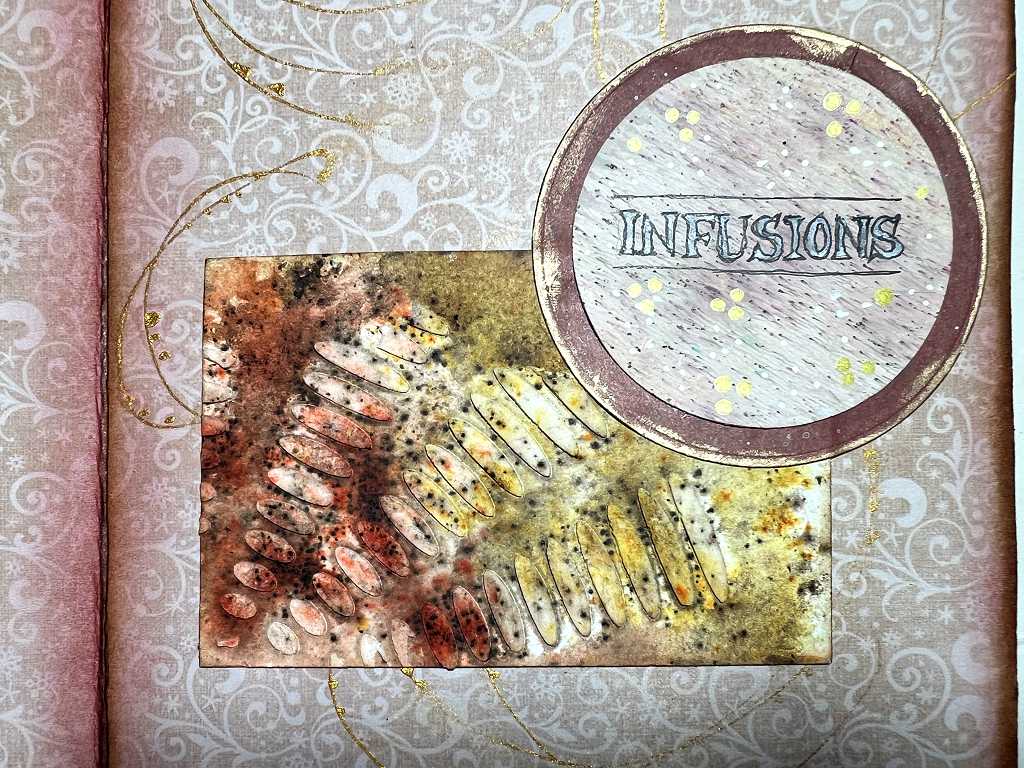
Next, I worked on the various labels and titles for the book. Again, I had made a number of these die-cut circles in 2017, and thought I might as well use them. When I wrote the titles on them, they looked a bit plain and boring, so I added some dots and mark-making with white and gold acrylic markers, and rubbed some gilding wax around the edges, which was a definite improvement. I also decided, after all, to make a title for the front cover. Initially I thought I wouldn’t do this but a fairly discreet smallish title didn’t seem out of place. Finally I made a signature to stick to the bottom of the back of the book. Both these labels were made from offcuts of Infusions paper.

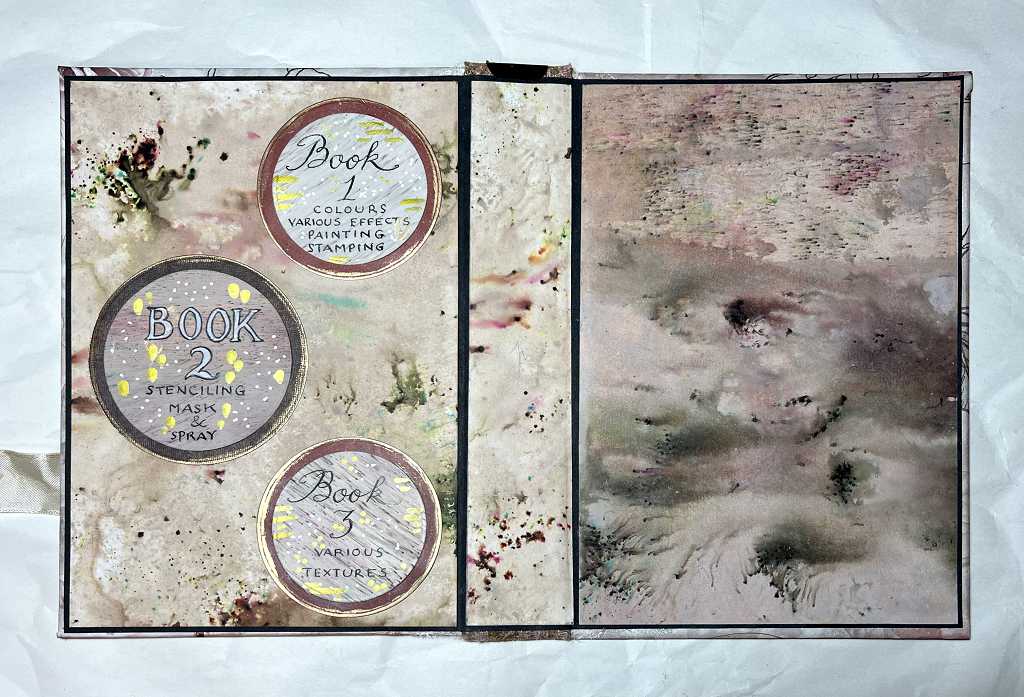
Inside the front cover
My original plan was to put the circles on the title page underneath the vellum, in a vertical overlapping arrangement, but now I laid them out inside the front cover and stuck them down.
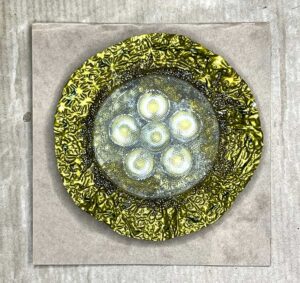
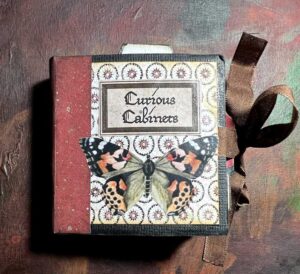
The completion of the outside of the cover
Here is the outside of the cover complete with the title and signature. You can also see that I have put a small pink bulb pin through the spine embellishment tab. I shall use this to make a detachable spine embellishment.
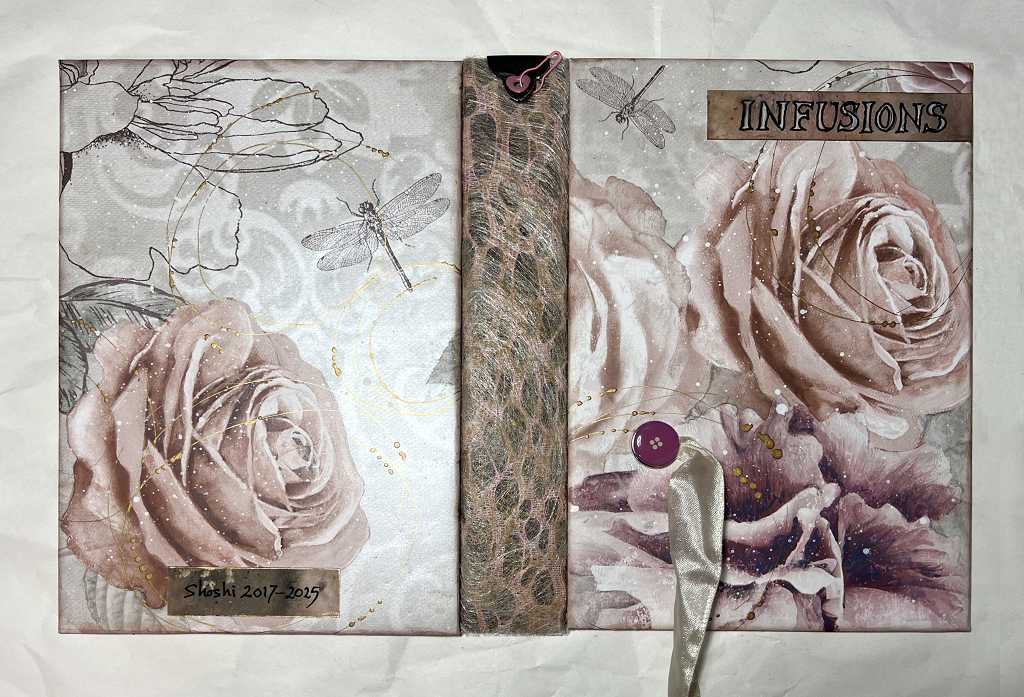
I don’t think either label detracts from the beauty of the floral wallpaper, and the main title provides some balance for the brad and ribbon closure.
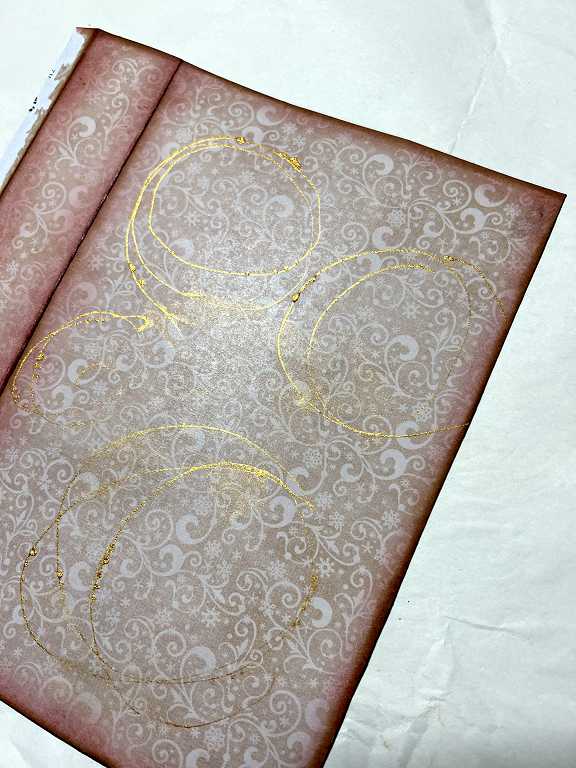
The title page
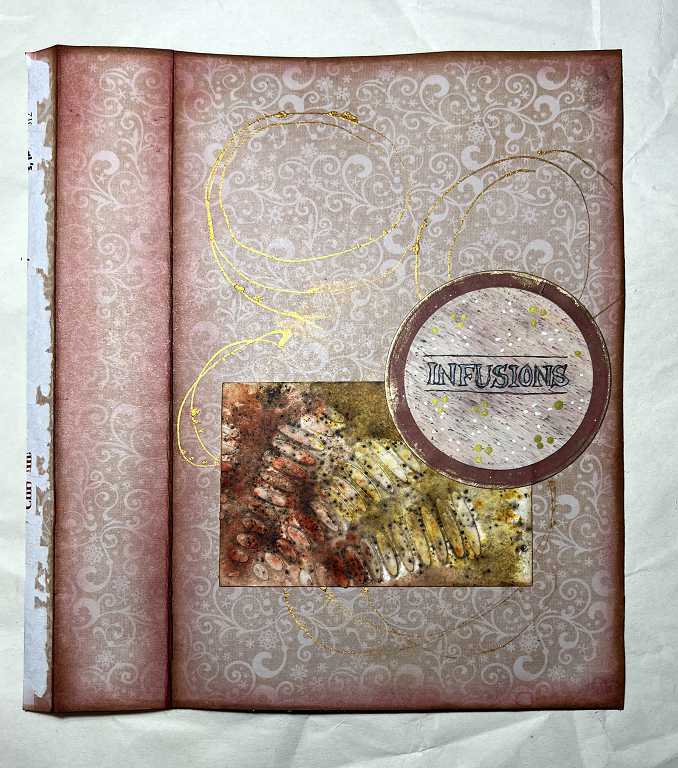
I overlapped a spare infusions tag I had in the box, with another die-cut circle. The circle motif echoes the gold circles on the background.
The completion of the cover with its internal elements

I am very pleased with how this has turned out.
It was exciting to come to the final part of the construction, glueing the three mini-albums into the cover.
However…
MAJOR problem!!!
Back to the drawing board again
I stuck the first one down, and fortunately tried an initial flip-through while the glue was still wet. THE BOOK WOULD NOT OPEN. The first few pages were OK, but as I continued to turn the pages of this very thick little book, the spine curved up and lifted its back cover away from the cover of the book! I tried moving the mini-book further out towards the edge but the result was the same.
Glueing the books down onto the inside back cover was clearly never going to work because there was no room for the spines to flex. I could not open them flat and the best I could do was to get them to stick up at right angles to the surface.
I had absolutely no idea this was going to happen because I had always held the mini-books in my hand to open them and flip through their pages and everything seemed fine.
What to do?
The only solution which will work
The mini-books are going to have to be separate from the cover. I am going to have to glue some strips down onto the back cover, through which I can slot the final page of each mini-book. To look at them and consult their contents, they are going to have to be removable.
Fortunately I was able to clean off most of the glue from the back cover with a damp cloth. If the mini-book had been in place for more than a few seconds, pulling it away would have ruined the back cover.
If I can make this new plan look good, and not a total mess, it will actually be a benefit, because the book will be even more interactive than originally planned. The final appearance will be the same when you open the cover and the title page.
I shall have to glue something onto the back of each mini-book, because at the moment the final page is unfinished and messy. There was no need to cover the backs initially because they would have been glued down.
I had hoped to finish the project today, apart from the spine embellishment, but obviously this is going to involve quite a bit more work. Never mind – I shall get there! Sometimes it is impossible to plan everything ahead to avoid any problems, and with a complex project like this, there is a certain amount of making it up as you go, and solving problems as they arise.
Watch this space.
PS I’ve just had another idea – MAGNETS! I’m sure I could conceal them under some kind of decorative strip on the back cover and it will be easy to install them on the backs of the mini-books because I haven’t yet covered them. There will be something immensely satisfying about clicking them into place!