ALBUM FOR FUSSY CUT STORAGE PART 1 – PREPARATION
My current fussy cut storage
At the moment, I am storing my fussy cuts in paper CD envelopes with a circular translucent window. These fit neatly into a small cardboard box which sits on the shelf.
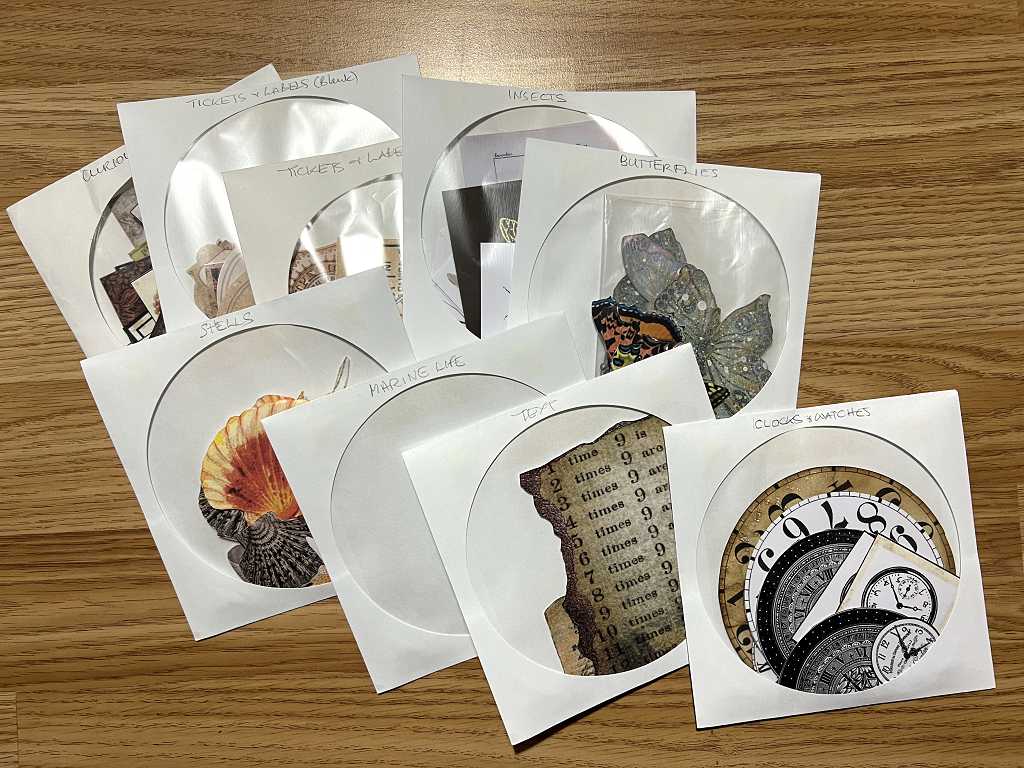
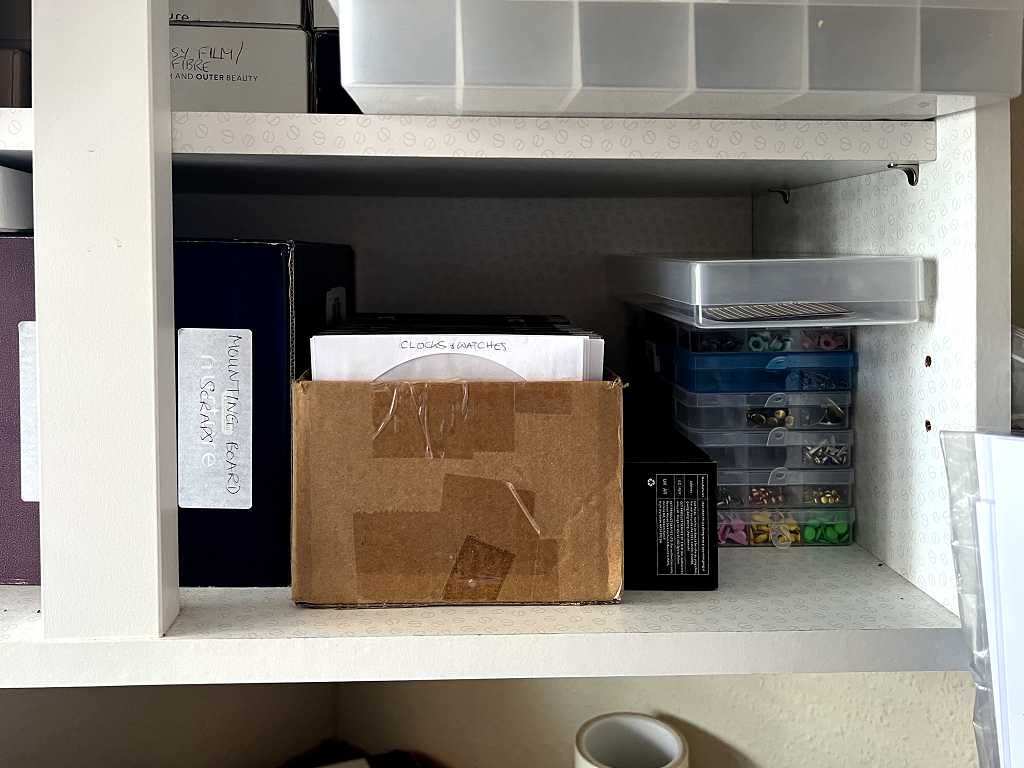
The trouble is, I have recently started generating far too many new fussy cuts to fit into this system!
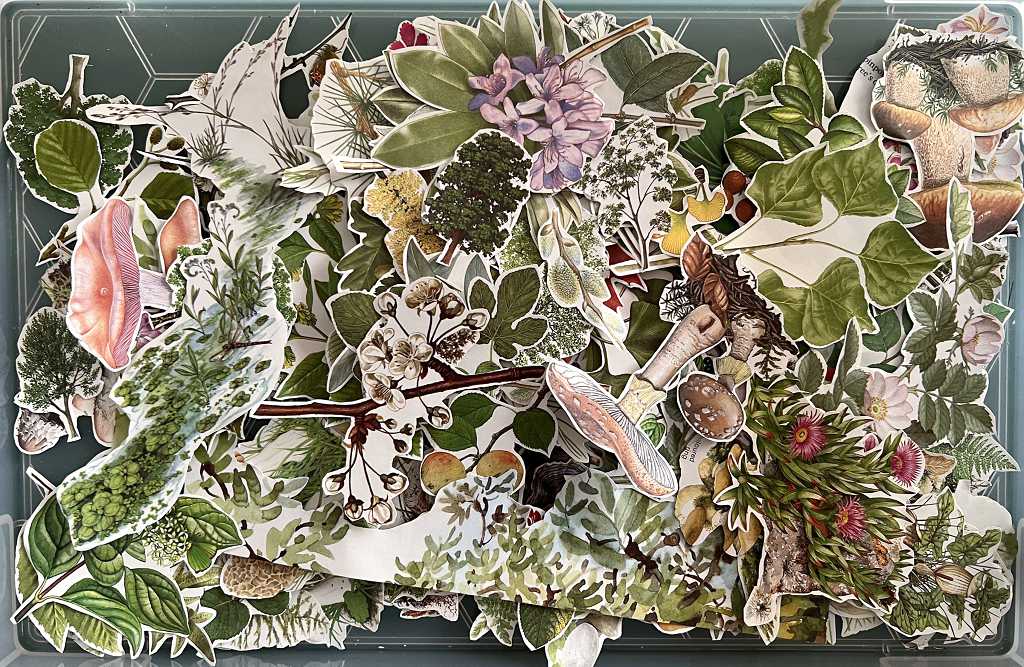
I’ve been working my way through some old books which I got on Ebay, of British plants and animals, with beautiful illustrations which lend themselvesvery well to this, giving them a new lease of life in my art projects.
A better storage solution
I was watching Luise Heinzl on YouTube recently (she does amazing mixed media albums) and she was looking for postage stamps to add to a page. She has them stored in an album based on those which stamp collectors use, with rows of translucent strips across the page, behind which you tuck the stamps. I thought this would be an indeal solution for the storage of my fussy cuts.
Her album was an existing old book which she had altered, but I knew I needed a more adjustable system, to which I could add further pages as necessary.
Ring binders
I have a number of two-hole loose-leaf ring binders for documents, but I didn’t really want to use those. I needed something which would give the pages a bit more stability, and decided to go for the 6-hole system. Again, I needed something more customisable than the standard folders on offer, so decided to make my own. I found some ring binders on Amazon which you can attach to your own books, and ordered a set of two.
My first plan was to make a template so that I could punch the holes myself, but it was really hard to measure the binder and get the holes in the right place – nothing seemed to be of a standard measurement. In the end I thought it would be much simpler to buy a 6-hole punch, and found one that was adjustable. The ring clips are in two sets of three rings each, and the distance between the two sets can be adjusted, so you can punch for A4, or Filofax, or whatever you want. There’s a guide that pulls out for the various standard paper sizes, or you can set it in between for your own custom size.
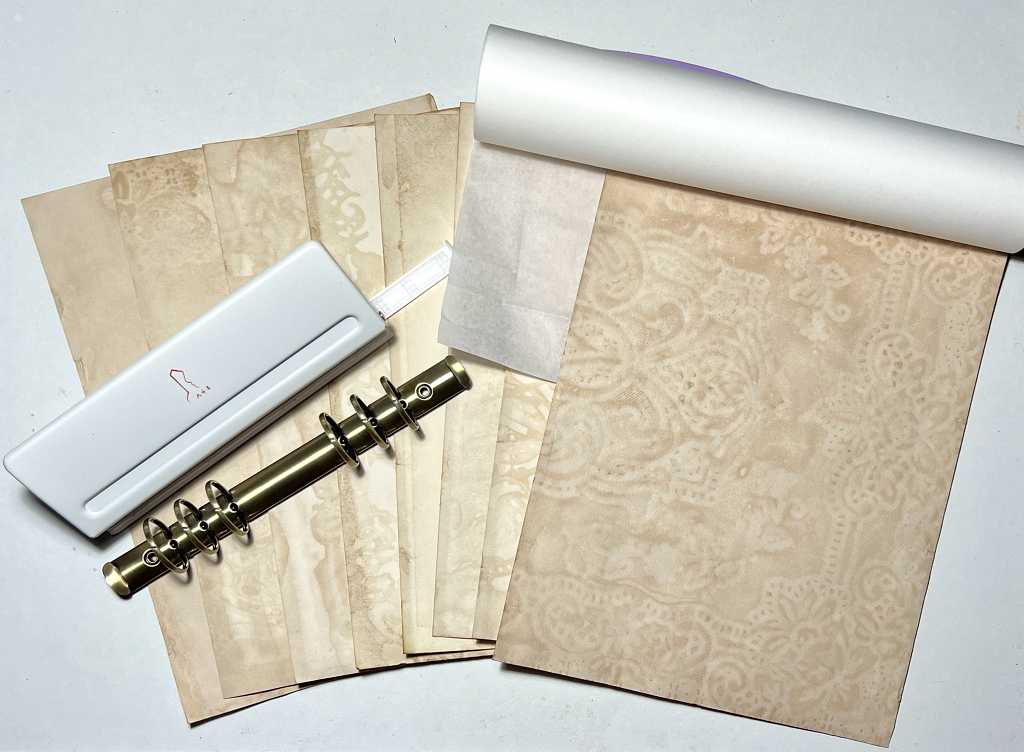
This is what I did. I had some sheets of thickish slightly textured card in my stash which someone had given me many years ago – fairly long and thin and not standard size. I thought this would be a good opportunity to use these up, so I cut my pages to 9 x 12 inches.
I tea-dyed these pages, layering some of them with a plastic lace table runner for a bit of variety.
The resulting album would also be able to accommodate A4 should I want to add further pages, or I could cut them to the same size from cardstock.
I also bought a roll of tracing paper from Amazon, thinking this might do for the pockets, but it is pretty thin. I may be able to double it, or I may end up using thicker vellum. I shall have to try it and see if it will work OK.
Here are the supplies ready for making the pages.
Template
I did end up making a mount board template, so that I could use this for any subsequent hole-punching I wanted to do. The ring binder comes with a pair of studs and screws to attach it to the spine of your book, and I had a job finding the right punch for the hole. You can see a mark on the card around the hole on the left. This was caused by my trying to force the thick mount board into my 1/4 in circle punch, which wasn’t going to work because I couldn’t get the card in far enough. Anyway, 1/4 in was too big. Eventually I thought of using my Crop-a-Dile, and the 3/16 in punch was perfect for this, and so easy too – that tool will punch through virtually anything!
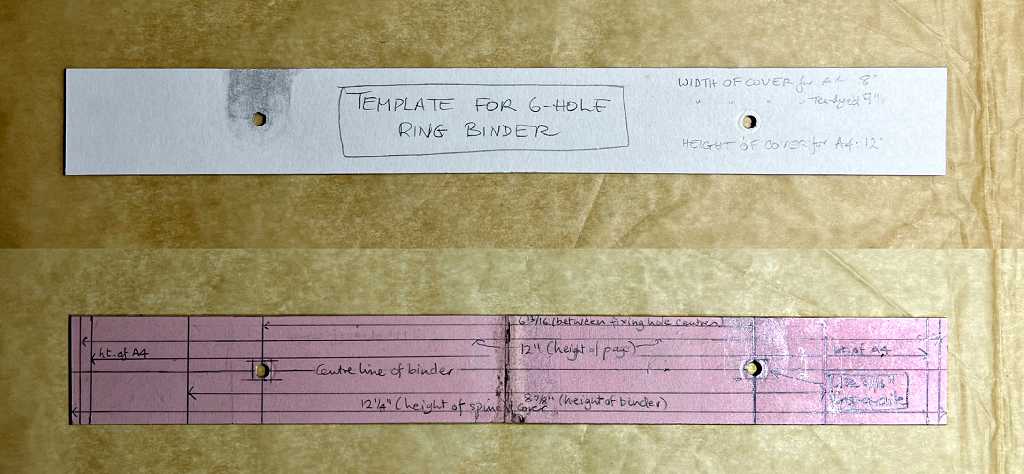
The other side of the template has the measurements written on it, so that I can line it up on my page, draw through the holes and punch with the Crop-a-Dile. It took me ages to make a template I was happy with, but it was a good investment of time because it’s going to be useful not just for this book but for others in the future. The 6-hole punch has a centre mark to line it up, so the pages will line up neatly.
The boards cut for the book cover
Here are the three pieces to make the cover for my book – front, back and spine, all cut from mount board offcuts in my stash. You can see the punched holes in the spine, through which I will put the fixings for the ring binder.
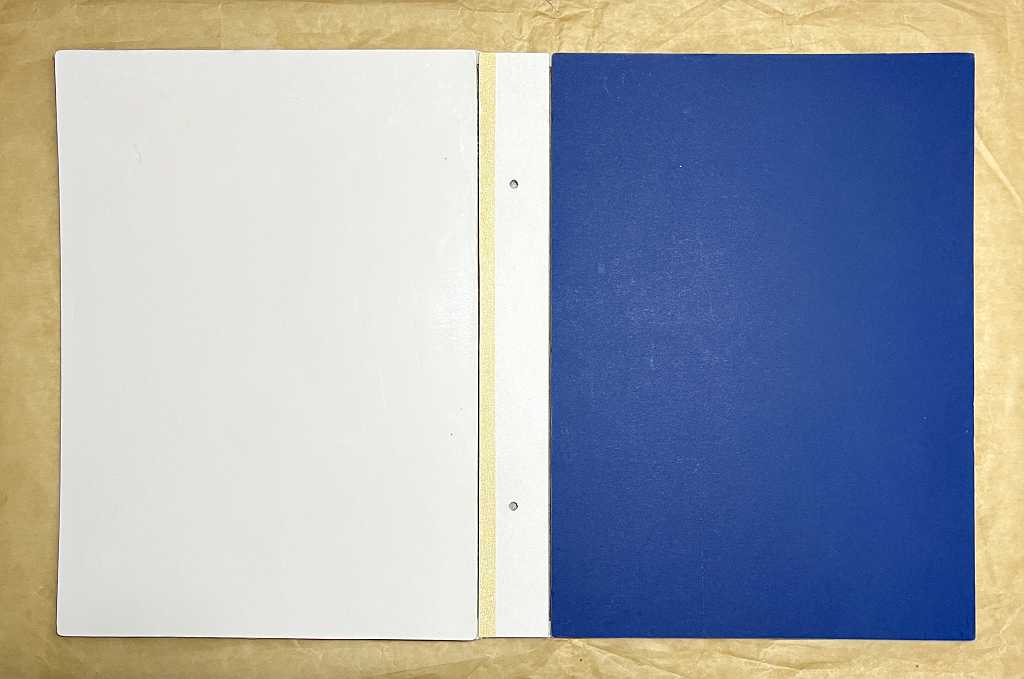
I put a scrap strip of mount board vertically between the pieces to create the correct spacing to allow the cover to fold, and temporarily taped the cover top and bottom to my table with masking tape.
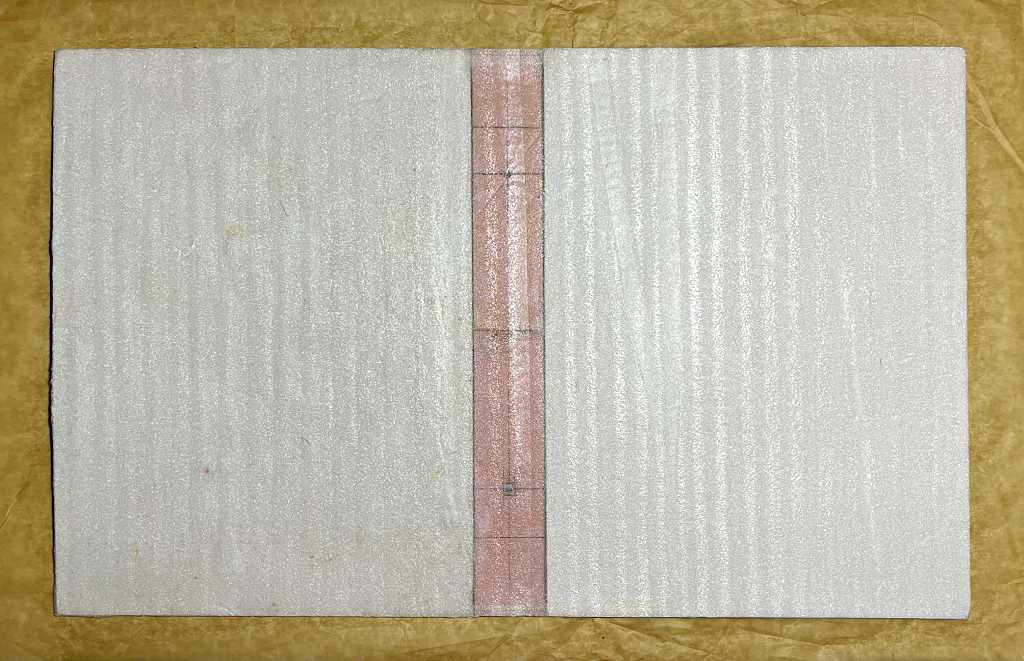
Padding the cover
I like to add a bit of padding to my book covers before I cover them with whatever paper I choose for the purpose. It gives the book a more luxuriant feel. In this case I am using a piece of thin packaging foam stuff which came with something or other that I’d bought – it is often used to wrap delicate items in transit. I stuck it down with matte gel medium. I thought this would warp the mount board less than PVA, and I wasn’t sure how my solvent glue (Collall All-Purpose adhesive) might react with the plastic of the foam. Once it was stuck down and fully dried, I trimmed off the edges. I also peeled off most of the temporary masking tape as the padding was now holding the pieces in the correct position, ready to be covered with my chosen paper.
Pages in the ring binder
Here are my punched pages inserted in the ring binder to show how they will look once bound in the book.
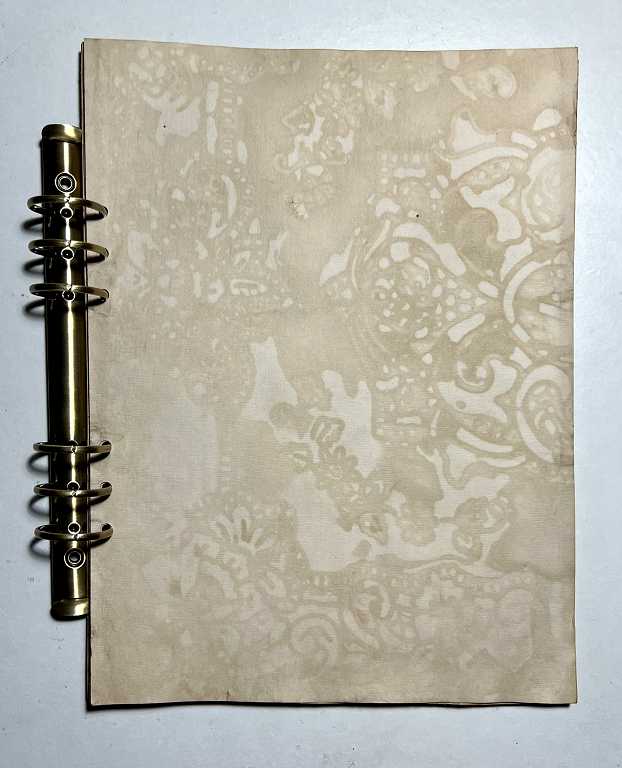
I think the antique bronze colour of the binder goes very well with the tea-dyed paper. You can get these binders in a variety of different colours. As you can see there is plenty of room for expansion beyond my initial eight pages.