JUNK JOURNAL – MAKE A JOYFUL NOISE PART 14
Elements for the first signature
I have been working on the finishing touches of the first signature. There were three remaining pockets which required contents.
Pockets on the first and last pages of the signature
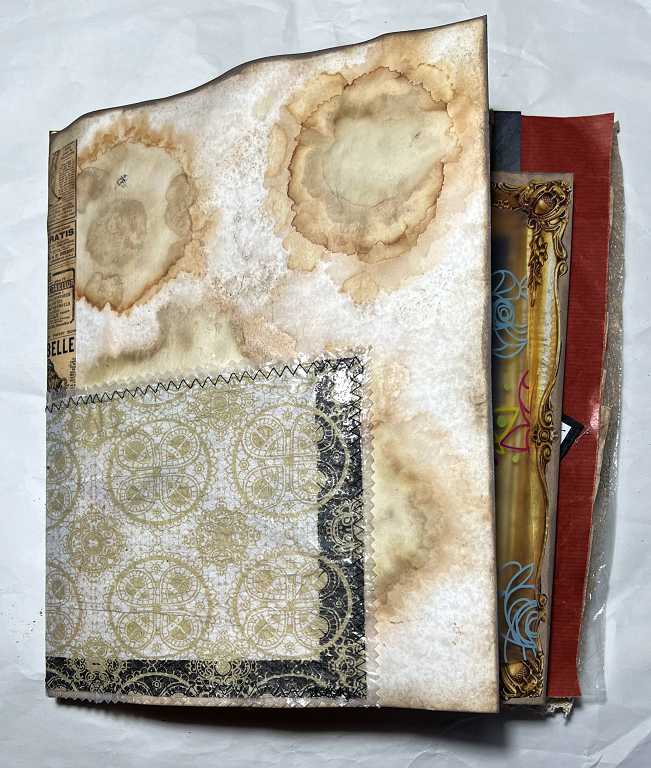
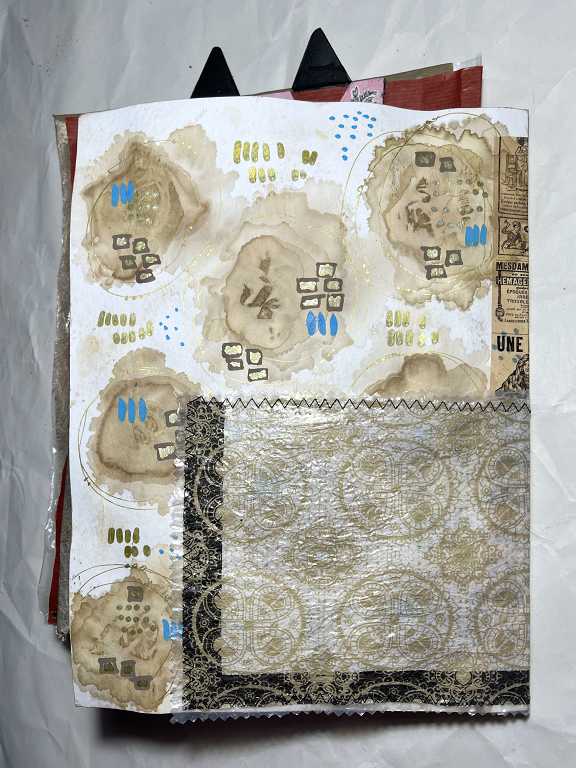
I had formed a pocket across the bottom of the folio forming the first and final pages of the signature. This was made from a napkin fused between two layers of cereal box liner. It wraps around the signature and features zig-zag machine stitching.
I wanted to make something really scrunchy to stuff into the pockets. I took two pieces of cereal box liner for each element, and fused the edges with an iron and baking parchment. I deliberately held the hot iron in place not only to fuse the layers, but also to cause additional melting. As I pulled it away from the baking parchment, it stretched and produced a very interesting ragged texture. I did this on three sides initially, and after filling it, I sealed the fourth side.
First pocket element
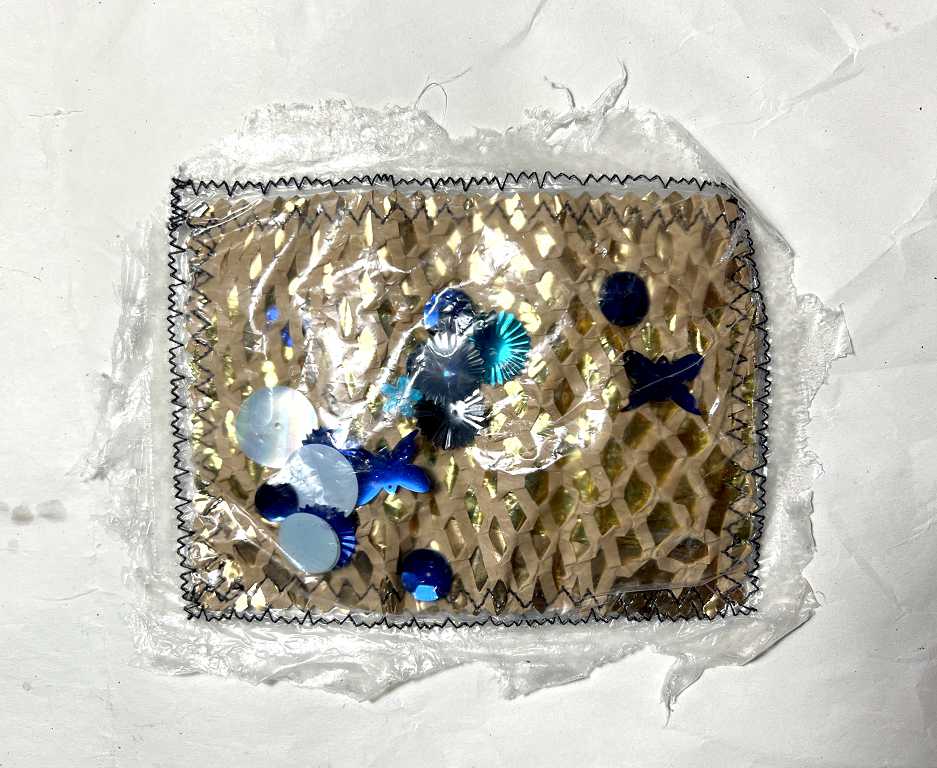
I filled this with scraps that I cut up small from the large gold foil sheet which forms a folio in the second signature. I also added a few random sequins from a bag I have had for more years than I can remember. Someone gave me this and most of the sequins are not something I would ever use in a conventional way, but for shakers they are ideal. It’s a bit difficult to see them in this photo because as always, it is hard to photograph very shiny things.
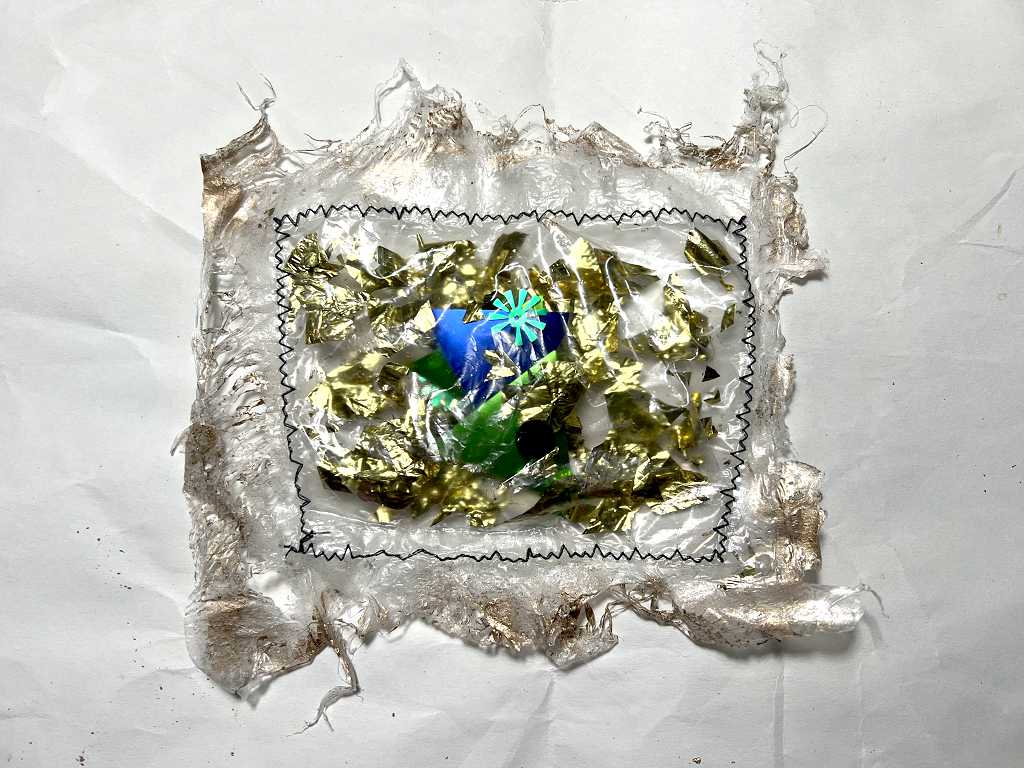
Once all these bits and pieces were in place (which wasn’t easy because they were pretty static and kept sticking to my fingers and everything else!), I fused the final open edge of the bag. I then ran around it with my sewing machine, using my favourite stitch. You can see that it is rather uneven in places because this material is pretty slippery and it was difficult to achieve a steady feed on the sewing machine. It doesn’t matter though, because after all, this is a junk journal and perfection isn’t what we are after here. To complete it, I rubbed gilding wax over the frayed edges.
Second pocket element
This is the other end of the pocket, on the final page of the signature. It was attached in the same way.
I wanted to do something similar, but also different. I proceeded as before, sealing closed three of the four sides.
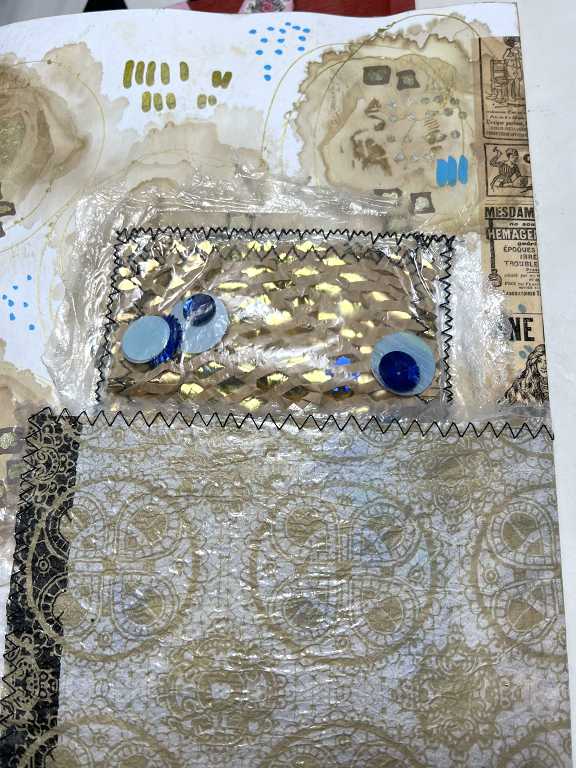
I made a flat piece to fill this bag. The base of it was cut from a matte gold piece of packaging from inside a chocolate box. This stuff is double-layered and quilted, and makes a nice sound when handled. I glued down a couple of narrow offcut strips of the gold foil, using a glue stick. Then I took a small piece of brown paper mesh packaging material and spritzed it lightly with water, before ironing it so that it was stable, but not completely flattened. The water trick was somehing I learned recently on YouTube and it’s a great solution, because this is pretty springy stuff. This was also glued down with a touch of glue stick enough to hold everything in place after I had inserted the piece into the bag. I chose further bits and pieces from that random sequins bag, this time choosing exclusively different shades of blue which would echo the blue mark making on the underlying teabag stains page.
The two strips of gold foil are better than a single one cut exactly to size. When you put the paper mesh over the top and secure that in the same manner, you glimpse patches of the gold showing through, and it produced the desired random effect. Finally, I stitched around it as before, and repeated the sealing process. I was quite pleased that despite my trimmming it down to fit, it was still slightly large, and bulked up the bag and made it more scrunchy.
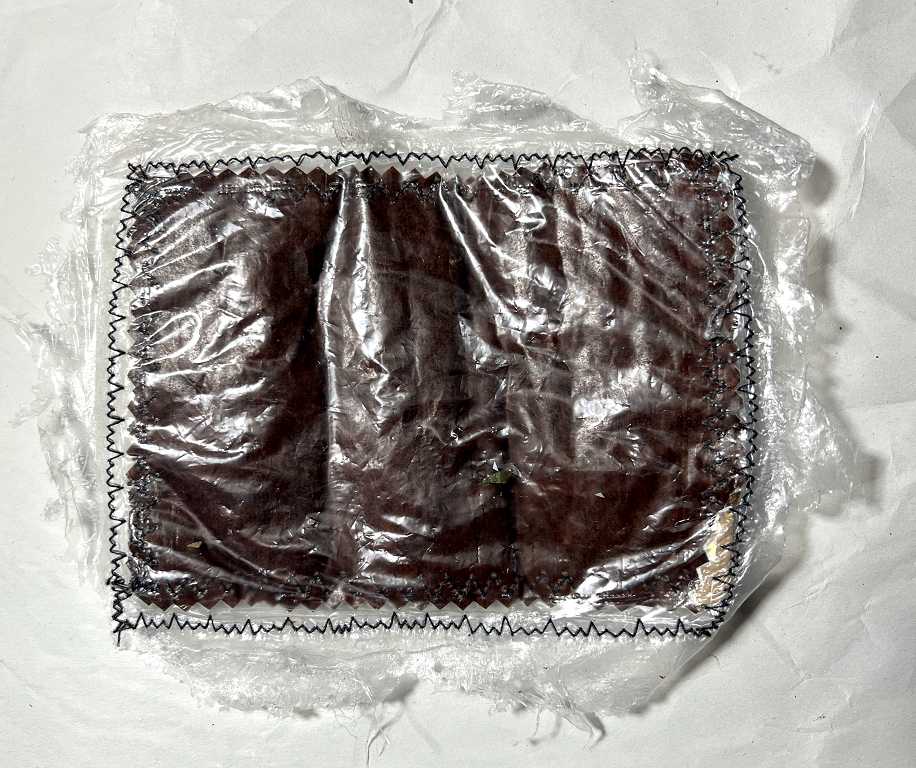
I left the back of this element blank. The back of the chocolate box packaging is brown, and co-ordinates well.
The machine stitching was a lot more even on this one. I am so, so thrilled to be able to work this particular stitch! I was disappointed that my large Brother sewing machine, for all its numerous fancy stitches, lacked this one, which was included on my new mini-machine, my Baby Brother! (That’s the main reason I bought this machine!). The machine itself is a dream to use and I am so glad I bought it.
Here it is, inserted into the pocket on the back page of the signature. Lots of circles – teabag stains and dots, the circular design on the napkin, and the contents of the bag.
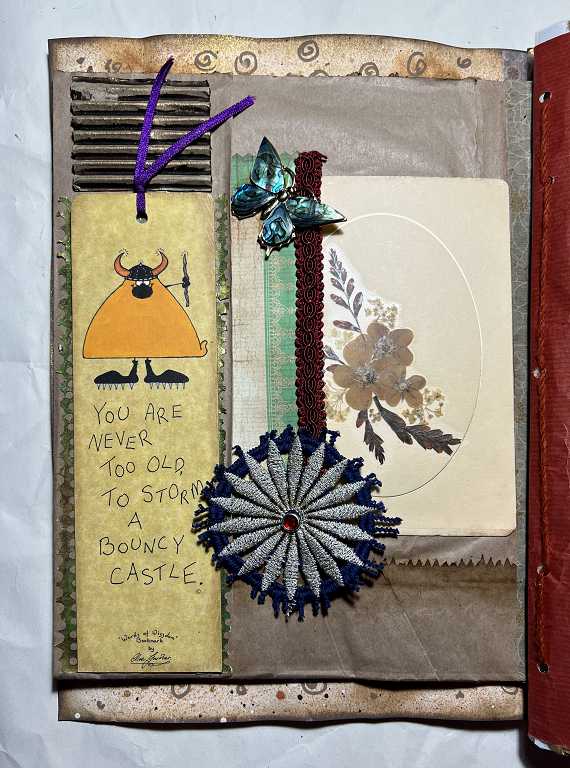
Element for the bouncy castle pocket
The bouncy castle bookmark had been stuck down to form a side pocket on the page.
A few weeks ago I got out a paper carrier bag from a clothes shop and found that it had been badly damaged, so I cut it up and saved what I could from it. The black and white floral drawings on it were added to the main sounds page in the first signature, made from the baked beans packaging. There were two panels with the name of the shop, “East” on them, and I took one of these to alter.
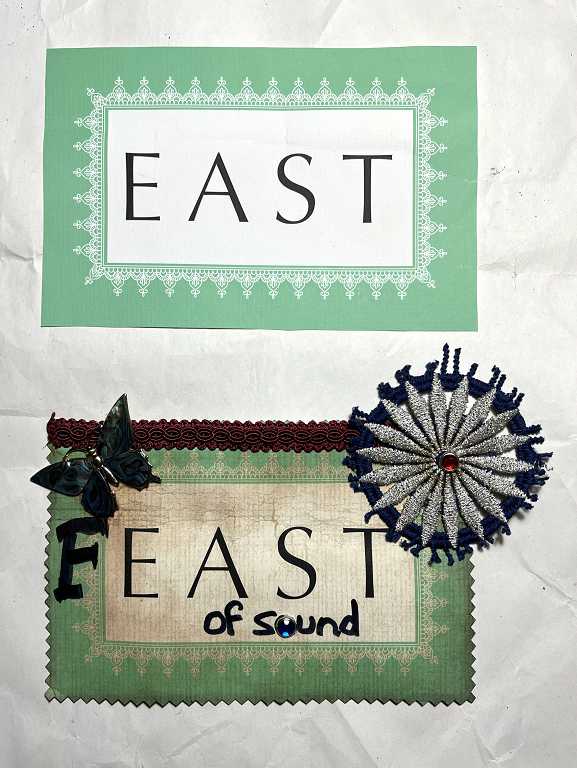
It was much too stark and white for this project, and I needed to age and distress it. I did this with the addition of Distress Inks, and I cut around the edge with pinking shears. It occured to me that I could use the word and make it more relevant to my project, so I sketched in a bold letter F with a chisel-tipped black Sharpie pen. The inking has brought out the texture of the paper which is a bonus.
I cut the silver and navy circular motif from a piece in my trimmings case. This was originally an awful silver top I bought in a charity shop with the sole purpose of cutting it up! The individual elements are great for projects like this. It’s much more sparkly in real life.
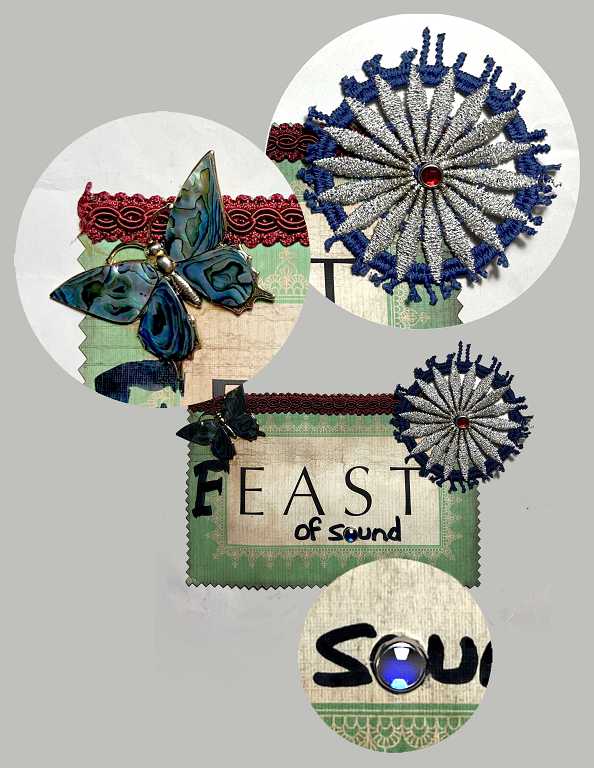
I got out my Gemagic tool which I recently acquired from Ebay and set a red gem in the centre. I also set a blue one in the “o” of “sound.” The final embellishment was a butterfly brooch from my junk jewellery box. This box is completely filled with old bits of jewellery, some of which I bought in charity shops and others in a job-lot bundle from Ebay – broken necklaces, odd earrings and so on. These make fantastic embellishments on all sorts of projects such as album covers, bags etc. I cut the pin off the back of this brooch using some snips (really hard to do!) and filed down the resulting rough projections. I stuck both these embellishments onto the piece with E6000 glue which I thought would be strong enough to hold them. I put some masking tape over the back of the “o” gem, before finding something to back the piece.
For the following photo, I worked on various elements in my photo editor to reveal their details which were not clear in the original photo.
Before adding these elements, I stuck down a small scrap of dark red fabric trim. This colour ties in with the colour of the next page.
Ages ago I did some experiments with tissue paper and various media, in an attempt to emulate some absolutely gorgeous (and rather expensive) textured and lace-like Japanese papers which I got from Taperlogy. I had various degrees of success with that project, and ended up with some tissue paper that I really wasn’t that keen on. I always keep things even if I don’t like them, because in the right context they come into their own. Such was the case with this particular element.
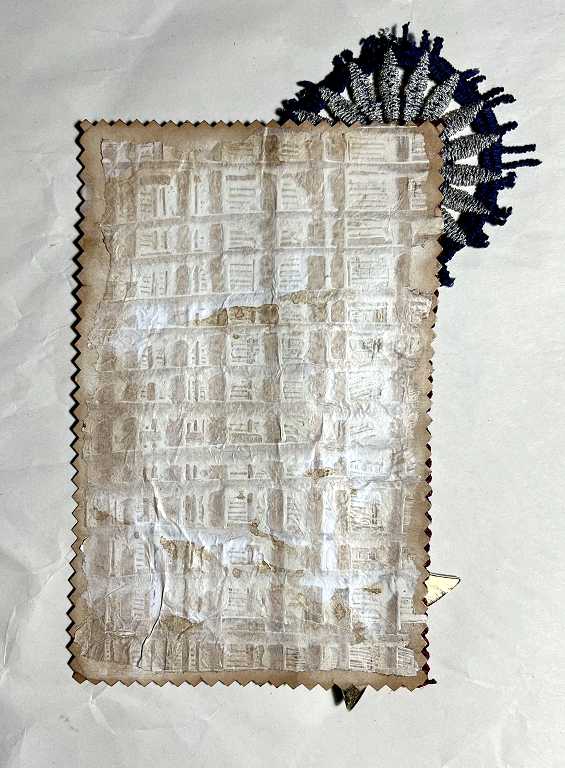
I trimmed this piece down to size using the water method where you paint with water the line you want to tear. This works best on thin paper like tissue paper, but it can be used on thicker papers too – you just have to apply enough water and leave it to soak in for longer. This is an excellent way of getting an authentic torn edge without it tearing where you don’t want!
Here is the element in place in the pocket on the page. The silver circular element is only glued down in the centre so its edge can overlap the bookmark.
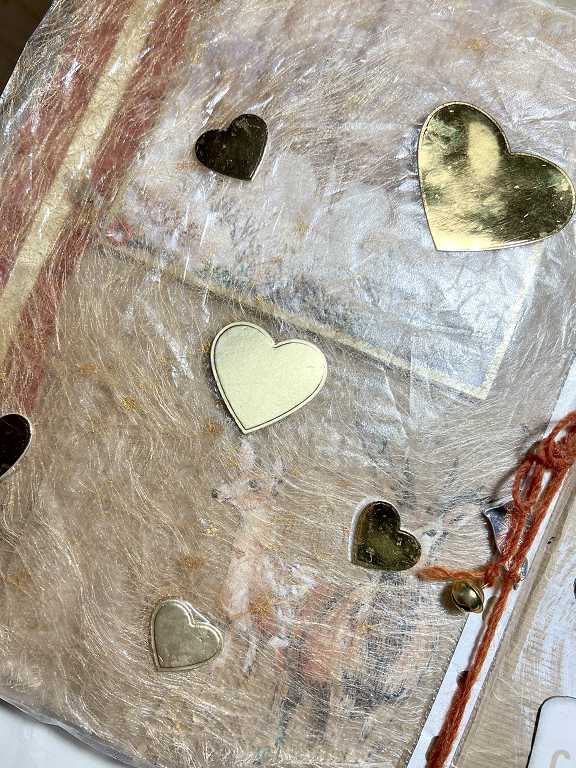
Heart problems
The gold hearts which I stuck down on the fused cereal box liner page kept popping off. The back of the gold card is shiny. Sticking shiny stuff is bad enough, but sticking stiff shiny stuff to a shiny surface is really problematic, particularly if that surface is flexible! I tried 3 different glues and they all failed. Finally I bought a tube of E6000 which I had read will stick pretty much anything, and it seems to have worked!!
So – we are making progress on the book. I’ve also been working on the second signature and will be posting about that in due course.