JUNK JOURNAL – MAKE A JOYFUL NOISE PART 19
Working on the gold page, front and back in folio 3 of the second signature of this album.
This page is made from gold foil, and I’ve always been a bit concerned at how flimsy it is. I have added a few bits and pieces but it didn’t handle well compared with the much more robust pages around it. I decided to add more elements but was anxious not to cover it completely, as it is very bright, and there are certain semi-transparent elements overlaying it which give a lovely effect.
Reinforcing the splat page
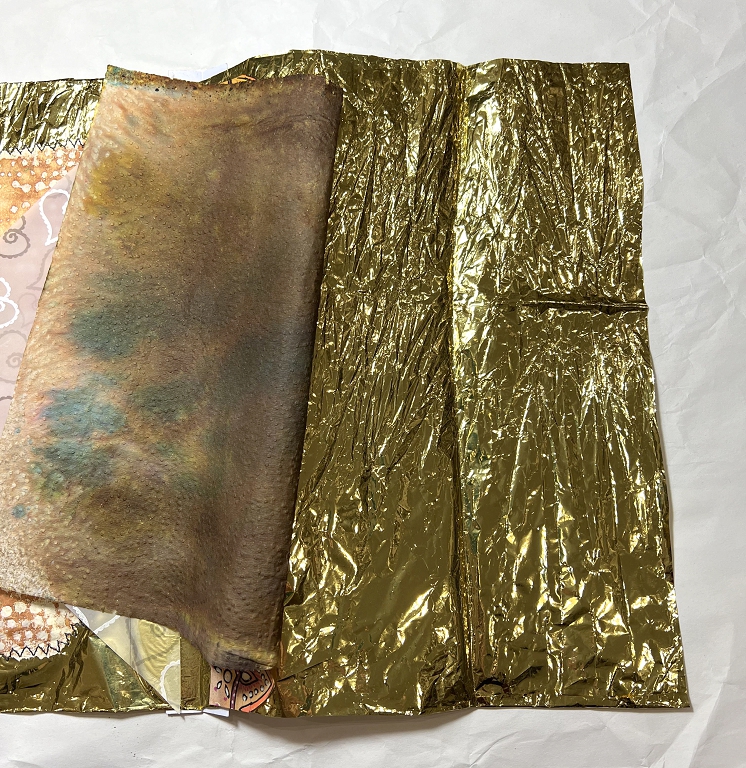
I had reinforced the hinge of the gold page with paper strips. Attached to it is the gorgeous piece of splat paper (single layer of kitchen paper from my splat box which I use for spraying things), and this is also very flimsy. The gold of the foil shows through it and enhances its already gold loveliness and I didn’t want to lose this.
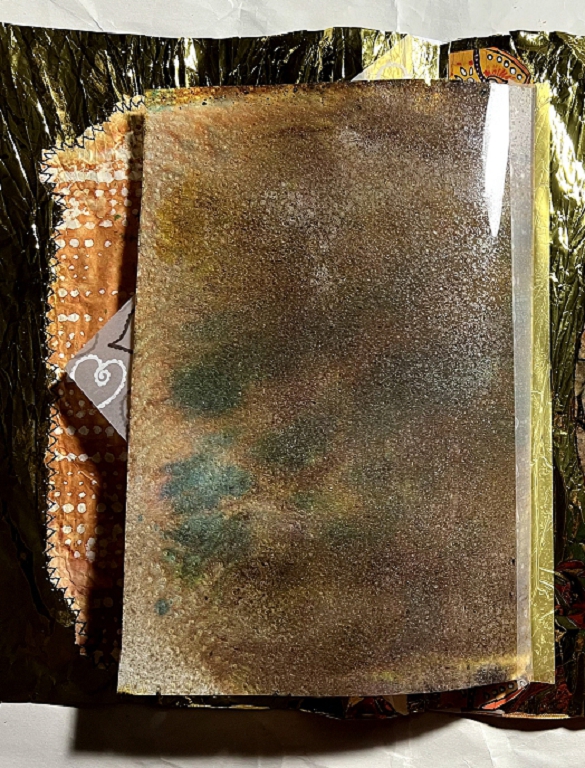
The following photo shows it folded down onto the gold foil page. The photo really doesn’t do it justice, because it really shimmers.
To reinforce it without losing its qualities, I cut a piece of scrap acetate and sprayed it with a spray adhesive, and stuck it to the back of the page, and trimmed it to size. It is now quite sturdy but hasn’t lost any of its qualities. This is a picture of the back of it, complete with the acetate sheet.
This page isn’t nearly as lovely on the back as on the front, and I may yet add something to the acetate backing. However, as I am discovering with this section of the book, it is extremely hard glueing anything to slick shiny plastic surfaces! I have tried various glues, and find that the best is the E6000. This tube of glue is an absolute pain, though, because every time I open it, it is blocked, and I have to dig around to get any glue to come out! You can see that I have also reinforced the hinge with some Scotch tape.
Embellishing the front of the gold foil page
Adding some substantial embellishments has gone some way to reinforcing this flimsy page. During my recent venture into making rust water, I ended up with some very interesting results with coffee filters. I used a couple of cone-shaped ones to strain the matured rust water into a clean container, and was thrilled with the stains that were left on them.
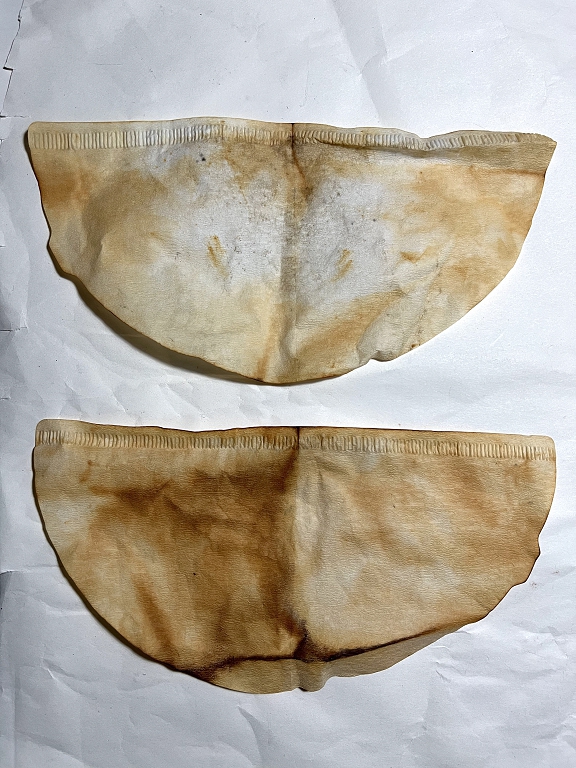
They opened up into a semi-circle shape. I then painted some rust water onto some bowl-shaped coffee filters and they came out a lot darker.

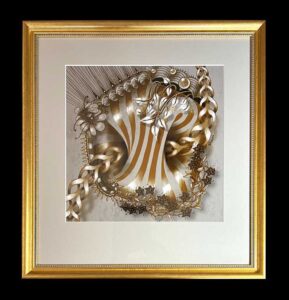
I removed the fluted sides from one of them, and formed them into a ruffle. I attached this to the outer edge of the other filter with spots of glue, gathering it as evenly as I could around the curve. Once the glue was dry, I went round it with the sewing machine.
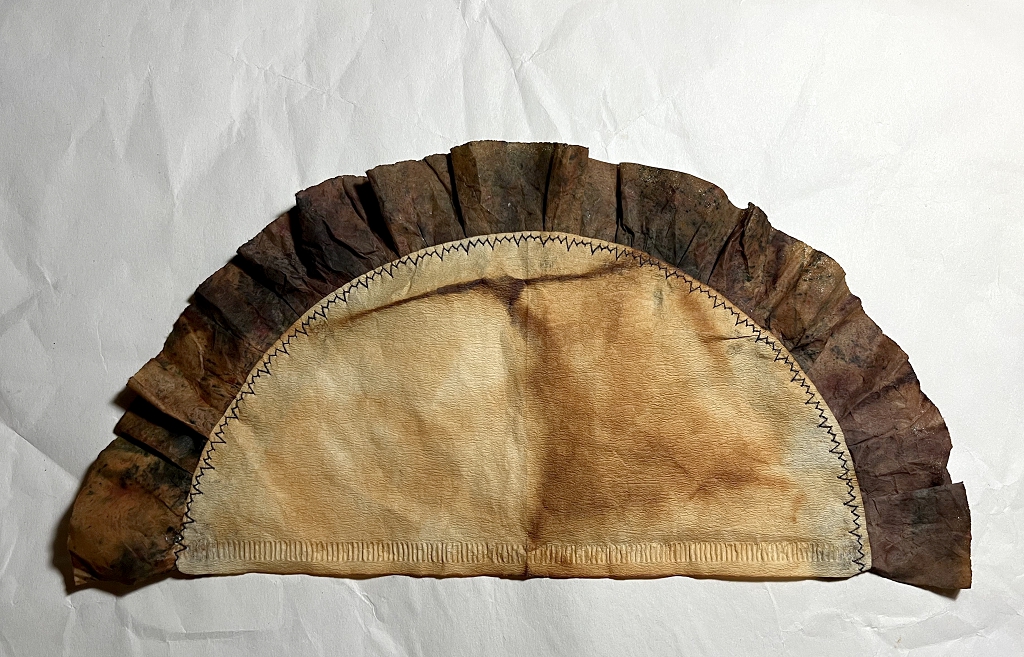
I am very pleased with the result of this. The contrast between the two colours of rust works extremely well.
Reinforcing the gold foil page
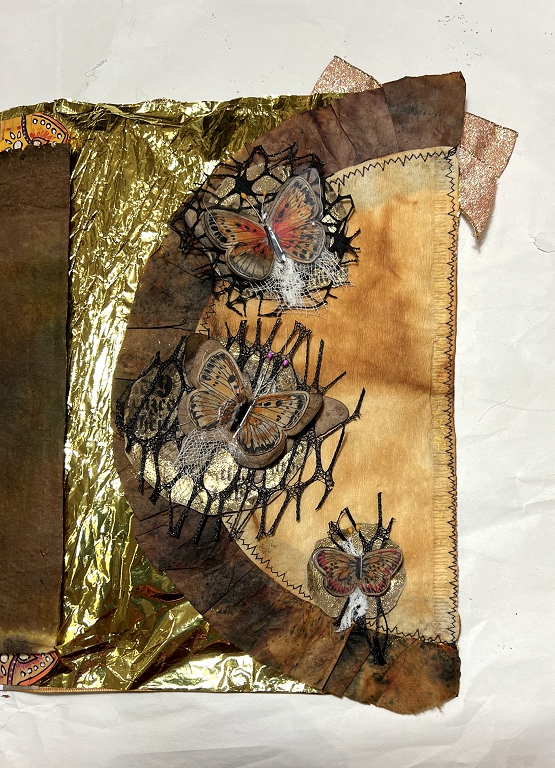
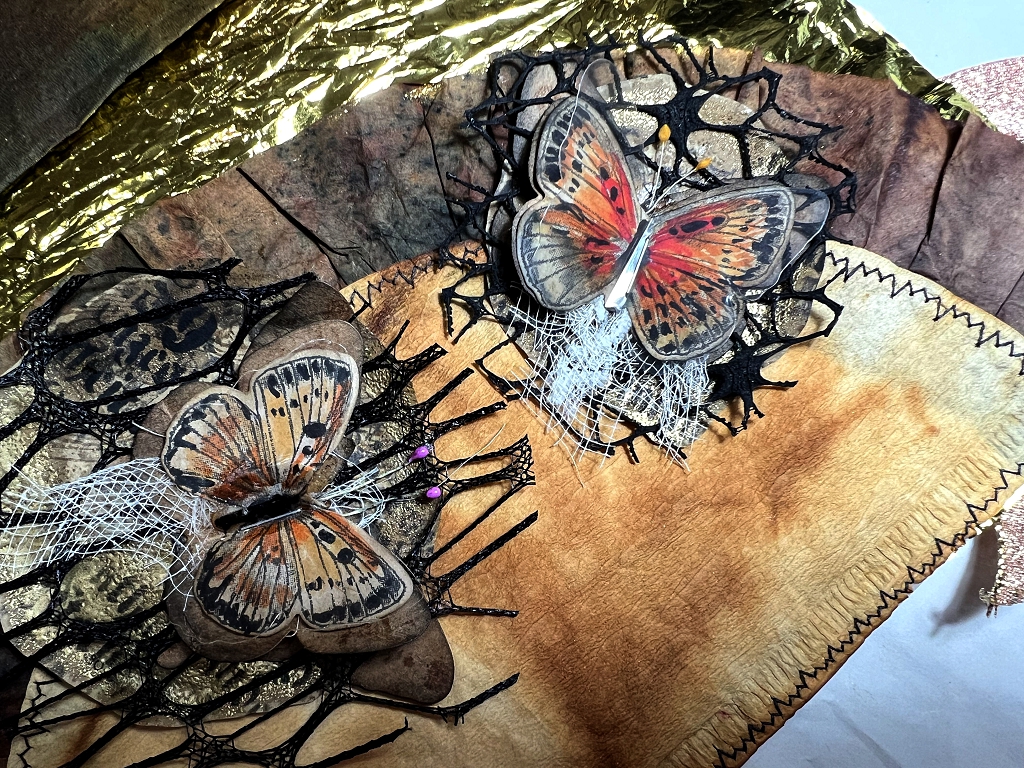
Adding this coffee filter piece to the outer edge of the flimsy gold foil page added some weight to it. I stitched it down along the straight edge on the sewing machine, and then added the first three butterfly clusters I made recently. This doesn’t completely obscure the gold foil, and it makes an interesting contrast.
Working on the reverse of the gold foil page
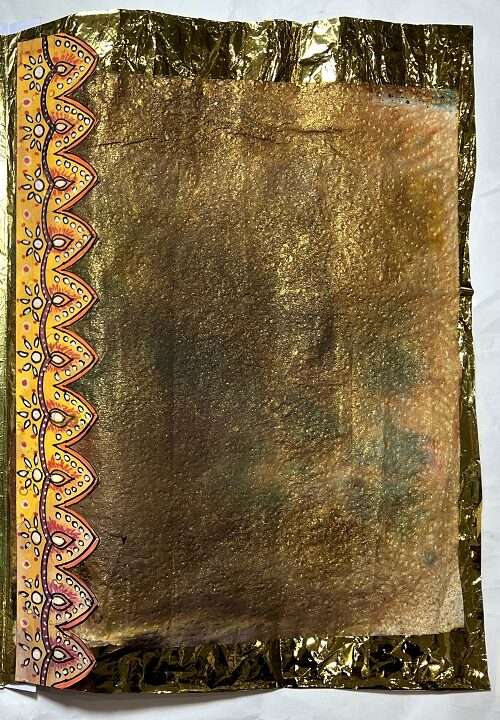
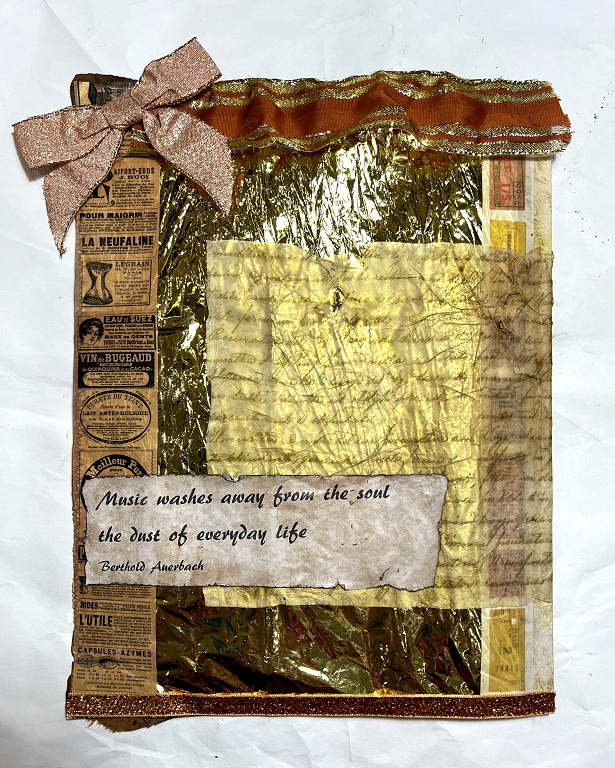
I added some embellishments on this page. The smaller translucent text page is part of the next folio, but I decided to stick this down to add more rigidity to the page. Before doing so, I sprayed some adhesive on a piece of scrap acetate and stuck this to the back of the translucent page. It was fixed in place by the text piece. Before doing this I added some washi tape down either side of the page and some copper-coloured glitter ribbon along the bottom, using Fabri-Tac adhesive. Along the top I added a scrap of wired orange and gold ribbon. I removed the wire from the bottom edge and used the wire along the top edge to gather it slightly. I attached it with ultra-strong double-sided tape, and glued a ready-made glittery bow across the corner using E6000 glue – hot glue didn’t seem to hold it. All these ribbons are a lot more sparkly in real life. I am pleased with how the gold shows through the translucent layer which is now firmly fixed in place, and the acetate underneath it makes the page feel a lot more substantial.
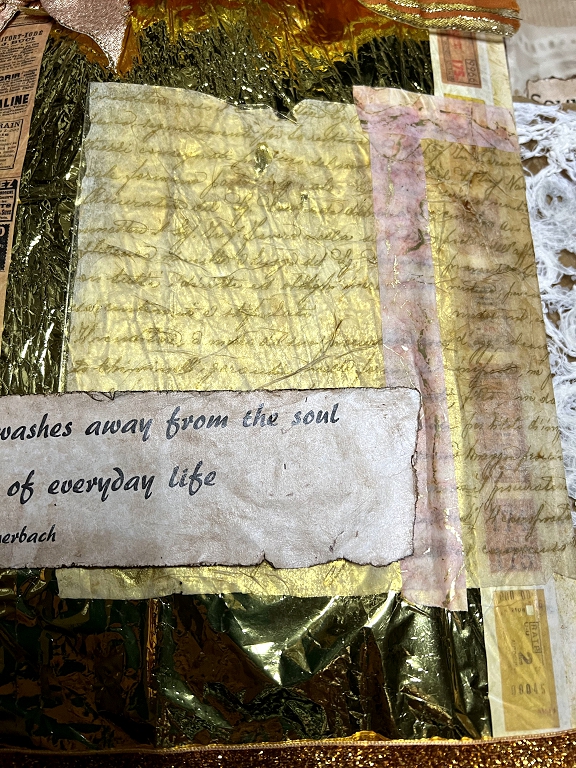
To reinforce it further, I added a couple of strips of pale pink and gold washi tape which echo the pink of the ribbon in the corner.
So, progress is being made, albeit slowly! I have a couple more pages in the second signature to embellish, and then I shall be ready to bind the signatures into the cover. There will be further embellishments to add once this is done, in the form of page tabs and dangles and other fun things.