MASTERBOARD MAYHEM
This afternoon I made two masterboards. In case you don’t know what a masterboard is, it is a large sheet of paper or card with an overall pattern or decoration on it, in whatever medium you choose. Once it is complete, you can cut it up and make into a number of different things. It can be used for card making, journal covers, pockets and tags, and so on. Having an overall pattern, you can embellish each piece as you please.
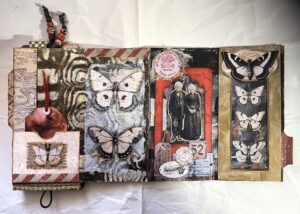
Collage masterboards
I made two collage masterboards. The bases were a couple of large sheets of paper of unknown provenance – the result of my hubby’s ongoing clearing out of his study. It feels a bit like the old scrapbook paper in the books we used to have as children – not excellent quality, and the edges were a bit faded from exposure to light. I have quite a few of these, in different colours. Since they were going to be covered up, what they looked like wasn’t a consideration. Also, the addition of collage layers and glue would strengthen the fairly lightweight paper and make it sturdy enough for other purposes, although mostly the resulting masterboards would be glued onto some sort of substrate anyway.
Layer 1 – book pages
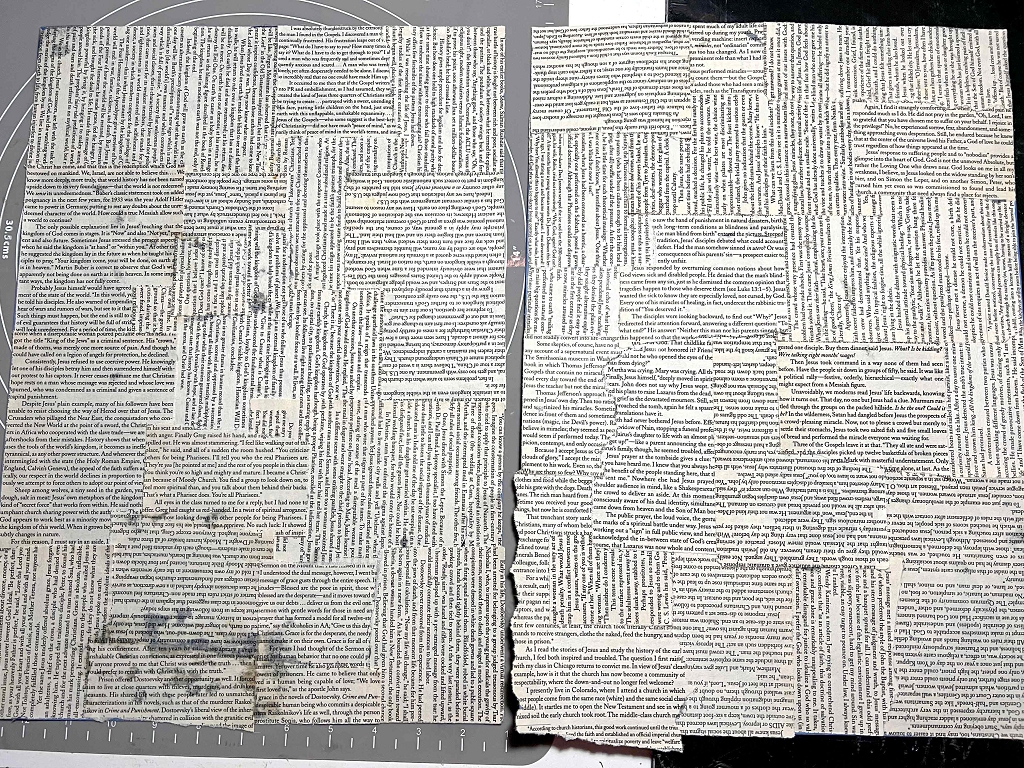
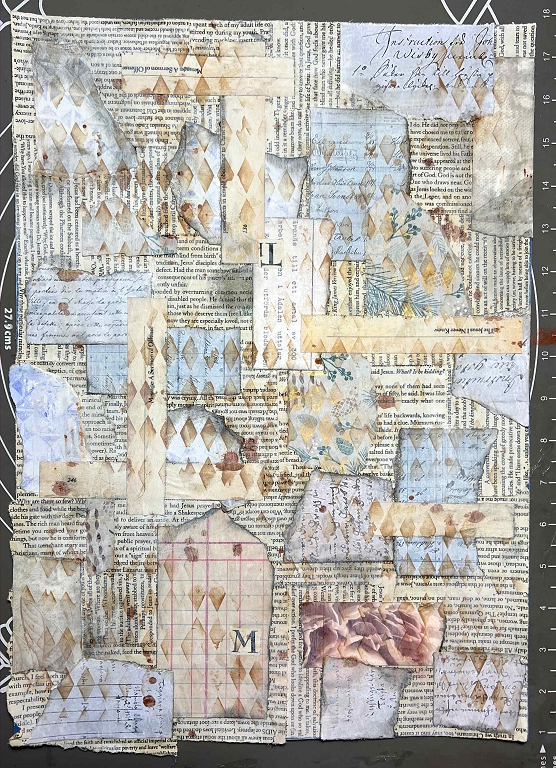
These pages were torn from another of my hubby’s throw-outs – an old book I found ripped up in his waste basket, so I rescued quite a few of the pages. Again, the paper isn’t great quality – the book was probably a paperback – but slightly yellowed with age which suited me fine. I used a metal ruler to tear off the white margins and prepare the pieces into useable sizes and shapes, and proceeded to glue them down until the entire sheets were covered.
Layer 2 – collage
I tore up a selection of scaps, including some downloaded printables, scratch papers (for cleaning off paintbrushes to save wasting most of the paint down the sink at the end of a painting session), bits of wallpaper, scraps of gel prints and offcuts of various kinds. It’s a bit like a patchwork quilt, where you can recognise bits of fabric from favourite old garments!
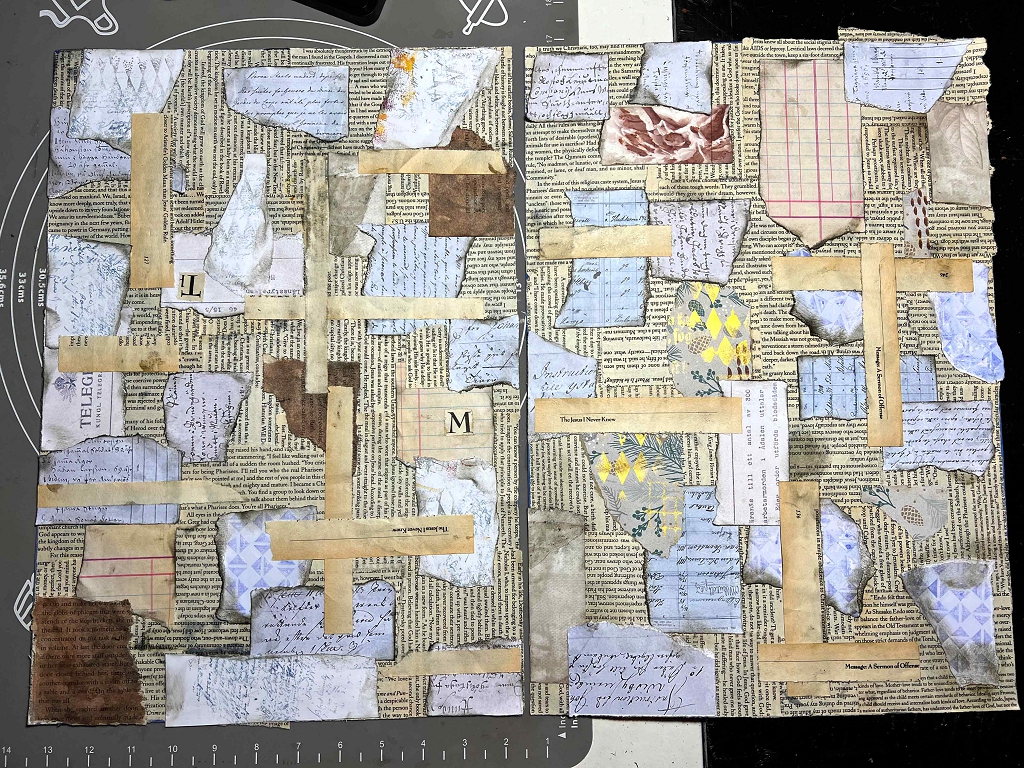
I tried to keep the colours as neutral as possible, and when I remembered, I inked the edges. I didn’t want to cover up all the book page background. The final touch was to take some of the strips I had torn off the book pages, and lay them down randomly on top of everything else.
By this time my hands were well and truly covered with glue and ink! Fortunately the Collall All-Purpose Adhesive, which is solvent-based, peels off really well even if it takes a while!
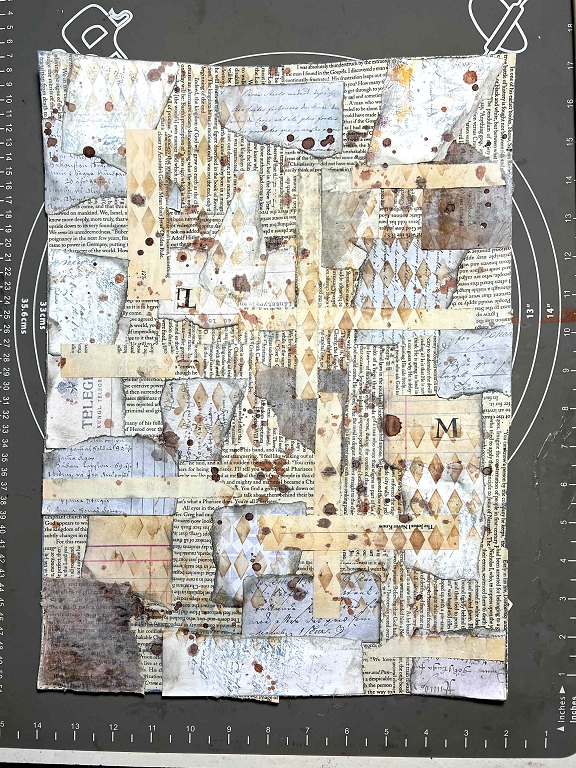
Layer 3 – ink spattering
I used some Seth Apter iZink spray ink for this, unscrewing the cap and using the spray tube to spatter on the ink.
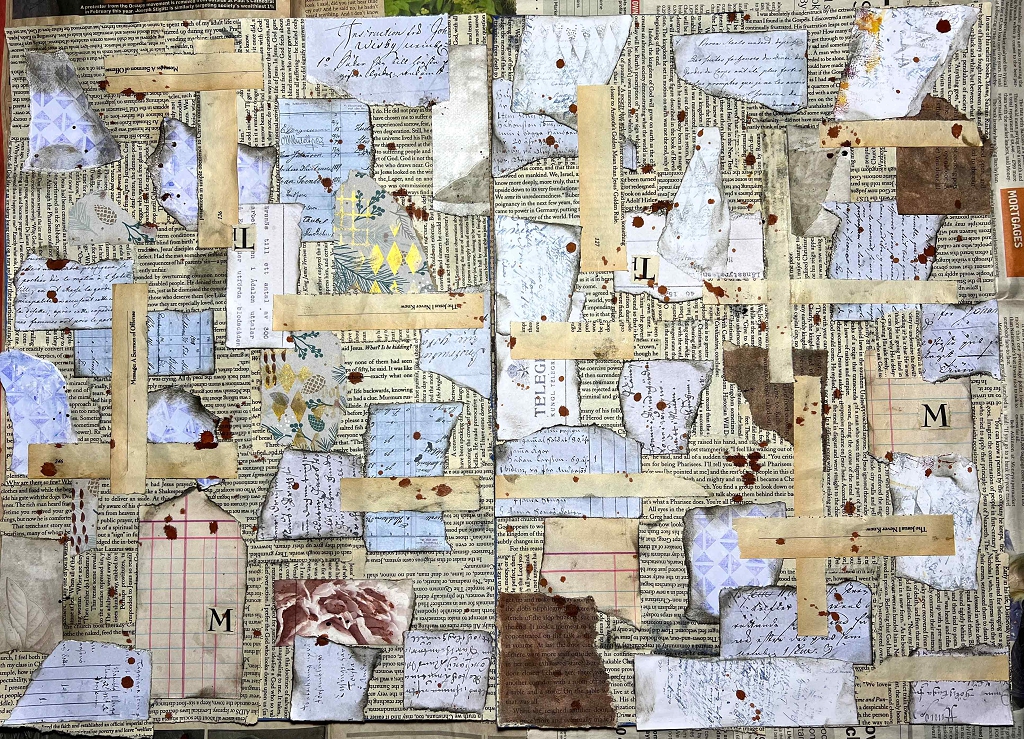
Layer 4 – watered down gesso
It all looked too bitty and stark at this stage, so to unify things a bit, I painted on some watered down white gesso with a large brush, blotting it off where it was too thick and obscuring what was underneath.
This toned things down a little.
Layer 5 – first stencilling
I chose a harlequin pattern stencil and applied a medium brown Distress Ink with a make-up brush, randomly over the surface.
This was starting to pull everything together.
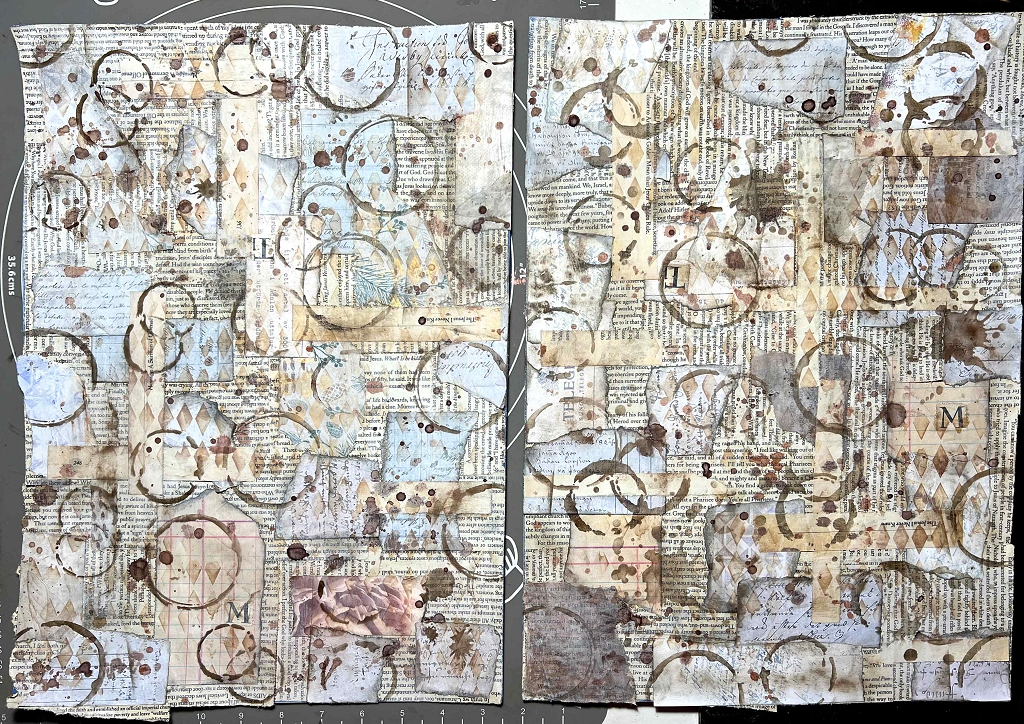
Layer 6 – rust water spattering
More texture, but it was all starting to look a bit too busy again, and needed something to unify it further.
Layer 7 – second stencilling
The ink I chose for this was a really too dark.
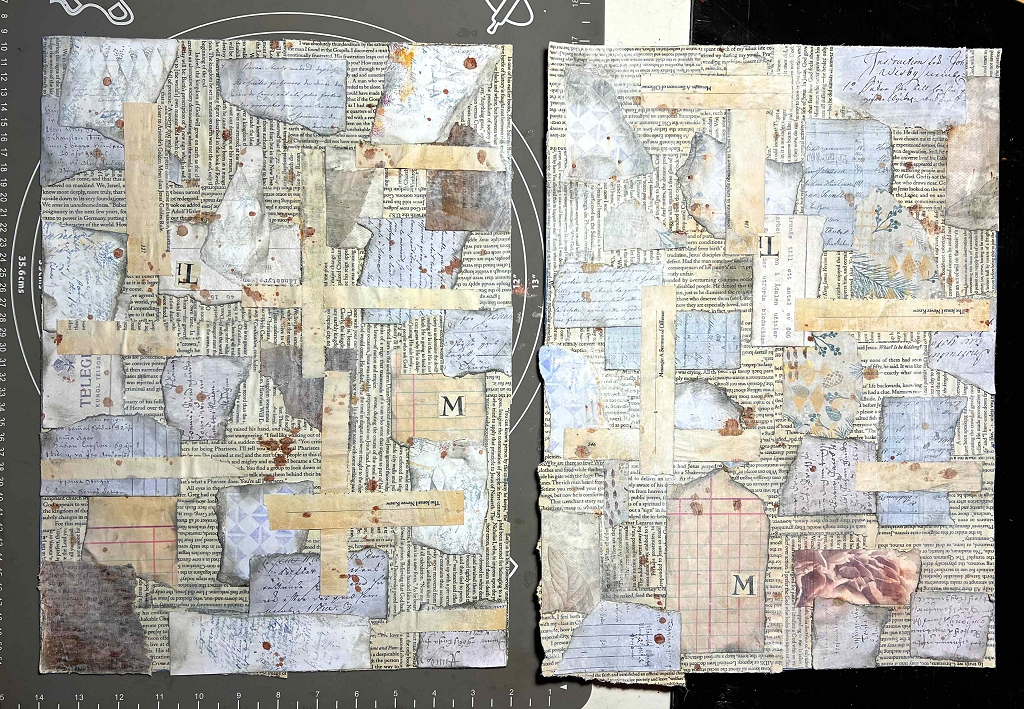
Layer 8 – final layer – more watered down gesso
I think this finally sorted it!
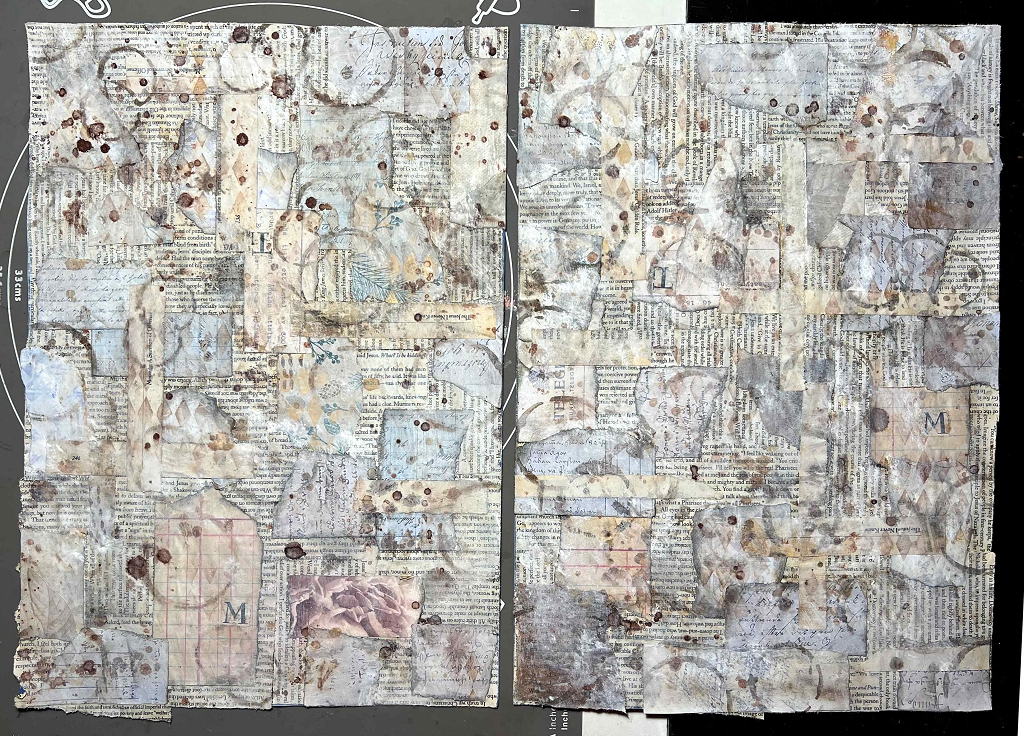
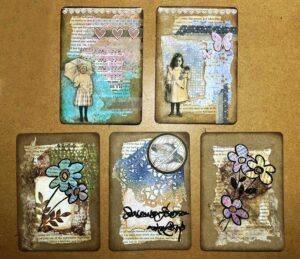
With a project like this, you can add as many layers as you like. Each one adds depth and texture. I think this overall pattern is fine, and will translate well into backgrounds for smaller pieces once I cut up the masterboards.
The edges of some of the collage pieces are lifting a little, so I shall do a repair job with more glue before cutting.
I am pleased with the overall texture, and the muted pastel shades which have come through against the cream background – pale blues and pinks and browns. Watch this space to see how this develops into different elements.

What a great idea! I never knew what a masterboard was but it creates a vibrant and original multipurpose item, how clever! Love it!