ISLAMIC ART ALBUM – BEGINNING SOME GEOMETRIC PATTERNS
I have not yet completed the first signature of this album, which contains designs in the Arabesque style, but needed a change of mood for a while. I therefore began the second signature, which will contain geometric designs.
For some time I have been following Samira Mian on YouTube. She has a large collection of different geometric patterns which she illustrates step by step in a way that is very easy to understand, and which she draws and paints to show how beautiful they are. She also shows that you can get many different variations from a single template.
These patterns are all based on circles and straight lines, and the only equipment you need to draw them is a compass, a ruler, a pencil and an eraser, and of course some paper. Once the basic template is drawn, a single unit of the repeating pattern can be traced from it, and transferred onto the page to form the overall pattern. Variations in colour can produce very different looks from a single design.
Drawing the pattern templates
To begin, I followed her video on five different 6-fold patterns. Most of these Islamic designs are based on 6-fold or 8-fold templates, which of course can be subdivided to 12 and 16, and so on. The 5-fold pentagon pattern is more difficult because it will not naturally tile, and requires an extra pattern to fill the gaps. This can be multiplied up to 10- or 20-fold.
This is the page I have made of the templates and pattern repeats for the five designs. Initially, I used small screen grabs from the video for the pattern repeats but these were very lacking in contrast and difficult to see, so I redrew them and photographed them. The result on the digital sheet is a bit grainy but it is enough to show the shapes. Detailed instructions on how to construct them from the main template are on the video, step by step – it is hard to see otherwise.
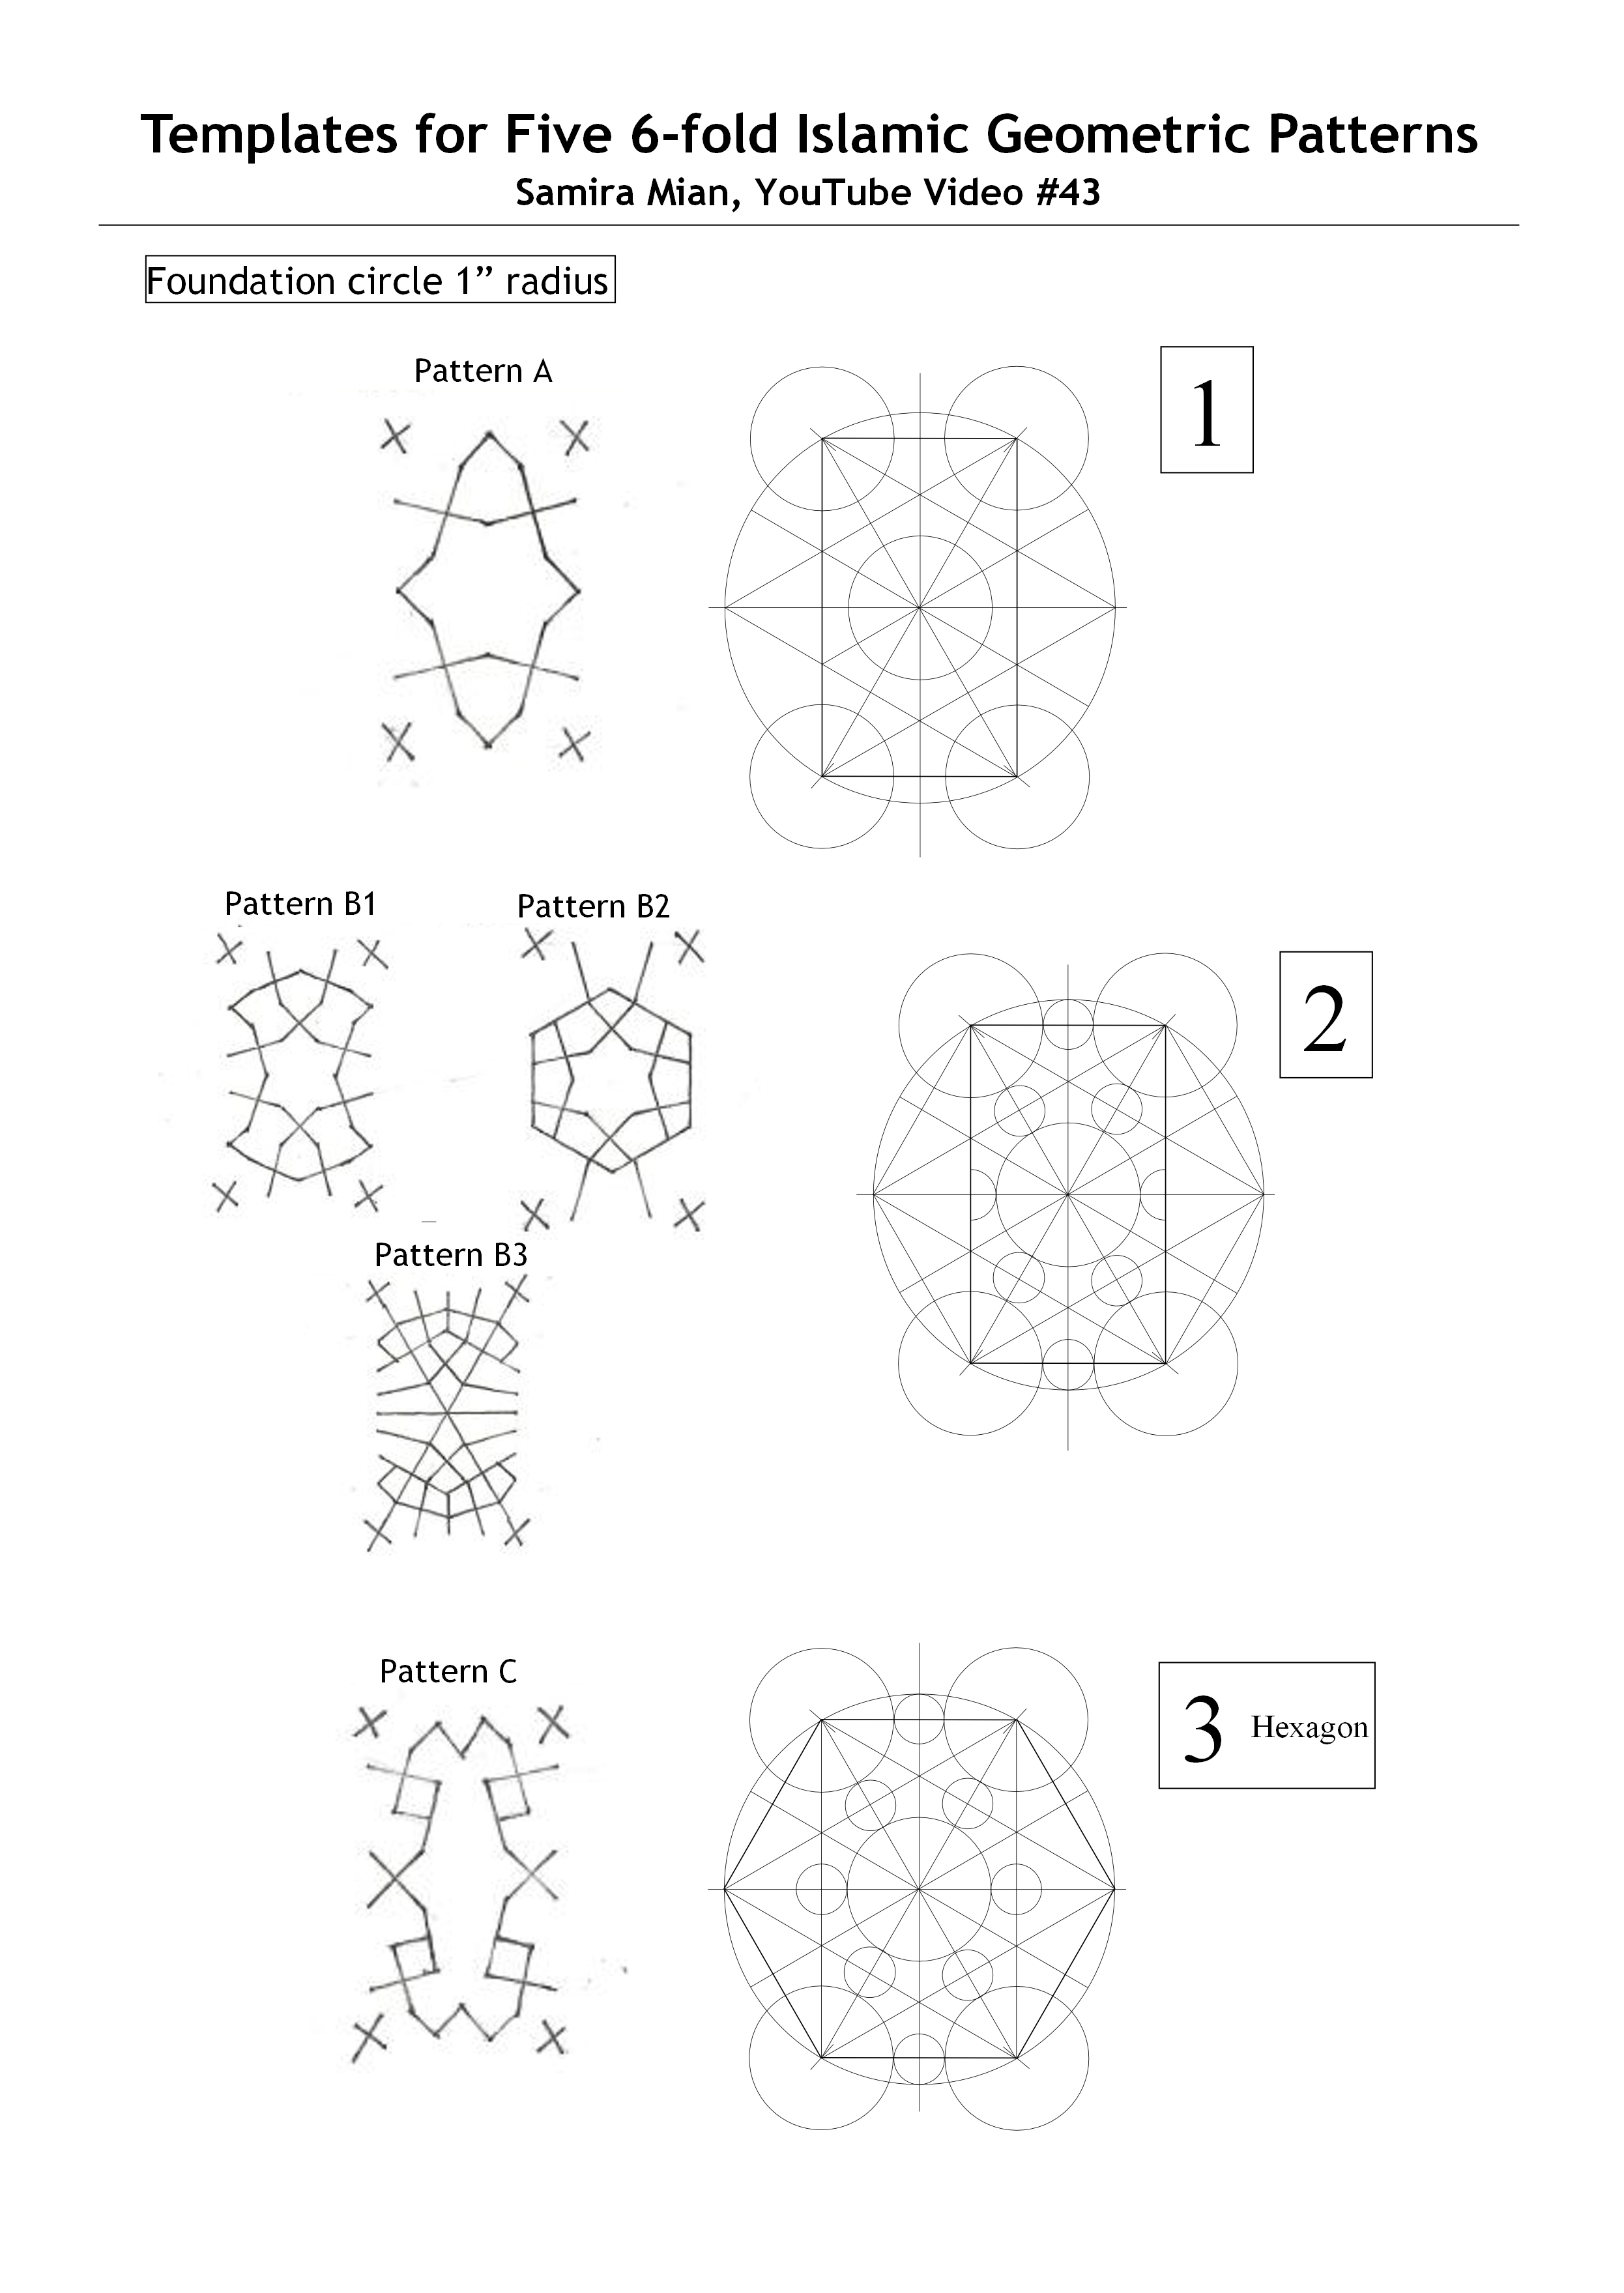
I drew the templates in the traditional way, using a compass and ruler, and then made digital copies of them so that I can print them out at whatever size I want for future use. The original drawings were based on the initial large circle with a radius of 1 inch. I wanted the designs to be quite small for my little album, but these designs can be drawn at whatever size you wish.
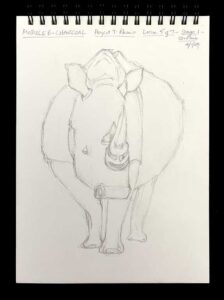
The first template makes Pattern A, which is the only one I have drawn so far. The second template is the same, but has some additional lines, and from it, you can draw three different versions of Pattern B. The same template is used for pattern C but this has been extended out to form a hexagon. All the others are based on a rectangle.
The pattern repeats are drawn on the left. The little crosses at the corners are for lining up the pattern repeat and will be erased once the drawing of the pattern is complete. None of the pattern repeats looks like anything much, and I was amazed as I drew Pattern A, what a gorgeous pattern emerged from such an unprepossessing start!
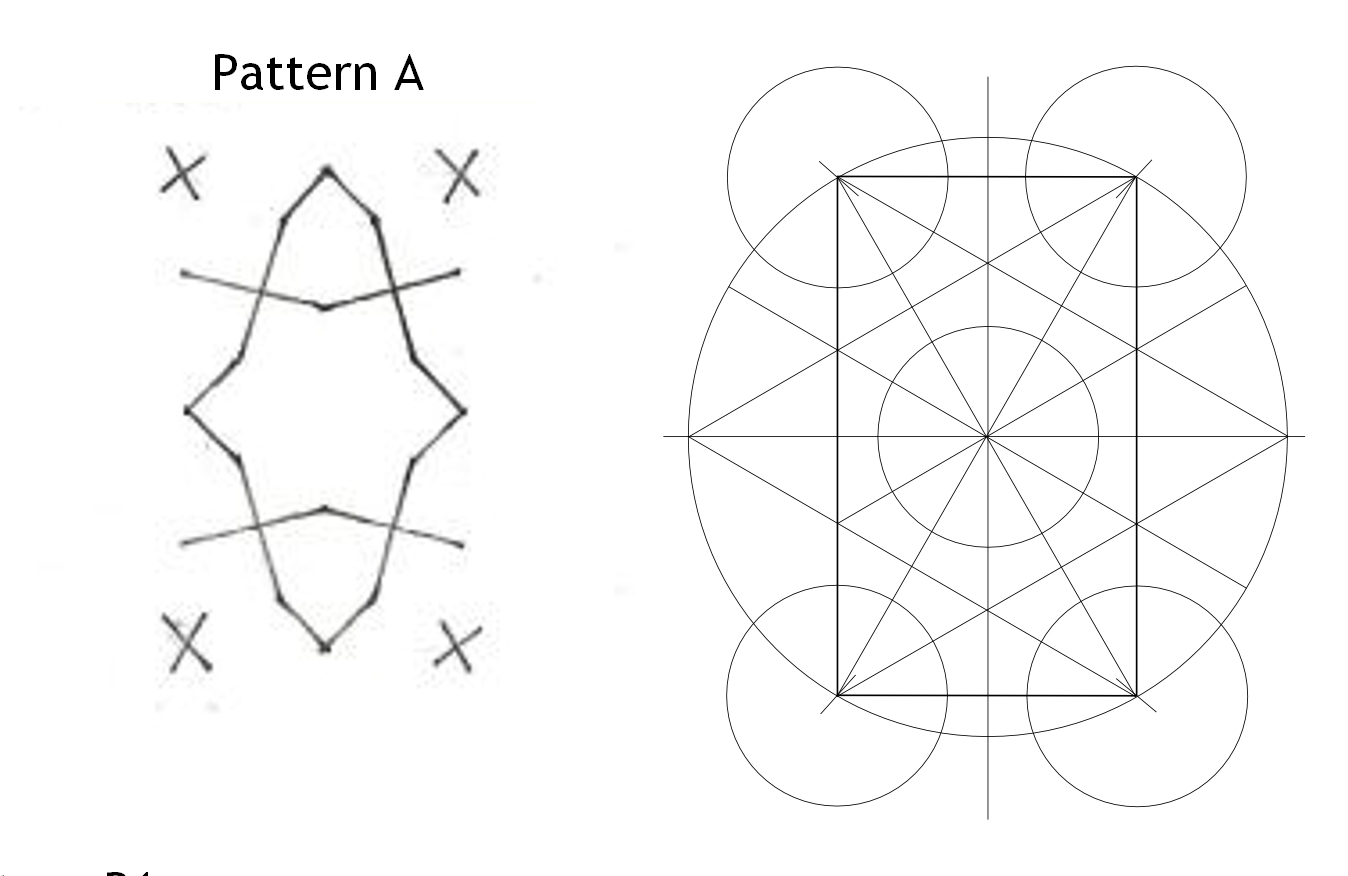
Here is an enlarged version of the Pattern A template and pattern repeat.
Beginning the drawing
I forgot to photograph the first stage, which was the transfer of the pattern repeat onto the page. This is how it looks with a fine black permanent marker outline and the addition of gold gouache paint which establishes the grid. You can see that I have drawn the lines to create the “over and under” pattern. You can see that this interlacing design creates a series of six-pointed stars and smaller shield shapes. I drew parallel lines either side of the initial transferred tracing to produce the thickness. The proportions of these ribbons to the spaces between is important for a good aesthetic result.
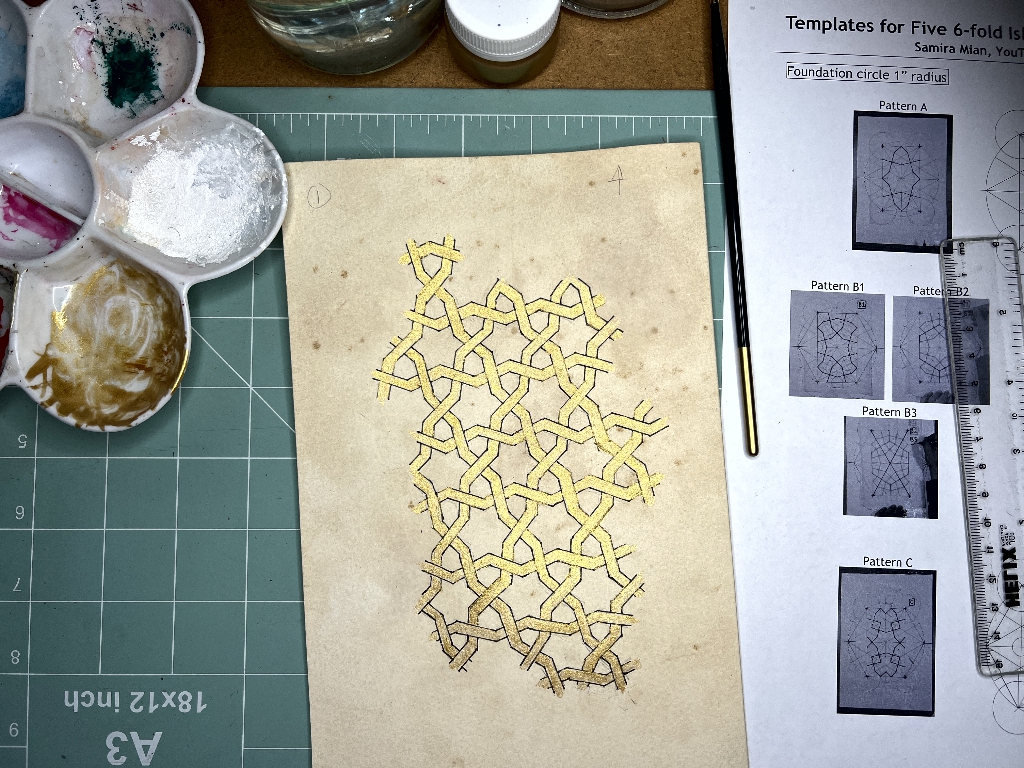
A closer look, which shows the gold a bit better.

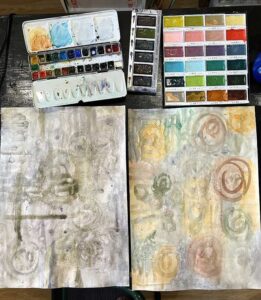
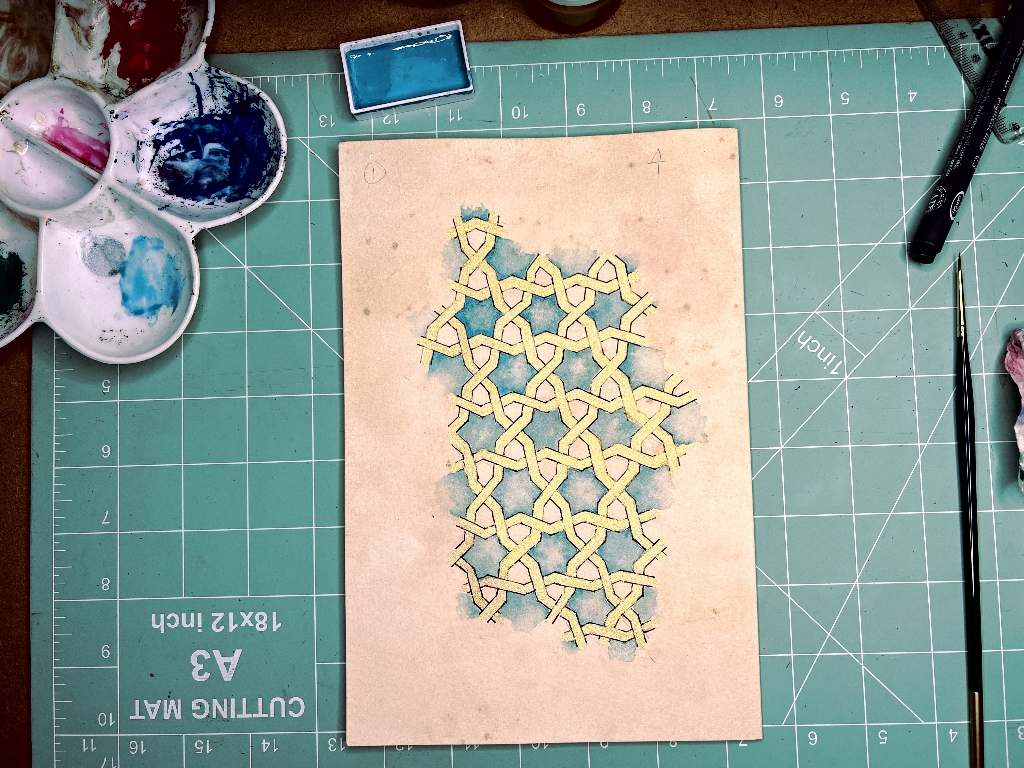
Adding colour
As before in this project, I used my Kuretake Gansai Tambi watercolours for this. This time I chose turquoise and terracotta which makes a nice combination.
Here is the drawing after I had finished painting the stars.
Finally, adding the terracotta in the shields.
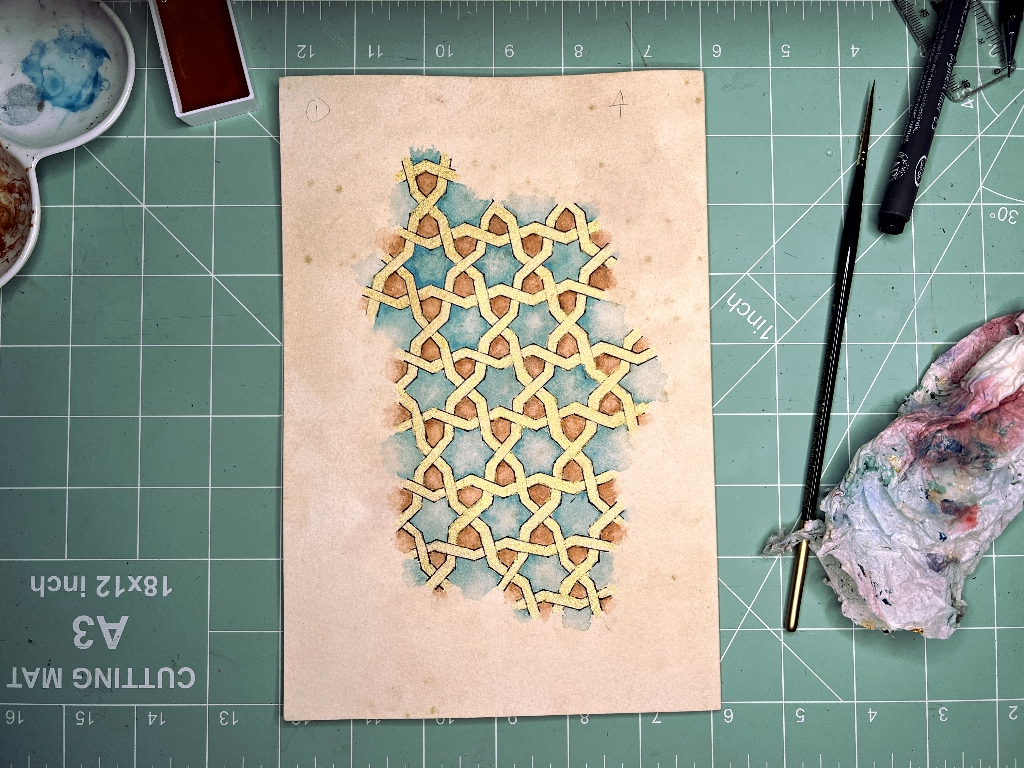
Outlining
My initial black lines were a bit thin, and some of them had got covered with the paint, so I went over them again with a thicker pen. I used a 6-inch ruler to help with this.
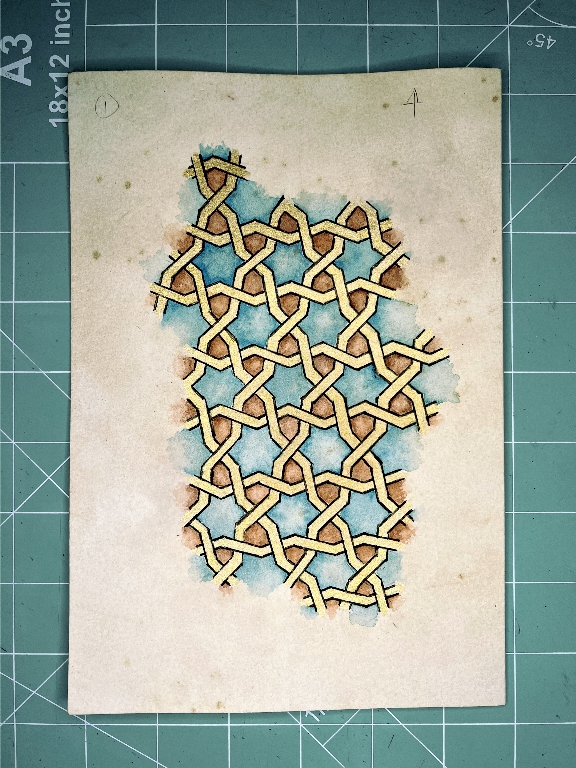
The completed drawing
For most of the pages in this signature of the book, I shall be drawing the patterns with a soft irregular shape as if they are emerging from the background. The centrefold will probably be different, as my provisional plan is to take the design of some magnificent tiling on the walls in the Alcazar in Seville in Southern Spain. I have two gorgeous books from Spain on these fabulous geometric patterns, the first being on the Alcazar and the other on the Alhambra palace in Granada. Several years ago my hubby and I went on a package tour of Southern Spain and saw these treasures of Islamic art for ourselves.
This first page of the second signature opens in the opposite direction from the first signature. When the book is opened, the two signatures will be displayed side by side and will open in opposite directions. The final page in each case will be glued to the inside of the cover and each signature will have a separate binding. I thought this would be an interesting approach and also a nod to the right-to-left direction of Semitic languages. Arabic and Hebrew books look back to front to us!