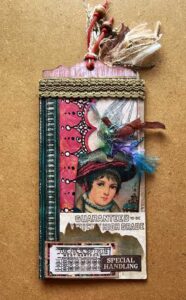
EXPERIMENTS WITH UV RESIN AND SOME TINY CHARMS
I had another session in the studio today, experimenting further with my new UV resin kit.
Tiny charms
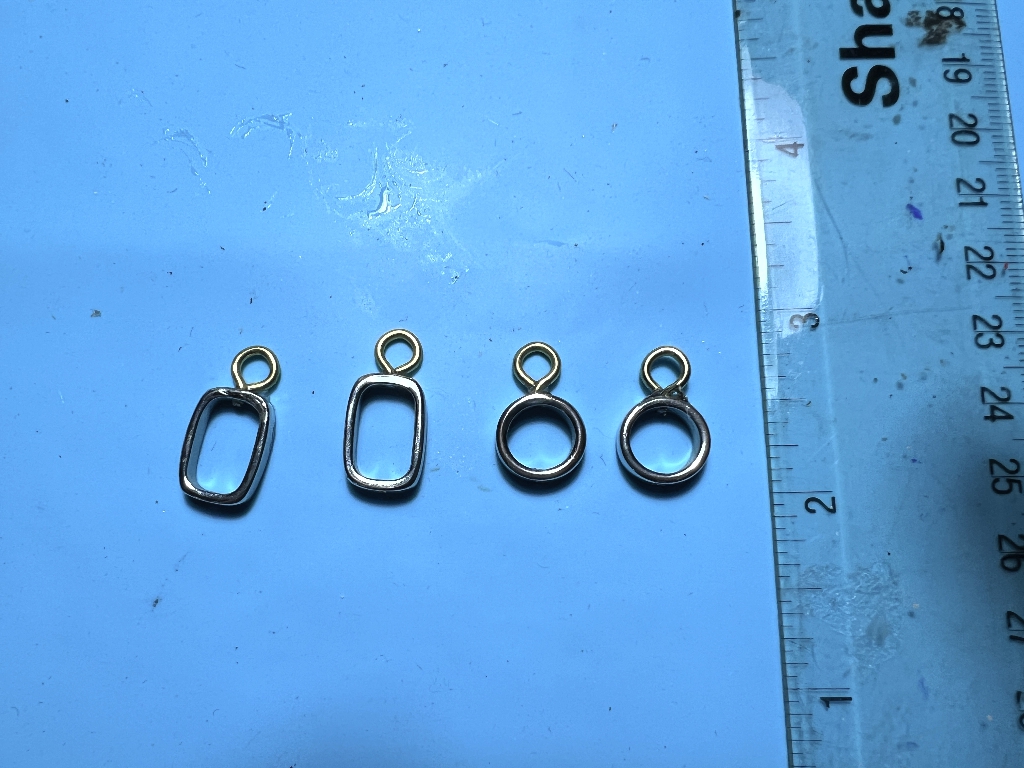
I got out my “Rings, Shapes etc.” box and had a rummage. This small box contains all kinds of rings – curtain rings, split rings, openable rings… and also miscellaneous shapes like small tubes, springs, brackets… Anything that might come in handy one day for art! I found a small baggie containing a few silver-coloured hollow shapes – circles, rectangles and ovals. I noticed that they had a hole on opposite sides, and I think they were ring-shaped beads from a necklace. They were bright silver-coloured and plastic, and I thought I could fill them with resin and insert a tiny sequin in each.
They needed some sort of attachment with which to hang them. I rummaged in my picture-framing box which also contains hooks, curtain hooks and various fixings, and found a lot of screw eyes. However, most of them were much too big, but I found four tiny gold-coloured ones.
I snipped off most of the length of the screw part so that there was just a tiny amount left. I had to enlarge the hole in each ring a little in order to push this in, and I did this with a needle file. I applied a tiny amount of resin to the screw part and pushed it in, and then added more around the join on the outside, and cured it with the UV lamp. This fixed the screw eyes firmly in the top of the rings.
After this, I coloured them with brown alcohol ink which made the gold and silver parts a uniform shade which was less bright. Then I half-filled them with resin, and cured it. I was then able to add the tiny embellishments. I’ve got a bag of mixed sequins that I have had probably for over 30 years (!) and had a rummage through that. I was eventually able to find some shapes that were small enough, and carefully laid them into each shape with tweezers. Then I added more resin to fill the shapes and cured them again.
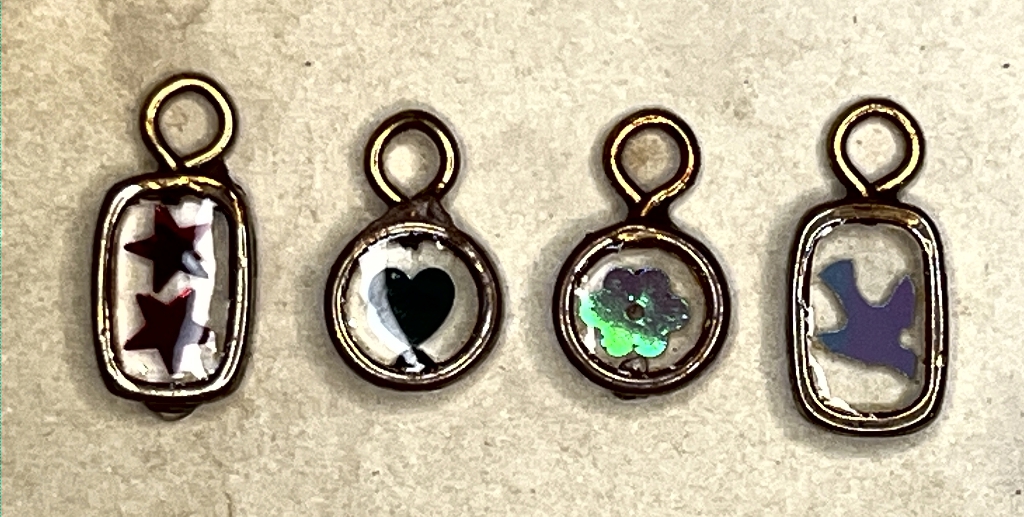
It’s actually very difficult to photograph stuff like this, because of the shine of the resin. Also, the tiny shapes I inserted are shiny too, and iridescent. In the photos, with the exception of the tiny flower (which is in fact holographic pink), they have all come out black. The stars are red, the heart is also a pale holographic colour, and the bird is also a pale colour. They look 100 percent better in real life but this was the best I could do with the photo. They feel fine – the resin is flush with the surface on both sides, and the background to the little embellishments is transparent.
Experimenting with paper and mesh
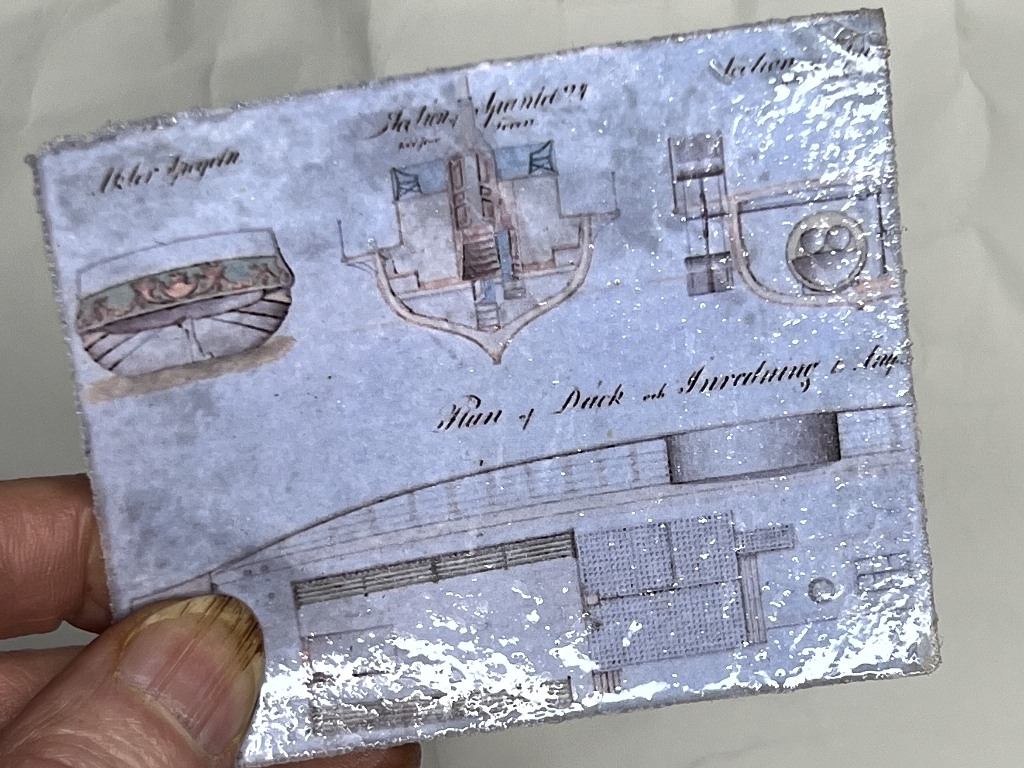
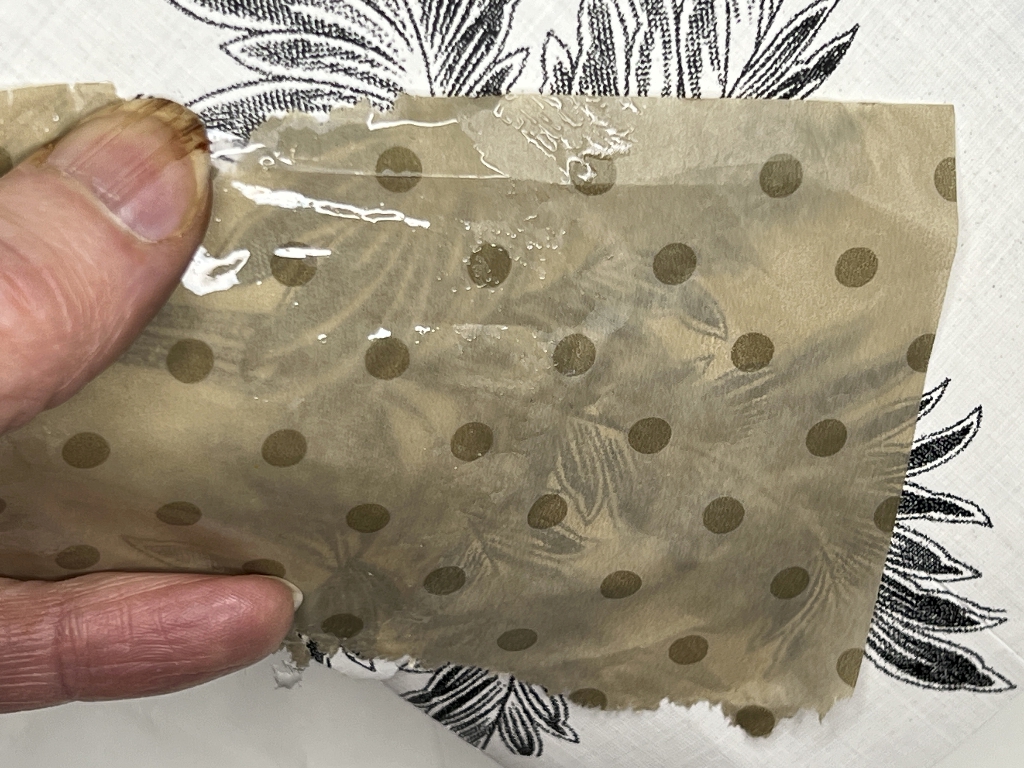
Toni (of Crafty by Toni) had some success with painting resin onto paper, which made it quite stiff and shiny, and more translucent. I tried this with some 100 gsm printer paper with a digital download printed on it, and also some spotted tissue paper, to which I applied resin onto one half only, for comparison.
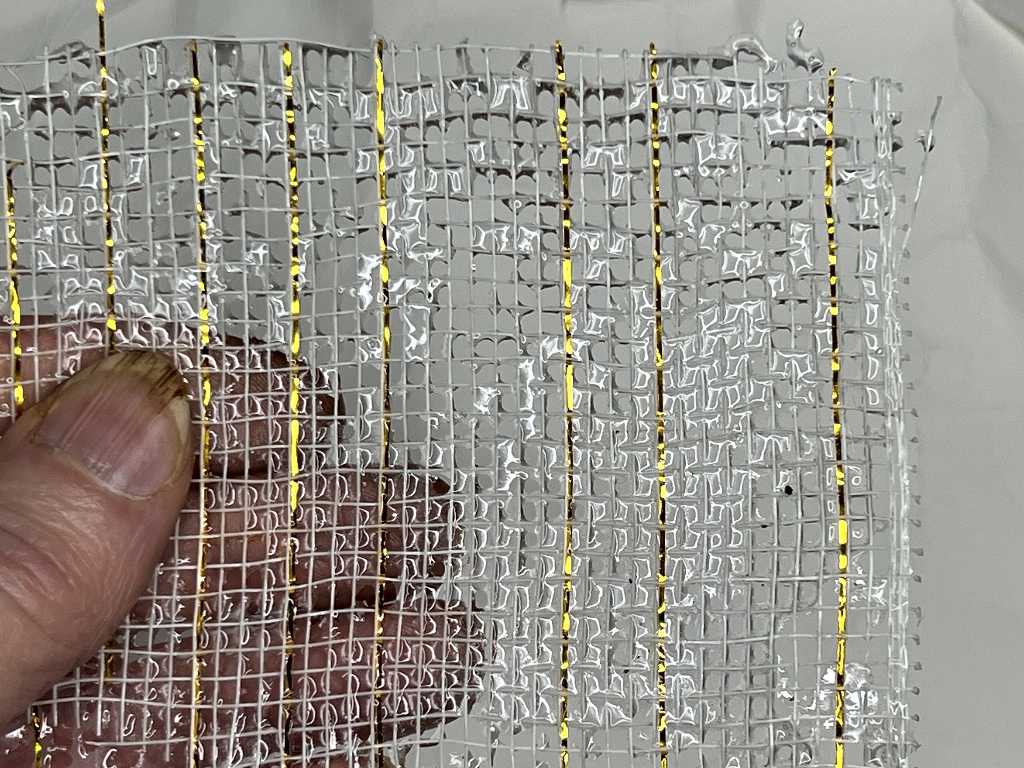
I also wanted to see if I could stabilise some plastic mesh stuff with gold filaments in it. I bought this a few months ago in a pack of four colours, with far more on each roll than I shall ever use, but it was the smallest quantity I could buy at the time. This stuff is extremely unstable when cut into smaller pieces. It frays like crazy and the gold filaments will pull out at the smallest provocation.
None of these experiments were terribly successful, but I think I can use the mesh fragment. It is stable, and quite stiff now. I didn’t notice any difference in the translucency of the papers, even the thinner tissue paper, so I’ll call that a fail.
I intend experimenting further with the mesh. I think I will get better results using diluted PVA adhesive or perhaps acrylic medium, laying the mesh on a plastic sheet. I can choose whether to use gloss or matte, and the mesh should remain more flexible than with the resin.
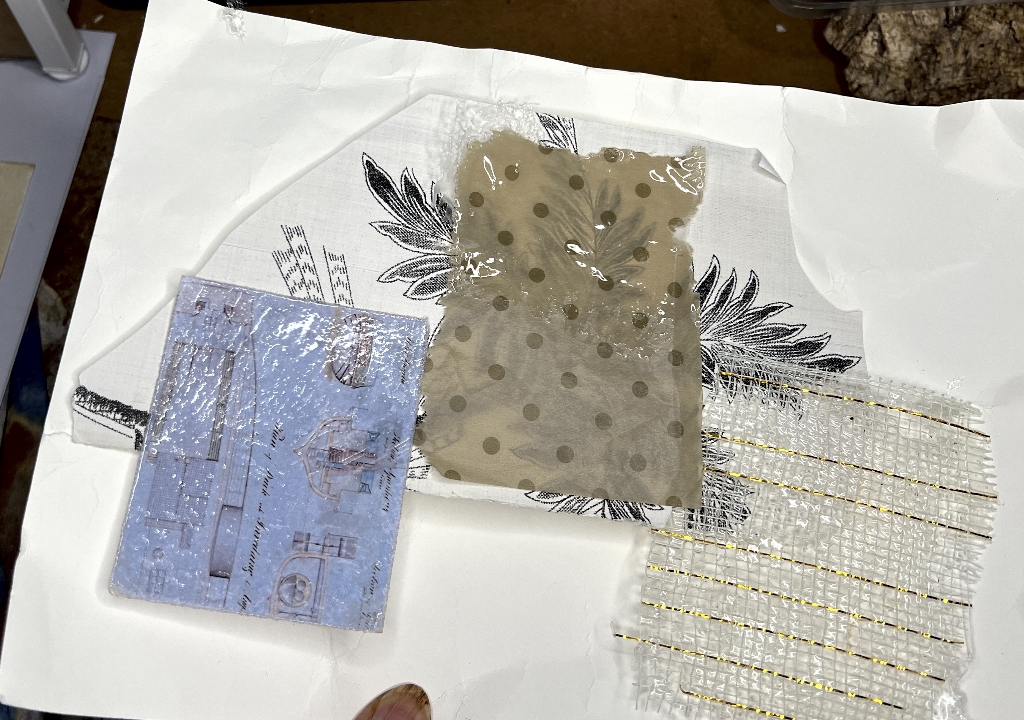
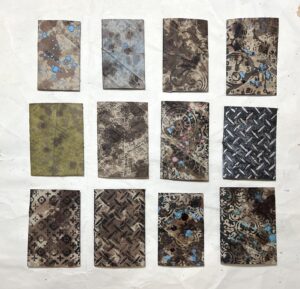
In the photo you can see that I have laid these materials on top of some printed paper to check the translucency. The piece of spotted tissue has resin applied to the top half only. With the resin it is slightly more translucent, but you can get much better results when applying tissue to a page, if you use acrylic medium or glue. The blue piece is slightly translucent, but not as much as I would have hoped. The paper may be too thick. All these pieces are now very stiff and shiny and I don’t think I would use them like this, although the mesh is quite interesting. As you will see from the close-up photos, not all the holes are filled with resin, which gives an interesting random effect. It might be more interesting if I used resin stained with a drop of alcohol ink, or perhaps if I tea-stained the mesh first.
All the samples stacked up.
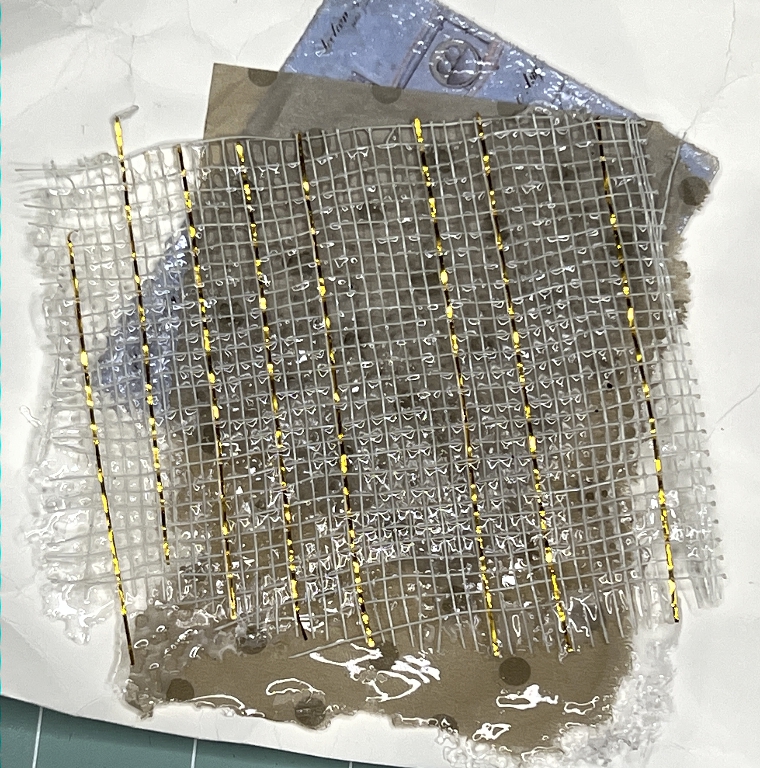
The edge of the tissue paper is interesting where there is an overflow of resin.
A small metal medallion
Also in my rings and shapes box, I found a small round metal shape with a raised decorative border, measuring about an inch in diameter. This was silver in colour. I coloured the edge with brown alcohol ink mixed with a little copper metallic alcohol ink, and then cut a small element from one of Luise Heinzl’s digital downloads, using a 3/4 inch punch. The recess in the disc is actually 7/8 inch but I do not have a punch of that size. I stuck the circle of card down with a dab of glue stick to hold it in place, centring it so that there was a narrow metal border around it, and then filled the recess with resin. When it was cured, I added another layer of resin, and the effect was great – slightly domed. The resin has enhanced the metal border around the motif and it positively glows.
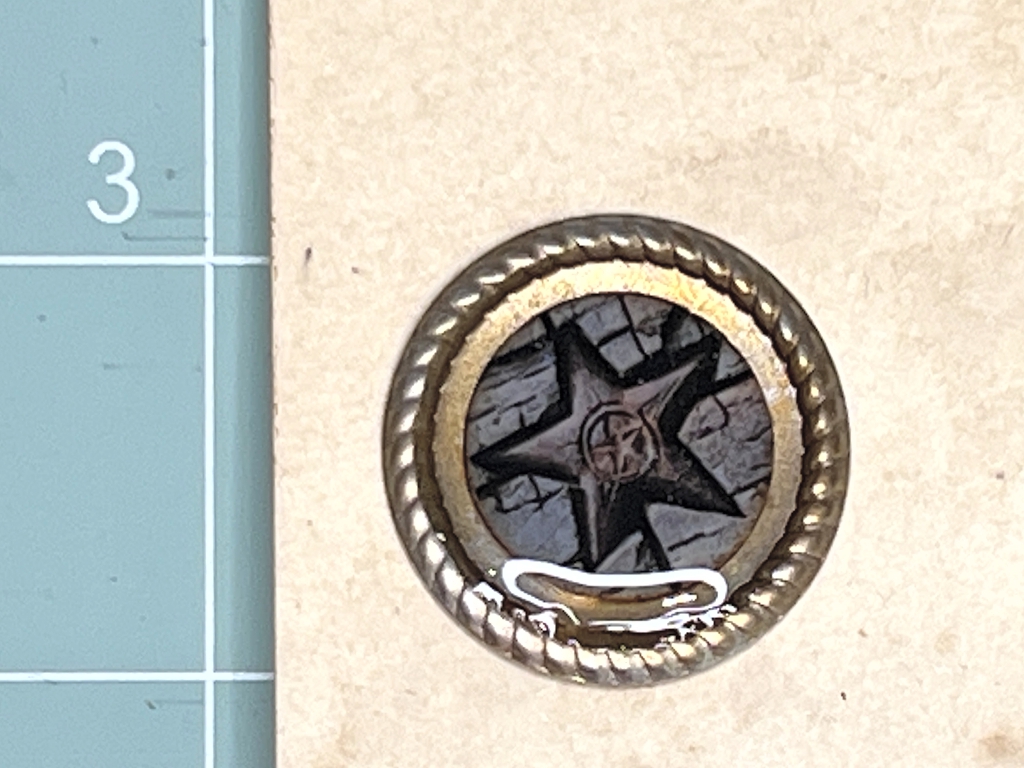
Again, this is very difficult to photograph. The motif in the centre is actually more colourful. The reflections and the brightness of the surround do tend to confuse the camera and make the centre part under-exposed. I edited the photo as much as I could and the result isn’t too bad.
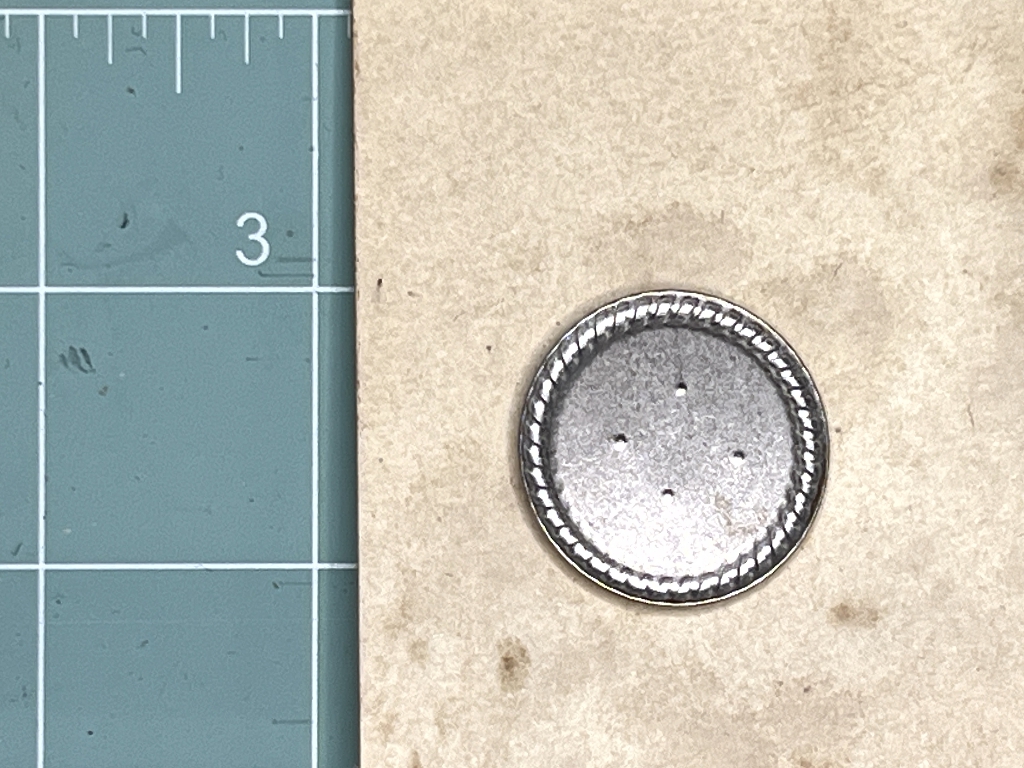
This is the back of the medallion, showing the original colour of the metal. The border is of course concave in this side, but it’s difficult to see that in the photo.
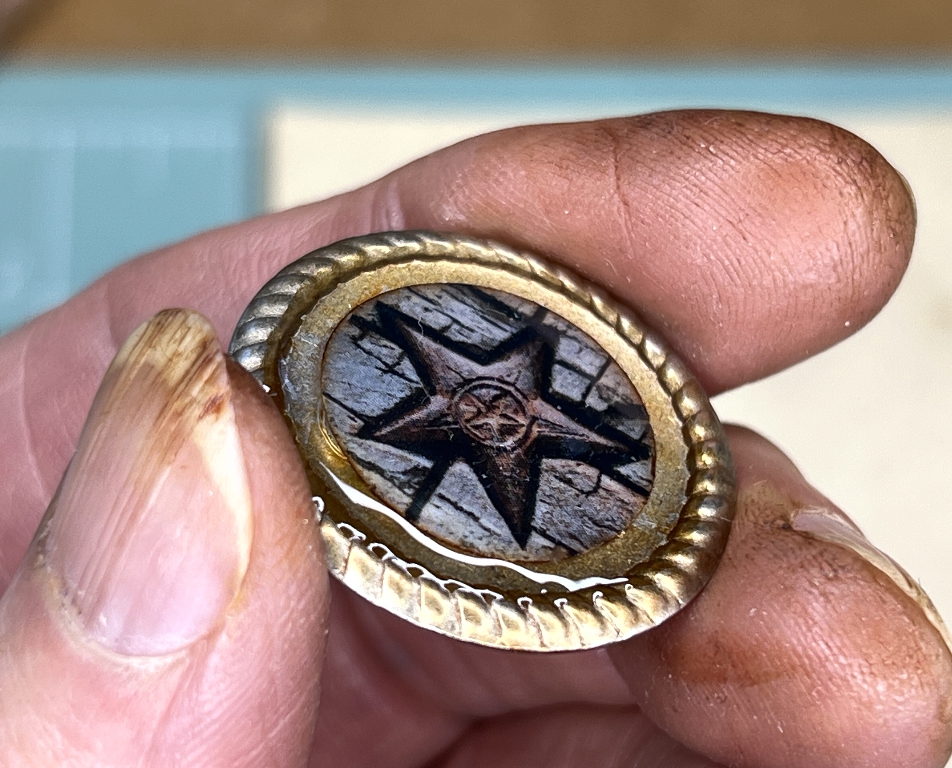
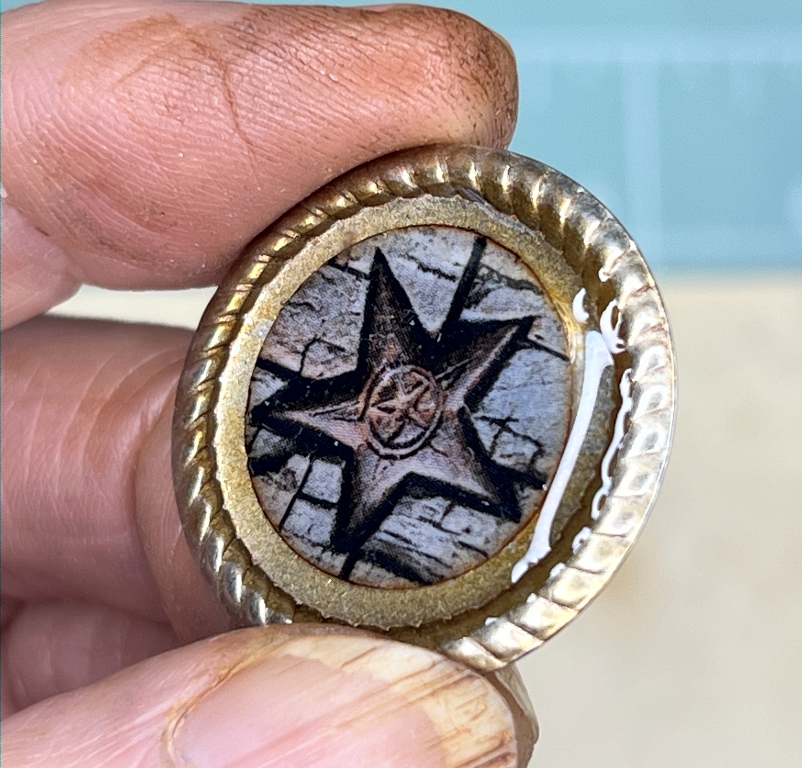
Please excuse the state of my fingers – covered with alcohol ink!!
I do not intend to drill a hole in this piece to hang it. It will be more suitable glued down onto a surface, I think. It will make a nice focal point for something.
This has been an interesting experiment, especially with the papers. I shall return to Toni’s video and see if she did anything different to get better results. On the whole, though, I think there are better ways of treating paper than using resin.