MESSING WITH MESH – PLASTIC DECO MESH
Shoshi the Mad Scientist has been at work again…
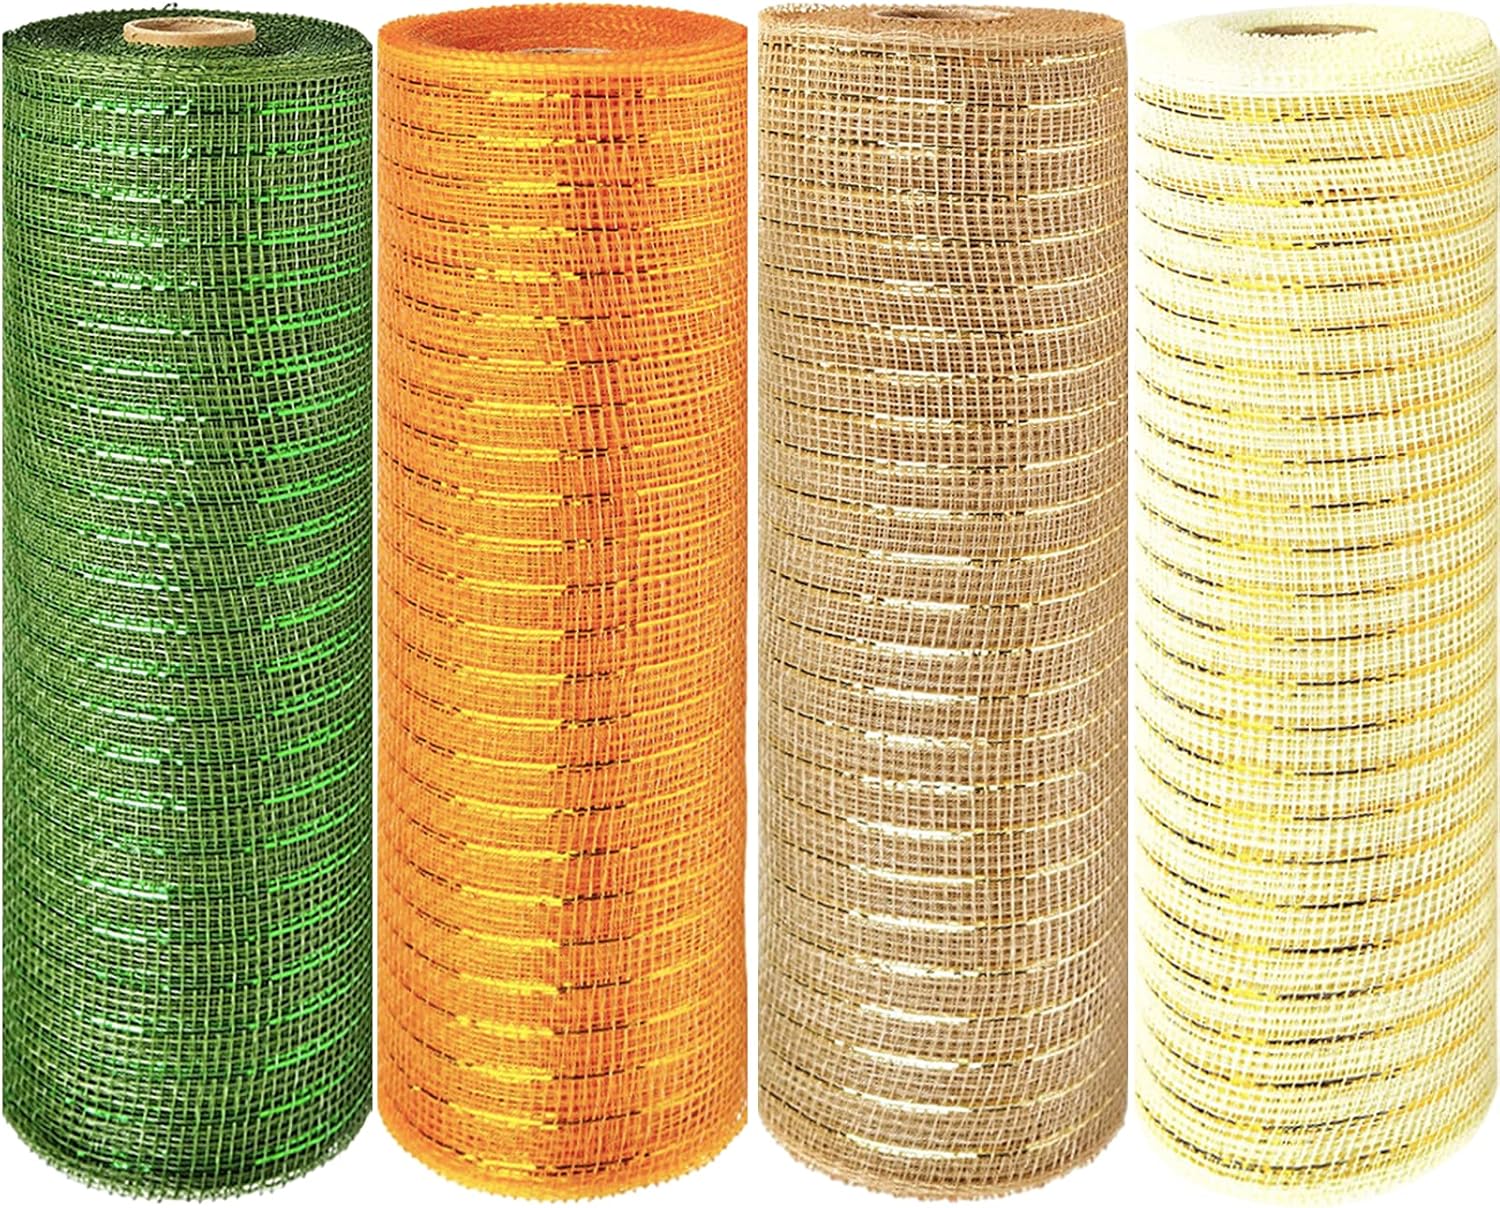
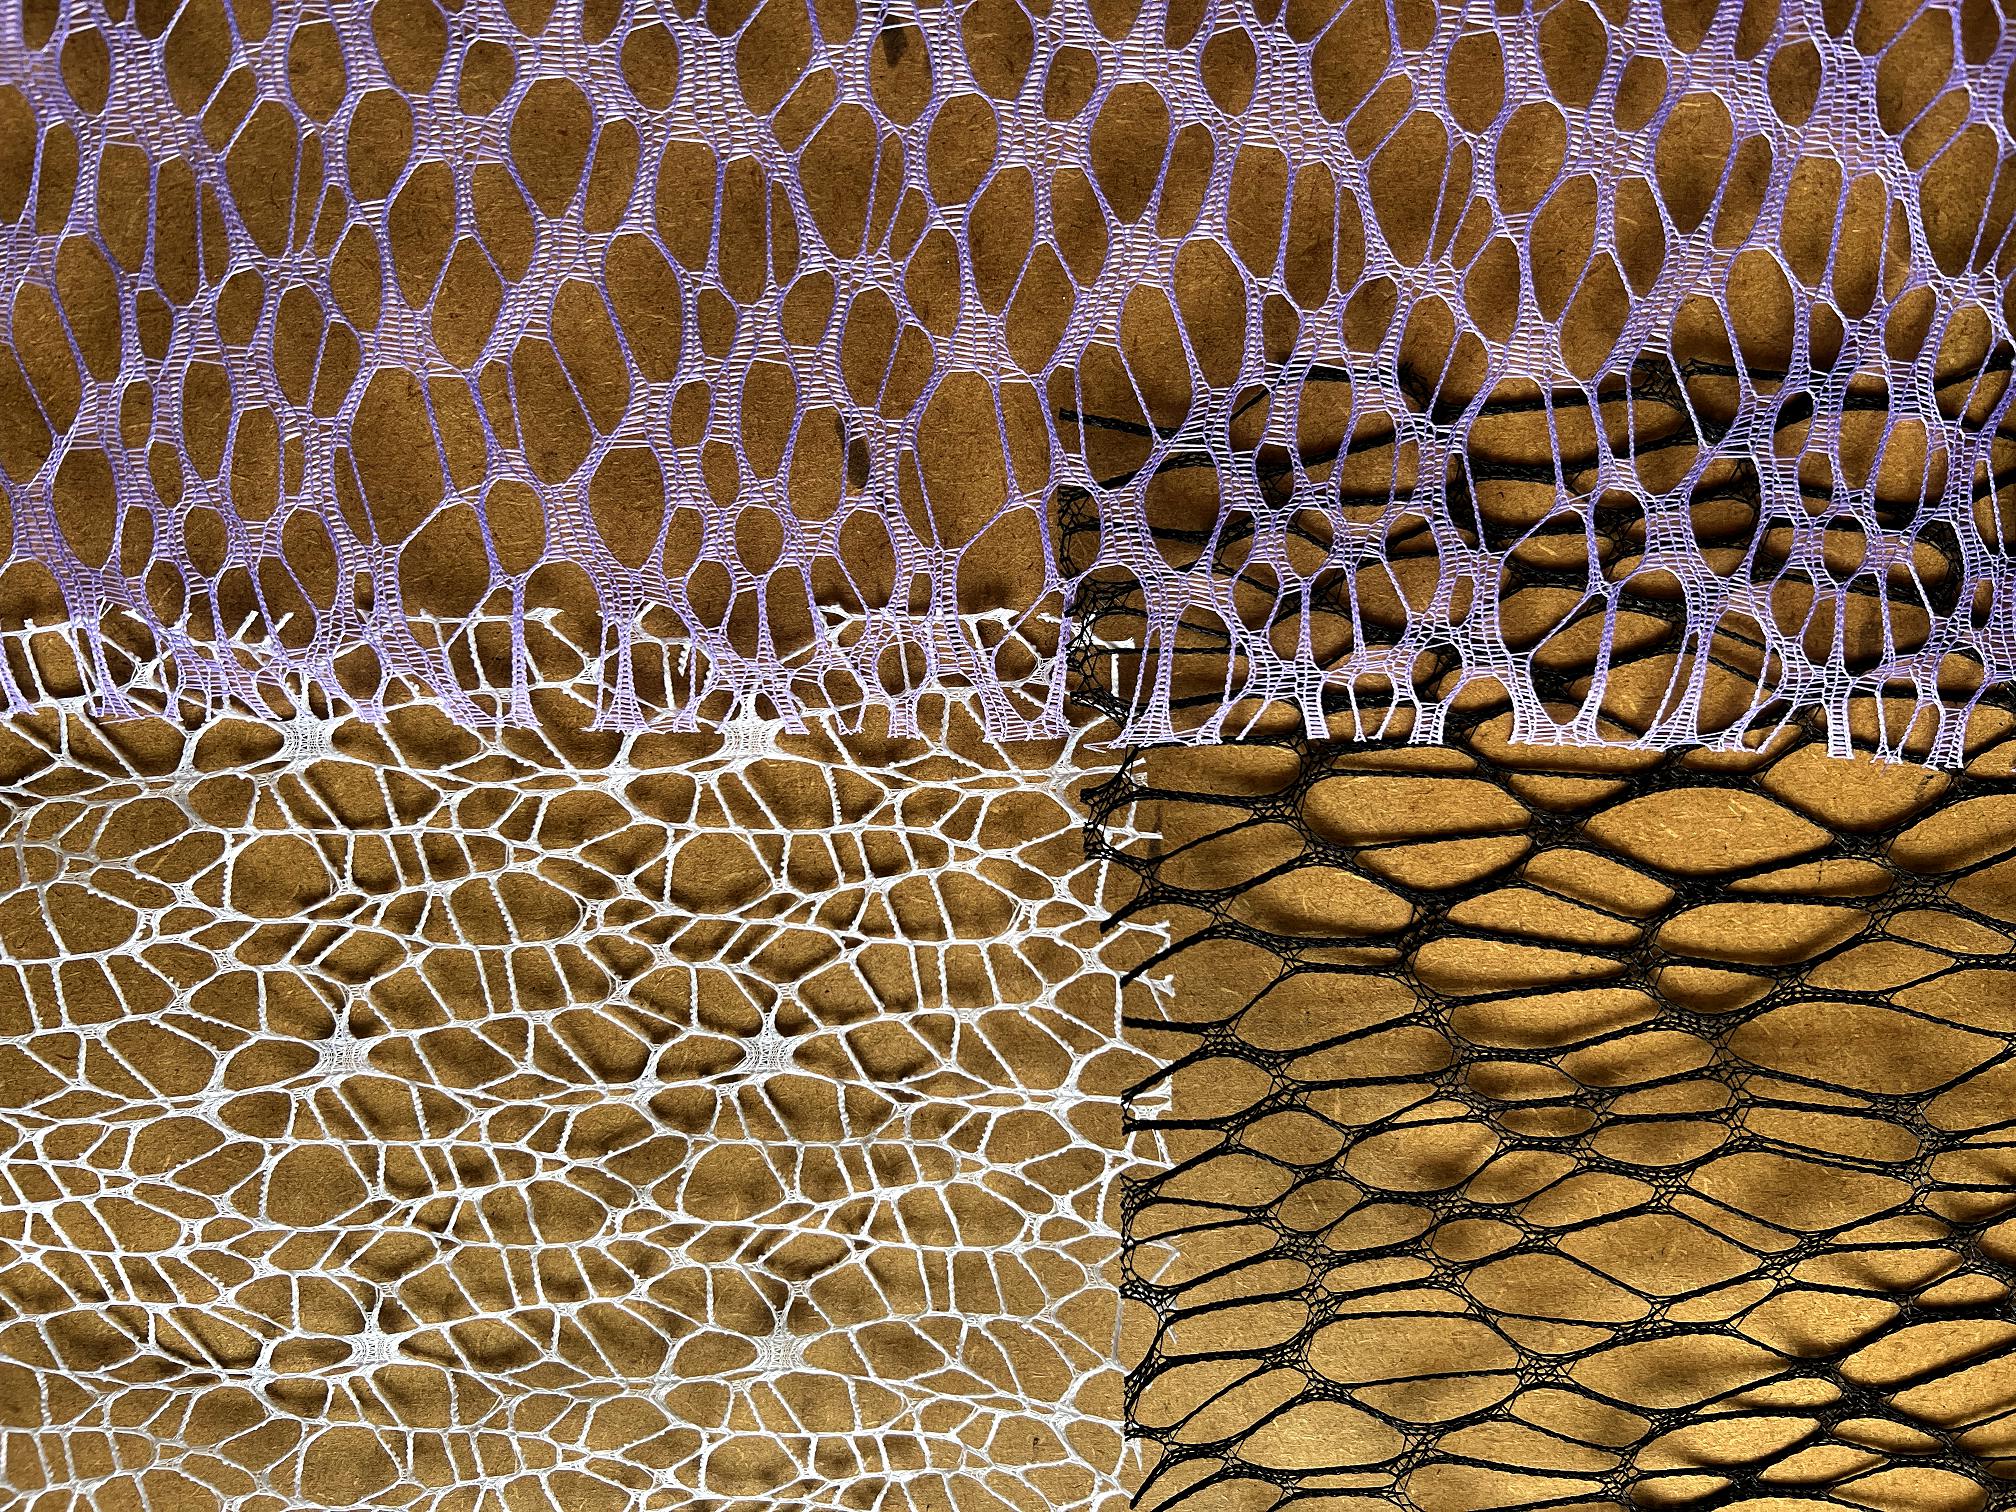
Some time ago, I bought a set of four rolls of a kind of plastic mesh which is used for forming Christmas wreaths and other decorative items. (This is Amazon’s picture.)
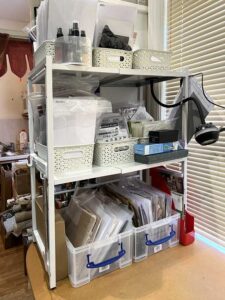
The main reason for this was to pull it apart in order to use the fibres. I regretted the purchase because I ended up with far more of this material than I will ever be able to use – I would have been better off purchasing a single neutral colour. As it stands, it is completely unstable and frays as soon as you look at it, and the gold filaments pull out equally easily. I have used some of the threads to bunch up and use as bundled fibres in clusters but it is pretty difficult to handle. I’ve now ended up with these bulky rolls which are taking up too much space in my big shelf storage area. Time to make it useable and actually use it!
I have since discovered another source of fibre on Amazon which I think is going to be a lot better because it is stiffer, and loose in a bag so you can pull out what you want. This material is for making nests for birds and other small animals. It is a natural wood product and already brown in colour, and it should take other colours well too. I have it in my wish list for now.
Attempting to stabilise the plastic mesh
I was wondering if it would be possible to stabilise it in some way so that it would be more usable. Also the colours are a bit bright and I thought it would probably look better if it were distressed in some way.
1. UV Resin
My first attempt was using UV resin. This really did stabilise it, but left it very rigid and inflexible, and also very shiny.
I think there is definitely a place for this. I like the way that not all the holes have been filled by the painted-on resin.
2. PVA glue
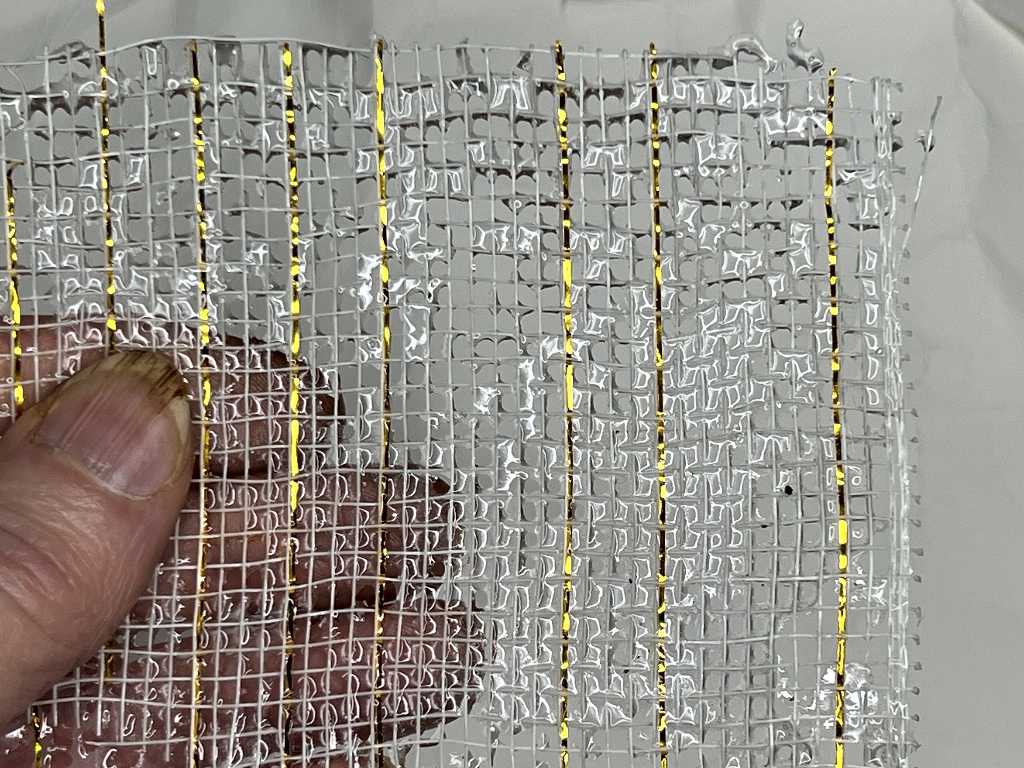
My second idea was to lay out the mesh on some plastic sheet, tape it down and paint it with a diluted solution of PVA glue. I thought that this should definitely stabilise it, and would hopefully be less shiny than the resin. I made up a bowl of this, and added some tea to colour it a bit. It looked a bit too pale, so I stirred in some instant coffee which helped. I began to paint it on.
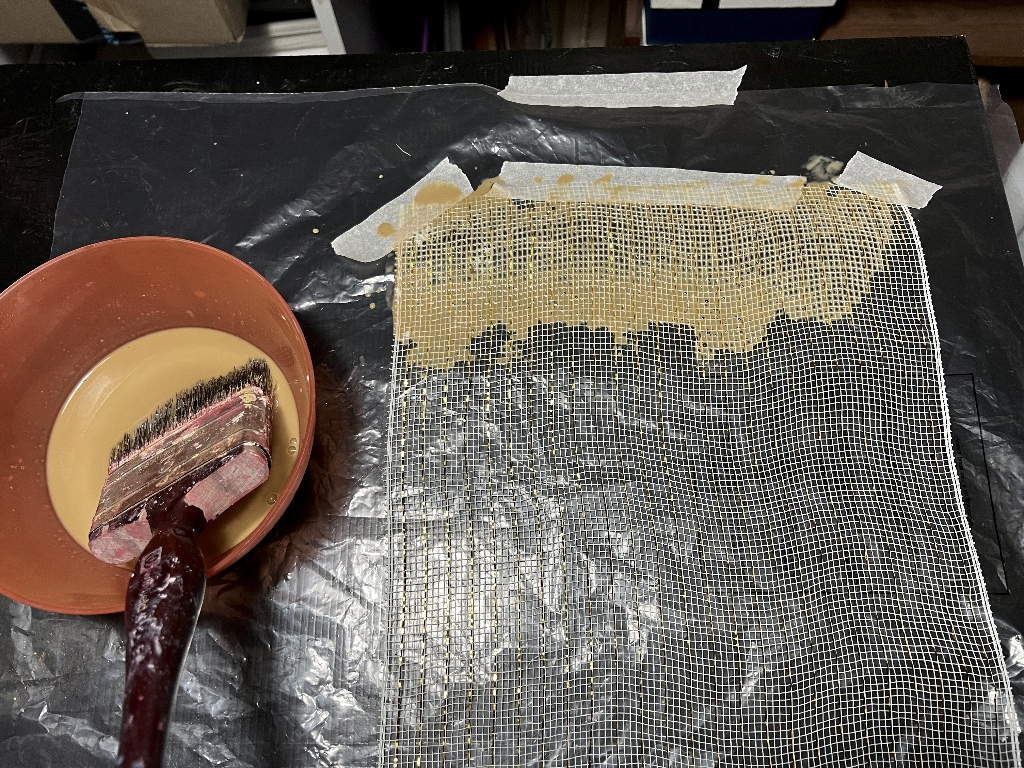
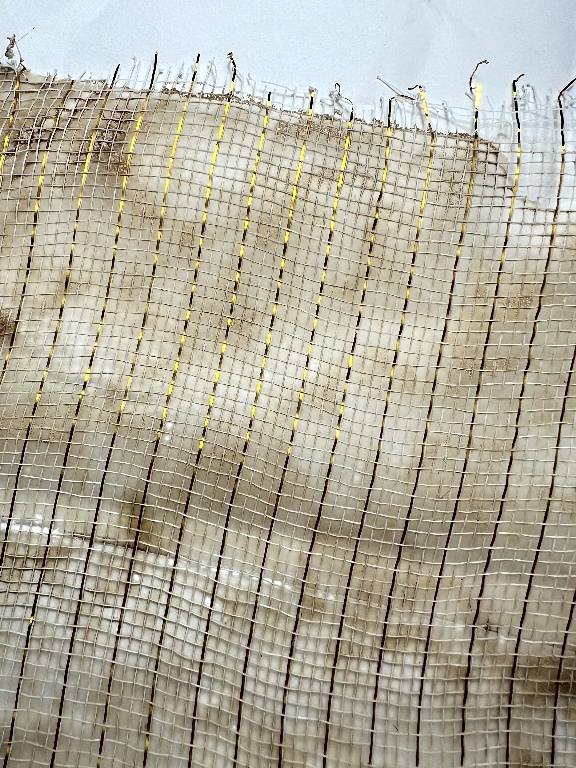
Even gently dabbing it on, some of the gold filaments started to move and lift. I tapped them flat as best as I could with the brush. You can see how unstable the weave is in the next picture, as it ripples and moves on contact. This needn’t be a bad thing in practice, though, especially if I can stabilise it.
I decided to grunge it up a bit more by sprinkling some instant coffee granules onto the wet mesh.
It was very wet indeed at this stage, so I left it overnight to dry.
The next day I thought it needed more of the glue solution and coffee granules, so I repeated the process.
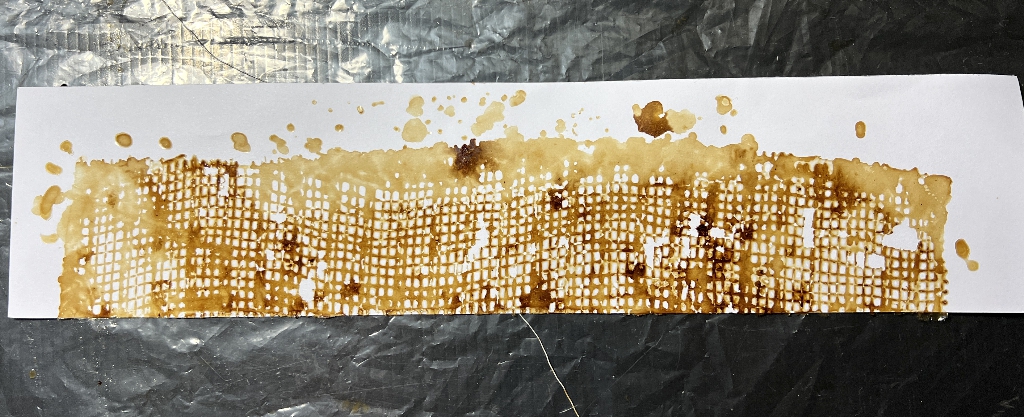
Before it was completely dry, I lifted it up and draped it over the back of a chair to finish drying. What was left on the plastic sheet was a marvellous impression of the holes in the mesh. I knew I had to print from this rather than just wiping it away, so I laid down a couple of pieces of tissue paper and a piece of printer paper, as well as a strip of scrap card, and left them to dry.
When they were dry, I peeled them off the plastic sheet. Hmmm.
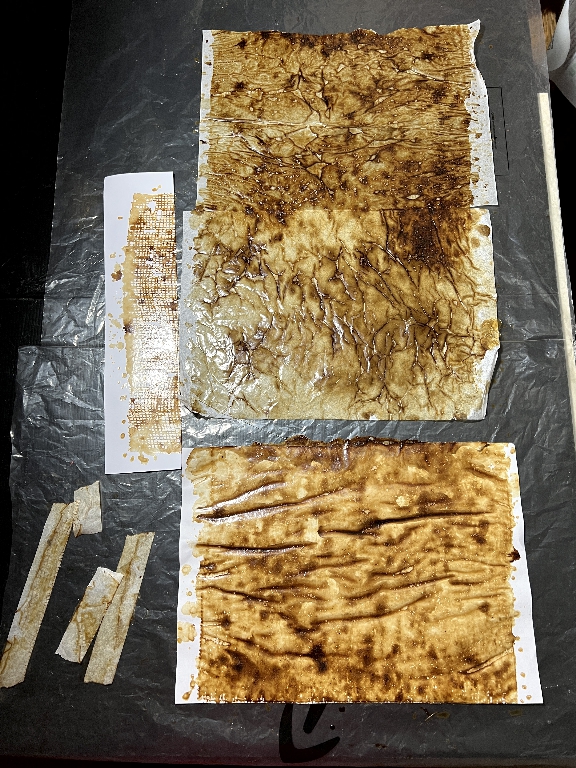
NOT a huge success. In fact I’d call this an epic fail!! Not only was there no trace of the stencilled pattern from the mesh, but the result was extremely plasticky and shiny.
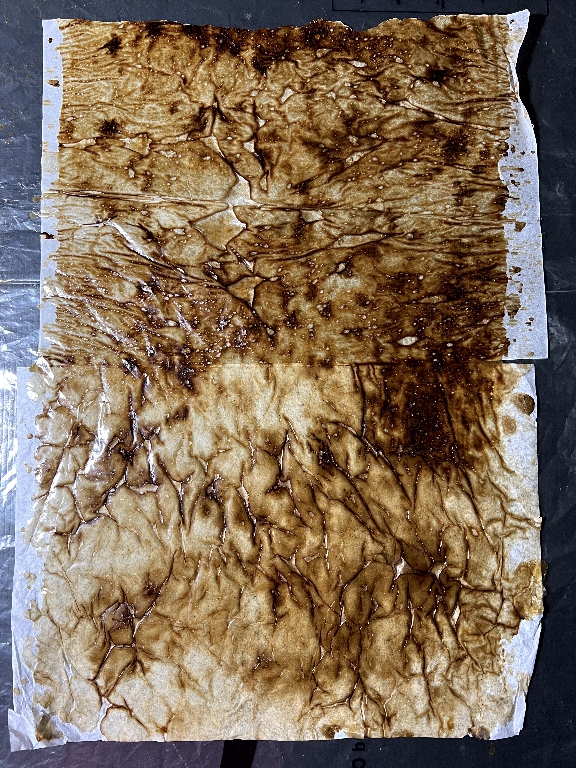
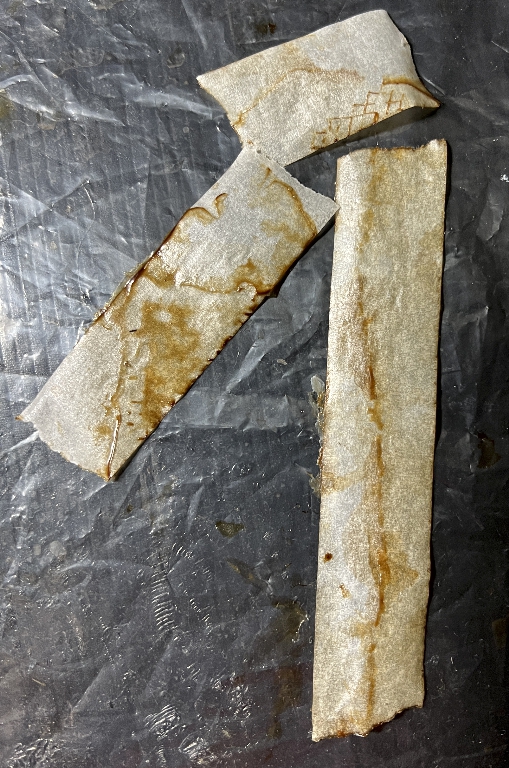
The back of the tissue paper was better, though.
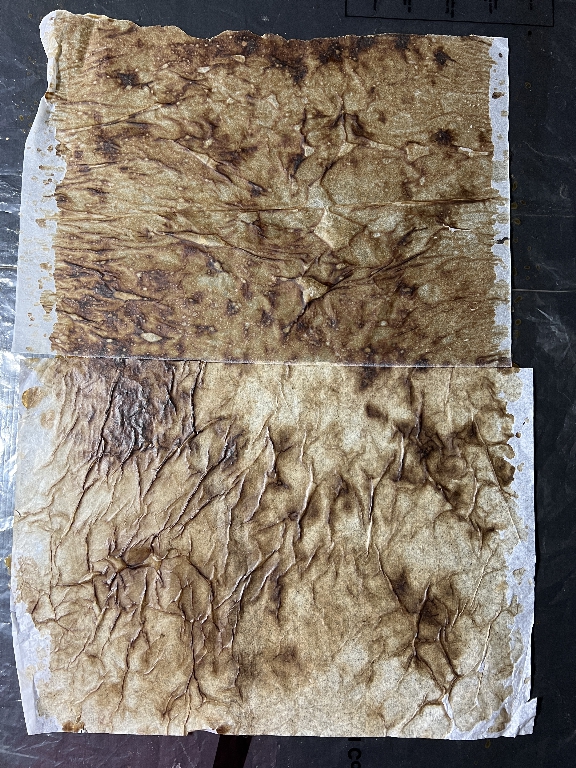
The back of the printer paper was different because not so much had seeped through. This could definitely be cut up for collage.
The only piece that worked was the small strip of scrap card. It was still pretty shiny, though.
The masking tape that I’d used to hold the mesh down came out quite well, and will definitely be useable, especially the sticky side.
On second thoughts, I found a use for the shiny failed printed pieces – to store my tapes on!

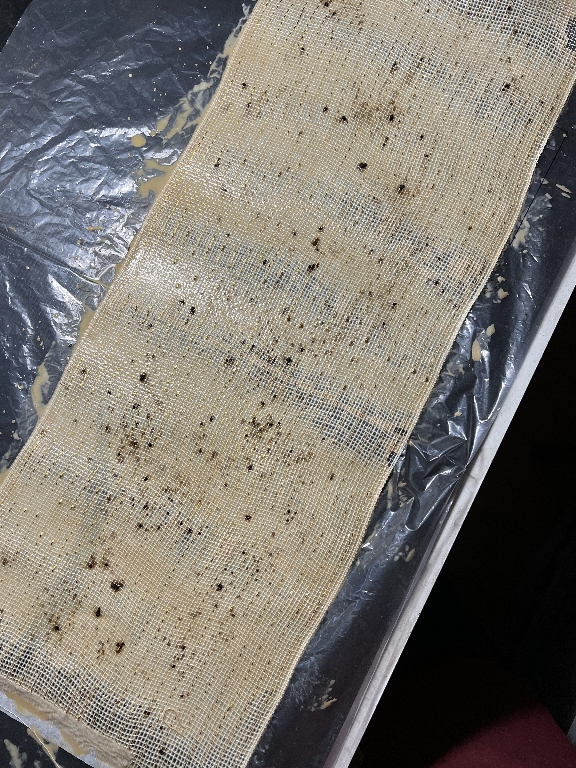
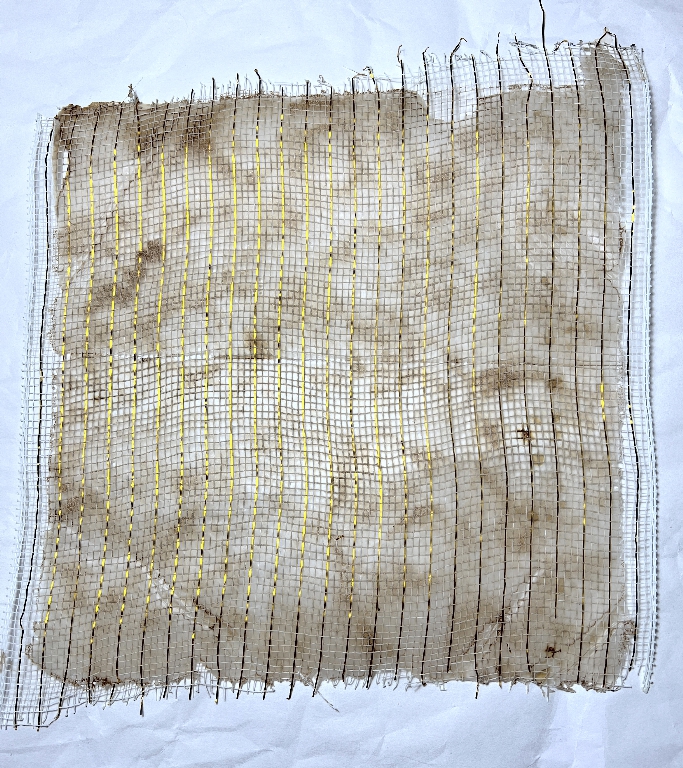
Here is the piece of mesh once it was dry.
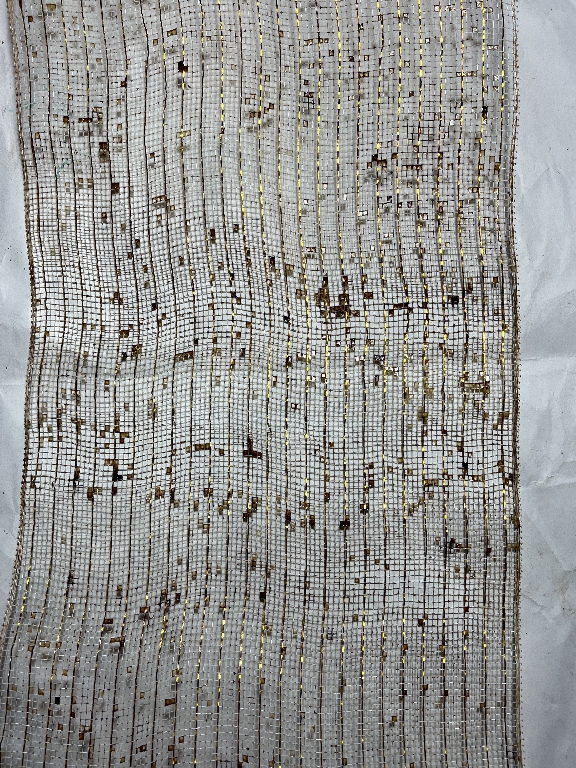
You can see that very few of the holes have been filled. It was also pretty unstable still, although I managed to bond the cut edges by the following method.
I did a bit of research into this mesh after all this, and discovered that the best way to cut it is with a wood burning tool (presumably a tool for pyrography). This seals and stabilises the edge.I have a hot knife with interchangeable blades, as well as a soldering iron. I was able to use this to cut further pieces of the mesh, and to stabilise the cut edges. It worked very well.
This mesh is very stubborn and doesn’t like being messed about with! It is similar in this respect to the other sort of plastic mesh that I have got. The only way I’ve found that I can alter this so far is by painting it. Plastic is very difficult to work with!
3. Acrylic Matte Medium
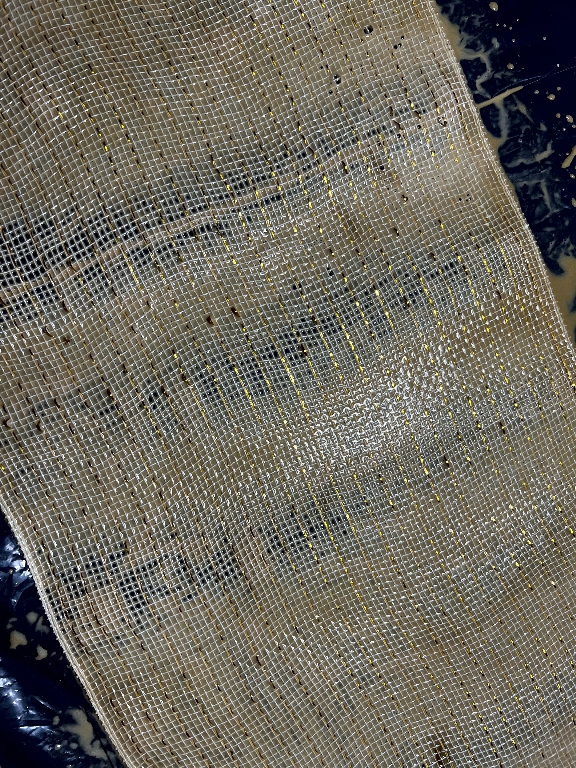
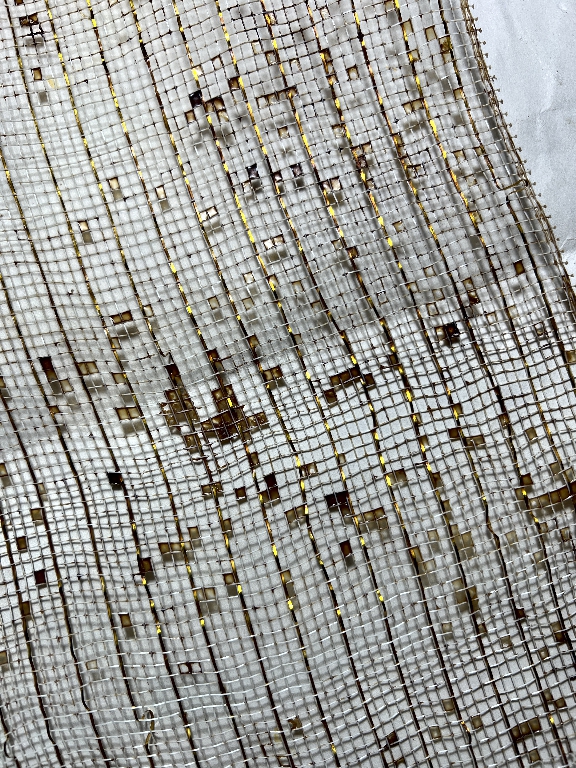
This was the most successful, and the result was much less shiny. It also seemed to fill the holes in the mesh better than the PVA solution, although that may have been because I made the matte medium solution thicker.
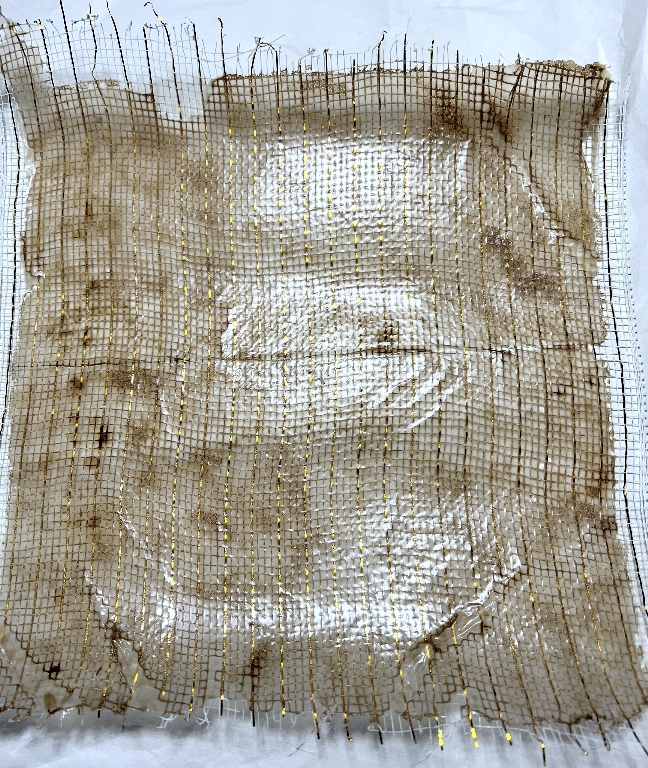
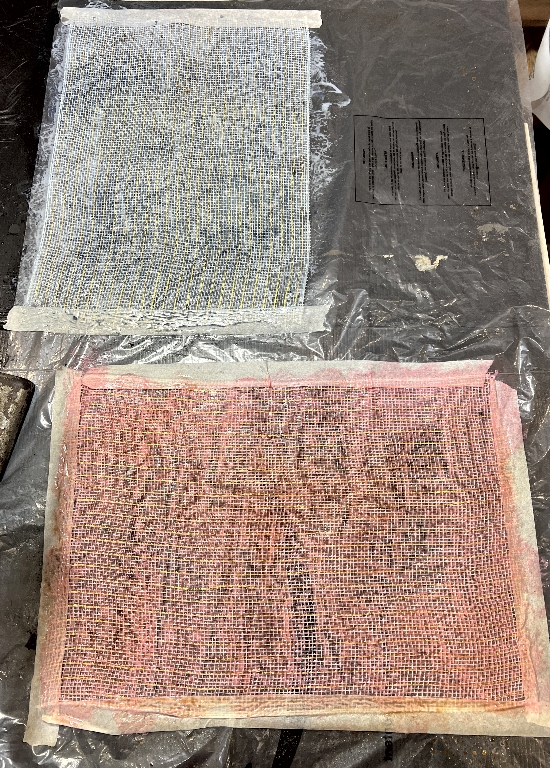
My first attempt was mixing tea and coffee into the medium as before, and painting it on. This is the finished result after drying. You can see the raggedy edge created by the hot knife as I jiggled it around to bond the edges after using it for cutting.
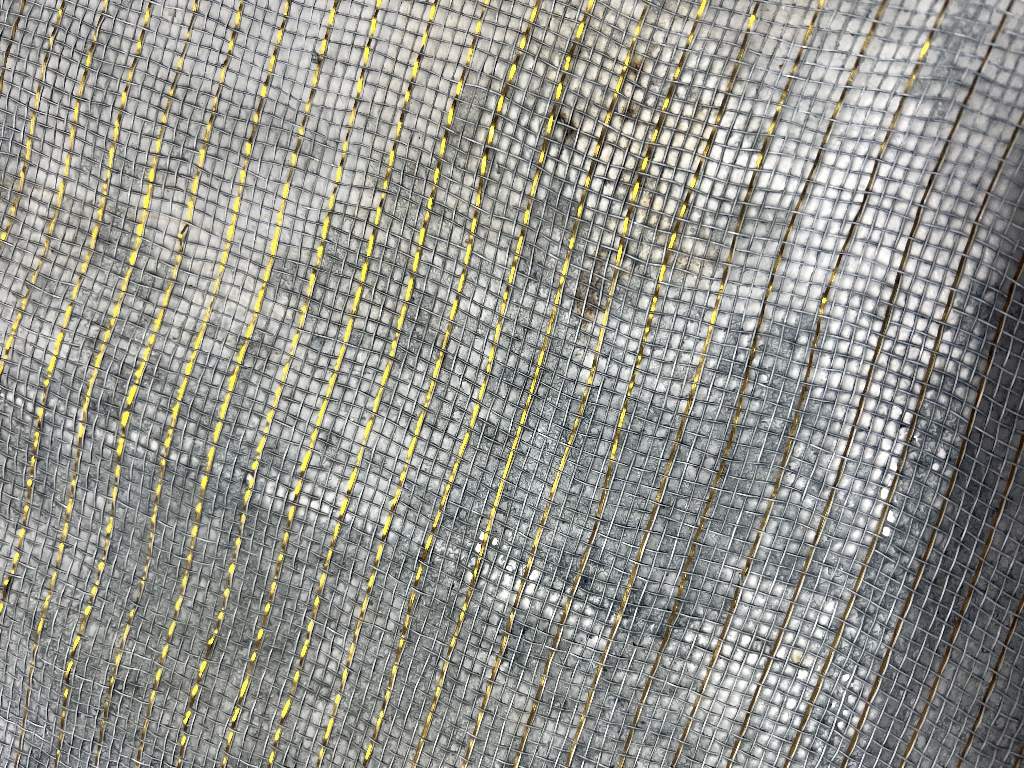
Nearly all the holes are filled, which makes the mesh nice and stable, but it is still fairly flexible, unlike the piece treated with the resin. I am glad that the matte medium hasn’t dulled the gold filaments too much.
Interestingly, the back of the piece was quite shiny! This has been in contact with the plastic sheet, of course, which always makes things very smooth, but I did expect the matte medium to be matte! It certainly is on the front.
Matte medium with different colours
I made up two more batches of the acrylic matte medium, and mixed some Payne’s Grey water into one, and some food colouring into the other one.
Payne’s Grey water is an idea I got from Crafty with Toni on YouTube. She mixes a small amount of Payne’s Grey acrylic paint with water in a jar. Diluted like this, you can paint it on, or spatter it, or spray with it. The colour is a delicate indigo shade of blue which goes extremely well with the browns and neutrals of the vintage and distressed look that we all love. I made a batch of this and it was very strong, but I have now split it between three separate jars – strong, medium and weak.
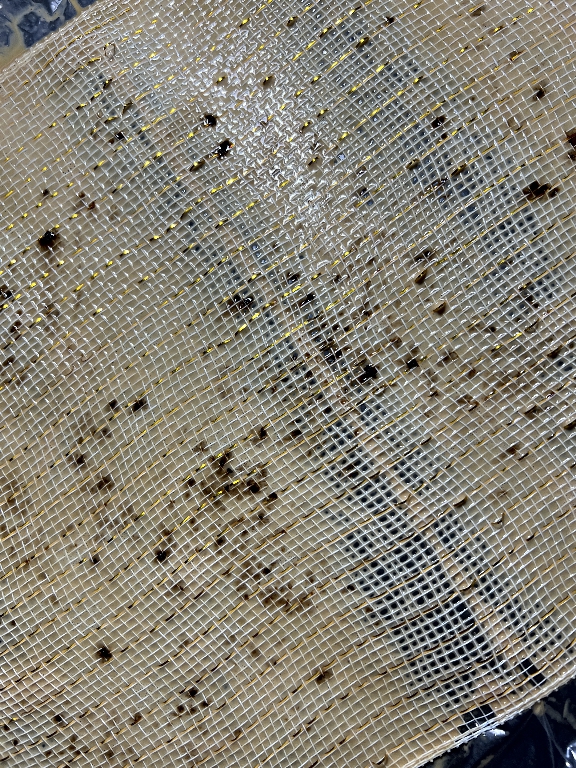
For the Payne’s Grey mesh, I began by mixing the medium strength one into the matte medium but it seemed to be going on very pale. I knew that the colour would be paler once it was dry, because the matte medium dries clear, so I added some of the strong one and painted it on, and this was better.
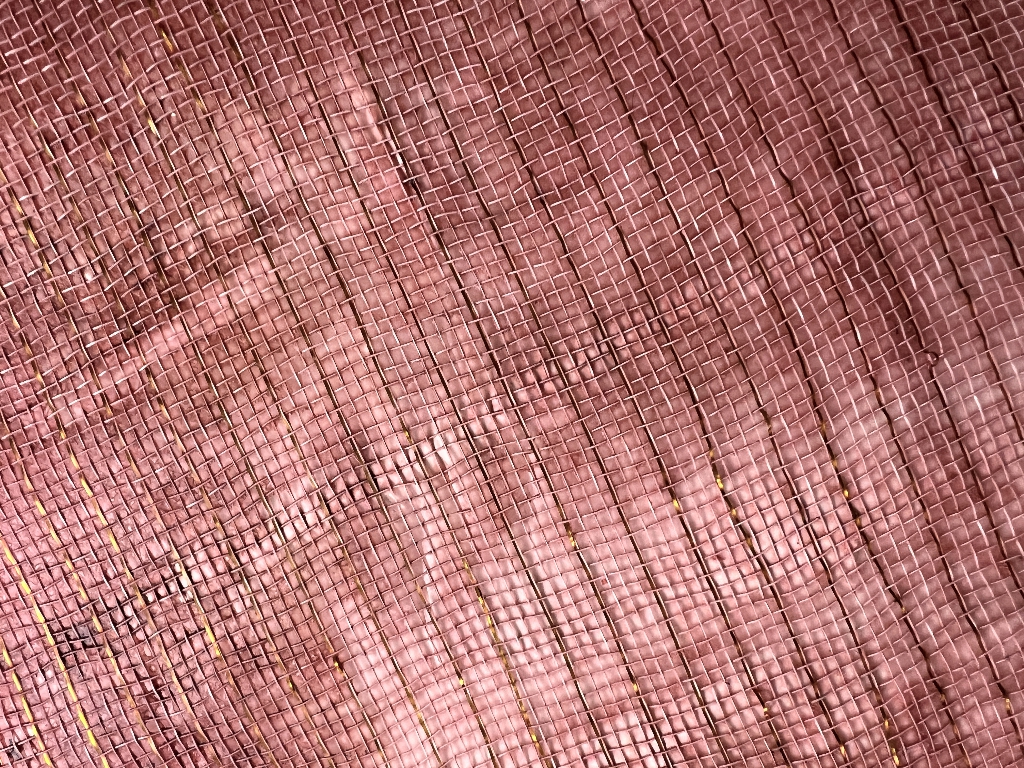
I chose a pink from my set of little bottles of liquid food colouring, and mixed it into the second batch of medium. It came out as a very bright sickly pink which was horrible, so I toned it down with some coffee and the result was great. These food colourings are very concentrated and you only need a drop or two. They are a cheaper alternative for colouring stuff like this than inks, and you can dilute and mix them, too.
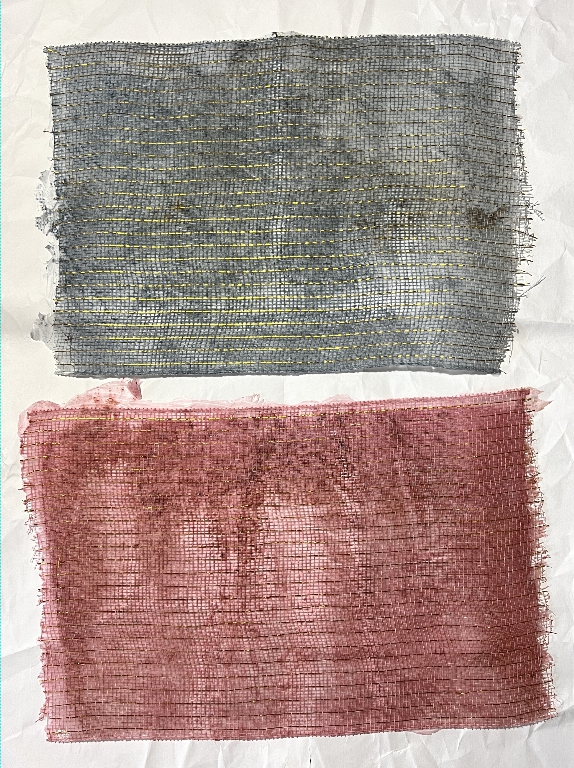
Here are the coloured meshes drying. The blue one looks more blue in real life.
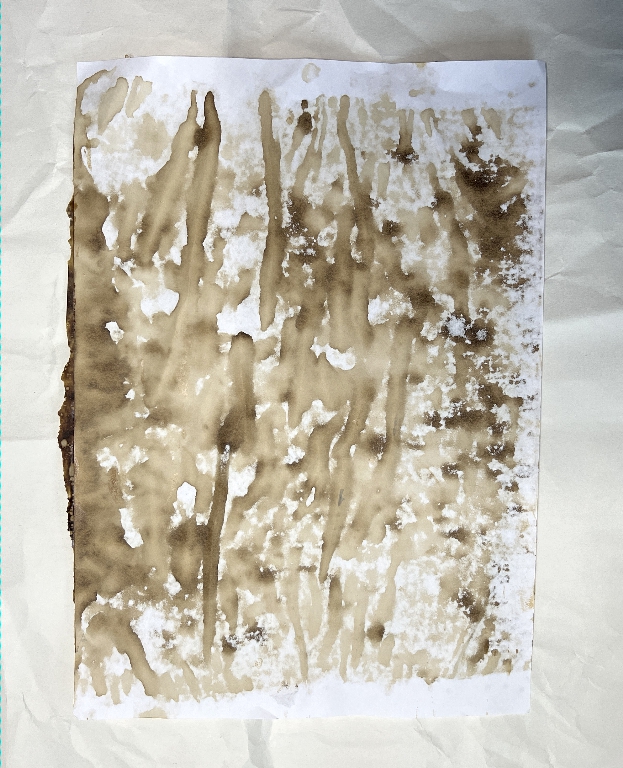
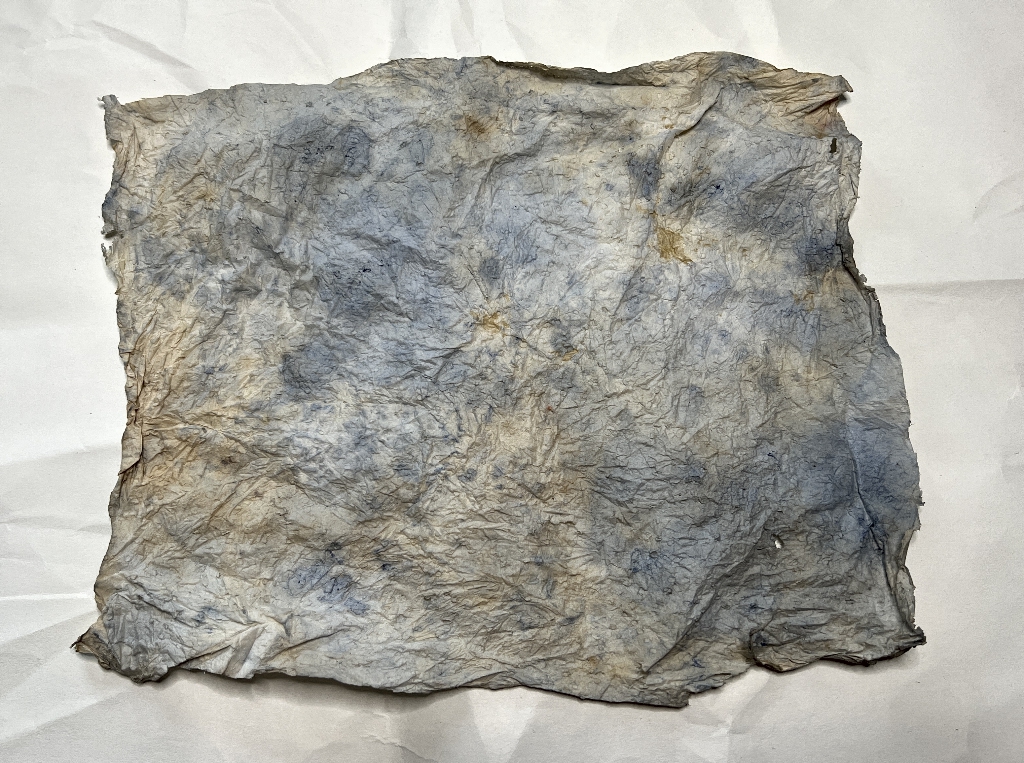
When I was cleaning up, I used a piece of kitchen paper which had already been used for mopping up some tea/coffee, and I added to this colour with some of the Payne’s grey. This has turned into a gorgeous piece which will definitely be used for art! The bonus is that the kitchen paper is 2-ply so you can split it and get double for your money. I have a box of these dyed and inked kitchen papers and they collage very well.
The following day when the samples were dry, it was clear they needed a further coat. Once this was applied and dried, they were much better. All the holes were filled in and they felt really stable.
All these pieces are now rolled up around an empty kitchen paper cardboard tube, ready for use. The mesh should cut nicely without fraying now.
Ideas
Thinking about the unstable nature of this particular mesh, I am wondering whether I could actually take advantage of this and use it. I could cut pieces out with the hot knife to stabilise the edges perhaps, and then manipulate the woven mesh, spreading the fibres apart to create shapes or to surround textural projections underneath it. It could be layered, scrunched, gessoed, painted, embroidered, beaded. Melted. Will it shrink up like Tyvek if I heat it? I could pull selected fibres out to make a less dense mesh. Perhaps I am approaching this material in the wrong way. Maybe its instability is in fact its greatest asset.
Watch this space for more mesh experiments. I’ve got an exciting mesh idea on the go, from a surprising source. Remember: absolutely EVERYTHING has the potential for being an art material.