TYPEWRITER ALBUM PART 10 – FLOWER EMBELLISHMENTS
I hadn’t really intended to start making embellishments before completing the pages of this album, but one goes where the creative flow dictates!
Recently I watched Barbara of 49Dragonflies on YouTube, making some gorgeous flowers from punched circles, and I knew I wanted to try it.
Circles from cicada wing paper
This was originally an experiment I wanted to do before risking wasting the inked glassine I made yesterday, but it turned into a project for real.
Stamping
I had a piece of cicada wing paper left over from previously, and I stamped this randomly with stamps from the “Deconstructed” set by Tim Holtz.
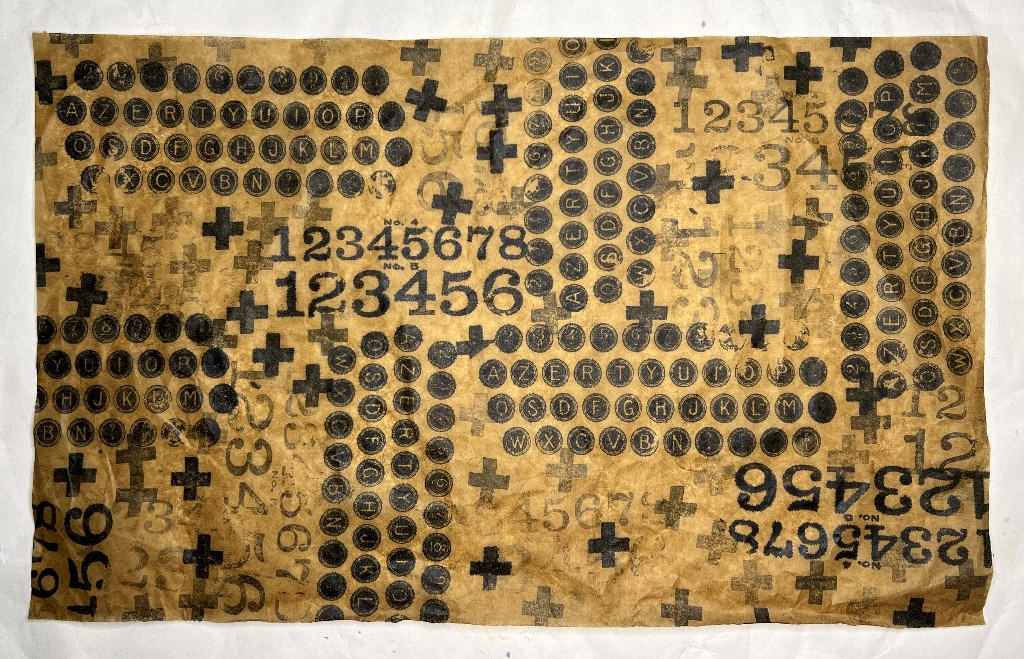
I used archival black ink for this and employed the “ghost stamping” technique, continuing to stamp without replenishing the stamp with ink.
Punching the circles
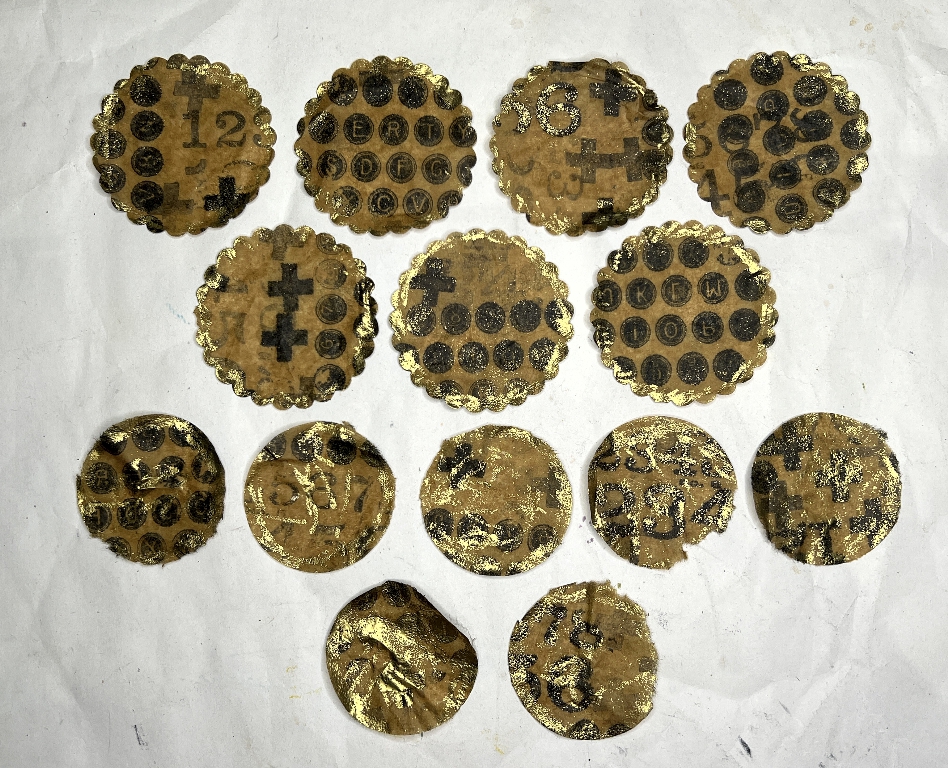
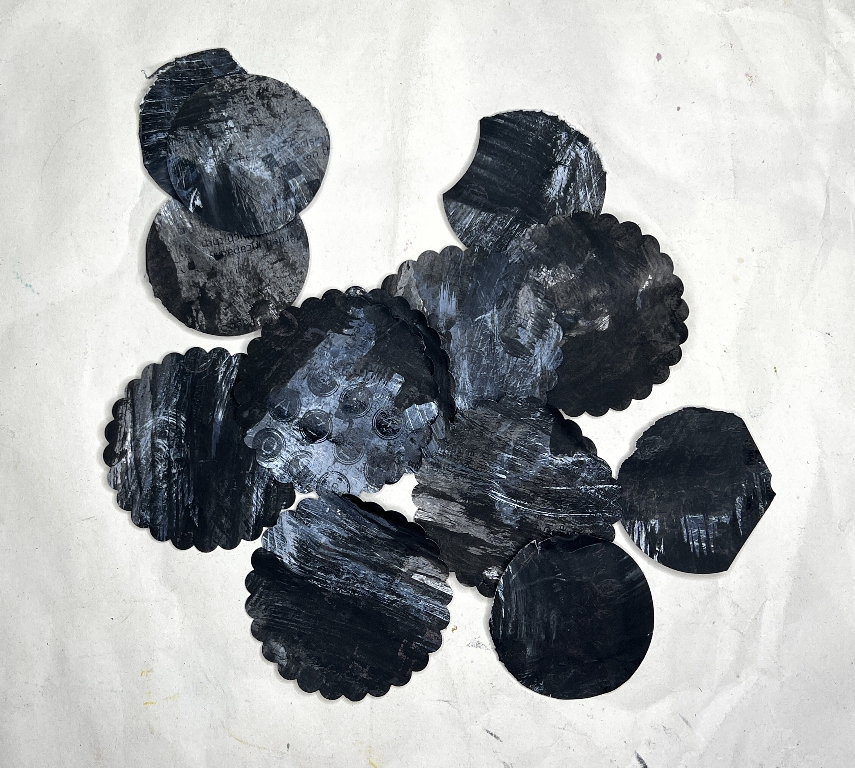
I knew it would be impossible punching from cicada paper without some sort of paper or card support from behind. I took the acrylic painted scratch paper I made a couple of days ago and doubled this up with the cicada paper to punch the circles. In the above photo you can see that I chose a 2 1/2 inch scalloped circle punch for the larger circles, and a plain 2 inch circle for the smaller ones. I heat-embossed them using an embossing pen and gold embossing powder.
These are the scratch paper circles.
Glueing the circles
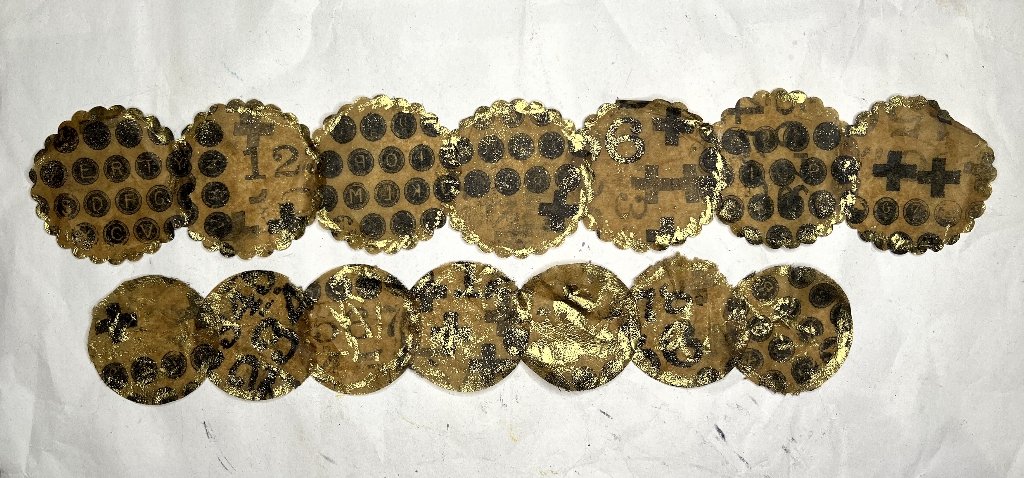
I overlapped the circles and glued them together into two strips.
Stitching the strips
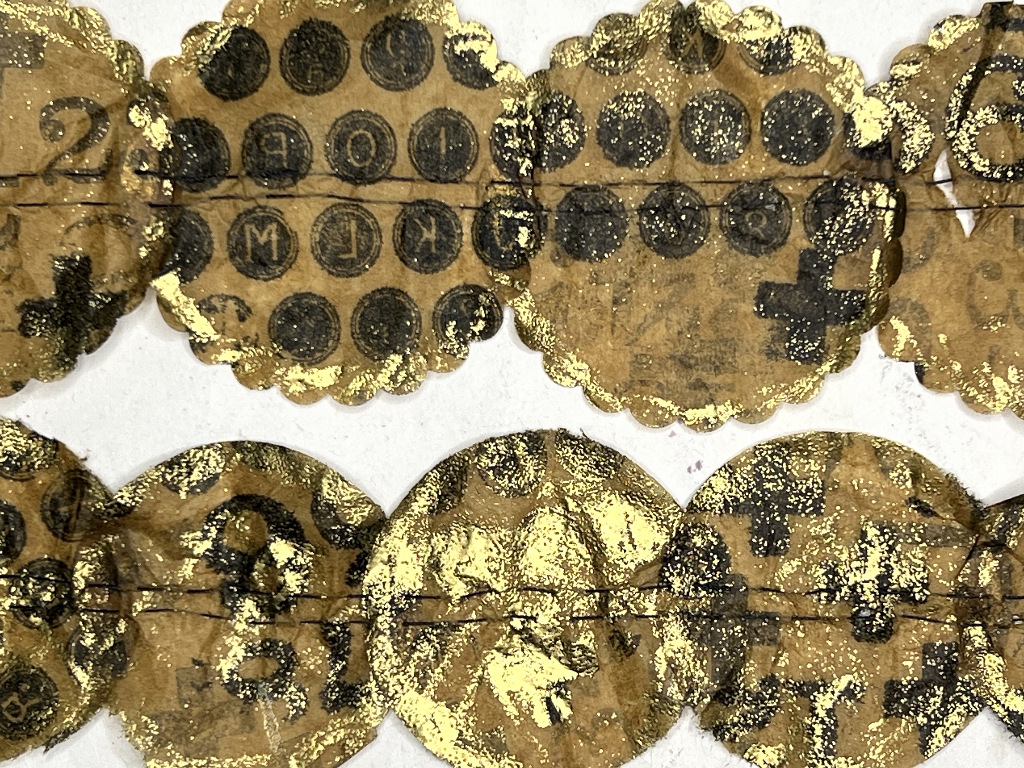
I ran two parallel lines of hand-running stitches along the centre of each strip. After this, I cut the strips in half, between the lines of stitching.
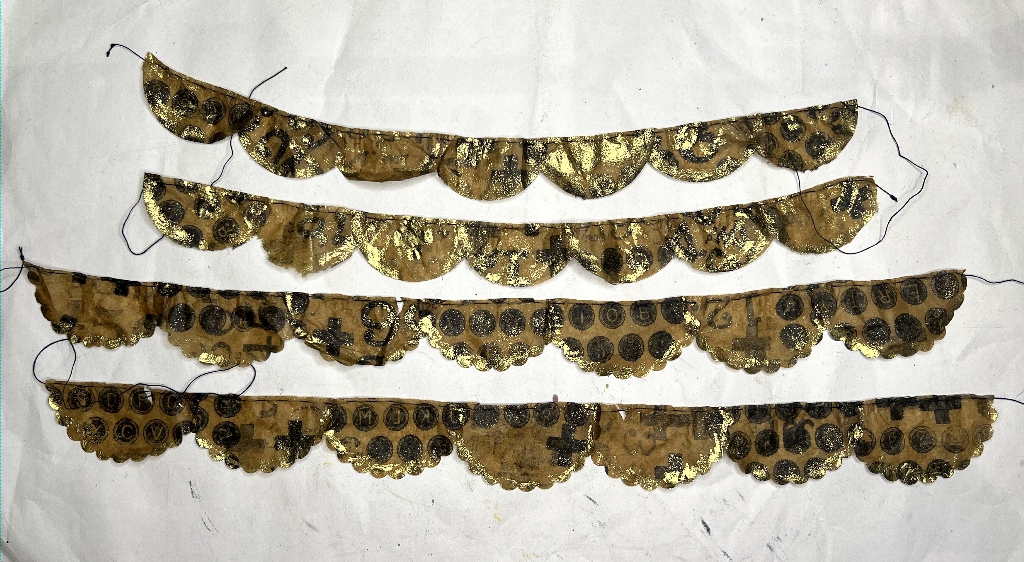
Pulling up the gathers, the flowers were formed.
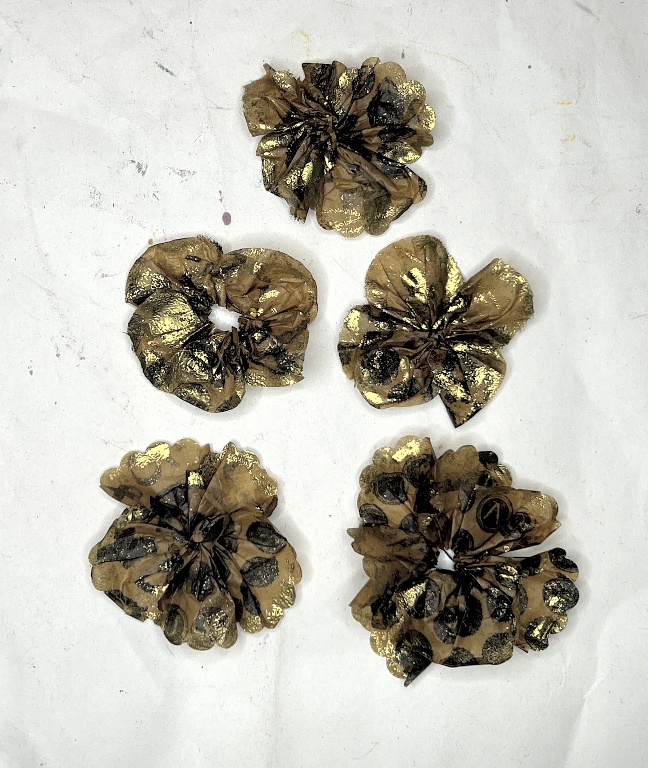
After I did the first one (bottom right in the above photo) I realised I’d made a mistake. Barbara had used only five circles for each strip, and I used seven. This made more of a pom-pom than a flower, so I removed a couple of circles from the other strips, and formed them into an extra flower which is at the top of the photo. Because it was made of larger and smaller circles, it was lopsided, but this was covered later.
The flower factory
This is the state of my desk the following day when I began work again.
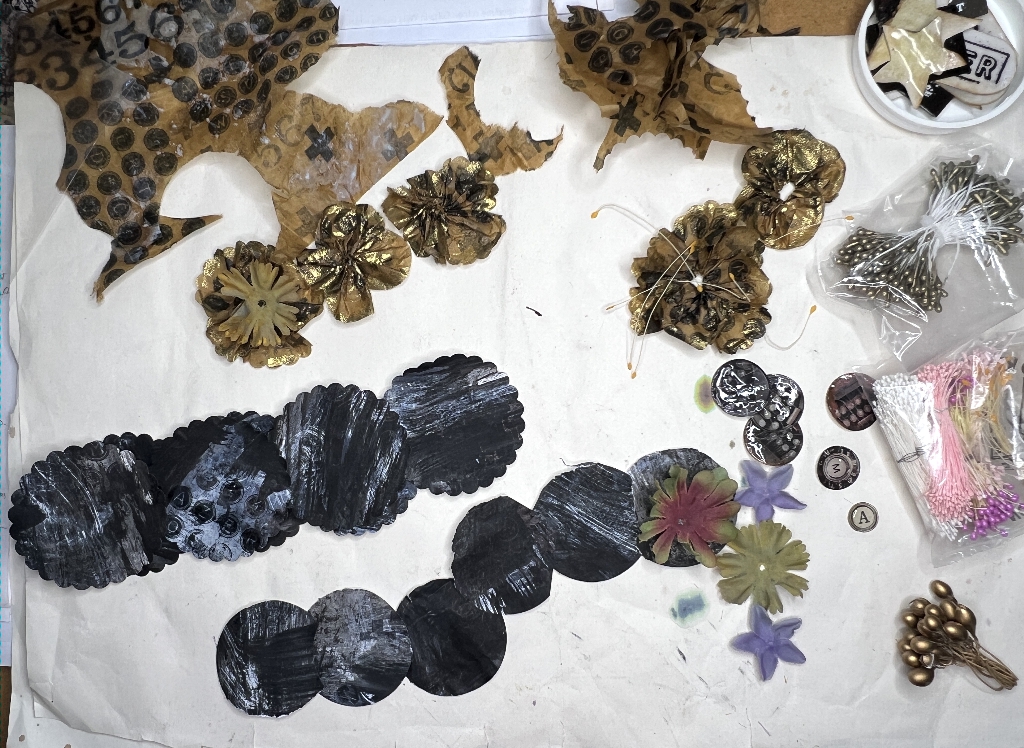
Amongst everything, you can see some flower shapes. I have quite a large collection of silk flowers that I bought many years ago for other purposes and I decided it was high time that I used these up. I took several apart and bagged the resulting layers and put them in the box with my other flower-making bits and pieces (including the flower stamens you can see on the right – these make great butterfly antennae!). The colours of the flower parts were much too bright, so I inked them to dull them down a bit. You can also see some small discs from Luise Heinzl’s Typewriter Ephemera kit, covered with Glossy Accents. I had a lot of trouble with this because they warped as they dried, and when I tried to flatten them out, they cracked. I added more Glossy Accents, which takes ages to dry.
Scratch paper flowers
The reverse side of the scratch paper was white, so I inked it with Frayed Burlap and Walnut Stain Distress Oxide sprays. I liked these backs better than the fronts and almost decided to make all the flowers with this side up but in the end, I only did one, as they didn’t look quite so good once the flowers were formed.
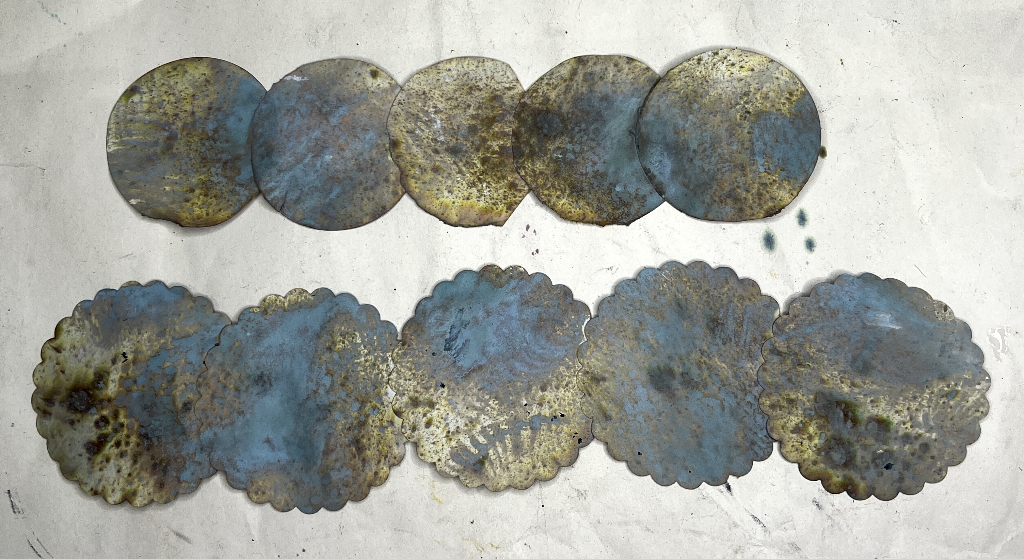
The fronts of the scratch paper circles gold embossed, and the stitching added.
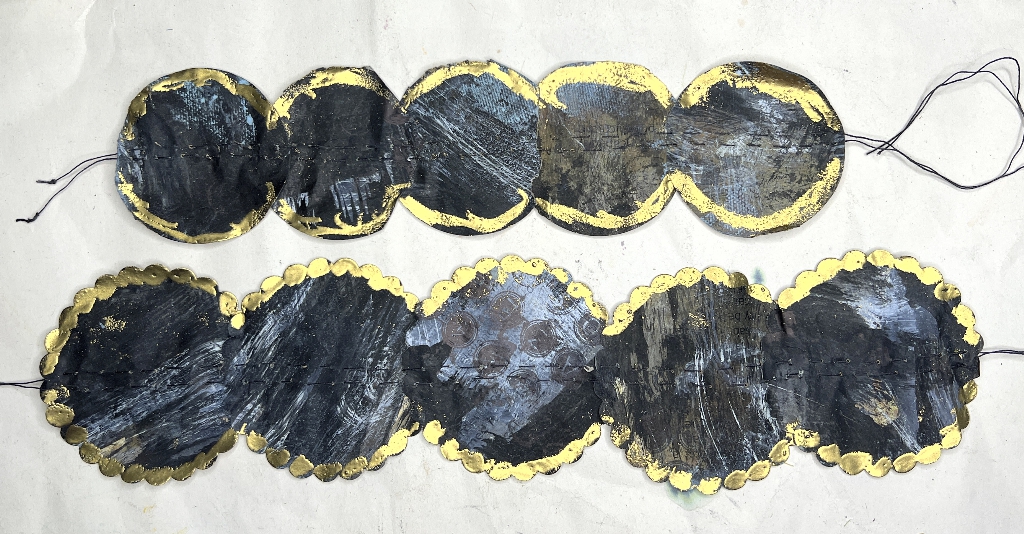
More gold embossing on the reverse side.
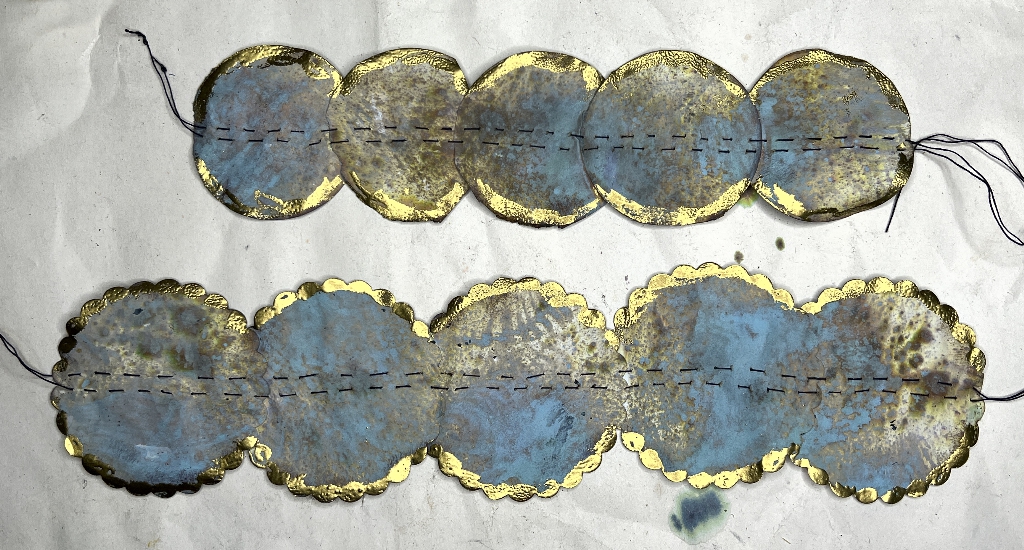
I had a terrible time gathering the scratch paper flowers after I’d cut the strips between the stitching. The paper was much stiffer than the cicada paper, and as I attempted to pull the thread tight and tie off the ends, the thread broke. I pulled it out, and redid the sewing using buttonhole thread which I waxed, which worked fine. I wasn’t able to use all the original holes because some of them had ripped, being close to the edge, so I sewed a little further from the edge, and used larger stitches. I was happy with the result in the end.
The completed flowers
Once all the flowers were constructed, it was time to decorate them.
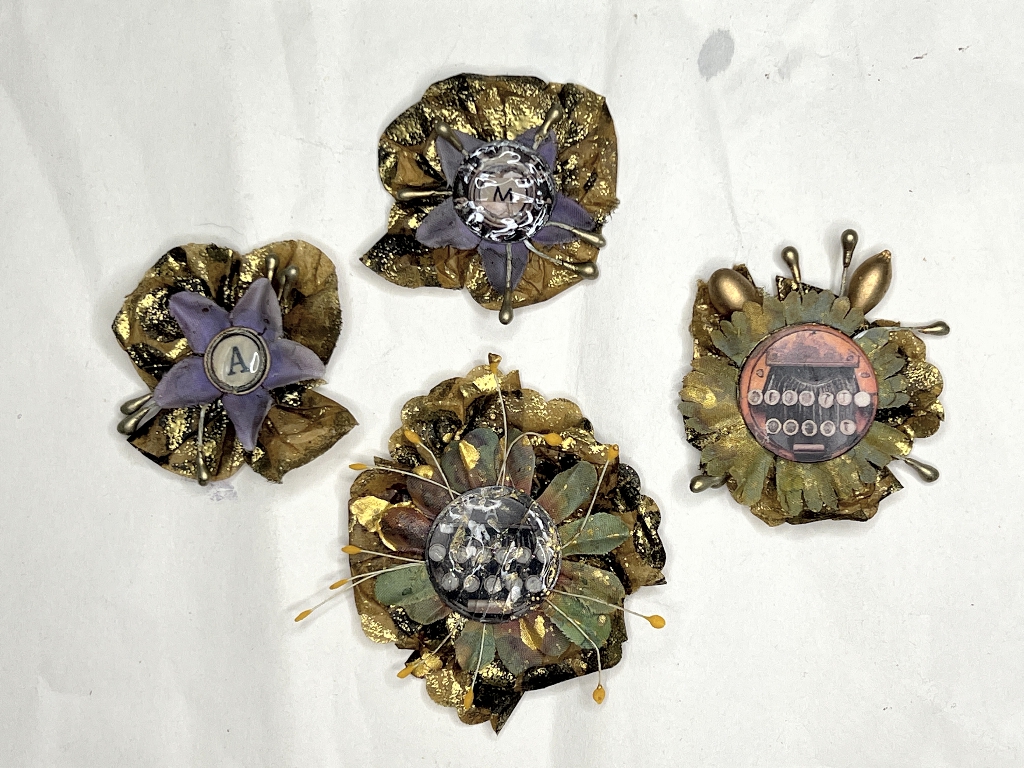
The cicada flowers
I chose several of the discs from the Typewriter Ephemera kit, and layered up the flowers. In the next photo you an see that I have used the silk flower fragments, and also some of the stamens from my flower making box.
The scratch paper flowers
I used a variety of layering materials for these. Top left and bottom right have my heat-embossed pastry stars from a recent junk mail ad for Christmas foods, embellished with decorative brads. The flower at top right is the one using the reverse side of the scratch paper. There needed to be a layer of contrast between the flower base and the top layer for bottom-left, so I added a tiny fragment of lace. They all got the gold ink spattering treatment.
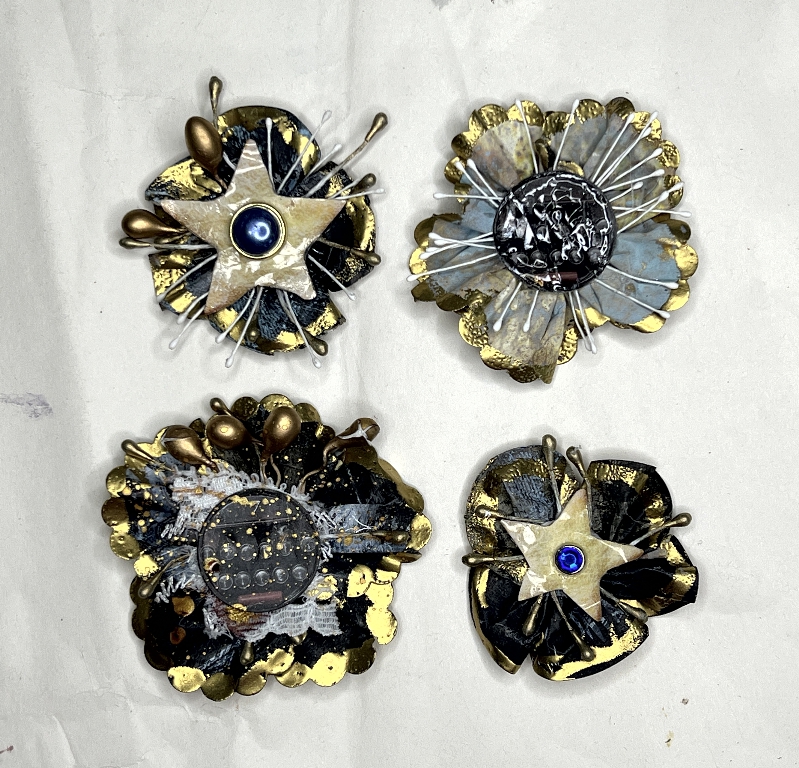
I took some close-ups of these scratch paper flowers.
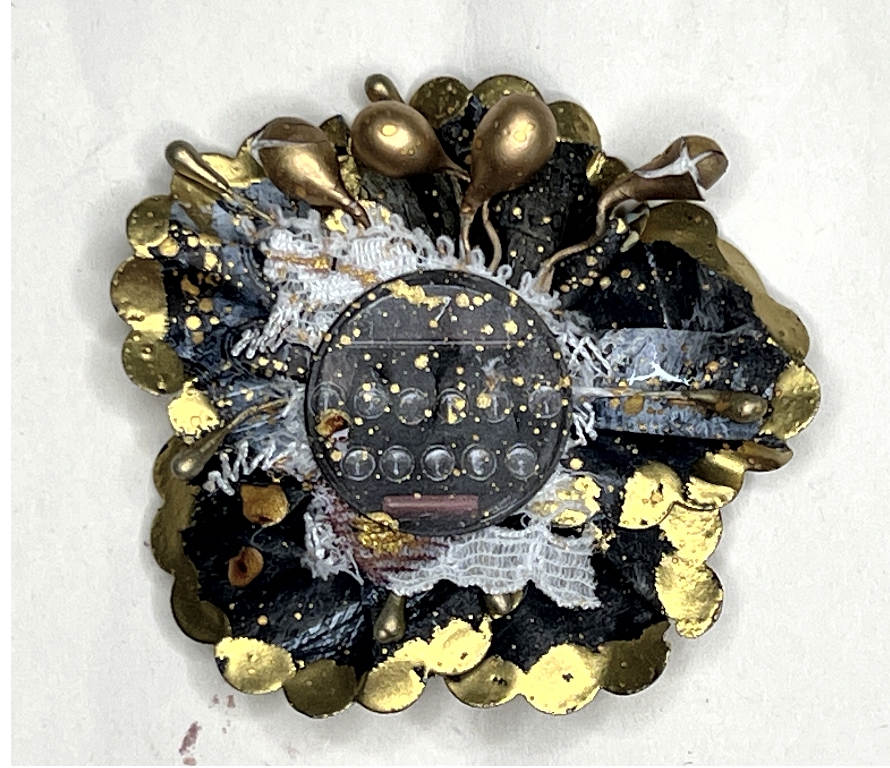
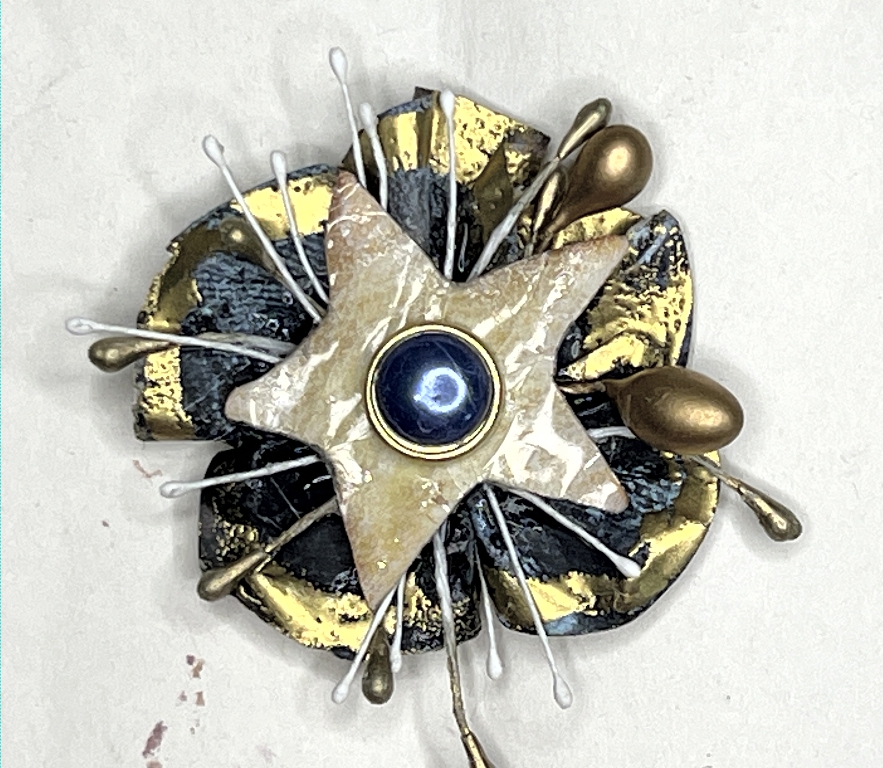
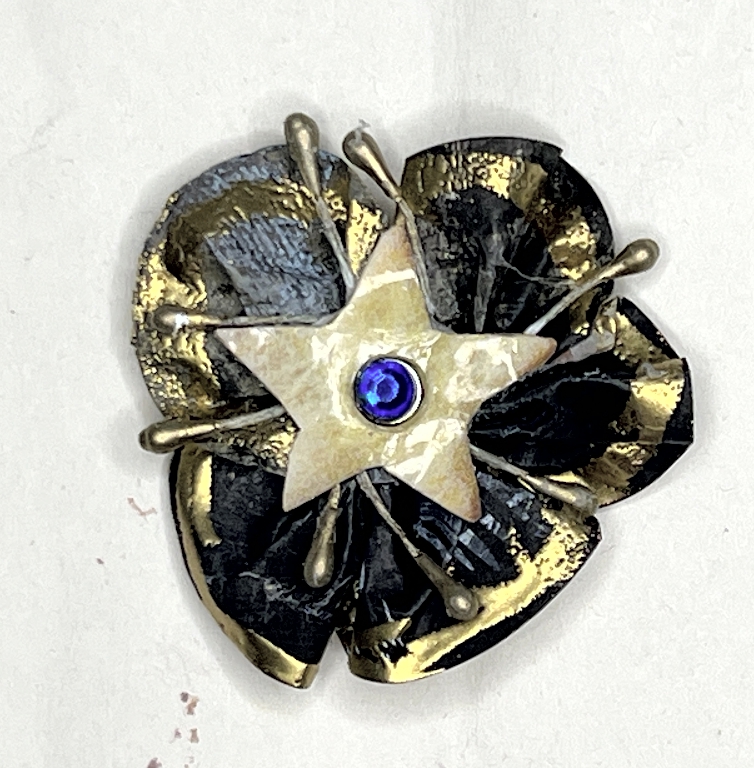
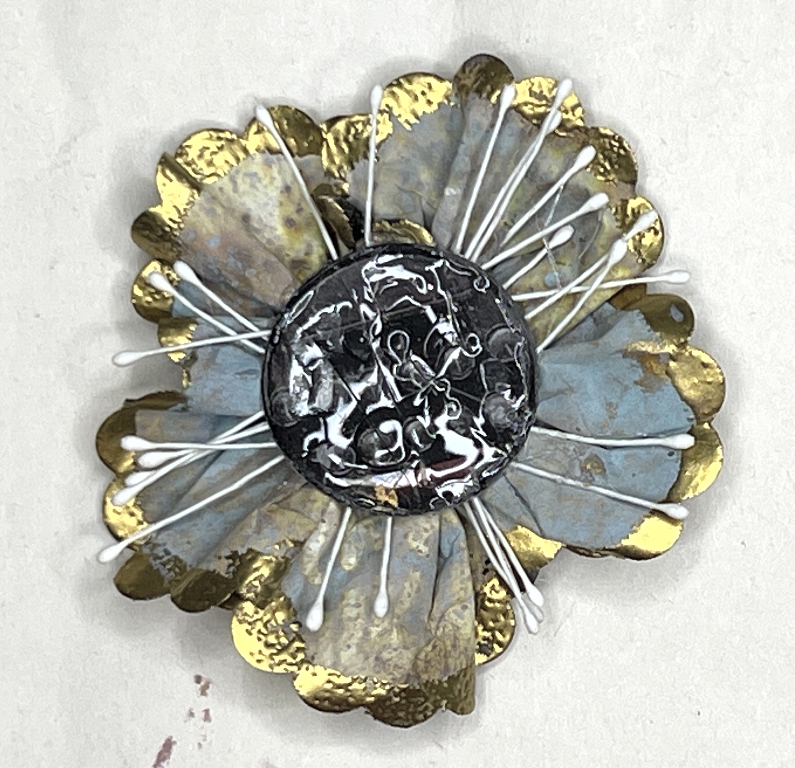
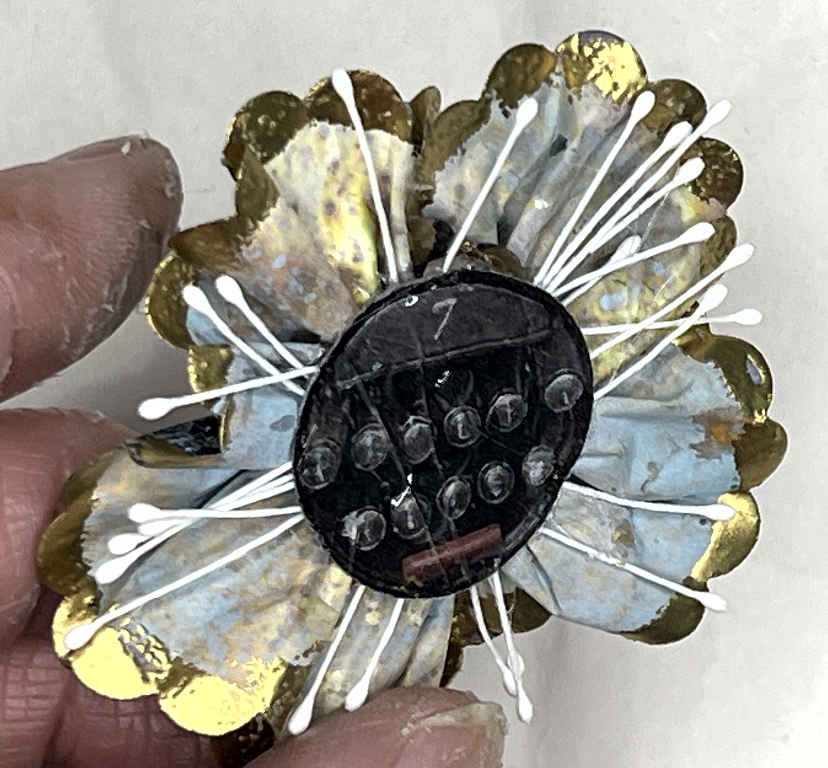
I took an extra photo of this last one, showing the central embellishment, trying to avoid the reflections.
Using these embellishments
Most of these flowers are now pretty bulky, especially those with the large gold stamens, and they may not be suitable for use on internal pages of the album. I may have to use them on the cover, but that decision is some way off.
The process of making these flowers is fairly labour-intensive, and my fingers got covered in glue! It was a really fun, hands-on project, though.