RECYCLED PAPER-GLASSINE BAG ALBUM – THE SIXTH AND FINAL FOLIO
Very exciting to have reached the final folio of this recycled album. The theme of this one is trees, following on nicely from the previous one which is botanical.
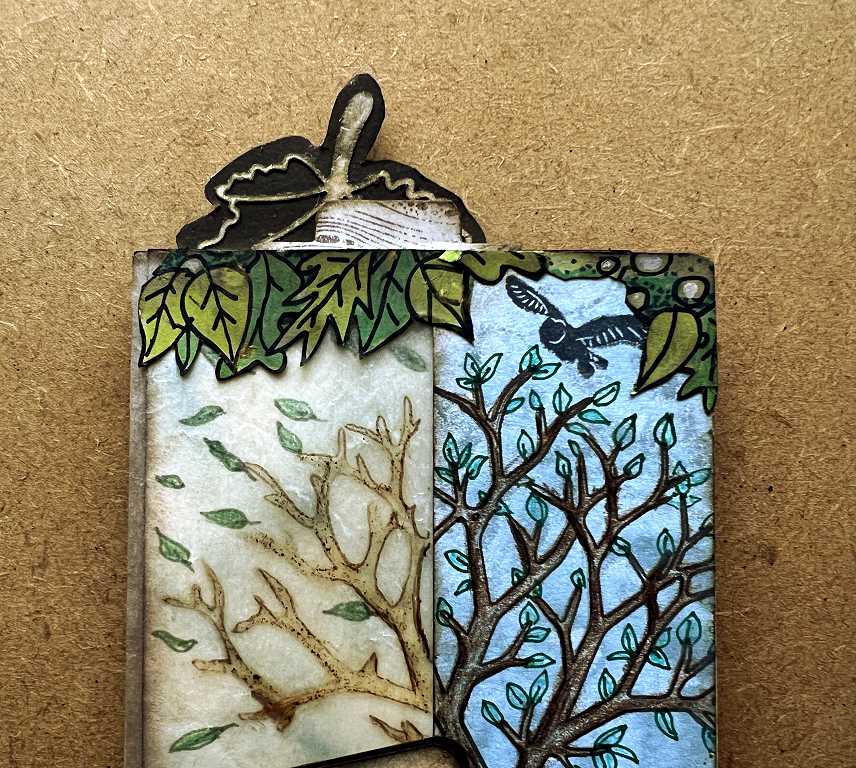
The front page

I used a fairly large tree stamp for the focal image. This is part of a stamp set that has the bare branches of the tree (which I used) and various groupings of leaves that you can stamp on afterwards. I didn’t use these, but drew them on by hand.
I covered the right-hand (plain brown paper bag) panel with part of a sample piece of card on which I had stencilled a swirling pattern. I have several of these and can’t remember exactly what I did to create the effect but they are very pretty. The effect of this one is quite subtle.
I stamped the tree image right across this and the glassine panel. I also stamped a small owl on the top right-hand corner. The glassine was rather unforgiving as it’s shiny and resistant, but using archival ink, it did eventually dry. I had a job colouring it in, and eventually resorted to coloured pencils. The effect isn’t as bold as I would have liked but it does work.
I left the branches of this half of the tree bare, with no leaves. I drew the leaves on the tag which goes behind the glassine panel, so when you remove it, the leaves disappear from the tree. I wanted to give the impression that the leaves were being blown off the branches.
To reinforce the delicate edge of the glassine panel, I stuck down a small section of one of my decorative strips which has (appropriately!) leaves. I trimmed other bits off this strip to fit over the right-hand side of the page, coming around the corner. You can see the tabs of the tags sticking up above the page.
Moving down to the bottom half of the page, you can see the small tag I made to slip into the pocket. This was stamped with a simple tree image onto cream card which was mounted onto a scrap of brown cardstock. A further section of the green leafy decorative strip embellishes the top edge of the pocket, along with another fragment of punched and inked medication strip, all stuck down onto a strip of brown printed scrapbooking card (source forgotten).
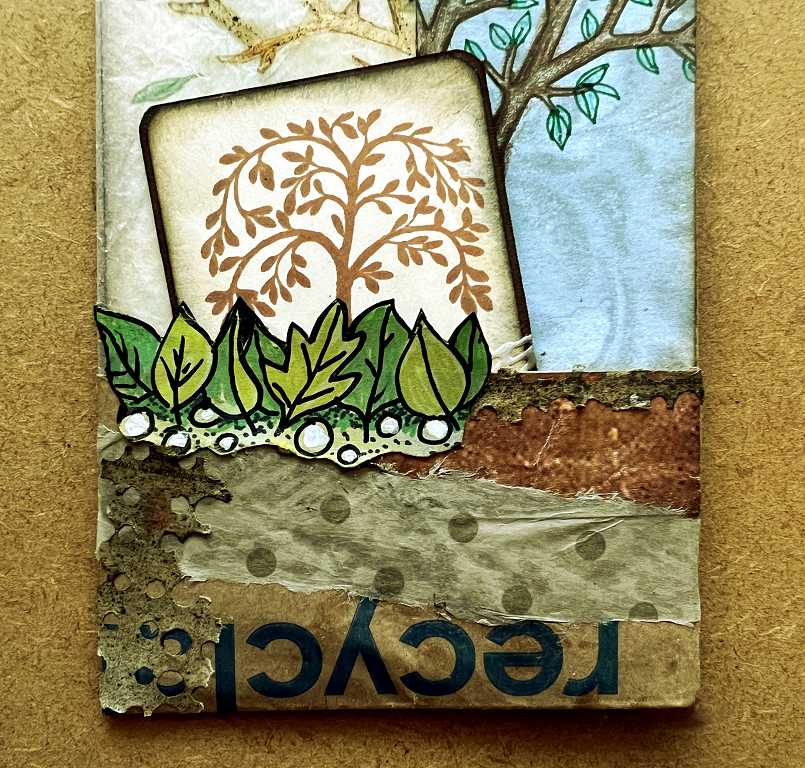
Down the left side of the pocket is more of the punched medication leaflet paper, and a scrap of brown spotted tissue paper. I decided to leave the printing on the paper bag exposed, with part of the word “recyclable” showing. This seems in keeping with the tree theme, and rather fun to have at least a small portion of the original paper bag visible somewhere in the album.
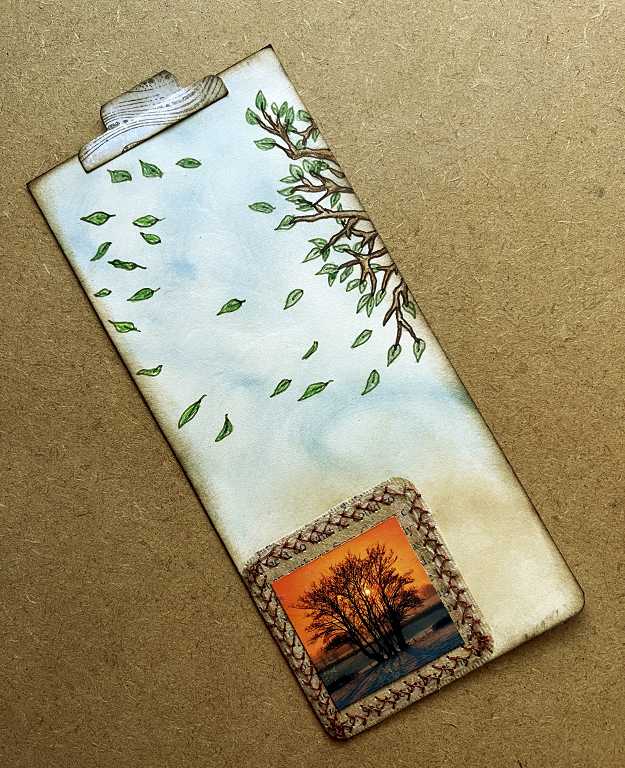
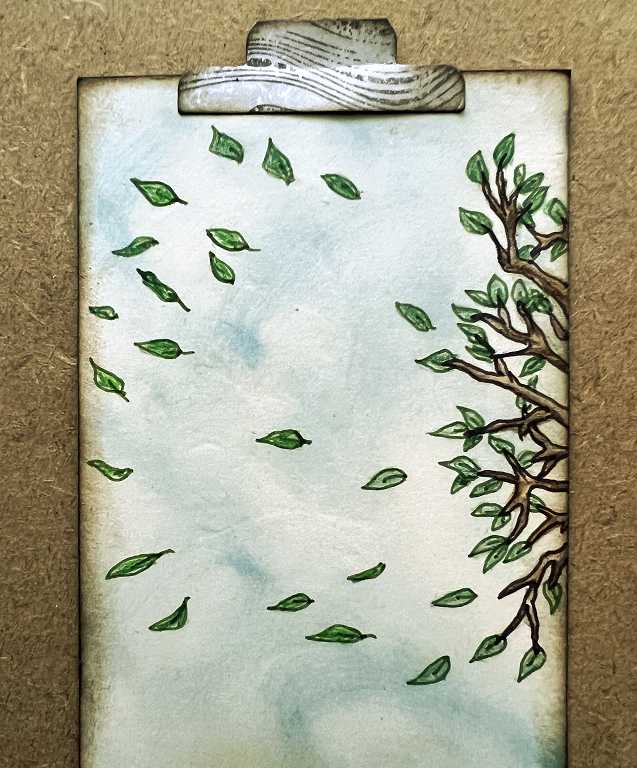
The front page with the tags removed.
You can see that I have drawn further branches on the right-hand side of the large tag, from which the leaves are being blown. The background was roughly inked with blue and brown, to create a cloudy, slightly stormy sky for the leaves to float in.
At the bottom of the tag is one of my teabag embellishments. I trimmed the edges of this down so that it was small enough not to show above the edge of the pocked when the tag was in place. It has a small image of trees cut from a greetings card and it was stitched around with my sewing machine.
The smaller tag has a vellum die-cut leaf stuck to the bottom part of it.
The tab on the top of the large tag is die-cut from one of my stamped and coffee-dyed strips. It has the effect of wood grain.
The backs of the tags.
This paper was printed from a Graphics Fairy image. I don’t know what I did wrong, but when I printed them out, they seemed to be of very low resolution, and very pixilated. I used the papers anyway but ended up feeling very dissatisfied with them. I remedied the situation by drawing over the outlines with an archival sepia pen and painting on some Distress Ink to add shading, covering up the worst of the pixilation. I am much happier with the result, which is also bolder than the original, and with a more aged, grungey look.
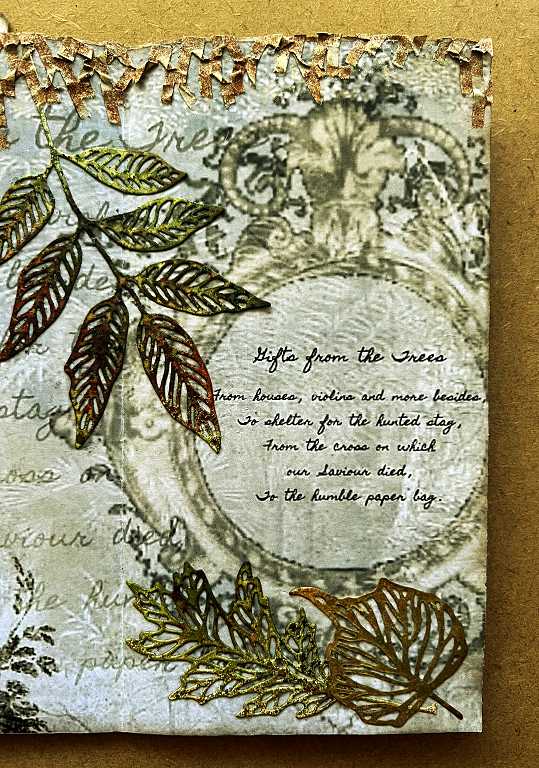
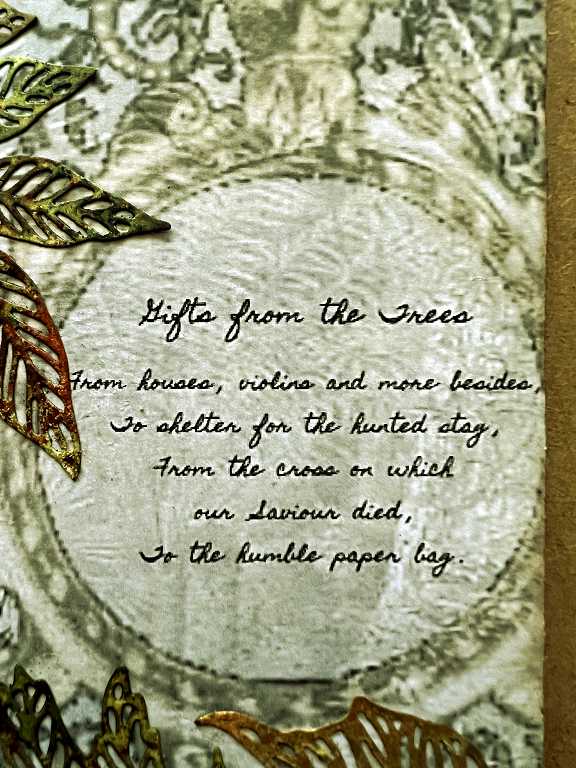
The centrefold
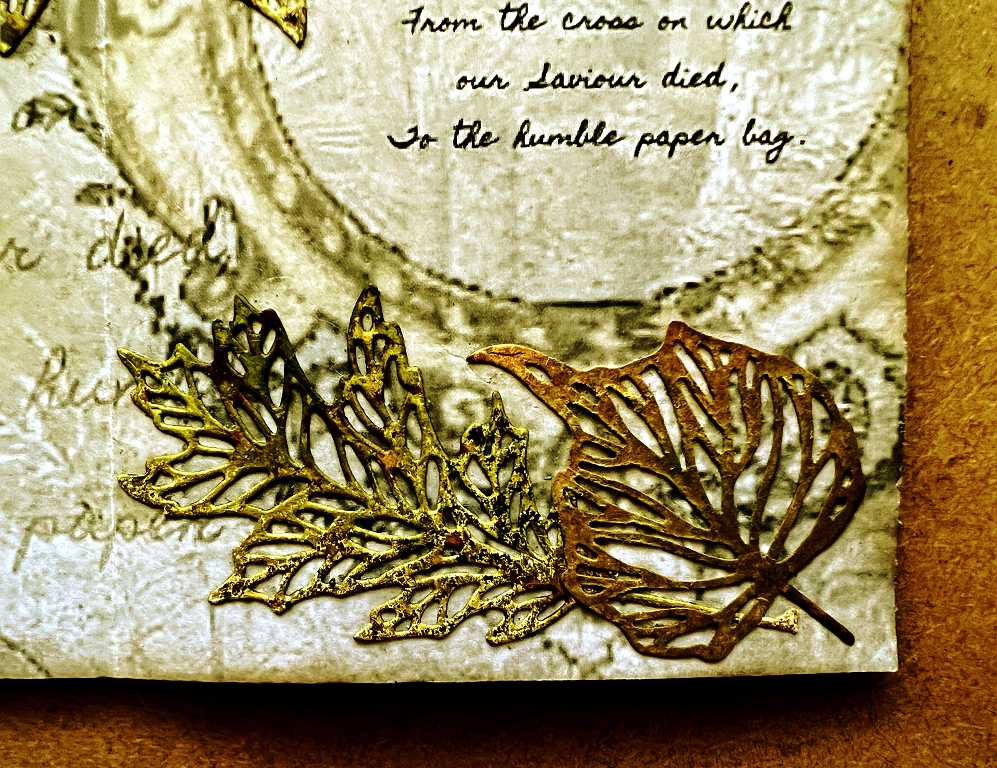
For details of the background and the poem, see my earlier post on this.
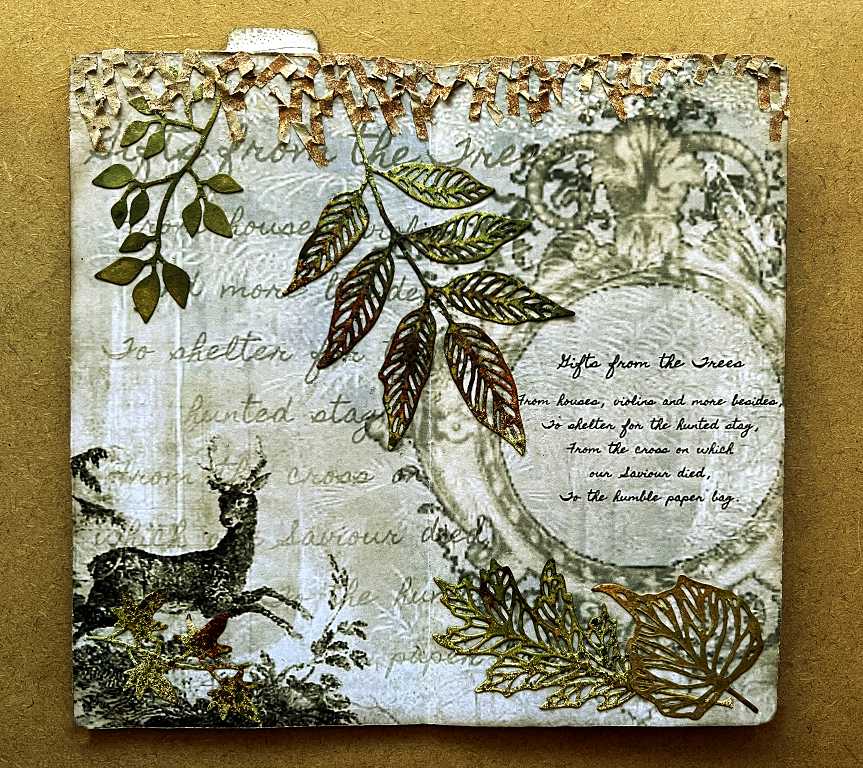
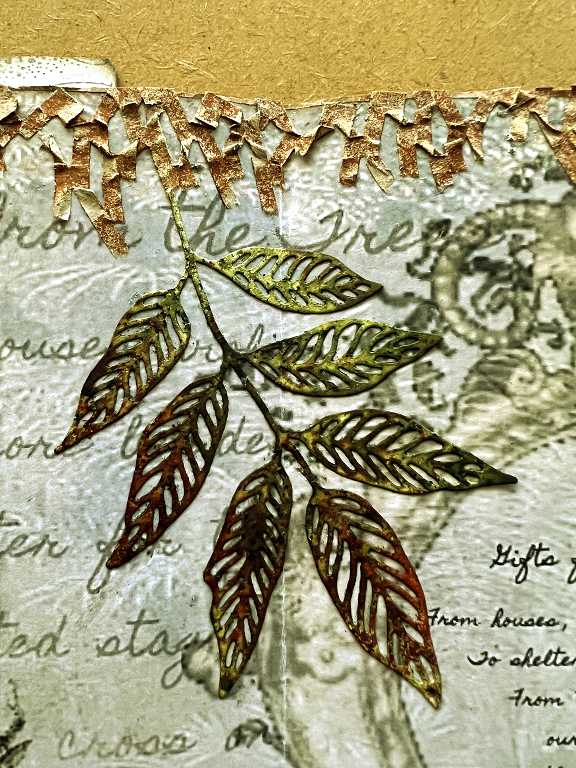
I added further elements in the form of die-cut leaves, and some gold sprayed paper mesh across the top.
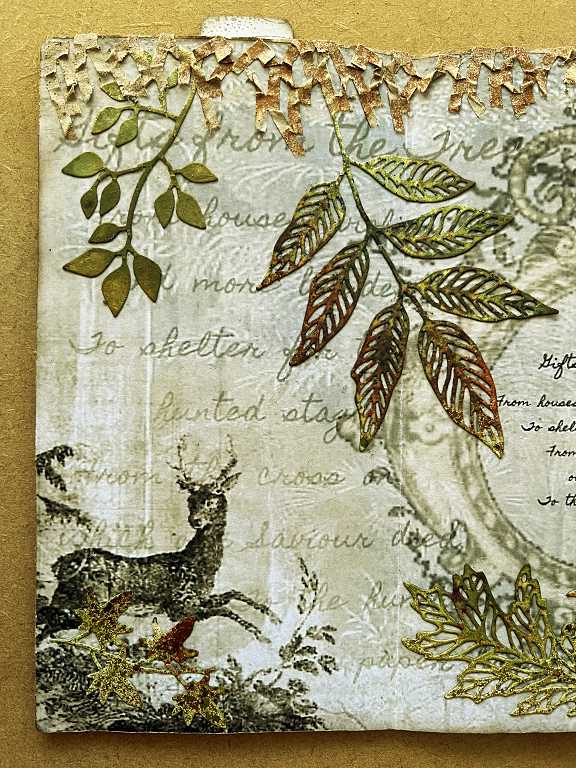
Again, this image is a bit pixilated and low resolution, but with everything else going on, and not looking at it as closely as the above photo, it is not noticeable in the finished result.
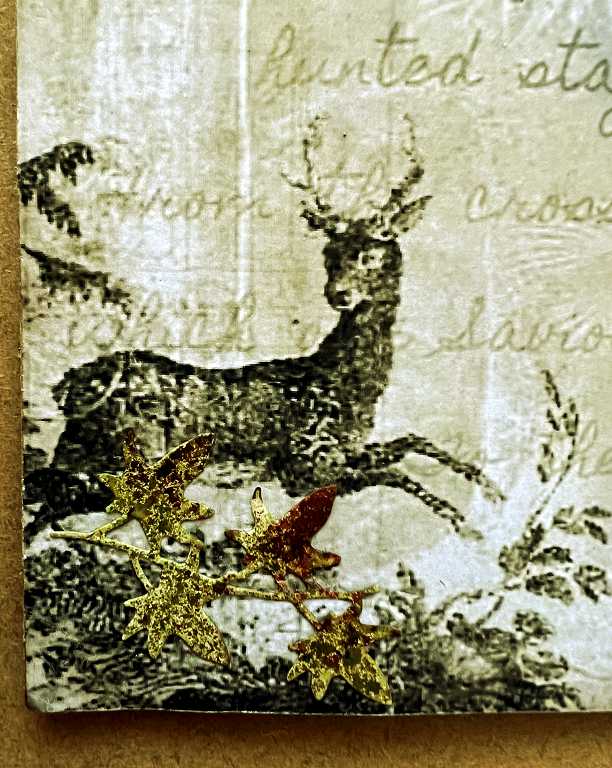
I added a small section of the die-cut leaf trail to the image of the stag in the corner of the page.
These Tim Holtz die cut leaves are very delicate, and without my wonderful new precision-tipped glue bottle, I don’t think I would have been capable to making this project. It is possible to stick some double-sided tape to the back of card before die-cutting it, thus providing it with a ready-made sticky background but it is more hassle than glueing the pieces down direct.
The back page
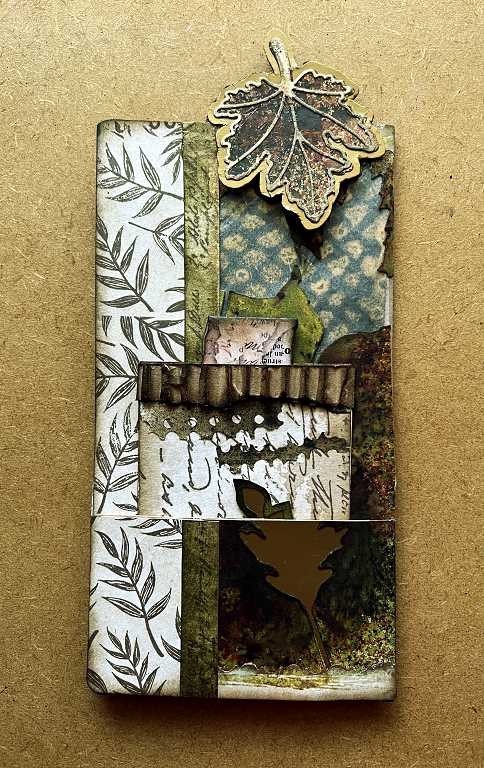
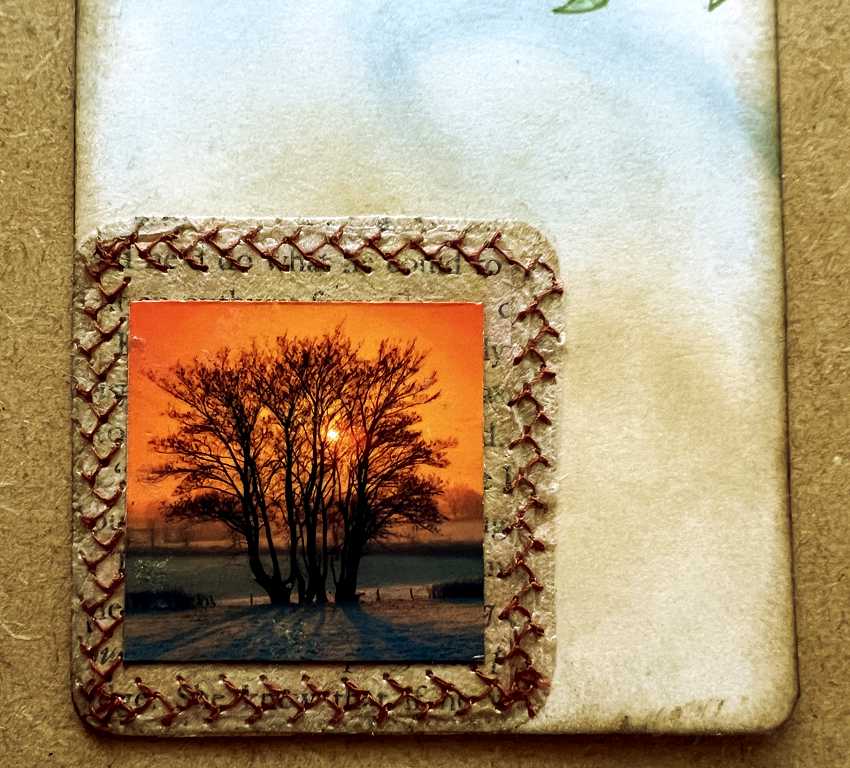
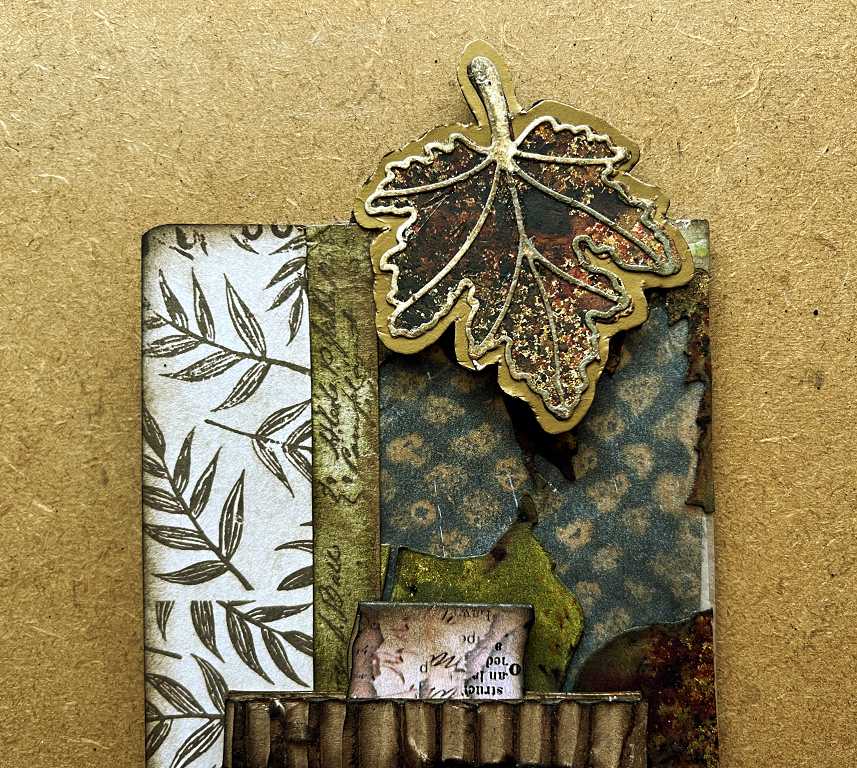
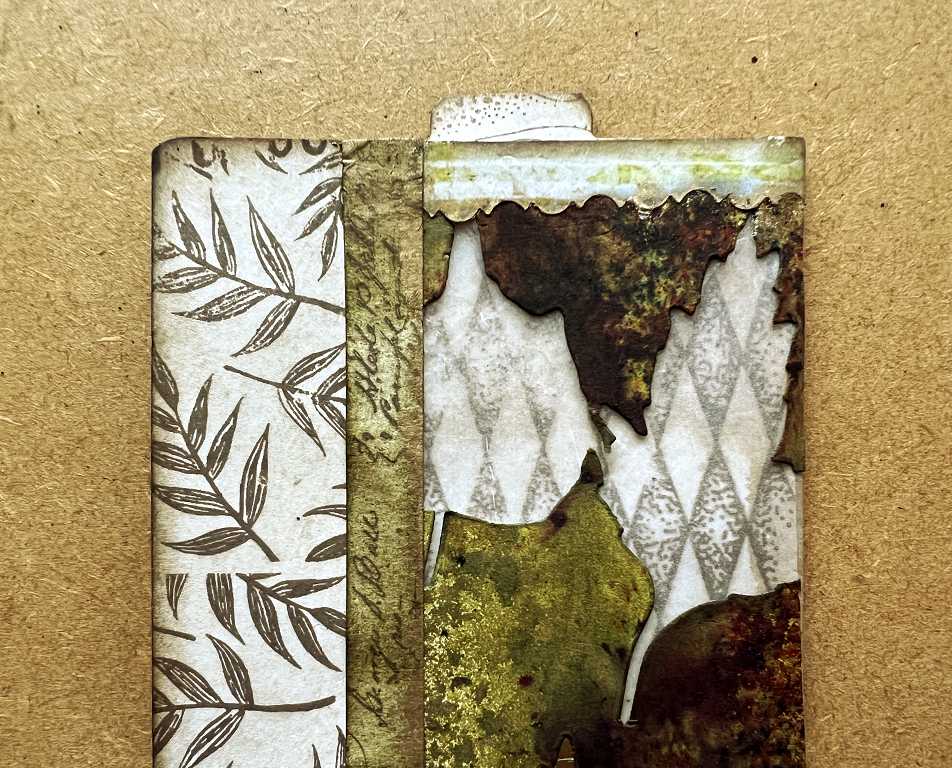
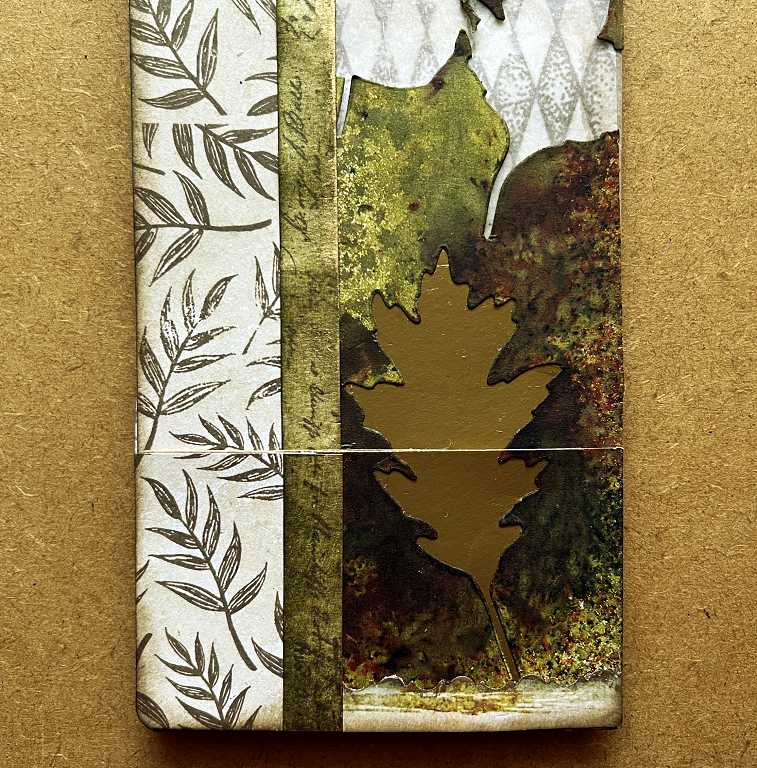
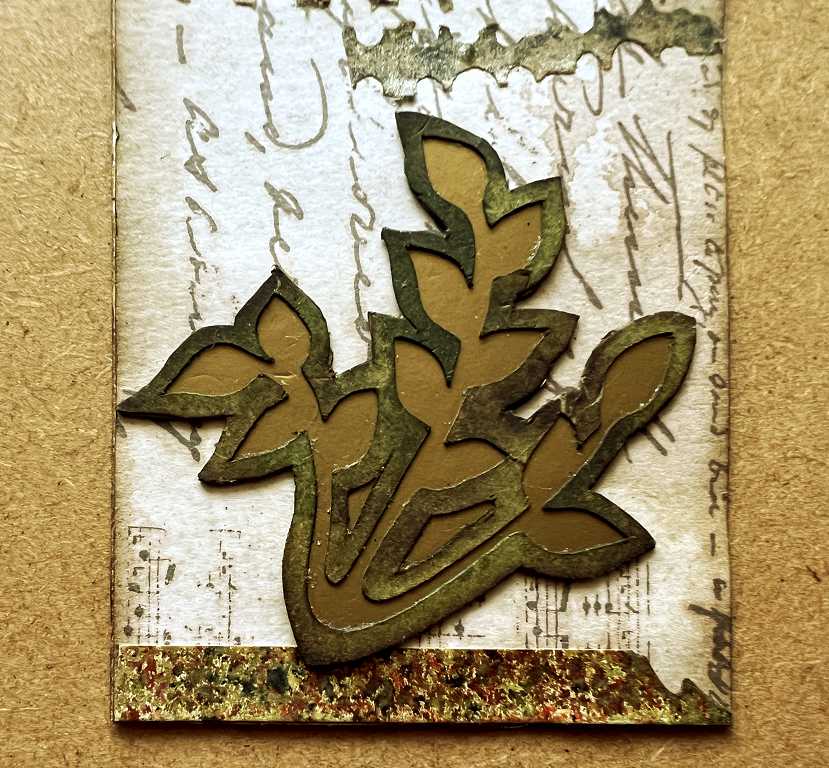
The top of the page, showing the stamped and coffee-dyed strip covering the brown paper bag panel on the left, and the tag showing through the glassine window on the right. The leaf on top is attached to the top of the tag.
The middle section of the page, showing the small tag inserted in the pocket at the bottom of the page.
The bottom of the page, showing the pocket.
The page with the tags removed.
You can see that on this page, I have continued the design the full length of the page, carefully matching up the pattern across the break where the top of the pocket is. This effect is lost when the small tag is in place, however.
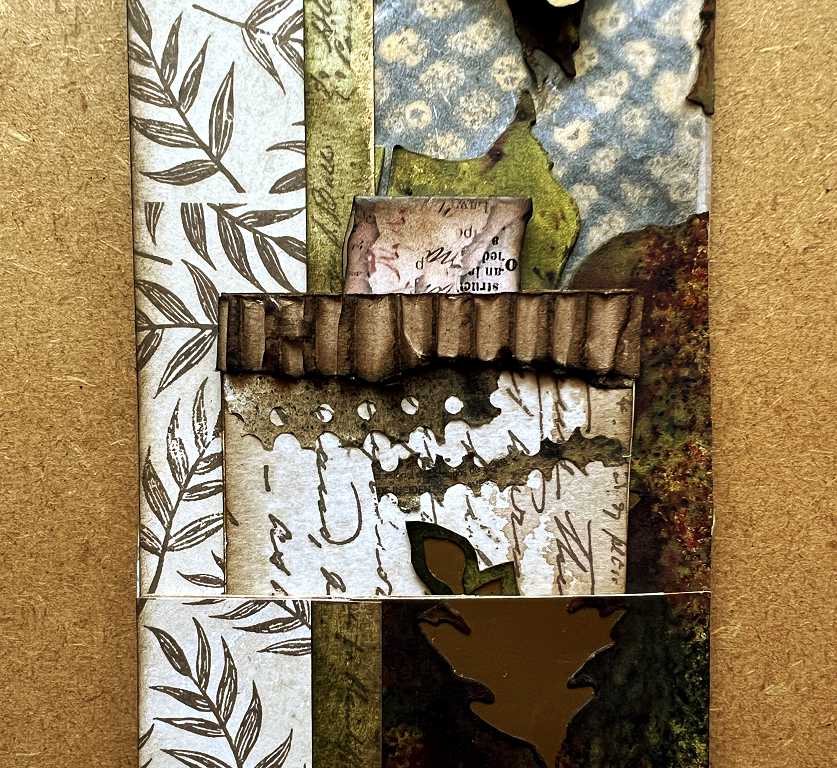
The top of the page with the tags removed. The piece partially covering the glassine window is one of the sprayed negative pieces after die-cutting the leaves. Another, wider, strip of stamped and coffee-dyed card forms the lining of this pocket. The top edge is covered with a scrap of interesting card from my scrap bag, cut with fancy scissors. Invisible on the photo is the fact that I have added gilding wax along this cut edge.
There is a narrow strip of the stamped and coffee-dyed card running the whole length, covering the join between the plain brown paper and the glassine panel. This piece has been inked to darken it somewhat. This also has some gilding wax along the right-hand edge.
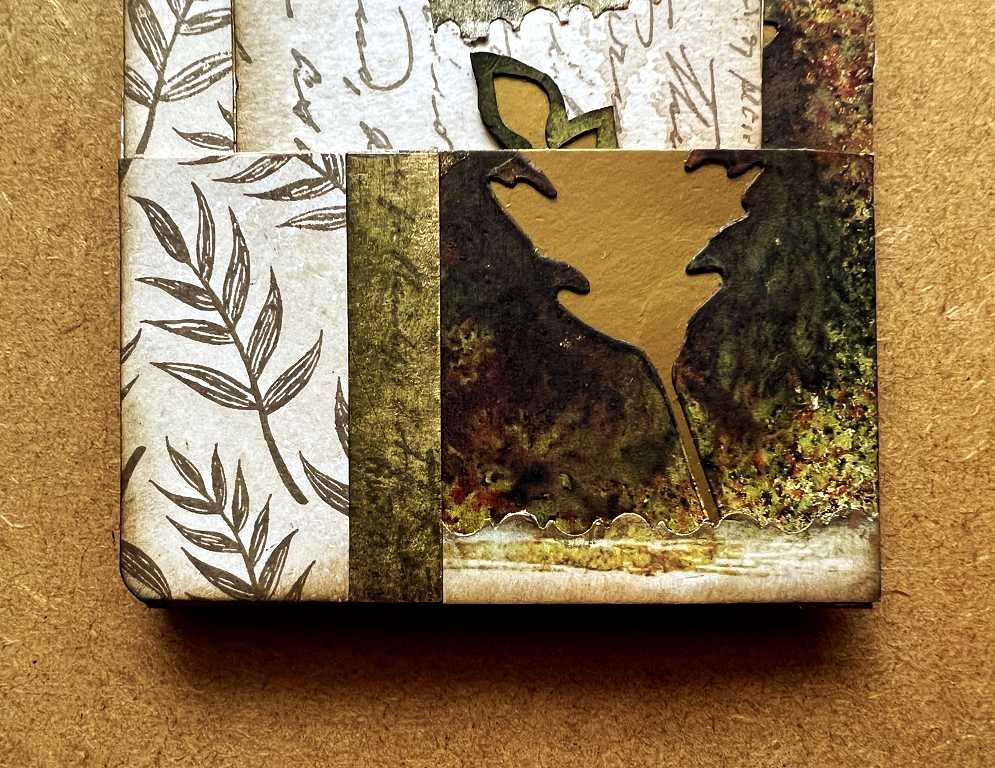
The bottom of the page, clearly showing the edge of the pocket, and the continuing design across this opening.
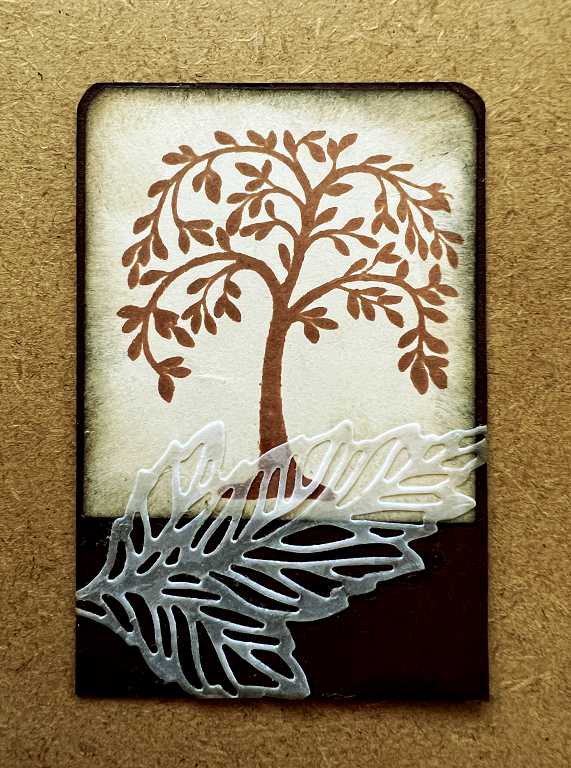
The small tag
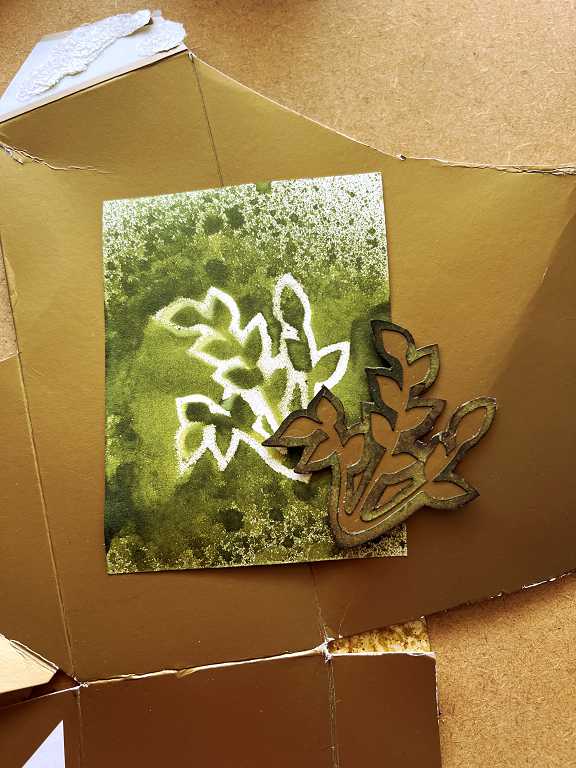
The above photo shows this in the making. I had a small piece of card with the negative space left from cutting a three-leaf cluster on the cutting machine years ago, which had been knocking around in my scrap bag for ages. I fussy-cut around the edge of this, and then laid it down onto a small piece of card and sprayed ink, using it as a mask. The result was that it was a nice grungey green colour, and I have another small square, this time with a solid white image on the sprayed green background, to use in another project.
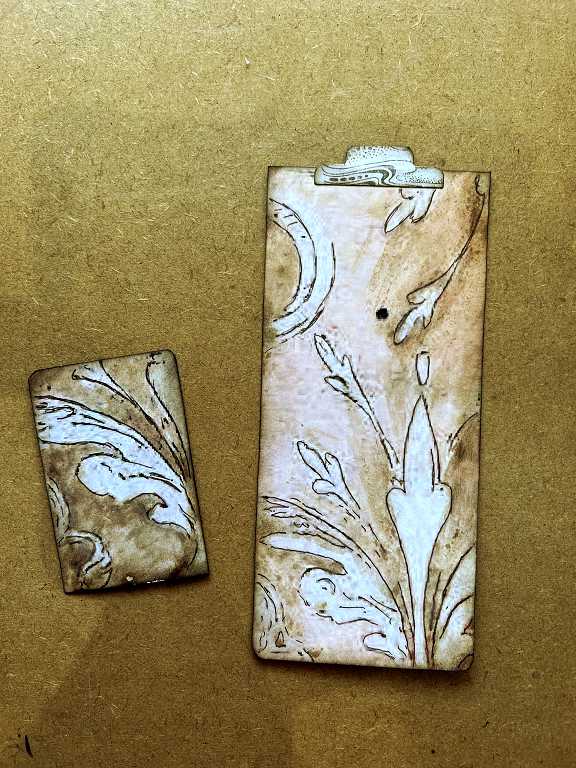
I took the now green leaf cluster outline, and backed it with some dull gold card which was from some Easter egg packaging. It is unfortunate that the photo shows this card to be a rather dull brown colour when it is actually gold – not a bright shiny gold, but a semi-matte gold. When I glued the leaf outline down onto it, I then fussy cut around the edge so that the gold card shows only through the cut leaf image. I stuck this element onto another piece of stamped and coffee-dyed card to form the tag.
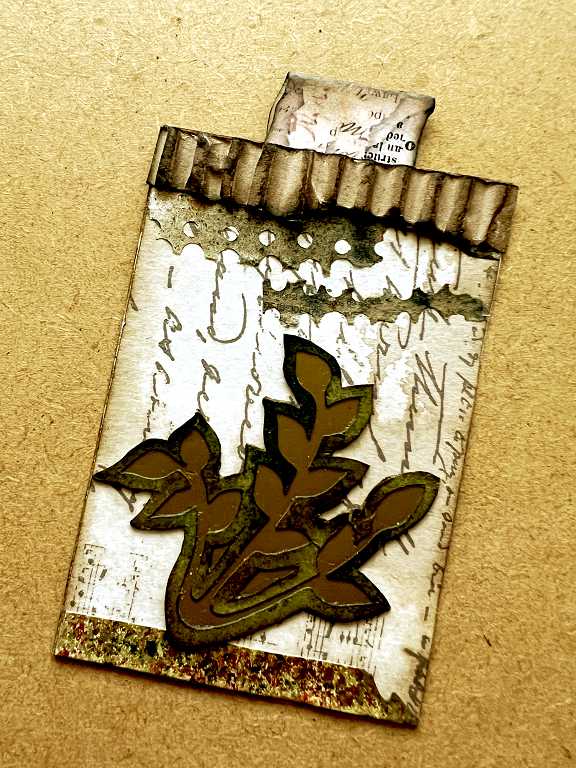
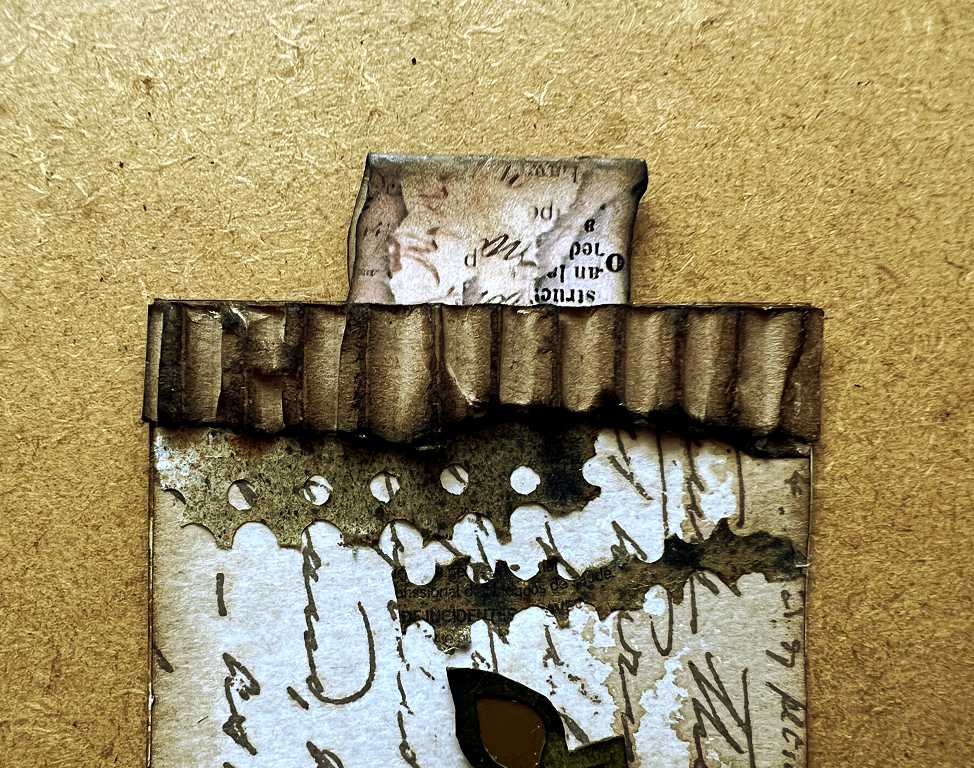
The tab on top is a fragment of the VectoriaDesigns collage strip. I have added a little more of the inked corrugated paper and two tiny fragments of the punched medication leaflet paper. The strip along the bottom was an offcut from one of the sprayed negative spaces from the die-cut leaves.
To decorate the back, I decided to do an experiment. Some time ago I had a happy accident witih my splat box. I was stamping some tissue paper with white acrylic paint dipped in the lid of a jar to make circles for collaging, and decided to coffee-dye one of these papers, and laid it in the splat box and proceeded to spray it with the coffee, not realising that the water in the coffee would reacivate the water-based inks on the pad of kitchen paper in the bottom of the box. The result was brilliant and totally unexpected!
I decided to do this deliberately this time. This is the current state of my splat box.
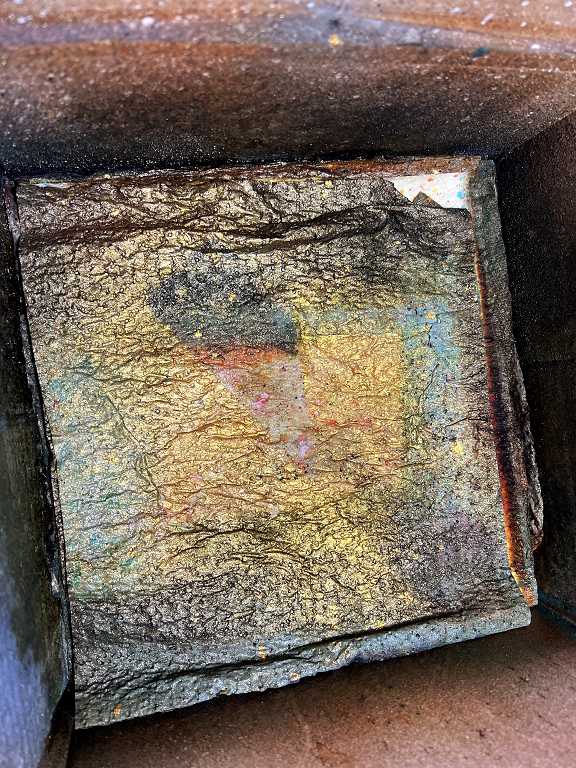
I sprayed the papers in the splat box with some coffee and laid the back of the tag down onto them. This was the result!
![]()
It came out even better than expected. I love the drips. Also, not visible in the photo, is a subtle gold shimmer where it has picked up the gold spray I had used recently with the splat box.
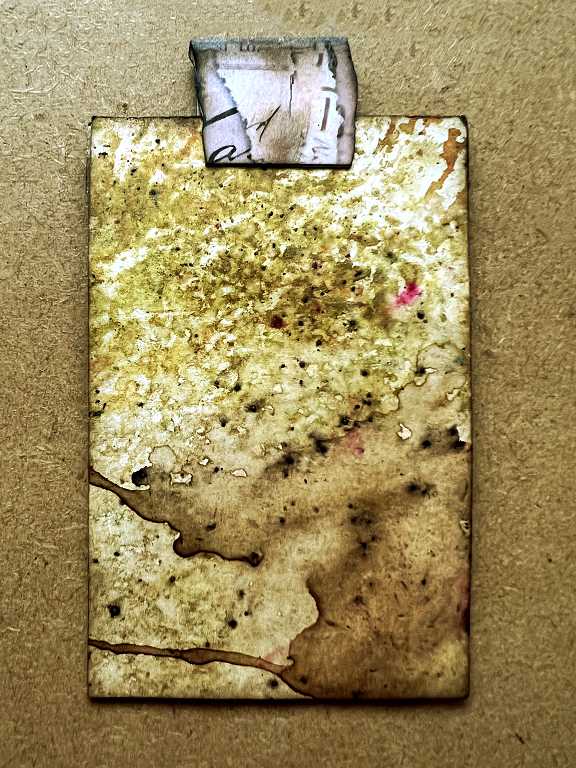
Here is the back of the finished tag.
The large tag
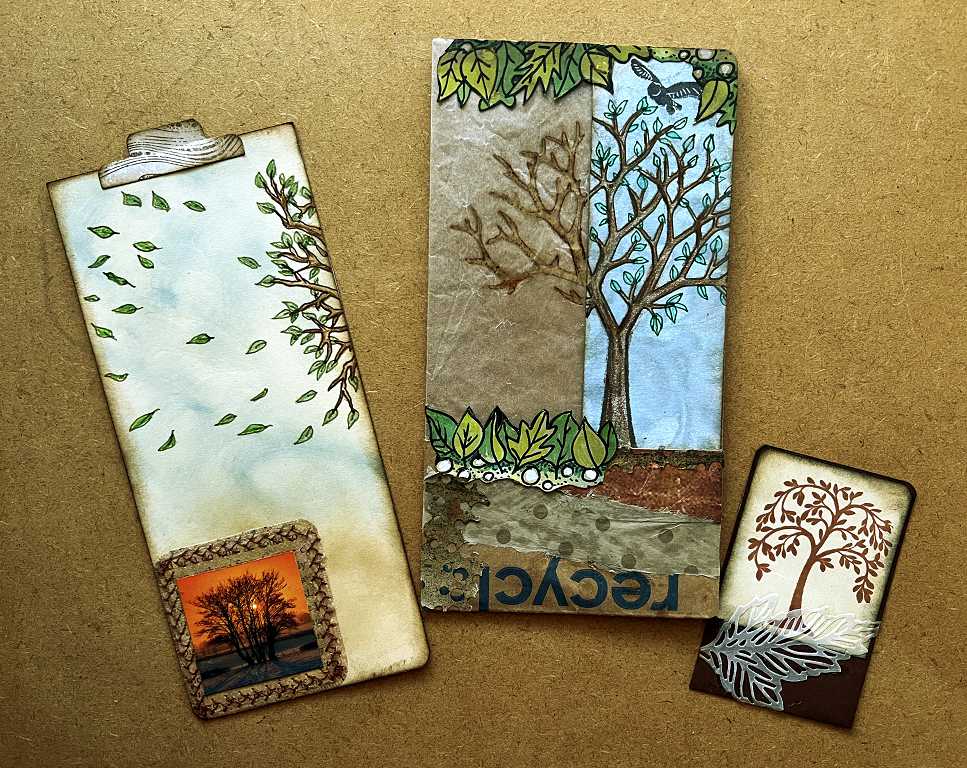
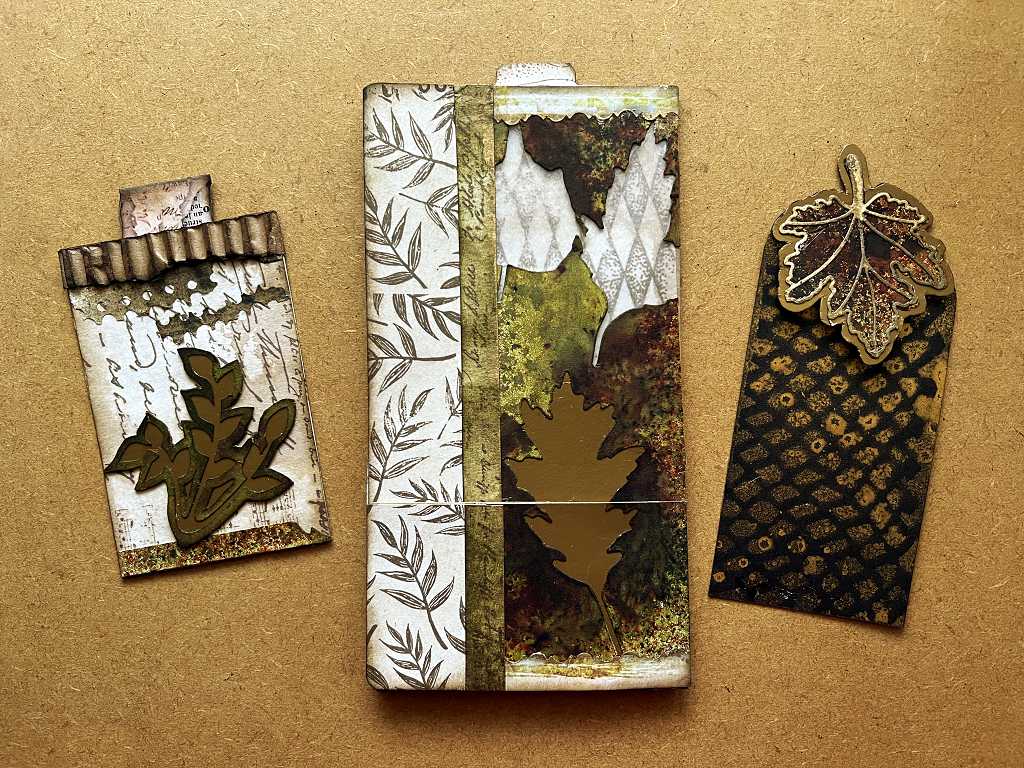
The two finished tags together.
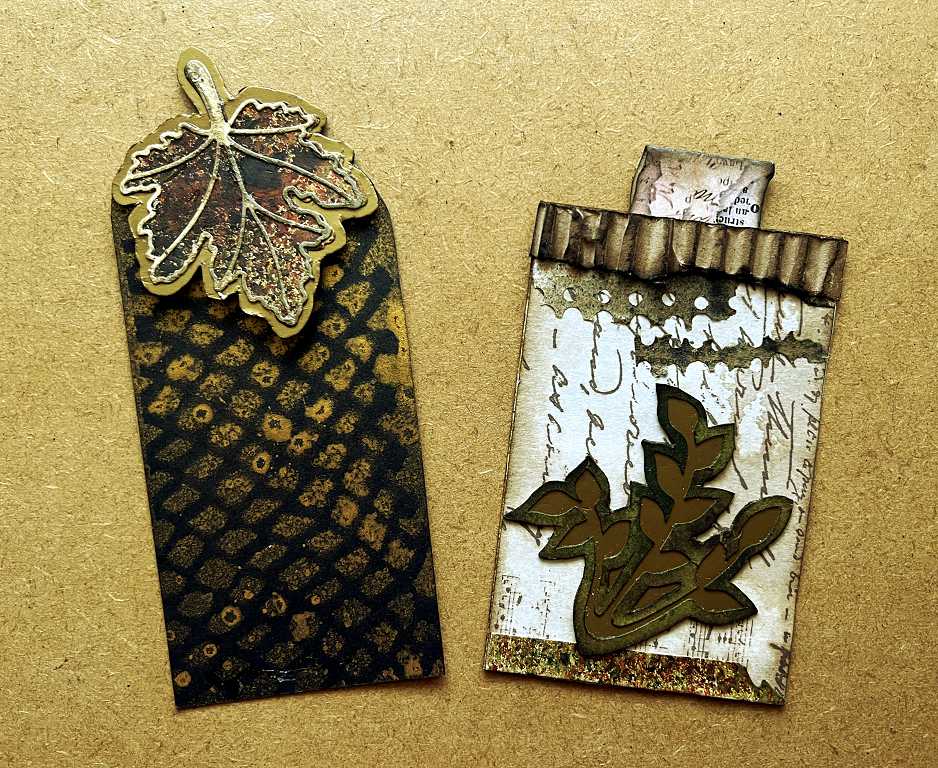
The top of the tag was formed by sticking a double-layered leaf onto a piece of dull gold card and fussy cutting around, forming a border. I repeated the process for the back, and stuck the two together only at the top. The back one was stuck fully onto the tag, whilst the front one was left loose so that it could be clipped over the top of the page.
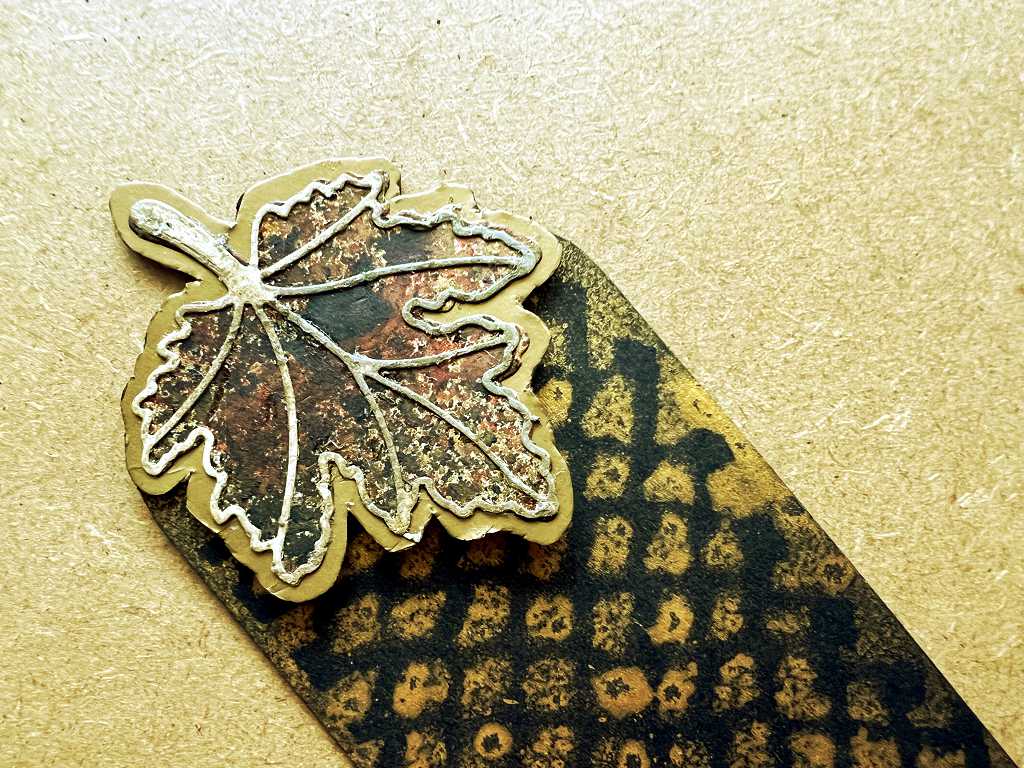
The back of the tag, covered with a Graphics Fairy paper. It was easy to flip the second leaf over so that it was a mirror image of the first.
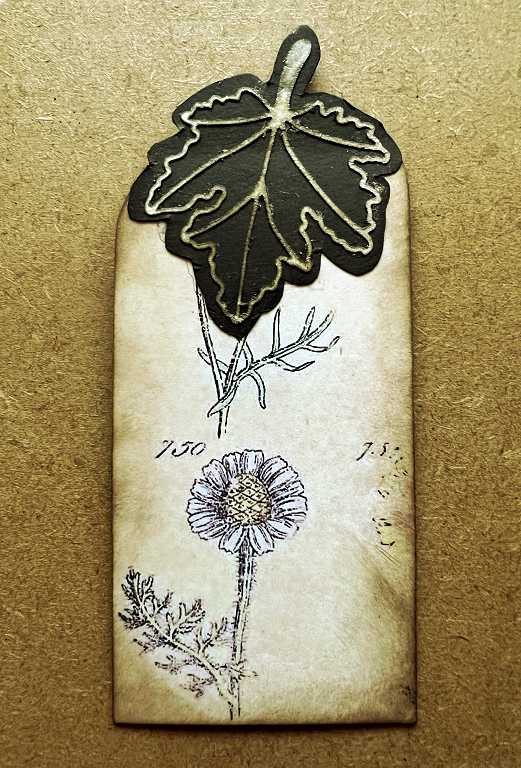
The front of the tag was made from a piece of black card which had been sprayed with gold through a piece of paper mesh, which acted as a stencil. My hubby said it looked like a pine cone when seen through the glassine window, and I agreed – very in keeping with the tree theme but completely unintended!
The large tag in place once more, showing how the leaf on top operates, and the tag showing through the glassine window.
This completes the sixth and final folio of the album. The next blog post will show the binding of the album, and a final flip-through of the pages.