TYPEWRITER ALBUM PART 11 – VINTAGE PHOTO TRANSPARENT FRAME PART 1
This was a difficult project and required a lot of thought and careful measuring. Quite a challenge!
For this couple of pages, I chose one of Margareth of SevenPlaza’s Vintage Photo digital print-outs. I printed these on acetate ready to cut out.
The idea was to cut a window in the page, and cover it with one of the Vintage Photo frames, open at the top. On the back of the page would be another piece of acetate, this time plain. A tag would go into the pocket thus formed, and when it was removed, another image would be visible through the photo frame on the first page.
Components to begin the project
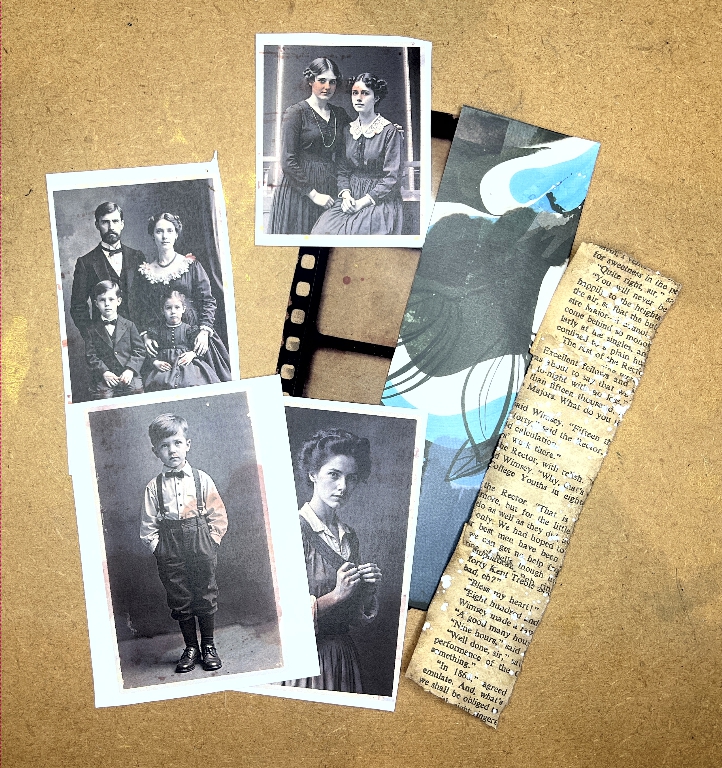
I chose some of Dragana of Saacibo’s free vintage photos for this, and cut them down to fit the transparent photo frame which you can see underneath the other parts (constant difficulty photographing this because of reflections). For the tag I chose a scrap of patterned card which had come from some packaging. The distressed book page piece would end up on the following page.
Creating the tag
Obviously that patterned card was much too bright for my purposes so I painted it with some watered-down gesso, and when it was dry, I used some more of the same through my circles stencil, but later, this didn’t show. This would form the back of the tag.
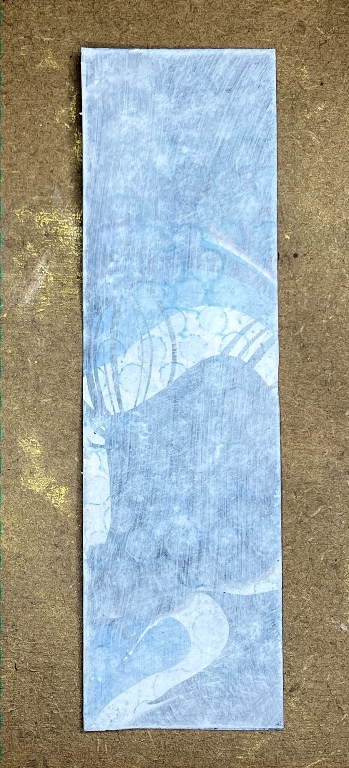
It was too blue for the colour scheme, so I smooshed some Frayed Burlap Distress Oxide from the ink pad onto my craft mat, spritzed it with water and dipped the tag into it. I did this several times, drying in between, until I was happy with the result.
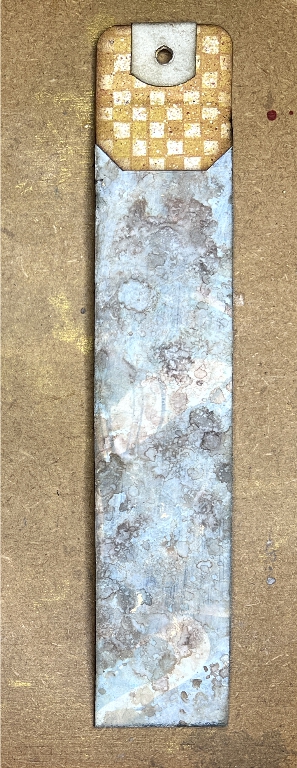
You can see that I have added a pull tab to the top.
The completed front of the tag.
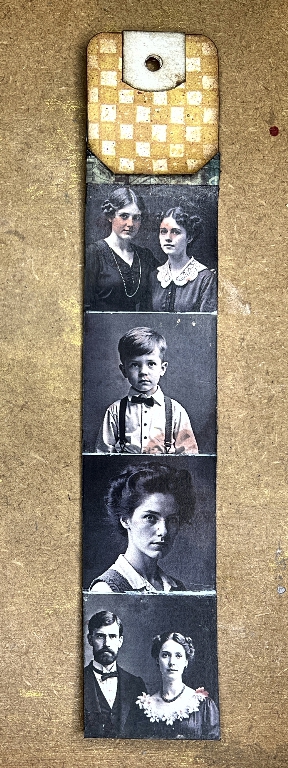
The photos were trimmed and overlapped so that hopefully the tag would slip into the pocket without catching. To define them a little, I ruled a line with a fine white acrylic marker between them.
I didn’t glue the pull tab down fully, but left the bottom part unglued. This would act as a stopper to prevent the tag going down into the pocket too far, and causing the pictures not to line up with the frame.
The pieces for the following page
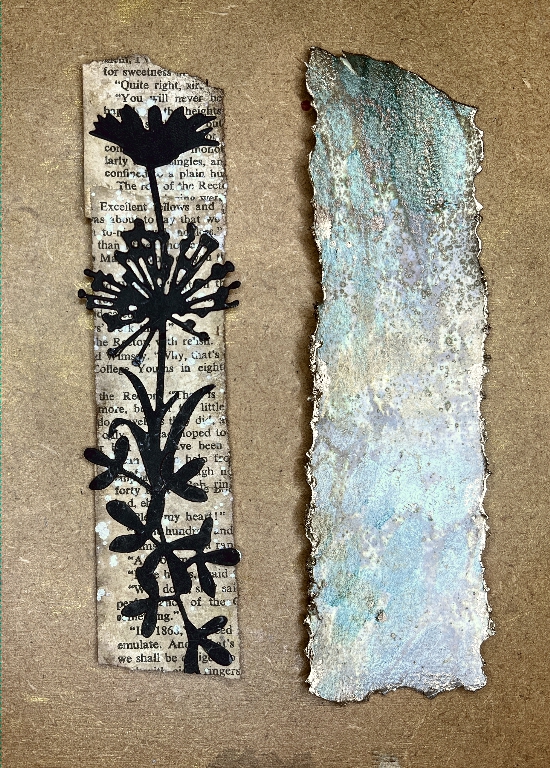
These would show through the transparent window once the page was complete.
The larger piece was cut from the collage sheet I created when I was making my paint brush holder. I tore the edges and distressed them with Ground Espresso Distress Ink, and then added some gilding wax. The piece on the left was made from several scraps of book page glued onto a scrap of card and distressed well with inks, with white spatters added. I glued down some floral and leaf die cuts, making sure that the focal point of each one would line up with a window in the transparent frame. This piece was glued on top of the piece on the right.
Cutting the window in the page
I had to measure carefully where to cut this. This was a scary part! Once cut, I was able to glue down the transparent photo frame. I glued the sides and bottom but left the top free for the insertion of the tag.
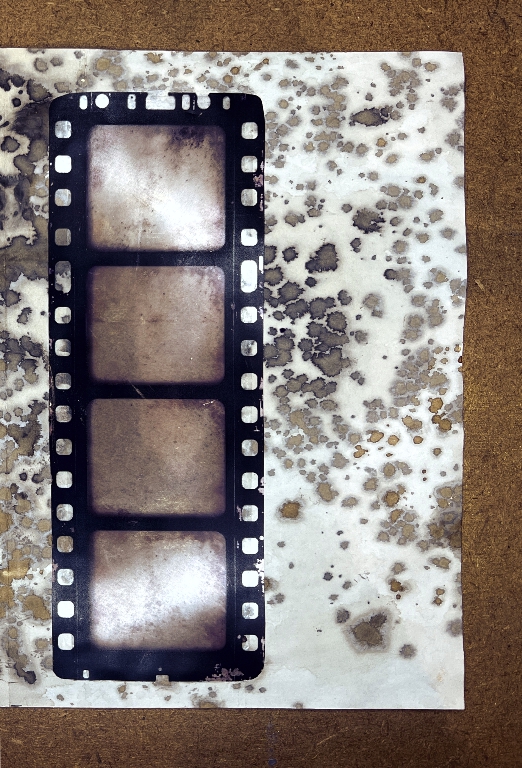
This is the other side of the page. I cut another piece of acetate and attached this to the page with double sided tape. I edged it with washi tape.
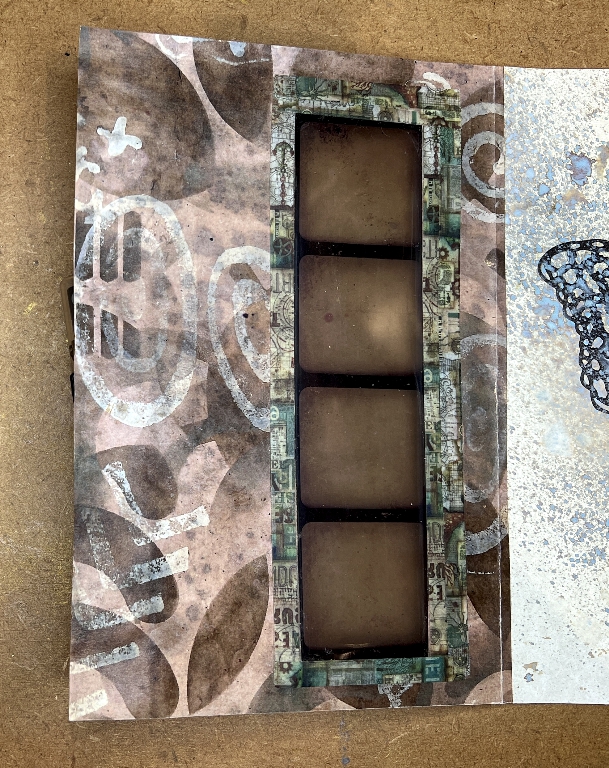
With the page flipped back over, you can see the die cuts on the piece glued to the following page, showing through the transparent frames.
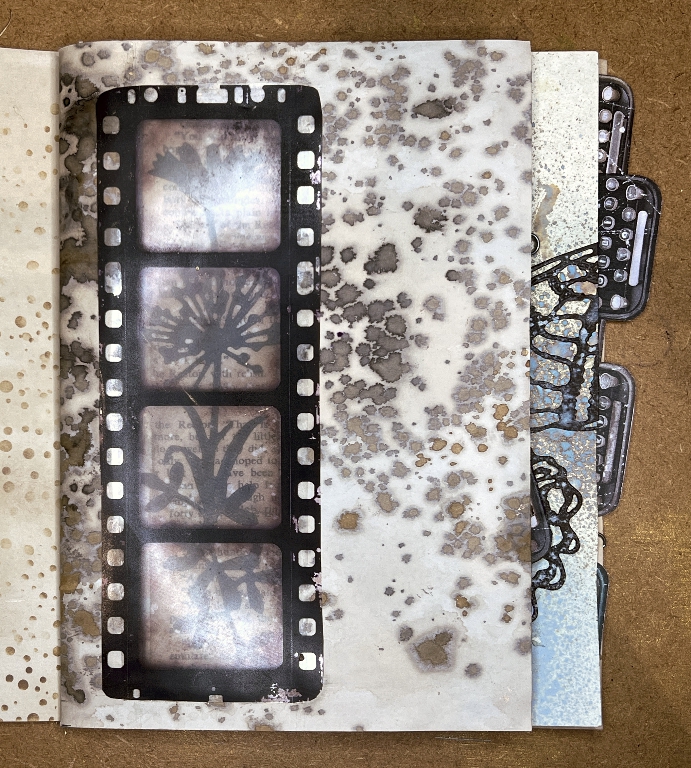
The tag in place
Here is the page with the tag inserted in the pocket.
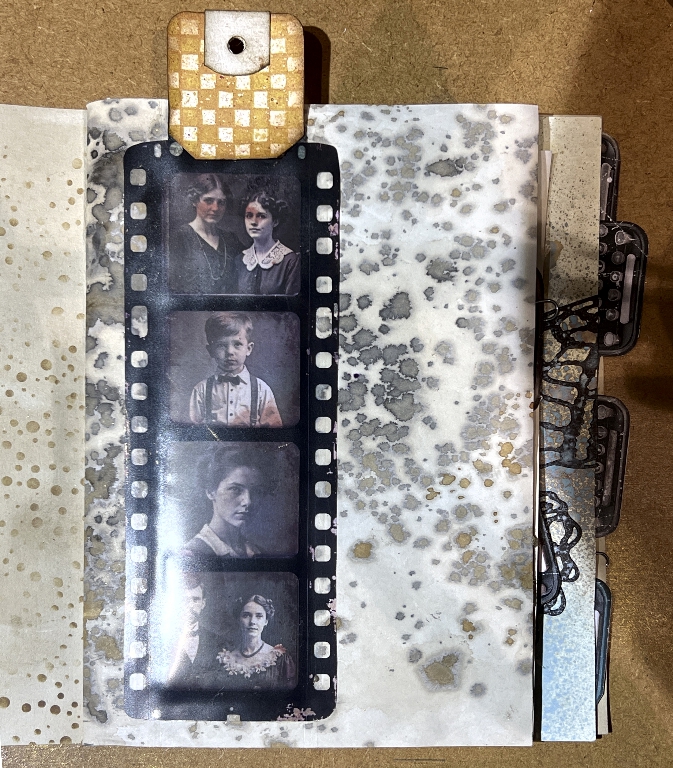
I am not 100 percent happy with the result. I had a terrible job getting the tag to fit into the pocket, and shaved off several slivers from the sides. In the following photo you can see the edge of the tag showing through the window. This is the first time I have done something like this, and in future, I would make sure that the frame extended further over the transparent part. I was constrained by the printed photo frame on the other side. It was important that nothing showed on either side of the transparent window that shouldn’t! The tag is still very tight in the pocket. This may be because the double-sided tape attaching the transparent photo frame extends too far into the pocket area, causing the tag to stick.
Also, the pull tab is too tall. I am going to have to try and remove this and replace it.
The following page spread so far
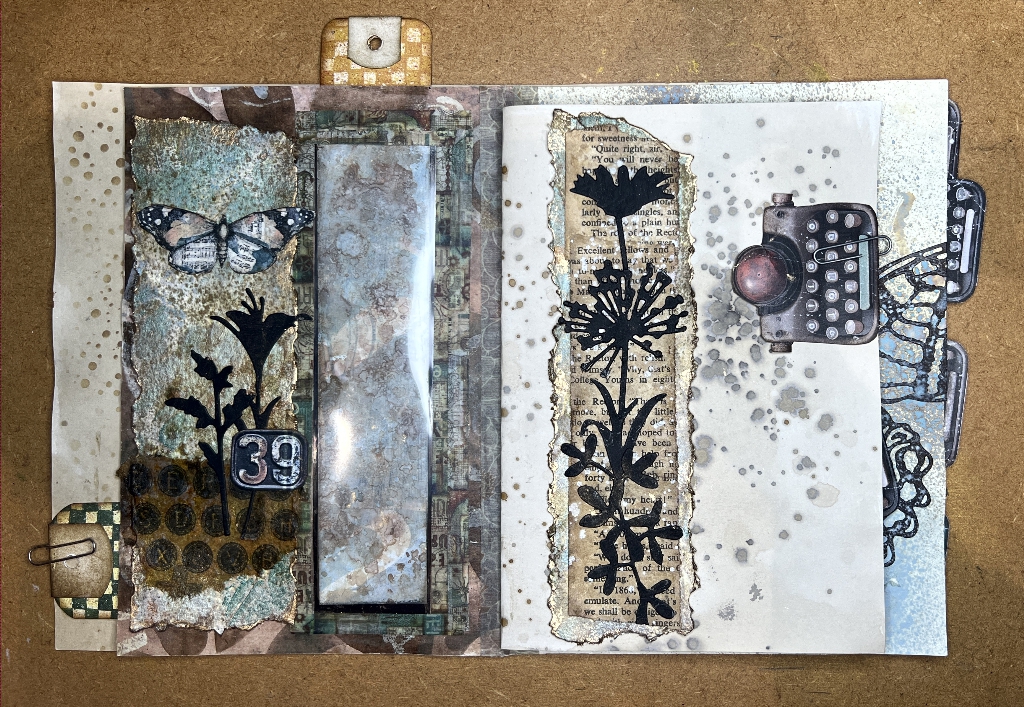
The back of the tag needs further embellishment – I shall probably stamp or stencil some butterflies on it.
I collaged more elements on the page beside the window and added a bit more washi tape. I especially wanted to add washi tape to the fold of the folio because that page is made of not very thick paper and is in danger of wear and tear once I bind the signature.
I made another piece from the watercolour paper from my brush holder project, to match the piece on the right-hand page, and edged it in the same way. I added a butterfly and some more of the black floral die-cuts, and a scrap of cicada paper stamped with typewriter keys. On both pages of the spread you can see page tabs temporarily attached to the page edges with paper clips. The right-hand page of the spread needs further embellishment too, and I am undecided as yet how it will be decorated.