MORE BEADS – PAPER AND TYVEK, AND SUCCESS WITH PACKAGING PAPER
At last I have finished this week’s batch of cooking and other domestic tasks, and have been able to spend some time in the studio.
Packaging paper
One task I had to deal with this week was the delivery of a large box of wholefoods which had to be sorted, catalogued and put away in storage cupboards and the freezer. I put in a large order every month to six weeks.
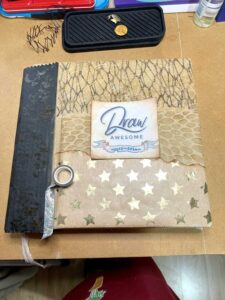
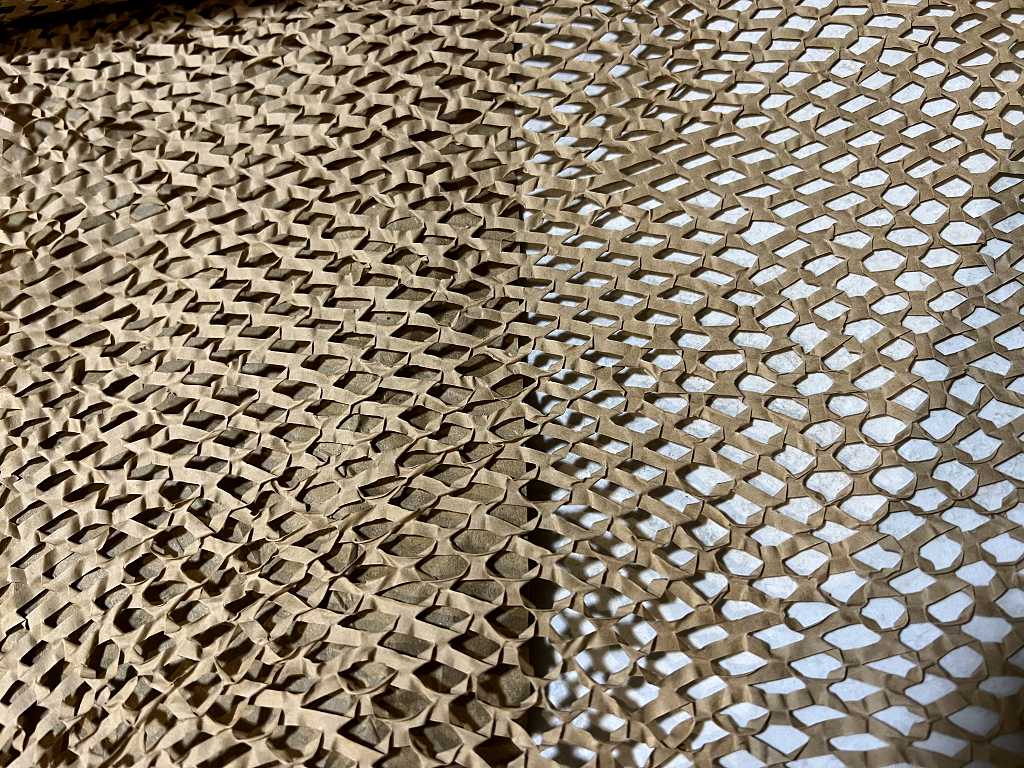
This time there was a lot of gorgeous thick brown paper in the box to fill the void, and I had ordered a couple of jars/bottles which always come wrapped in paper mesh which I adore – it has such a gorgeous scrunchy texture and it’s so clever! It’s just brown paper with slits cut in it, and when you stretch it out, it becomes 3-D and springy, so it’s ideal for protecting fragile items, as well as being recycleable, and it doesn’t make a mess like shredded paper.

I love it when it’s opened out, but it isn’t very easy to use in mixed media, partly because it’s springy and bulky and hard to glue down, and also, it won’t lie flat when you want to print with it or use it as a stencil. I have tried, rather unsuccessfully, to iron it with my little craft iron in the studio. When the delivery arrived, I was about to start the week’s ironing so I had the big steam iron out. I decided to give it a go and see if it worked any better. It did!
Great success. I had the iron set on hot, maximum steam, and it worked a treat. It’s still not 100 percent flat, but a lot easier to handle than it was, and it is much more floppy and less springy too, which is an advantage. Definitely the way to go!
Paper beads
I returned to the paper beads I’d made from the awful scrapbooking paper. I wanted to thread them onto wooden barbecue skewers but I’d made the holes too small. Half of them were coming unravelled because I’d only stuck them down with basic office glue stick, so I unravelled them completely and re-wound them, this time with my large bead rolling tool:
and stuck them with tacky glue. Another awfulness about the paper emerged at this point – the top printed surface has a tendency to peel away from the back part. Grrr. My hubby says I should just throw the rest of this paper away but somehow I can’t bring myself to do that – it is now a challenge to use it ALL and not waste any lol!!
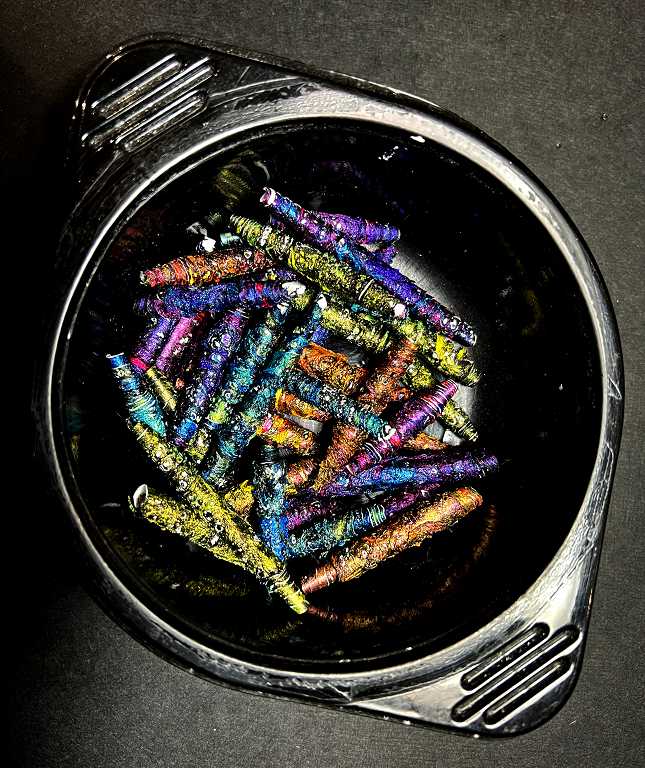
Bead station
I made myself a temporary bead station out of a tin I bought recently, with a piece of plastic canvas attached across the top with masking tape. The barbecue sticks fit through the holes quite snuggly. Cocktail sticks were too short and fell too far through, and being thinner, wouldn’t stand upright, which is why I wanted to use the barbecue skewers instead.
Later, I attached a piece of brown paper over the top, securing it with a rubber band, and poked the sticks through. It worked a treat.
My hubby has cut and sanded a block of wood for me, and when I get round to it, I am going to drill lots of holes in it, to accommodate the skewers and the cocktail sticks. This will be a permanent bead station.
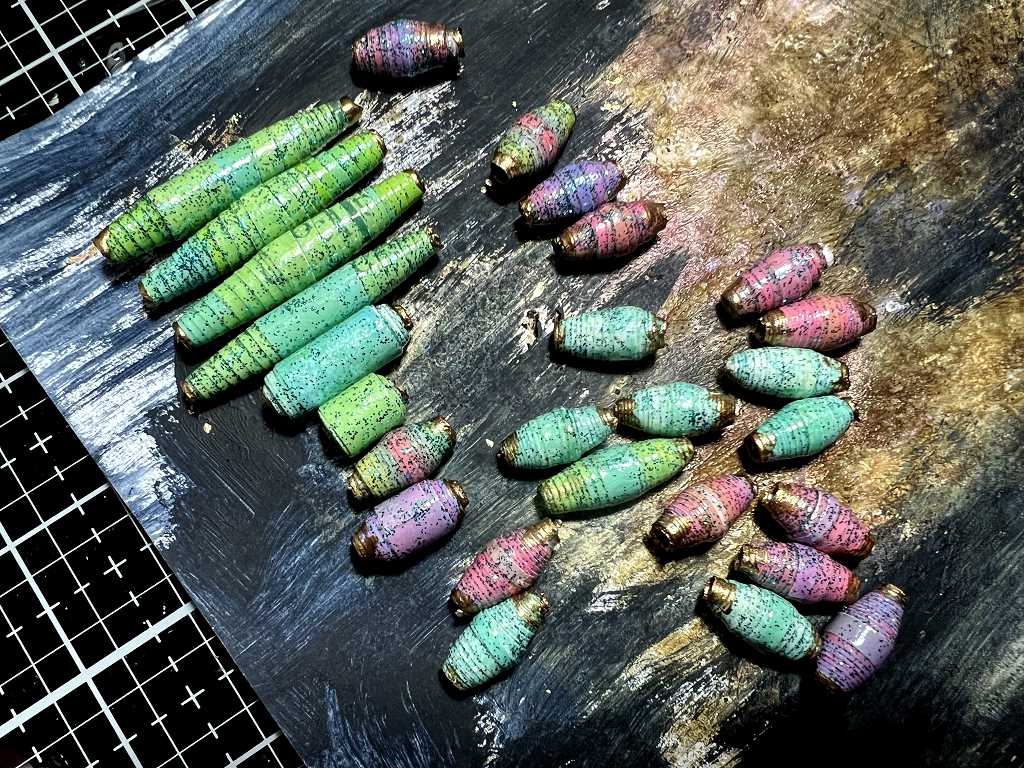
Scrapbook paper beads
Here are the beads being glazed. My pot of Decopatch varnish arrived the other day so I used that. I spooned a small qantity into one of the little plastic containers – these were from stockpots which I used recently in the kitchen and decided the little containers might be just the thing for small quantities like this, so I shall continue to save them. I mixed in a small quantity of both green and blue glitters to get a turquoise shade, and painted this glaze onto the beads, stacking them up on the skewers and leaving them to dry.
As usual, the glitter hardly shows up on the photos but the beads came out lovely and shiny and sparkly when dry!
I didn’t overdo the glitter as I wanted the original colour of the beads to show through, with just a bit of bling. They got another coat of glaze on top, minus the glitter.
Later, I painted the ends with some Golden iridescent bronze fine acrylic paint (my all-time favourite gold paint!) and this finishes them off nicely. That awful paper has redeemed itself!
I still have some triangles cut from these colours and will make those up into beads in due course, and then I shall work on the remaining papers from the stack, most of which are browns and beiges.
There are also a lot of press-out tags and labels, mostly with stupid stuff written on them, but I can gesso over them and make them my own for projects, and I may even use the waste as a stencil!
Beads from magazine pages
I returned to these beads as well, this session.
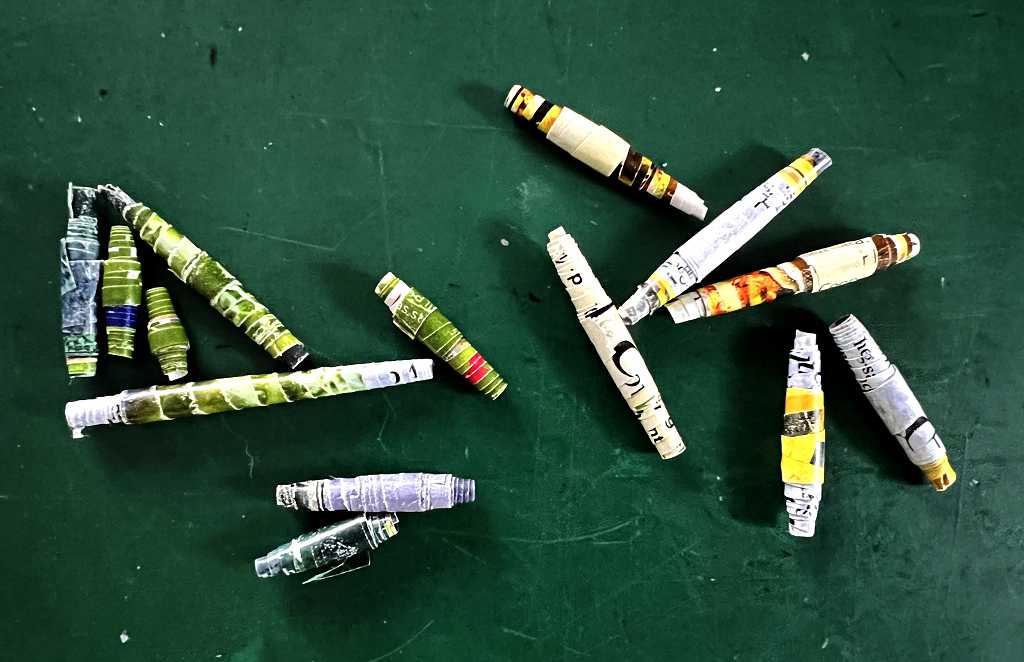
This paper is pretty thin. I have subsequently learnt that you can make the beads from double-thickness magazine paper, so I’m going to try that. However, these ones will do.
They have quite small holes, so I put them on cocktail sticks in order to glaze them. The brown paper covering on my temporary bead station helped the thin cocktail sticks stay more or less upright.
You can see my little stock pot in the foreground, ready for the Decopatch varnish and glitter mixture. For the first couple of packs of beads, I used gold glitter.
Here is that first batch, glazed and glittered, and drying on the temporary bead station.
At this point I had to go downstairs and do something else, and as I had conveniently finished the small quantity of glittery glaze, I was happy to leave them alone to dry.
The beads become a lot harder and more durable, and feel much less like paper, once they are glazed.
The next day:
As usual, the glitter doesn’t show up much. I painted the ends with gold (Golden’s iridescent bronze fine), which does show up a bit in the photo.
Some of them aren’t very symmetrical, but these were the first ones I’d ever made. It gives them a bit more character, anyway. Later, I gave them another coat of glaze as they still looked a bit papery.
Tyvek beads
I have been wanting to make Tyvek beads for years, and have never got round to it. They are so amazing, with the surfaces distorting and bubbling when melted.
The principle for making them is more or less the same as for paper beads. You cut long triangles, and roll them to form a bead. You have to do this on a wooden barbecue skewer because you need something relatively long, and heat-proof, as you have to hold this while you heat the beads with a high-powered heat gun (not the heat tool with the gentle heat that we use for drying things, but the more focused, hotter embossing one).
You roll the triangle of Tyvek around the skewer and rather than using glue, which would not withstand the heat, you secure the bead with a pin.
Preparing the Tyvek
When I was cutting my stencils, I got through a lot of Tyvek envelopes, and ended up with quite a few strips, because the envelopes had a seam right down the middle of the back, so I could only use the fronts for full-sized stencils. I had it in mind that I would probably make beads out of these pieces eventually.
Since I wanted to use pearlescent or metallic acrylic paint, I thought it would be good to paint the Tyvek black first, and then add the colour, as it is much more vibrant against a black background.
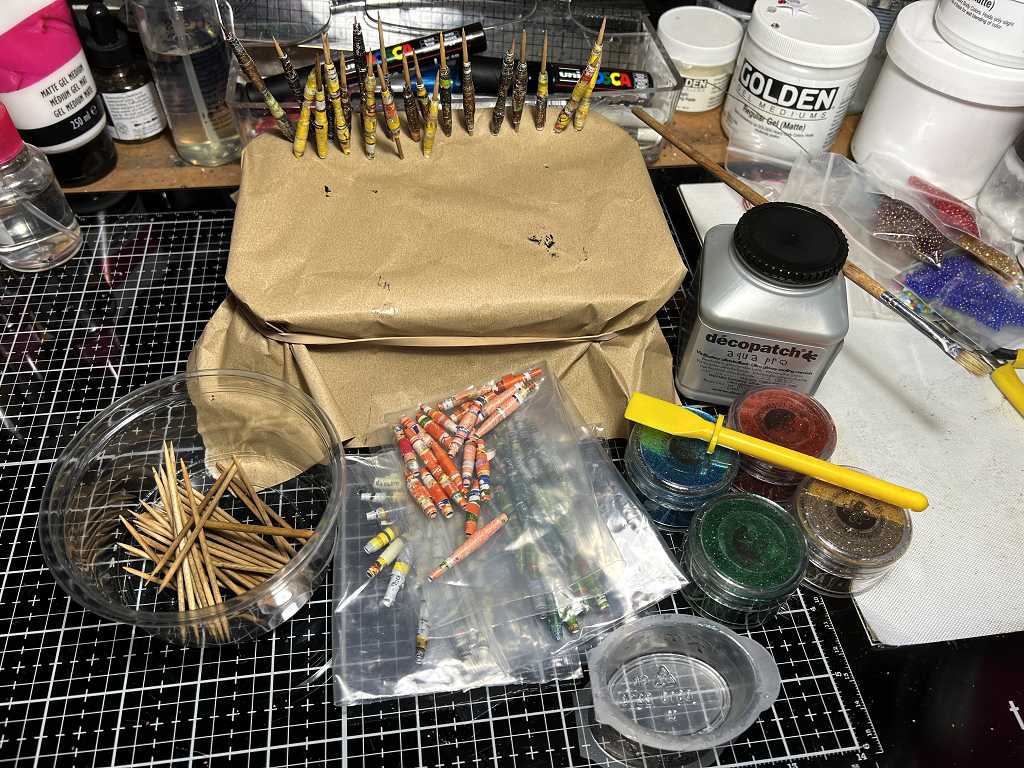
Here are the materials and equipment needed to make the Tyvek beads.
I forgot to put the scissors and the heat gun in the picture!
The Tyvek pieces painted black. I didn’t go to a lot of trouble with this – I just wanted each one completely covered, and any brush marks and smears would be covered up anyway. I didn’t want to add another coat because it wasn’t necessary, and also too much paint would affect how the Tyvek melted.
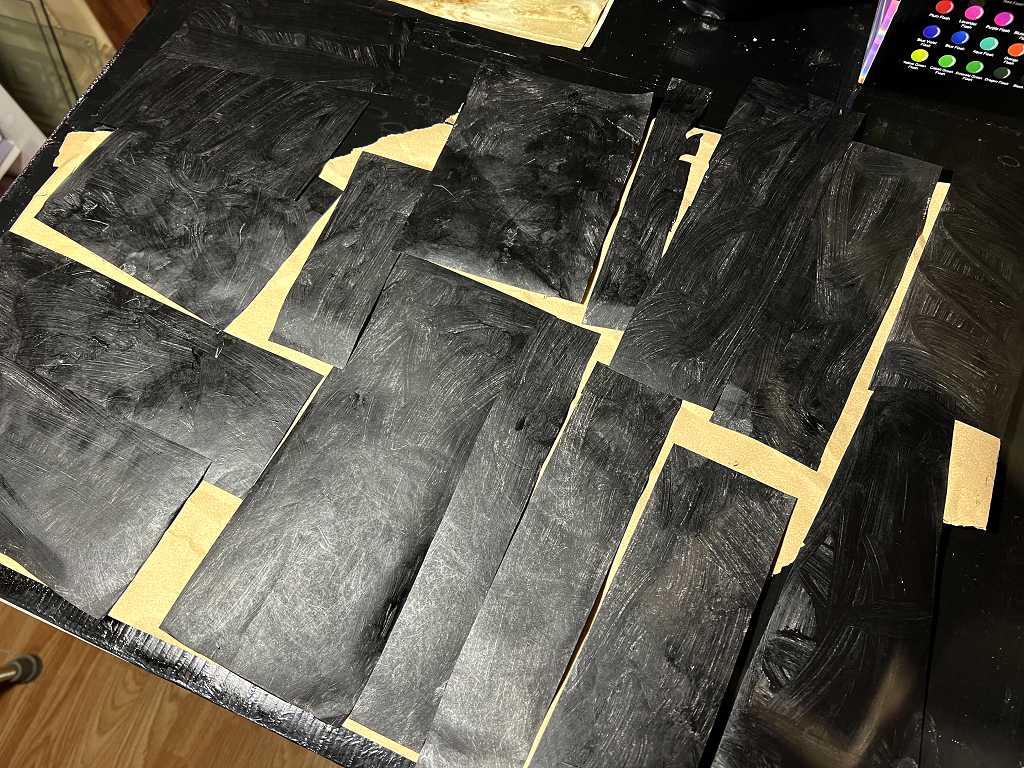
In the first picture, you can see the pots of pearlescent acrylics lined up. These were from the set I bought from Amazon really cheap – they are supposed to be interference colours but only about two of them actually have that property. Also, there is very little pigment in them. I was pretty disappointed in them but understood that you get what you pay for and they were very cheap! I ended up planning to use them only to create glazes on the gel plate, but today I thought I would use them for my Tyvek beads.
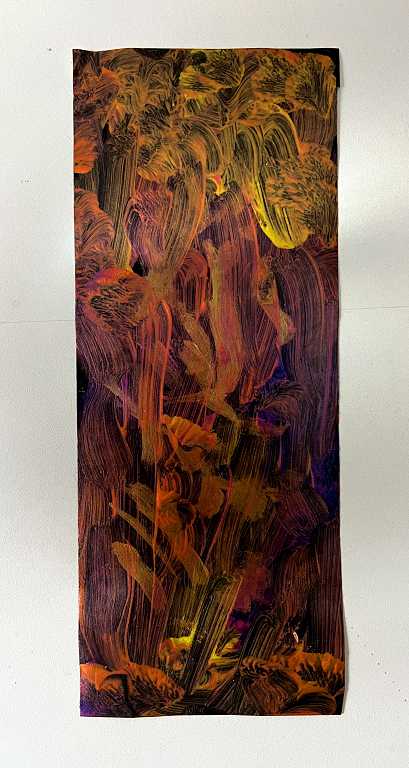
This is the first piece I painted with them.

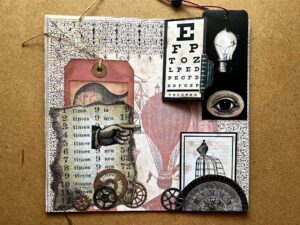
You can see that the coverage is not good. I slapped on some more and made a pretty good old mess, but it doesn’t matter – I originally planned to make beads from this piece anyway, but in the end I decided not to, as it rather grew on me the next day! I think it will make an interesting collage piece.
I went back to my Arteza set of metallics as these are a much better quality of paint.
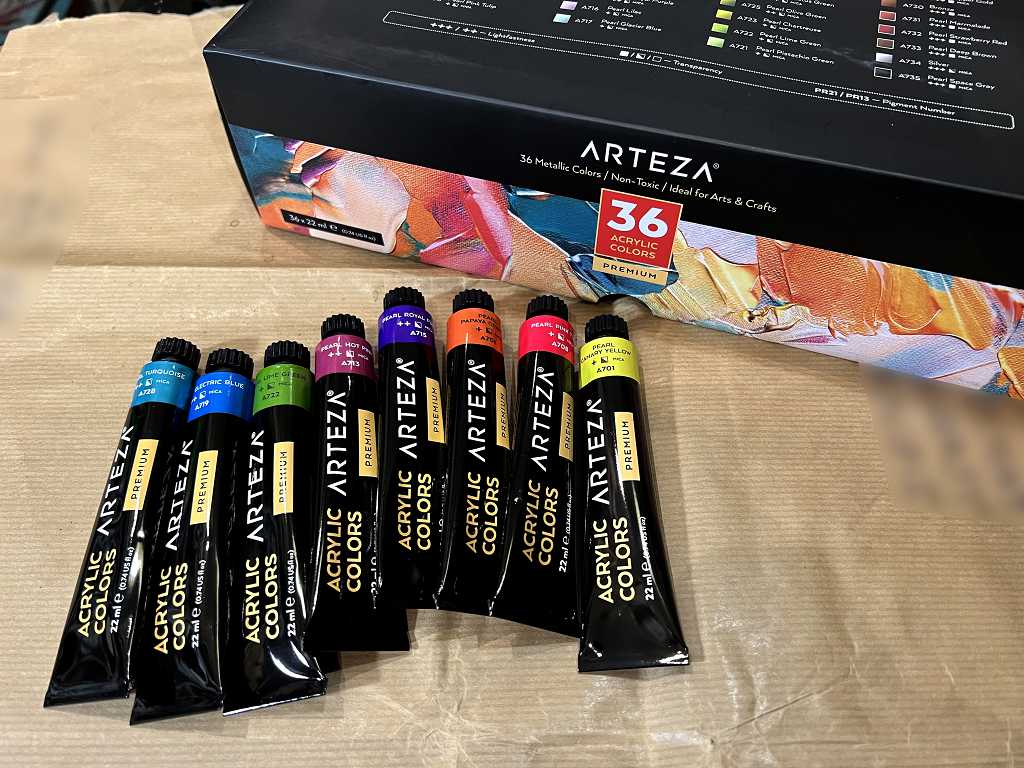
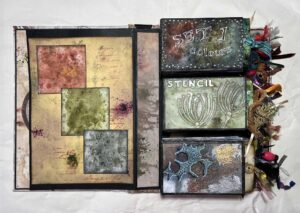
I decided to paint the pieces in a variety of colourways – warm and cool, against the black background. I found that even these paints didn’t provide 100 percent coverage with a single application, but the results were good if I stippled on the paint over the black.

The colours are more vibrant and metallic in real life.
That was as far as I got before I had to get tea on. Anyway, they were not yet dry enough to work on.
Later in the evening I cut them into triangles ready to make the beads.

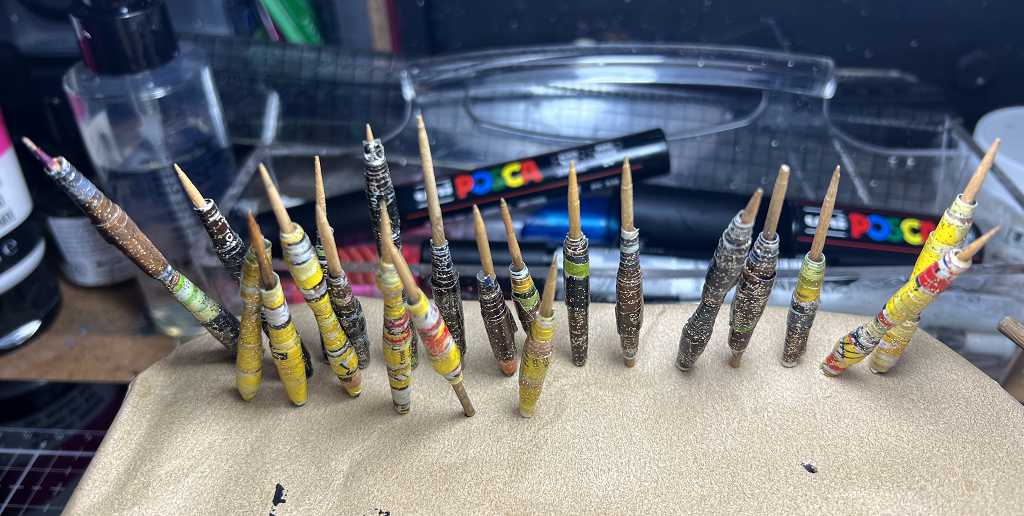
Rolling the beads
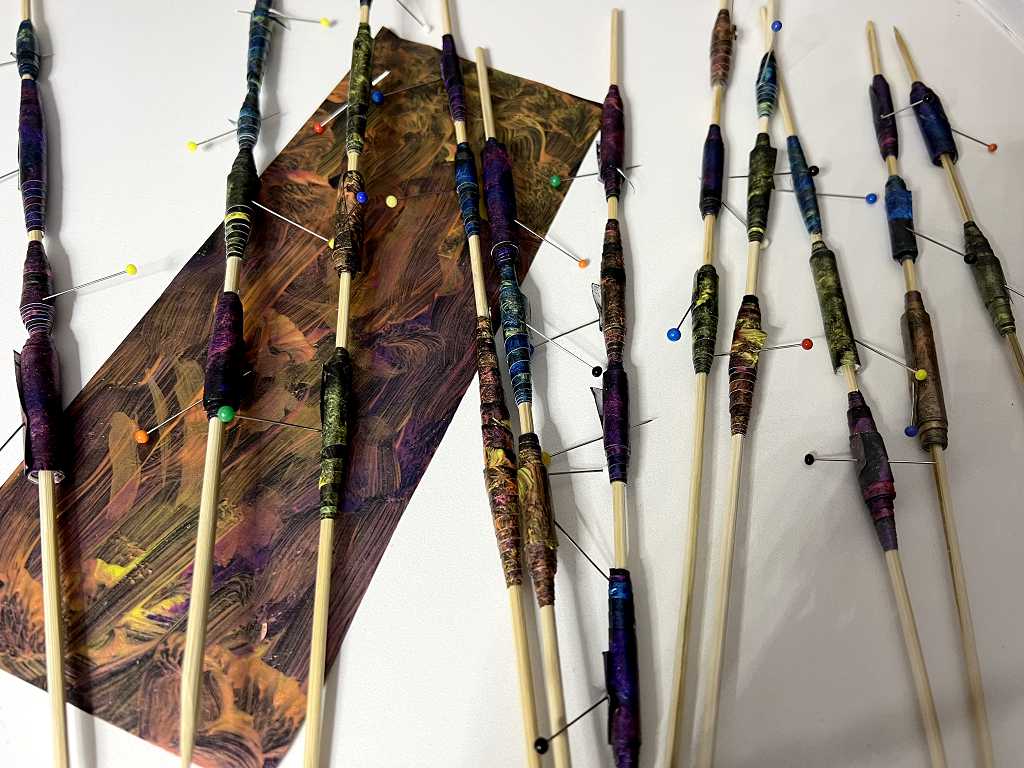
You can see that I have put several onto each skewer, and secured them with a pin.
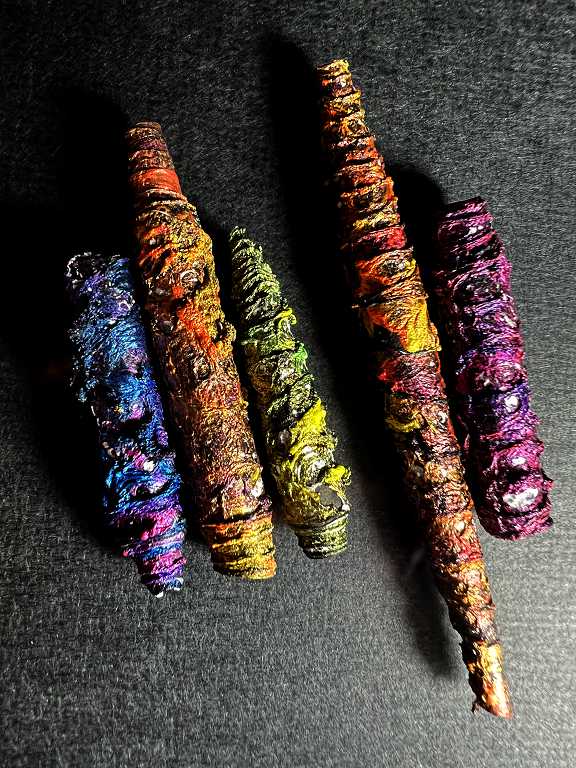
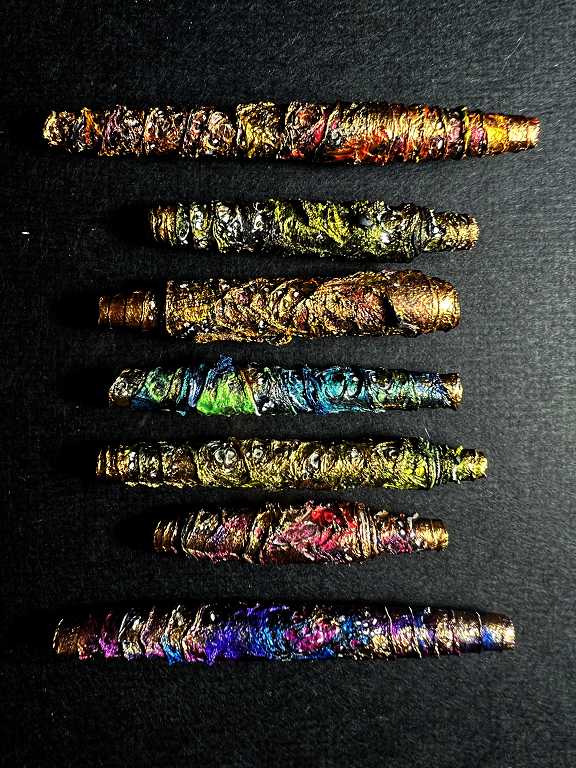
The beads after melting.
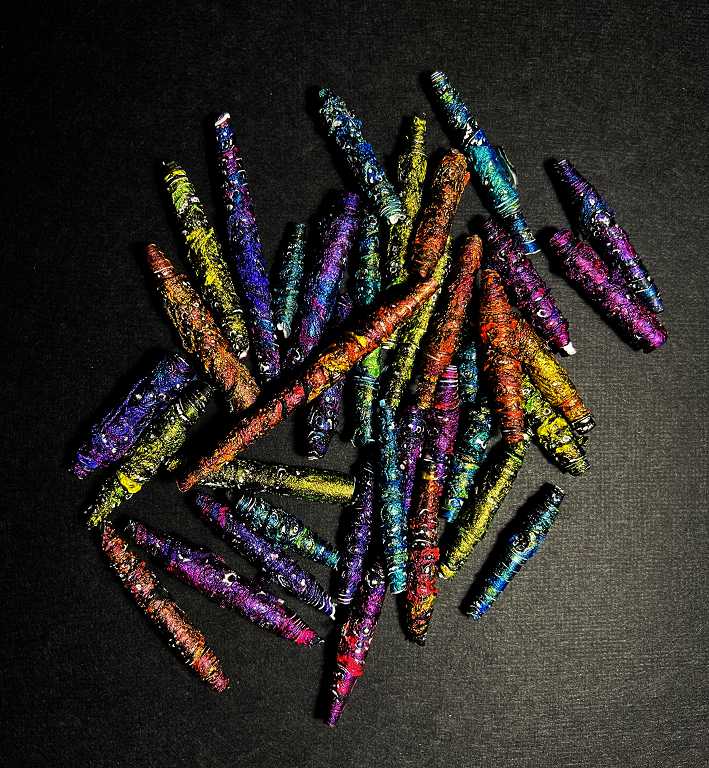
I had to heat them for quite a while to get them to melt. My previous experience with Tyvek is that it doesn’t melt and distort so well if it is painted. I may try making some with unpainted Tyvek and painting them afterwards. I think I also need to wind them less tightly, to allow more space for the Tyvek to distort and expand the beads. I noticed that the ones made from more of a rectangular shape seemed to work better than the long pointed triangle ones. Anyway, they all have a lovely bumpy texture, and the colours are great – quite metallic. Sometimes the white unpainted underside of the Tyvek was exposed, but later I touched these up with gold.
Thick ones and thin ones.
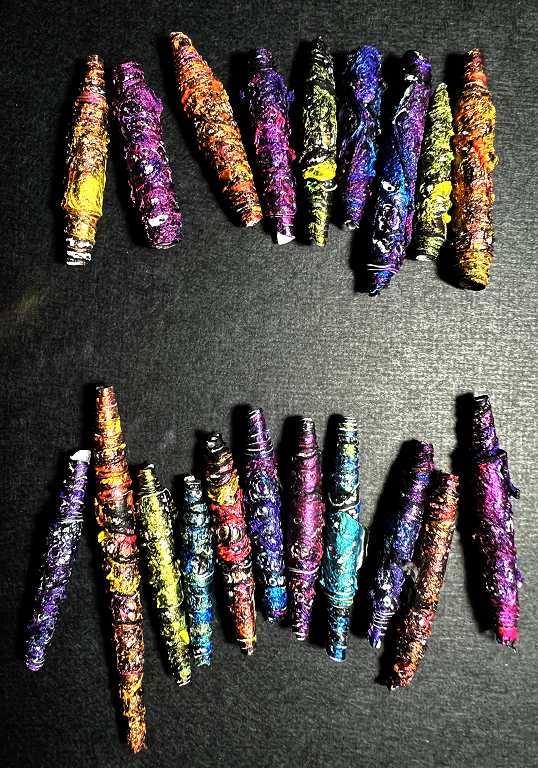
As with all my paper beads, I trimmed off the ends to make them level.
Quite pretty en masse!
Beside the scrapbooking paper ones.
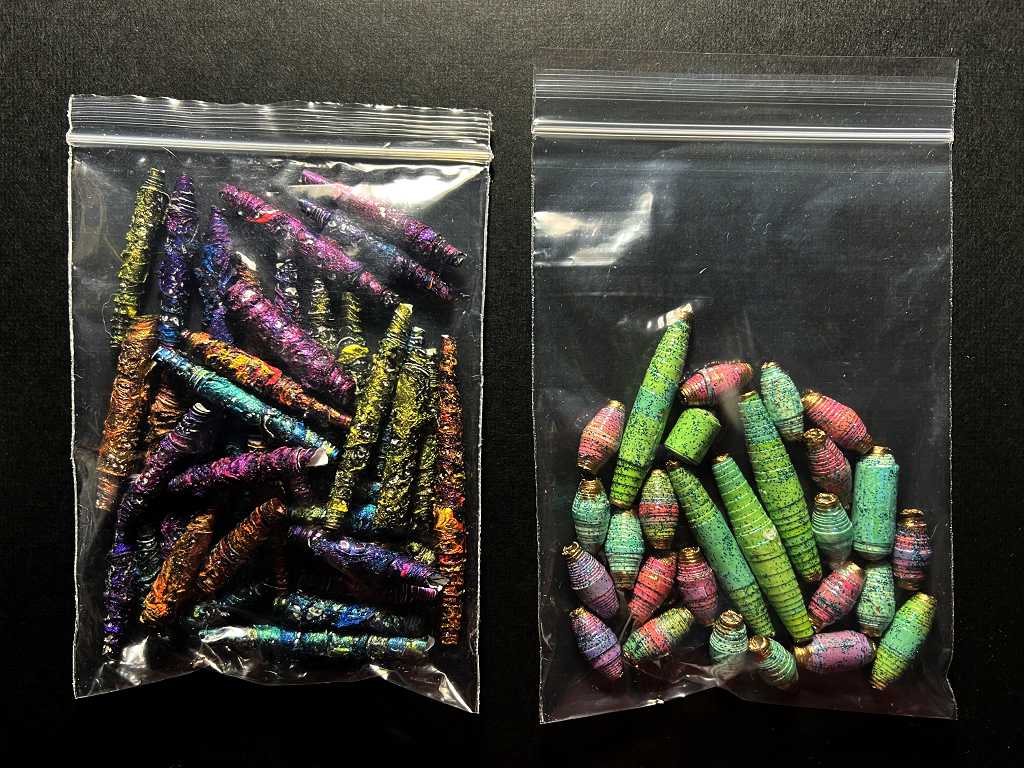
Here they are with their ends trimmed level and painted gold, and the white patches also painted with gold. I dry-brushed the gold on and here and there, picked up the high spots.

I shall probably wrap some of these with wire which has been threaded with little beads.
I still have some experimenting to do with Tyvek beads. They are certainly absolutely gorgeous and worth making! The Tyvek hardens when it is melted so they become a lot more durable. I love the metallic paint, too.