PAINT BRUSH HOLDER – STUDIO ORGANISATION PART 3
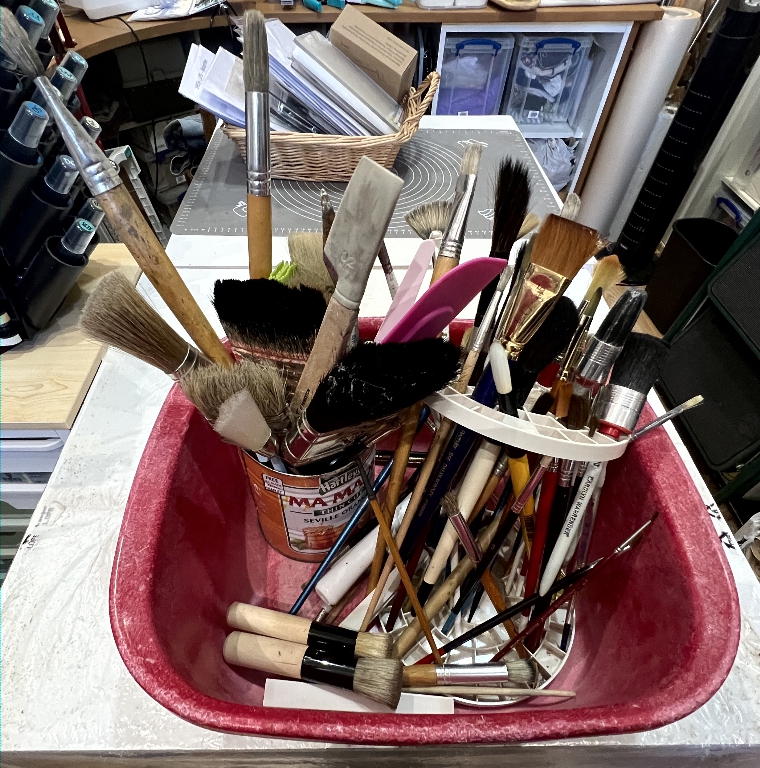
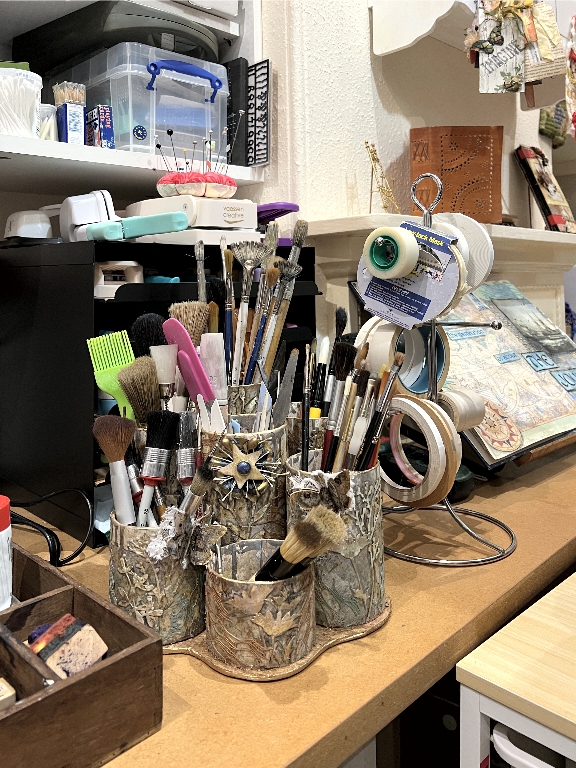
My new storage trolley and the letter tray punch storage have been exciting additions to the studio, and the disappearance of Chaos Corner has been a delight, but the final part of this series has been the most creative and exciting for me – making a new paint brush holder.
From this:
To this!
The making of the paint brush holder
Back in the summer we went back to the village where we used to live for their annual fete. On Annie’s famous white elephant stall (to which I always make a bee-line as there is always something I can use in the studio!) I found six tall cardboard tubes containing stencils produced by the National Trust. The designs are taken from existing border decorations in National Trust properties. I thought the stencils might be useful but in the end they were not – they were too big, and not made of very good material. The tubes sat in the studio taking up space but I am glad I didn’t get rid of them. They are much thicker than toilet roll tubes and quite durable.
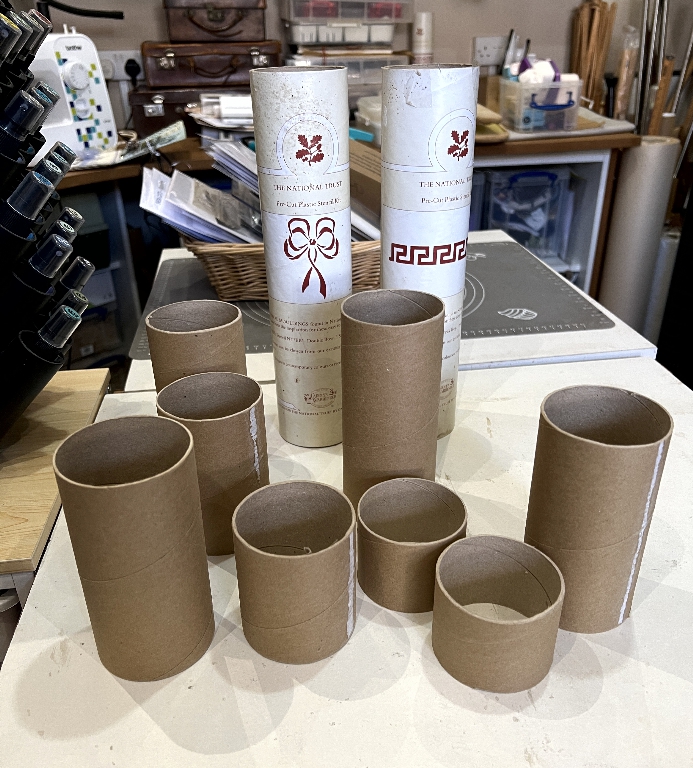
I peeled off the labels and cut them down to varying heights – quite a job as the cardboard is quite thick and strong. I made a mock-up of a possible arrangement for the final product.
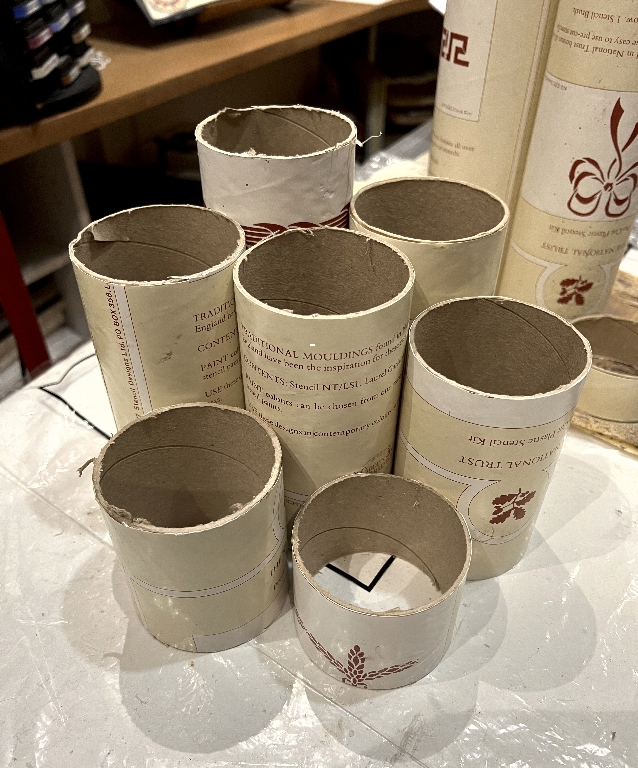
After sanding the edges smooth, I began to cover them with wallpaper. This Laura Ashley wallpaper is from my bedroom before I was married 40 years ago! I’ve still got quite a bit of it.
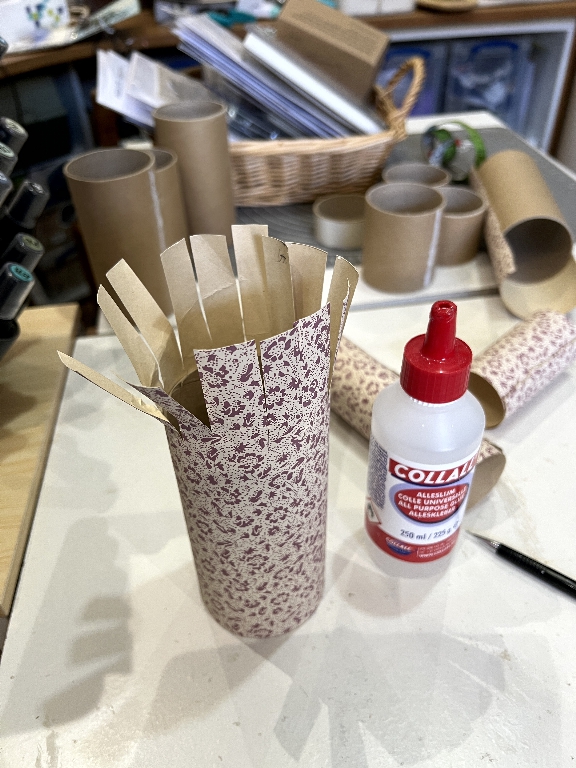
I cut the paper quite a bit taller than the tube, so that the excess at the top could be folded down a good distance from the top so that the bare tube wouldn’t show inside. I glued the paper around the tube first. Cutting the strips vertically down to the edges of the tube made glueing the paper much easier, working one strip at a time. There is only a small amount folded inside on the bottoms of the tubes.
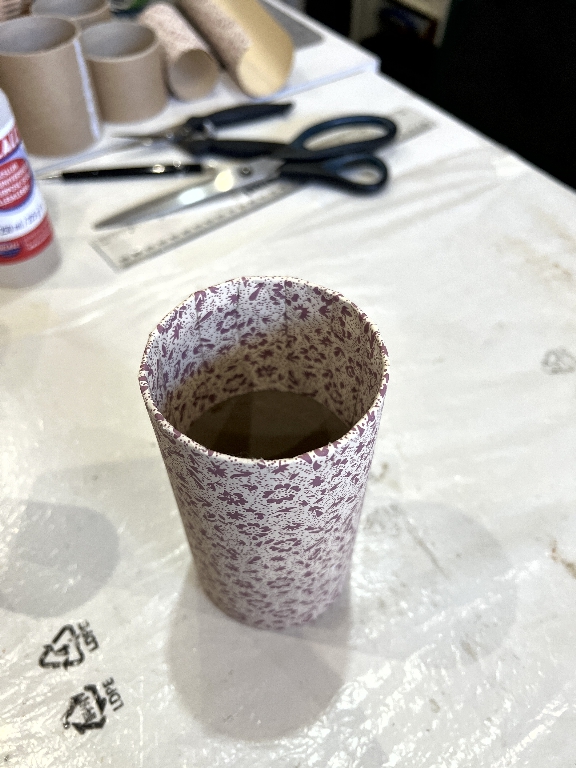
This is what one completed tube looked like.
After this, I found some scraps of wallpaper border to stick around the bottoms of the tubes. Unfortunately I completely forgot to photograph this stage, being keen to get on with the project! Later, I attached some wallpaper scraps to one of the remaining tubes to show what they looked like.
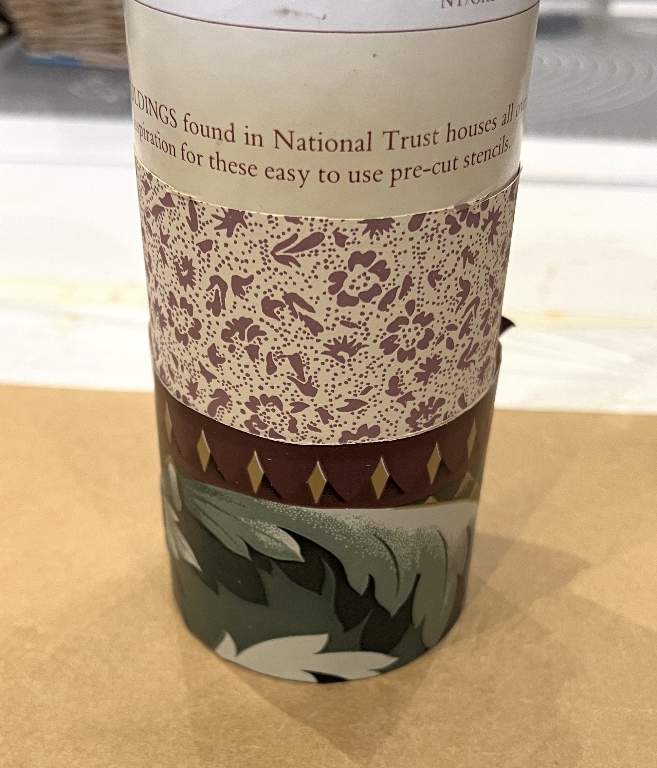
For many people this level of altering would have been sufficient. To me, it just looked like… wallpaper. The tubes definitely needed some……..
SHOSHIFICATION!!!
Painting and inking the tubes
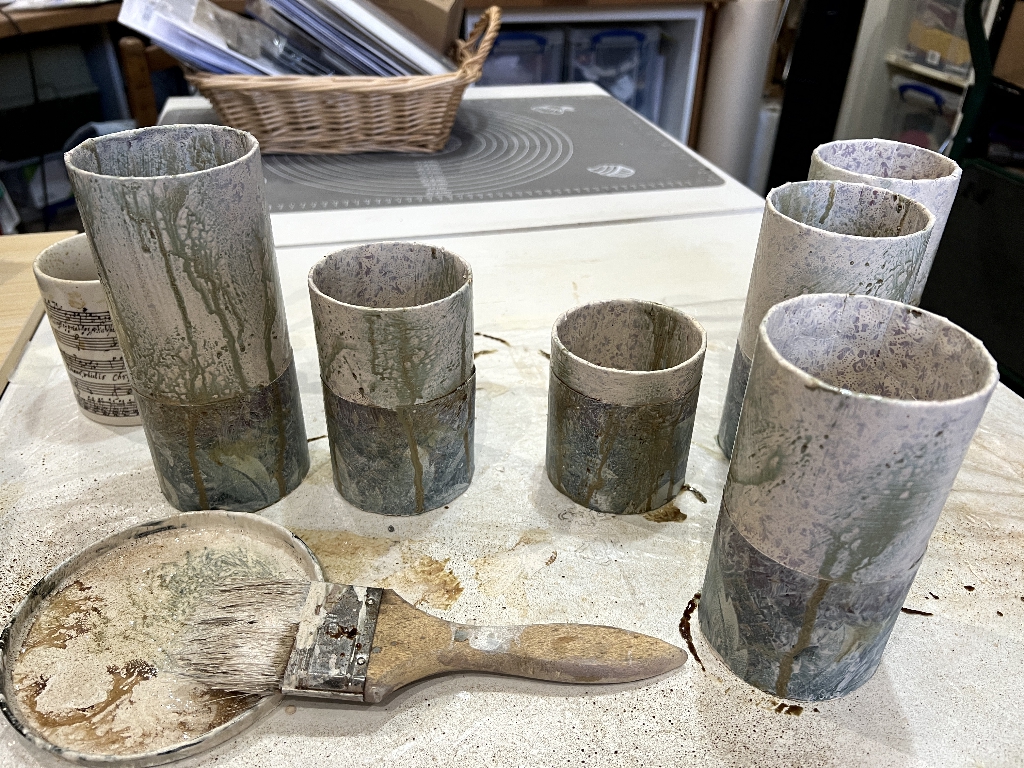
I began by mixing some coffee into white gesso, and applying this with an old decorating brush. This muted everything down. You can still see the pattern of the wallpaper.
After this, I sprayed them with Frayed Burlap Distress Oxide Spray (my current favourite colour – the oxidation is glorious!) and spritzed it with a bit of water. Then I got the Walnut Stain Distress Oxide spray, and unscrewing the top, I used the tube of the nozzle to apply the ink along the top edges of the tubes, allowing it to run down. I also did this on the insides of the tubes.
After this there was a considerable mess on the plastic sheeting on my pull-out unit surface, and I used a couple of pieces of scrap watercolour (reject paintings thrown out by my hubby years ago) to mop up.
I thought it might be nice to give a nod to the National Trust, whose tubes I was using. I chose a couple of the stencils to add a bit of gold embellishment. I practised with one of them on the mop-up sheet.
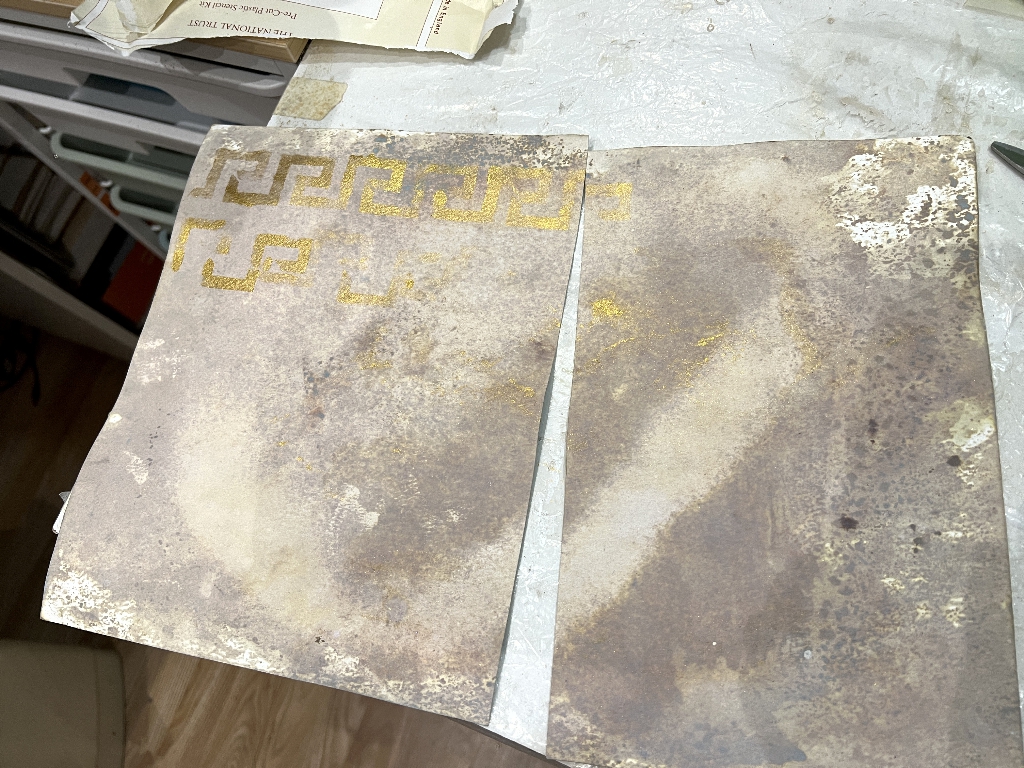
One of the problems with the stencils was that most of them are in two parts, and you have to stencil with one, and then take the second and line it up with the guidelines and stencil again. I think the idea is that you can then use two colours. It was hard to match these up because the thin acetate they were made of was very springy and the cuts made the loose bits hard to keep in contact with the curved surface of the tubes. They are clearly designed for stencilling on walls, and not for the purpose for which I was using them! In the end I quite liked the irregularity of the result.
I stencilled across the line between the wallpaper border and the rest of the wallpaper, leaving some gaps for a random effect.
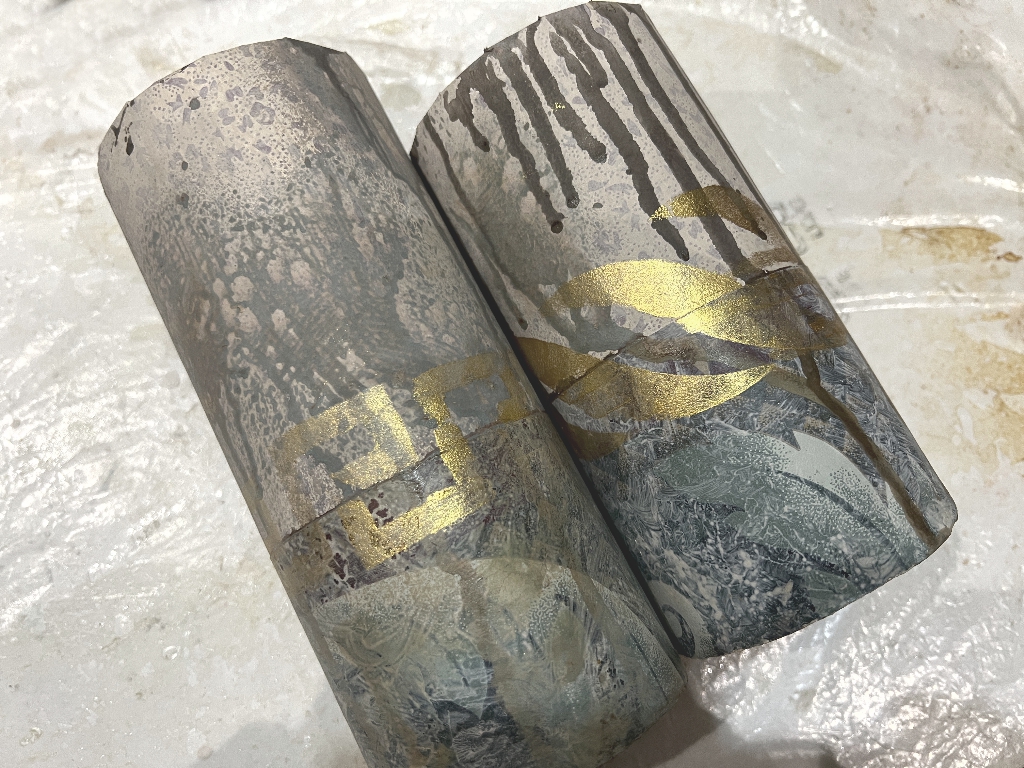
For the stencilling, I used Kuretake Gold Mica Paste. This stuff is just gorgeous… In the above photo you can see the detail of the painting and inking, and you can still see the pattern of the two different wallpapers.
At the end of this session, this was the state of my hands!
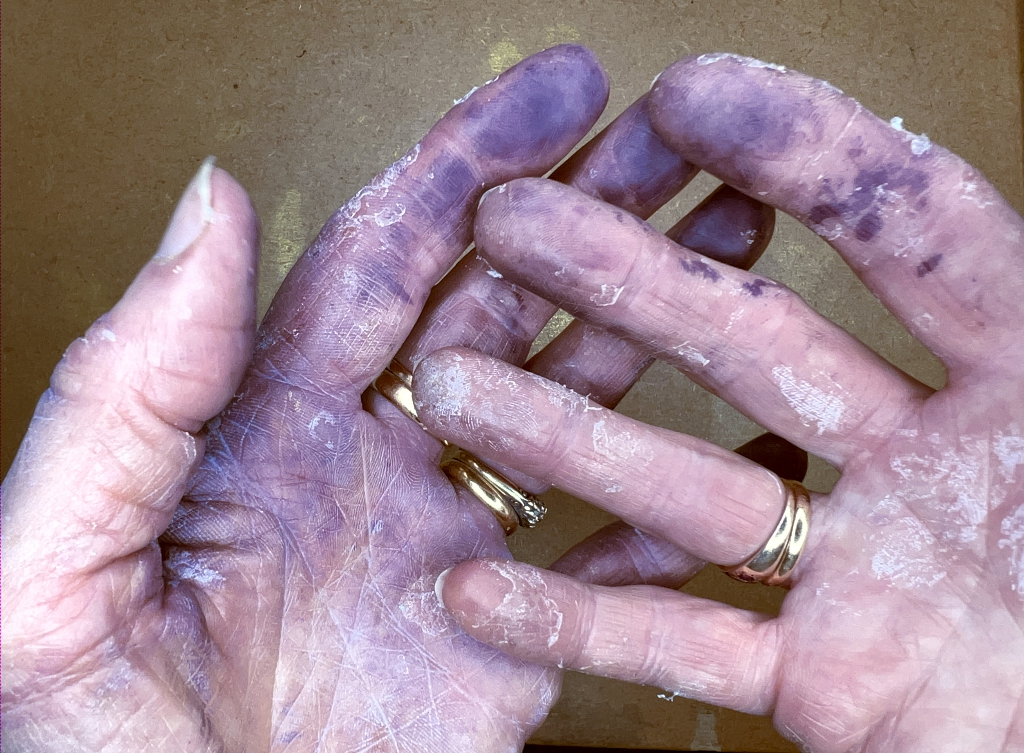
I spent some considerable time peeling off the glue from my fingers, and the ink staining finally disappeared after 24 hours. Mixed media can be messy work! I don’t like wearing gloves, though, because you can’t feel what you are doing so well, and I like to be in full contact with my work!
Die cuts
During the next session, it was time to add some focal points to the tubes. I made a collection of die cuts of floral stems, using one of the watercolour mopping up sheets. I originally planned to use the inked surface, and for some of them this is what I did, but turning some of them over, I really liked the abstract effect of the original watercolour painting. I glued them down with matte medium, painting over the tops of them to seal them in place.
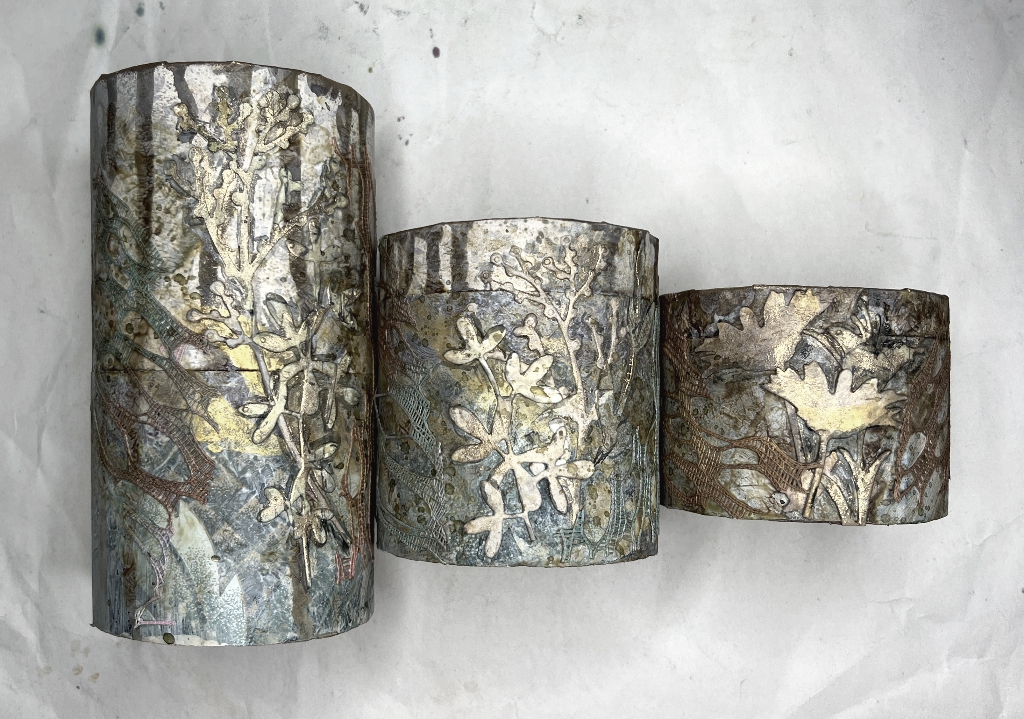
Without completely covering the original colour of the die cuts, I rubbed on a little gilding wax. They still didn’t stand out as much as I wanted, so I chose the black crayon from my set of Stabilo Woodies (water-soluble wax crayons) and scribbled on a palette. I spritzed this with a little water, and took a fine brush to outline the die cuts, which helped considerably.
Mesh texture
I felt that some more texture was appropriate. I have quite a lot of plastic mesh stuff in various colours, most of which I would never use as-is, but you can paint this stuff. I chose the pink one.
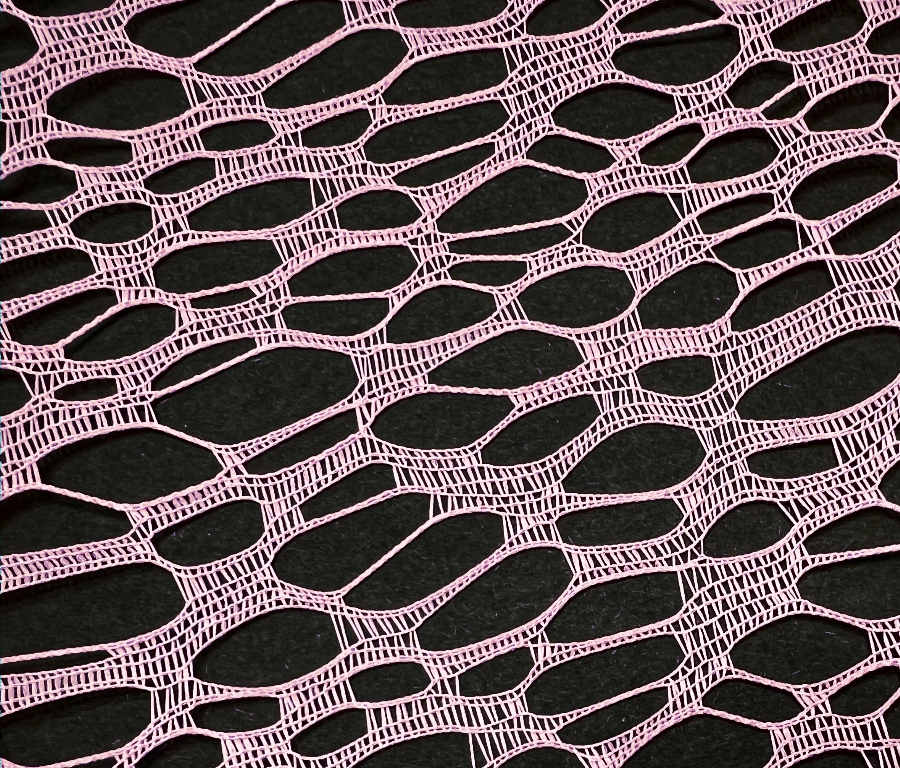
This is definitely not something I would use in its original form. I cut a piece and laid it on top of the other mop-up watercolour sheet (inked side up), and painted it randomly with some Arteza shimmery acrylic paints in a couple of shades of browns and greens. Working on the watercolour paper, the mesh acted as a stencil, and I ended up with some nice collage fodder for future projects!
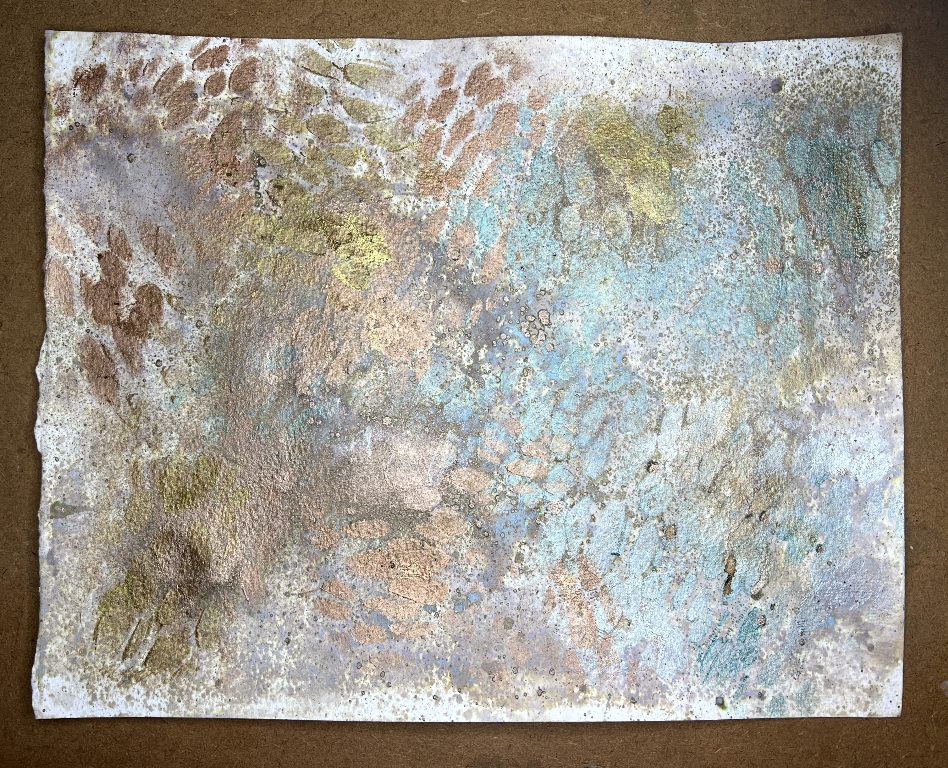
Later I tested some mica spray on this, which is what you can see as the darker spots. More later on this.
I cut tapering shapes from the painted mesh (no straight edges) and attached them to the tubes either side of the die cuts, using matte medium.
Last week I bought a set of three Tim Holtz Mica Stains by Ranger. (Gorgeous stuff – metallic sheen in various colours – but I hate the names – I am definitely not into all that Halloween and witch stuff!!)
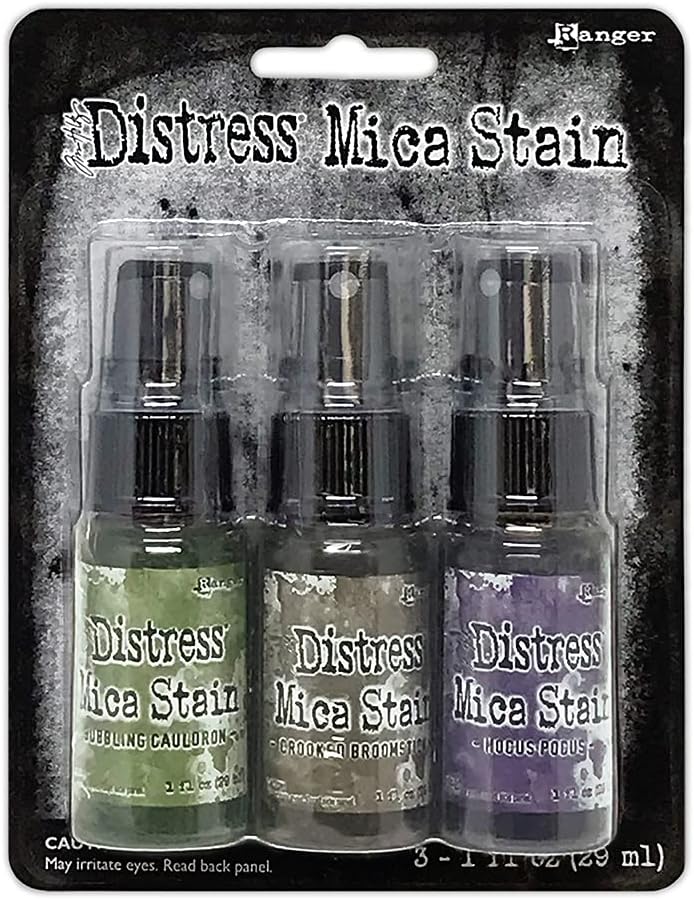
I chose the brown one which is bronzy, and sprayed some into the palette and spattered it on with a brush for yet more textural interest. Here is a detail shot of one of the tubes complete with its die cuts and mesh texture.
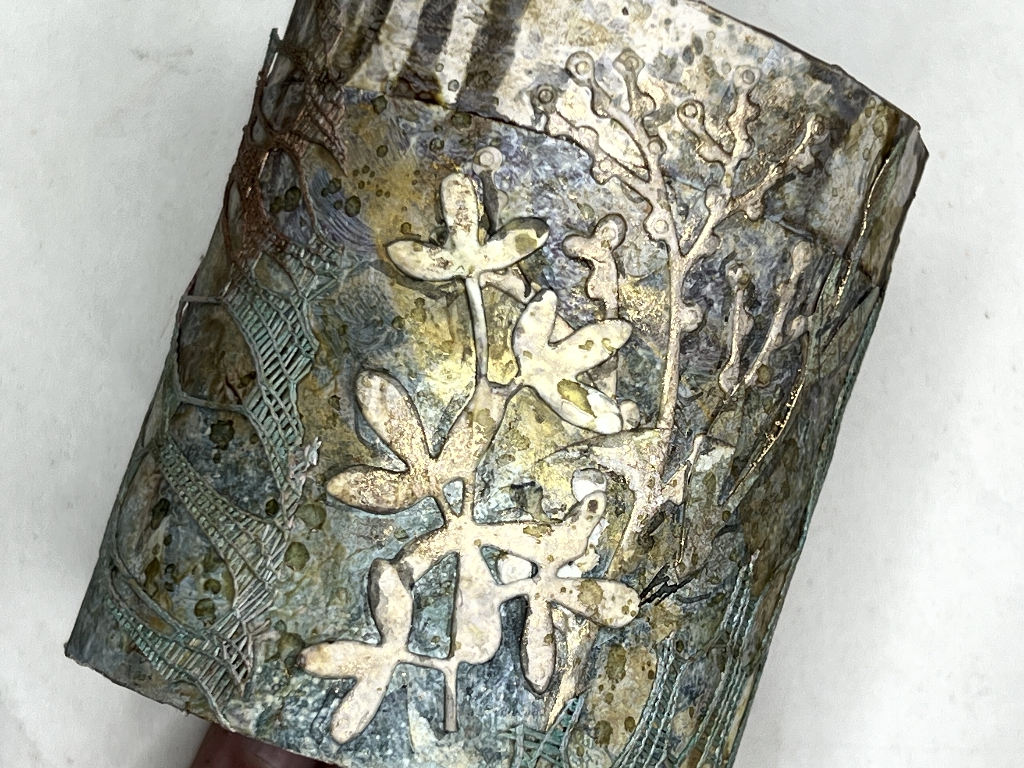
The final step in the tube embellishment was to go round the top rim of each tube with gilding wax. This totally transformed them!
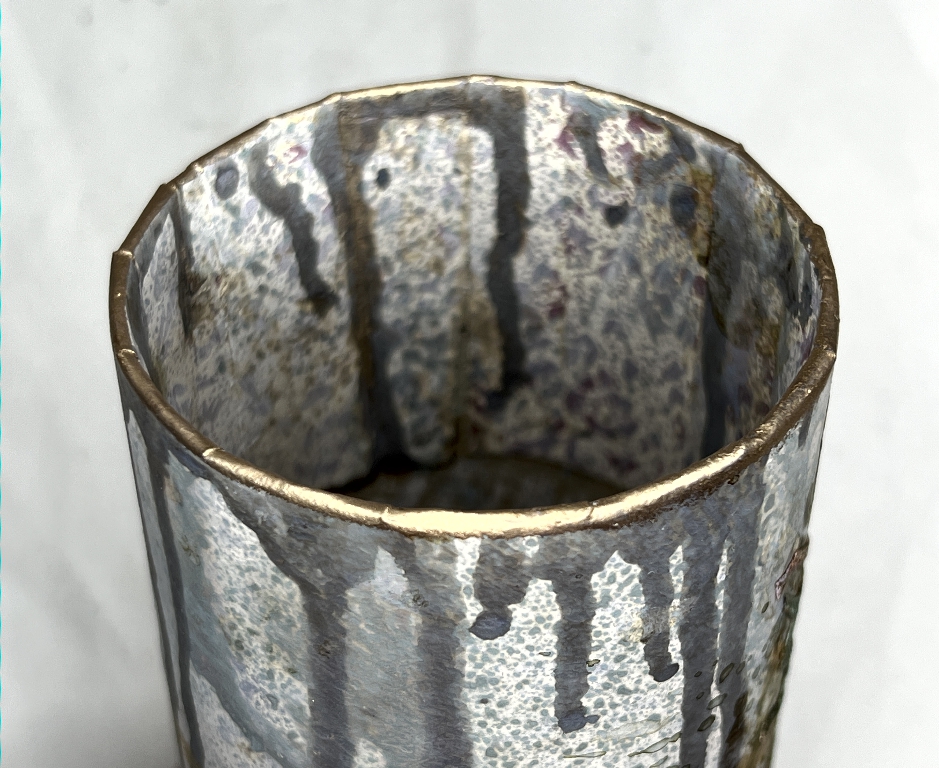
Attaching the tubes together
This proved more problematic than expected. I used hot glue – a LOT of hot glue! I had to act fast because that stuff sets very quickly. I’d probably have done better to use an alternative glue (see later) which gave more wiggle room, but it is what it is. In the end not every tube was touching both its neighbours but once attached to the base all would be well, and there are always embellishments to cover any boo-boos!
Making the base
This was also more problematic than expected. I wasn’t sure what to use that would be rigid enough and also have a bit of thickness. Corrugated cardboard was out because it’s not that durable, and liable to get squashed, and the cut edge would be a problem. Eventually I remembered a set of cheap plastic cutting mats I bought once – they were a disaster in the kitchen and found their way into the studio for some nebulous future use and stayed there for several years.
A few years ago I bought a couple of rolls of fabric-backed cork at a craft show, absolutely loving the stuff and feeling sure I could use it for something. Up until now I never have!
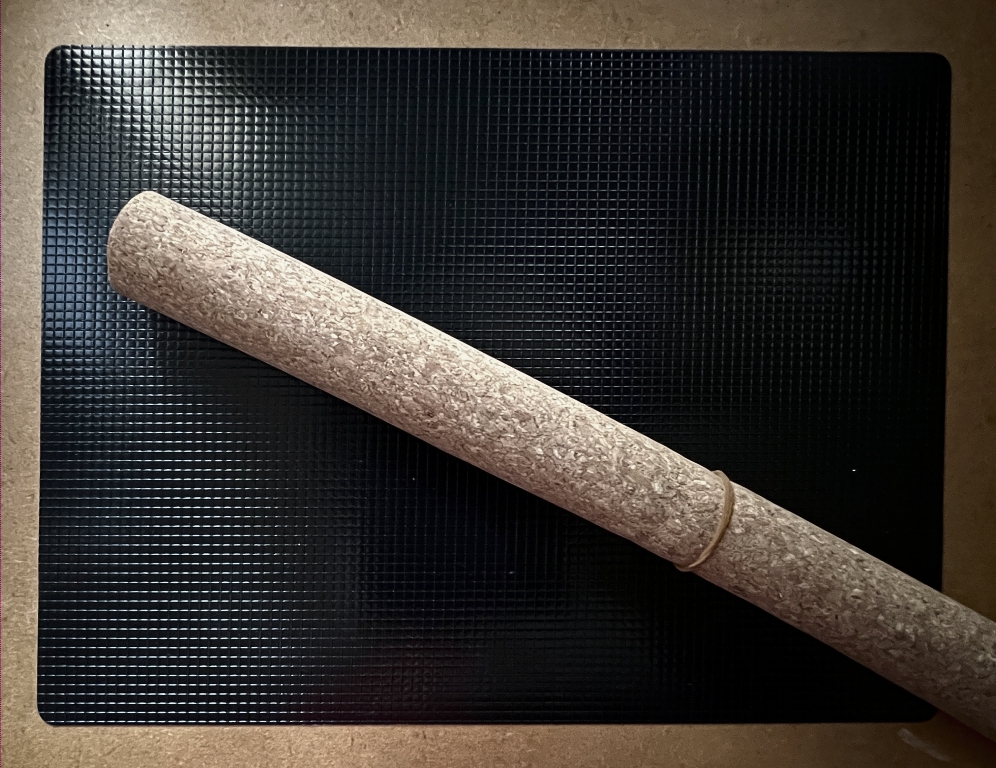
I cut a piece off the plastic mat and a piece of the cork fabric, and glued them together with fabric glue. The glue kept beading up on the mat but I thought it would probably hold. Put under heavy books overnight, this didn’t work at all. It peeled right off and was still wet. I then decided to read the instructions on the glue (!) and found that you should apply it to both surfaces, allow it to get tacky, then press them together. I tried this, back under the heavy books, and the next day they certainly were stuck better but I could peel them apart fairly easily. All the glue had clumped together on the fabric, leaving virtually none on the shiny mat.
Back to the drawing board.
Enter double-sided tape. I have a roll of extra wide double-sided tape, about 8 1/2 inches wide, which I think is supposed to be used for carpets. I covered the mat with this, filling in the part that the tape wasn’t wide enough to cover, with further normal double-sided tape, and glued the piece of cork fabric down. Perfect.
I decided to cut another piece of the mat, and got the red one out. I glued it to the black mat in the same way, and glued cork on this side too. It was slightly flexible but once the tubes were on, it didn’t make any difference.
I like the idea of the cork, which makes a nice soft and somewhat non-slip base in contact with the desk, and also, a softer surface for the handles of the paint brushes to land on in use.
Glueing the tubes onto the base
I made a rough paper pattern and cut out the base. My original plan was to hot-glue the tubes to the base, but on second thoughts this would not have worked. The glue dries far too quickly and by the time I had applied glue to the final part, the first part would have dried. Instead, I chose Pinflair Glue Gel. This stuff is super thick and sticky, and clear. It retains its shape when applied, which means you can use it for dimensional effects, and it dries crystal clear.
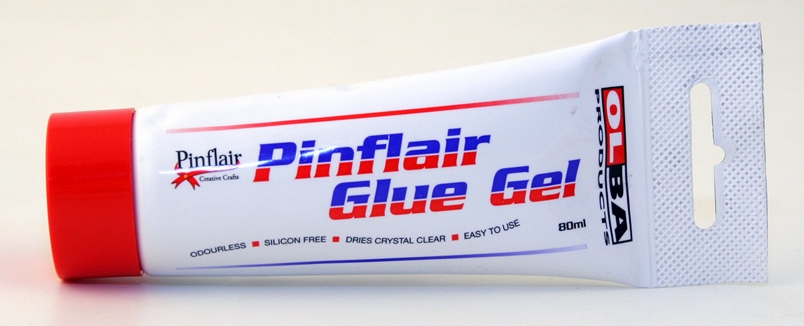
My particular tube is very old and the glue is now yellow-ish rather than crystal clear but for this purpose it is fine.
I had to find a way of marking the base so that I could line up the tubes when the time came. I decided to trace the inside of each tube to indicate where to apply the glue, but I had a problem with the tallest tube – I couldn’t reach in with the pen! In the end I took apart a mini-mister (no, not a tiny gentleman, but a small spray tube for applying a fine mist of medium). I jammed the end of the pen into the tube and taped it securely with masking tape – a pen extension!
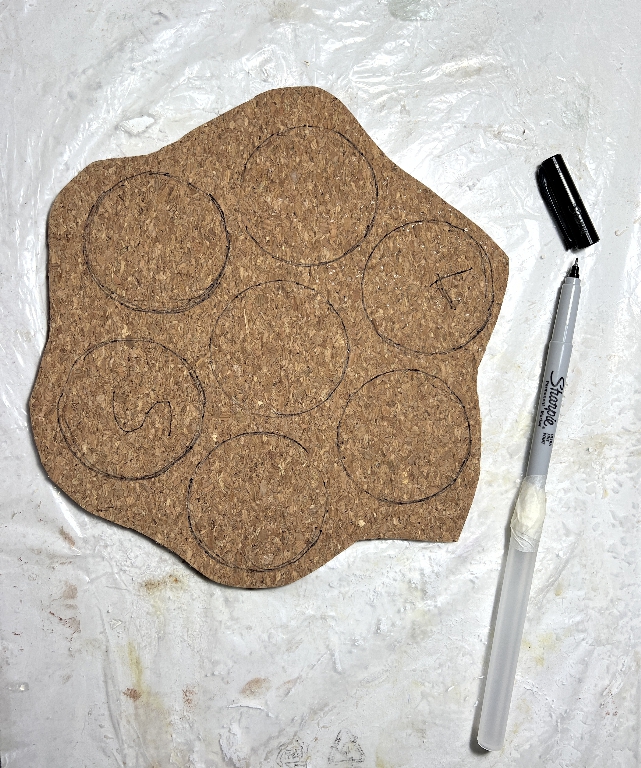
Once the circles were drawn, I could apply the glue. I covered the lines so that the thickness of the tubes would sit in the glue, trying not to spread it too much onto what would be visible of the base. Any excess inside the tubes wouldn’t be a problem.
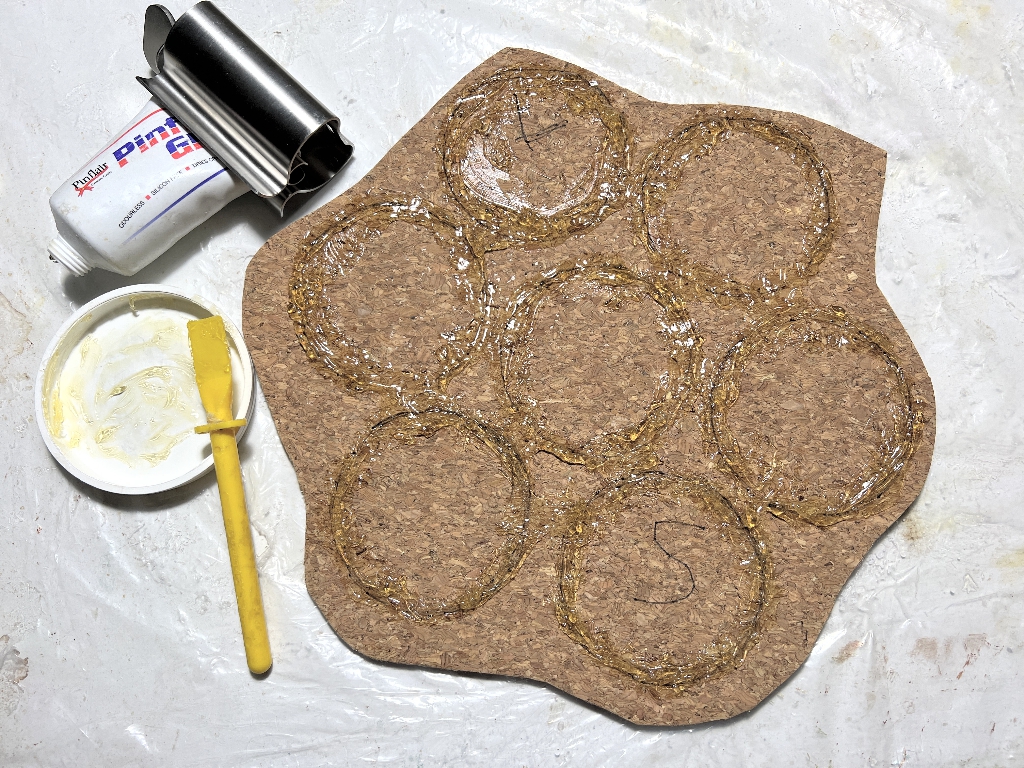
Then I stuck down the tubes.
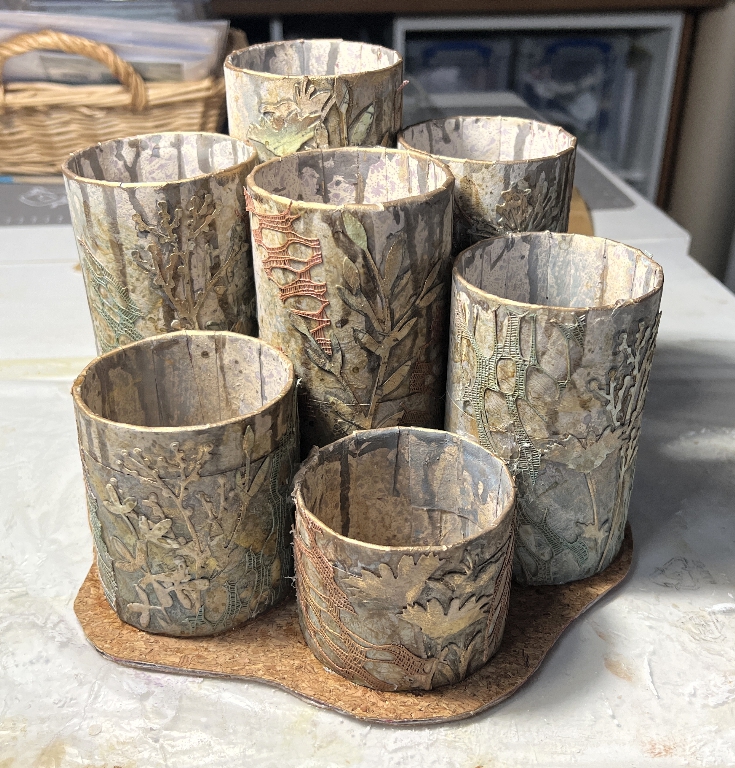
Clean-up of any spills is done with acetone. I managed to achieve a pretty clean result, but while the glue was still wet, I wiped carefully around the base of each tube with a piece of kitchen paper dampened with acetone to remove any visible excess. The glue dries shiny so I didn’t want any of this to be visible. The bottoms of some of the tubes didn’t line up, and this thick glue was able to deal with any problems in this area.
The only problem with this glue is that it takes an age to dry, so I had to leave the project overnight at this almost finished stage before I could complete it. The next day the glue still hadn’t cured. I did some online research and discovered that when this glue is old, it takes longer to cure, and that warmth should speed it up. I put it in front of a heater and later it was merely tacky. I completed the project before waiting for it to dry completely; it was stuck down enough, and I think it will finish curing over time. Reminder to self – use new glue!!
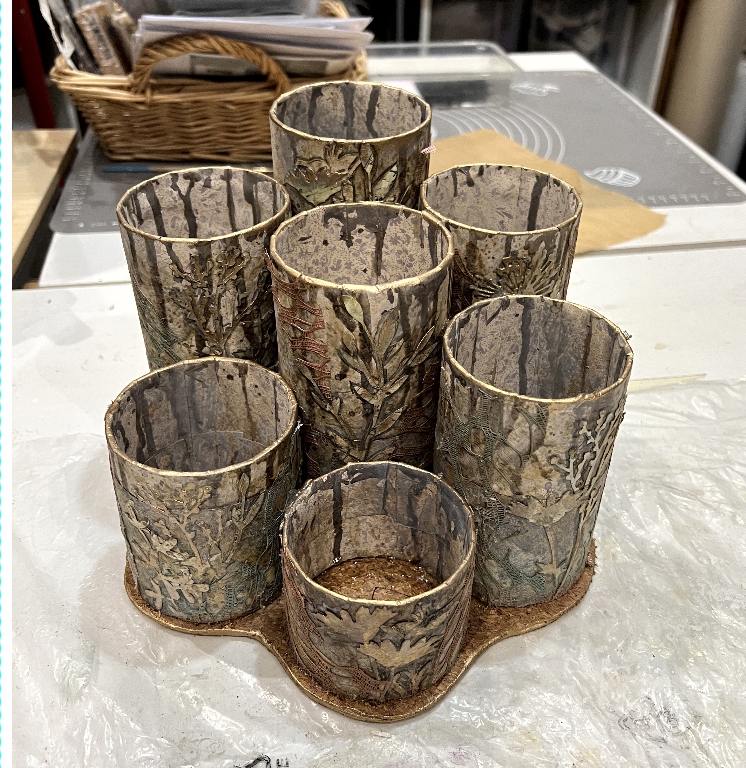
Finishing the base
I drew an outline on the base where I wanted to cut it. It was pretty tough to cut and I used a combination of knife and scissors. Then I smoothed the cut edge with a file and sandpaper, and finished it off with some gold gilding wax.
The embellishments
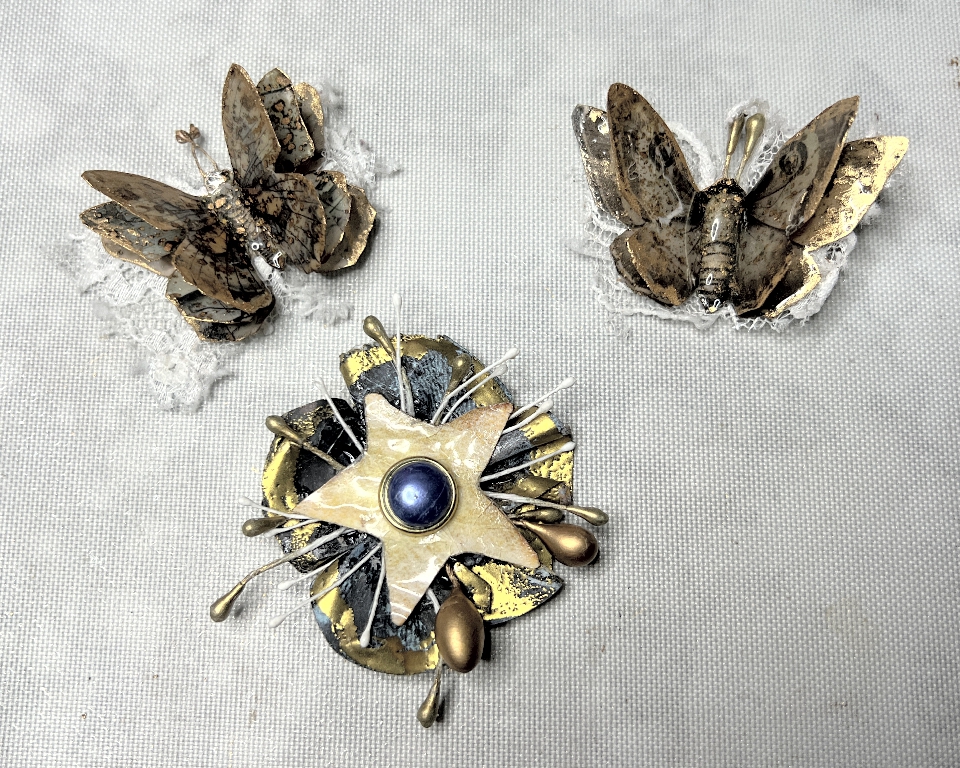
I used a multi-layered butterfly from my stash, and made a two-layered moth. I wanted the wings to stay in position and not get squashed, so I heat-embossed them with several layers of clear embossing powder and they are now stiff and shiny. I stuck each one down onto a distressed scrap of lace to provided a bit of contrast with the tubes. I took the flower from my recent production of gathered paper flowers. This one has a pastry star cut from a recent Christmas grocery junk mail we received. Not being specifically typewriter-themed as the others are, I chose this one. I stuck them all on with hot glue.
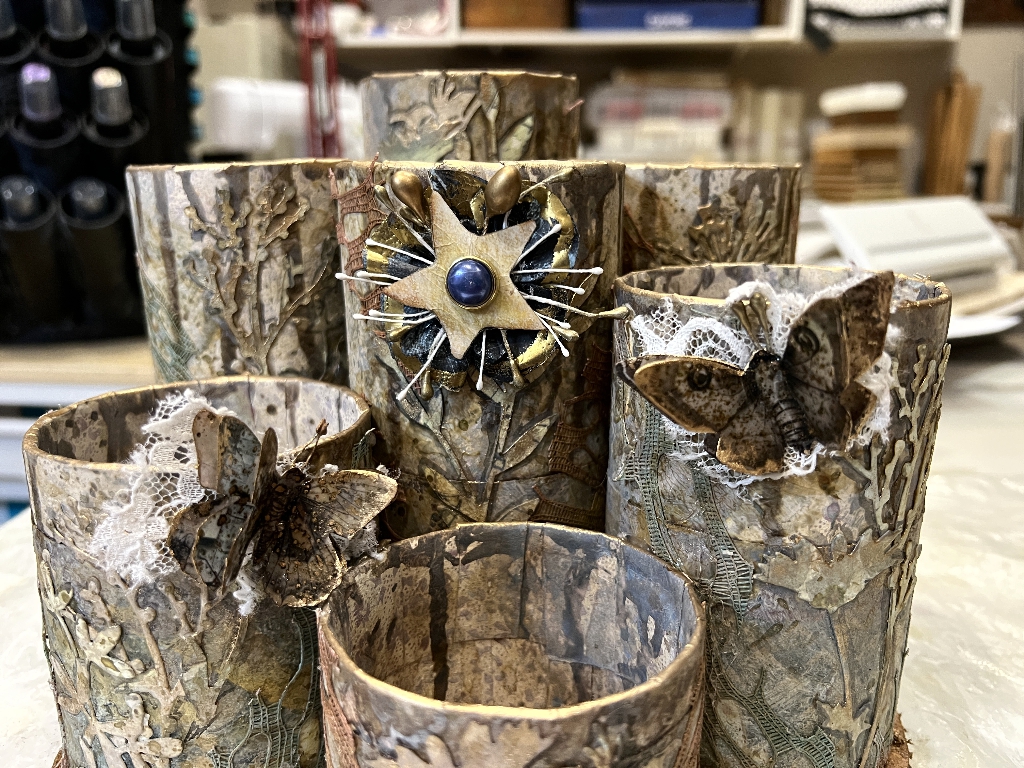
The brush holder in situ. I will be able to move this easily, as well as the mug stand with the tapes, when I need to access the punch storage.
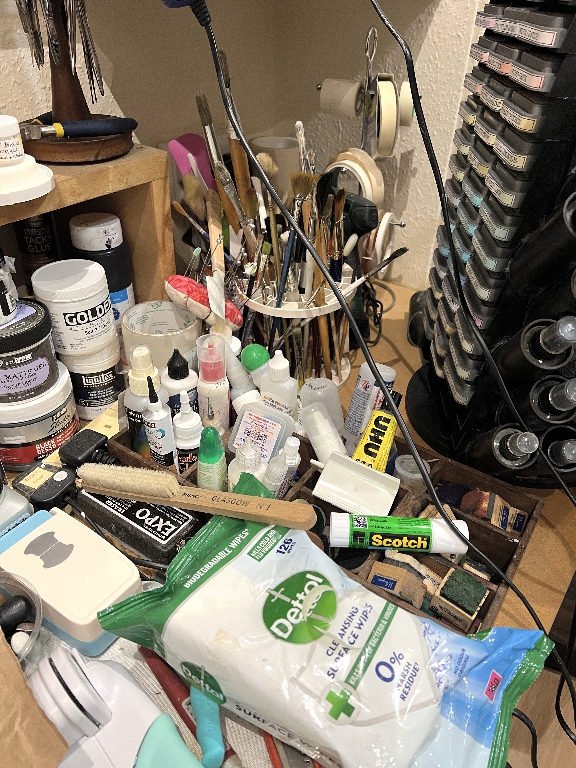
Chaos Corner finally redeemed!
From this:
To this:
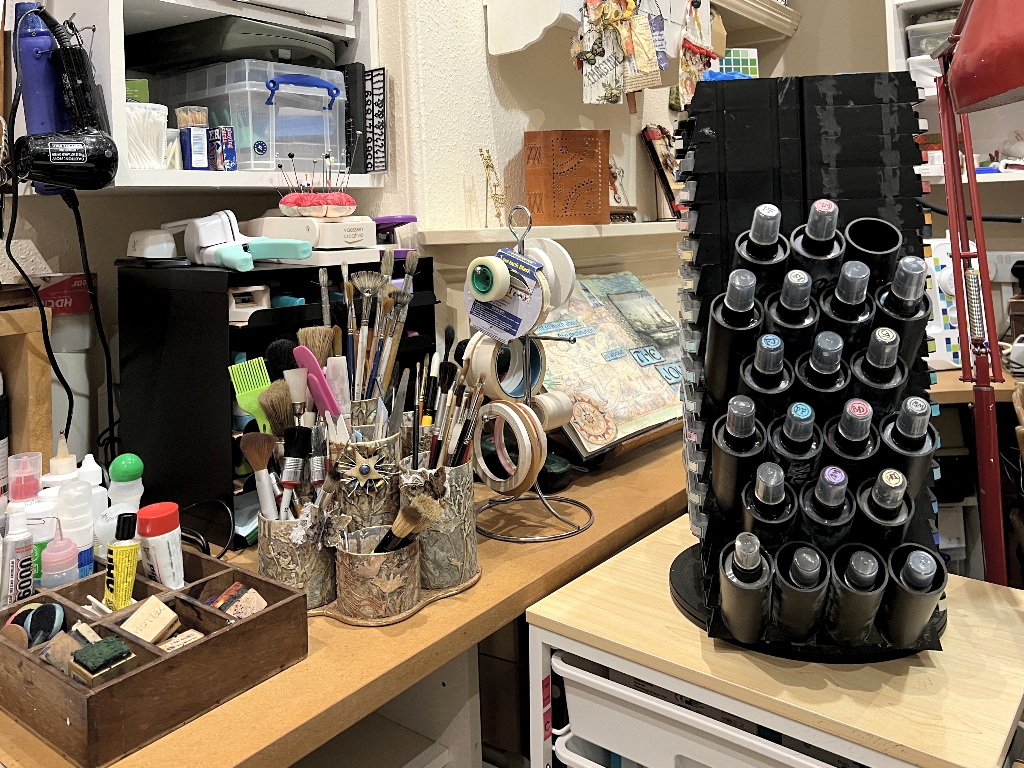
I am super-pleased with this reorganisation, with my new storage units. As much as possible, one should have a tidy and organised space to work in, with tools readily accessible. With a tidy work space I should be more productive, and certainly happier in my creativity!