MASTERBOARD BOOK – SCRAP BUSTING PROJECT
After quite a lot of precise, detailed work recently, I felt the need to splurge a bit, and have a session splashing about in the studio and getting inky and making a general mess (needing to mop the floor afterwards!). Tea and coffee-dyeing, inking, stamping, stencilling… all great fun and highly creative.
What is a masterboard?
A masterboard is a large sheet of paper or card on which you have collaged, stamped, stencilled, you name it. Once it is complete, you cut it up and use it in whatever projects you like. It is a great resource, and also an excellent way of using up scraps, left-over paint and so on.
I recently watched a video where someone had created a masterboard book. This was a large spiral-bound sketchbook, and she had covered each page with lots of mixed media art. Whenever she was working on a project, the inevitable offcuts would be glued into this book, and she often had several pages on the go as the bits and pieces accumulated.
I was keen to start a book like this, and found the second of two sketchbooks I bought for the DrawAwesome course. The second book had never been used. It is only about A4-sized, I think, so not as large as hers, but it will suffice.
My studio is stuffed with Stuff and I am currently on a mission to try and use some of it up. It accumulates over the years, as one collects things for projects, and because people know what I do, they often give me things they no longer want. Several times, relatives of people who have died have given me things from their craft rooms, their sewing and knitting stuff and so forth. All my stuff is sorted in various boxes and containers but these are all bursting. Definitely time to reduce the load a bit.
My card offcuts scrap box
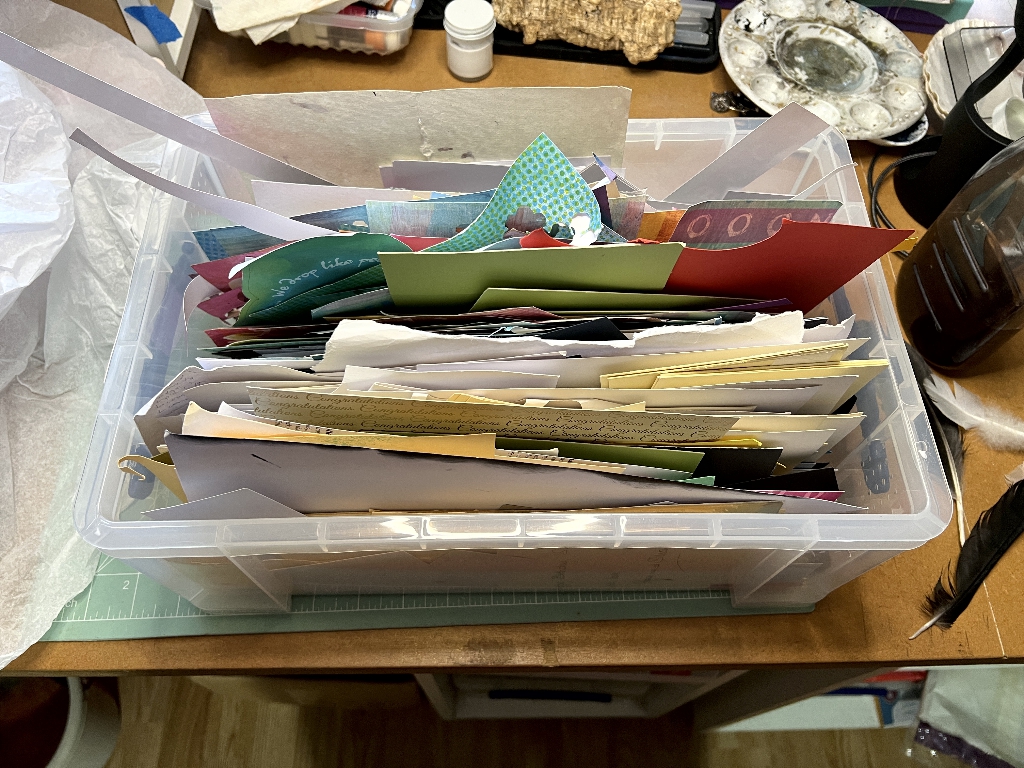
This 9-litre Really Useful Box is full of strips and oddments, and for the first stage of my masterboard book, I have used material from here. Many of the scraps are at least 10 years old! It is mostly white or cream card but there is some fancy paper, and some negative space pieces left over from die-cutting.
I wanted to get started on my masterboard book straight away so I didn’t wait to generate bits from other projects as the YouTuber had done. I dug in, and at the end of this session I had to say the card scrap box didn’t look much different!
1. Die-cut shapes page
Here are some of the negative-space pieces I used for this page.
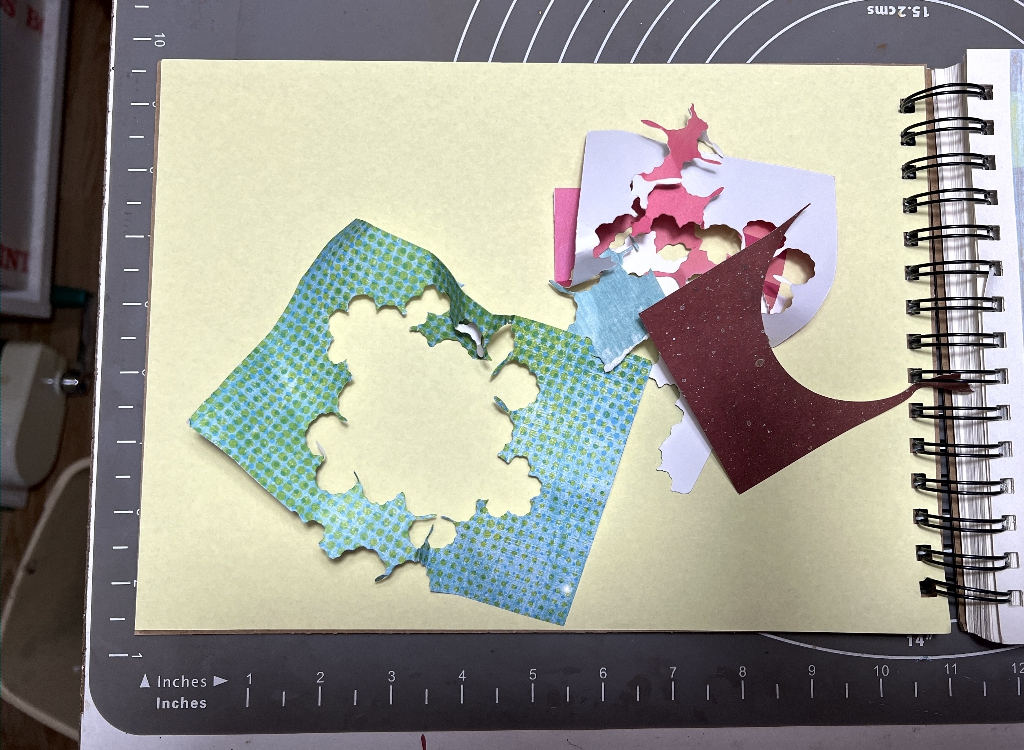
I stuck them down with a glue stick, and filled the larger gaps with smaller pieces.
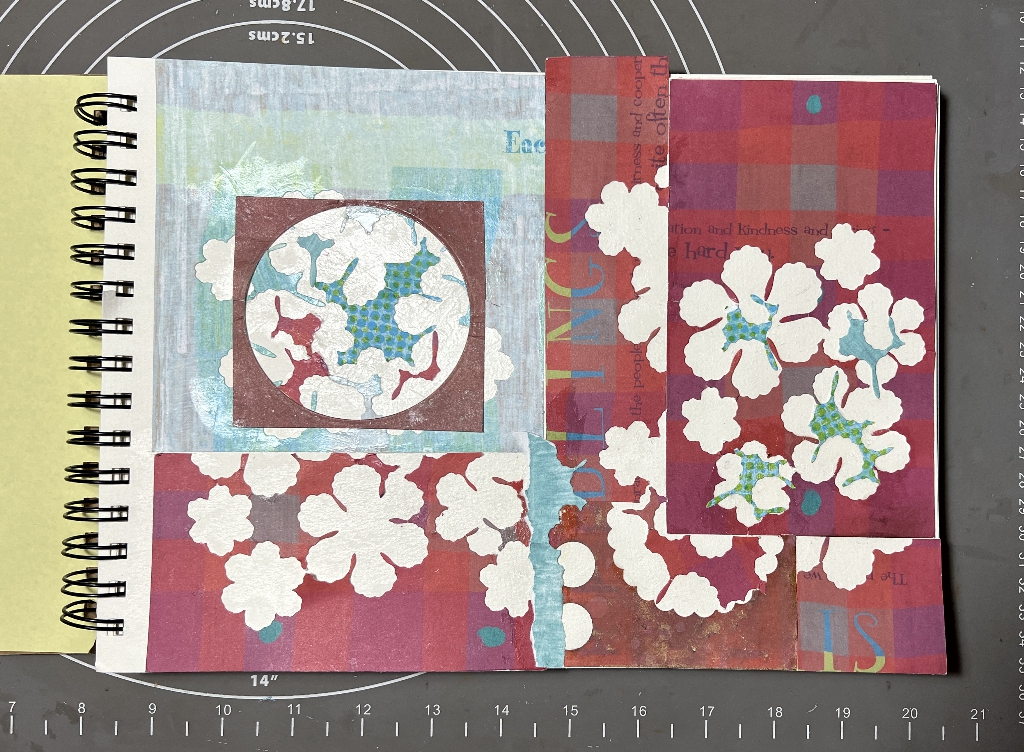
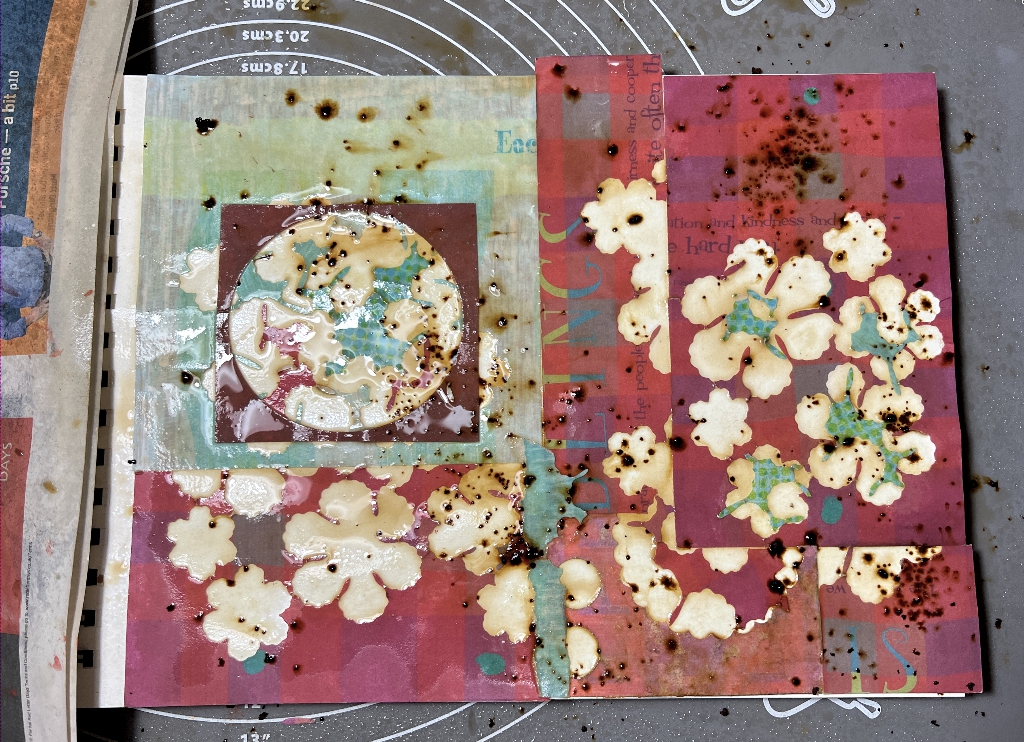
Far too bright and uninteresting for my taste, so I coffee-dyed the whole page and sprinkled on instant coffee granules while it was still wet.
The completed page, when it was dry and trimmed. Much better.
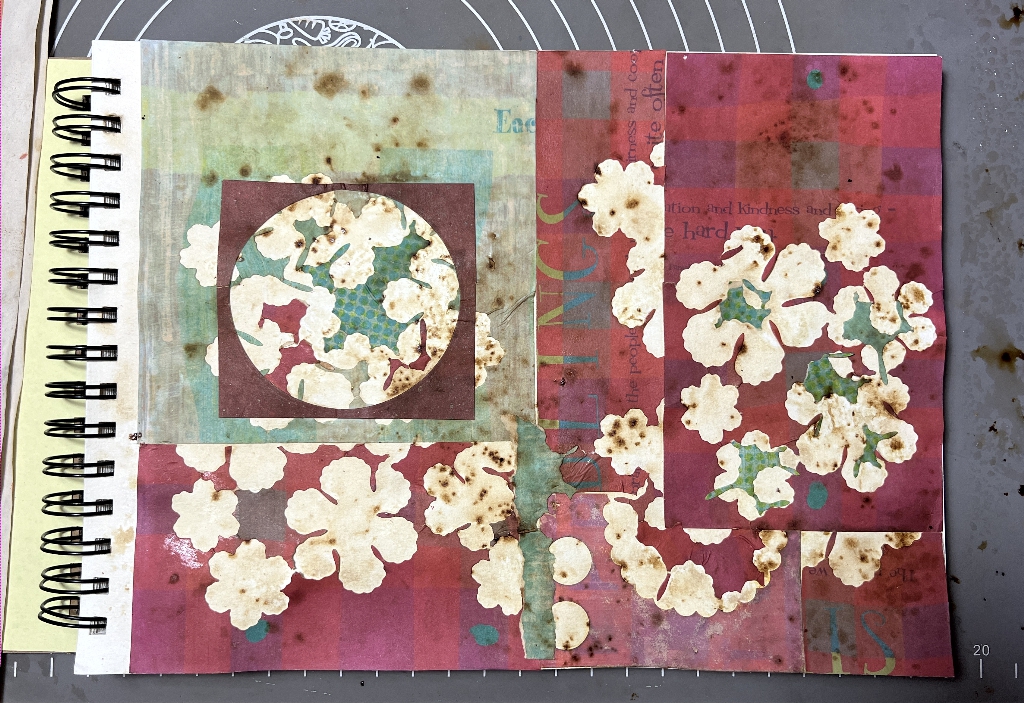
This first one used fairly large pieces as a basis.
2. Alphabet page
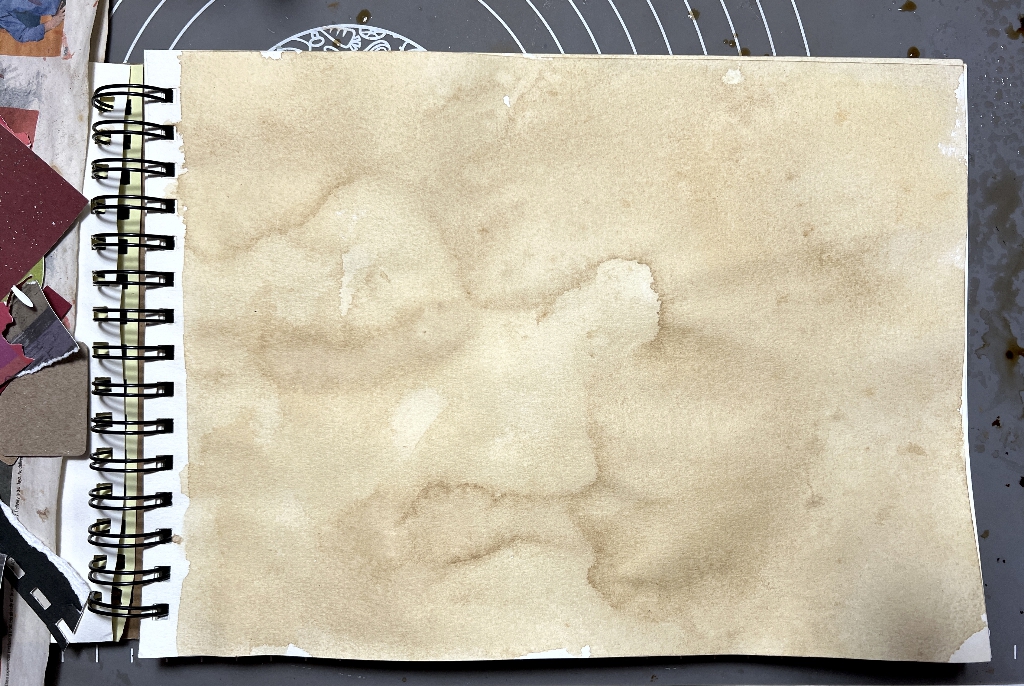
I began by coffee-dyeing this page.
I chose smaller pieces for this page, using long strips, and tearing them to give a more interesting edge in most cases. From now on, I mostly used matte medium to stick everything down, sealing it with another layer on top. Any bits tending to lift off in use can easily be stuck down as the need arises but for now most of it looks pretty secure.
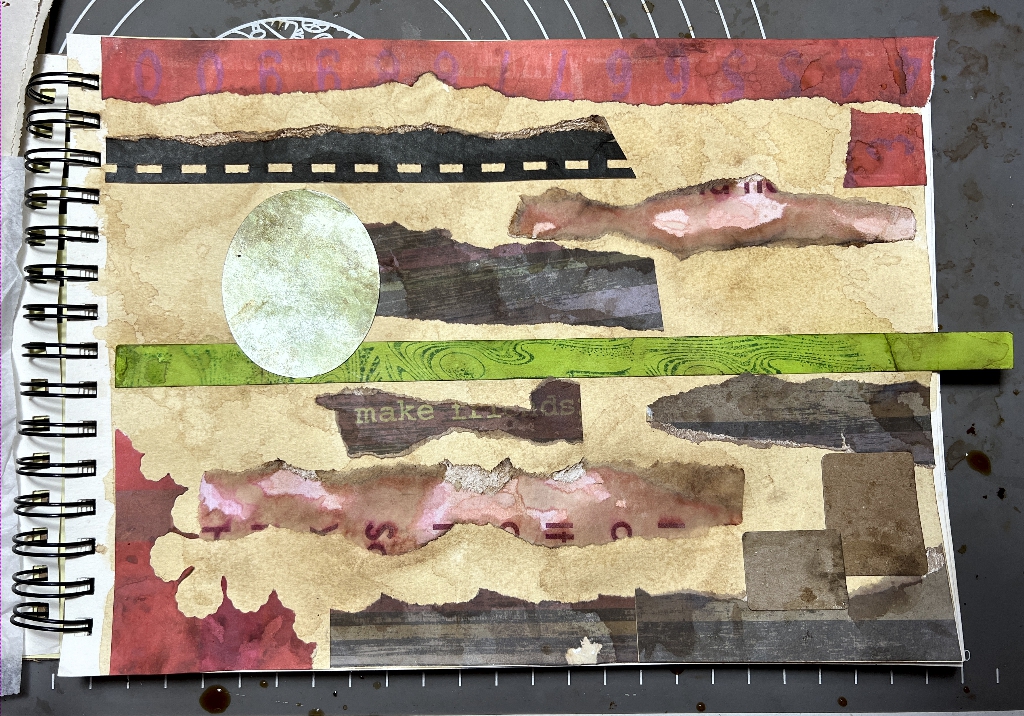
The pinkish one near the bottom, with text on it, was interesting and more of it appears in one of the other pages.
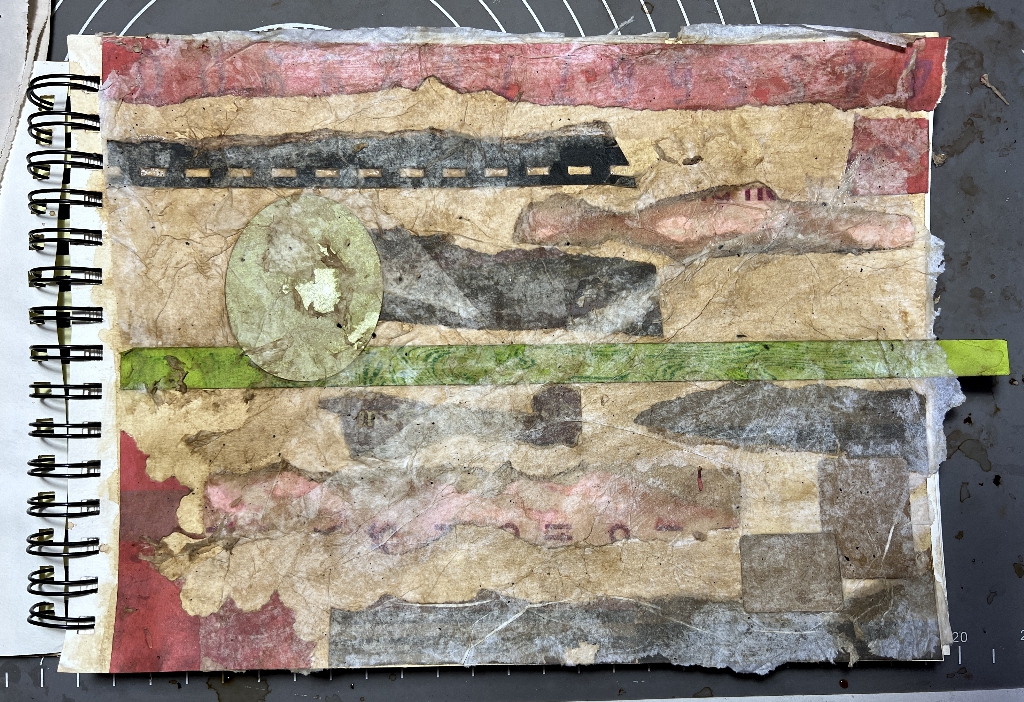
Again I coffee-dyed the whole page, and then to bring it all together, I stuck down some white tissue paper with matte medium.
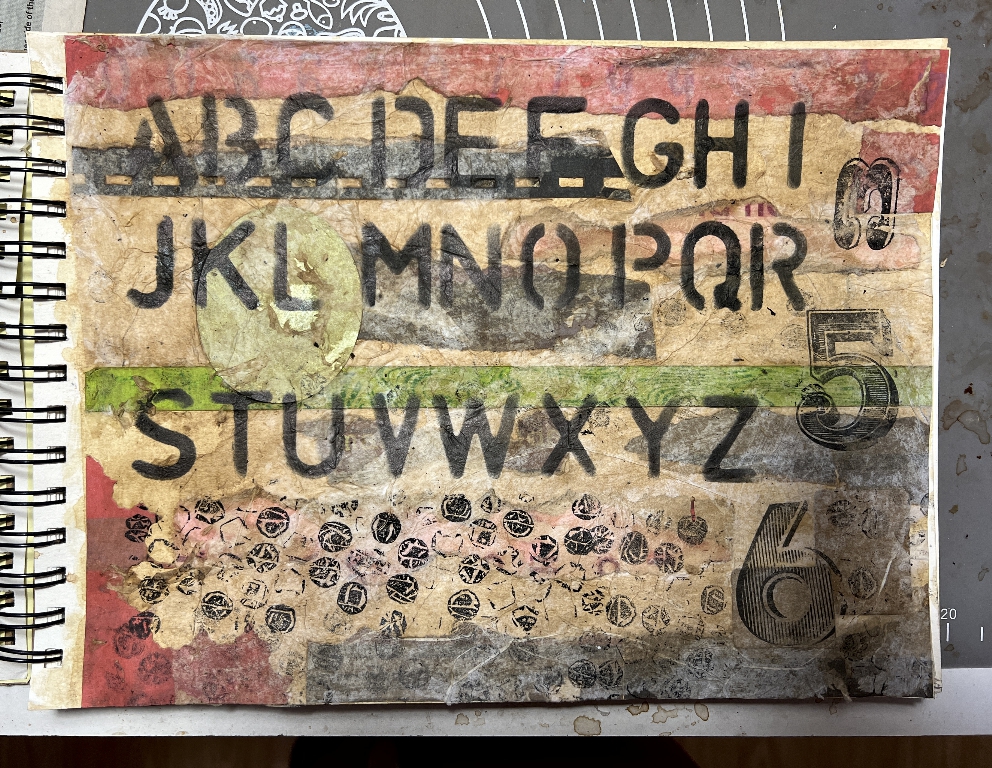
To complete the page, after it was dry I stencilled some letters and stamped some numbers using archival ink (permanent, not water-soluble). The pattern at the bottom was created using my DIY bubble wrap stamp. I made this from a wood block that had once been a rubber stamp, covered with bubble wrap. It makes an interesting pattern with the wrinkling of the bubbles.
3. Red page
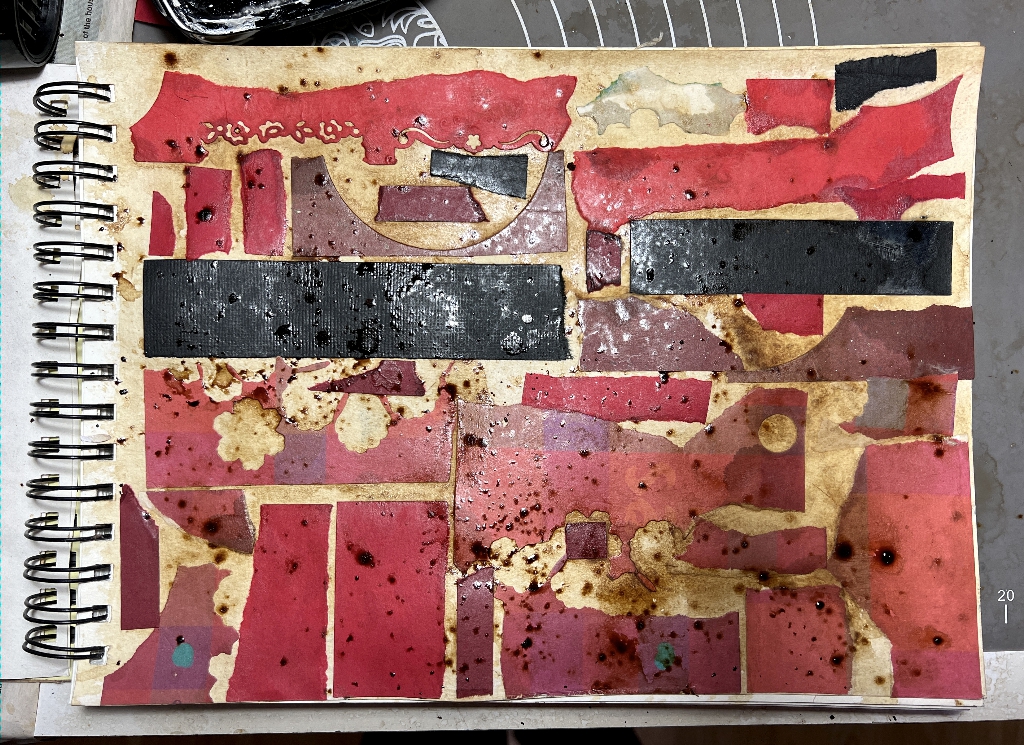
Various bits of red and black card, some from die cutting, laid down and the coffee-dyed. As with the previous one, I like the coffee-dyed background showing through between the pieces.
To mute everything down, I painted the whole page with a thin layer of white gesso.
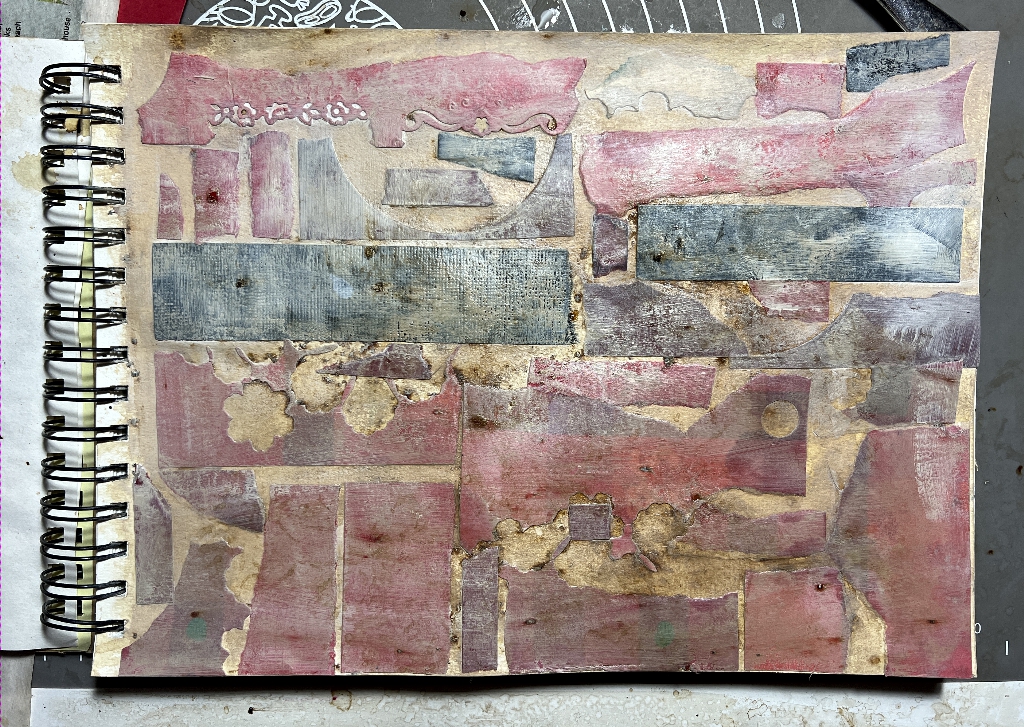
To complete the page, I embellished it with stamping, using some of my DIY foam stamps. These were cut from self-adhesive fun foam glued to pieces of thick rubber yoga mat. These are very easy to make and a huge amount of fun to use as they have a hand-made irregular look to them which you don’t find with commercially made stamps. They are also unique to you!
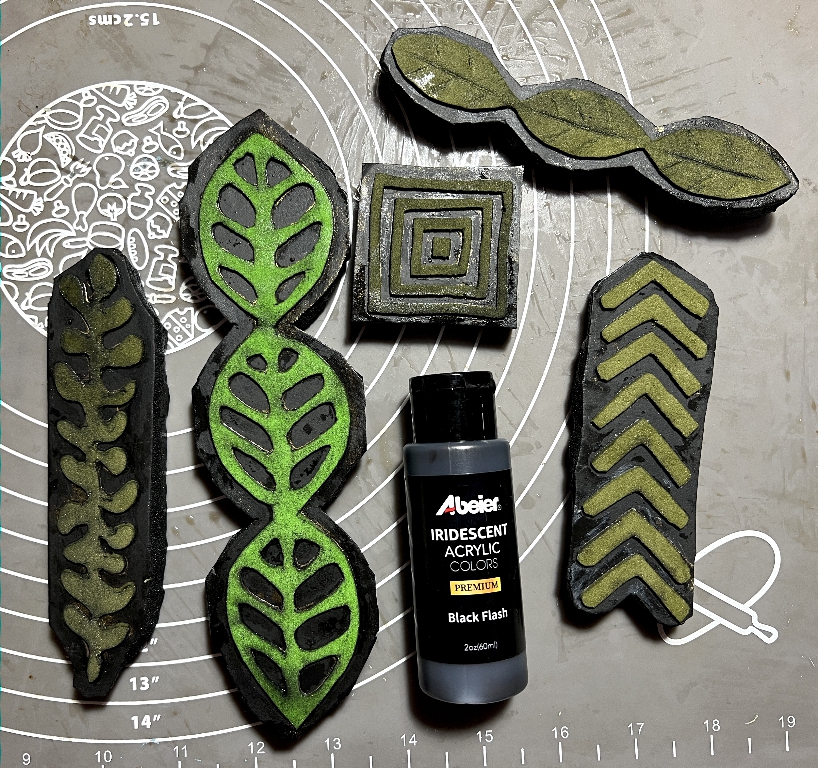
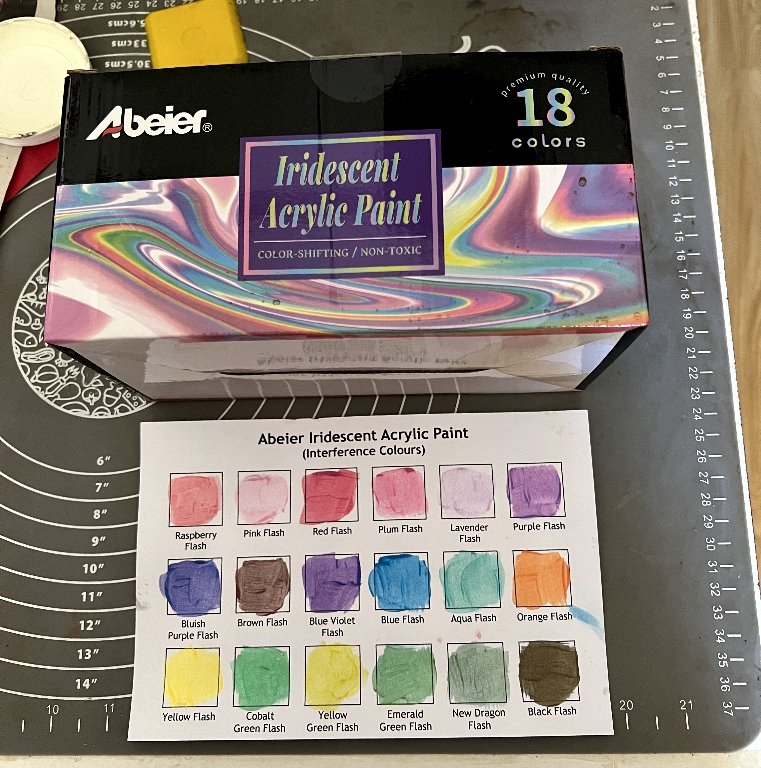
To stamp with them on this project, I used the “Black Flash” colour from a set of cheap iridescent acrylic paints I bought on Amazon once. They are pretty thin and not great quality (you get what you pay for) but for stuff like this, and for glazing on the gel plate, they are fine. They are supposed to be “interference” paints (dichroic, colour shifting) but only one or two seem to have this property. The Black Flash one is nice because it is black with flecks of gold, a bit like the Arteza Fancy Black paint which sickeningly has been retired. I later bought a box of Arteza ones which are much more heavily pigmented.
The stamped page.
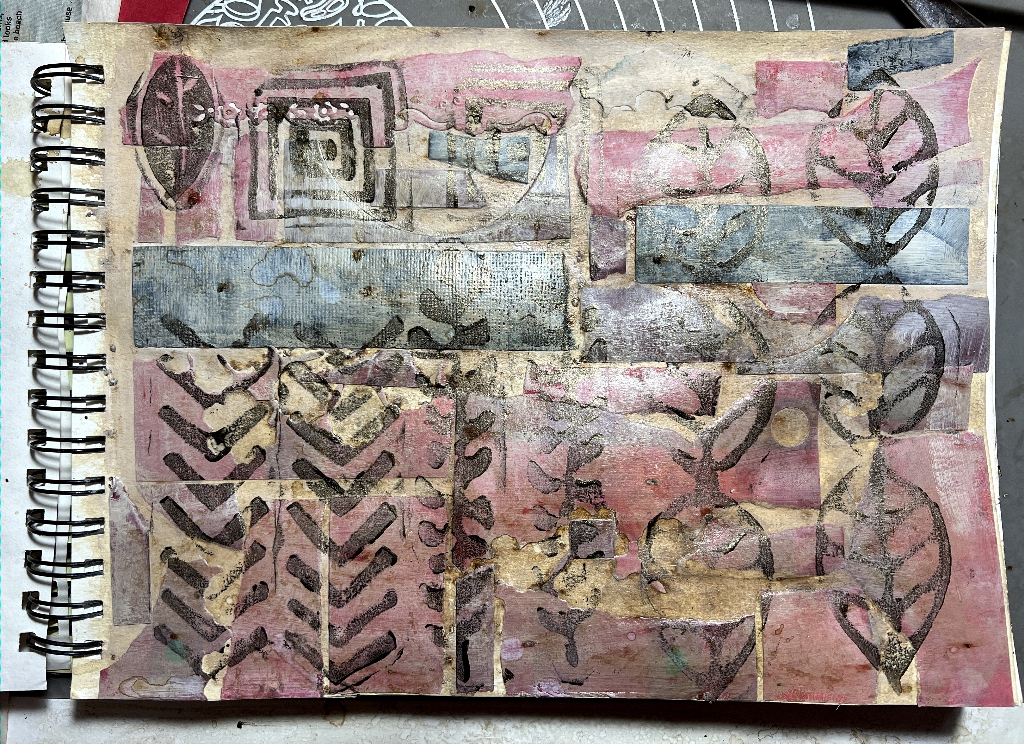
I’m super-pleased with this one! The irregularity of the collaged surface makes the stamped images equally irregular which is great. Nice and grungey.
It was only after I’d washed off a couple of the stamps that I thought I should have saved the paint and put it to good use by stamping off on a fresh sheet. This is the basis of many scratch papers. In this case, I did it on the next two pages in the sketchbook.
4. Inking page
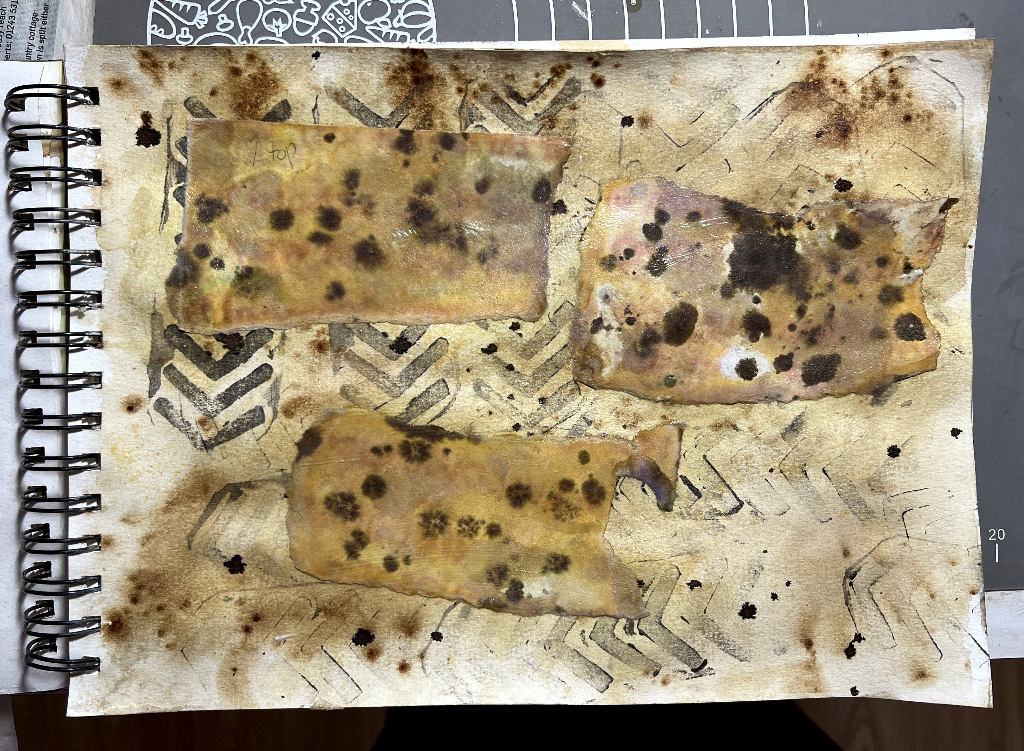
These scraps were torn from an A3 poster I made many years ago for someone’s significant birthday party – silly sayings about getting old. I tore it up and proceeded to ink it, mostly smooshing the pieces around in Distress Oxide inks. The whole effect was initially much too pink for the background so I continued to add more yellow and orange inks until it looked better, and then I spattered it with Distress Spray Stains, using the tube from the spray nozzle in the bottle.
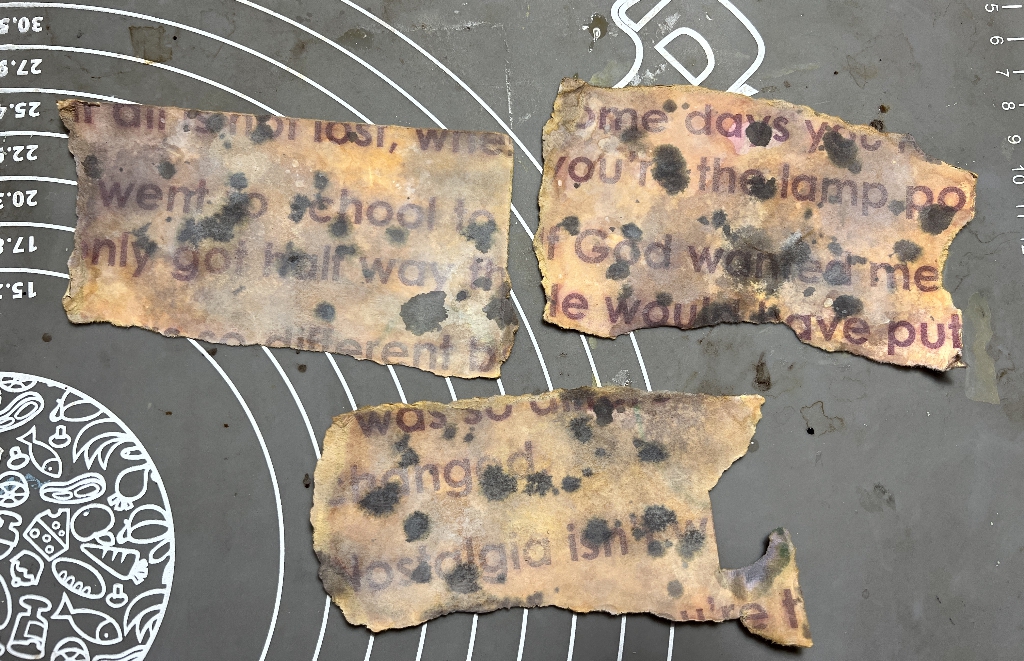
I was much happier with the result after this. Then… I turned them over to check the back. Wow. Forget the front! This was the way to go! Some coffee-dyeing and they were ready for use.
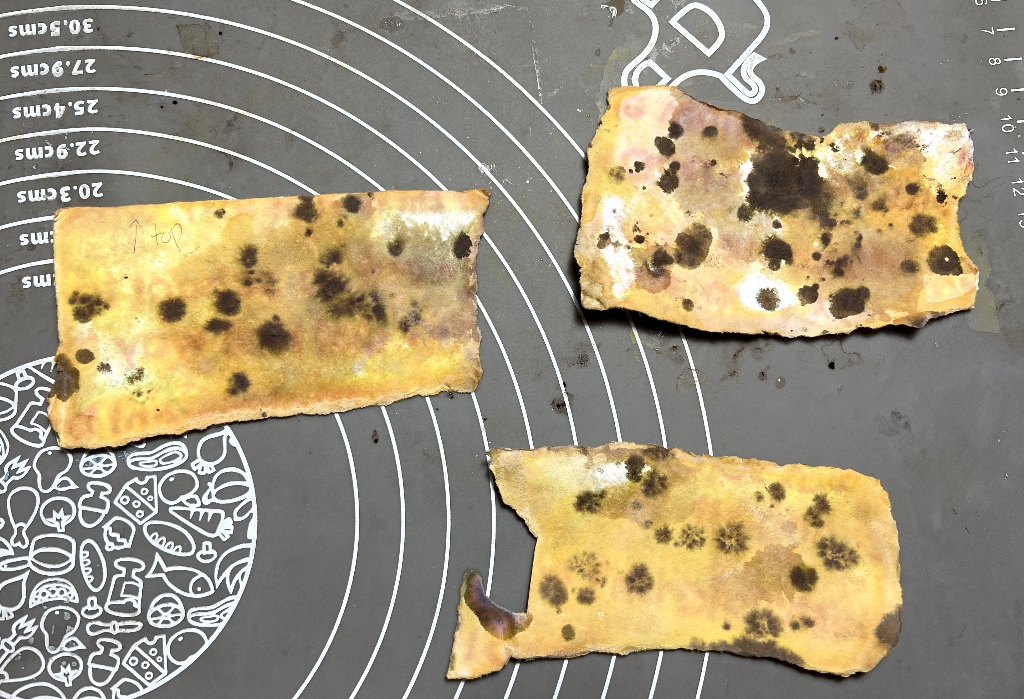
I love how some of the ink spatters have bled into the paper and made patterns like little flowers.
This is the background for the page, created by stamping off one of the DIY foam stamps onto a coffee-dyed background.
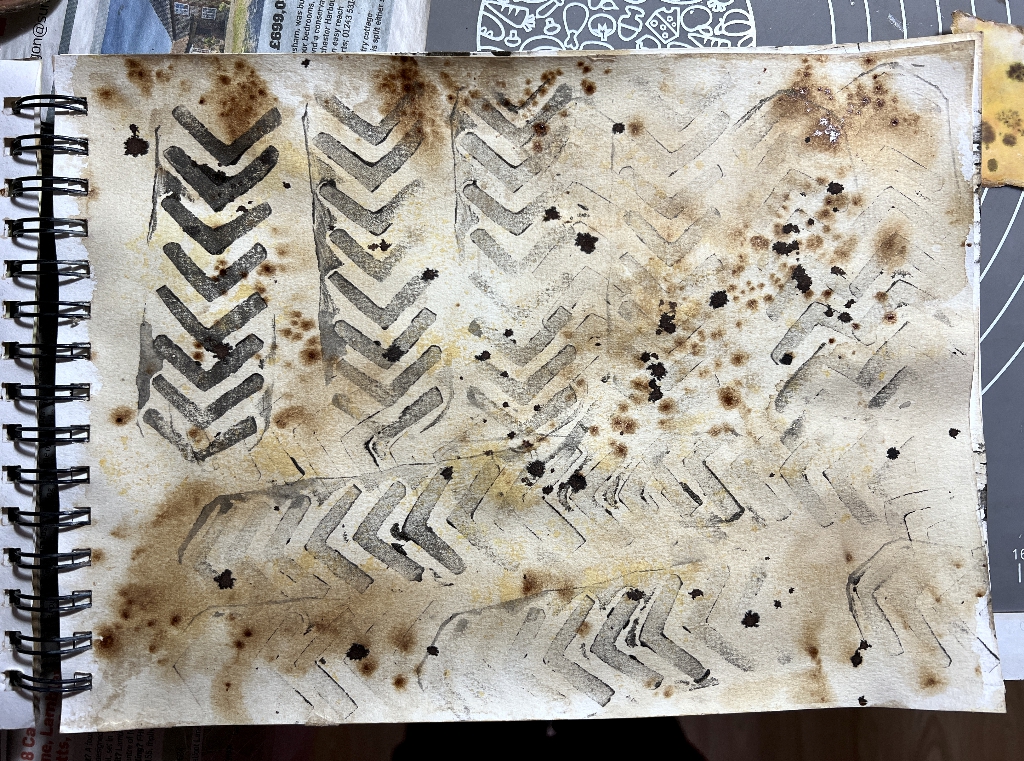
This page was good enough as it was, but I stuck down the three scraps anyway. They blend in very well.
5. Green page
The stamping off of the other DIY foam stamps onto tea-dyed paper formed the background for this page.
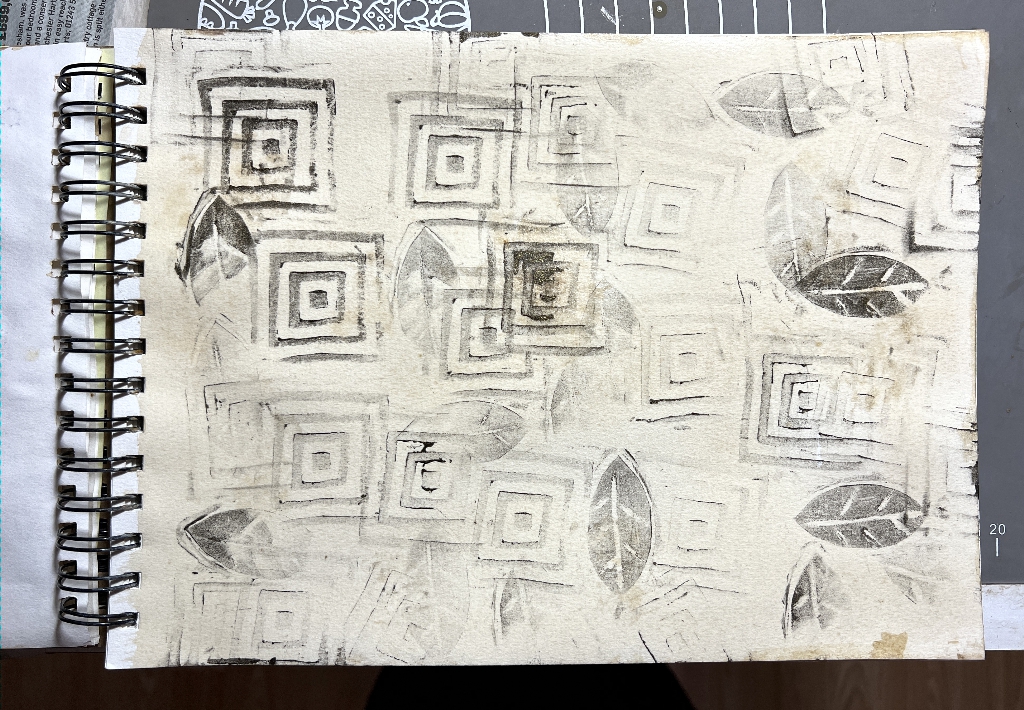
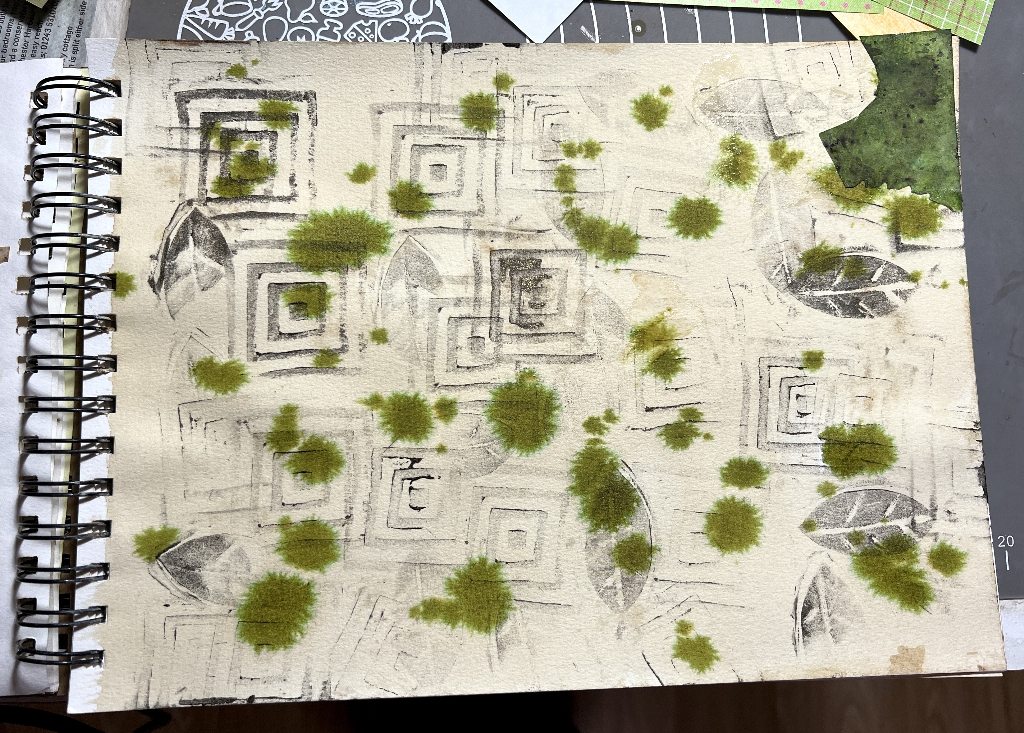
Since it had leaves, I decided to go for a green colour scheme. I began by spritzing the page with more tea and while it was wet, spattered on some green and brown Distress Stains in the same way as before, watching them spread and bleed.
I chose green papers from the scrap box and tore them into narrow strips and laid them down. Finally I coffee-dyed the lot, and spattered on more spray stains.
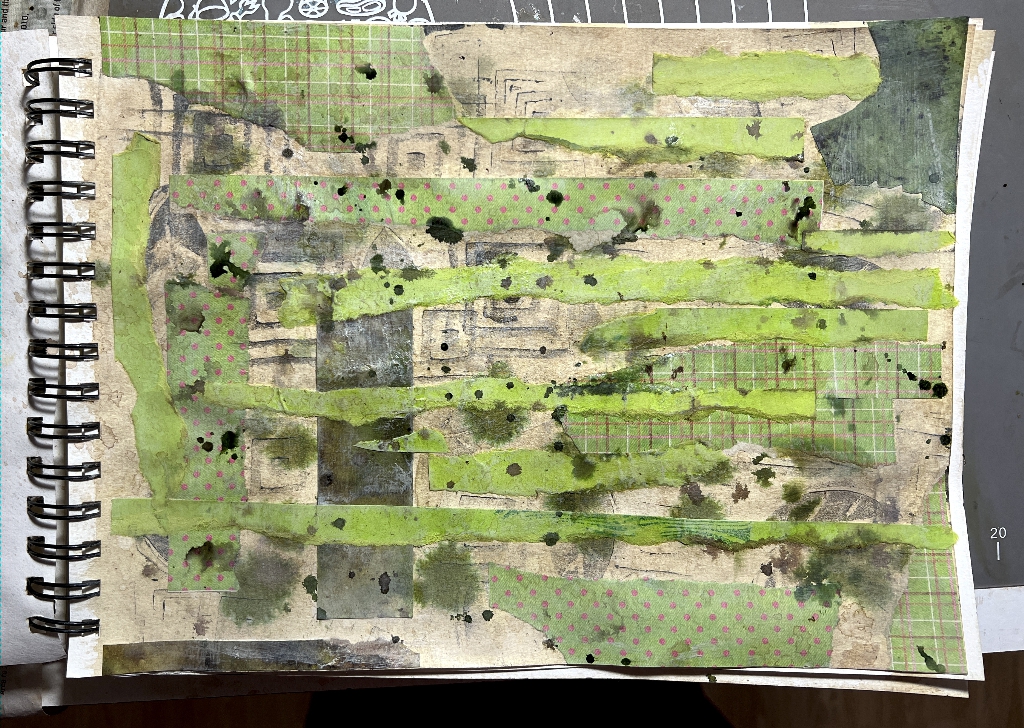
So I now have five masterboards ready for use in projects. When you cut up these backgrounds you get interesting results which look a lot better than the whole page. I shall complete a lot more before I start cutting them up.
Further pages will involve using book pages, music paper, stamping and stencilling, mark-making, teabags and so on, and I shall continue to try and use up my overflowing scraps. Every time you start a new project, you generate more so there’s a never-ending supply!
Some of the papers I used in this project were from a long time ago and not the sort of paper I would ever buy nowadays – large scrapbooking paper with pretty gross designs on it! I made an album about Mum after she died, and used a lot of this paper, altering it by inking it, but this process took ages and the paper itself was slightly waxy and resisted the ink until one had laid down a lot of layers. The results were great, but since those days I’ve learnt a lot and would be able to alter horrible papers a lot more quickly and easily now that I have a better repertoire of materials and experience.