
A couple of days ago, I began assembling the new unit to hold my Distress Inks. You can see the details of this system here.
Glueing the trays together
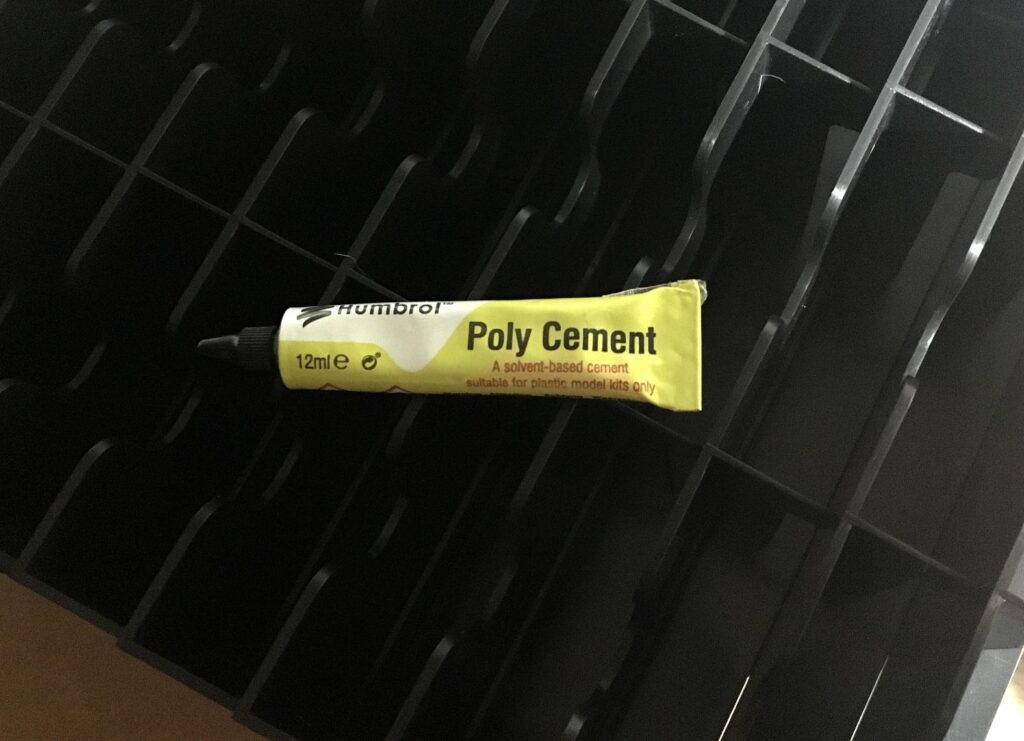
I wasn’t sure what kind of glue would work best for this project. I asked my hubby, and he produced a tube of Humbrol cement, designed for making model aeroplanes. These are made out of the same hard plastic, and he thought it would work OK. It turned out to be brilliant, setting quite quickly, and not needing a large amount, either. He couldn’t tell me how long it took to set (no details on the tube) but he thought probably somewhere in the region of half an hour. It is quite liquid, and there’s plenty of time to line things up nicely, unlike with superglue. The stuff stinks to high heaven, unfortunately!
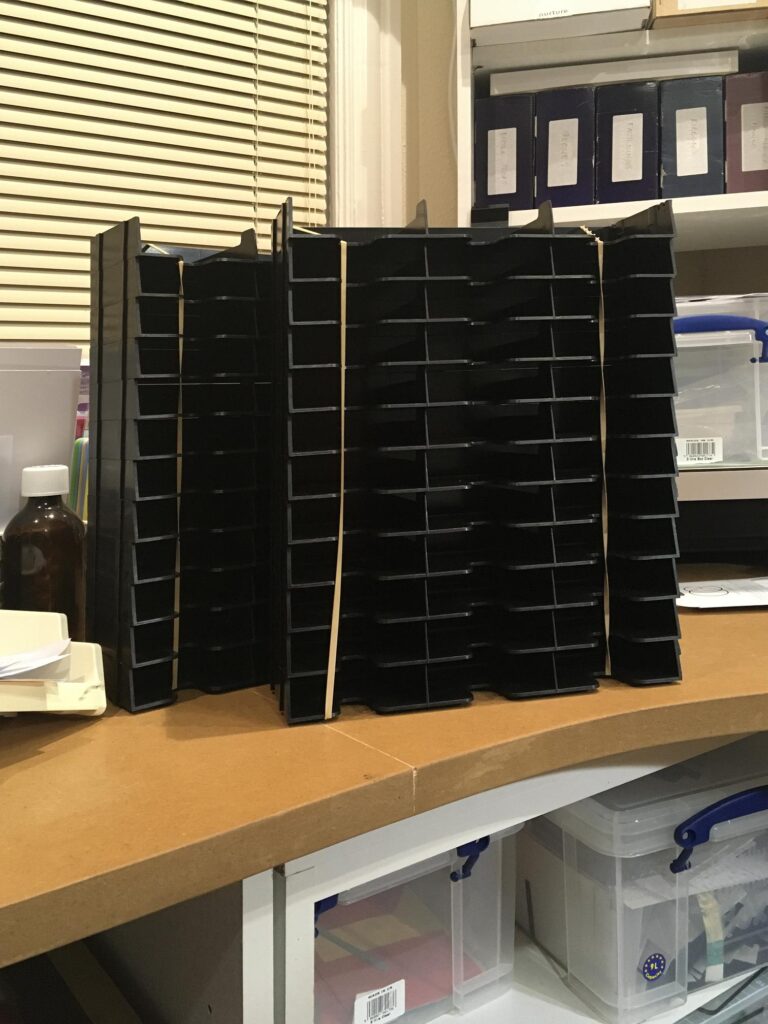
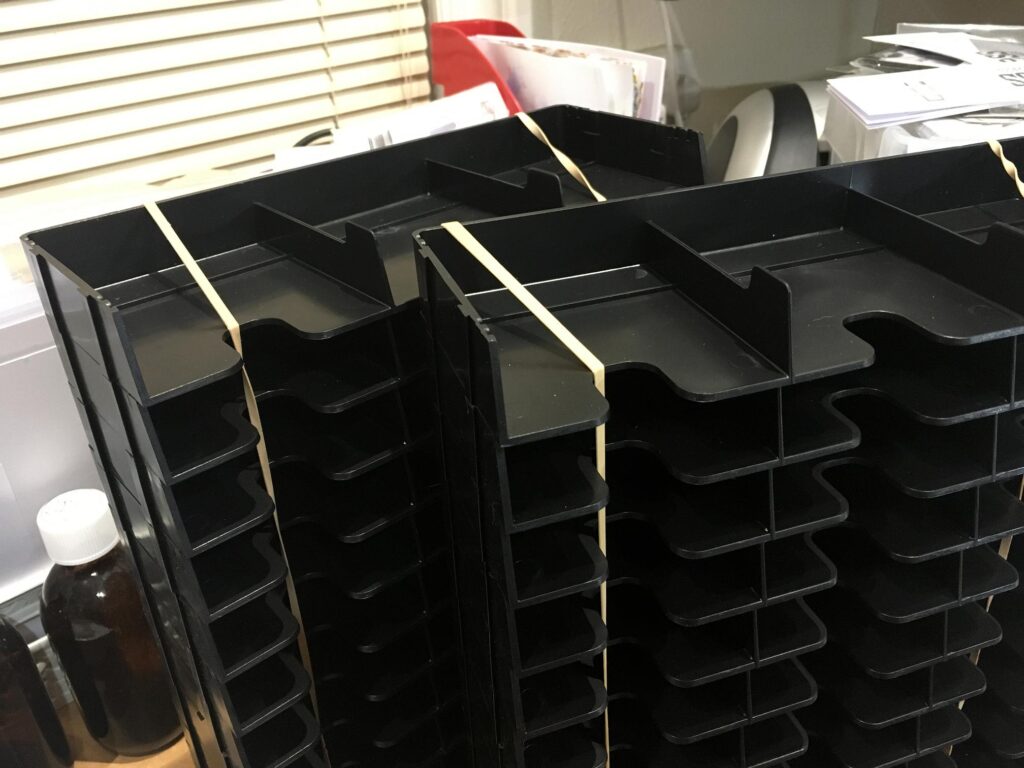
I began the assembly by glueing the trays together in pairs, securing them with rubber bands until the glue had set. After this, I glued the pairs together, and finally, last night, I completed the two stacks which will make the whole unit.
Labels
When I got my first set of Distress Inks, I made labels for the edges of the pads, and stuck them on upside down, because I was under the impression that it was beneficial to store inkpads face down (I was wrong about this). I didn’t bother to label any inkpads that I got subsequently. With this new system, the inkpads are going to need labels on their sides so that I can identify them when they are in the unit.
Yesterday afternoon, I searched online for the best solution, and came across this website. Lou Collins has designed some free printable pdfs of labels for the inkpads, and explains how to make them. She has made a YouTube video about this, which is really good. I think I shall probably attach mine with gel medium rather than sellotape. She also has a free printable for a colour swatch, with an accompanying YouTube video.
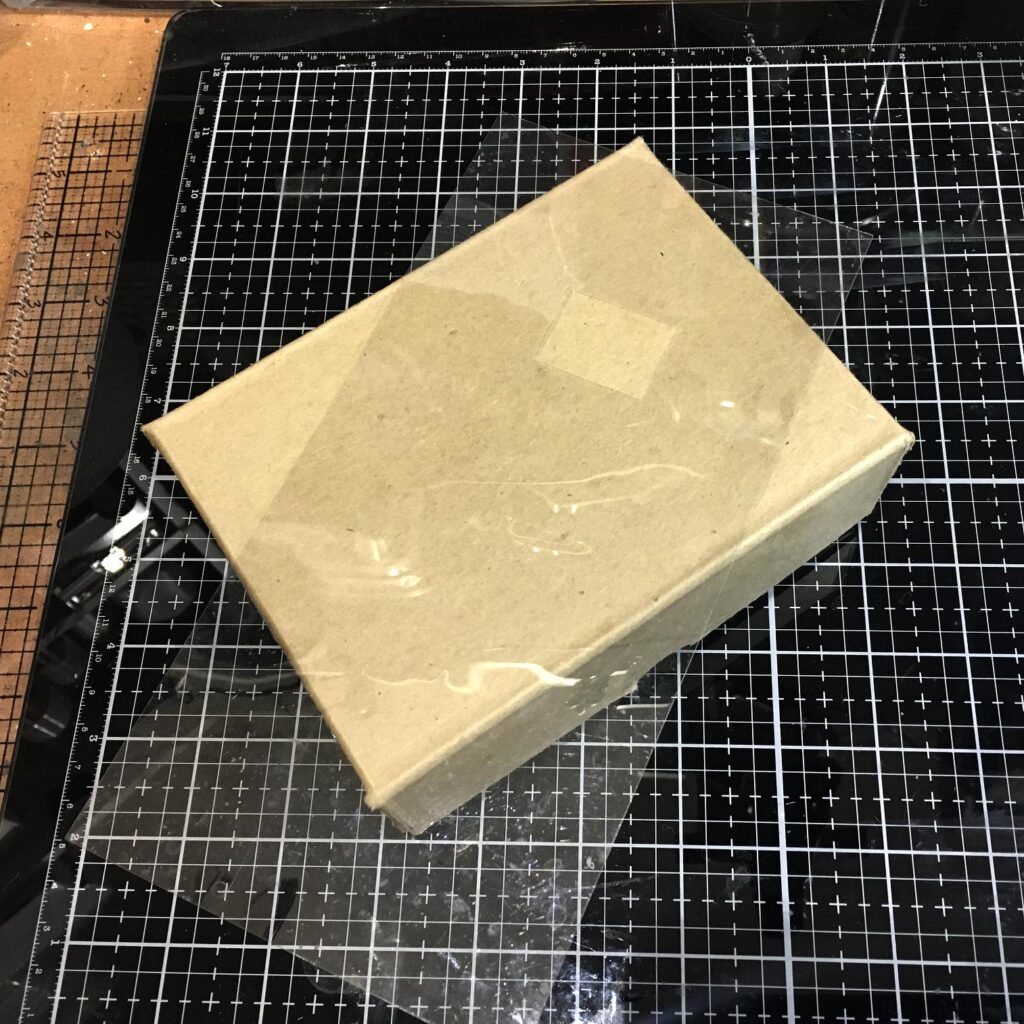
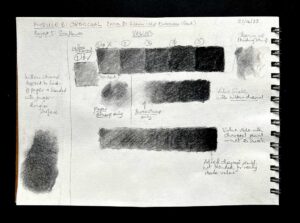
In the evening, I began with the colour swatches. I decided to make separate ones for the Distress Inks and the Oxides. Following her directions, I made a little acetate stencil by die-cutting a small rectangle in a piece of scrap acetate, through which I would apply the ink to the swatch.
Here are my completed Distress Ink swatches. You can see that there are a few gaps. She says she will update the printable when new colours are added. The only blank as far as I was concerned was the new one which I have renamed “Royal Purple” because I hate the name Tim Holtz has chosen for it.
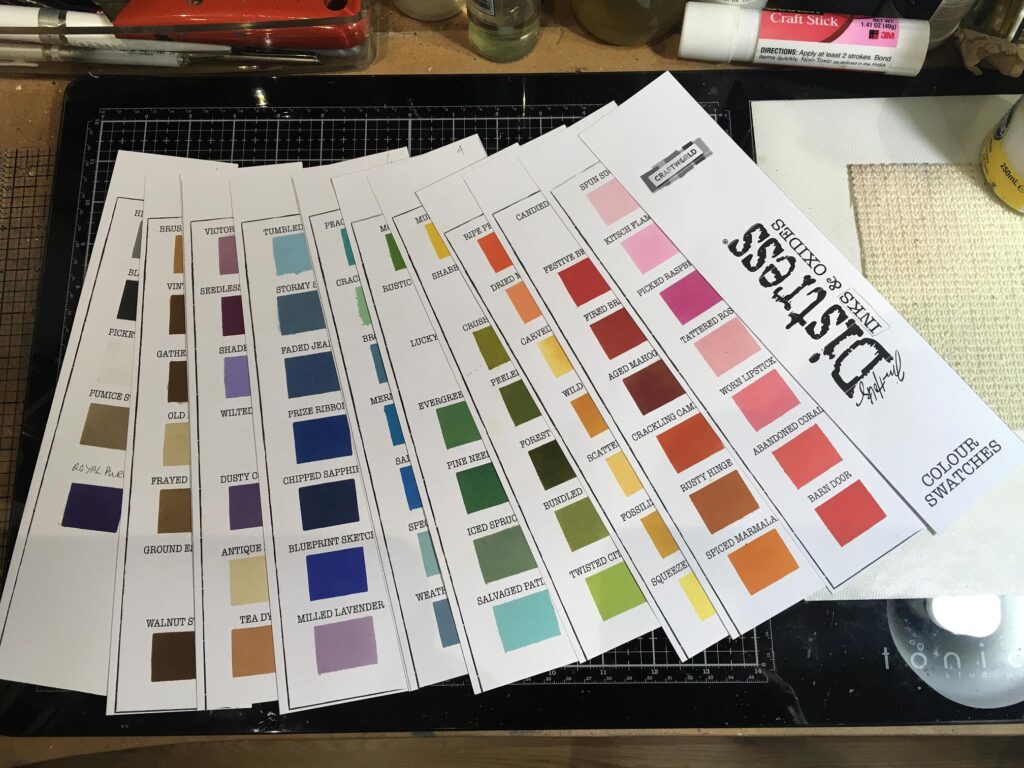
I don’t appear to have any book rings so I may have to find an alternative to link these pages together, or I might invest in some – they might be quite useful for other projects too.
This was such a fun project to do! I love the rainbow result! Using the little acetate window was a genius idea and so simple, giving perfect results every time. They look so professional.
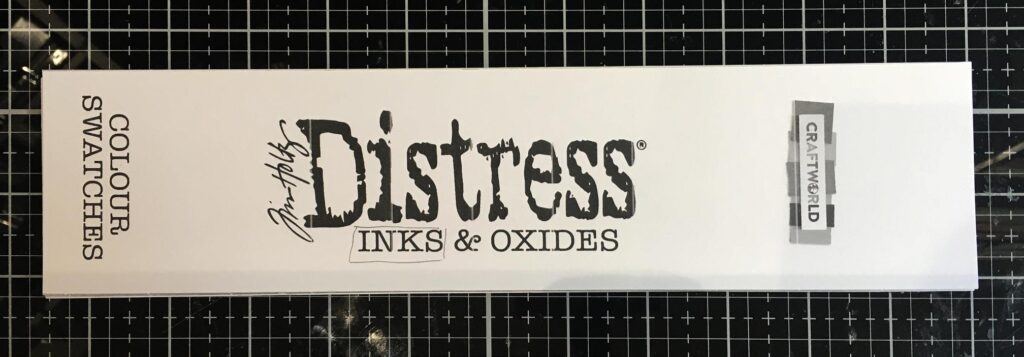
Here is the front cover of her printable swatch. It looks really good.
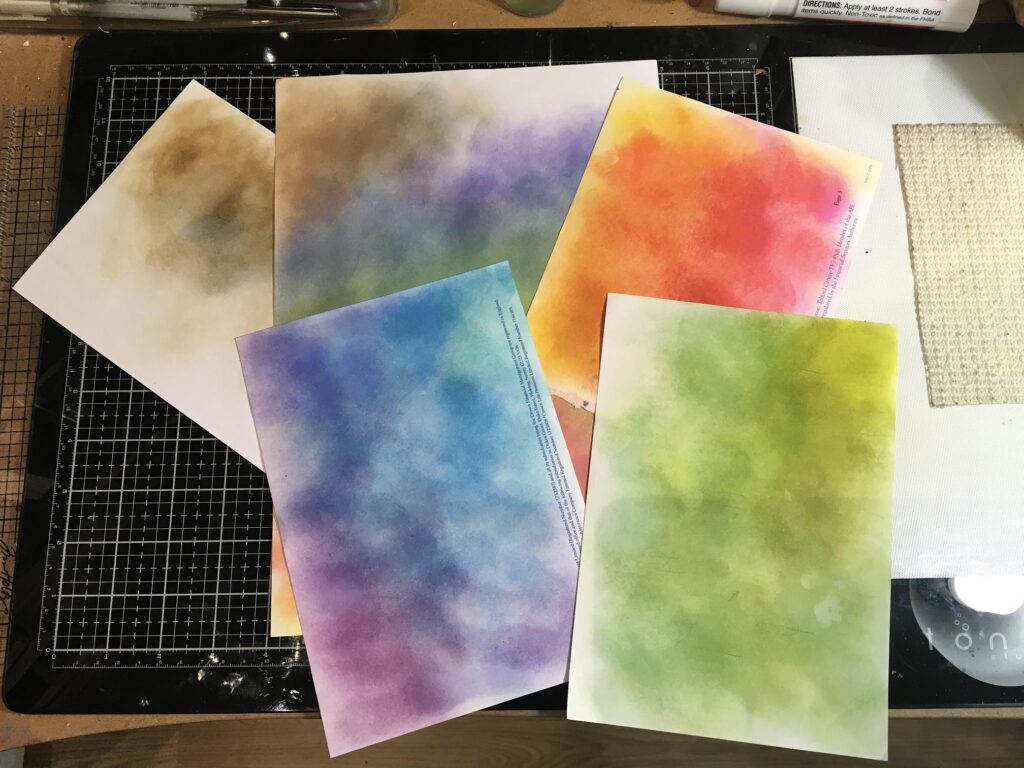
In between each inking, I cleaned off the blending brushes onto some scrap printer paper, keeping the colour families separate. I ended up with some lovely sheets of colour which I shall be able to use.
I wasn’t able to continue on to the next stage – making the labels – because my sheets of self-adhesive labels had not yet arrived, so I continued work on the construction of the unit. By bed-time, the two stacks were assembled, and ready to be stuck together and the unit finished, once the turntable arrived today.
This afternoon I continued to work on the new storage unit for my Distress Inks.
Assembling the unit
Using the Humbrol glue, I stuck the two stacks together, back to back.
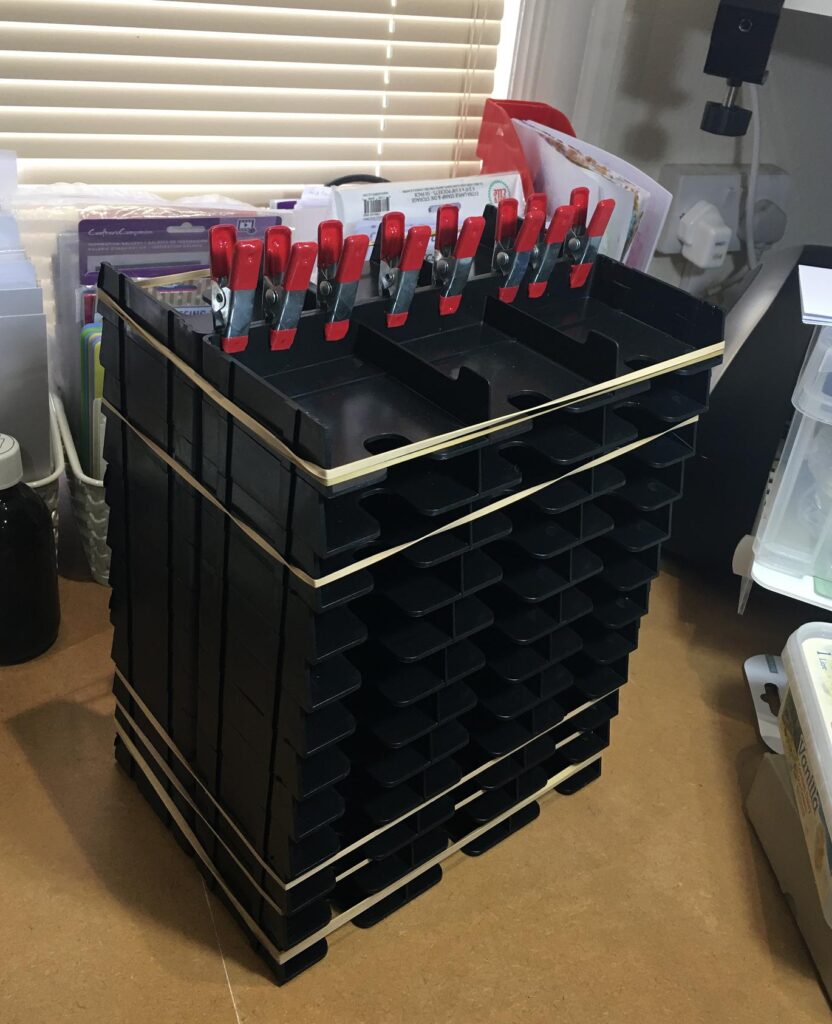
They were held together with several long elastic bands and a series of clips along the top until the glue had dried. This doesn’t take long. I left it for a couple of hours to be absolutely sure.
Two items arrived from Amazon today – the labels for the unit, which I hadn’t been expecting till next week, so that was good news – and the rotating turntable base. This is very sastisfactory – a nice discreet black, not too thick. I had originally thought of buying a lazy susan but this is much better.
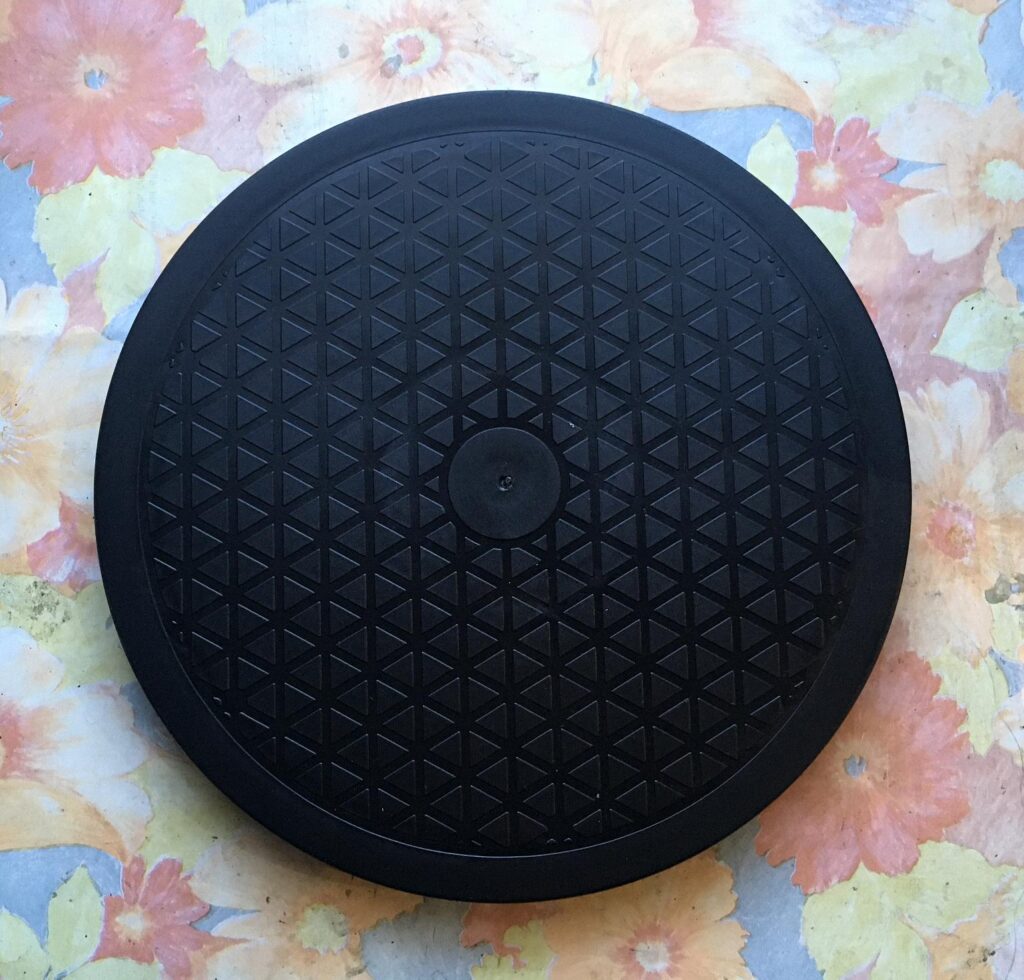
I encountered a slight problem when I set the unit onto the turntable. The small projecting spigots on the bottom of each tray, which engage with the top of the tray beneath when you are assembling the unit, prevented the unit from sitting flat on the turntable.
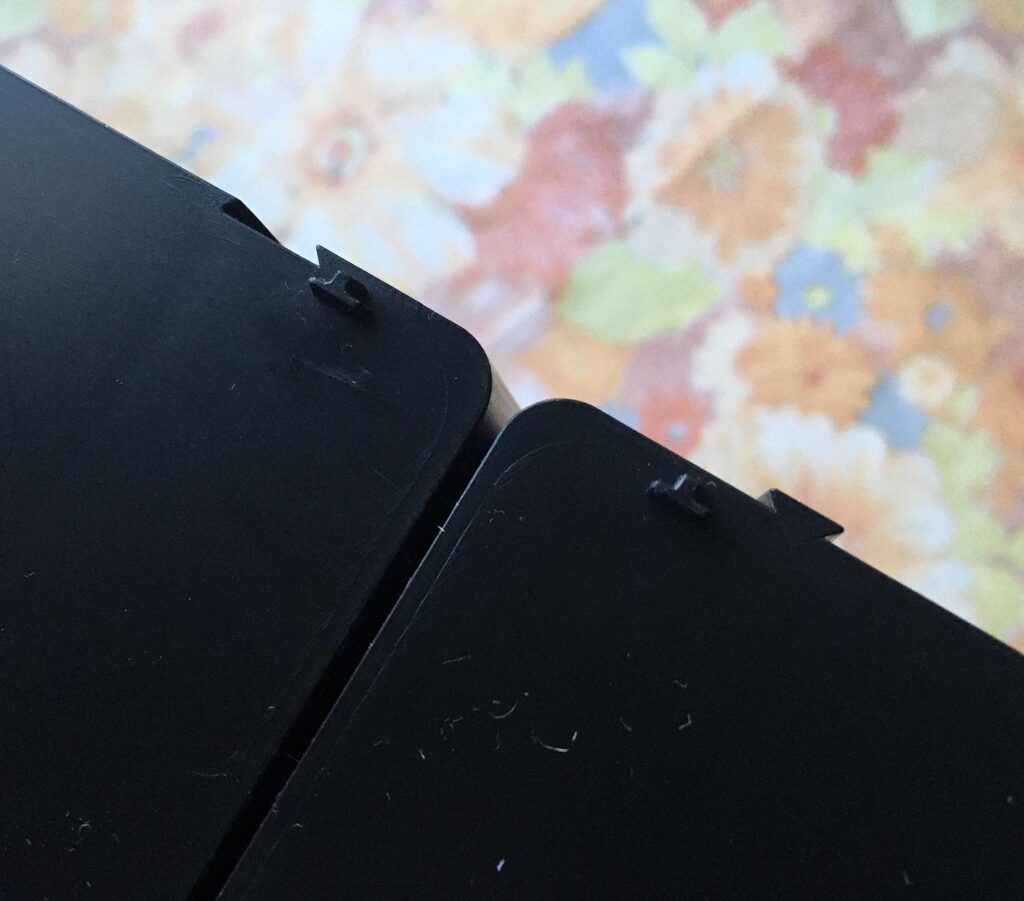
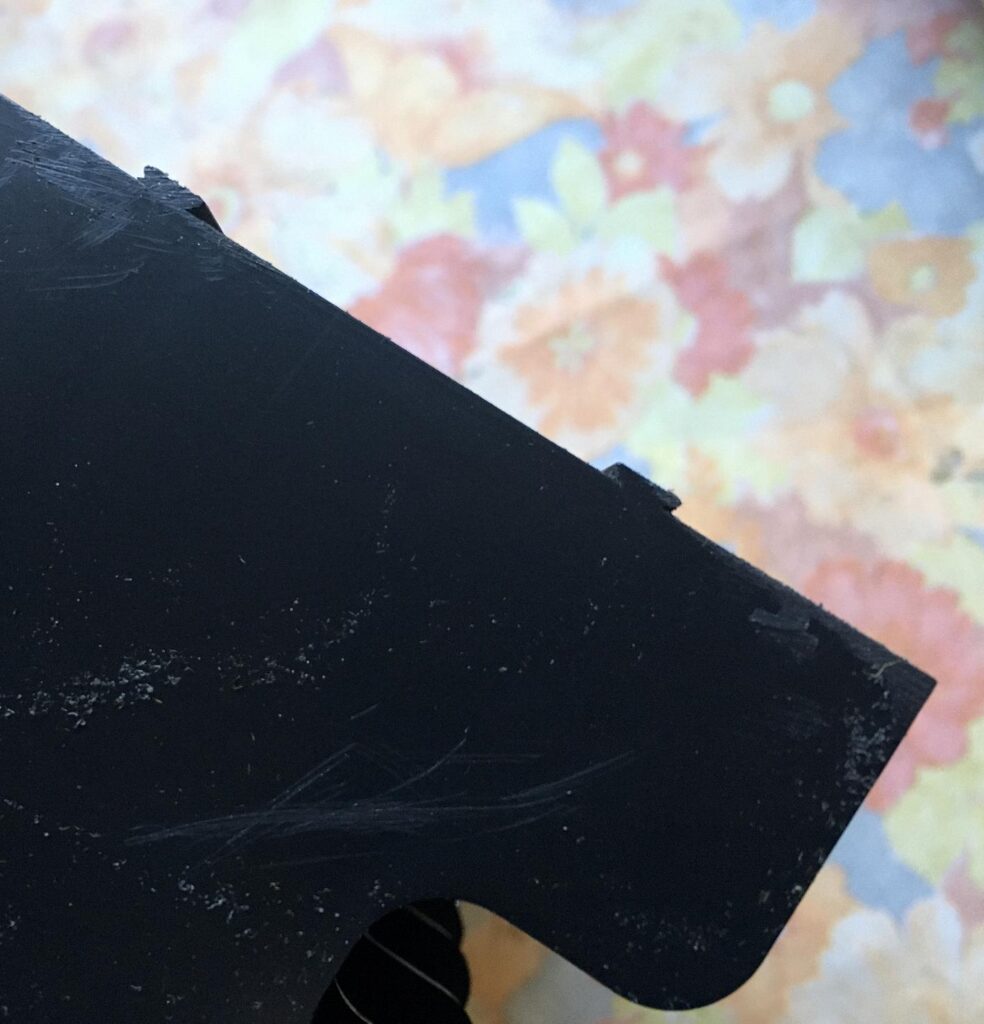
I was soon able to file these down so that the base was completely flat.
I drizzled a liberal amount of the glue onto the centre part of the base of the unit, and then carefully placed it onto the turntable, ensuring it was accurately centred. The pattern on the surface of the turntable was very helpful in this regard. I put three heavy books on top of the unit and left it for the glue to set. Later, when I removed the books:
The completed unit, ready for its labels, and then to be filled with my inkpads.
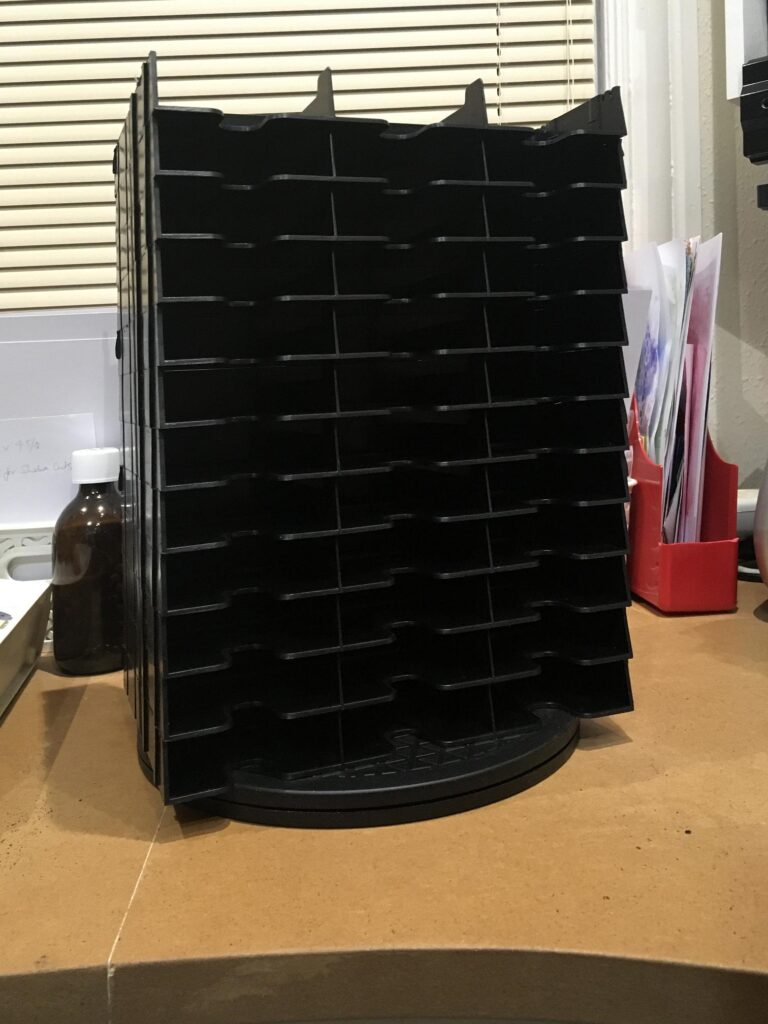
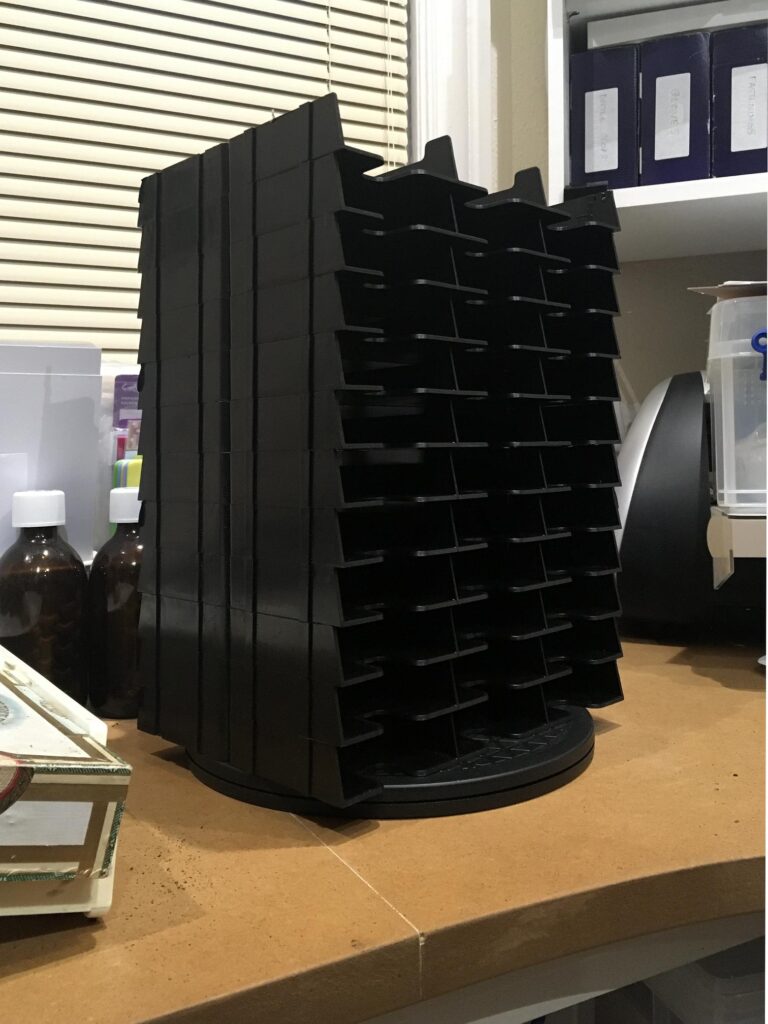
It turns beautifully on its base, and I think it looks pretty cool. I should be able to complete the project tomorrow.
Labels
Meanwhile, I began work on the labels for the inkpads, and also for the unit. Working on both sets concurrently saved a lot of work (and ink!) as I could do both labels for each colour in one go.
I haven’t got the whole range of Distress Inks. Also, there are likely to be new colours in the future, so I needed a flexible system for labelling the trays in the unit. There isn’t much space for a label, and so I measured it carefully and reckoned that 1-inch square labels would be perfect. After some considerable time searching, I managed to find some sheets of removable labels of this size. By using these, the unit remains flexible. I can always add further trays to the top, and move the labels to make room for new colours, so that I can keep them in order. I followed the same order that Lou Collins had chosen for her printable swatches.
Rather than simply cleaning off the blending brushes on scrap paper as I had done with the swatches, I decided to make better use of it this time, and create something a bit more intentional! Thinking about how best to colour the little square labels, I decided to stick them onto a piece of card. They are removable so this wouldn’t be a problem. On their original sheet, they are so close together that it would be impossible to ink them without contaminating the adjoining ones, but spaced out a bit on the card, this worked fine.
There is a small “halo” of colour around each label, and when I pull them off, they will have acted as masks, making an interesting pattern of squares on the card. The rainbow of colour is most attractive.
I wrote the name of the colour on each label. This is the first sheet completed. When they are all done, I shall transfer them to the unit.
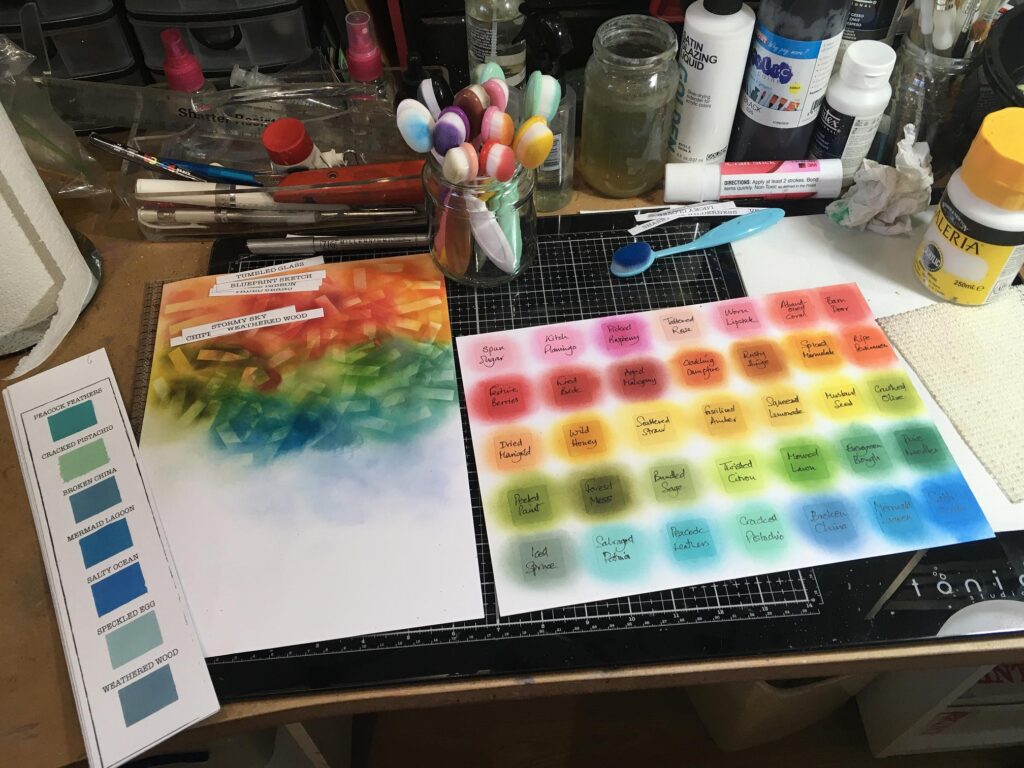
You can see one of the swatch sheets on the left, for reference. At the same time, I coloured the labels that I had already cut out, for the inkpads. This time, I was careful to lay them down on the scratch paper in as random a fashion as possible, while retaining the colour families, so that I could create an interesting background as they acted as masks.
Following Lou Collins’ direction, I didn’t ink right across the label, but only at the sides, so that the writing would remain legible. I had to apply the ink carefully with a stippling motion, because the labels were printed on an inkjet printer and the text tended to smudge.
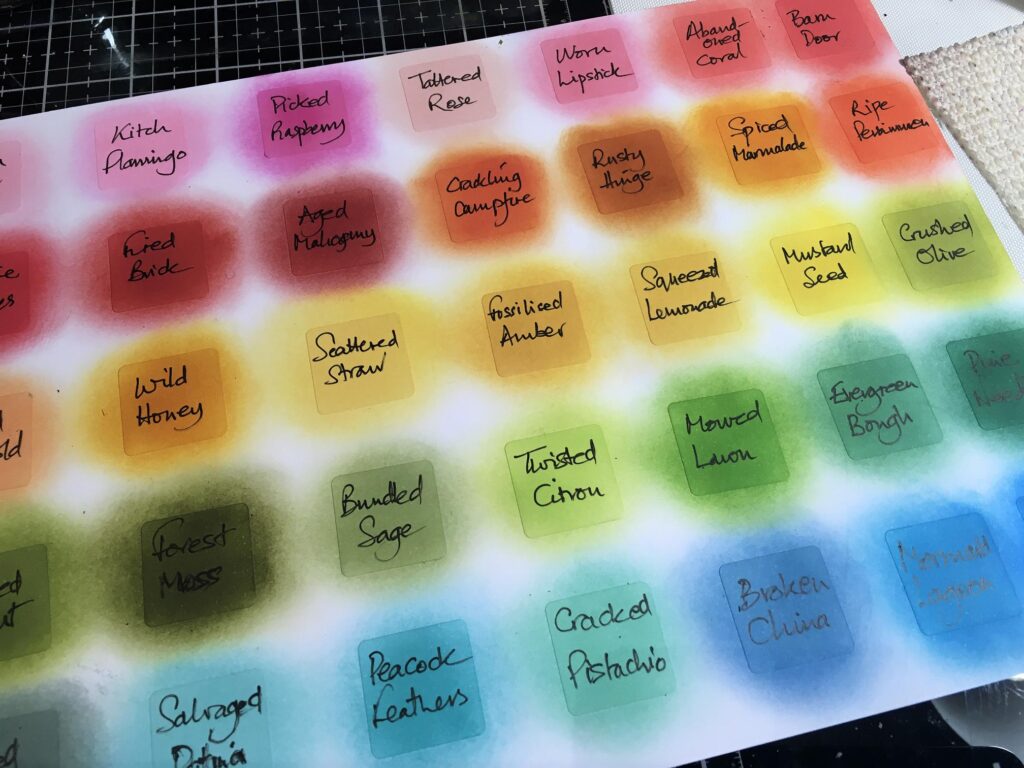
Here are the inkpad labels that I have made so far. I’m about half-way through the project at this stage.
Here is a close-up of the first sheet of labels for the unit. You can just make out the edges of the labels.
Kitties
Are three cushions enough? Really?
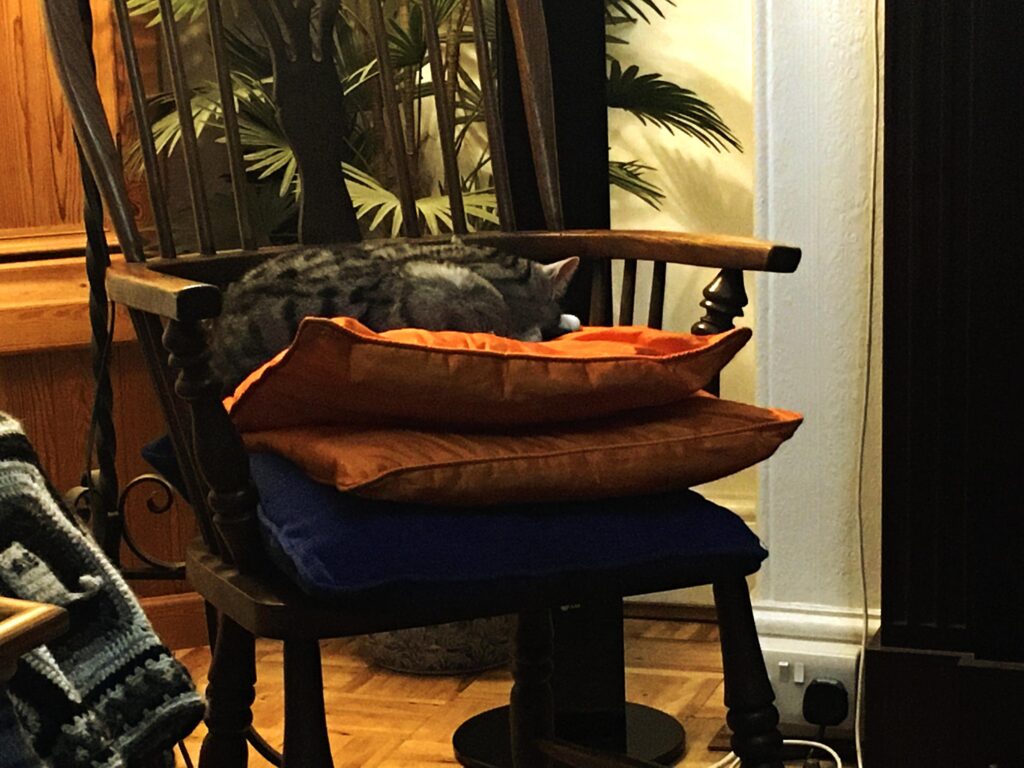
Ruby in the lap of luxury. What a life.
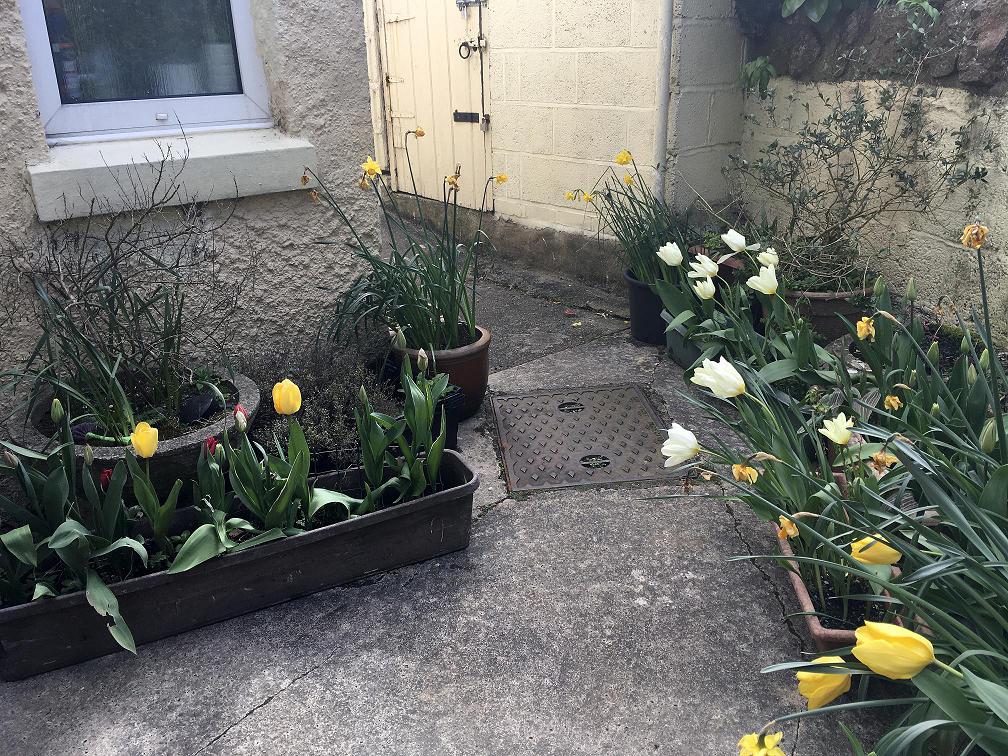
Garden
Our garden is starting to look lovely with its sprintime flowers. My hubby has put tulips in the troughs near the house so I can see them from the kitchen window. Unfortunately the daffodils are going over now.
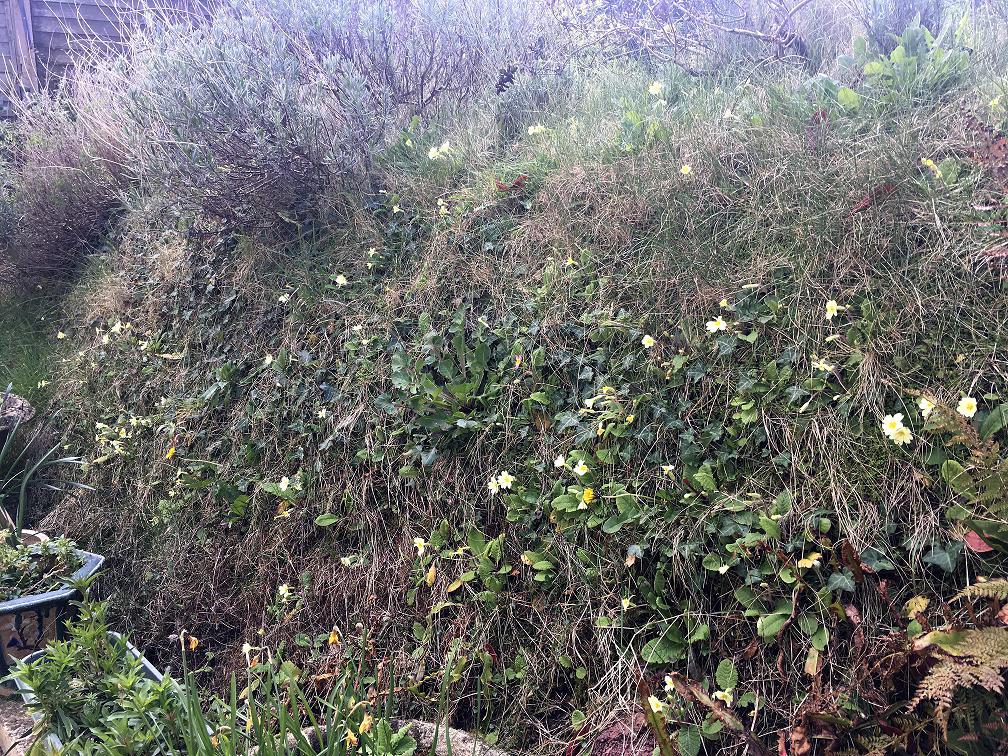
The primrose bank is coming along nicely too.
This is a great idea! Has it worked well for you. Do you have a couple of pictures of your finished ink stamp holder.
Thank you
Darlene