Inkpad Storage
For many years, I have been looking for a solution to the inkpad storage problem. Many people have beautiful wooden shelf units with them all on display on the wall, but I have not got room for that, and those units are very exensive, and not expandable. Several years ago I saw a YouTube video from the USA where someone had made a four-sided tower on a rotating base which was very attractive and seemed to work very well, but when I enquired, there was no pattern forthcoming. I started to design something along the same lines to make out of foam board but it all got too complicated, and at that point Tim Holtz, as is his wont, announced the launch of new Distress colours, and the unit would not have been large enough to accommodate additional pads.
What I was looking for was something freestanding, with a small footprint, that was modular and therefore expandable. There was nothing. I gave up, and continued with this storage system:
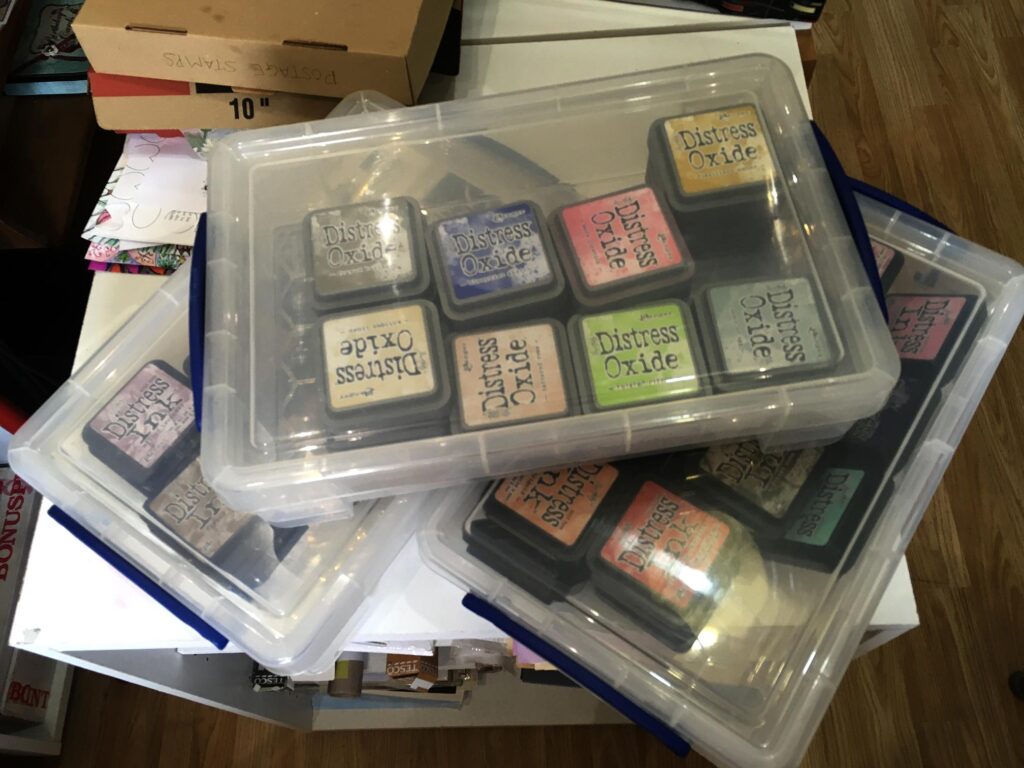
I call it a “system” but that’s a misnomer – it’s a muddle that has been driving me nuts for years. The inkpad I am looking for is always at the bottom of the last stack I look at. (This reminds me of my dad. He would say, “Of course the one you want is in the last stack you look at. Once you’ve found it, you wouldn’t continue to look, would you!” Always so logical, my dad.)
I have to haul these boxes out every time I want to do any inking (which is frequently). They take up a lot of space and contribute to my general messiness while working.
There was a system I saw on YouTube yesterday which the demonstrator said they’d got on Amazon – it was a self-assembly MDF-type structure which looked promising, but it wasn’t very compact, however elegant it looked, and I didn’t know where I would put it. I would have needed to buy a lot of them to accommodate all my inkpads. I decided to hop over to Amazon just to have a look, and listed in the “similar items” was a system produced by Spectrum Noir, who make alcohol markers (I don’t have any of these). My eyes popped out of my head. Was this the solution at last?
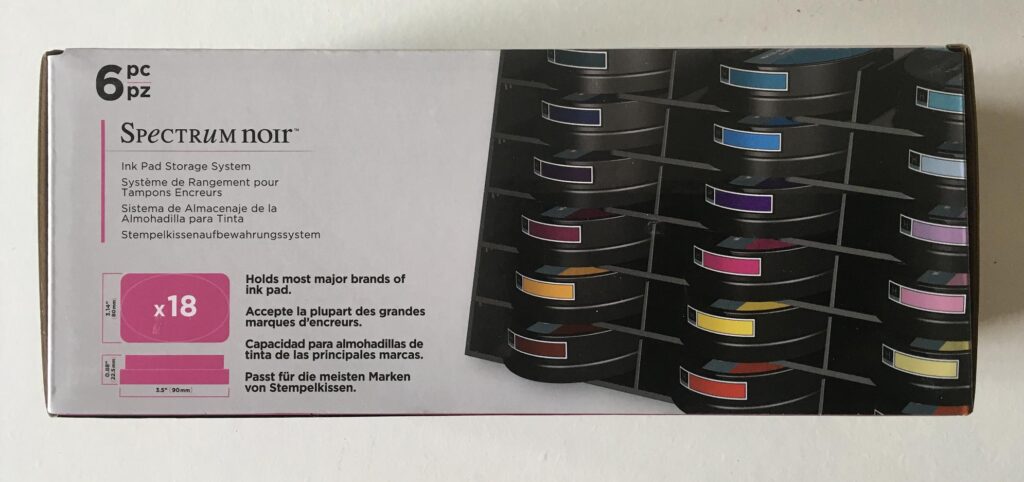
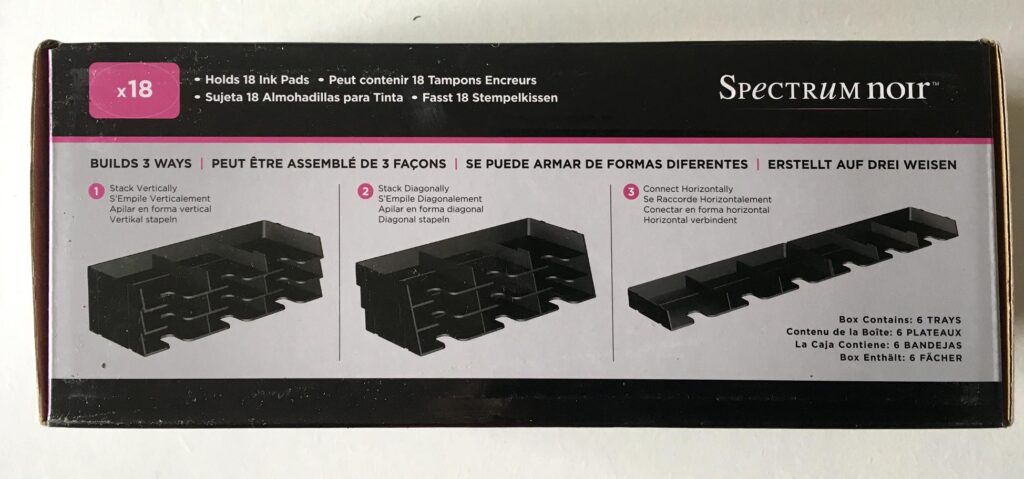
These little plastic trays come in boxes of six with spaces for 3 inkpads in each, accommodating most brands of inkpads. One set would therefore hold 18 inkpads. You can slot them together in different configurations, and being modular, you can add to them if your collection of inkpads grows. In the comments below the Amazon listing, some people said they were flimsy, but others said they were perfect for the job. Each tray has little spiggots and slots to engage with its neighbours, but these merely locate the trays in place, and they are easily removed, which was a “con” for some people – others replied that once you’d decided on your configuration you could glue them in place.
I decided to go for this, and ordered four boxes. This would accommodate 72 inkpads. The total number of my Distress Inks and Distress Oxides is over 100, so they would not all fit in, but I have fewer than 72 Distress Inks, so I would use the system for those, and continue to store my smaller collection of Distress Oxides in a single box. I can always add further trays if I want.
They arrived today.
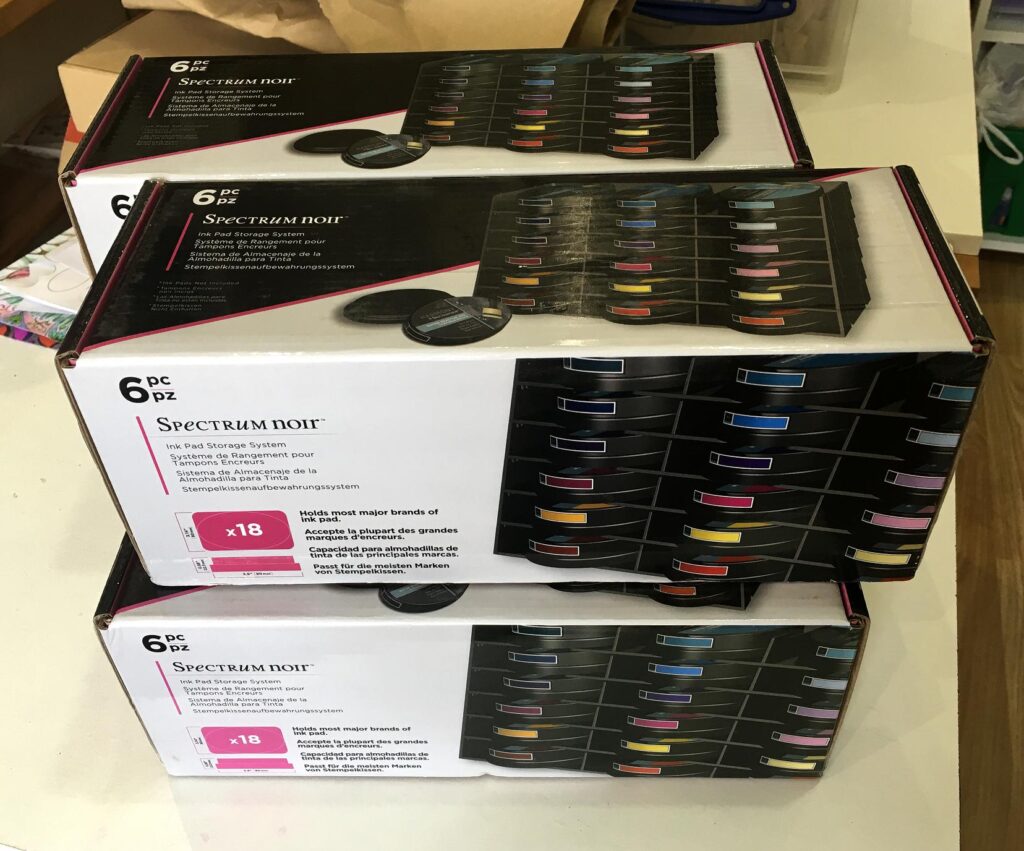
The front of the box.
The back of the box, showing some suggested configurations.
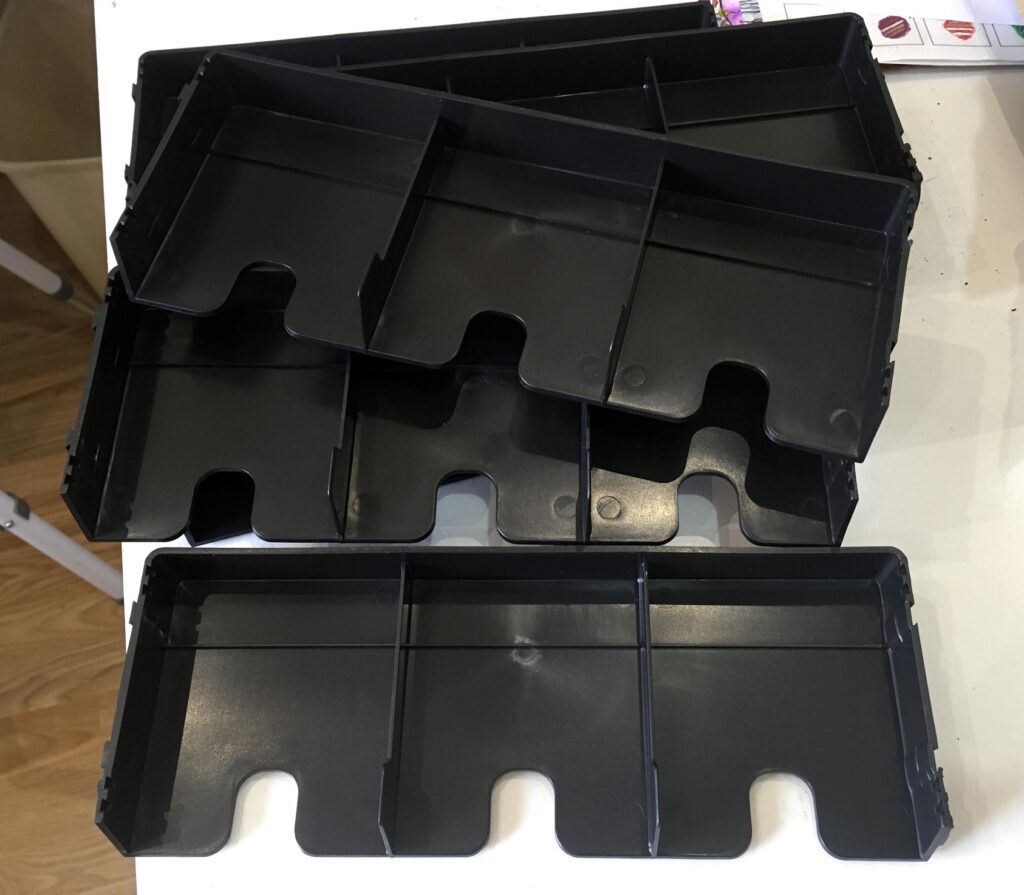
Opening up the box, this is what you get.
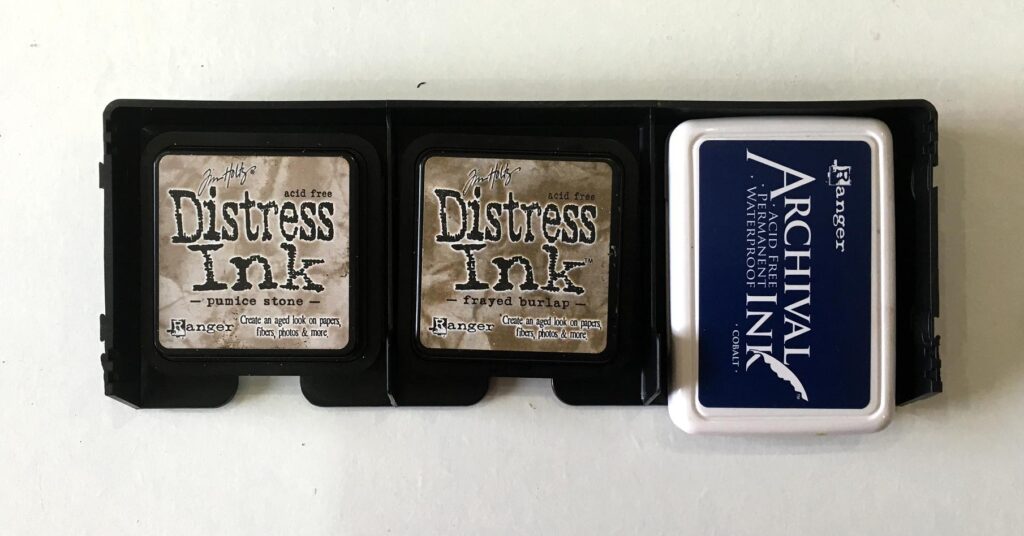
The trays hold inkpads of different sizes. Ideal for the ones I have.
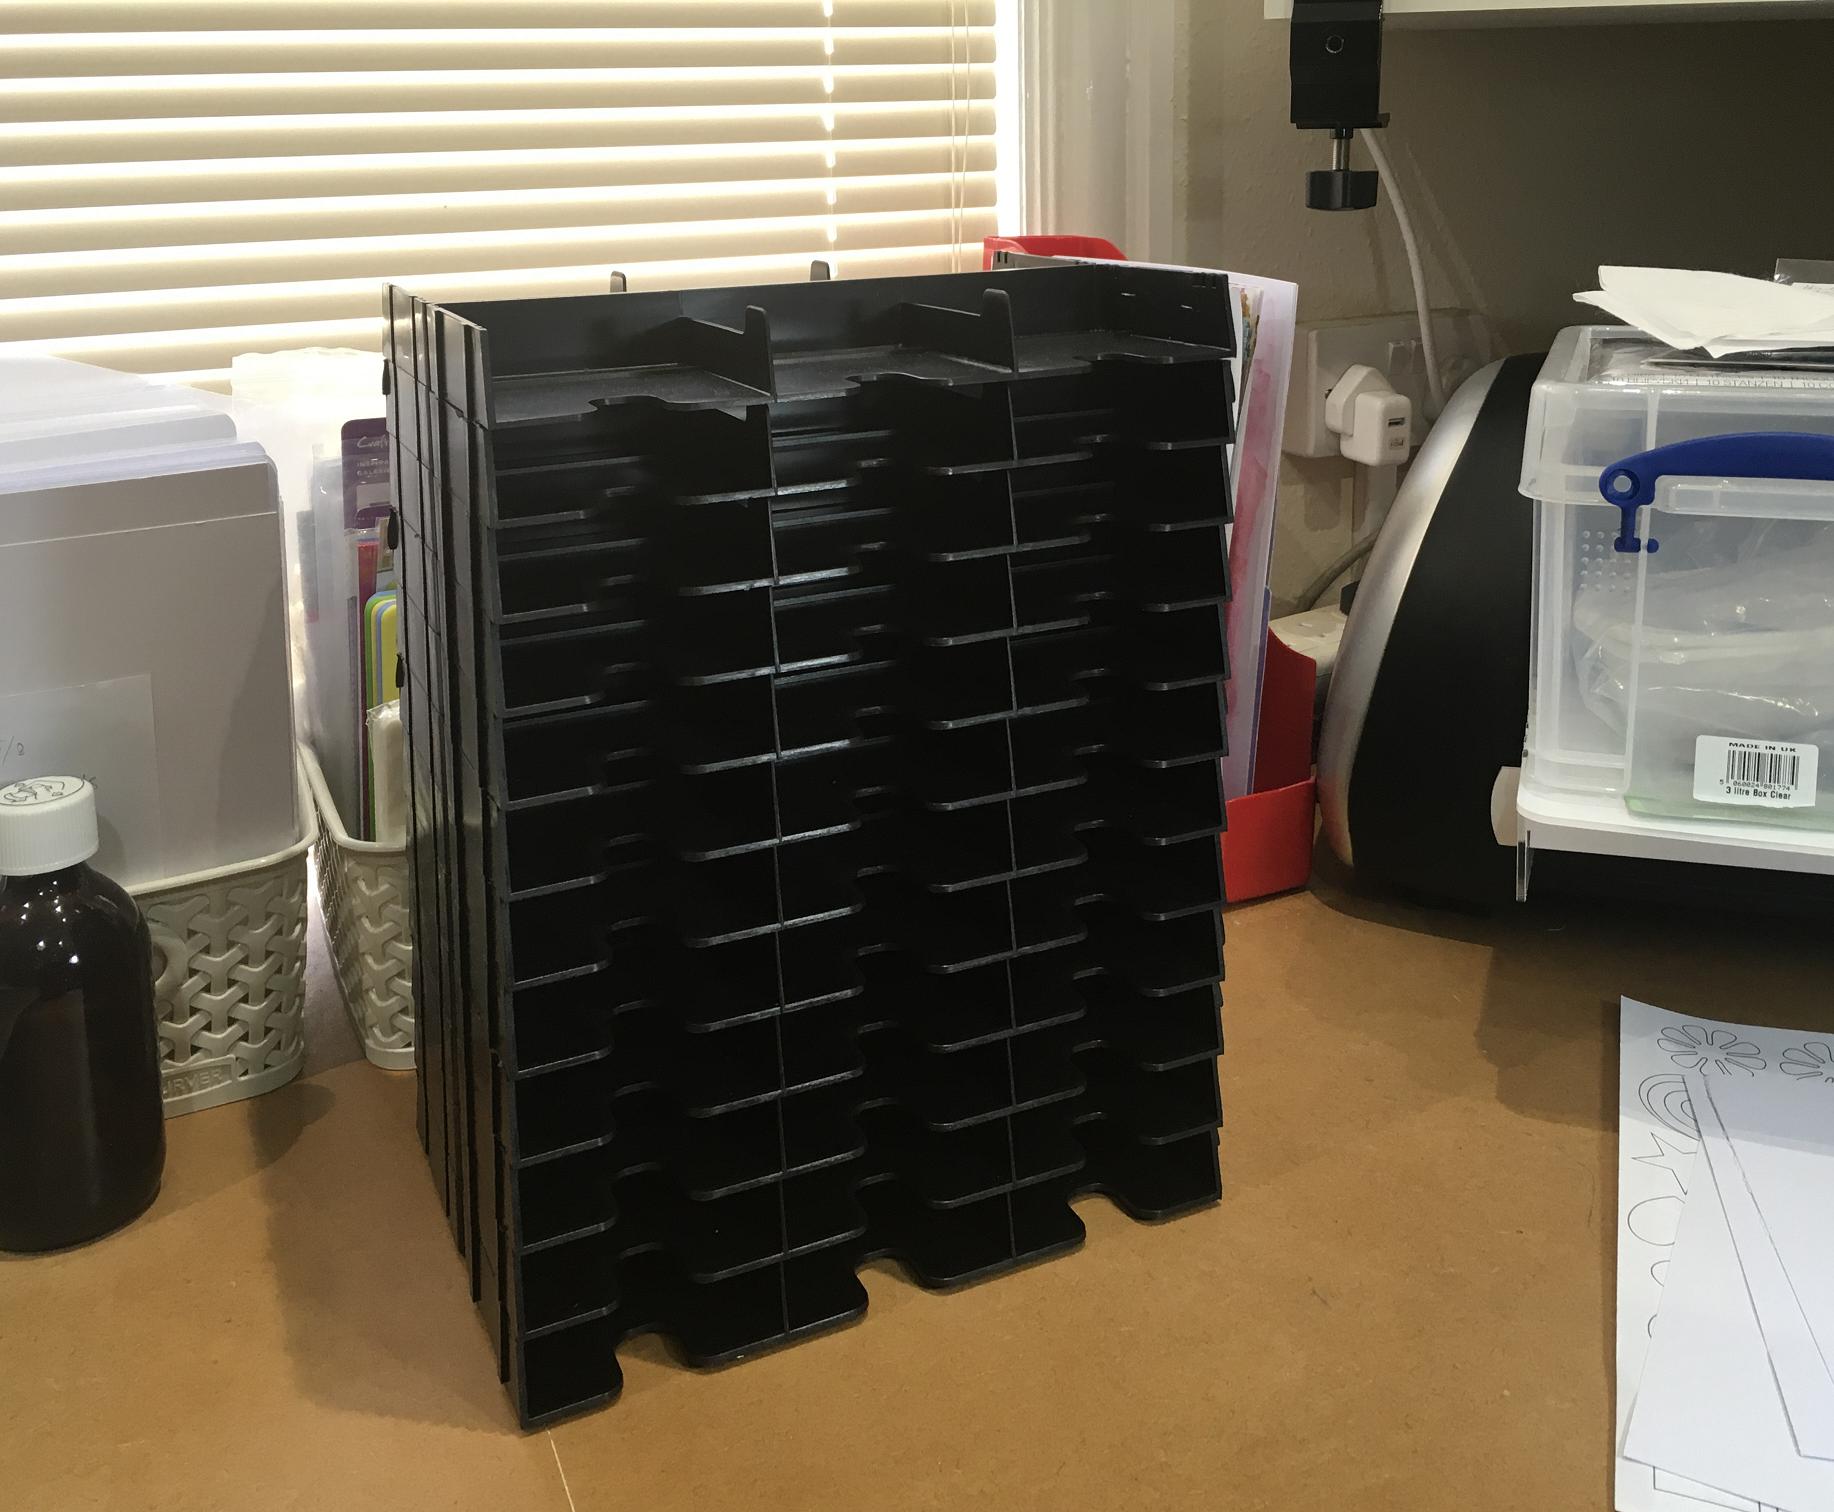
This is what they look like when you stack some of the trays together.
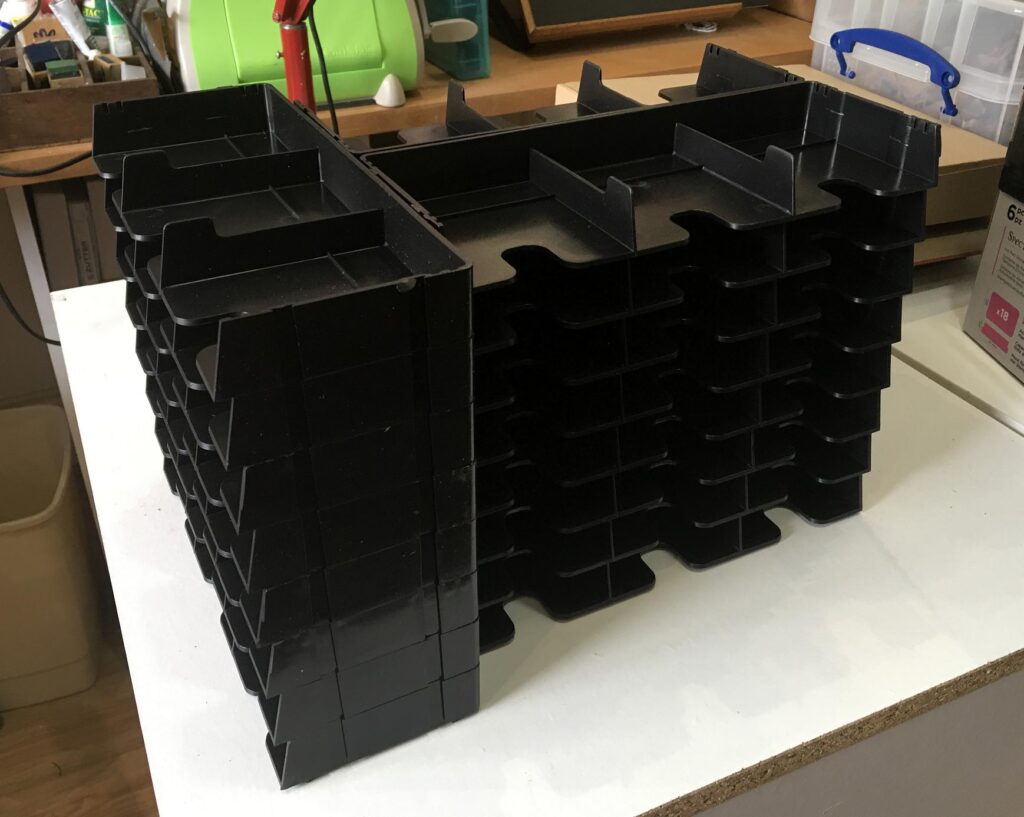
My original plan was to make a four-sided tower with a space in the middle, all mounted on a revolving base.
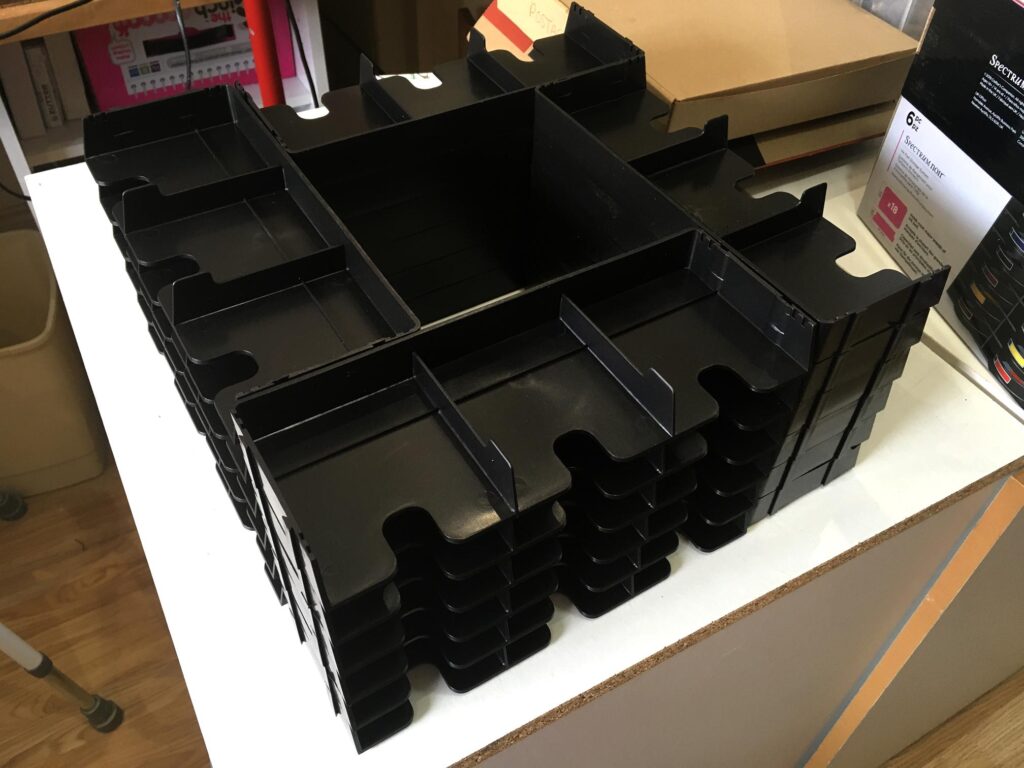
However, this came out much larger than I’d hoped, and the space in the middle was huge. You can see that in this configuration, it takes up nearly the whole of the top of my pull-out unit. On a revolving base, the footprint is not just the length across the square, but across the diagonal to allow for rotation, which increases the size of the footprint quite a lot. Also, this tower was quite short.
As any city planner knows, when ground space is at a premium, the way to build is UP! This configuration was clearly not going to work for me.
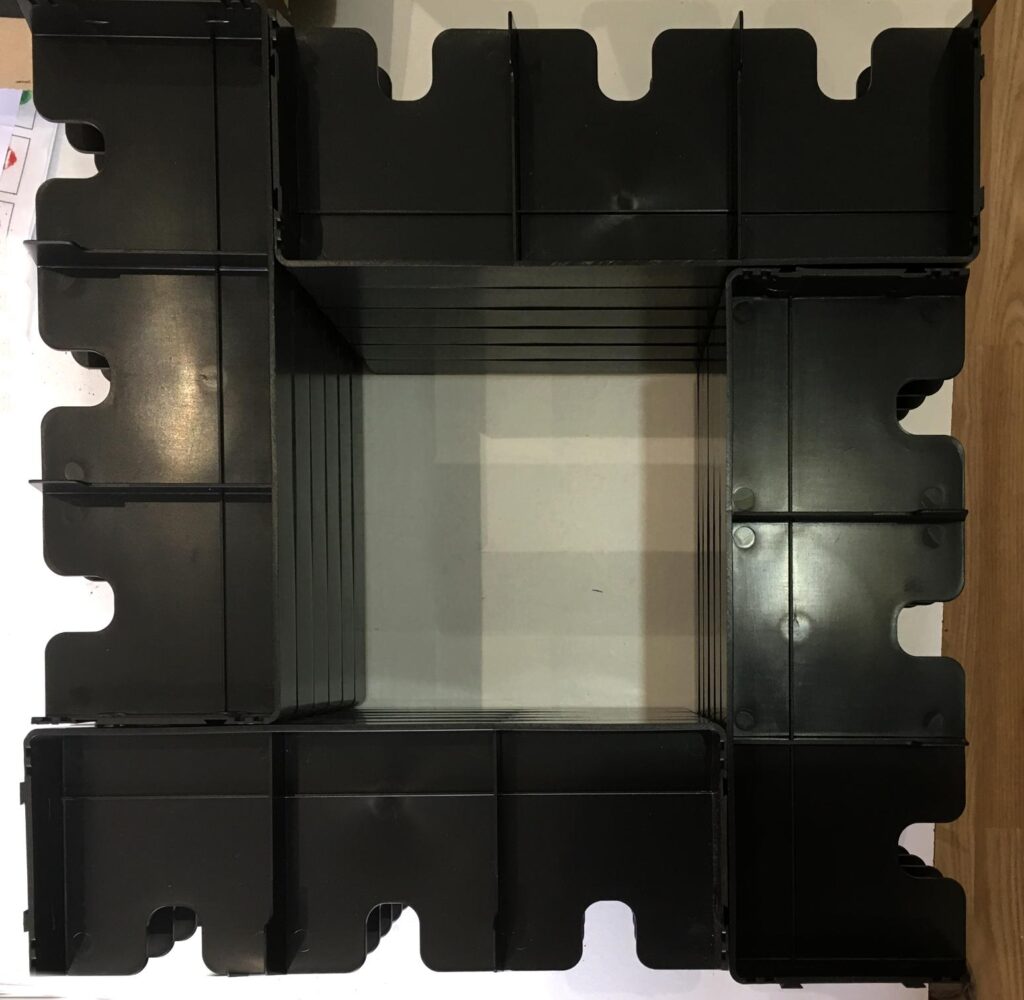
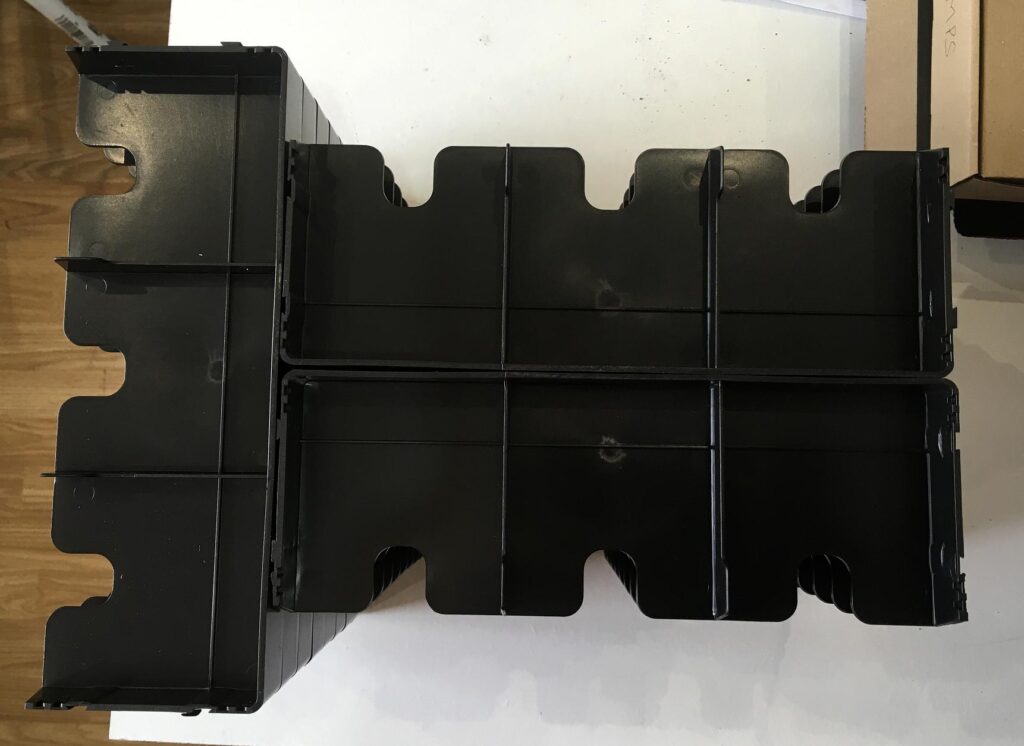
I then proceeded to experiment with various different configurations.
Still much too large. Storage space in the centre wouldn’t be terribly useful, either.
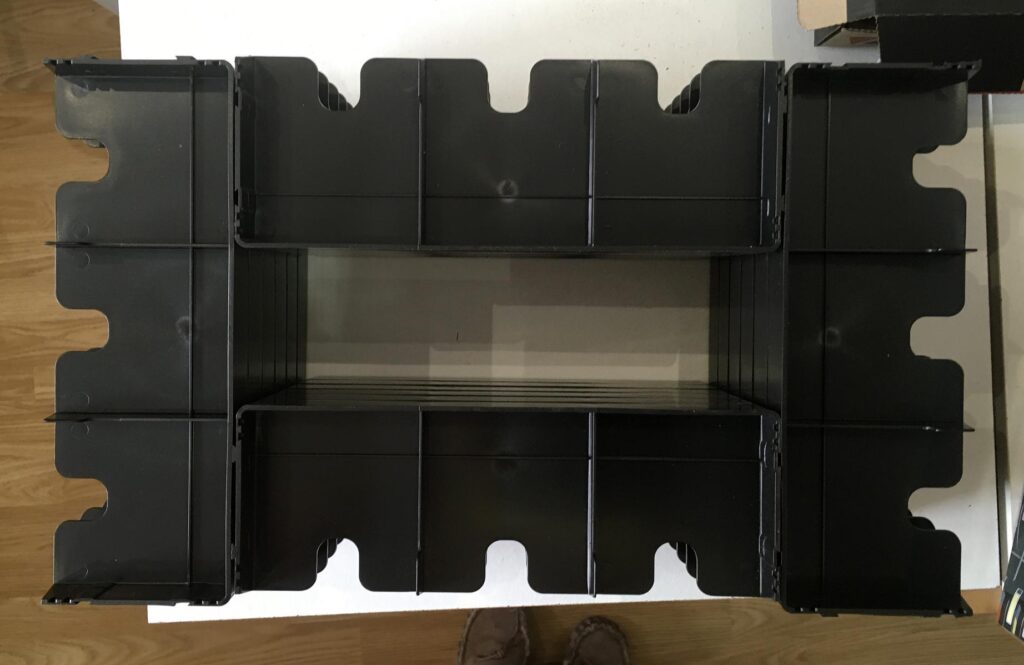
What about two stacks, with room for a custom-made storage box to slot between them?
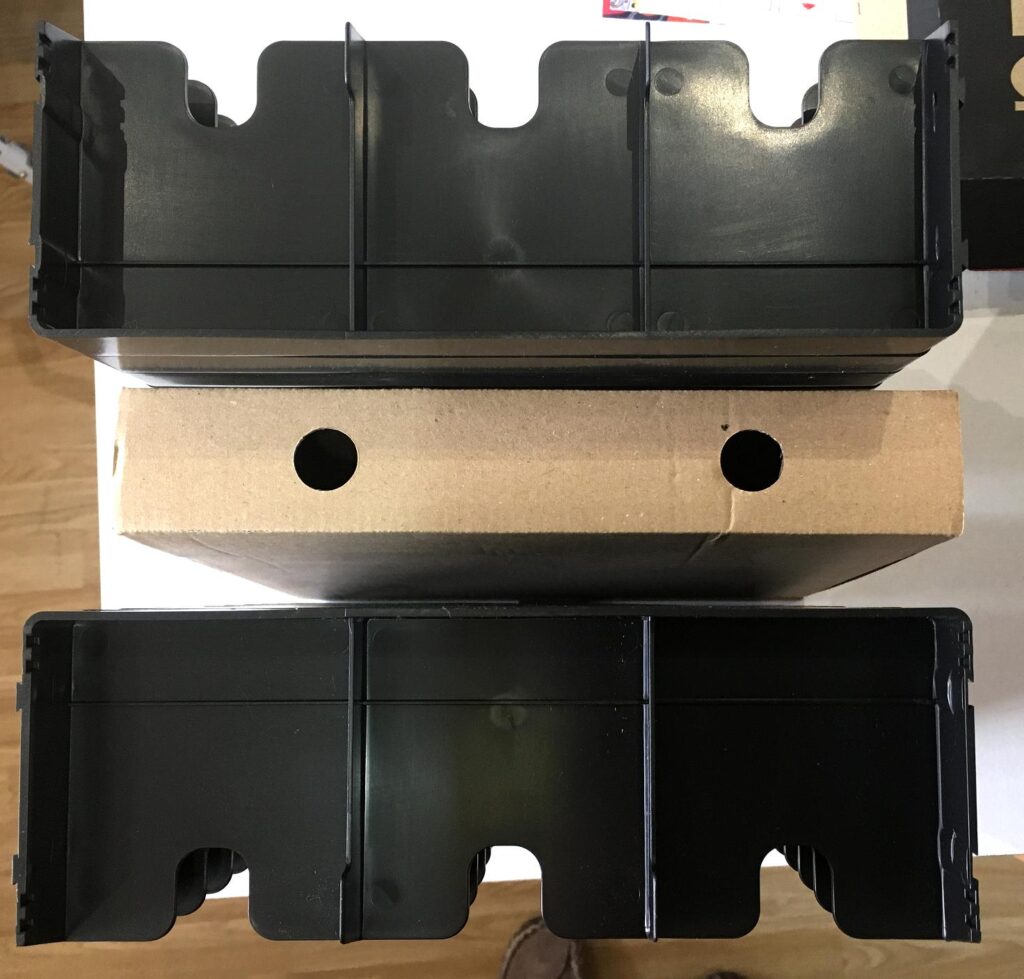
Nah… It made a square footprint, but not what I was looking for.
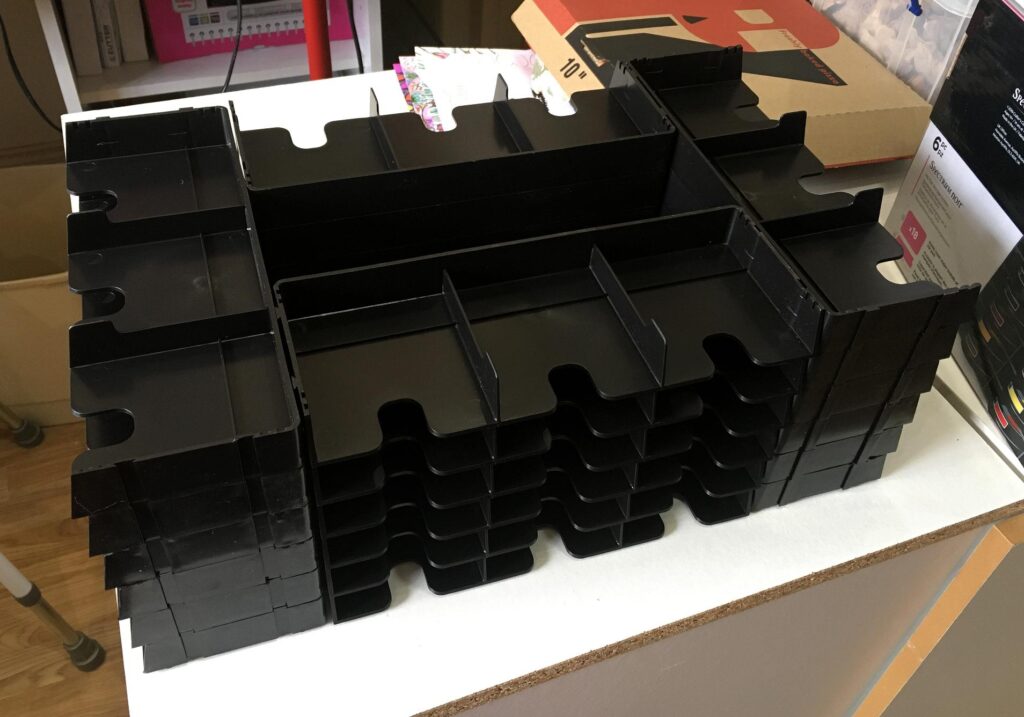
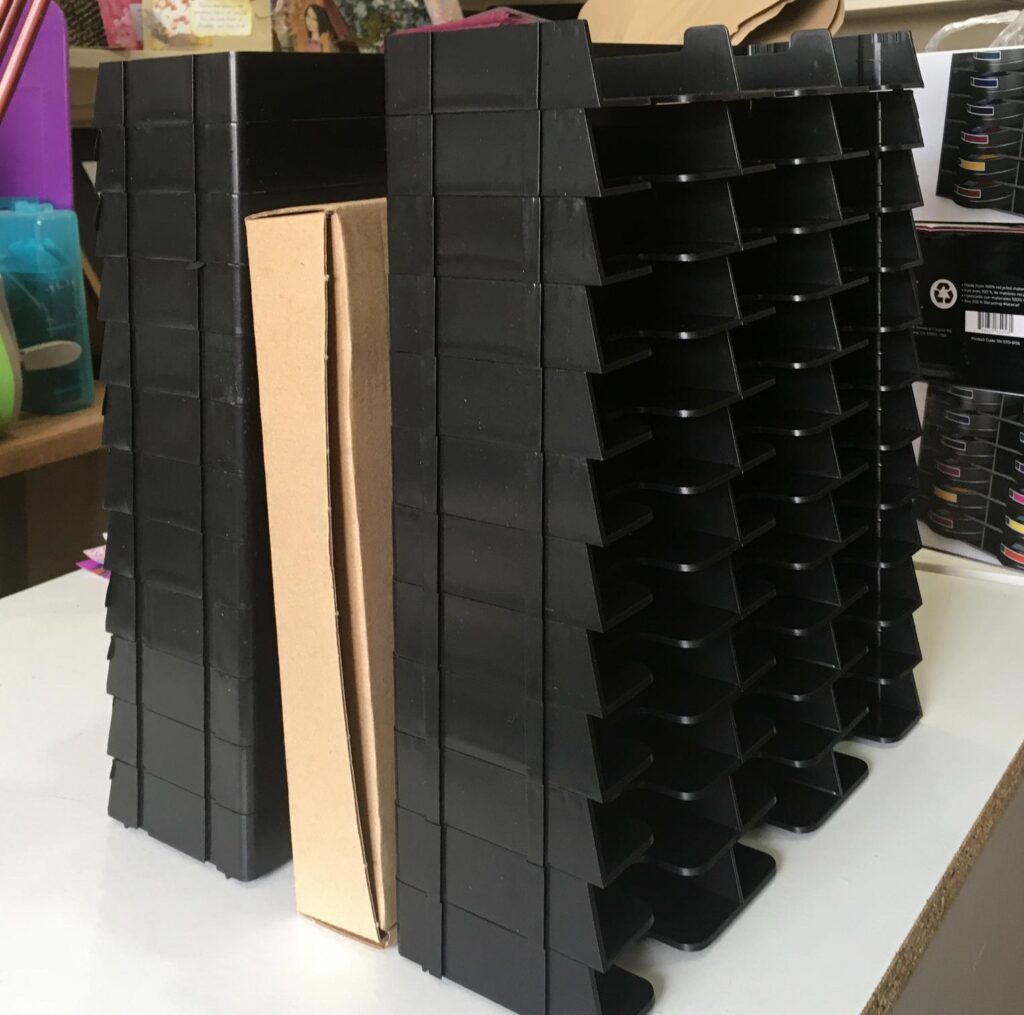
Two stacks back to back, with one across the end?
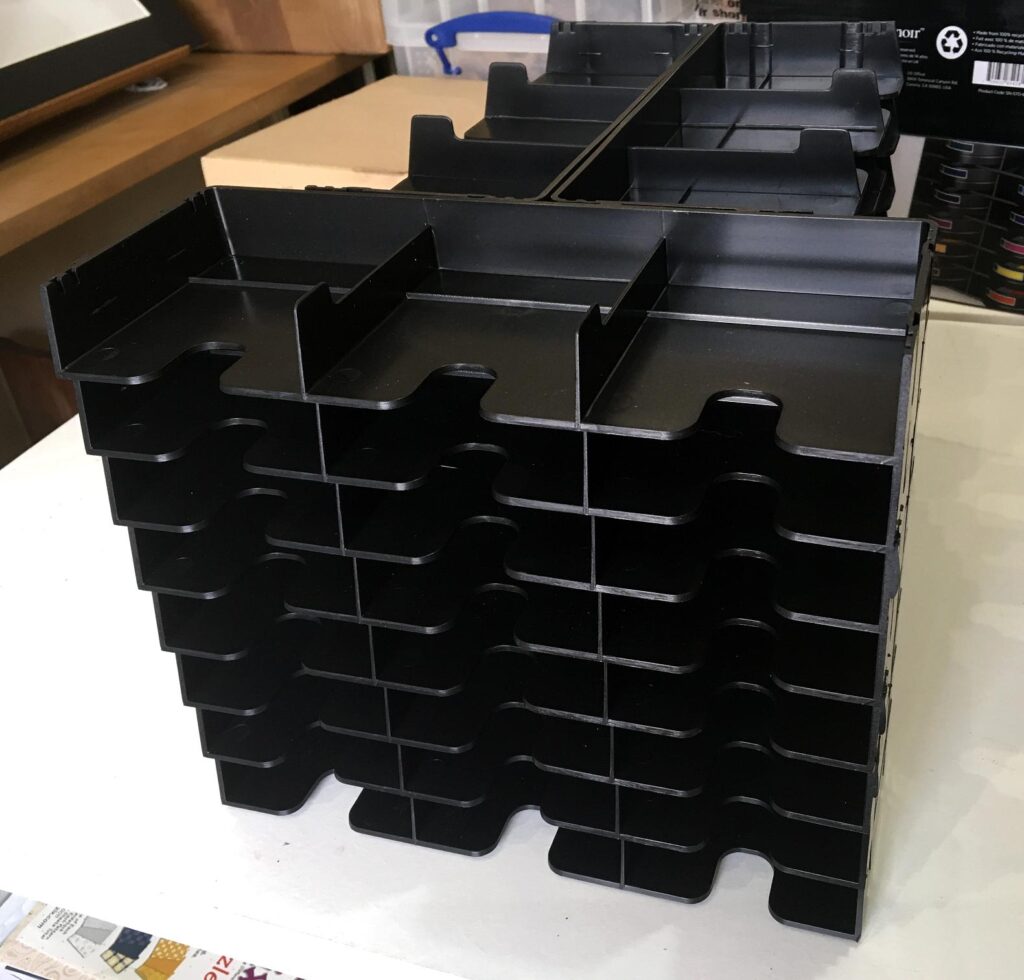
A messy configuration. Also, too big a footprint.
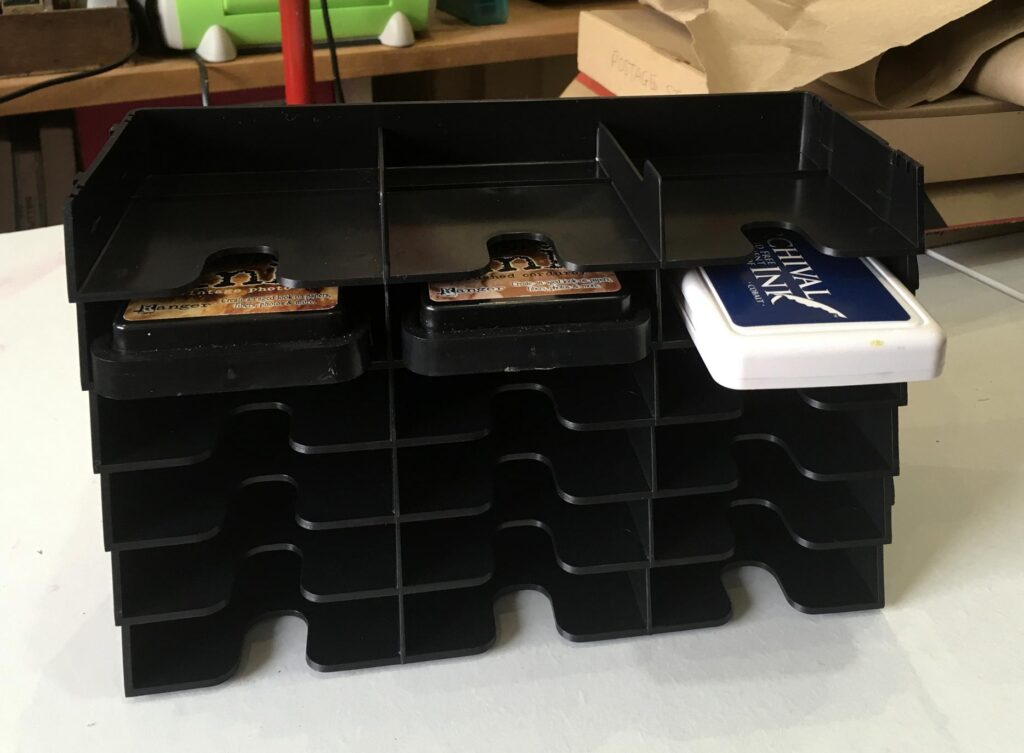
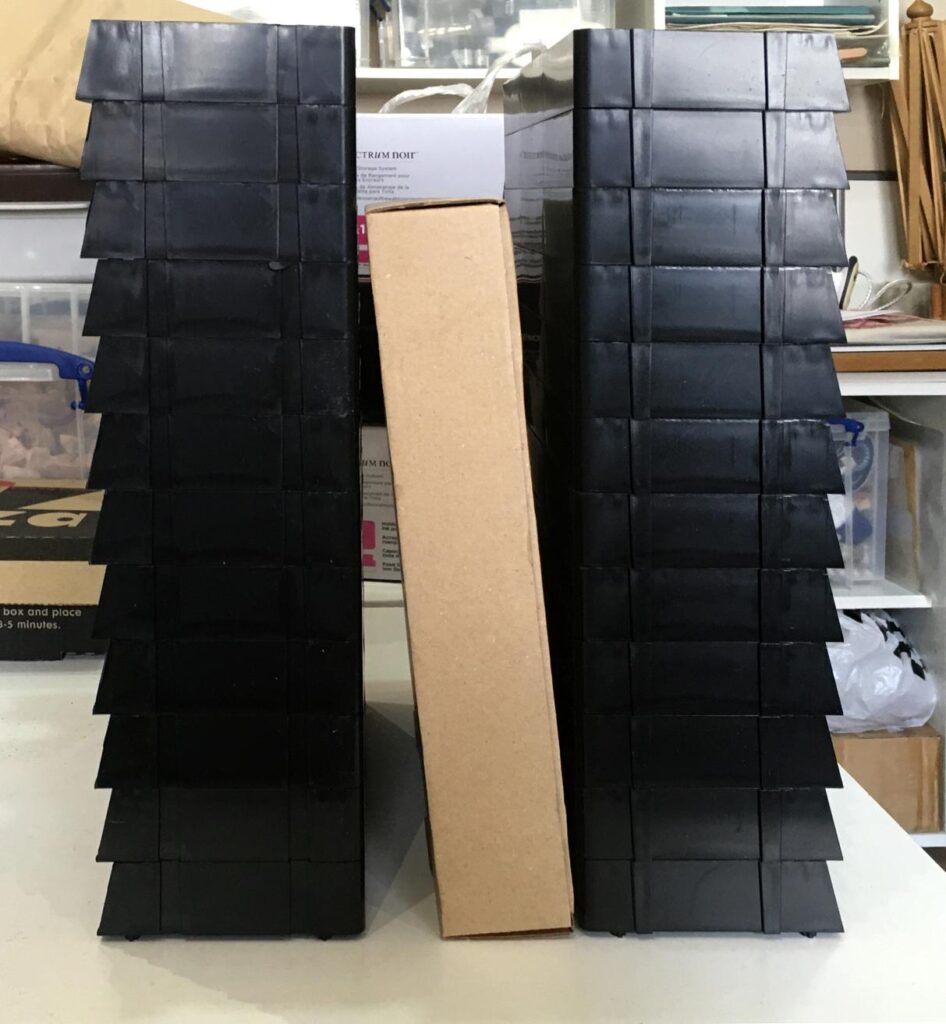
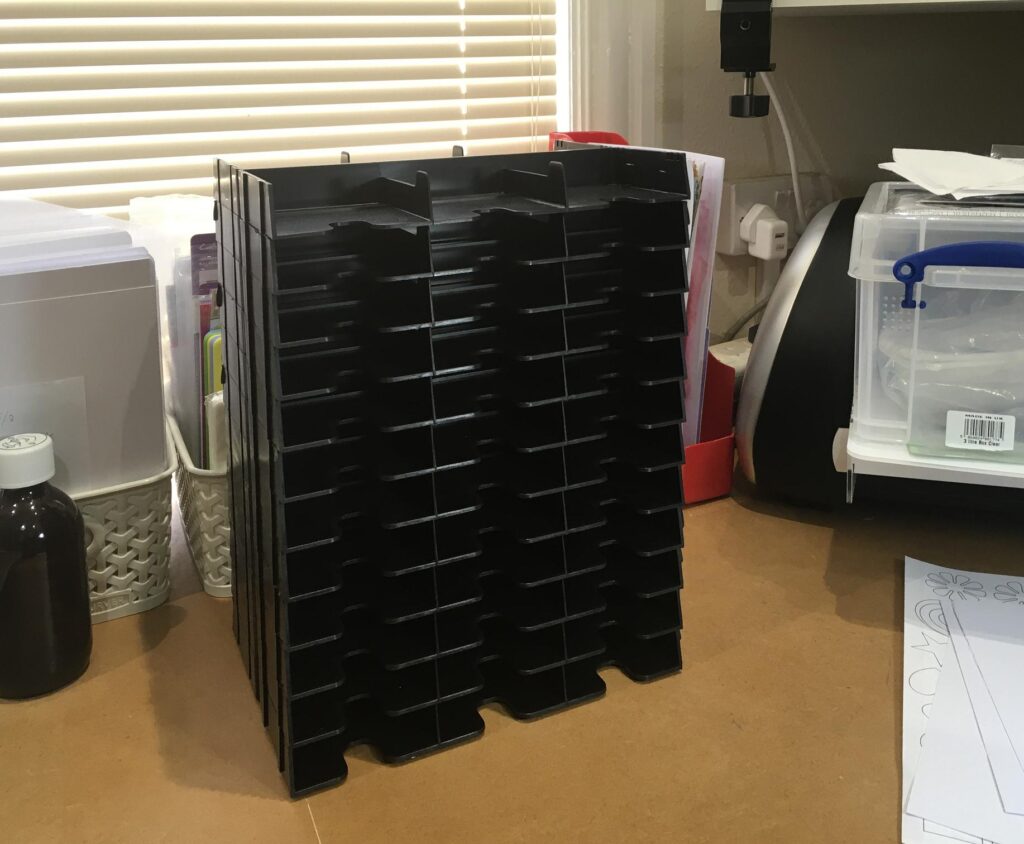
I finally settled on two stacks, back to back. Simples. The smallest possible footprint without going sky-high with a single tall stack. Quite neat, and would fit OK onto a revolving base.
![]()

The stacks would have to be stuck together back-to-back for stability. It might be possible to add pockets to the sides to keep things in if I wanted, and if I did this, the pockets might be a way of sticking the two halves together. Definitely a possibility, and also the opportunity to decorate the tower. I could keep colour swatches in the pockets. Some people keep blending pads on Velcro on their inkpad storage, but these days I tend to use blending brushes, or my DIY blending pads stuck onto wood blocks from unmounted rubber stamps.
Here is the probable location for the unit, in front of my baskets of card-making supplies. I will be able to turn around from my usual work station to reach for the inks I need, and if the unit is fixed onto a revolving base, it will make access to both sides easy.
It will be easy to lift the whole thing by grasping both sides.
My original Distress Inks have labels on the sides (upside down because in those days I thought it was advantageous to store inkpads face down, which it isn’t). I shall now proceed to make new labels for all the inkpads, and also to stick inside each slot in the unit, so that each one will have its own slot. If I add more inkpads in future, I can always change the labels on the unit as required. I shall be able to store them in colour families, and the spare slots (until naughty Tim launches yet more irresistable colours!) can be used for my archival inks.
Now I have to find a suitable revolving base, and start work on the labels. Watch this space for progress on this! I am thrilled to have found a workable storage solution for my inkpads at last. I would be most interested to see what my readers do with theirs.
Grey teabag stain doodles
I have now completed the first sheet of the stains left when drying the fruit “tea”bags on watercolour paper. This is how the stains looked initially.
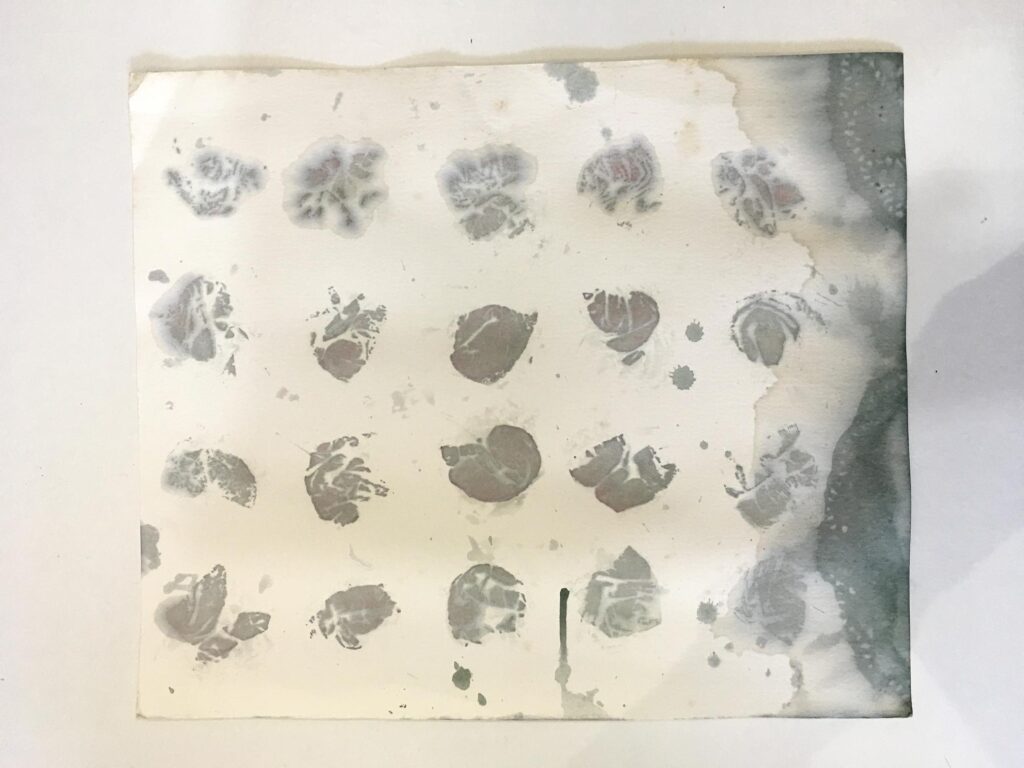
I cut the paper into two pieces to make it easier to handle. When I have embellished normal teabag stains in the past, I have always used a sepia pen which co-ordinates nicely with the tea-dyed paper, but in this case I decided to go for black for a different look.
This is the completion of the first (larger) sheet.
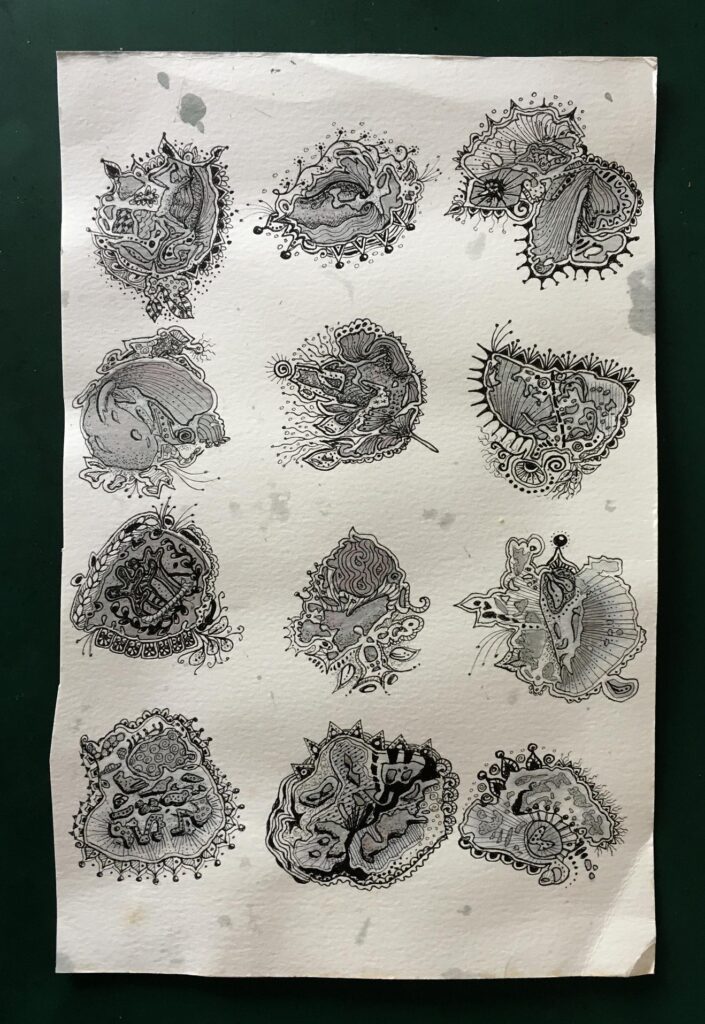
I love the monochrome effect of these designs. Although the stains didn’t come out at all as expected (I was anticipating beautiful pink stains from the fruit “tea”!), the grey has a subtle, sophisticated look. I can always add colour if I want. I am super-pleased with how this project has turned out. These doodled stains can now be cut out and used for embellishments.
Teabag mini-albums
I have got some gorgeous rice papers on order, most of which should arrive tomorrow. I decided not to start work on embellishing the pages of the second small mini-album until these papers arrive, because I want to use a different style of embellishment for this second book, incorporating some collage. I haven’t tried working with rice paper before, but being slightly translucent, I think the results applied over teabags will be quite subtle and interesting.