My stash of cards is now so severely depleted that I am driven back to card making. This is something I always say I don’t enjoy, and don’t want to get stuck doing, but once I’m actually doing it, I really do quite enjoy it! Just recently I have been watching quite a lot of really inspiring YouTube videos on the subject, and that has got my creative juices flowing again.
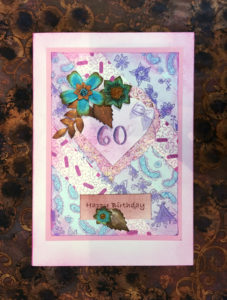
A friend is celebrating her birthday on New Year’s Day and needs must – time to get back to papercrafting again after a long absence. She is a bee keeper, and I always try and make her a card with a bee-related theme.
This year I have felt a bit stuck, and went back into some of my old YouTube playlist videos that I haven’t watched for ages, and I found this. I’d forgotten I’d saved it – it does look like a fun card and I think she would enjoy it. If I am making one, I might as well make half a dozen, and begin to replenish my stash again! I cut enough for six cards, and as I got going, decided not to make them all on the bee theme, so a couple of them have fallen by the wayside for now, and I’m concentrating on making four bee ones.
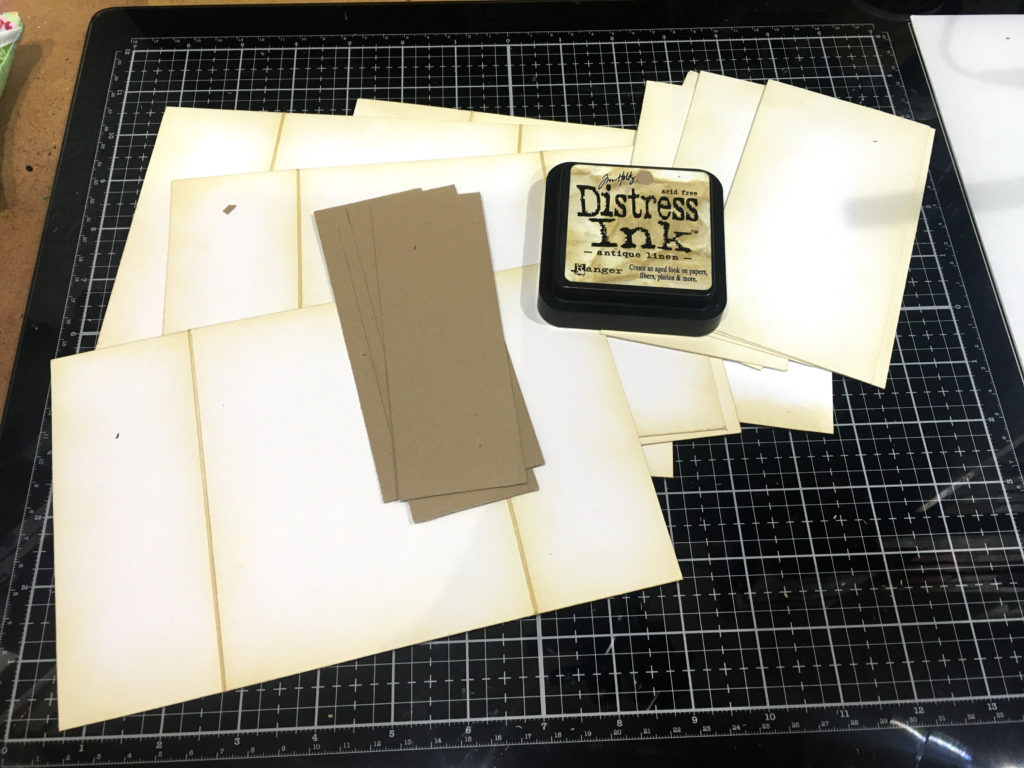
Prepping the card. The video gives instructions as to cutting and scoring. I have used a heavy-weight white cardstock for the card base, and inked the edges and the folds with Antique Linen Distress Ink.
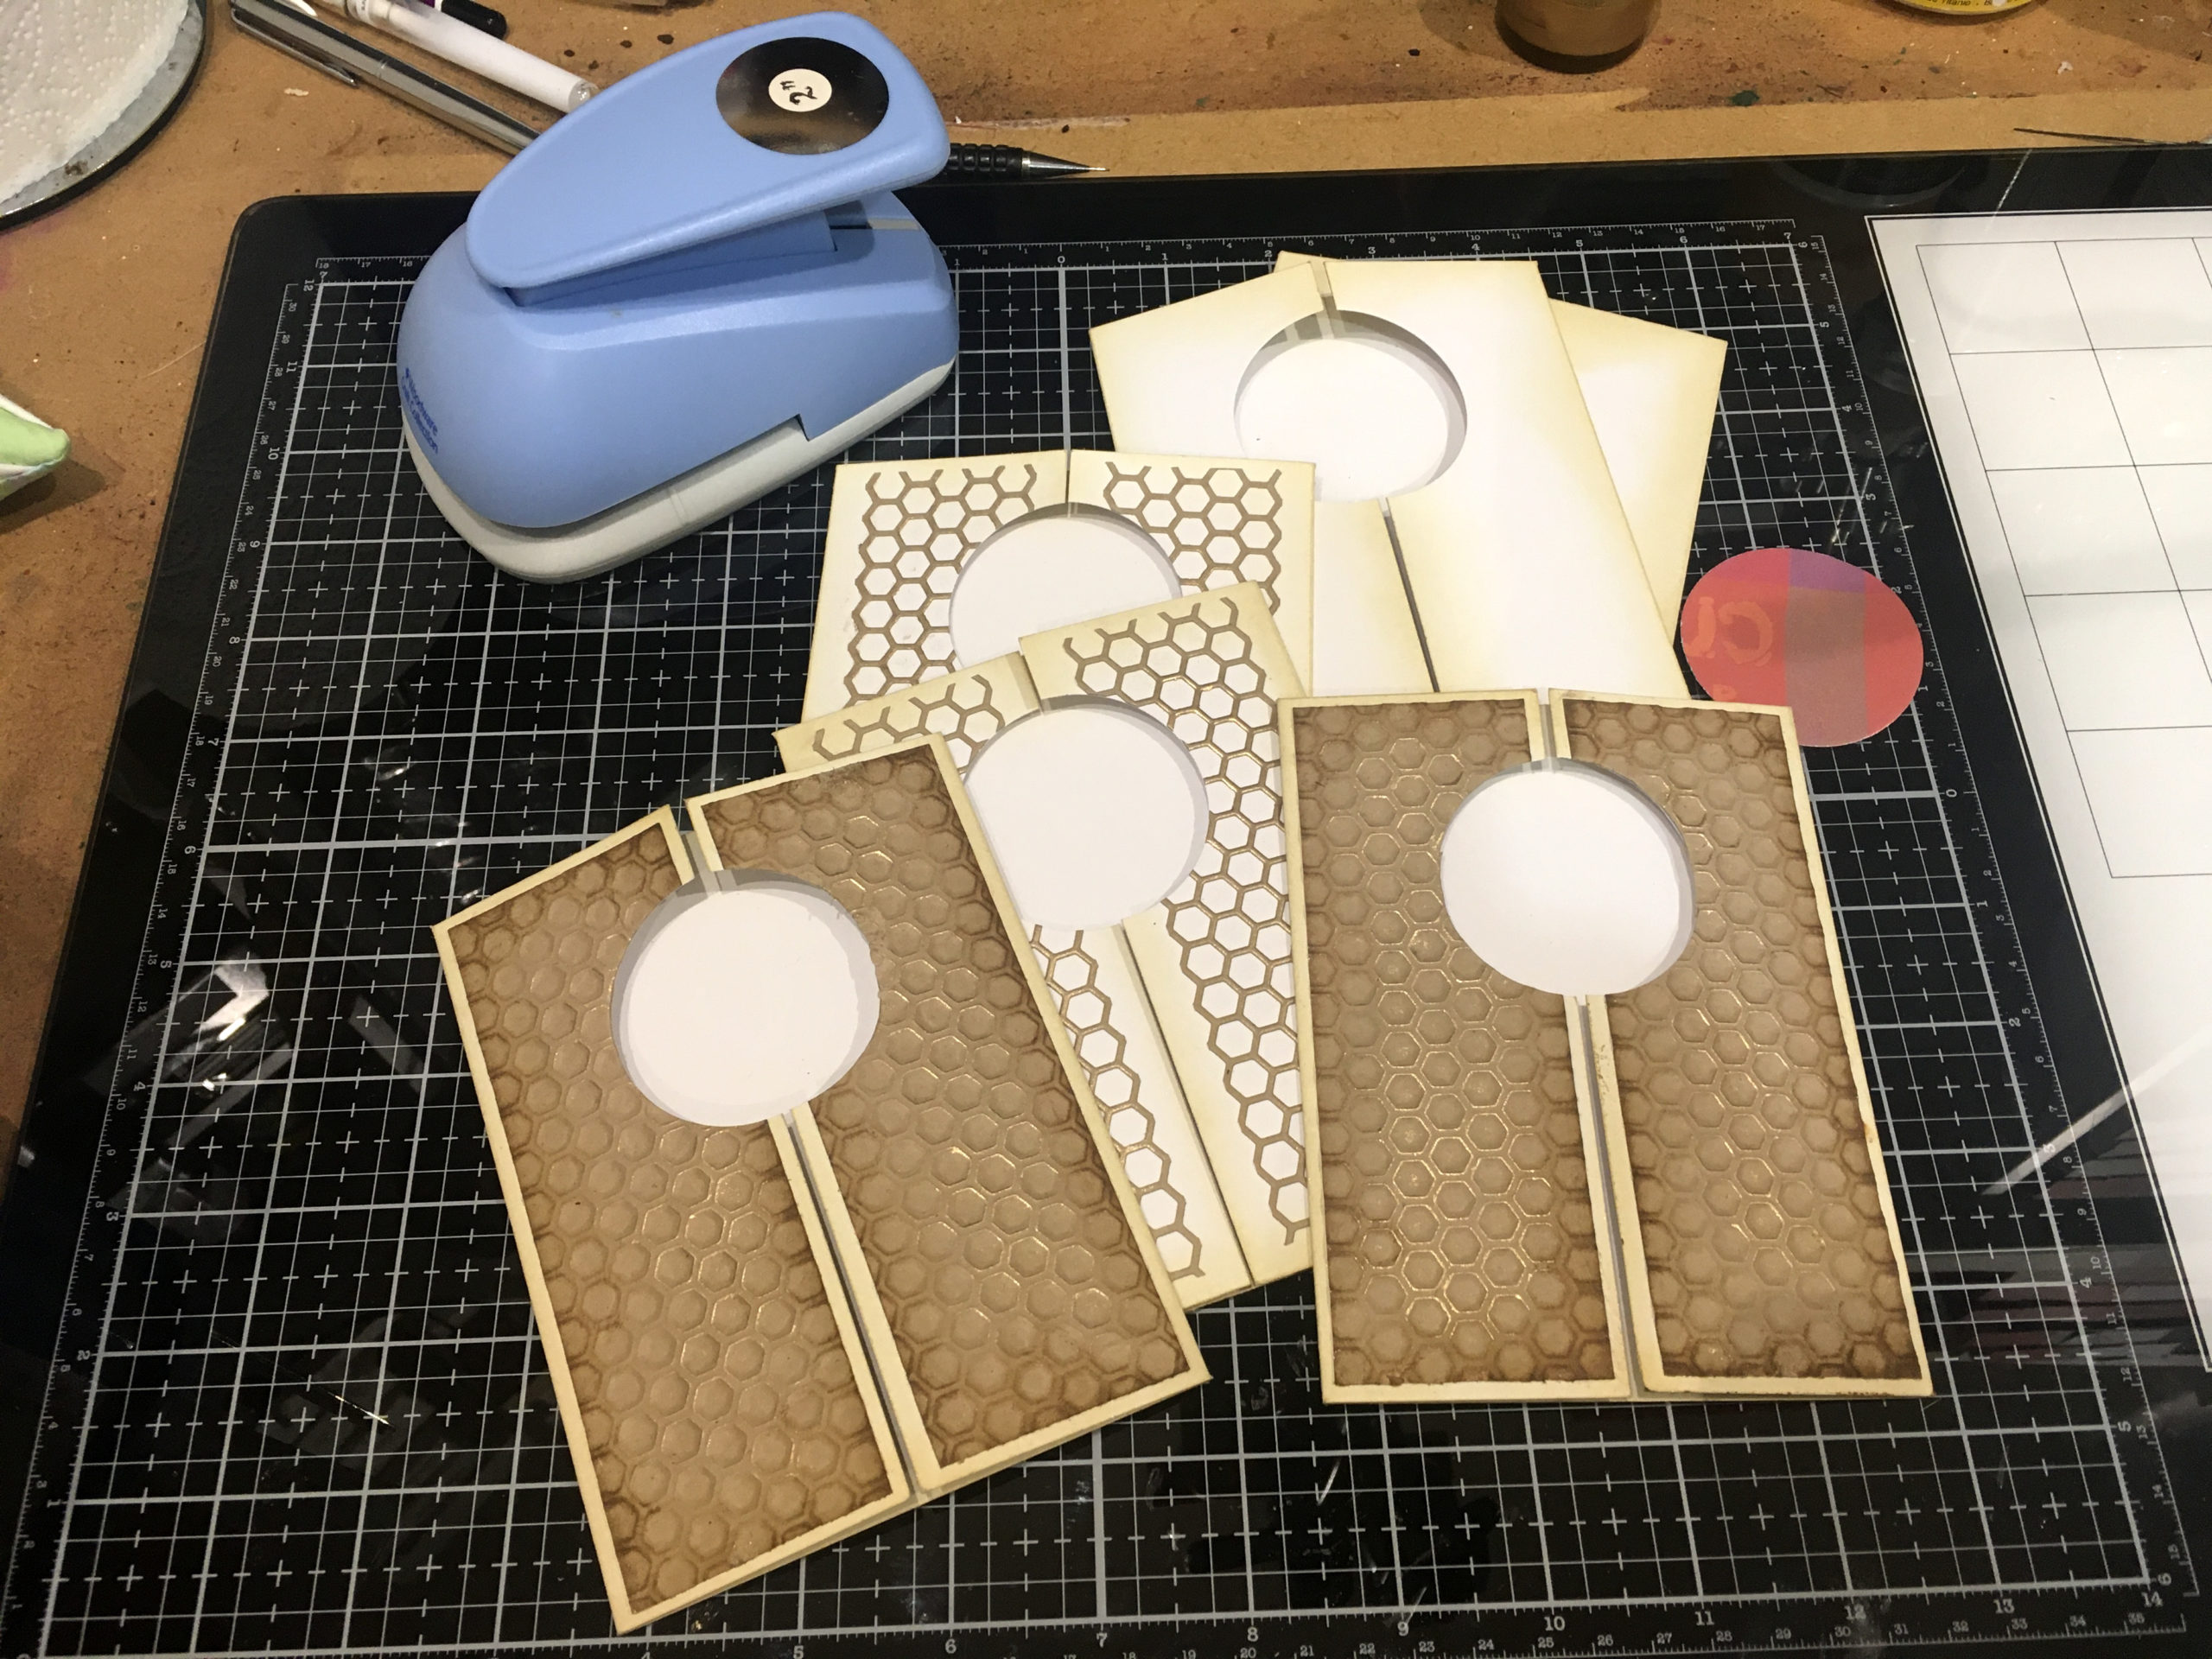
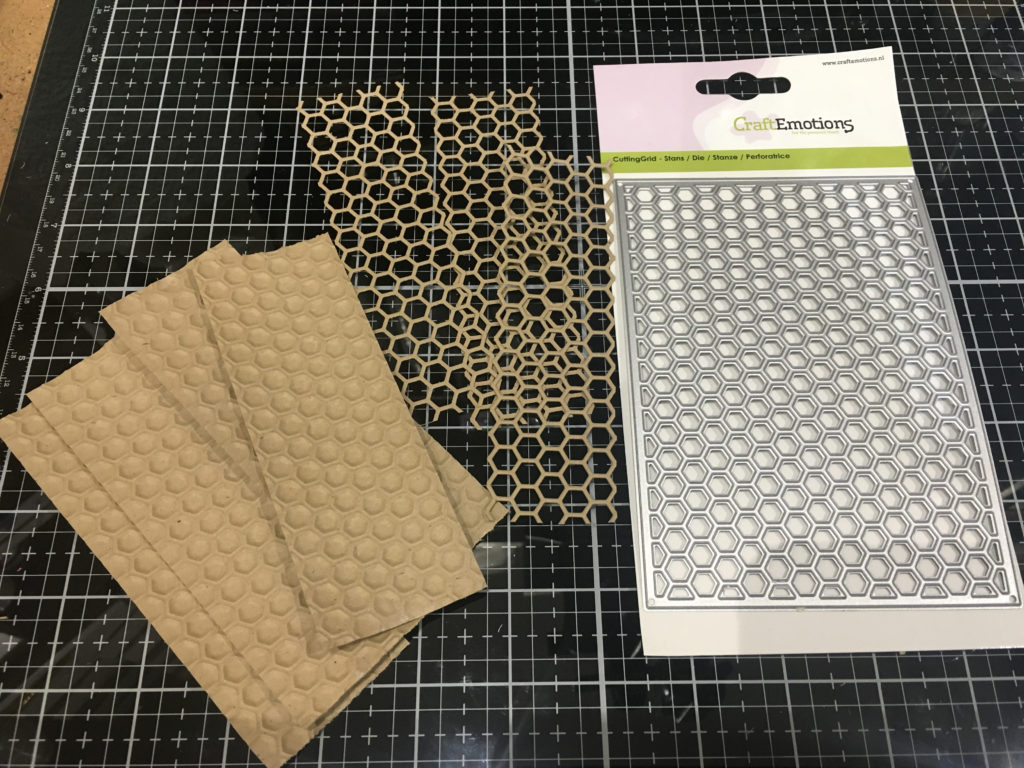
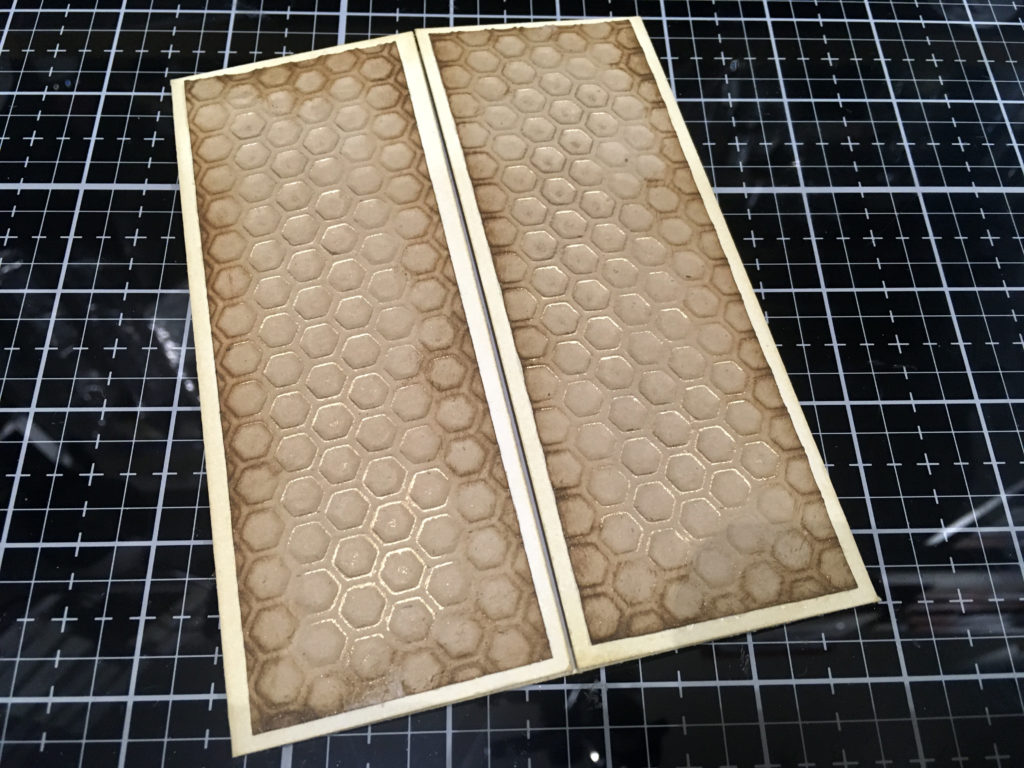
Recently I saw a video suggesting using a die to emboss rather than to cut. I used my new honeycomb die which I bought at the last craft show, and embossed the mats for the front of two of the cards, and die-cut the pieces for the other two cards. To emboss, I used my thick “No More Shims” rubber embossing mat in my Cuttlebug, and although it was slightly terrifying turning the handle because it felt very tight, the results were amazing.
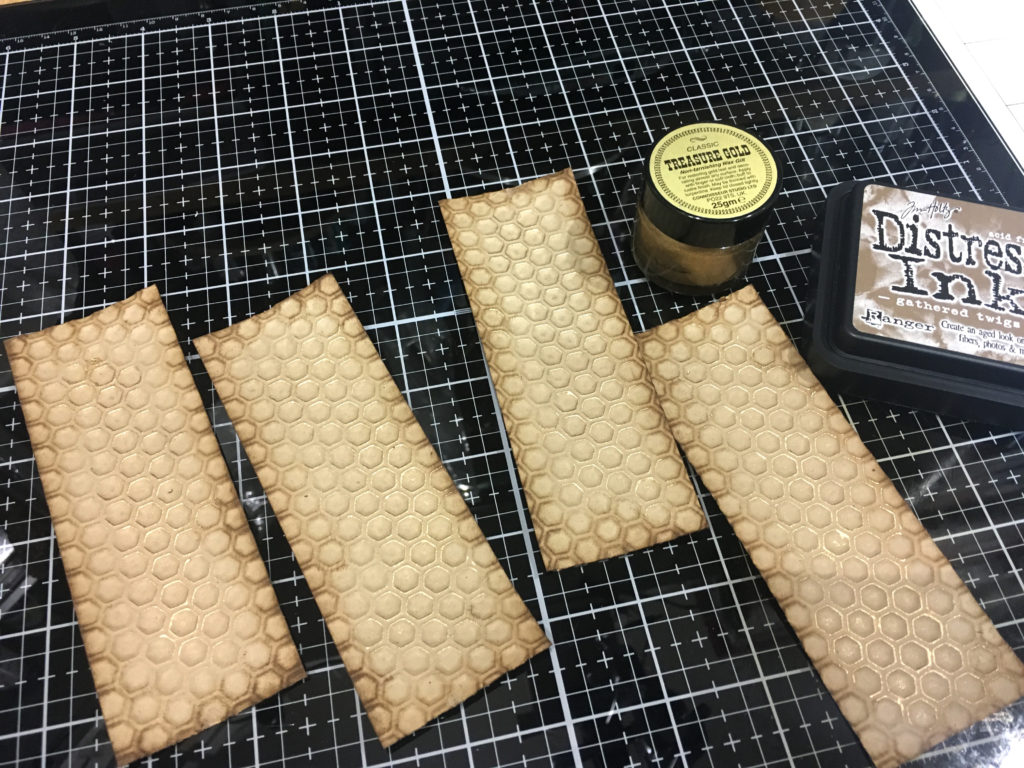
On the embossed pieces, I distressed the edges with Gathered Twigs Distress Ink, and then lightly applied a small amount of Treasure Gold gilding wax over some of the raised surface.
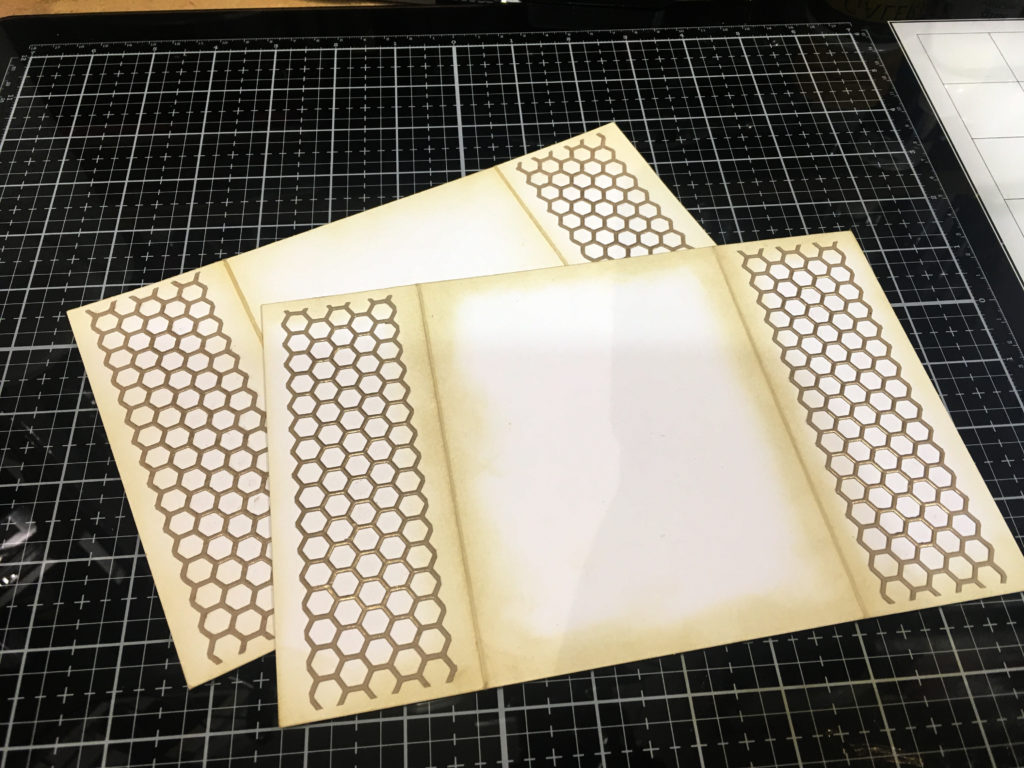
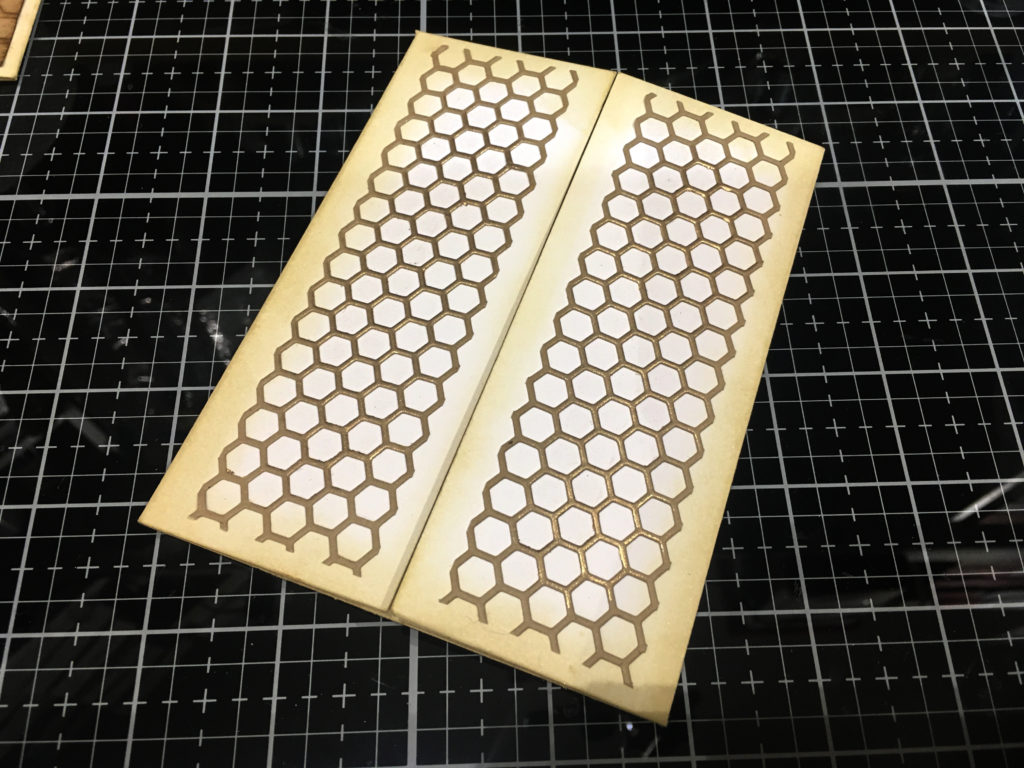
Here are the die-cut pieces applied to the other two cards. When I cut the first two pieces, I forgot to apply double-sided tape on the reverse before cutting, so these had to be stuck down with liquid adhesive. Again, I had lightly applied some Treasure Gold before applying them to the ard.
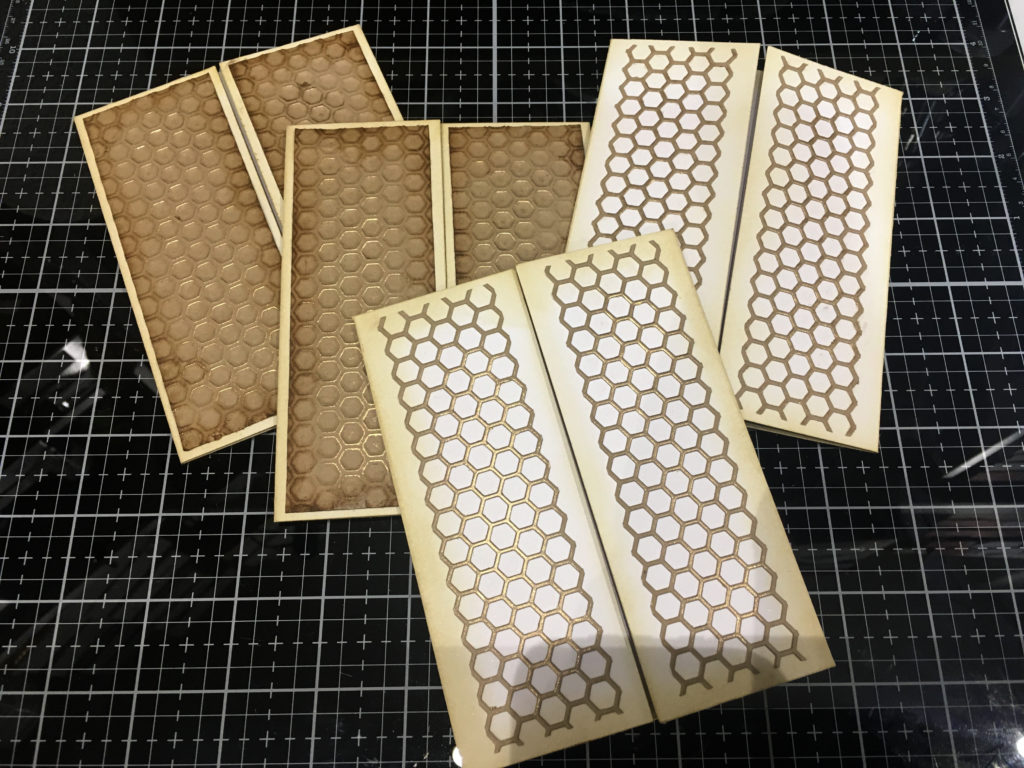
Here are all four cards with their front panels in place.
This is one of the embossed cards.
This is one of the die cut ones.
Next came quite a difficult part. On the video she explains how to use a piece of scrap card as a template to show how to cut the circular window across the opening of the card. Firstly, my post-it note didn’t stick properly so I ended up using the scrap card with some Zig Two-Way glue to hold it in place temporarily. Secondly, having put rather thick mats on the card fronts, my punch didn’t work that well, and I had to cut the final part by hand.

Using two nesting circle dies from a small set I have, I cut a ring from gold mirror card to embellish the edge of the circle. However, that nesting set is pretty hopeless because there aren’t enough dies and the narrowest circular frame I could cut looked far too dominant on the card. It was also really difficult lining up the dies so that they were exactly concentric, so that piece ended up in the bin. I decided to cut some circles with my Cougar cutting machine but it was too late to start on that, so I went to bed at that point. Today I have felt too tired and poorly to do anything, so it will have to wait until the weekend now as we’ve got commitments over Christmas.
As long as I finish in time to zap it in the post before Wednesday, I shall be OK!