
After my less-than-spectacular results yesterday, I had a really fun and creative afternoon in the studio today. I had a small job I wanted to do, and this had a spin-off which was unexpected, and not at all what I imagined I might be doing.
Following Jennifer McGuire (see my previous post), she had a really good tip when using her Misti stamping tool. I have the Tim Holtz stamping platform and thought this idea would be extremely useful as I often have problems with stamping. In her ink transfer technique, which I attempted yesterday, she was using a background stamp to cover an entire piece of cardstock, and obviously you wouldn’t be able to hold this in place on the stamping platform with the aid of magnets or they would spoil the stamping. She uses a sticky mat.
Sticky Mat
At the last craft show I went to, I bought a GyroCut, and along with it, a bottle of the sticky mat adhesive they recommend for use with that tool. This is an excellent adhesive which dries tacky, and you can use it on the mat for your cutting machine.
I wanted to make a sticky mat meauring 8 x 8 inches to fit in my stamping platform, printed with an inch grid divided into eighths of an inch for easy placement. I began to make a grid in my desktop publisher but it really wasn’t going well, and I couldn’t find any instructions on how to do it, so I searched online. I soon came across an absolutely brilliant website and share this info with you because it could be useful for so many purposes! It has literally hundreds of different printable papers, from graph paper to music manuscript paper, Sudoku grids and to do lists, and even has templates for making paper aeroplanes!
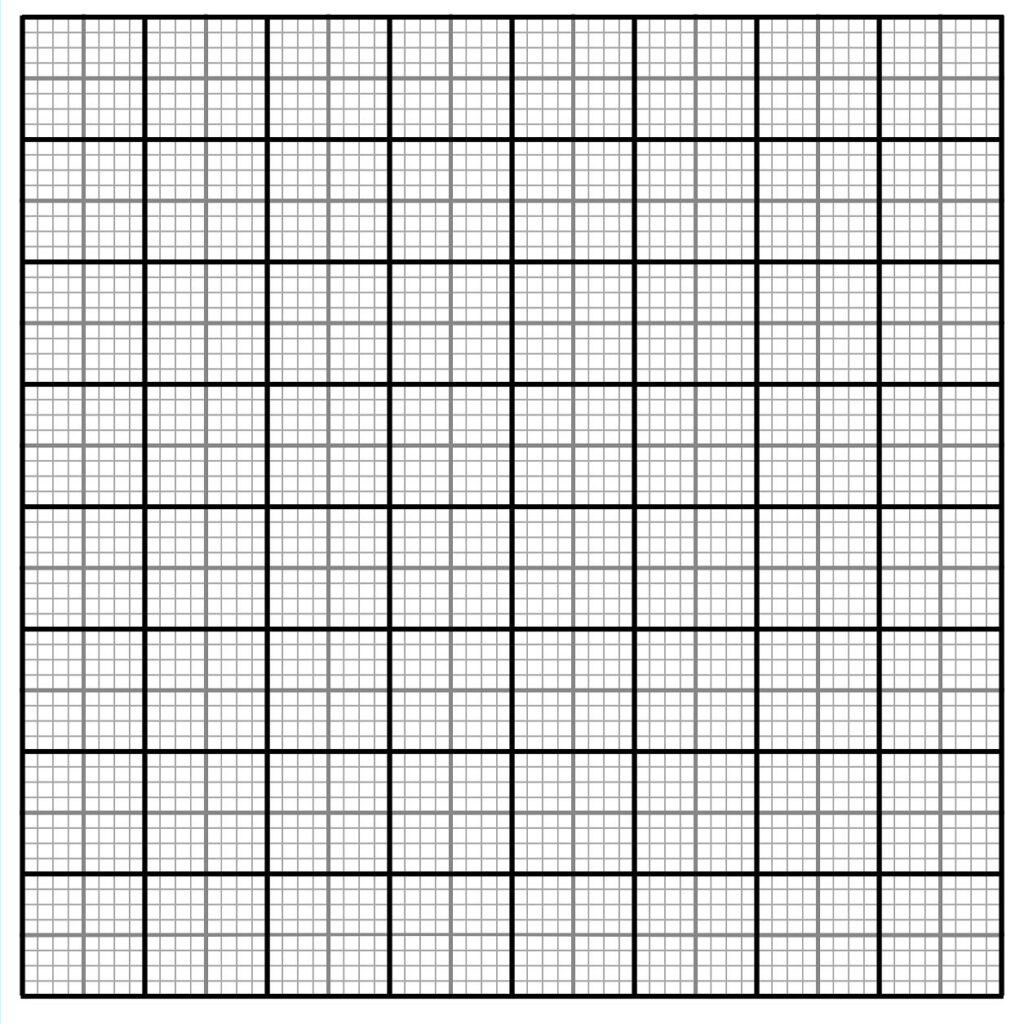
I found what I wanted – a one-inch graph paper grid divided into eighths of an inch. I downloaded it, and tweaked it in my desktop publisher to thicken some of the lines, and to change the colour from blue to black and grey, and I also cropped it down to an 8-inch square. This is the result.
Then the fun began when I tried to print it. I wanted it to be transparent, so I loaded an inkjet acetate into my printer and it wouldn’t print it. In the old days when I taught my first Bible study group, we had an overhead projector (ancient technology – oh, how nostalgic that makes me feel!) and I printed loads of acetates for my charts and other visual aids, and I still have a box of the printable acetates. Apparently modern printers won’t do this any longer (why on earth not??!! There are still masses of reasons people might want to print on acetate, despite the demise of the OHP). I searched online and came across a very ingenious man who has worked out how to fool his printer into thinking it’s printing regular paper! You just put your acetate on top of a piece of printer paper and tape them together at the top and print as normal! Genius.
I had a couple of attempts that didn’t work as it slipped a bit, but in the end it was fine.
I trimmed it down and then laminated it with a matte laminating pouch as I thought this surface would take the sticky mat adhesive better than a gloss one, and rounded the corners. I wanted it to be a bit stronger than just the acetate alone, and also to trap the printing inside so that it wouldn’t smudge if it got wet. It came through with a few small wrinkles which I tried to eliminate by laminating it again but it seemed to make the problem worse, so I left it as it is. It seems to lie pretty flat, and I’ve made the non-wrinkled side sticky.
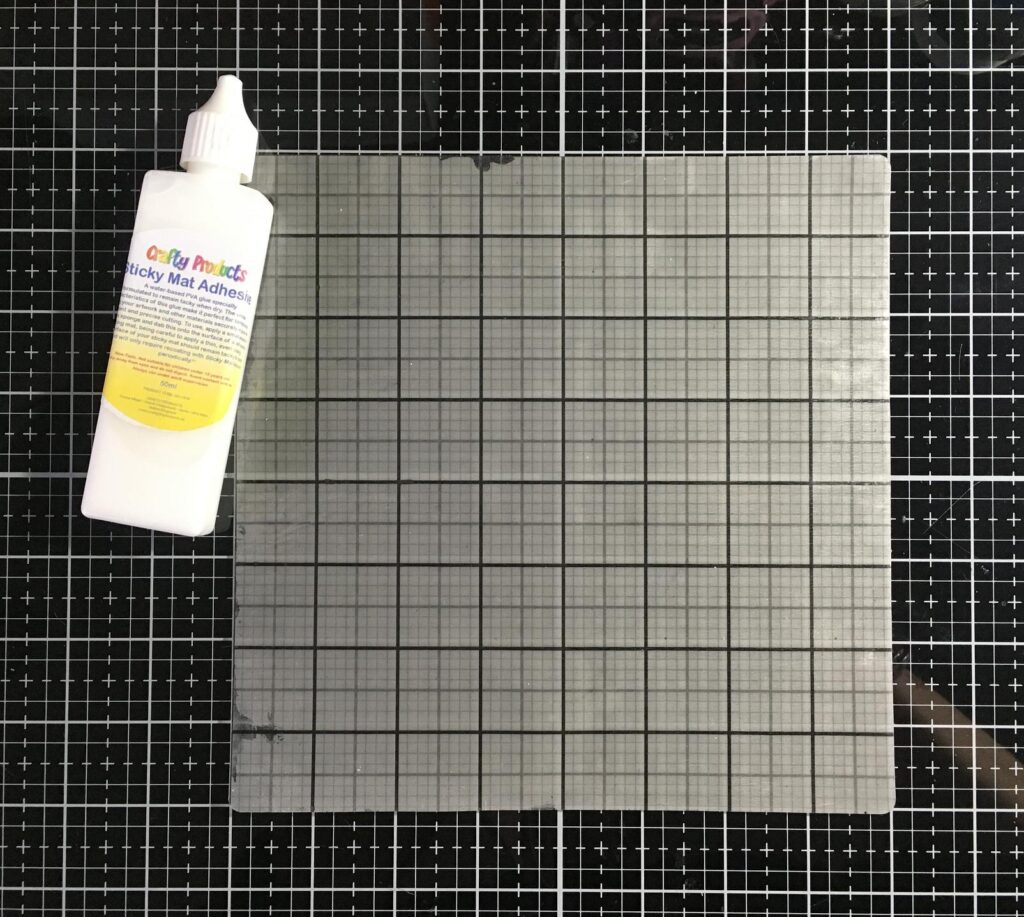
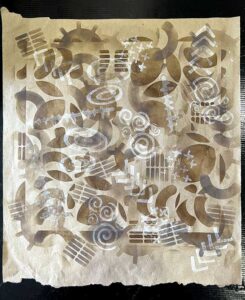
Here is the mat just after I’d spread the adhesive onto it with a sponge.
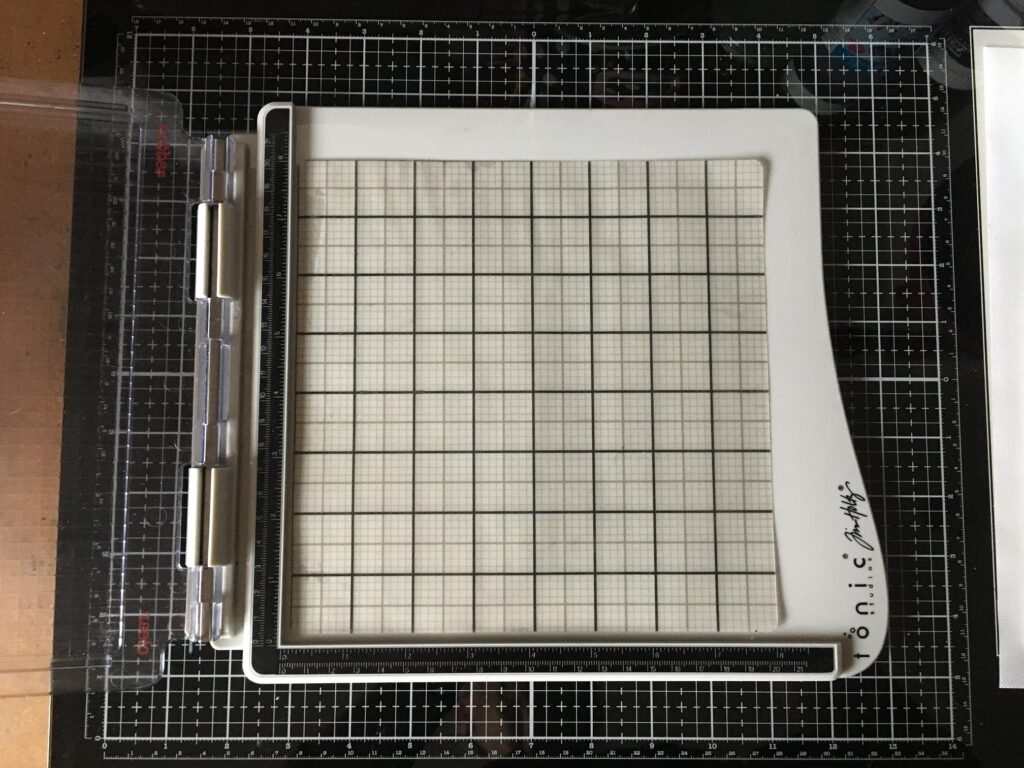
Here it is in situ in the stamping platform – it’s still wet at this stage. Once the adhesive has dried, it becomes tacky and will stay that way for months. It can be cleaned with a damp cloth if it gets dusty, and will retain its tackiness.
Now for some fun.
Butterfly cards
When I was laminating the sticky mat, it did not occupy the whole of the laminating pouch. Rather than wasting that portion at the bottom, I decided to try my hand at a technique I have been wanting to do since getting my laminator – laminating napkins.
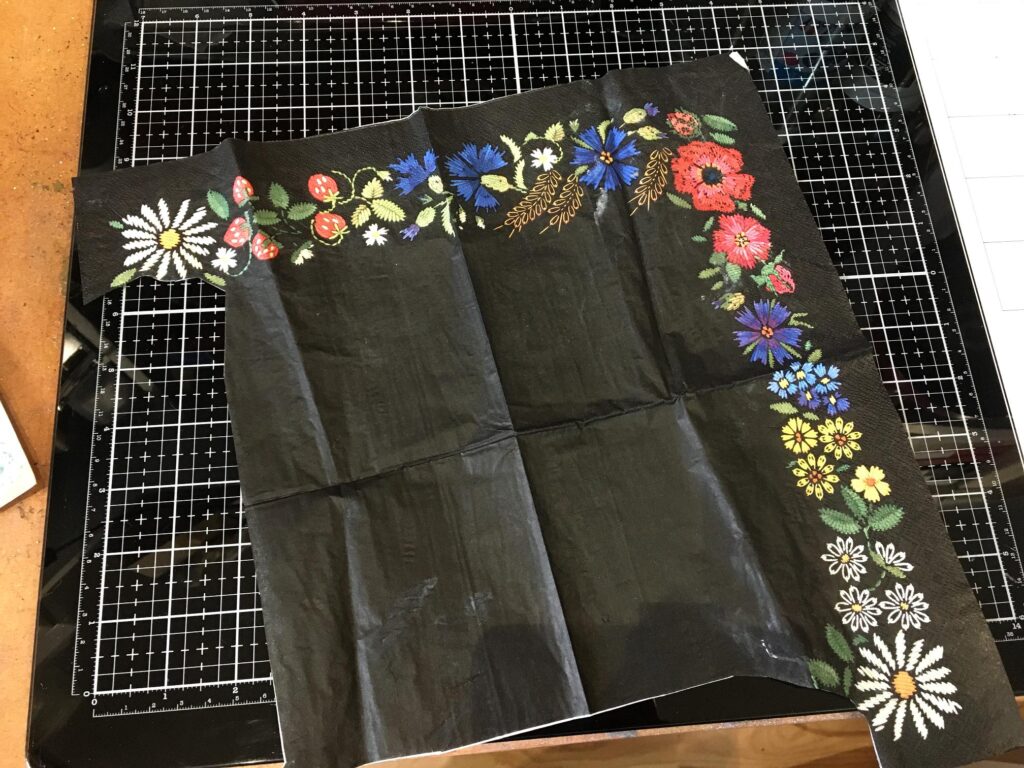
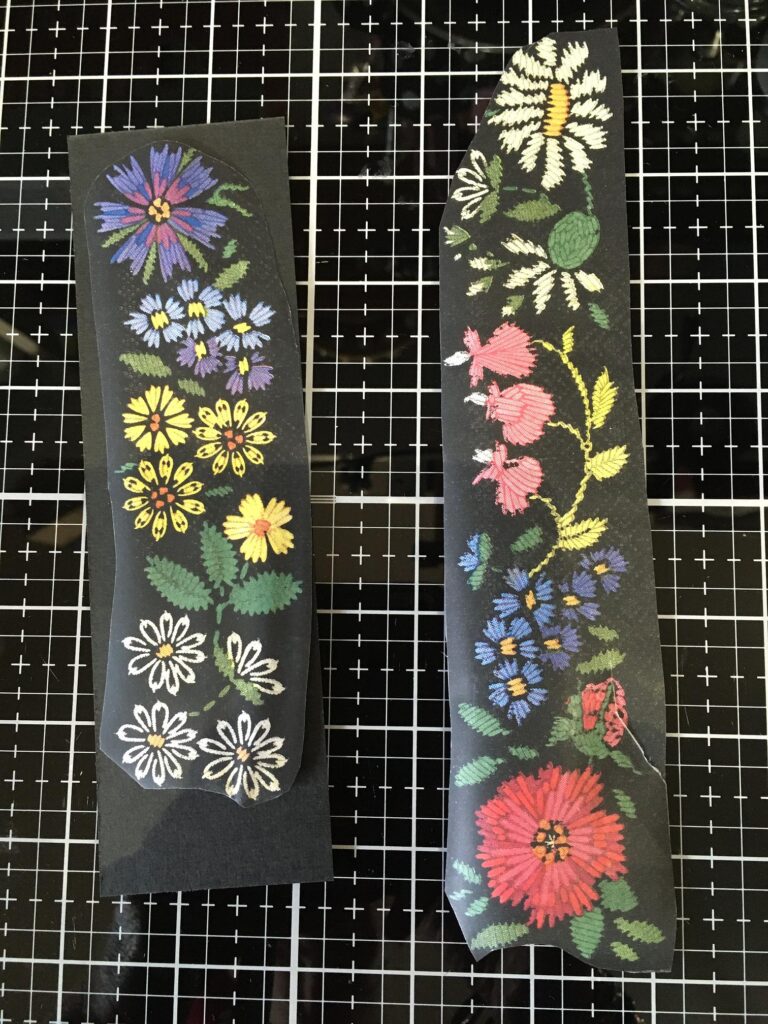
I have a pizza box full of napkins that I have collected, some of which are very pretty. I have several black ones with brightly-coloured floral borders, and the width of these borders was just right for two to fill the remaining part of the laminating pouch. I cut two of the narrower borders.
The online tutorials on this say that if you laminate both sides of anything you want to use as an embellishment, this presents problems with adhesives sticking to the plastic surface. It is much better to laminate only one side, so that you end up with the back still being paper, which is much easier to stick down. With this method, you can also get twice as many embellishments because you are using both sides of the laminating pouch. You put two pieces of printer paper inside the pouch, and one embellishment on either side of these, so that only their top surface is in contact with the pouch. When you have laminated it, you can cut them out and the two pieces of paper inside will fall away, leaving you with two embellishments, each with their paper underside still exposed, and their top surface sealed with the lamination. Using this method with the top ply layer of a napkin, especially if you use a matte laminating pouch, gives the feel and appearance of vellum, and it makes the otherwise very delicate napkin very strong.
Here are my two borders after laminating. The one on the left is laid on top of a scrap of black cardstock, and the one on the right is as it was straight from the laminator.
I thought these would look nice as a decorative strip down one side of a 5 x 7 in card. I took two card bases of this size from my newly organised card-making basket, and looked through the mat layers that I’d also stored with them.
A few weeks ago I learnt the embossed glossy photo paper technique and have made a couple of cards using this method. While I was making the second one, I made several of the embossed backgrounds to go in my stash. Some of these were less good to be used in their entirety (a bit blotchy, and one of them had too much yellow on it for what I was doing at the time) but this was an ideal opportunity to put them to use. I trimmed them down by 1/8 in each side so that a narrow white border would be visible from the card base, ready to stick down.
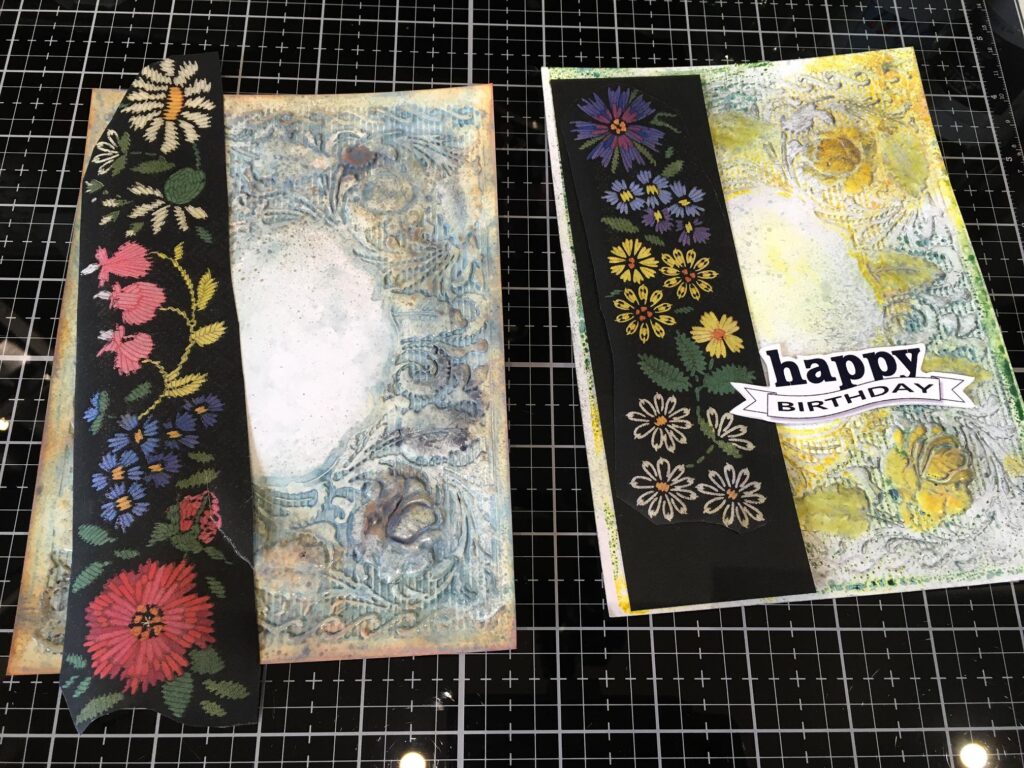
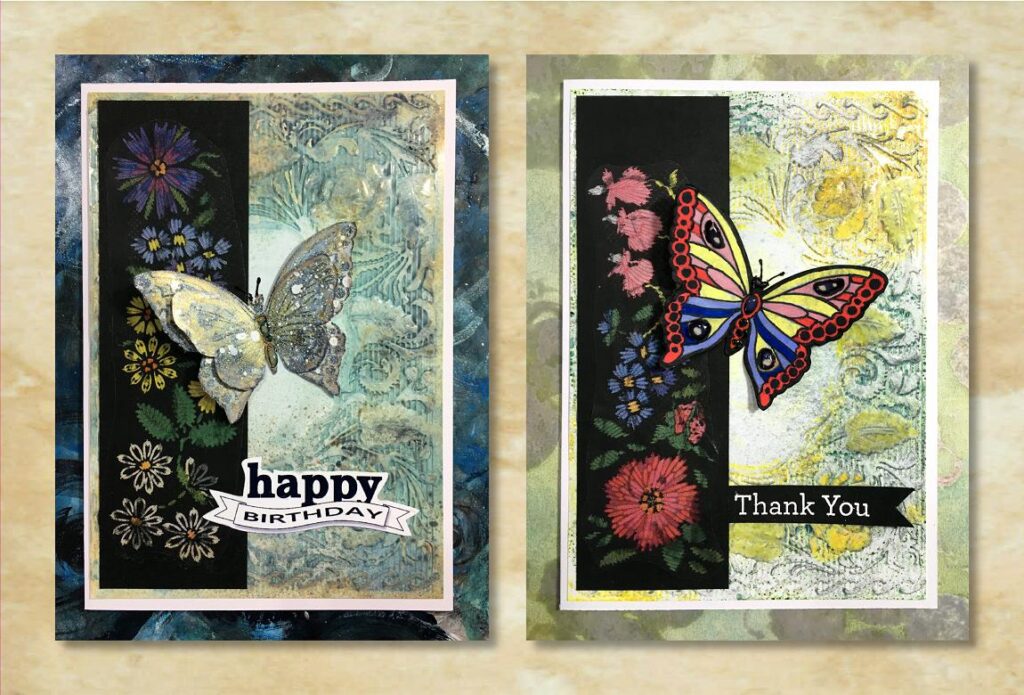
Here are a couple of mock-ups showing how I would assemble the cards. I chose the border with more yellow flowers in it to go on the more yellow background, but later decided to use the other one as it was brighter with the large red flower.
For the more muted one, I chose two butterflies from the ones I made when I was making the previous butterfly card with embossed photo paper.
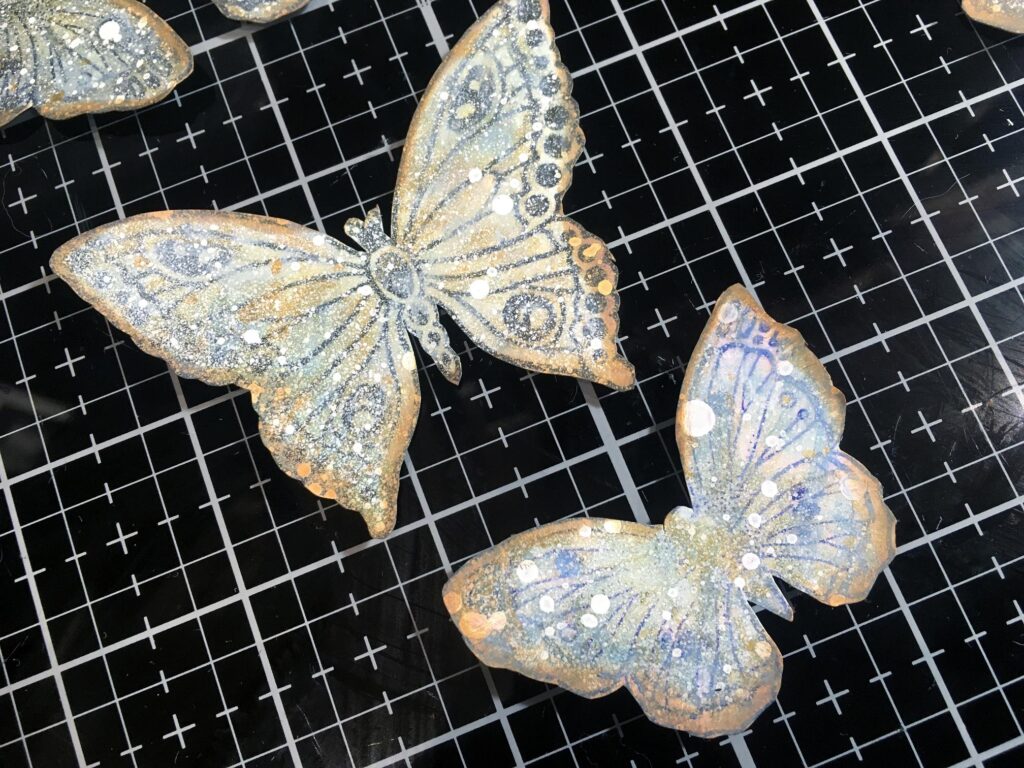
I layered them as I’d done before, and added some gold to the butterfly’s body.
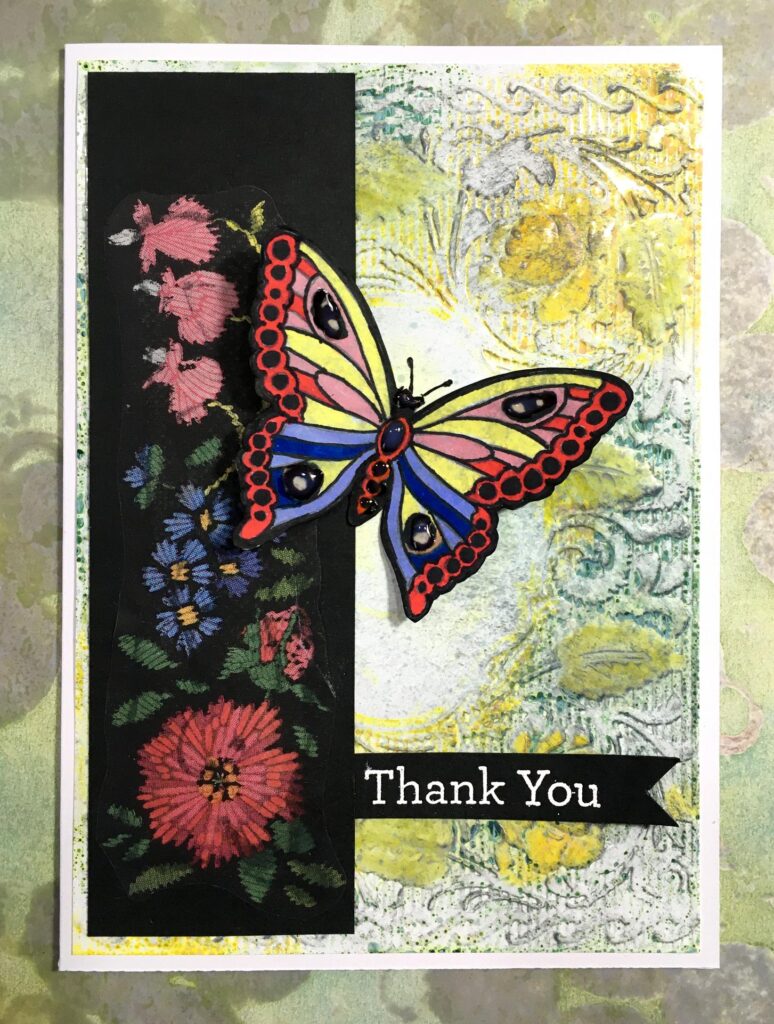
For the other card, I chose one of several that I had stamped on cardstock that I’d inked with the same combination I’d used for the photo card; this hadn’t come out so well on the cardstock so I put them in my stash for later use.
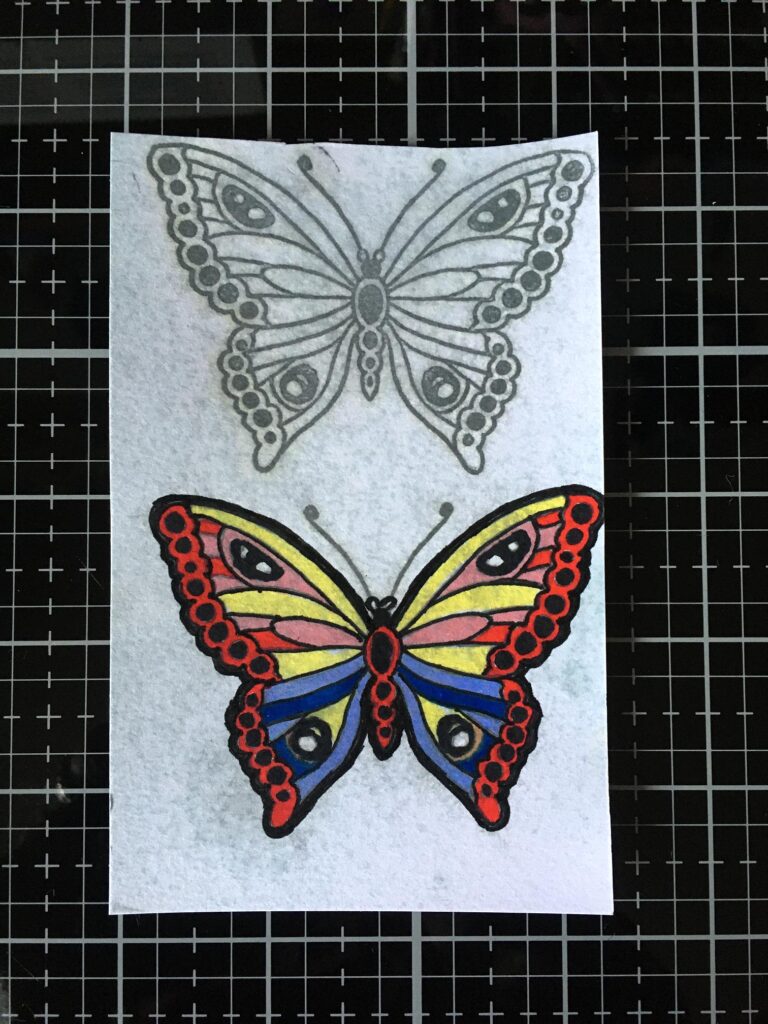
I coloured one of them with my Tombow dual brush markers and fussy cut it out. I chose bright colours to co-ordinate with the brighter background of this card.
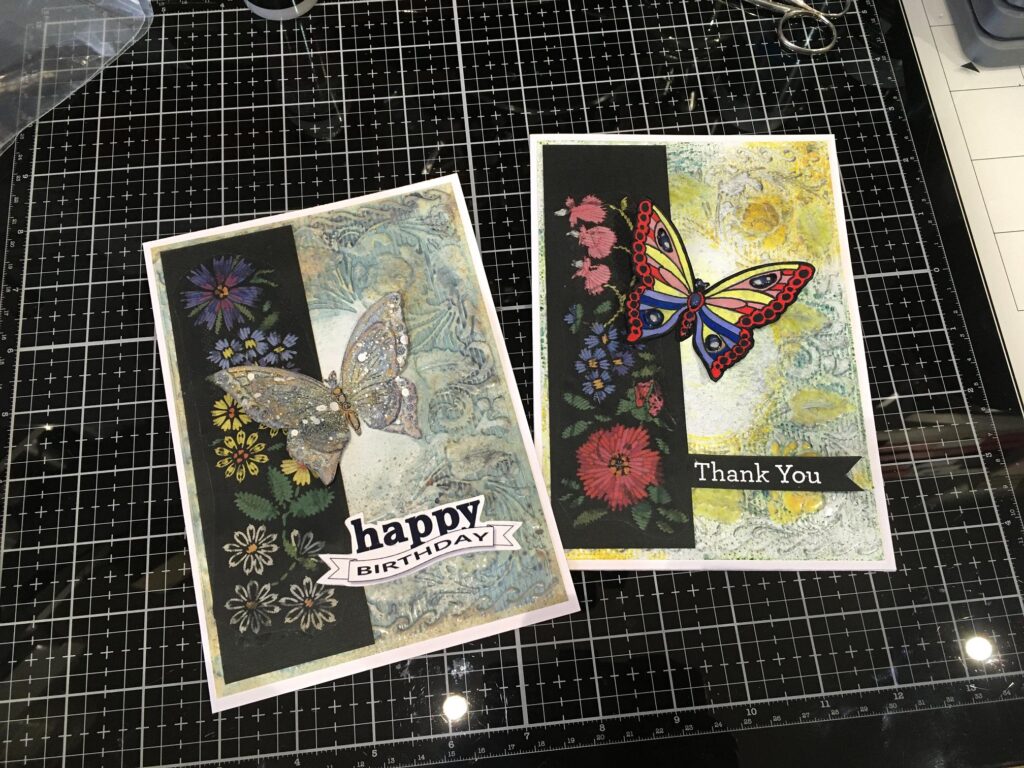
Here are the two cards, almost finished. The “Happy Birthday” sentiment is one of the ones I made recently, prined on glossy photo paper and fussy cut. The sentiment on the other one is just tucked in under the black cardstock strip, because I want to keep the card without a sentiment until I know how I want to use it.
The finished cards, with antennae drawn in on each butterfly, and some glossy accents added to their bodies and the spots on the wings of the coloured one. I have folded up the wings of the butterflies a little, for some dimension, and they are stuck down with strong liquid adhesive.
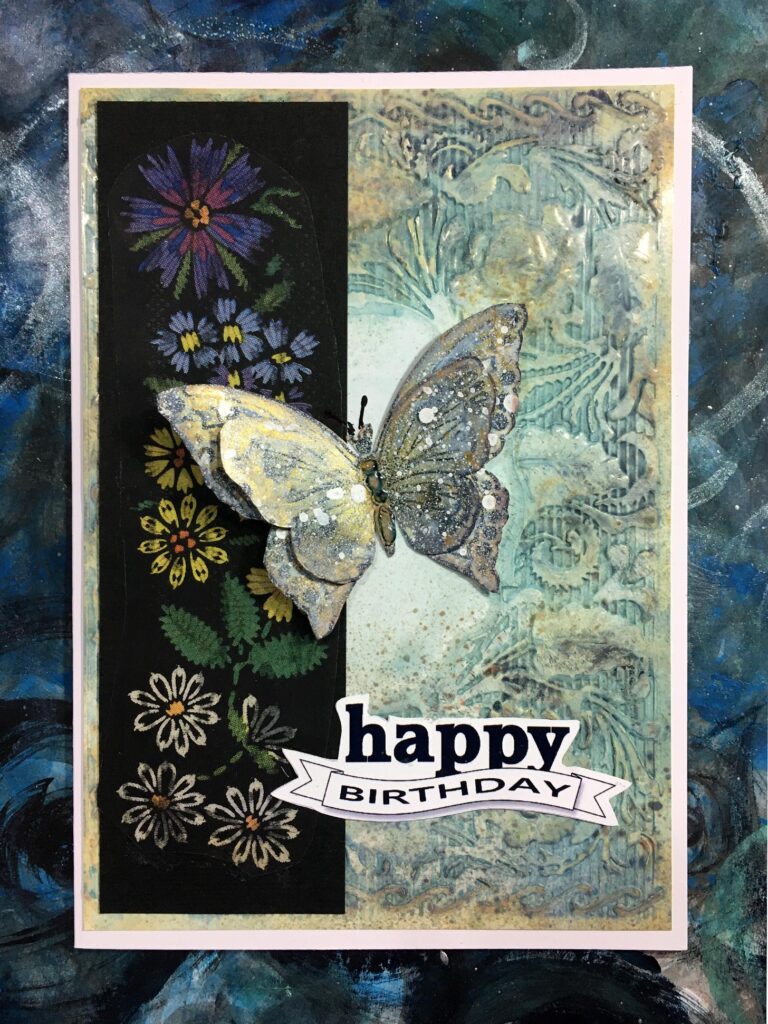
I wasn’t sure initialy whether the embossing folder used for the backgrounds would be suitable for these cards, as there is a flat space in the middle for some focal point to be added. However, the lighter colour in the centre provides its own focal point and throws the butterflies into relief very well. I also like how the matte finish of the lamination blends completely with the black card stock and you are hard-pressed to see it at all.
Not bad for an afternoon’s work, and an ad hoc project that really made itself, just because I had a bit of laminating pouch to spare! This more than makes up for the frustration of yesterday’s less than satisfactory results.
Good morning, Soshi. Okay Im on the right blog. That’s a start. LOL I left a comment on MaryAnne’s thinking I was replying to you. LOL There’s your giggle for the day.
You have been a busy little butterfly. Great making your own sticky mat. I was thinking of OHP just the other day when trying to describe the acetate to my sister. Love the cards. Hugs & Creative Blessings! Kelly #22