I am delighted to have finished my inkpad storage unit.
Finishing the labels
Late last night, I completed the labels both for the unit and for the inkpads. The darker unit labels were written with a white pen. On the left is the scratch paper I created when inking the inkpad labels.
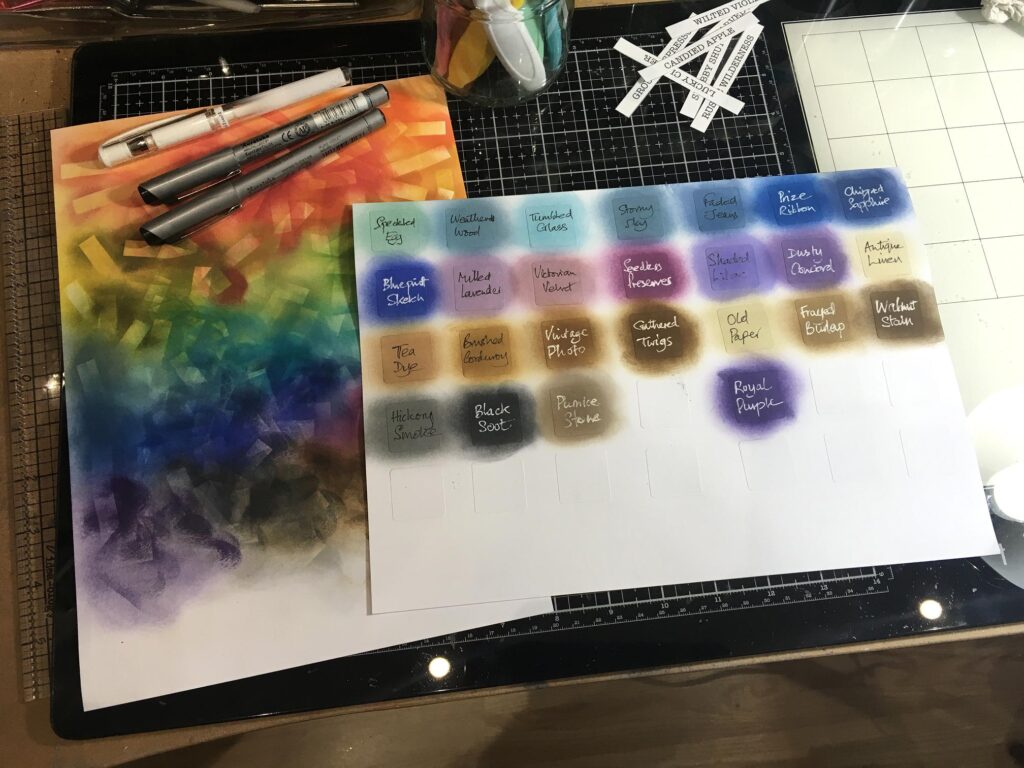
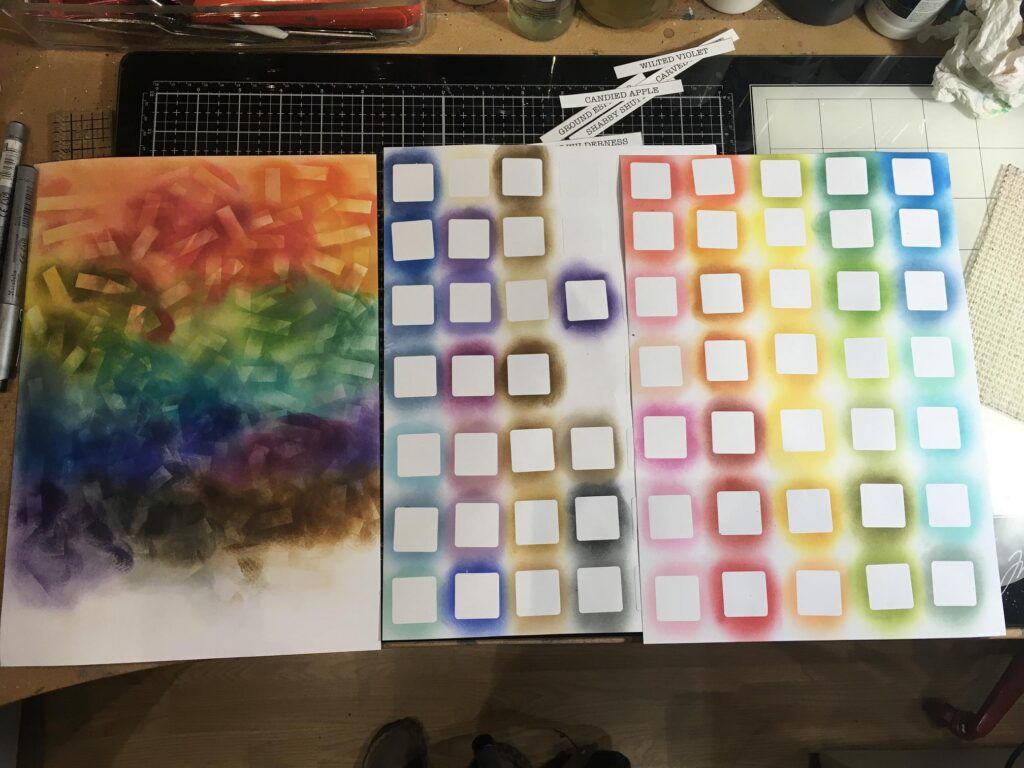
The three scratch papers at the end of the project. On the left is the inkpad labels one. I deliberately kept turning the labels as I inked them, to create an interesting background, with these narrow labels acting as masks. This was done on 160 gsm printer card. The papers on the right are also 160 gsm printer card, onto which I had stuck the removable one-inch square labels in order to ink them. When I peeled off the labels, this was the result. I am sure I can use these in other projects! It would be a shame to waste all that ink, anyway.
The labels installed on the unit. The one-inch square labels fit perfectly, and can be peeled off and moved if necessary, when I get new colours and expand the unit.
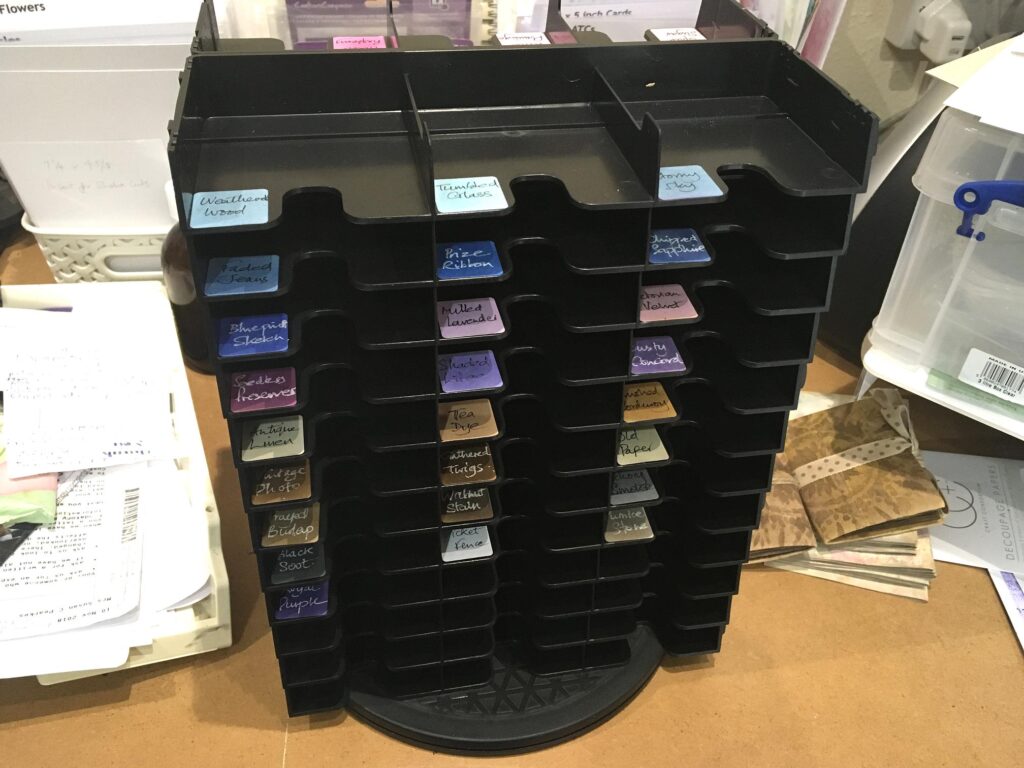
Installing the inkpads into the unit
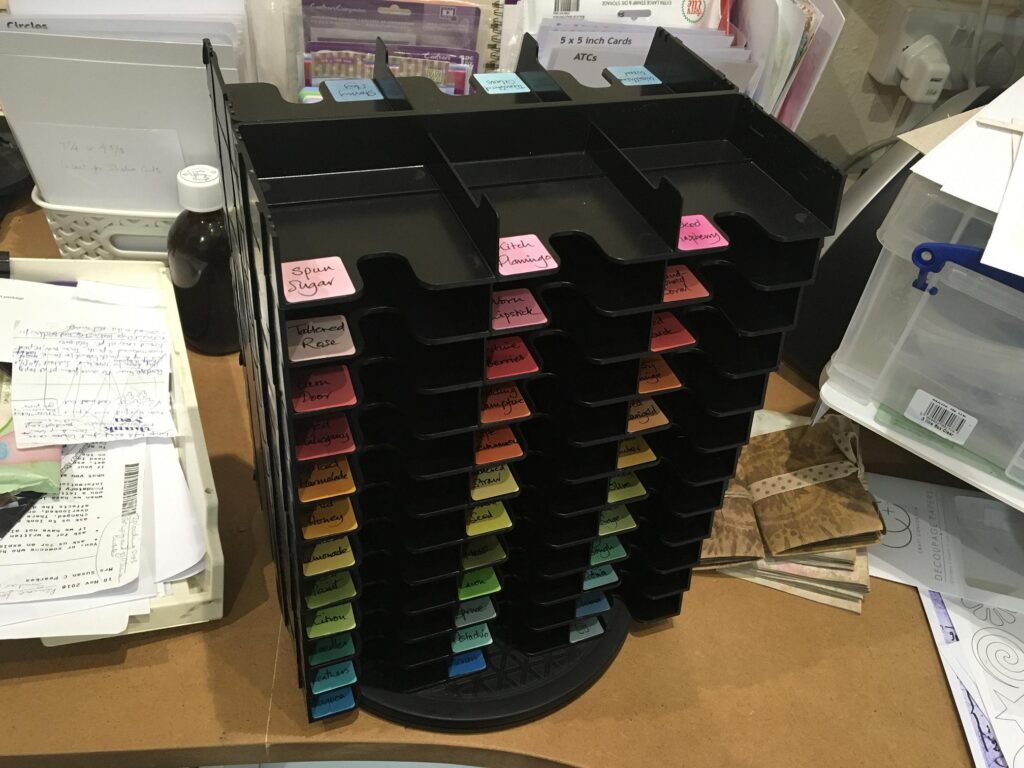
After this, I installed the inkpads into the unit. You can see the original (upside down) labels on some of them,
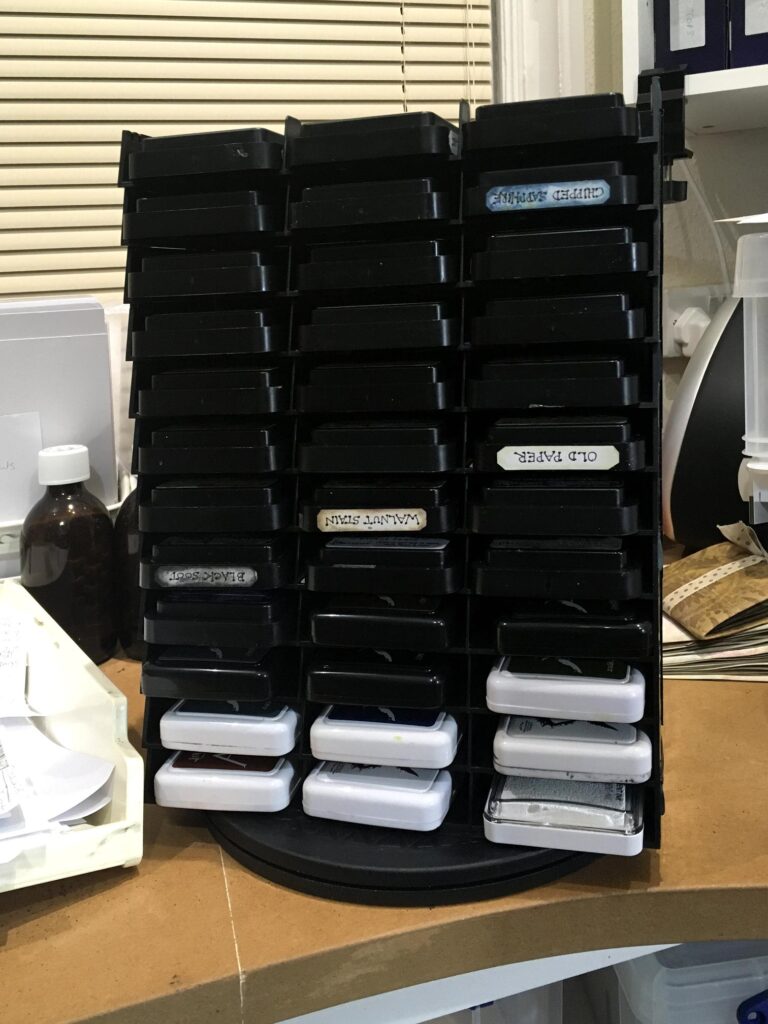
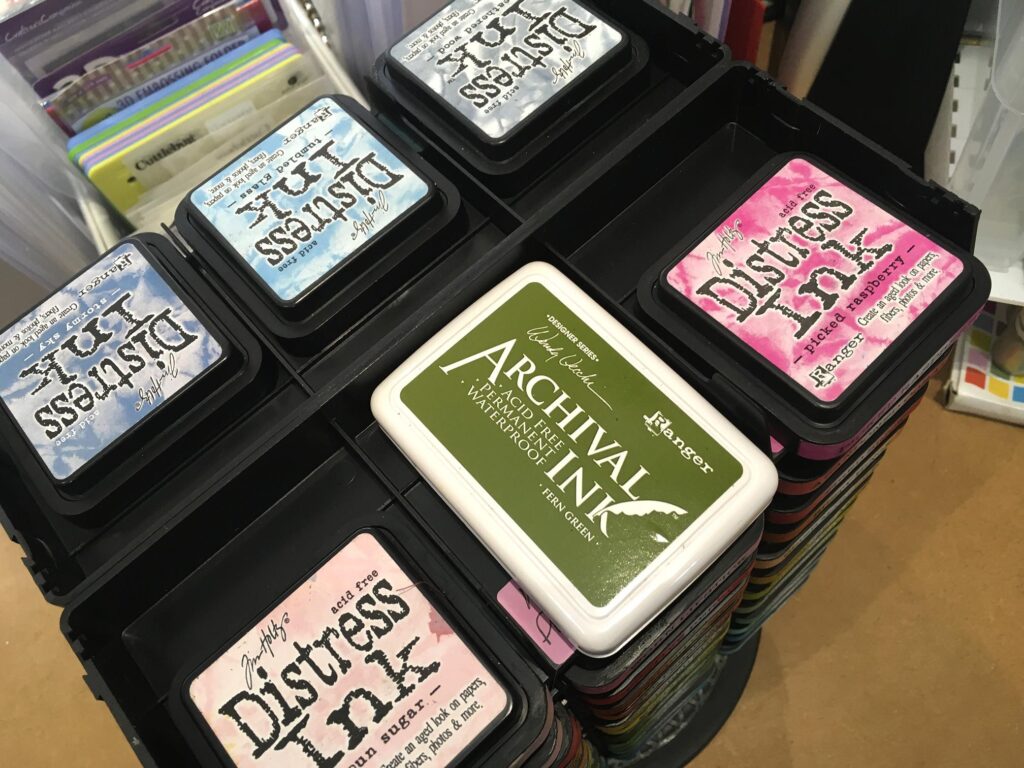
I’ve filled the remaining slots at the bottom with some of my larger inkpads. I don’t have many of these, but unfortunately too many to go in the spaces available on the unit. Eventually they will go back in the box again.
The completion of the project
This afternoon, I put the new labels onto the inkpads.
Lou Collins, in her instructions on how to use her free printable labels, suggests sticking them onto the inkpads with sellotape. The tape is too wide, and needs to be folded over the bottom of the inkpad, and at the top, you need to cut little vertical slits in the tape in order to stick the tape around the curved corner of the inkpad. I didn’t want to do this, so I stuck mine with gel medium.
I sprayed the labels first with fixative, as I knew that both the text (inkjet printed) and the Distress Ink would smudge when I painted on the gel medium. I used soft matte gel medium, and it was getting towards the end of the pot – there is quite a bit of dried up medium at the bottom, useless and therefore wasted, which is a pest. I recently saw a video where Tim Holtz suggested covering the surface of your media in the pot with a piece of Glad Press’n Seal – you turn the excess over the outside of the pot and screw the lid down over it. You can easily peel it back when you want to use the stuff. I thought this was a brilliant idea because it would stop evaporation and make your supplies last a lot longer. When doing a project like this, I would have been wiser to scoop out a bit of medium and put it in another, smaller pot, so that the lid of the main pot wasn’t off for so long. This would also stop it drying out and prevent wastage. This stuff is expensive and I hate throwing it away!
I got in a very sticky mess doing this, but the end result was worth it! (It’s also quite satisfying, peeling all the gel medium off your fingers once it’s dry – a bit like popping bubble wrap.) My glass media mat was a mess, too – spray fixative which had escaped the splat box, and a sticky mess of gel medium where I’d laid down the labels to paint them with it. However, all this was easily scraped off with a palette knife and the mat is now cleaner than it’s been for ages.
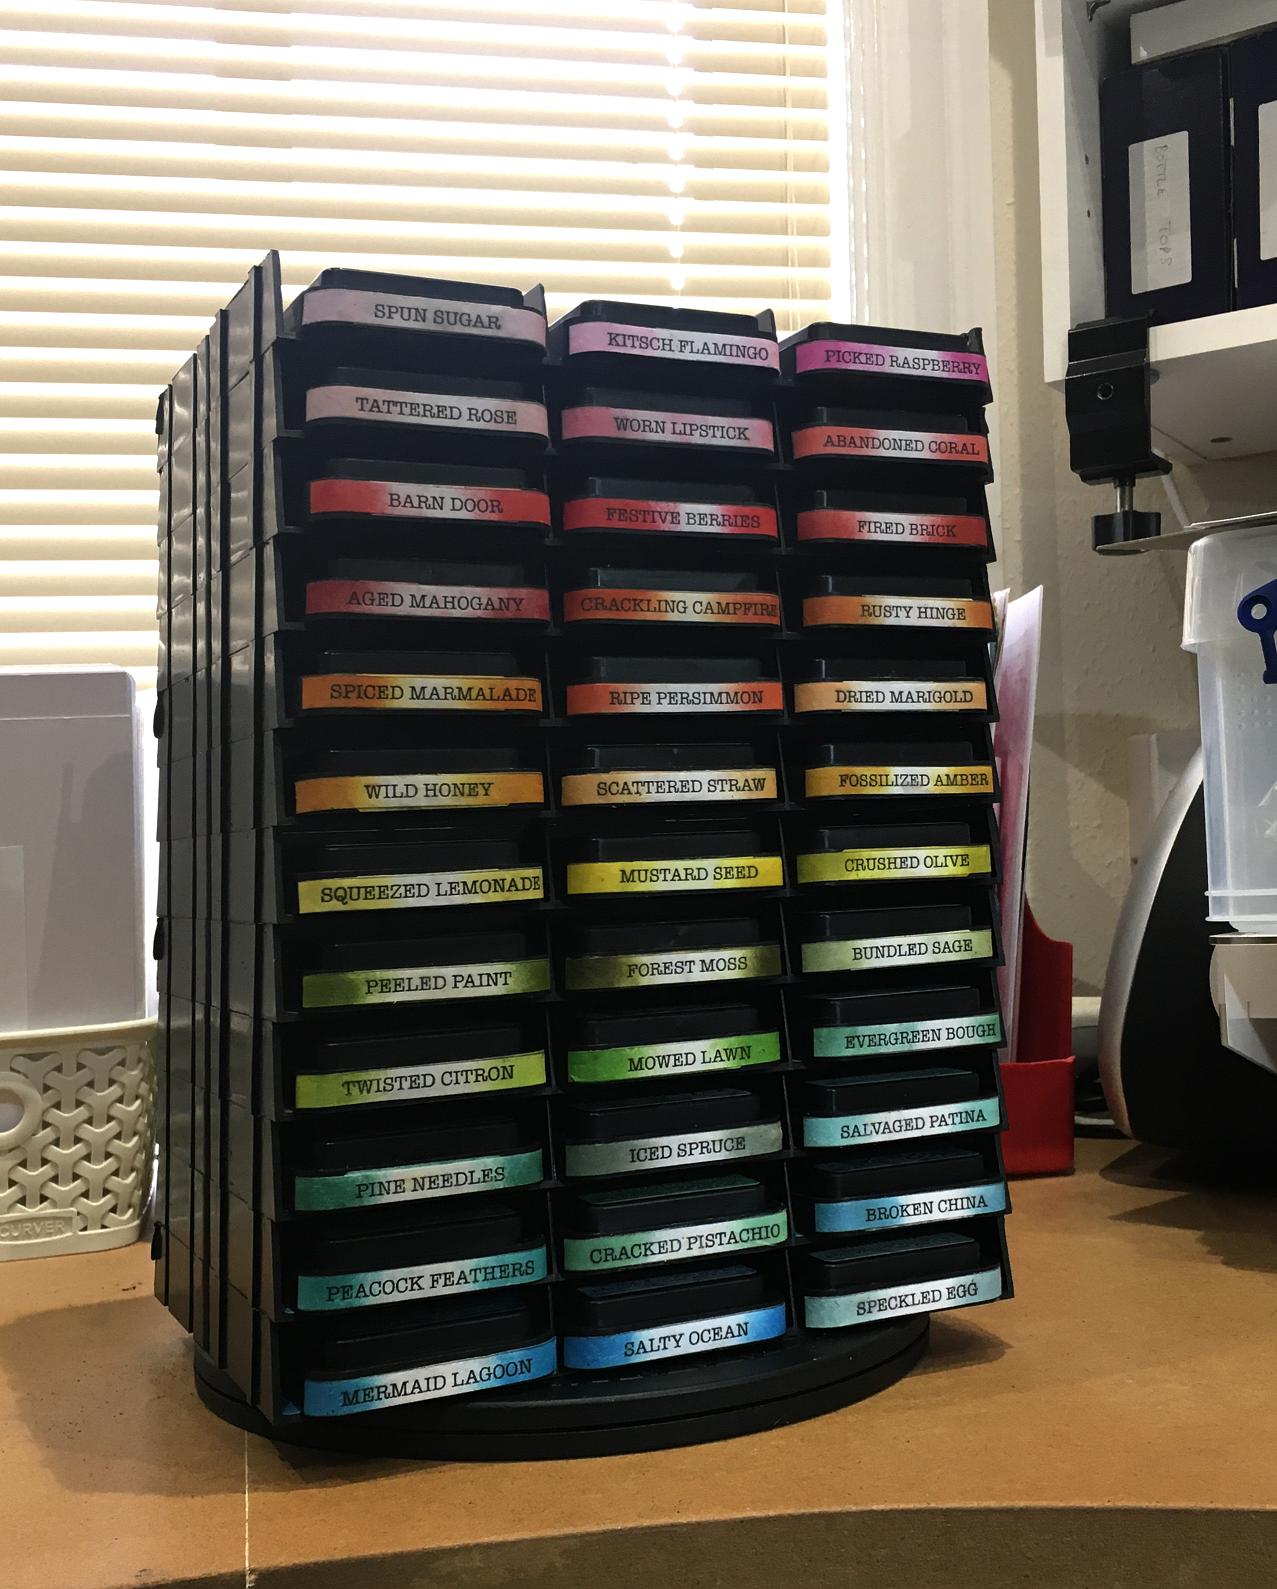
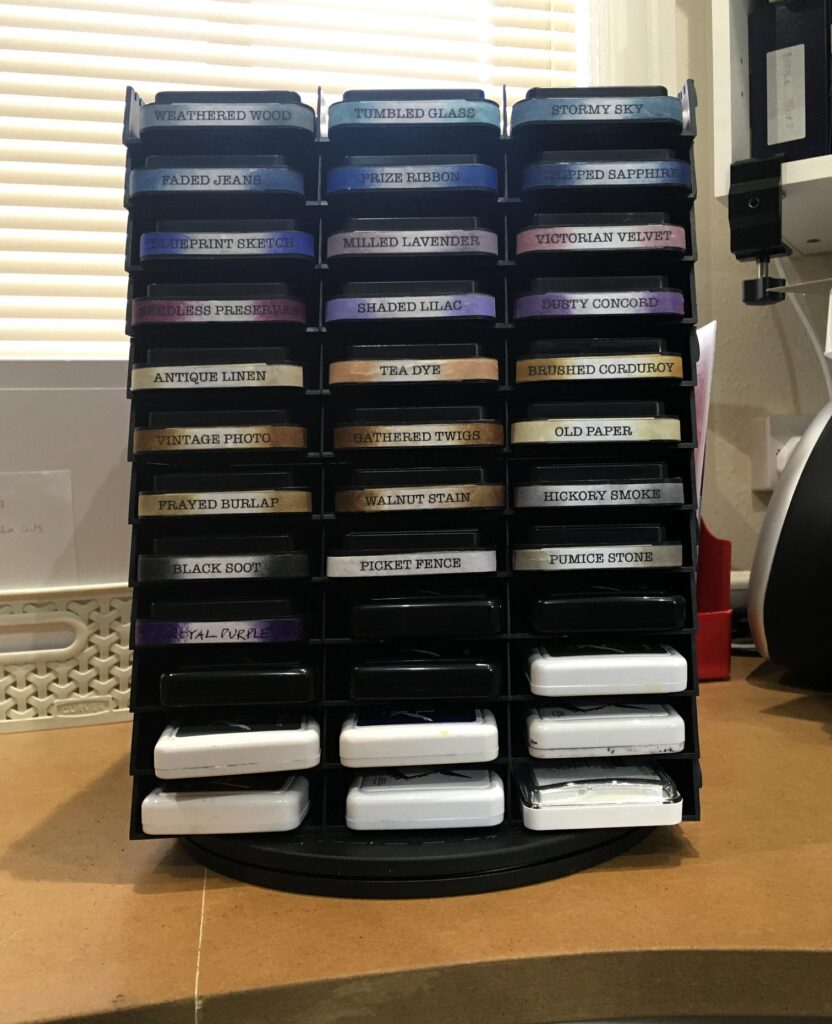
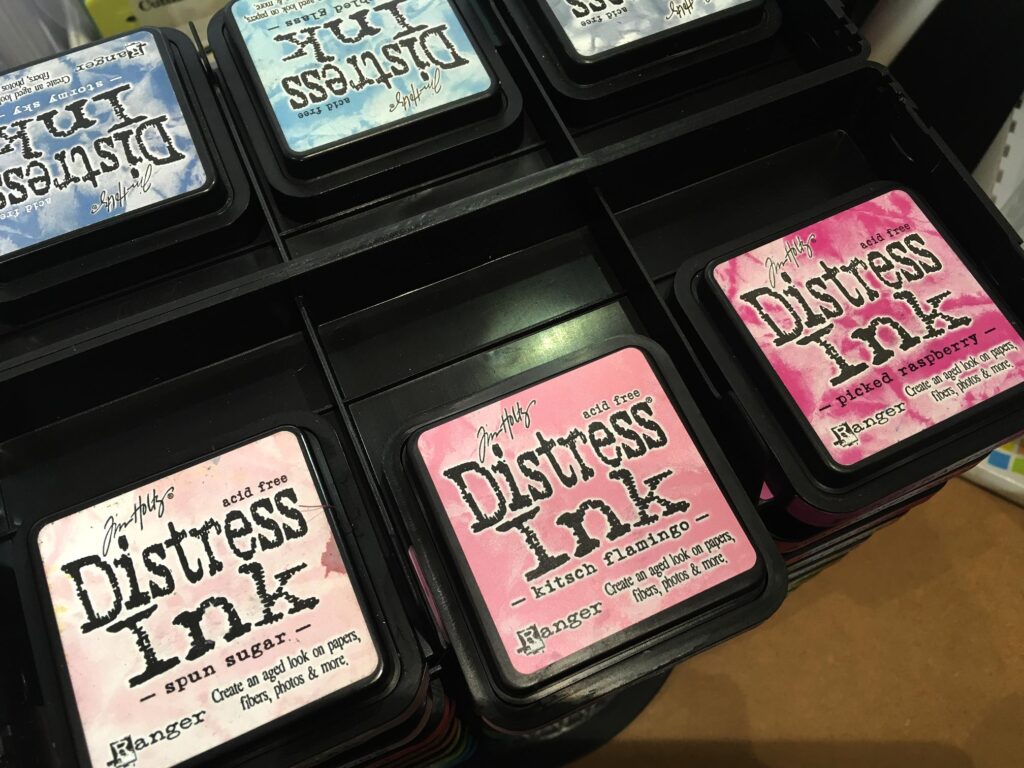
Here are my Distress Inks in all their glory, installed in their new high-rise home. Pretty cool.

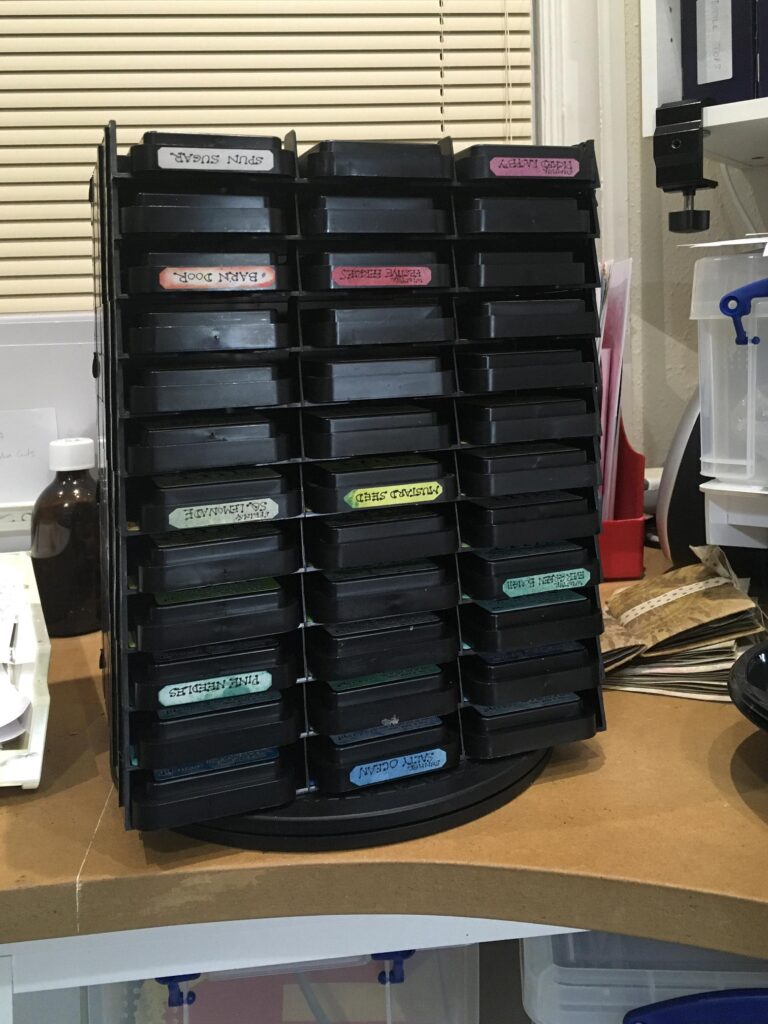
The other side of the unit, when rotated, is definitely less pretty than what I now consider to be the front! I love how the fading out of the colour on each label towards its centre gives the impression of a highlight, giving them extra dimension. I think this looks great.
An interesting discovery
When I was installing the inkpads, I made a discovery about the unit that I had missed before. Each slot has a ridge towards the back, and when you slide the Distress Inks in, they butt up against this so that their edges are all flush with the front of the unit.
You can, of course, slide them right to the back, and this can happen inadvertently, but they are easy to pull forwards, using the cut-away portion under each slot.
If you want to put rectangular inkpads into the slots, you just put them on top of this ridge and slide them right to the back of the slot, and the fronts will be flush.
What a clever idea – so simple, and so effective. Someone has obviously put a lot of thought into this.
I think the whole finished unit looks really cool! I cannot tell you how thrilled I am with this whole project, which seemed to emerge quite out of the blue. I had no idea a week ago that in such a short time, my long-standing inkpad storage frustration would be at an end. This is the sort of solution I have been dreaming of for many years and I’m still having to pinch myself to believe that it’s actually happened!

Yes, it is very satisfying, peeling gel medium of your fingers.
Very impressed with your storage solution.