In addition to the Pakistani Art Style Thank You card I made this week for the surgeon who performed my cancer surgery, I also wanted to make a card to thank the nurses at the Breast Unit for their kindness and support. My cousin is also about to celebrate her birthday, and as an expert card maker I always try to pull out the stops when I make her a card as she knows exactly what goes into this craft, and appreciates the work involved, and she also notices all the details that many other recipients might miss. I know I have to do my best for her!
I recently saw an absolutely gorgeous project on YouTube and knew I just had to try this!
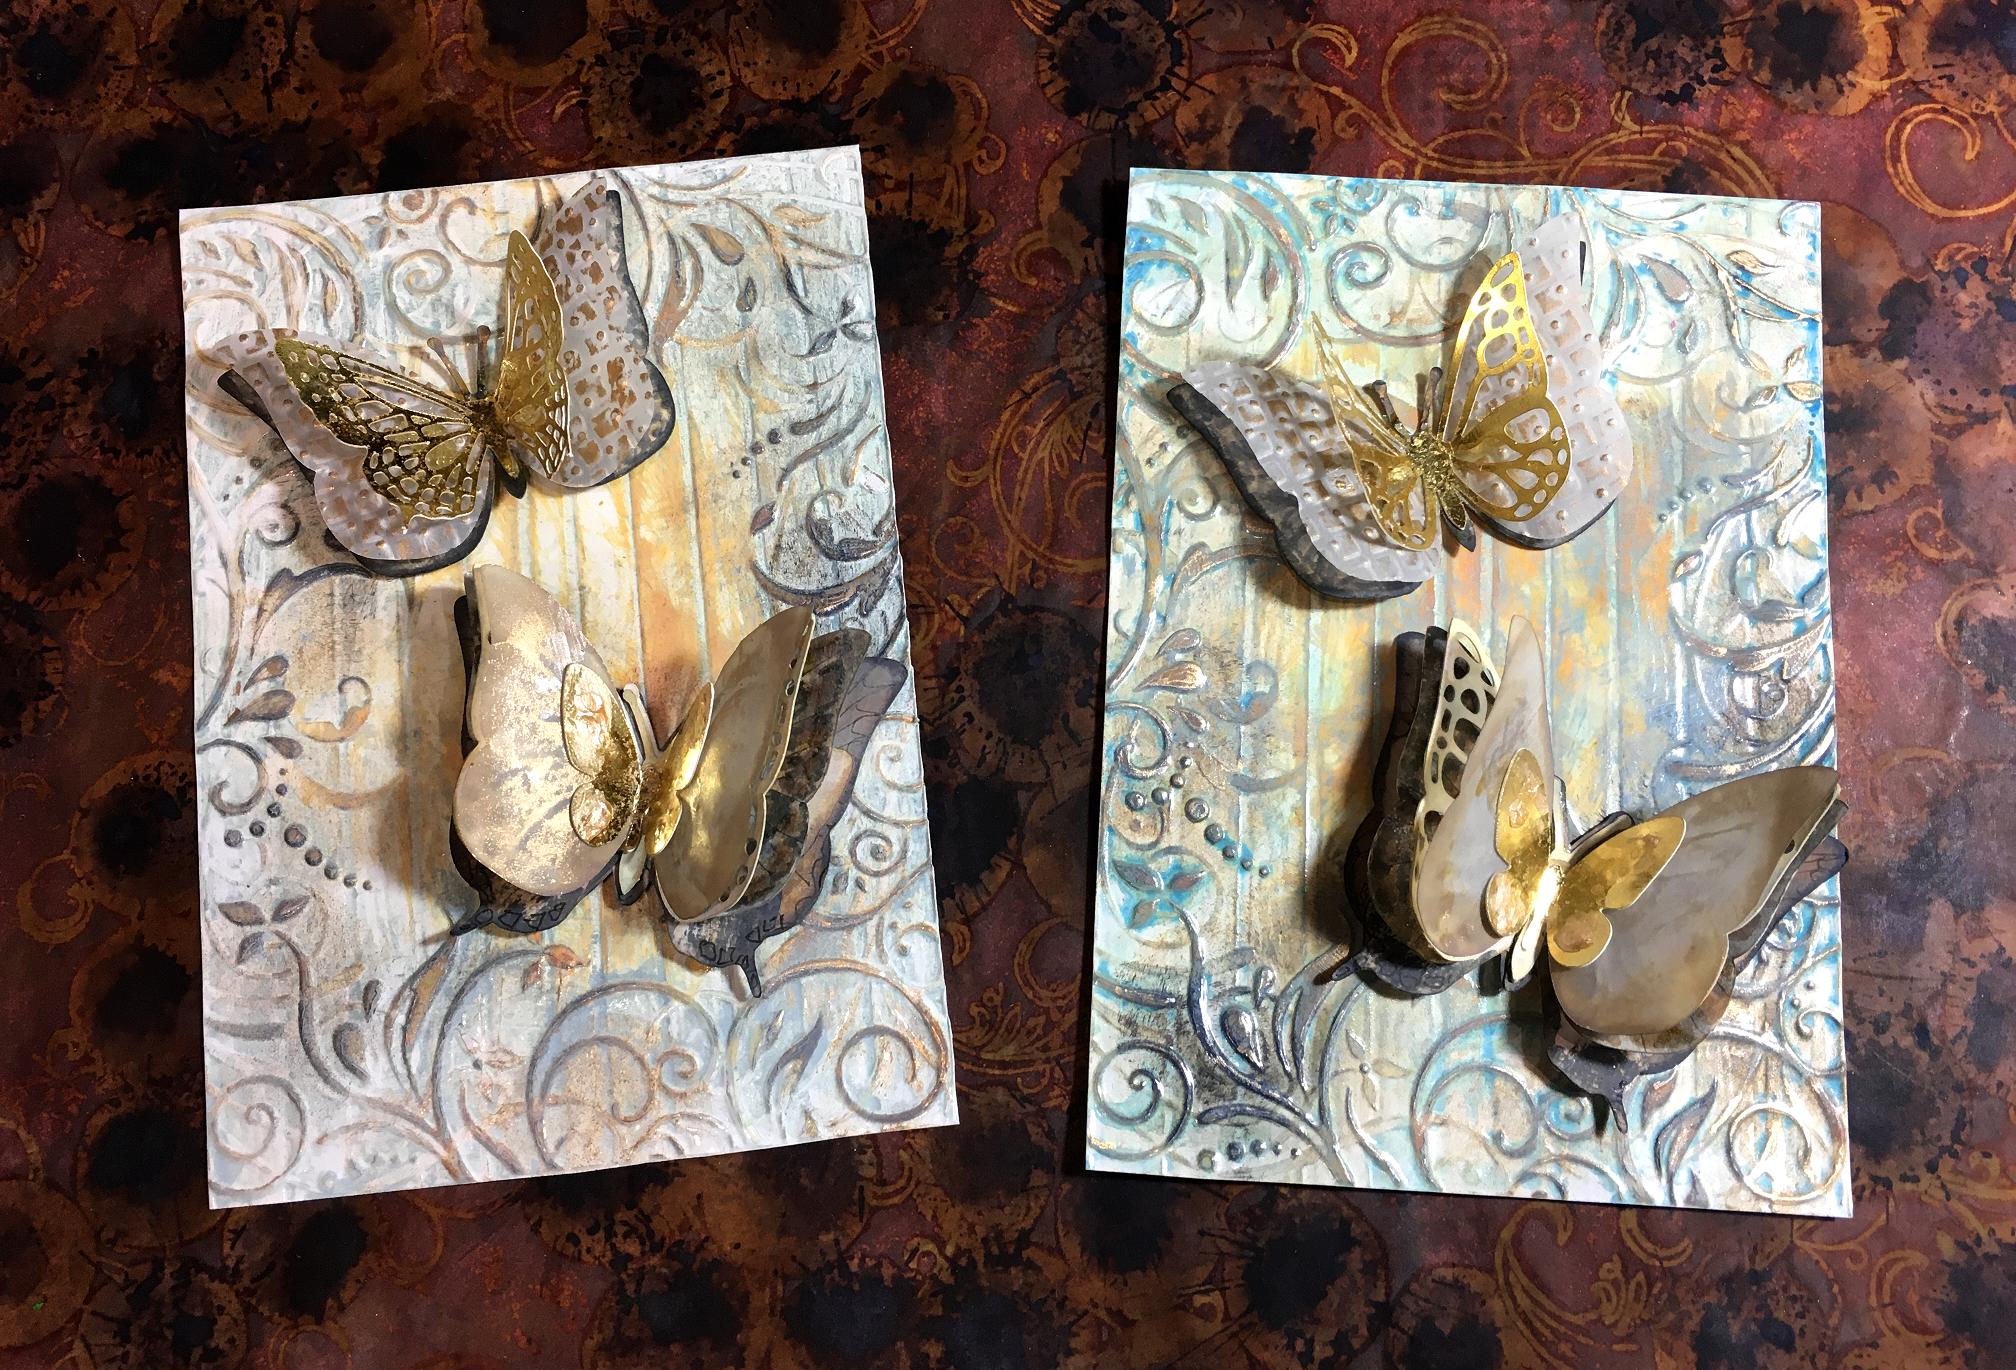
I am making two cards using this technique. They are very similar but not identical.
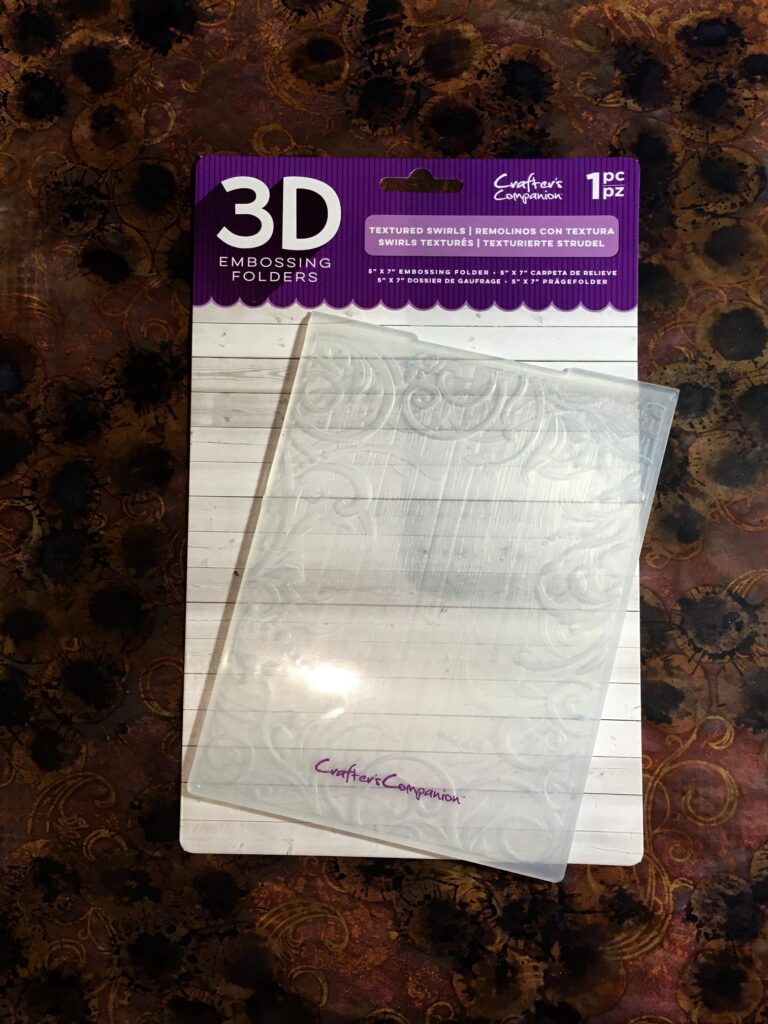
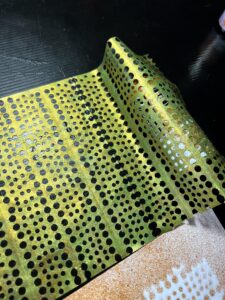
To emboss my glossy photo paper, I used this Crafter’s Companion 3-D embossing folder which has a lovely swirly border and a smoother central area.
These are most of the materials I used in the project. For the first embossed piece I also used some Broken China Distress Oxide as I didn’t have the colour she suggested, but I wasn’t so keen; I thought it was a bit too vibrant a blue, so for the second sheet, I confined myself to Speckled Egg.
I recently got this new colour as I’d been hankering after it for a while, and I know that it is going to be a firm favourite. It is a really gorgeous subtle shade which can be either blue or green depending on what you use it with.
I also used Antique Linen as I didn’t have the Oxide in Old Paper which she used. The results were pretty good.
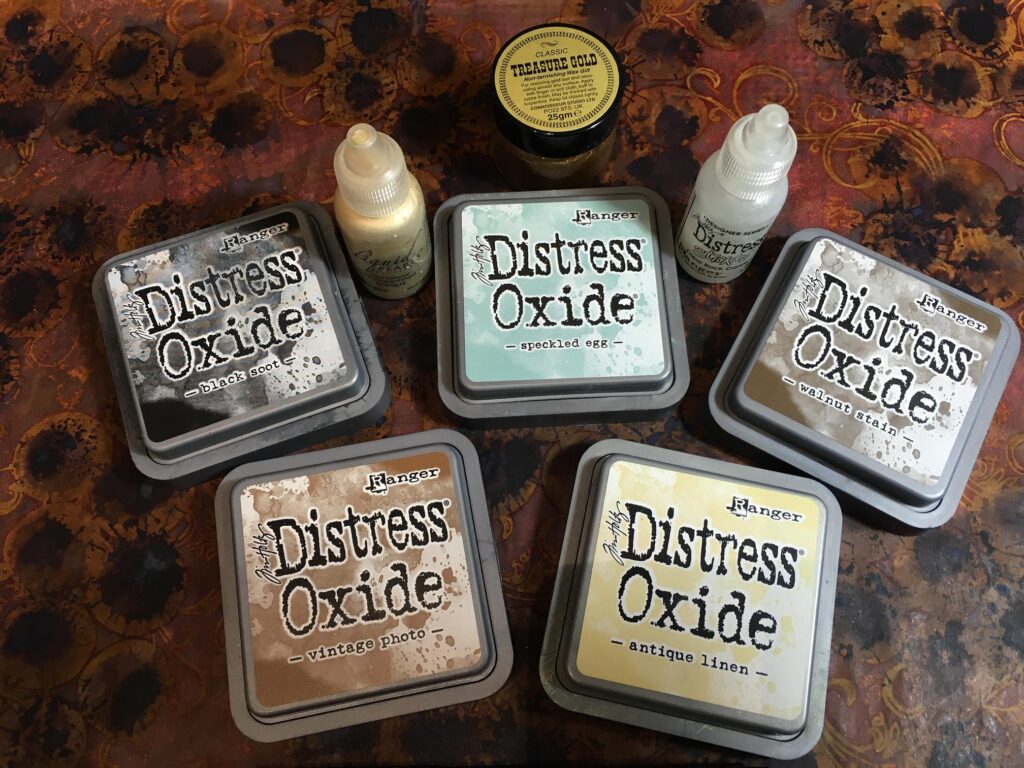
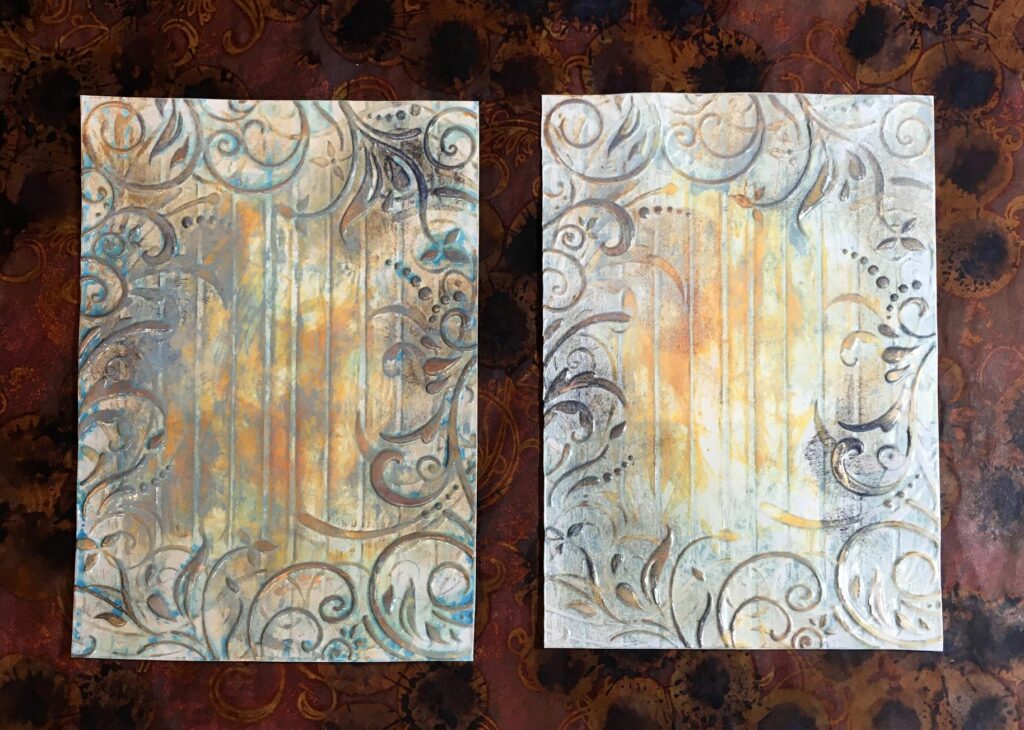
After embossing the photo paper, I applied Distress Oxides to the panels from the ink pads as I did not have the sprays, and spritzed them with water. Building the layers gives a beautiful subtle effect. Highlighting certain areas with darker inks and then spritzing them gives further interest. The final touch was very gently to rub some gilding wax over certain raised areas for a bit of subtle sparkle.
I spent some time working on my butterfly cutting files in Inkscape, and creating new full 12 x 12 sheets to cut them out in bulk, as the previous ones were too small. I cut the fancy top layer, the main layer, the mat layer and also some simplified ones from vellum, to give me plenty to play with. Most of them are now in the baggie, labelled. I am going to do this with other cut pieces as well, so that they are better organised which will save me time in the long run.
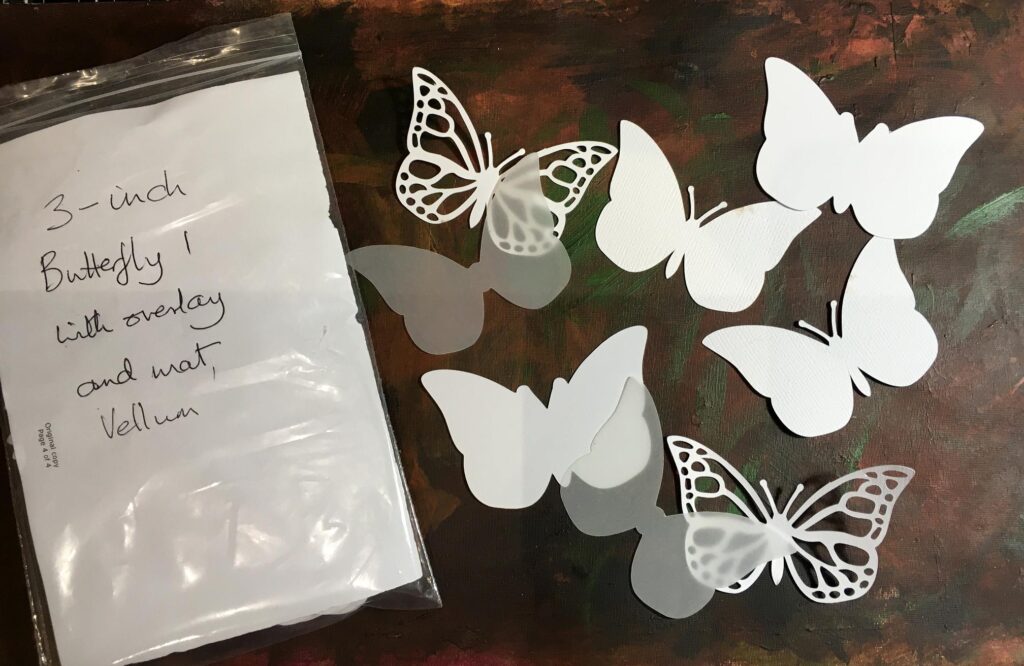
These 3-inch wide butterflies have more impact than their smaller counterparts.
Butterfly 2, the other pattern I have, the swallowtail, also needs this treatment.
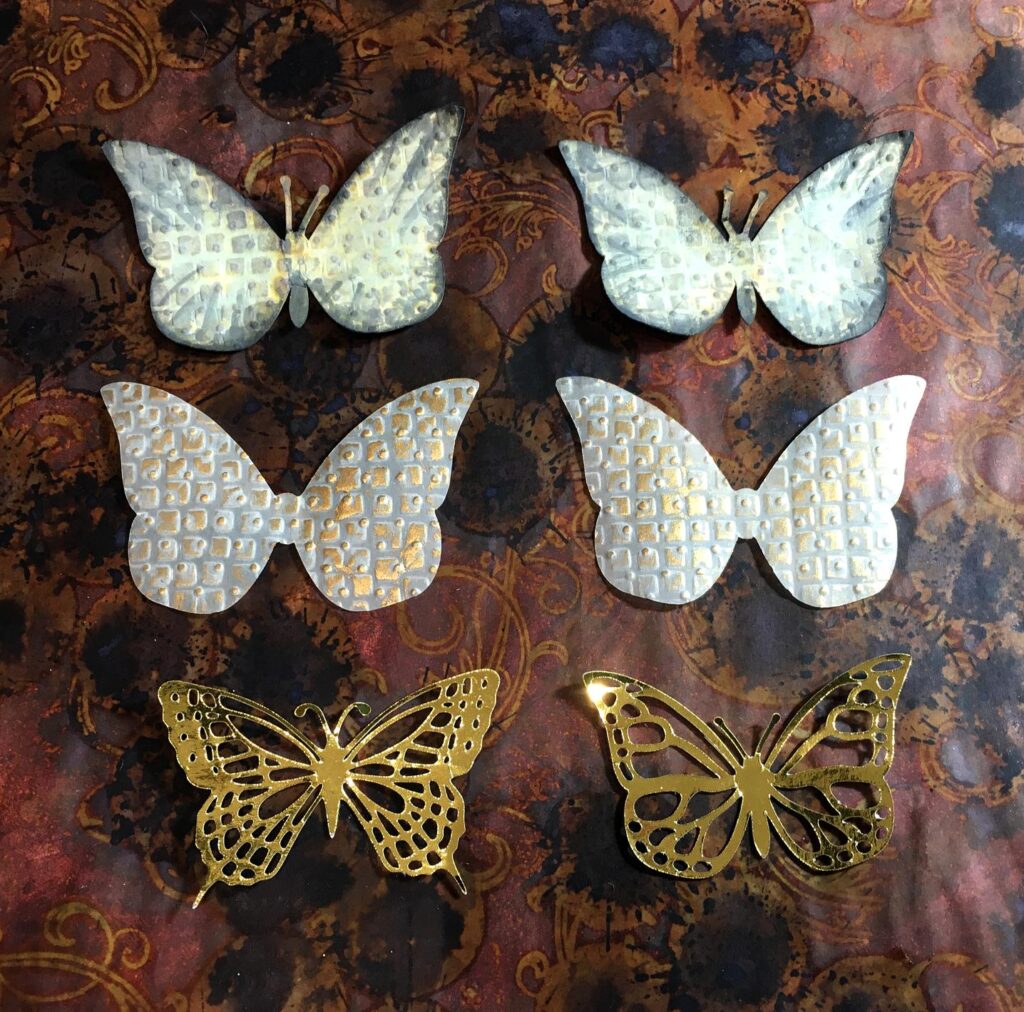
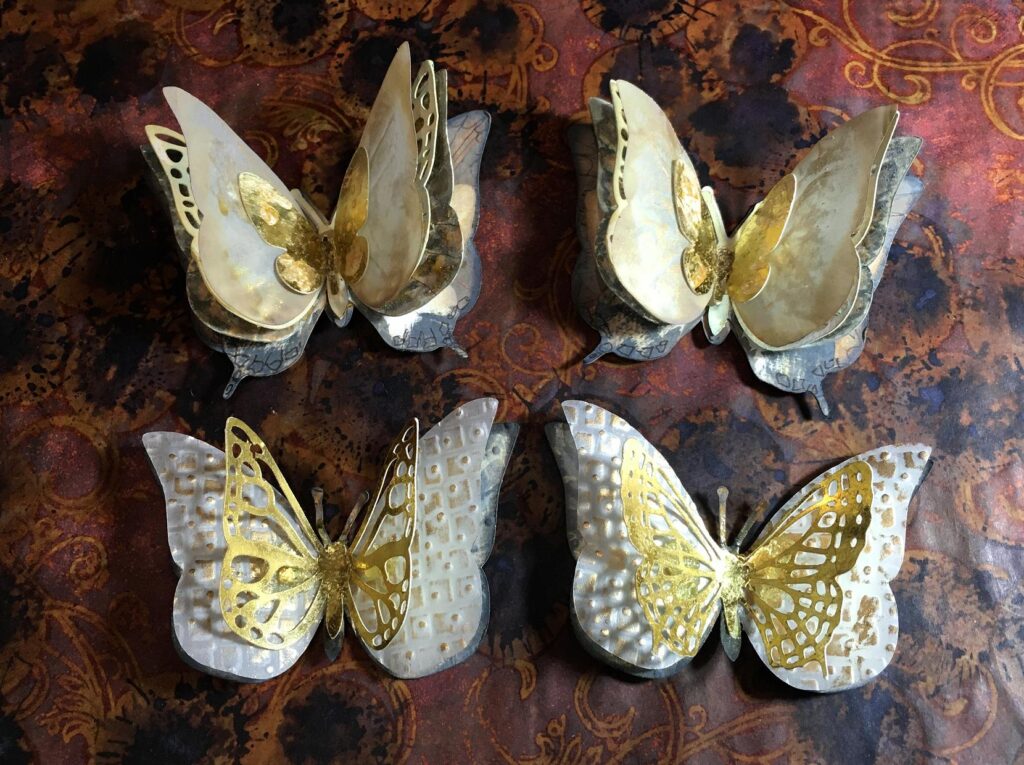
Now I had some fun. I began by working on the small butterfly set for this project. I ran the basic butterfly shape and the vellum piece through my Cuttlebug, using two different embossing folders to give an interesting texture. I lightly painted the solid butterflies with Speckled Egg Sitress Oxide and a little Black soot around the edges, and rubbed some gilding wax on the vellum ones. The small butterflies at the bottom (and the ones I used with the large set) were from my stash, left over from an old project.
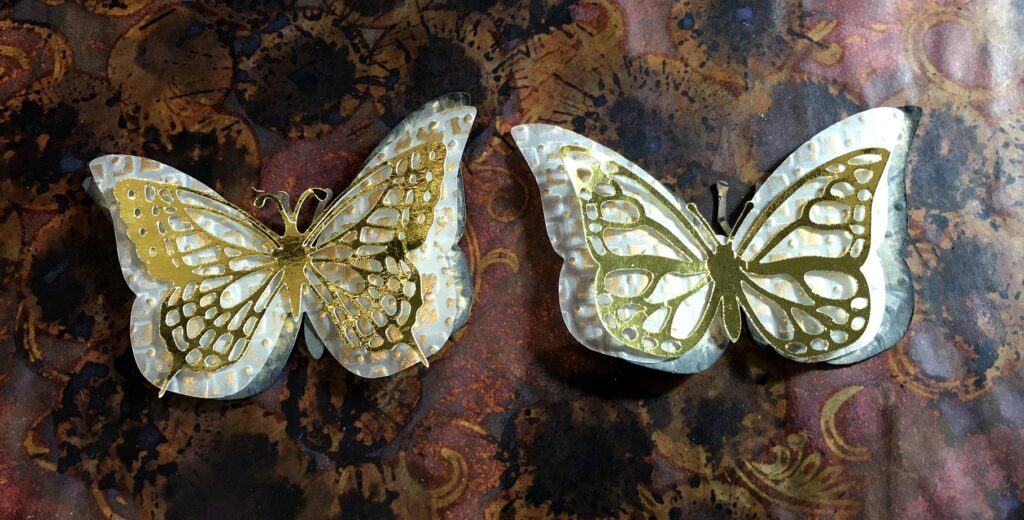
This is a mock-up of the layering of the small set butterflies. They are not yet glued in this photo.
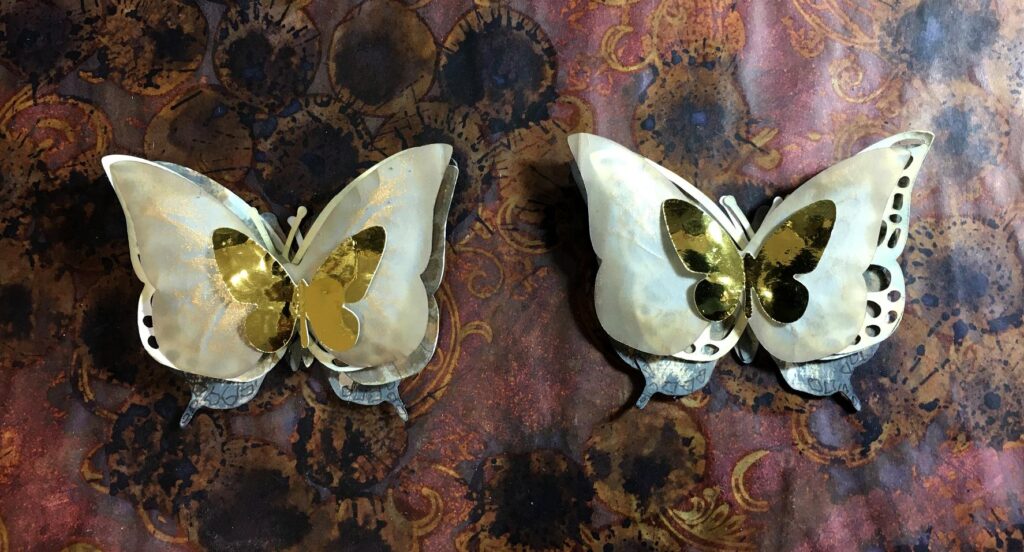
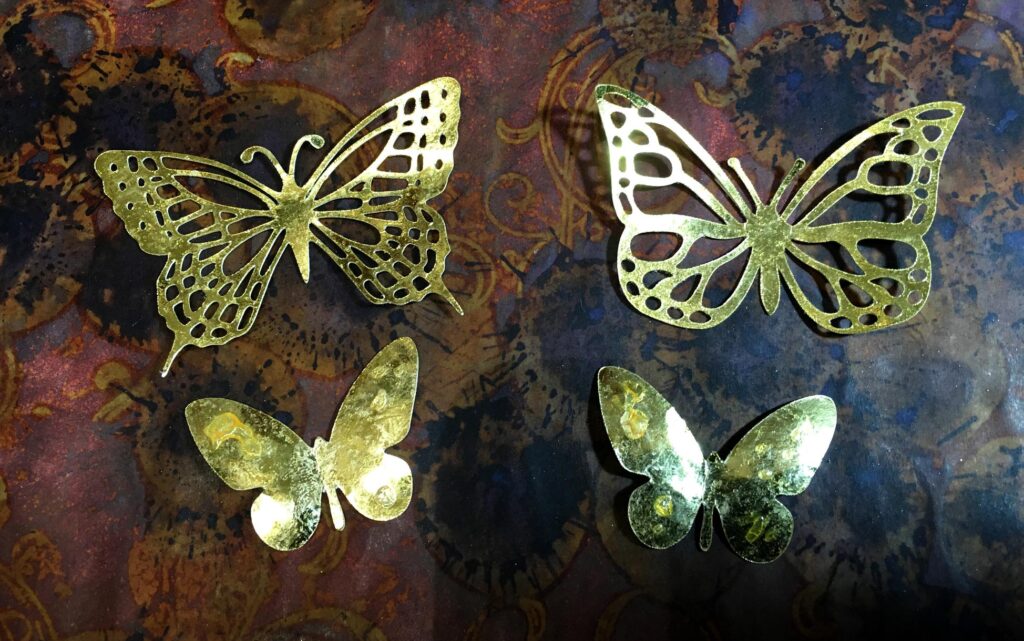
Here is the selection of butterflies for the large set. The top ones have smaller swallowtail butterflies glued on to give a bit more size. Again, these solid butterflies have been painted with Distress Oxides.
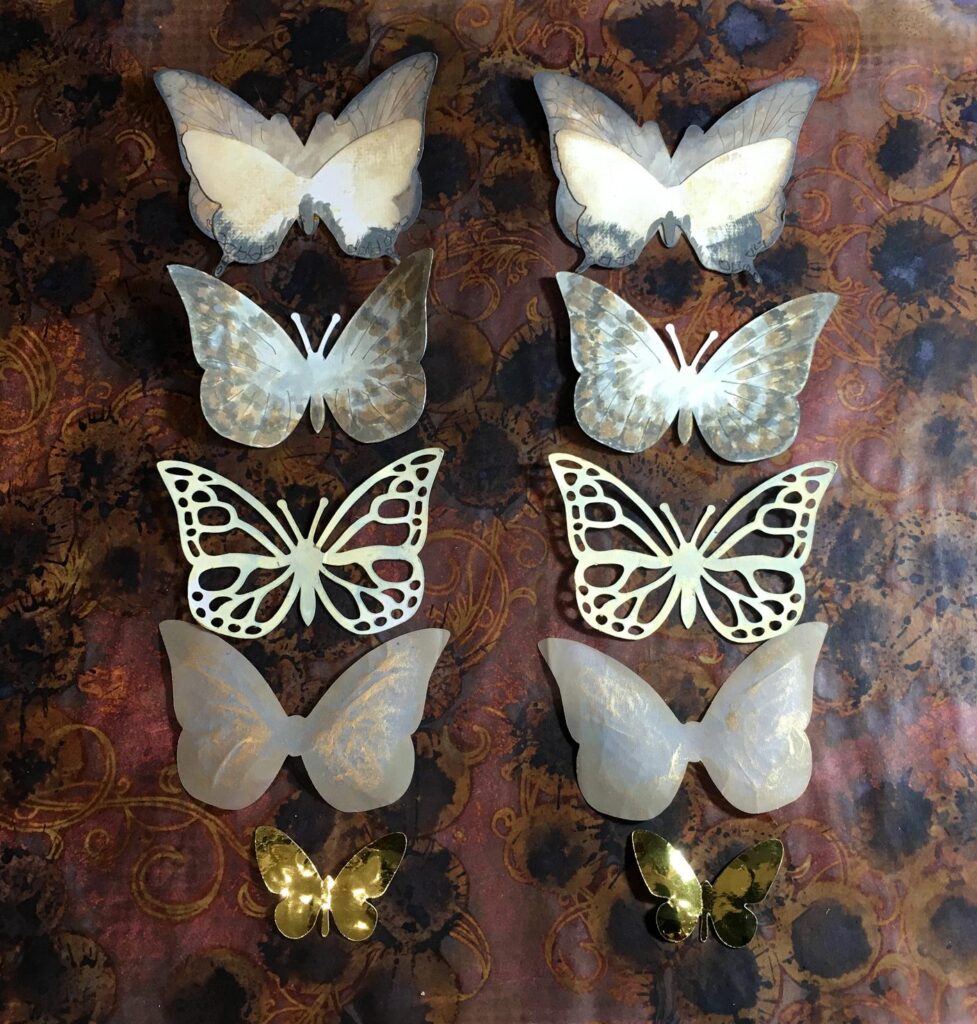
The vellum butterflies were hand-embossed from behind and a little gilding wax added to the raised portions on the front. The tiny gold ones were from my stash from previous projects.
Here is the mock-up of the layering of this set of butterflies – again, not yet glued.
At this point, I decided that the small gold butterflies in each set were far too bright and dominating, so I distressed them by smearing on some bisque liquid pearl and some Distress Stickles (rock candy), which improved their appearance and gave a bit more subtle texture as well as reducing the shine.
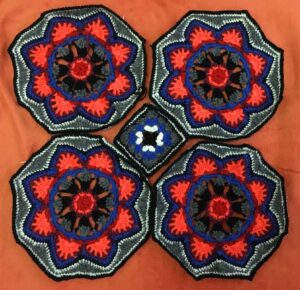
Here are both sets, finished. The layers are attached with liquid glue, and I have inserted a blob of clear Pinflair gel adhesive between the layers to keep the wings from becoming flattened. This does mean that these cards won’t fit in a standard envelope and I shall have to find a box for posting. Worth it, though.
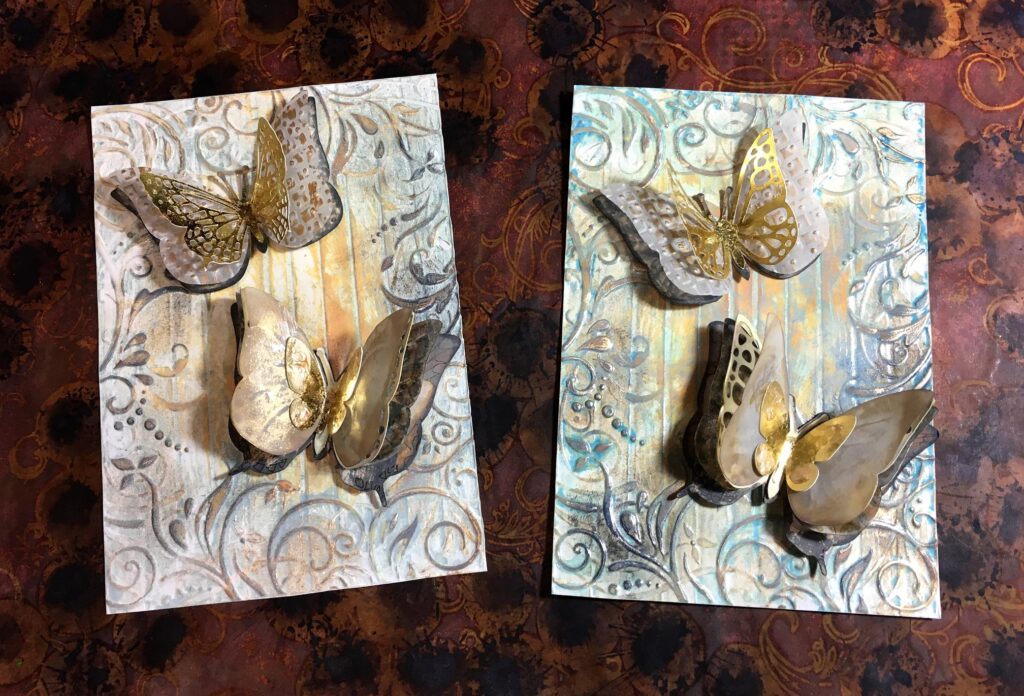
Finally, here is a mock-up of the butterflies on their respective 3-D embossed photo paper backgrounds, not yet glued. I need to attach them to card bases and create sentiments. Still a bit of work to do, and time is short.
I wish you could see how subtle the glimmer and shimmer of these cards is. The photos don’t do them justice.
I think it goes to prove that you can still create a passable project even if you do not have all the materials recommended. You can mix and match with what you have, and substitute your own ideas. I decided to put two butterflies on each of my cards, and used a different embossing folder.
Watch this space for the completion of this project. Another reallly fun one to do, and one I intend doing again.

oh wow! Thank you very much for sharing. This is what I work for. Your cards are beautiful. Hugs x Bibi
Thanks for linking the tutorial, Shoshi – very useful – guess, what I’m going to do this afternoon – although I don’t have any gloss photo paper, but I’ll try it with some matte paper!