I watched a YouTube video about creating faux rice paper today and knew I had to give this a try – it looked amazing and also a lot of fun to do.
I mixed up some PVA glue and water to make a paintable solution, and separated out a small amount to which I added some strong coffee to tint it. I got out my large plastic sheet and laid it on the table in the studio, but after completing today’s experiment, I think I would have been perfectly OK doing it directly onto the vinyl tablecloth. I didn’t unfold the huge piece of plastic and it won’t lie flat where it has been folded, which meant that the wet glue tended to run off and leave a lighter-coloured streak across the pieces. I shan’t know how much this will affect it until it’s dry. Today’s session was just an experiment and I have already discovered a few things I could have done better, so there’s nothing lost really.
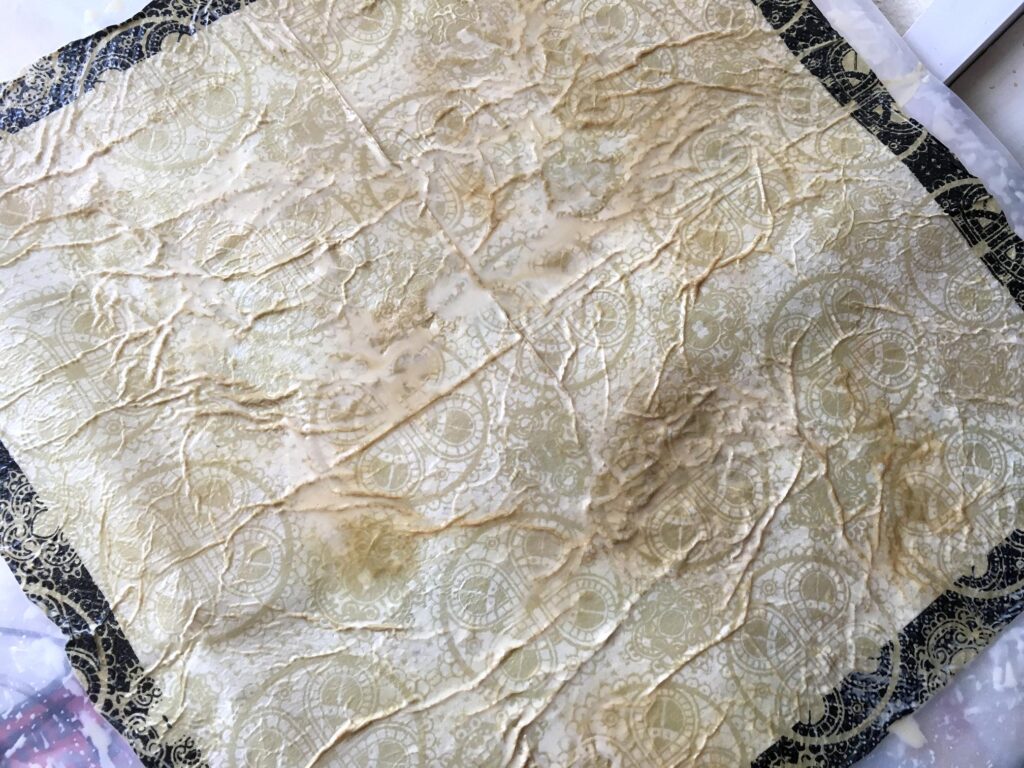
Here are the pieces, having been covered with the glue solution.
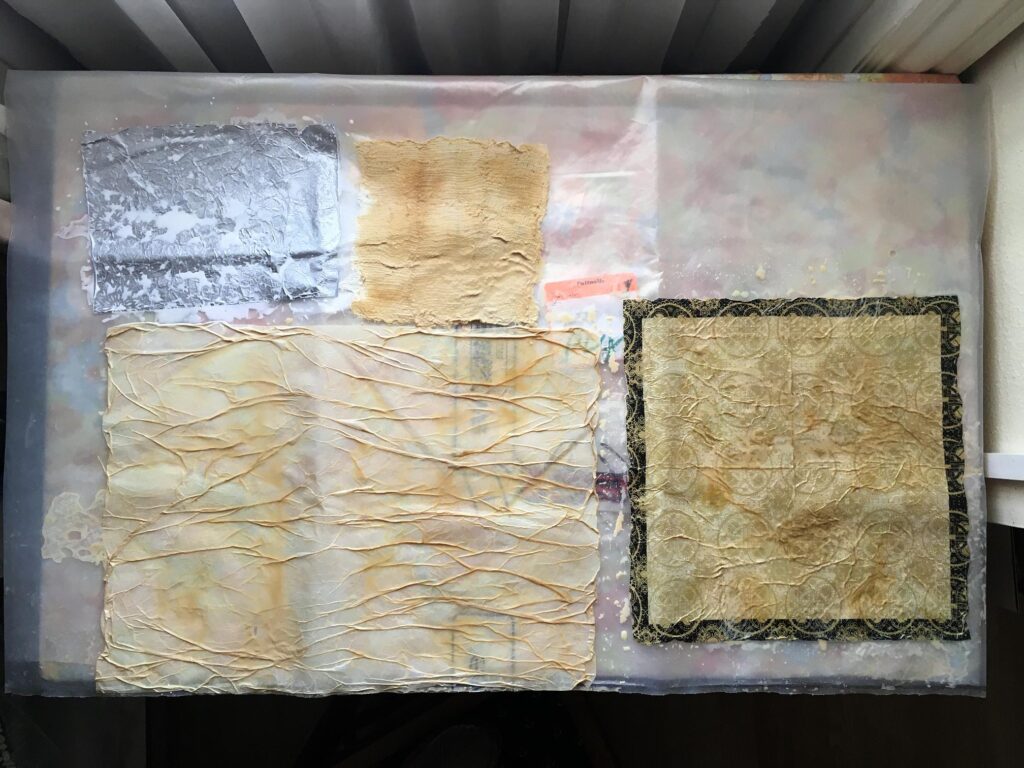
From top left, clockwise: silver tissue paper with a subtle white design on it; scrim, napkin, and large piece of white tissue paper. You can see the fold line down the tissue paper.
After applying the glue solution with the coffee in it, I sprinkled on a bit more of the coffee for a mottled effect as I thought it was rather pale.
Some close-ups and a bit more detail aout what I did, and what could have been done better.
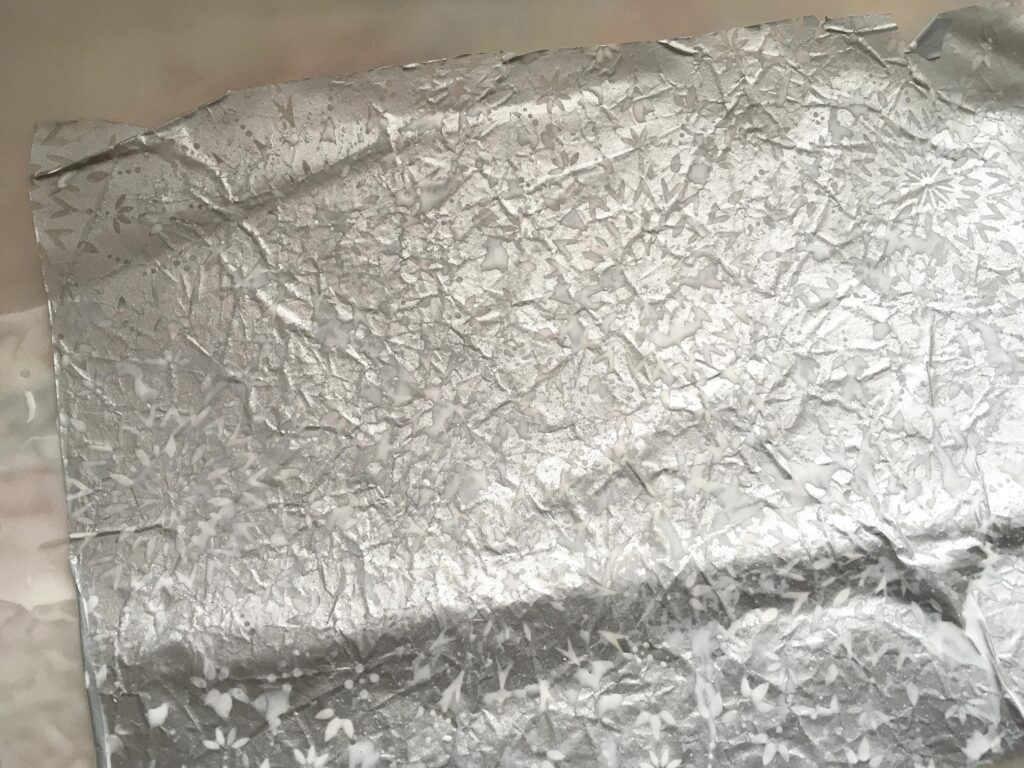
For the silver tissue, I used untinted glue solution, as I thought the coffee wouldn’t look good with the silver.
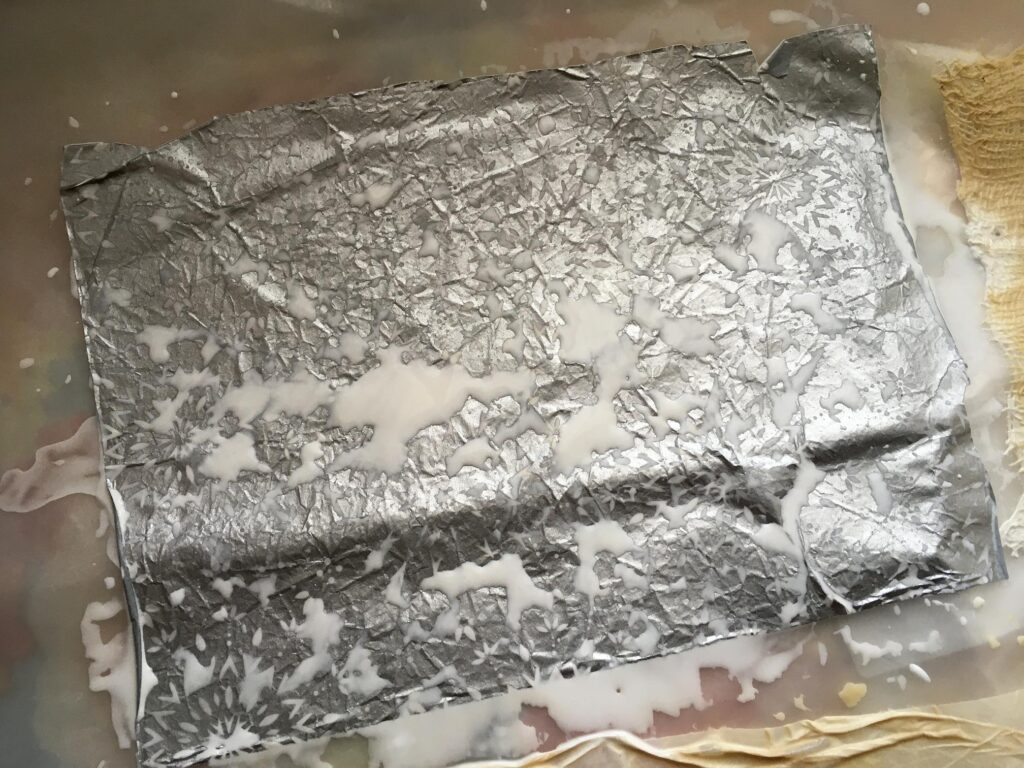
The glue has unfortunately puddled up on this tissue paper, presumably because it is metallic and shiny. I did try smooshing it out a couple of times with the brush, but it pooled again. I think I shall try and mop some of this up if it hasn’t already dried too much as I write this. This piece may not be a success when it is dry. You can see a bit of the lovely pattern on it at bottom right. This pattern is so subtle that you can’t really see it unless you hold the tissue paper to the light; I thought that perhaps making it into the faux rice paper might show up the pattern better.
The other three pieces were all done with coffee-stained glue solution.
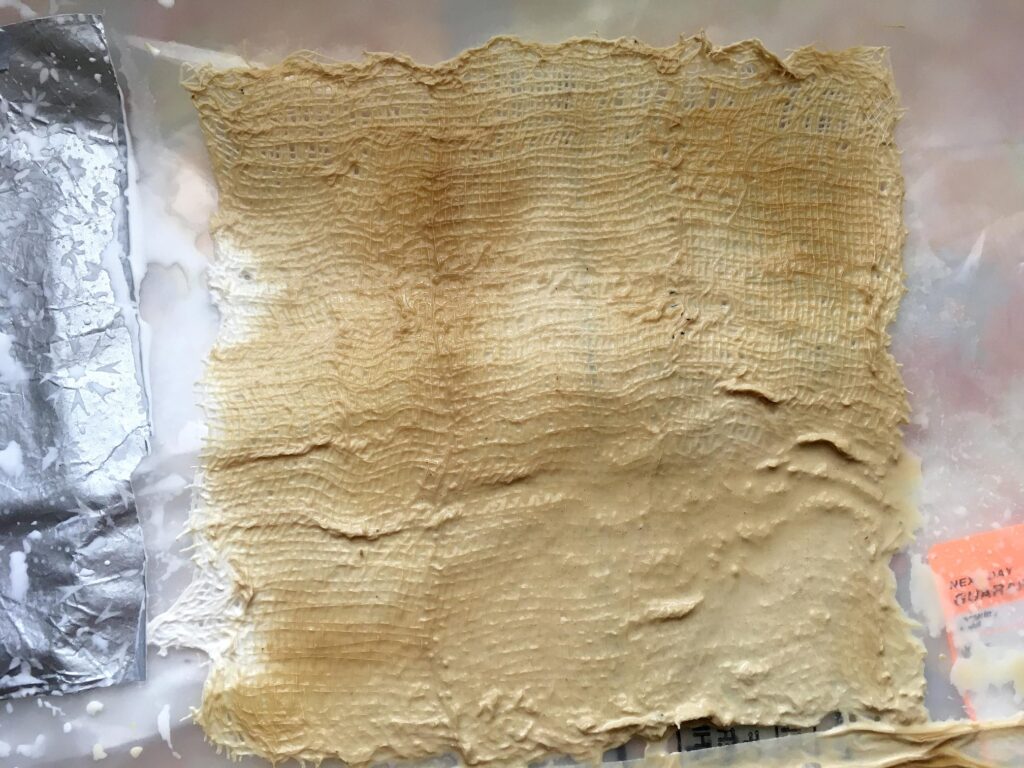
The scrim. This piece was made from six strips cut from the roll. I laid down three, side by side and slightly overlapping, and then laid the other three on top, at right angles, to create a square sheet.
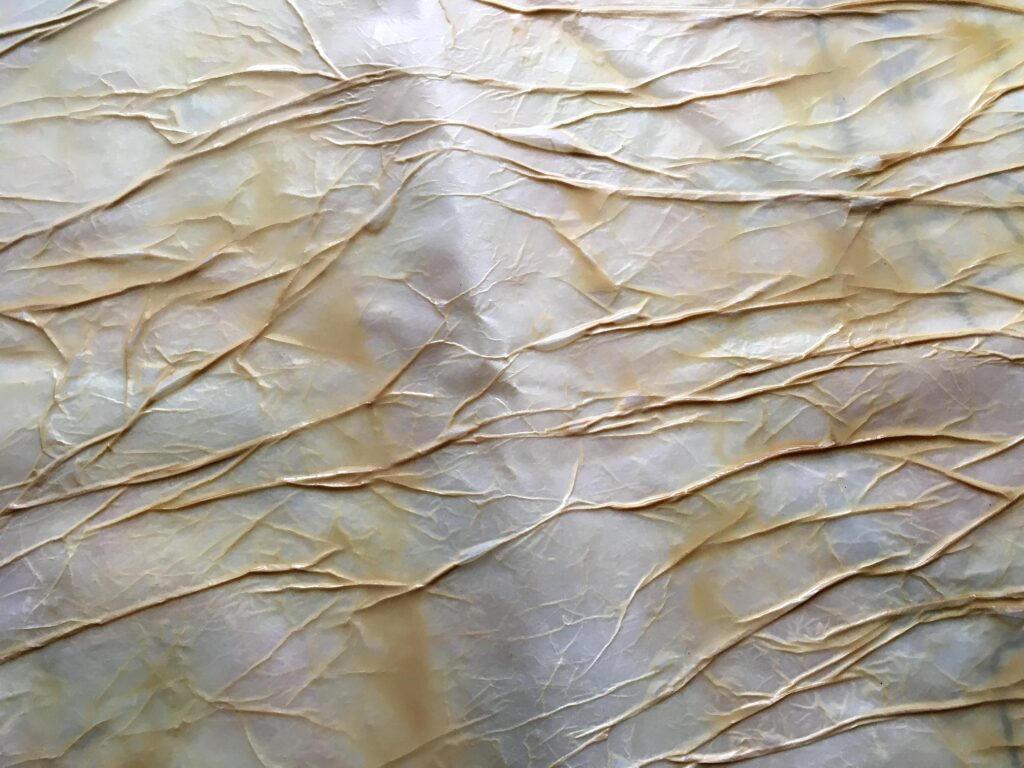
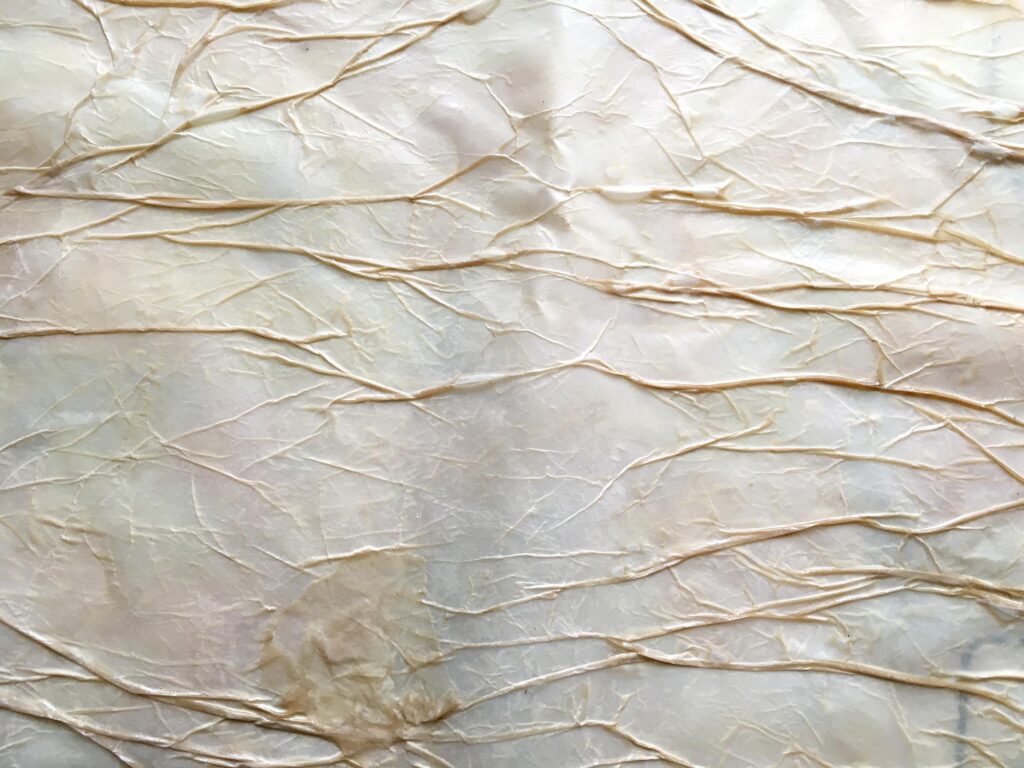
A close-up of the white tissue paper, showing the peak formed by the folded plastic sheeting. This may or may not be a problem. Again, I think I may try mopping up the excess if it is not already too dry.
Finally, the napkin. The darker patch towards the bottom right is where I inadvertently ripped it and had to patch it with a piece cut from another identical napkin. I hope this is going to dry invisible.
I shan’t know how successful any of these pieces will be until they are fully dry and I can peel them off the plastic sheet.
I also watched another YouTube video creating faux hand-made paper, using very much the same principle, but starting with a base sheet of paper (printer paper) and once it is covered with glue, you can add all sorts of bits and pieces to it – flower petals, threads, ripped up pieces of teabag, and even dry tea. I am keen to try this. You could also start with book paper or other printed paper. I’ve got loads of wallpaper (sample books and some offcuts) and this will be great for creating larger sheets suitable for making album covers.
Years ago I did something similar with kitchen paper which I had used for mopping up ink. I added a few gilding flakes to this. You can see a faded-out image of this on the right-hand side of the header banner on this blog. As far as I remember, I used matte gel medium for this.
You can also make faux glassine paper using these techniques, with napkins, or packaging paper and watered-down glue, either as-is, or tinted with coffee which looks marvellous. The glue makes the paper semi-transparent and it ends up much tougher and more durable than tissue paper alone, and it has a gorgeous crisp crinkly feel to it. I can’t wait to make some of this. On one of the videos I watched, she recommended uding the middle ply of a napkin for these faux hand-made papers – the bottom layer tends to be plain white (useable) but the middle layer often has a ghost of the printing of the top layer, which can add a bit more textural interest to the piece, whether or not you are planning on adding anything else to it.
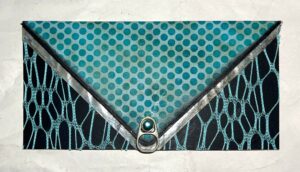
When I make my first junk journal, it will be for storing stuff for making further junk journals. I think the faux glassine, or faux rice paper (also made much more durable by the glue) would make very nice little pockets or envelopes for storing ephemera in – you can see through this paper and see the contents, which will be useful.
The paper is tough enough for journal covers if you want a transparent look, or you can use the faux hand-made paper version backed onto paper if you want it opaque. I have lots of fun things to try, and in the meantime I think I am going to need another bottle of PVA!
Further ideas flashing through my brain… You could stamp the tissue paper with light-coloured archival ink (e.g. sepia) – stamp the ink off first onto something else and use the second impression on the tissue to keep it nice and light – and then stain with the coffee-glue mixture. Dye inks would be reactivated by the wet glue.
I’ll post again once today’s papers are dry, and show the results. Some of it may be useable at least.
Later:
I went and looked at the papers again as they were drying. The colour seems to have evened out on the large piece of tissue paper.
That dark patch at the bottom is a repair I made when I ripped it earlier. I hope it will dry the same colour as the rest.
I mopped up some excess glue solution from the silver tissue paper, and when I touched areas where it had not pooled, it felt quite sticky, so I think that one may be OK, too. The pattern looks a bit more pronounced, but the glue is still white while it is wet, and this may disappear once the glue dries clear.