Exciting new art materials
Derwent Coloursoft coloured pencils
I have been doing more drawing and colouring recently, and have become increasingly frustrated with my limited set of cheap colouring pencils which are perpetually breaking, so I decided to treat myself to a decent set – the first I have ever owned.
I did a lot of research online and finally decided upon the Derwent Coloursoft range. There are pros and cons with all these pencils and a lot of it depends on the purpose for which you want to use them; if you are doing a lot of fine detailed work, an oil-based pencil is probably best, because they are harder and maintain a sharp point for longer. They are more translucent. They are probably not so easy to blend. If you are going to do a lot of backgrounds and larger filled areas, a softer, wax-based pencil is the better choice; these blend very well and are more opaque.
I originally thought of going for Prismacolor but I read that they had relatively poor quality control and there were reports of some barrel breakage. The leads are also very soft and break very easily as well. The Derwent ones may be slightly less vibrant and intense in colour but they are more robust. The reviews also stated that Prismacolor have shiny barrels which may feel rather slippery, and the Derwent ones have a matte finish. Prismacolor barrels are coloured (pretty accurately by all account) with the same colour as the leads, which makes selecting them easy, but the metallic writing on them can be hard to read. The Derwent ones are uniformly dark coloured with coloured tips to identify them, and the writing on the barrels is easy to read.
The Derwent Coloursoft pencils can be purchased open-stock (individual pencils), and they also come in variously sized sets (as do most colouring pencils) and you can get them either in tins or in wooden boxes which are, of course, more expensive. Most reviewers recommend buying the largest set you can afford, and I decided to go for the full 72 colours in the Coloursoft range; this is more limited than the 150 in the Prismacolors, but I thought it would be more than adequate for my purposes. I decided against the expensive wooden box and went instead for the two-tray tin, as I knew I would not be keeping them in their original container anyway.
Here is the tin, as yet unopened.
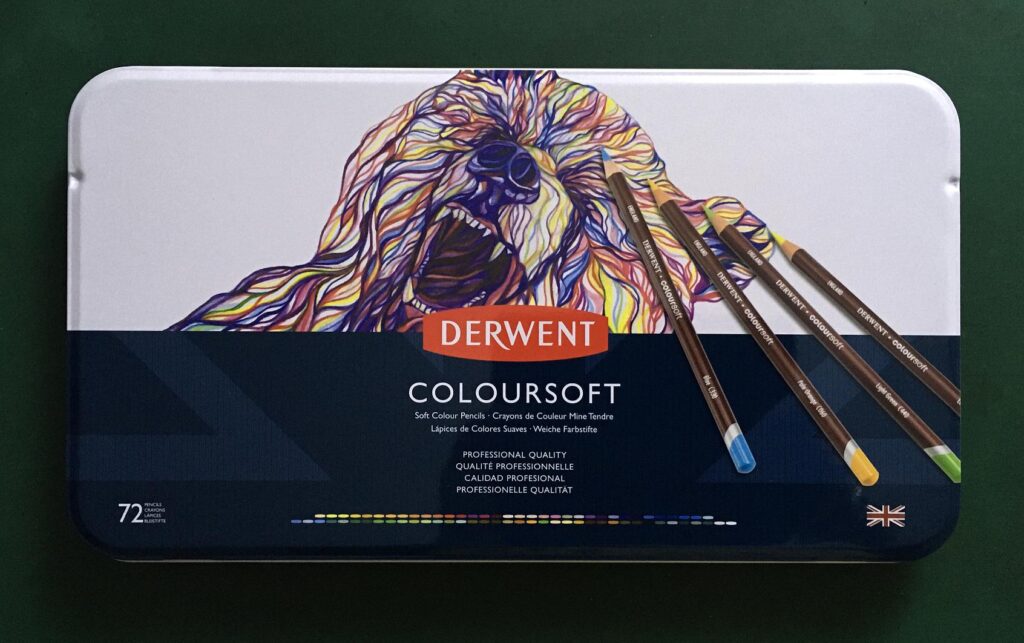
For starters, I really dislike the image on the lid of the tin, and didn’t think I could face that on a regular basis!
Opening the tin, the top tray is revealed:
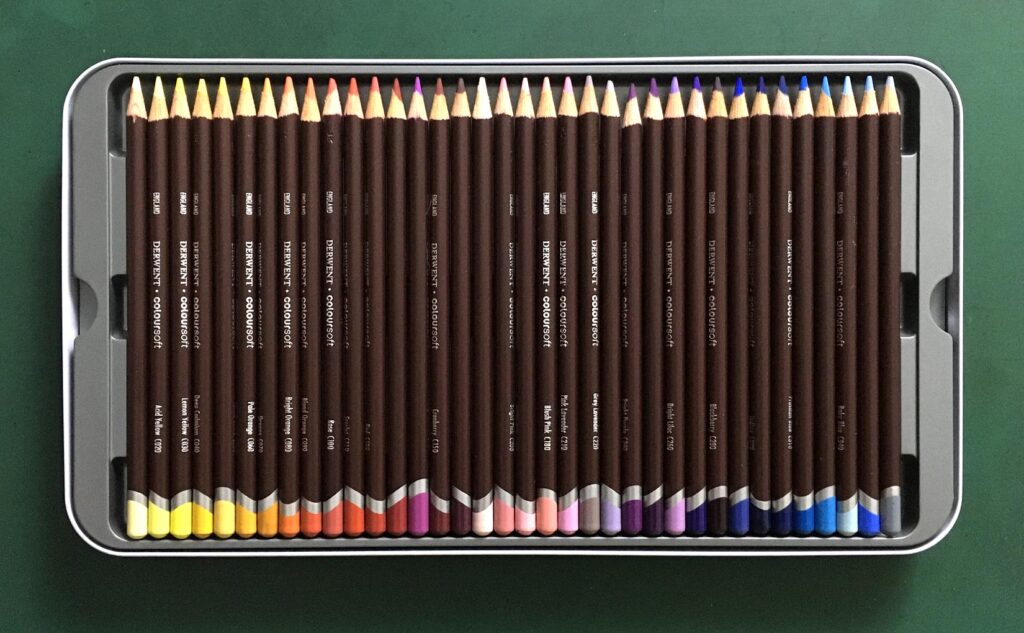
and this can be lifted out by the notches left and right.
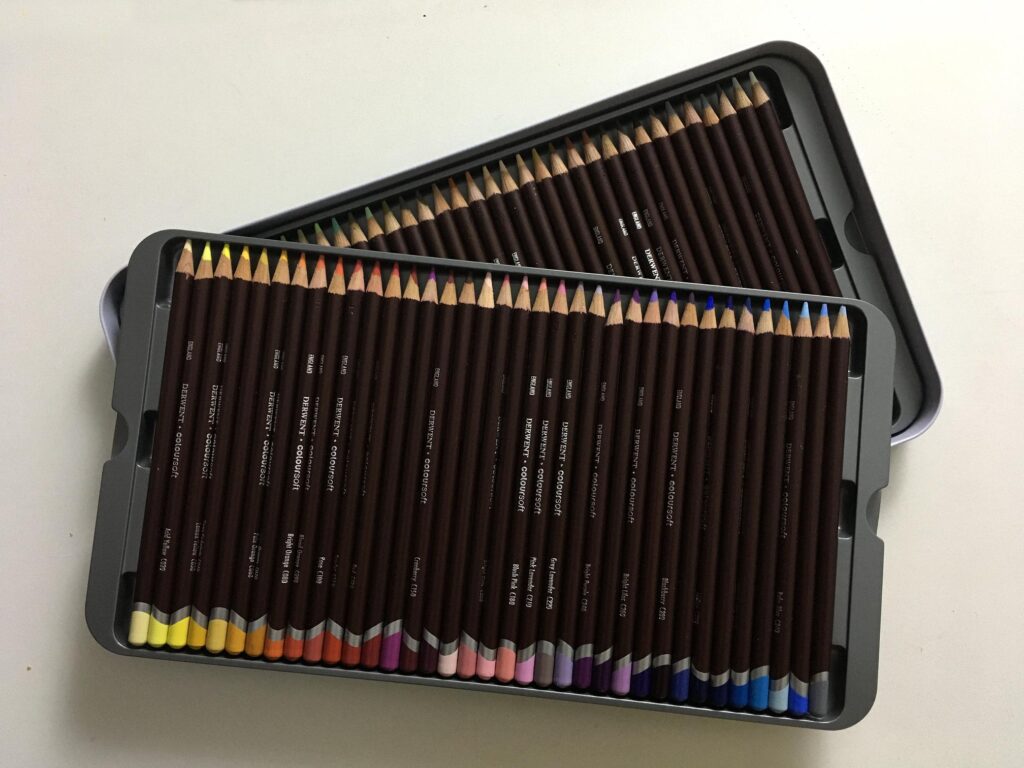
As expected, these trays are very flimsy, and could easily twist and send the pencils careering all over the shop. I have a set of Derwent Inktense pencils (like watercolour pencils, but permanent when dry) – this is a relatively small set, and I keep them in the original tin. They are very easy to dislodge from their slots and tend to roll about all over the place, so I knew that using the tin for the new pencils was not going to be an option for me. If you drop these pencils, the soft leads are very likely to break, so they should be handled with care.
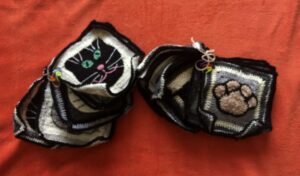
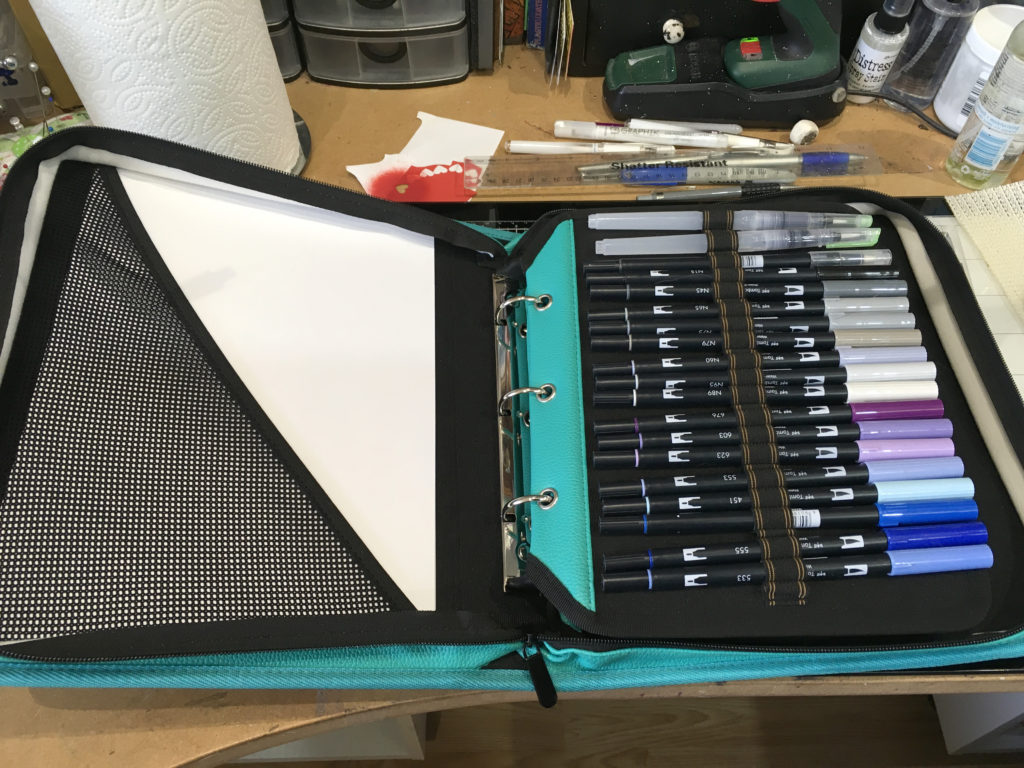
Last year for my birthday my hubby gave me a very nice fabric zip-up pencil case which until now has been used to keep my drawing pens in. All the “pages” but one are attached by Velcro and are removable, and there are precisely 72 elasticated holders for pencils. These pencil cases are designed for pencils and not pens, and if you use them for pens, you cannot use all the holders but have to leave some unoccupied in order to make allowance for the added thickness of the pens.
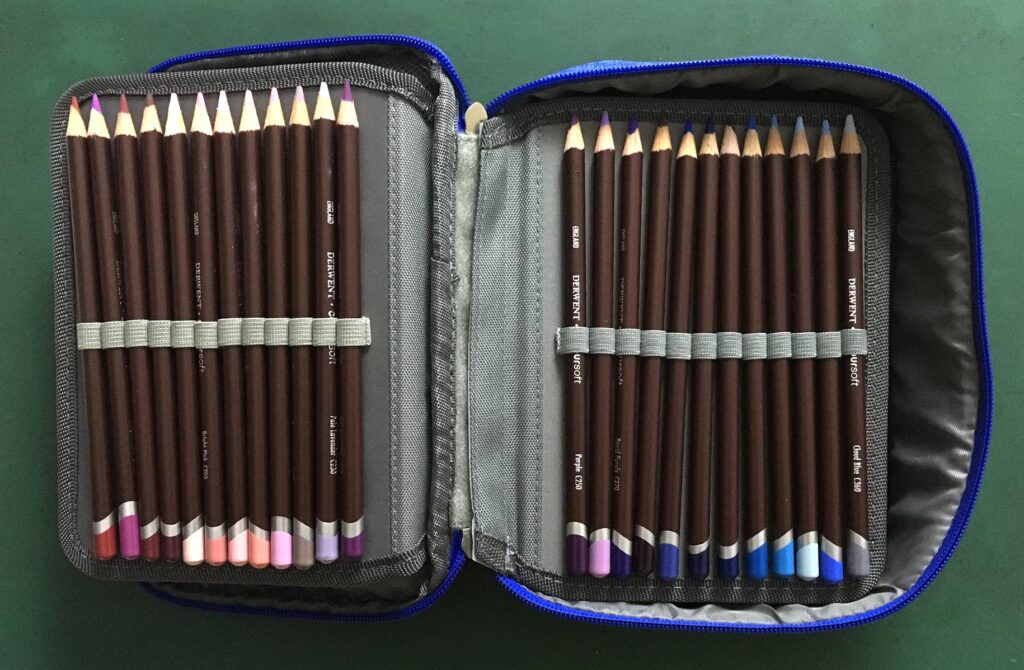
I was a little concerned that this case may have been a little bit small for the length of the pencils, but they fit perfectly. The only small problem is that there are only enough slots for all the colours, and not for the blender and burnisher pencils as well, so those have to be kept separately in the pocket inside the lid of the case.
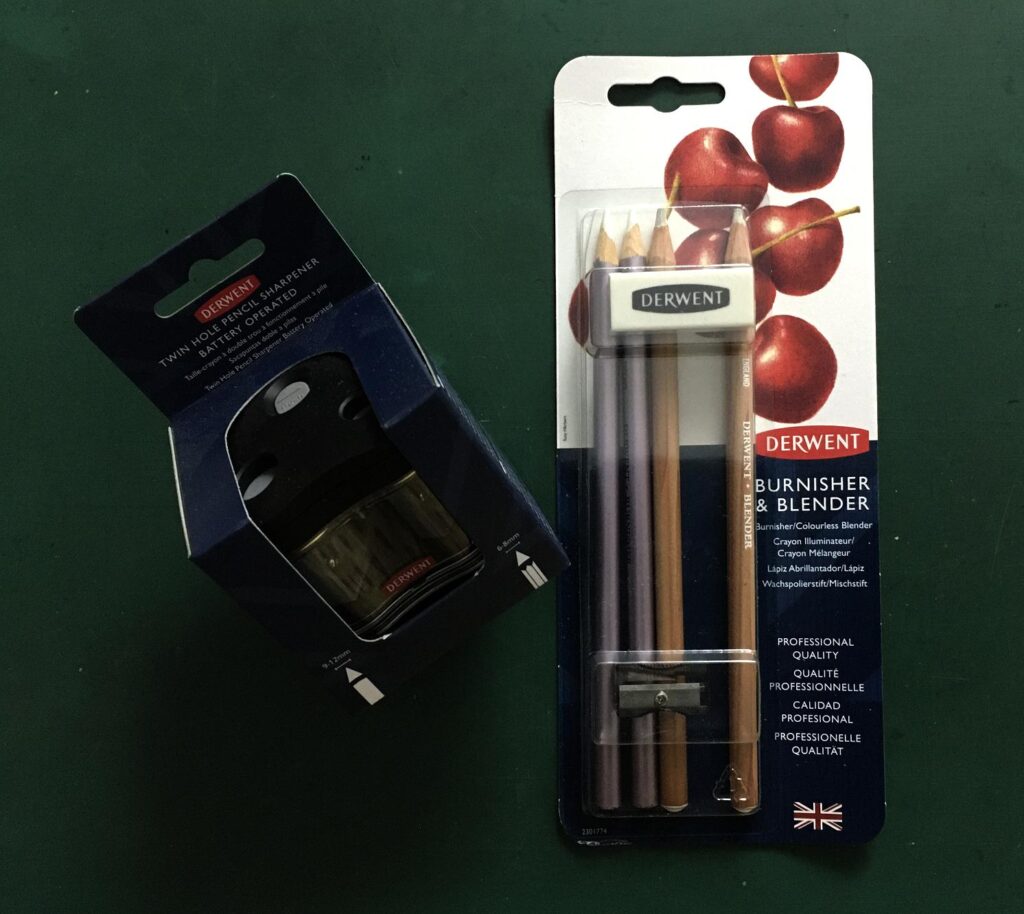
These are the accessories that I bought to go with the set of coloured pencils – two blenders and two burnishers, an eraser and a sharpener, and I also invested in a battery-driven sharpener which is supposed to be better for sharpening soft-leaded pencils as there is less risk of breakage.
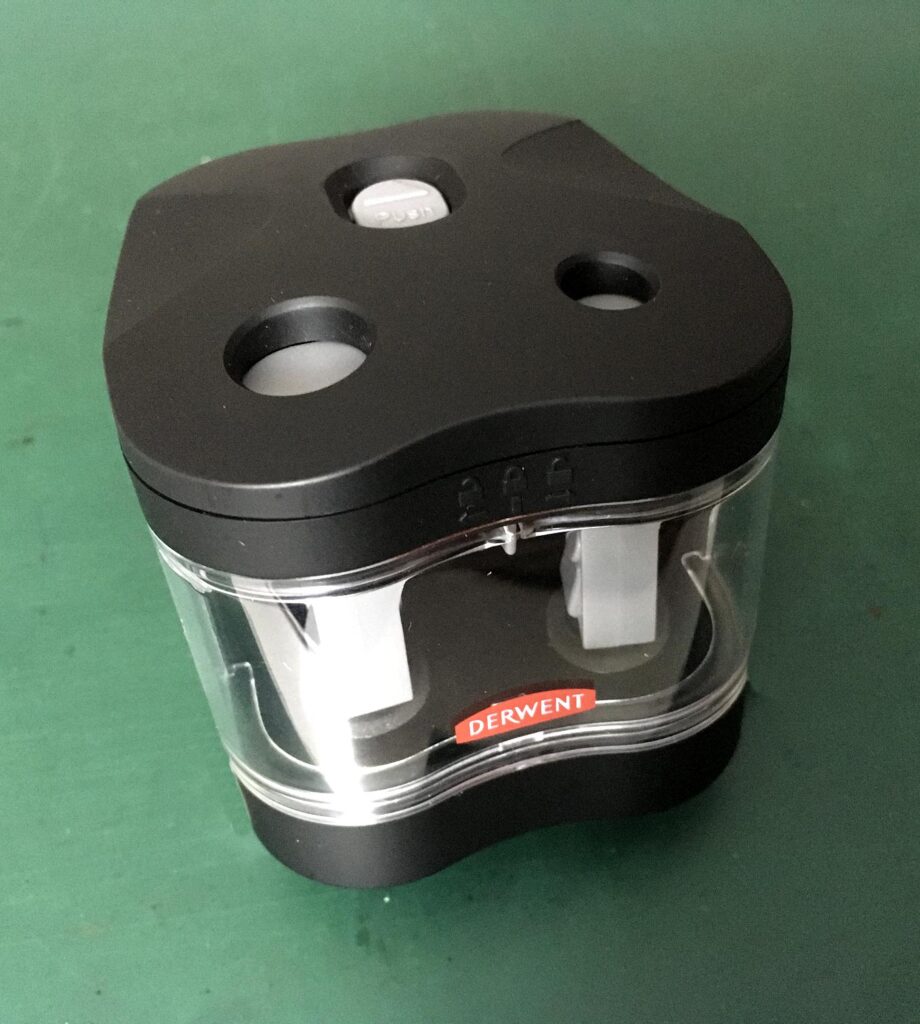
This looks to be a very good sharpener. It has non-slip feet and feels quite heavy once the four AA batteries are installed. You have to work the small white lever on top to open the holes into which you insert the pencils – one regular sized, and the other larger. The clear front of the sharpener can be removed in order to empty out the sharpenings, and the sharpeners themselves are replaceable.
I also bought a few extra Tombow Dual Brush Markers to add to my existing set (I do not have all the colours of these water-based markers). These are kept in my large pencil case; I bought these a couple of years ago, and love them. (You can see that the pens are stored in groups of three, and then a gap – they are too thick to use every slot.)
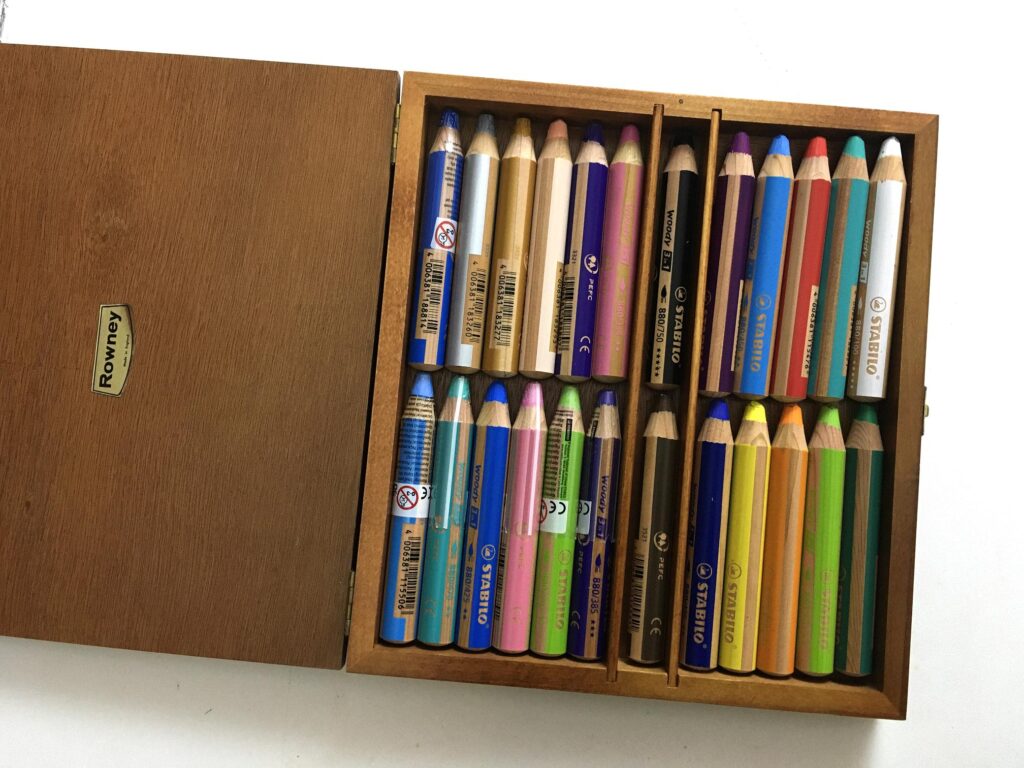
Stabilo Woodies 3-in-1 wax crayons
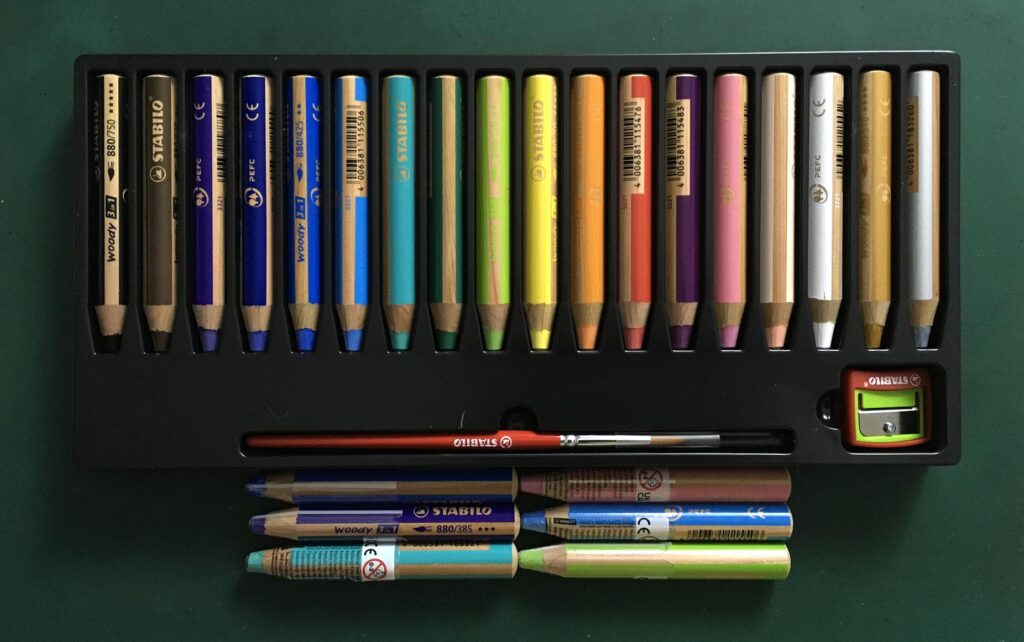
I also invested in a set of thick 3-in-1 wax crayons, after seeing Ulrike Hirsch using something similar – I have recently started following this German artist on YouTube and love her work. Again, I compared a lot of reviews of these thick crayons and decided that the Stabilo ones were the best. I bought the largest set, and a few extra ones to complete the available colour range.
These also come in fairly flimsy packaging – a plastic tray in a cardboard box, and I knew I would have to find alternative storage for them.

The set comes complete with a jumbo-sized sharpener and a brush, since these pencils, although wax, are water-blendable.
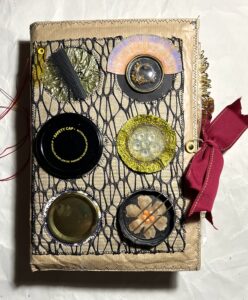
My hubby very kindly gave me a redundant wooden paintbox to store them in, and amazingly they all fit in exactly!
Experiments with my new drawing materials
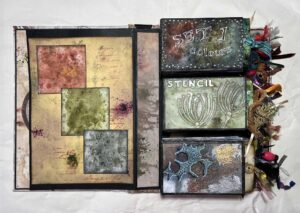
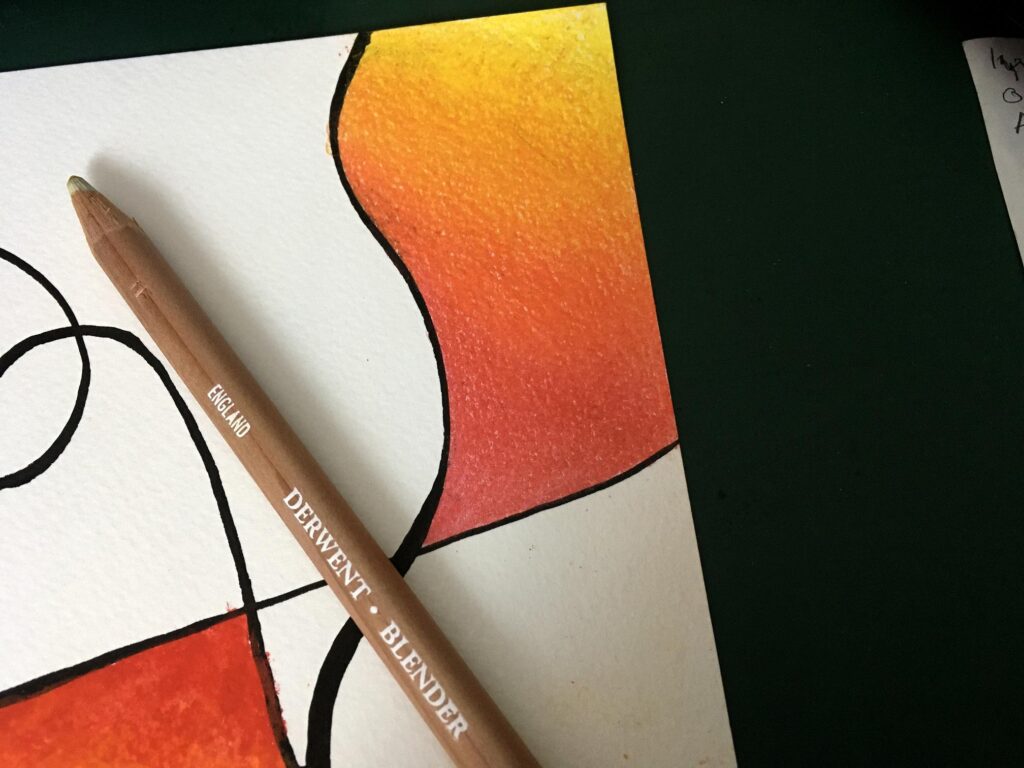
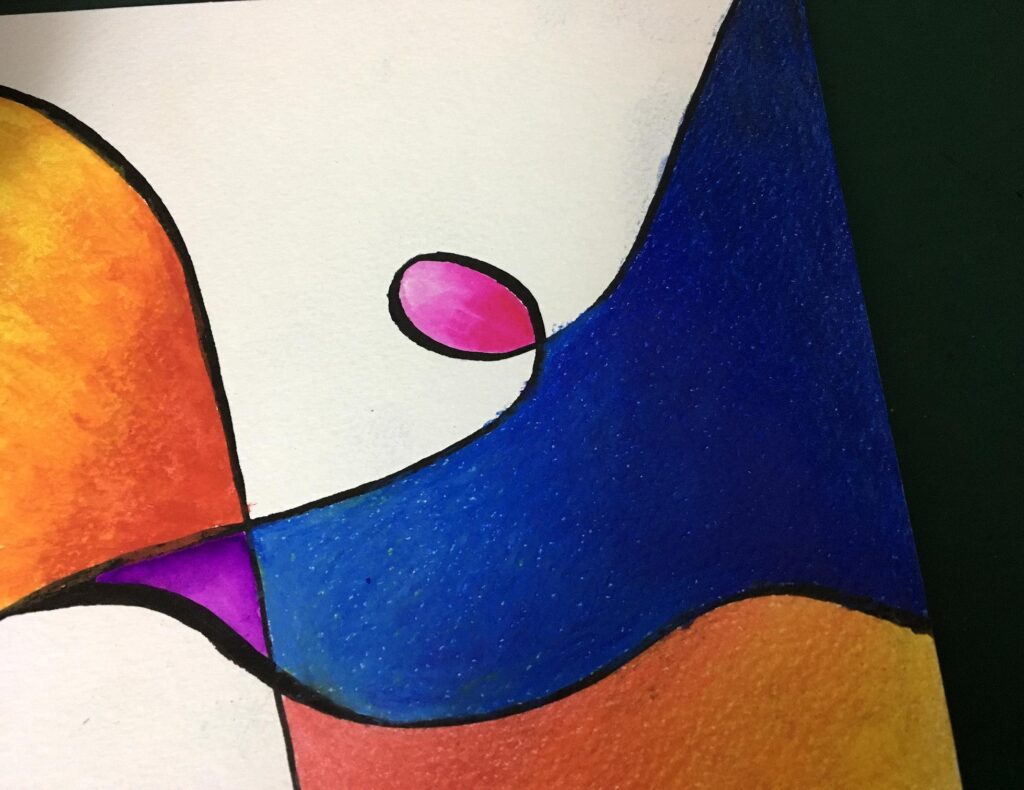
I began by drawing some squiggly lines across a piece of mixed media/watercolour paper and proceeded to fill the sections with different media, in order to test different blending methods.
I began by using several shades of the Stabilo crayons, roughly blending them as I went. You can see that the paper has a slight texture giving rise to white flecking.
After blending with a wet brush. The colour has filled the texture of the paper and has blended well, although the brush marks are visible. A wider brush may be more effective, but I do quite like the brushed effect.
Derwent Coloursoft pencils, blending as I went, using small circular movements. Again, there is some white flecking visible.
After blending with the blender pencil. A much smoother result. This pencil works extremely well for the purpose.
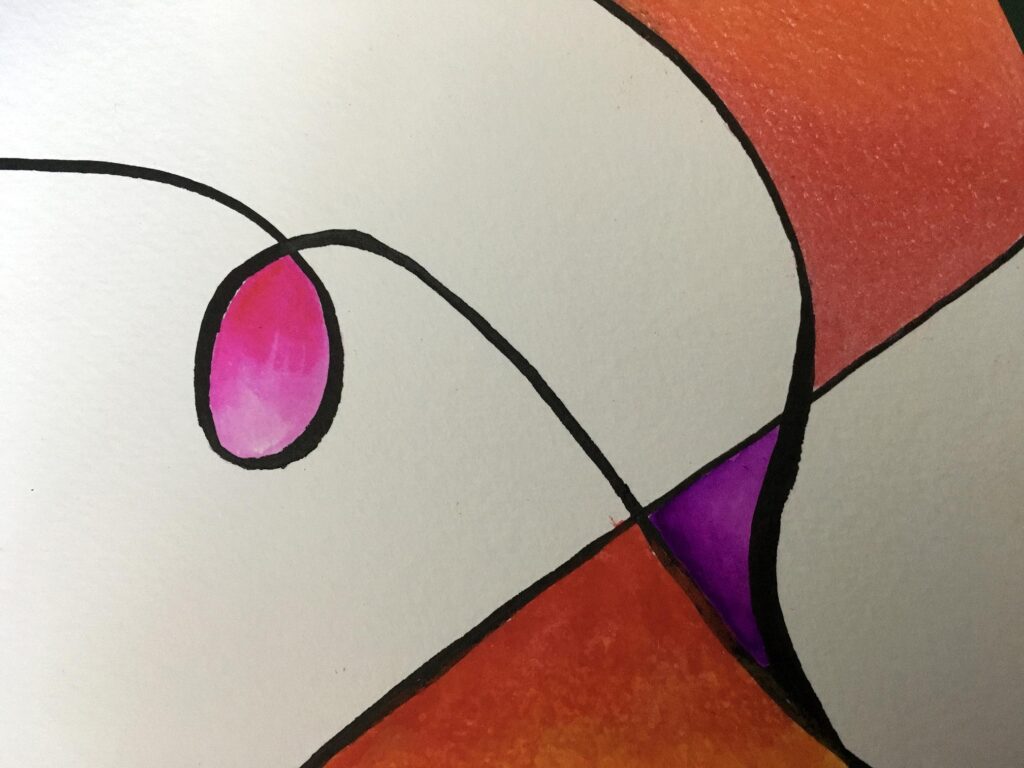
Filling in some small sections with Tombow Dual Brush Markers and blending out with water.
Stabilo again, this time in blue.
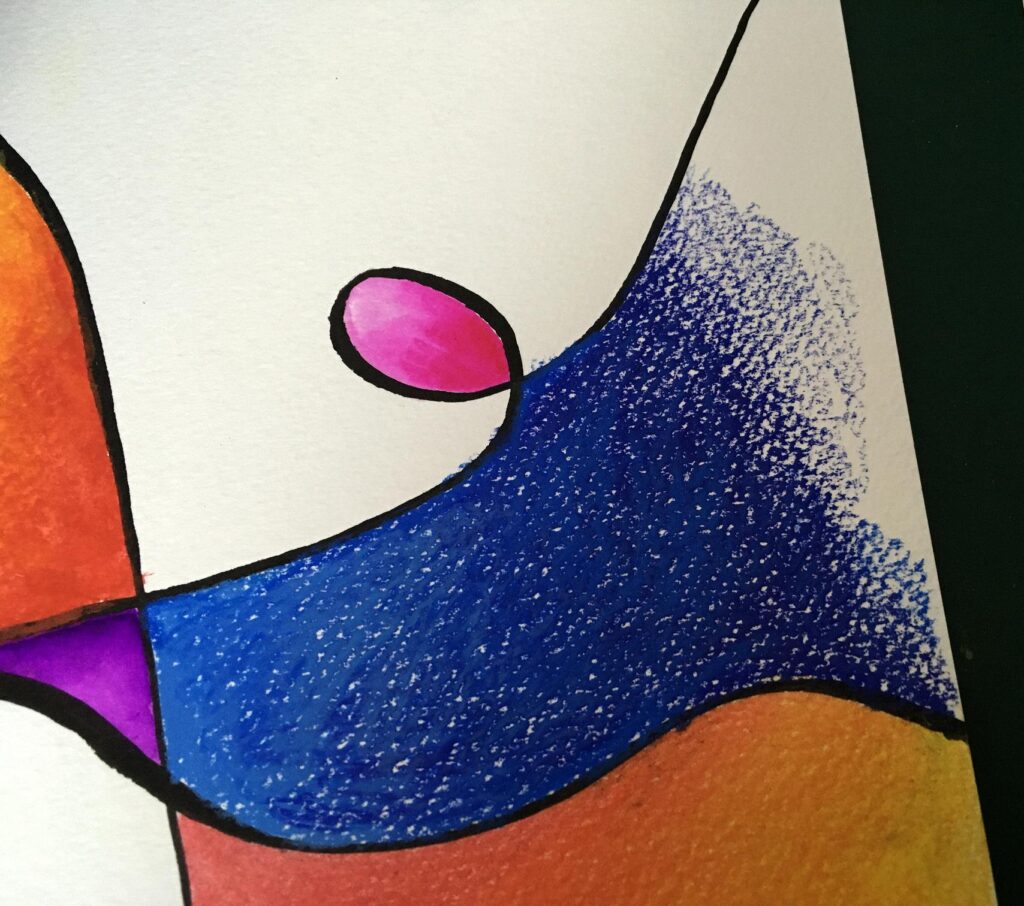
Completing the section with Coloursoft, and blending the media together at the join.
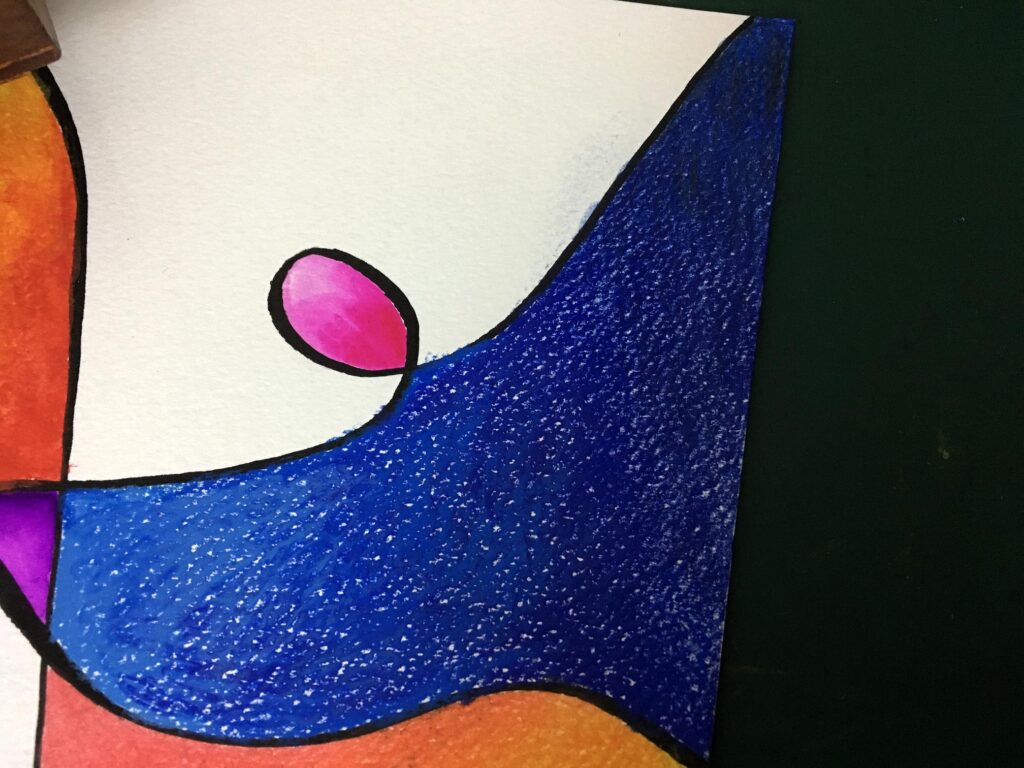
Finally, after blending the whole section with the Derwent blending pencil, proving that this also works on the Stabilo. A nice smooth result.
Further blending experiments
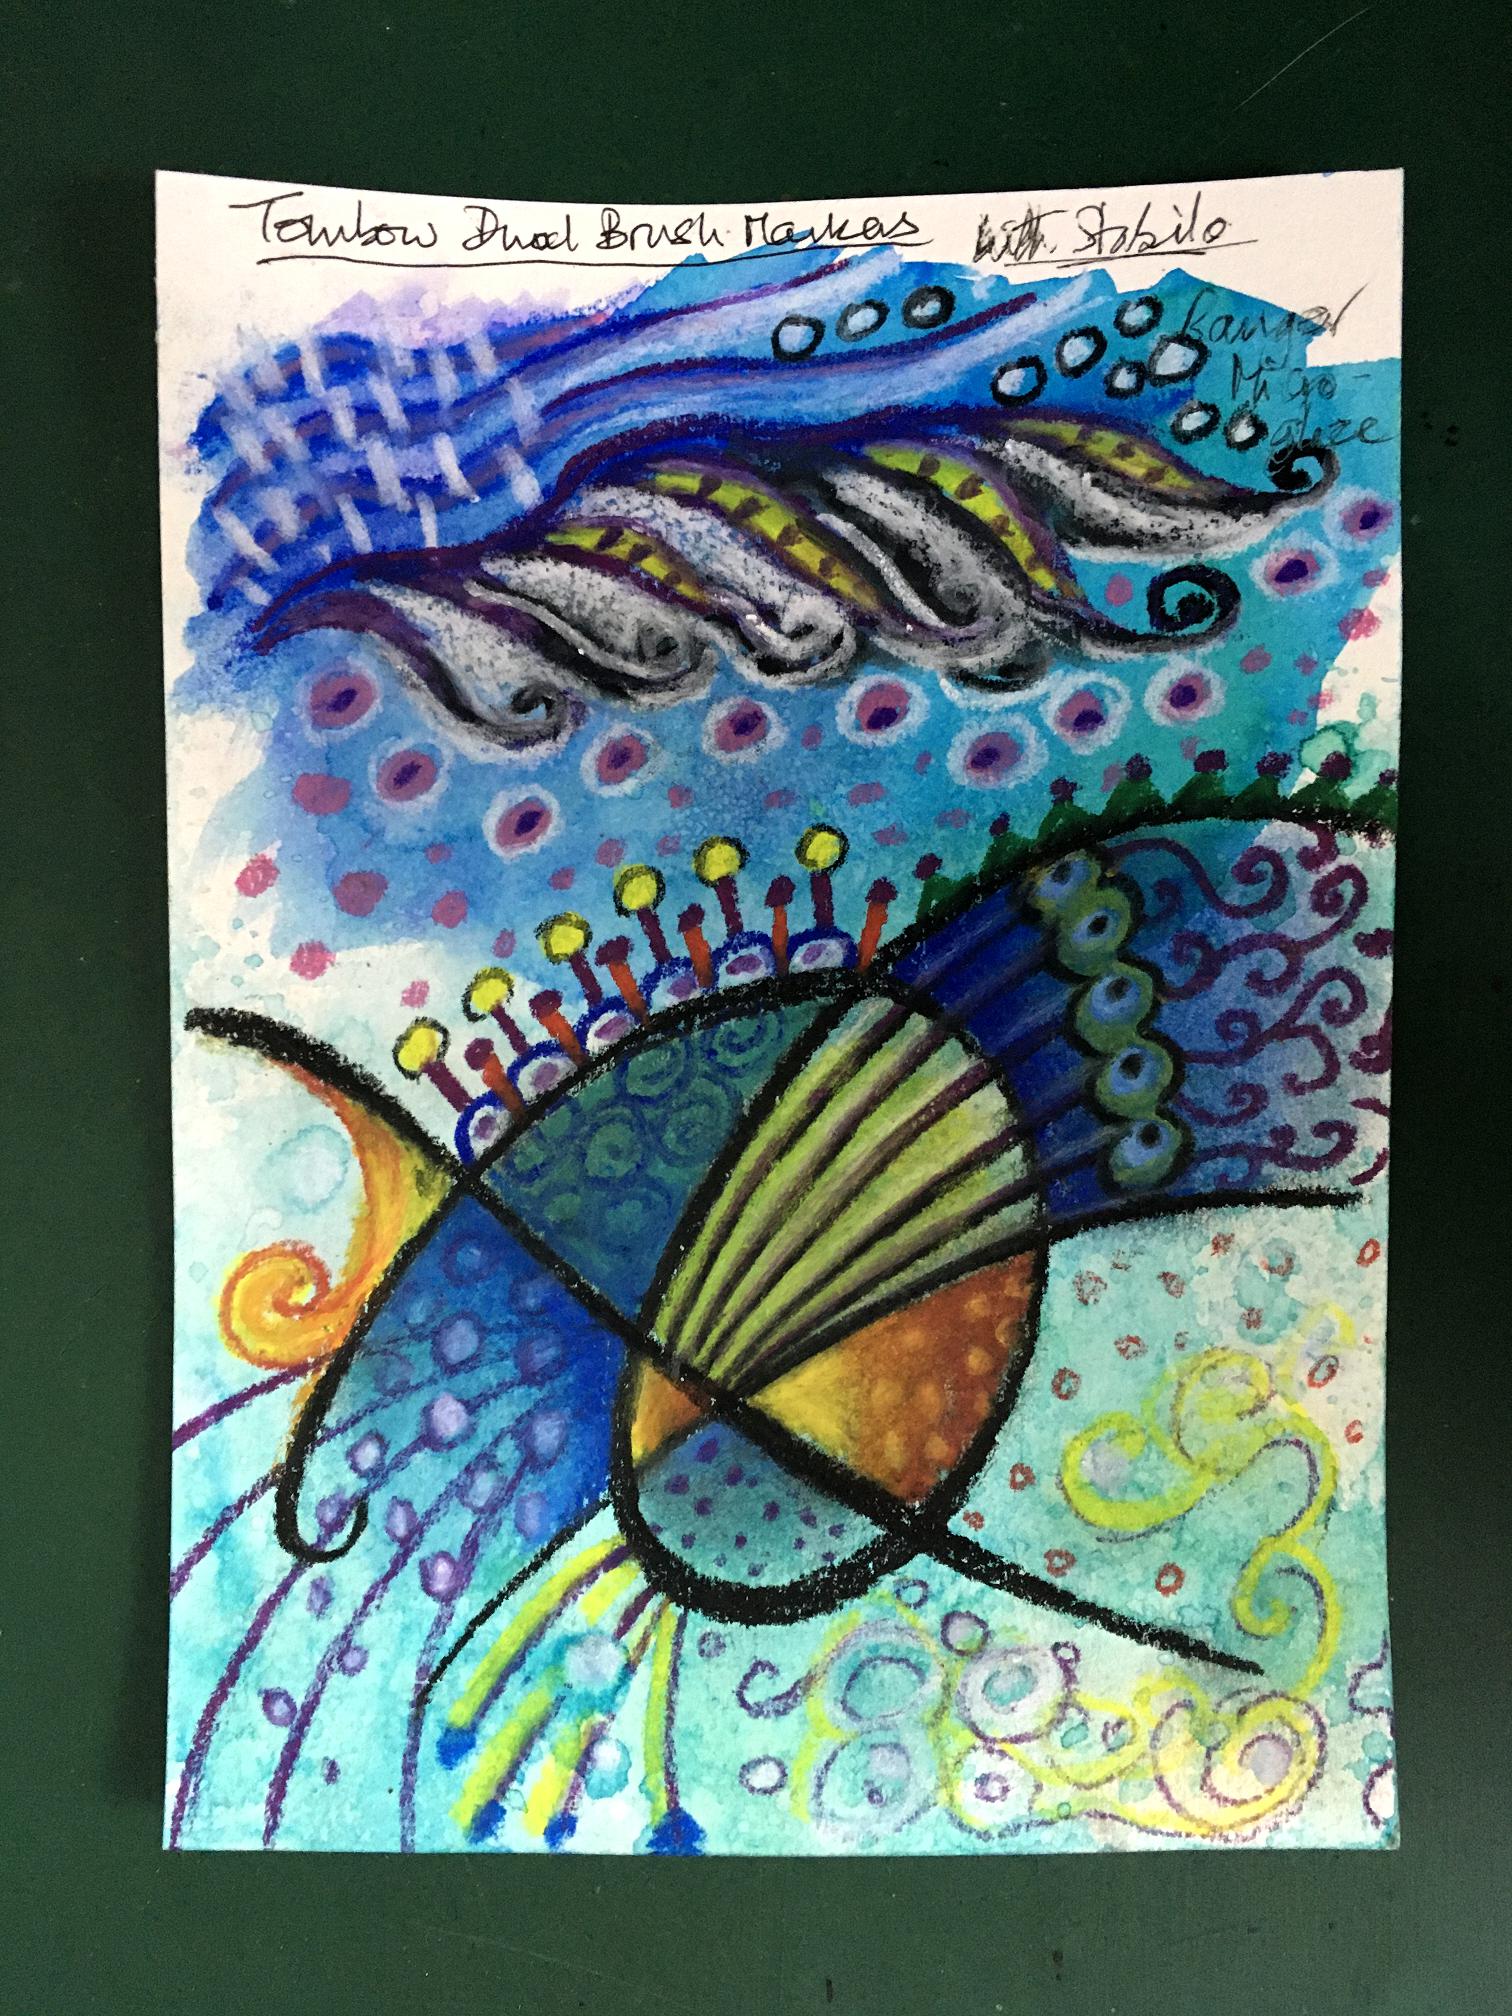
Today, I made some swatches to test different blending methods with the Stabilo and Coloursoft, with varying degrees of success.
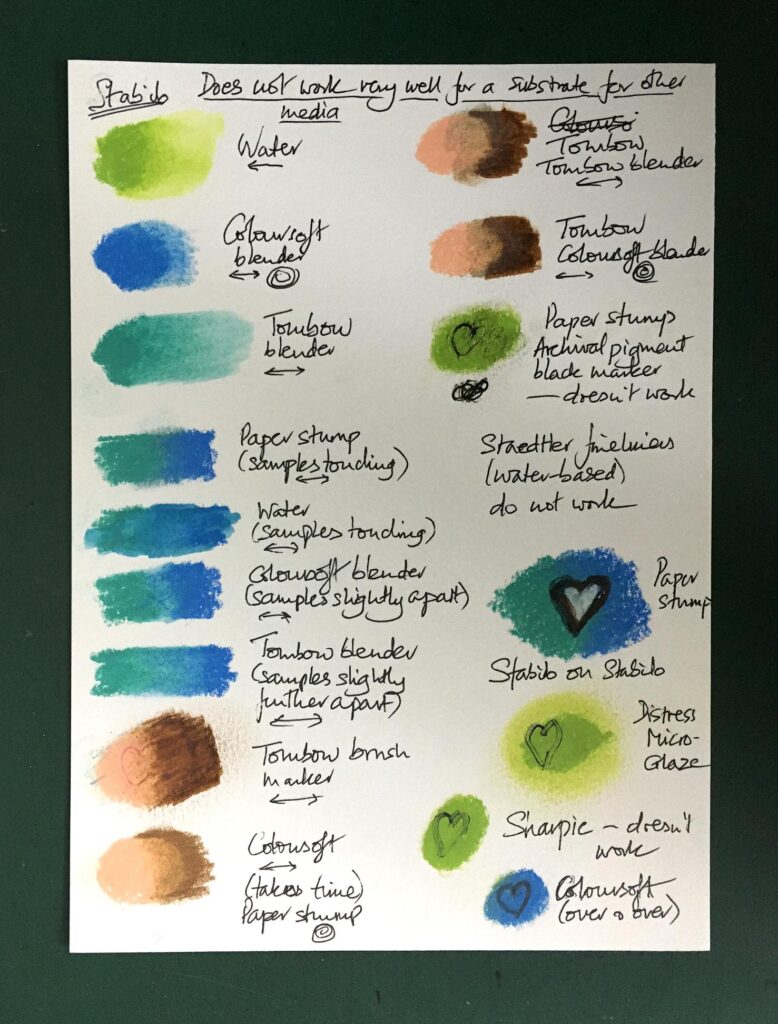
The arrows and circular motifs drawn under each legend indicate the direction of blending.
The Stabilo crayons are waxy, so do not take water-based media well on top of them. I tried my Staedtler Fine-Liners but these are water-based, so of course they didn’t work, and neither were the Tombow brush markers very successful, although they did work to a certain extent. If I am going to combine these media, I will need to use the water-based materials first. I was surprised that my permanent black drawing pens did not work on the Stabilo, and neither did Sharpies, which are alcohol based. I think it is going to be hard to add fine detail on top of the Stabilo. I tried adding a layer of Distress Micro-Glaze but this is waxy too, and didn’t help. I am going to experiment with a layer of clear gesso but I suspect that the waxy Stabilo will resist this. I couldn’t find anything that would work when I searched online.
Blending methods were interesting. You can blend the Stabilo crayons with each other using a fingertip, and also a paper stump works very well. Water-blending does tend to leave brush marks but it smooths out the grainy appearance of the crayon beautifully. I found the best way to give a faded blend was to begin the brush stroke outside the swatch and move the brush onto the swatch, rather than the other way; this way, I didn’t end up with a pale patch on the swatch.
The Coloursoft blender worked to an extent, but the Tombow blender marker worked an absolute treat! A lovely smooth blend. As you can see, I did a few blends experimenting with whether the swatches were touching, or separated. The Tombow blender worked brilliantly on the swatches that were further apart.
I found the best layering was Stabilo on Stabilo. The trouble is, these crayons are very thick, and it is very difficult to get any fine detail with them.
Stabilo over a substrate of Tombow Brush Markers
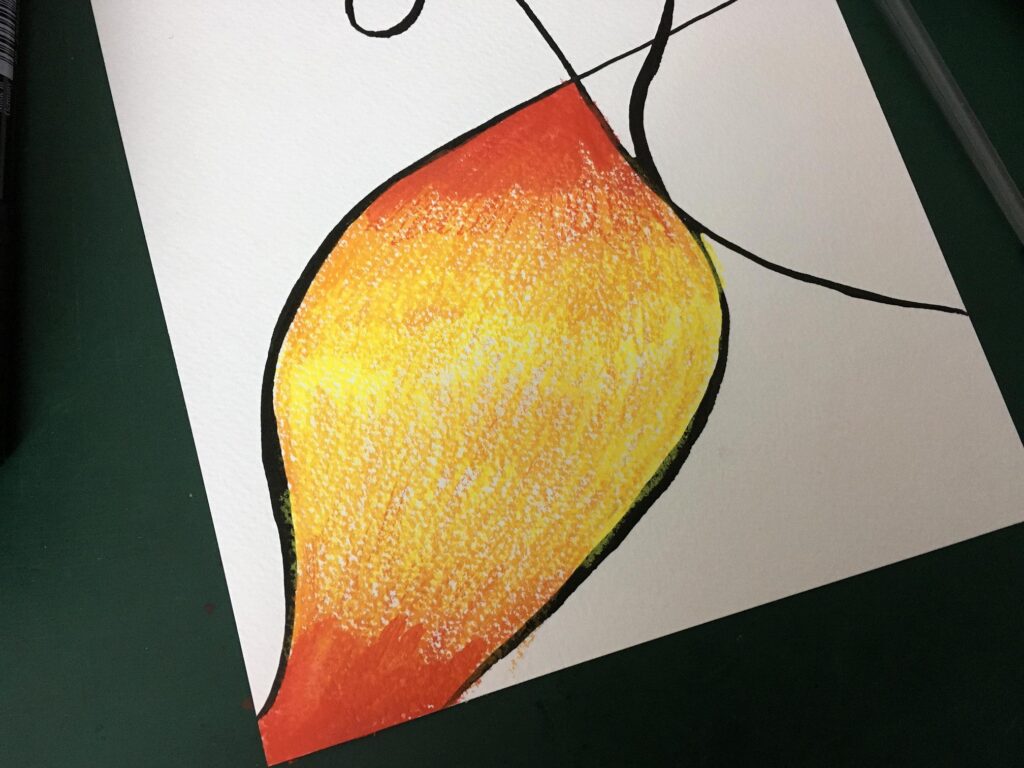
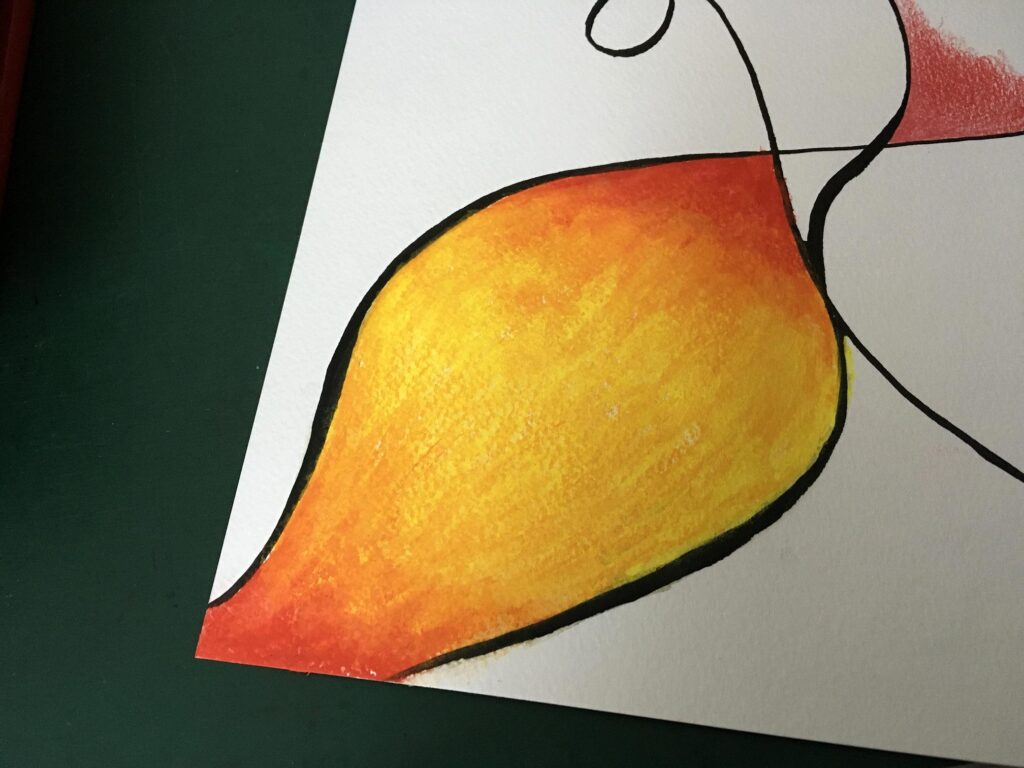
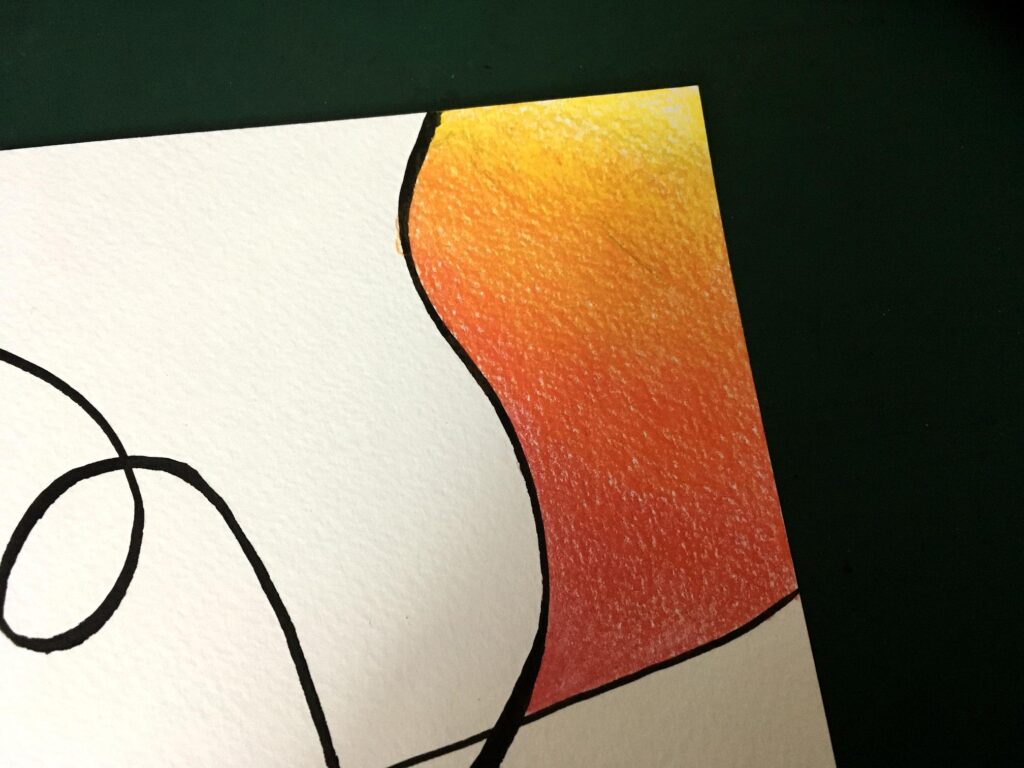
I made a couple of backgrounds using Tombow Brush Markers – the one at the top was done with the markers direct to paper and then blended with a wet brush, and the one at the bottom by scribbling on a Media Mat with the markers and spritzing them with water, and then smooshing the paper into this. After drying with a heat tool, I was able to apply the Stabilo.

After a bit of practice, the bottom one was definitely better than the top one. I did apply a layer of Distress Micro-Glaze over the Tombow background so that I could blend out the Stabilo with water if I wanted, without reactivating the Tombow.
I think the Stabilo will work best for making larger drawings that require less fine detail. Ulrike Hirsch has done a gorgeous drawing in this way on YouTube and my bottom example is following her lead somewhat with this. Working larger will certainly be better, I think.
After finishing all these pieces, the surface feels waxy and sticky. It will be interesting to see if this dries out in time. I think otherwise the pages would tend to stick together if bound in a book, and I am not sure how to stabilise the surface. I have never worked with waxy media before so this is a new experience for me.
Watch this space.
Archival Revival
The reason I started this blog nearly three years ago (my goodness, is it really that long ago?!) was that for some reason, all the photos on my old Blogger blog suddenly disappeared without trace, and although I did begin to replace them, the thought of eight years’ worth of photos was just too overwhelming. I am very glad that I bit the bullet and moved over to WordPress as I have heard a load of complaints from others still on Blogger, having to deal with arbitrary changes to the system. Blogger’s editor is clunky and an absolute pain, so I was using a third-party offline editor for my posts and then uploading them – until Blogger changed and this was no longer compatible – another reason for abandoning the horrible platform!! WordPress is much more stable and sophisticated, although not very user-friendly (they assume a lot of knowledge) – I bought a book at the time I started this blog, which helped a lot in setting it up, and it works fine for me now.
I have some old videos on YouTube which occasionally produce some comments. One of the most popular is my piano keyboard pop-up card which I made back in 2010. People follow the link to my old blog and find no photos there, and I get cries for help!
This happened again recently, so I finally got down to putting into practice something I had been mulling over for a while now – starting a separate section on this blog called “Archival Revival” (tab above) where I could transfer over some of the more precious of my posts from the old blog. This is going to be a big task, and an ongong one. I decided to separate them into sections by year with sub-pages from the main page. Each year page has a list of contents with a thumbnail.
So far the pages are dealing with earlier art projects but eventually will include other things as well – for instance the obituary of my dad, and perhaps our holidays. I do have all the holiday photos arranged in folders on my hard drive, but the actual holiday journals are on the old blog, and it is nice to revisit these and remember all the lovely places we visited, and my reflections on them.
It’s mostly a copy-and-paste job with some amendments, but it all takes time!
In the meantime, I have amended the links to the YouTube video in question, and will do likewise for any others.
Health Update
Yesterday I had my surgical follow-up appointment at the Breast Unit. The surgeon examined me and was pleased to see how well both wounds had healed. We discussed how I was, and I reported some tenderness, and a pulling sensation under my arm when I do my exercises or raise that arm, and also that I experience some pain first thing on waking. He said this was all quite normal after radiotherapy which causes some tissue damage, and I could expect it to get worse over time. He suggested taking painkillers if it got too bad. It is likely that these sensations will not improve with time, but will be permanent. As long as they don’t get too much worse, it won’t be a problem. I already live with permanent ongong side-effects from my chemo seven years ago, and while they are inconvenient and a bit uncomfortable at times, I can live with them. All these things are a reminder of what I have been through, and overcome. Mentioned in Dispatches at least, if not actual medals for valour!!
He informed me, as he had done before, that I would now have annual mammograms in July of each year (the anniversary of my surgery) for the next five years. He asked if I was getting on OK with the exemestane (the oestrogen-blocking medication) and I reported that there were no problems. He also asked if I had had my DEXA bone density scan, and I told him I had; he asked if I needed a calcium supplement and I informed him that the lady had told me that for my age my bones were in excellent health, and it was not needed. I told him I was already supplementing with Vitamin D and he was pleased.
He instructed me to self-examine my breasts regularly, and said that if I experienced any new symptoms or anything unusual, I was to phone them straight away. I now have open access to the Breast Unit in perpetuity – beyond the end of the five years, to the end of my life, and if I have any new symptoms I am to go straight to them and bypass the GP. This is very reassuring, to know that I am on their books for ever.
I again expressed how grateful I was for all the excellent care I had received. Everyone there has been very kind.
Still no news from Exeter regarding my upcoming CT scan.
Kitties
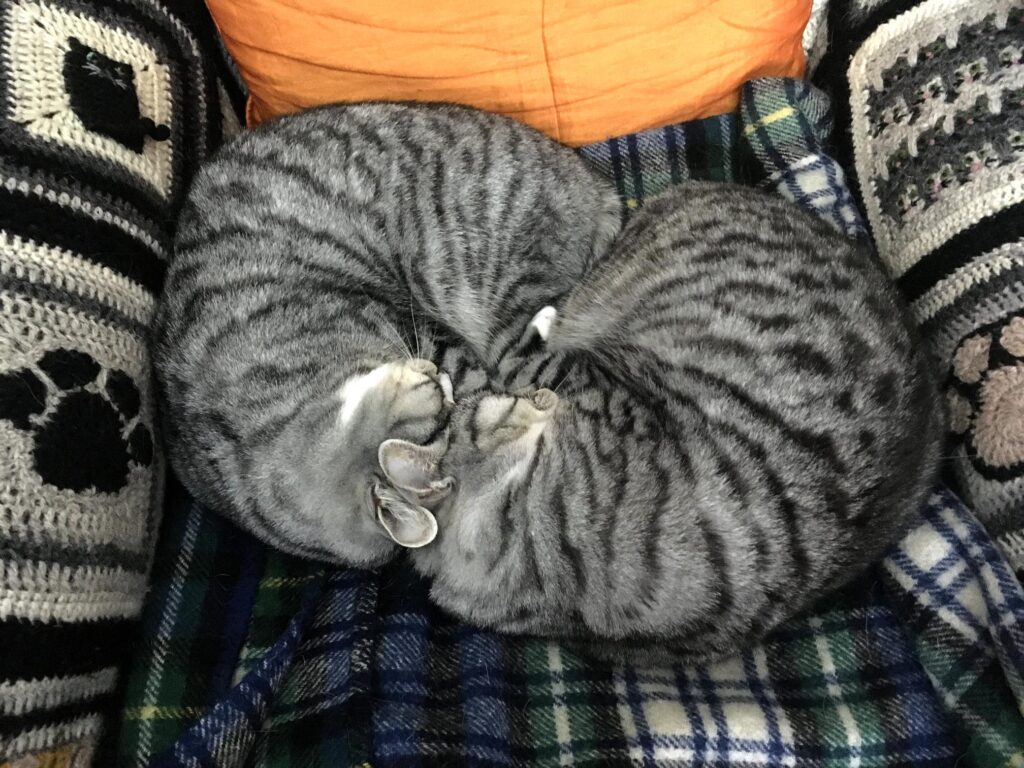
Lily and Ruby are spending a great deal of time cuddled up together in this cold winter weather. Here they are with interlocking ears!
Spring has arrived – early!
Our first daffodil.

We had a heavy frost yesterday which has probably put paid to the geraniums in front of the house, but we shall see – I said to my hubby that being under the balcony and near the wall of the house, they may be somewhat protected. In previous years they have survived.