ONLINE ART COURSE – MODULE B: CHARCOAL – WARM-UP EXERCISES, AND BEGINNING THE FIRST PROJECT
Very exciting to be moving on to the second module of the Draw Awesome course. I really wasn’t sure about charcoal – messy, imprecise… not me at all! – but I am determined to work through every stage of the course, and who knows – this medium may turn out to be a lot more fun and manageable than I anticipated!
Materials and equipment
These are the materials we need for this module.
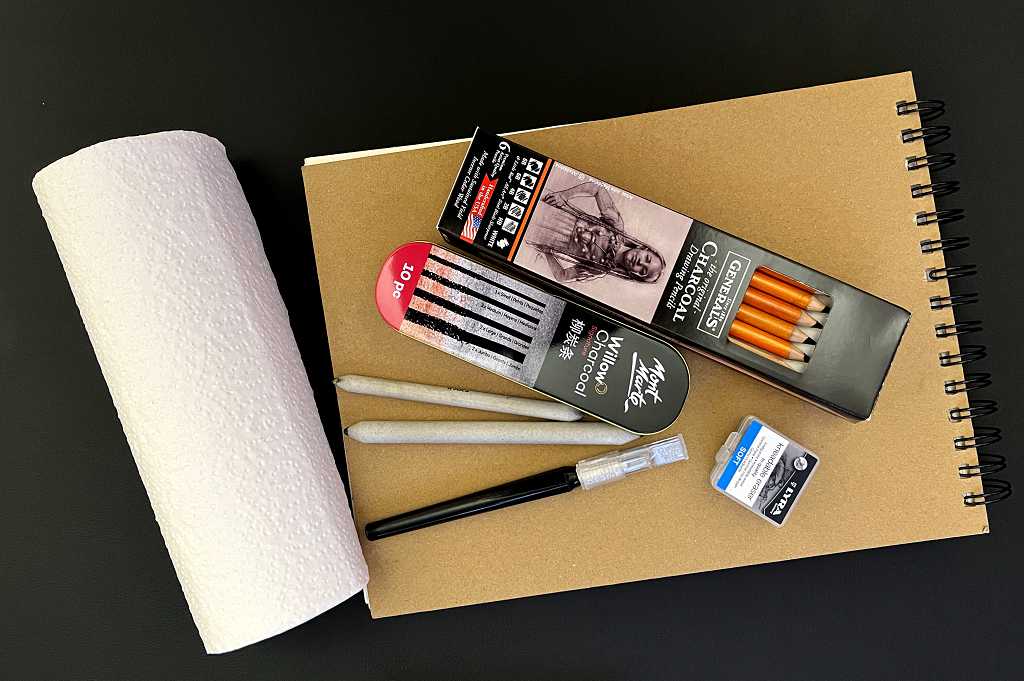
Our sketchbook, obviously. Willow charcoal, charcoal pencils, a craft knife to sharpen them with, some paper blending stumps and a kneaded eraser. Also some kitchen paper or a soft cloth. The only things I had to purchase especially for this module were the charcoal and the charcoal pencils.
The first lesson, after the Project Orientation, in which we are given an introduction to the first project of the module, and some guidance as to how to carry it out, is a warm-up session. We had this orientation session with Module A (graphite) as well – familiarising ourselves with the medium and understanding how it works in different situations.
First exercise

This was to experiment with different methods of blending, using a short piece of willow charcoal. First of all we had to rub this along its length on a piece of scrap paper to form a flat surface. We used this to make a number of swatches, firstly on the front of the paper and then another on the back, to show up any difference in the texture or tooth of the paper. As I experienced with my final drawing in Module A, the back of the sheets in my sketchbook is more textured, and this was borne out with the charcoal experiment, too. This means I shall be careful always to do my best drawings on the front side of the page only, if I don’t want the texture to show.
In the pictures, you can see the difference – where I have blended the charcoal out to a thin layer, the texture on the paper shows a lot more on the back side than on the front. (Picture of the example on the back of the page is in the next photo.)
We then made a series of swatches with the flattened side of the willow charcoal, which we treated with different blending methods. The first was blending with a finger, then with a paper blending stump, and finally with a piece of kitchen paper (or a cloth). The paper stump gave the smoothest result without removing too much charcoal, and the kitchen paper removed quite a lot.
After this, we experimented with a kneaded eraser, removing a small patch of charcoal from each swatch. The more blended the charcoal, the less was able to be removed. A completely unblended swatch yielded the best result; the finger-blended one slightly less; the paper stump one very little, and the kitchen paper one virtually none. This is because blending forces the charcoal into the surface of the paper, making it more difficult to remove. In practice, it means that when one wants a bright white area, it is best to use no charcoal at all, but to leave it clean. We were told to outline each erased patch with the charcoal pencil so that it showed up better.
We also used the paper stump as a drawing instrument, cleaning off the charcoal residue on it. You could get really subtle shading with this.
We then drew a rough sunflower shape with the charcoal pencil and an overhand grip, and filled in a background with rough strokes with the willow charcoal which were subsequently blended with the side of the paper stump, using strokes in different directions for texture. We were careful not to go in between the petals of the flower at this stage, but to do this with the point of the paper stump. Some shading was added with small strokes with the end of the willow charcoal at the edge of the petals, subsequently blended out, and more detailing added with the charcoal pencil.
Second exercise
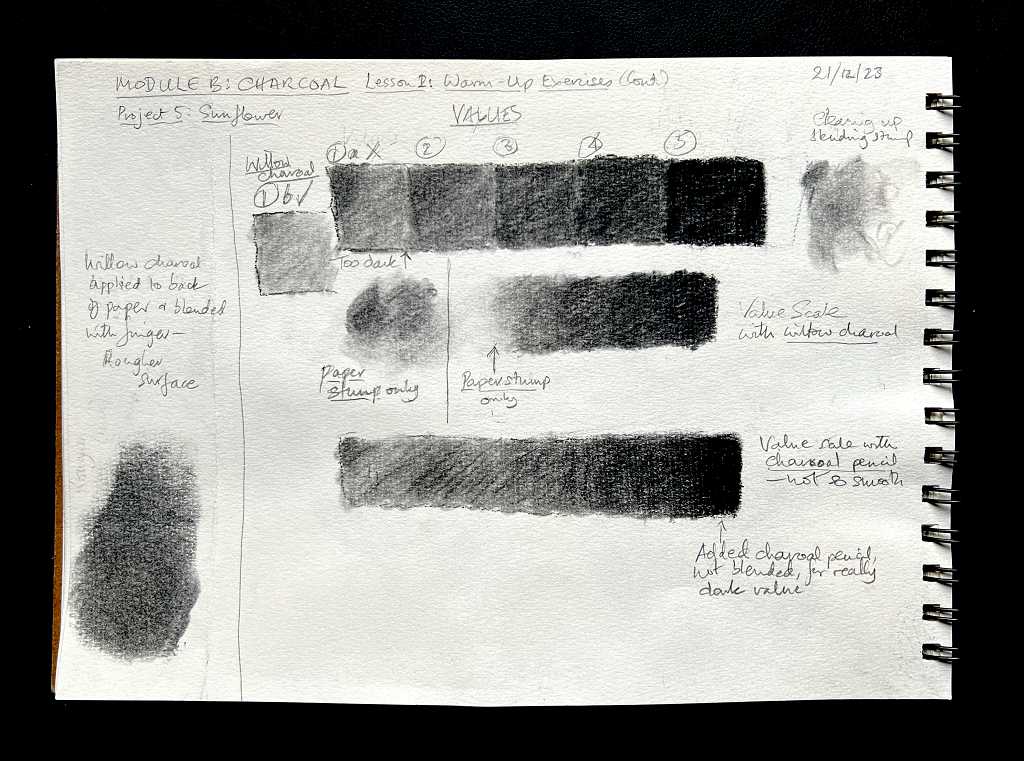
This was about values – different light and dark areas. We drew a long rectangle with an overhand grip on the charcoal pencil and divided it into five squares. Using the lightest possible strokes, forming lines, we added some willow charcoal to the first box, and moved to the end of the rectangle, adding more pressure and closer lines in each box as we went. My first box was much too dark so I re-did this below. Blending out the lines with the paper stump showed the different values we could achieve with the willow charcoal.
For the next swatch, we began with charcoal residue on the paper stump only, then moved on as before from light to dark, but not separated into squares. Once this was done, it was all blended out with the paper stump, to produce a value scale.
The final swatch was done with the charcoal pencil, which proved a lot more difficult to blend than the willow charcoal. In the second swatch, the darkest value was somewhat blended out, and in order to achieve a true black, we used the charcoal pencil on the darkest end of the charcoal pencil value scale after blending the rest, and left that last portion unblended. This resulted in a true black.
The final step for me, after completing each of the two pages, was to spray them well with two or three coats of fixative, drying in between. I do not want a smudgy, black, messy sketchbook!!
A very interesting experiment in how to produce all the different values from the very palest suggestion of grey to a true, intense black.
Maybe this medium has some merits after all! Nothing ventured, nothing gained… Watch this space!
The first project – Sunflower
This suits me – I adore sunflowers, and am known for it!!
All I have done so far is the initial layout stage. You can break the project down into sections, or work on the whole thing in one go. I found it too tiring to do any more than this in one session, and I am also limited for time in any given day.
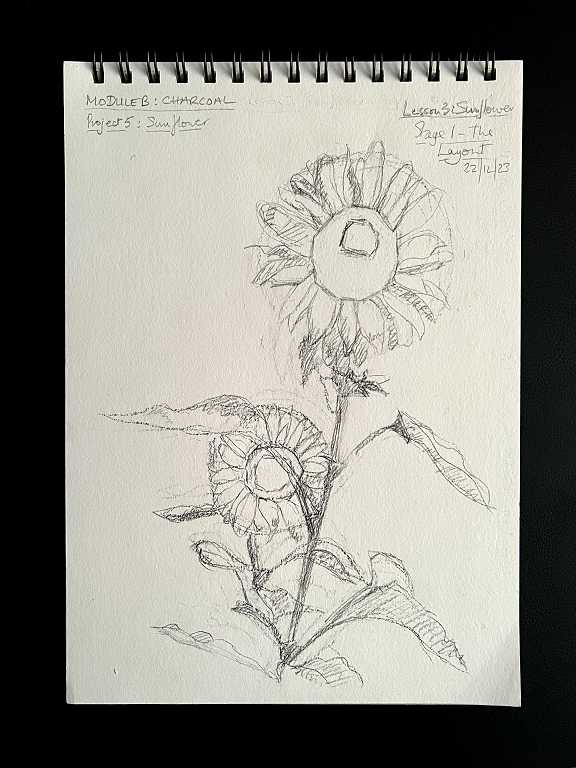
Working from the reference photo, again I found it quite difficult to get the proportions of the drawing correct, and if you look carefully you can see several places where I have erased my initial markings. Working with the charcoal pencil, these are more difficult to erase than a graphite pencil so in future, I think I shall use this, as I can never get it right the first time!
Drawing and sketching practice
I am keeping my big sketchbook solely for the Draw Awesome course work. Yesterday, I made a little notebook from A5 sheets of 100 gsm copy paper folded to A6 and bound with a three-hole pamphlet binding into a cover cut from an Amazon packaging envelope. I am going to use this for daily sketching – not sure if I shall be able to keep up the discipline of doing it every single day, but trying to spend a few minutes drawing shapes, sketching random items, etc., just to build up some muscle memory and keep my observation skills sharp. Nothing fancy. If I draw something I like, I can work it up to a larger scale and make a proper job of it.
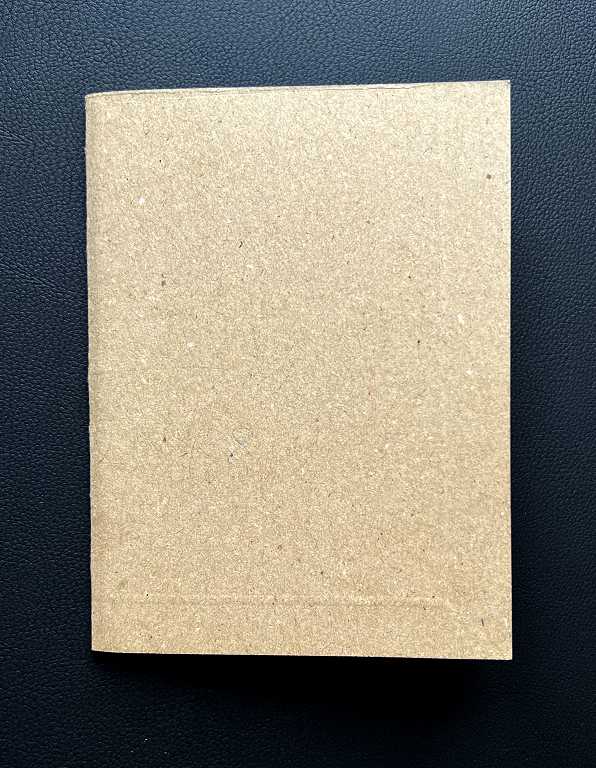
I may end up decorating this rather plain cover.
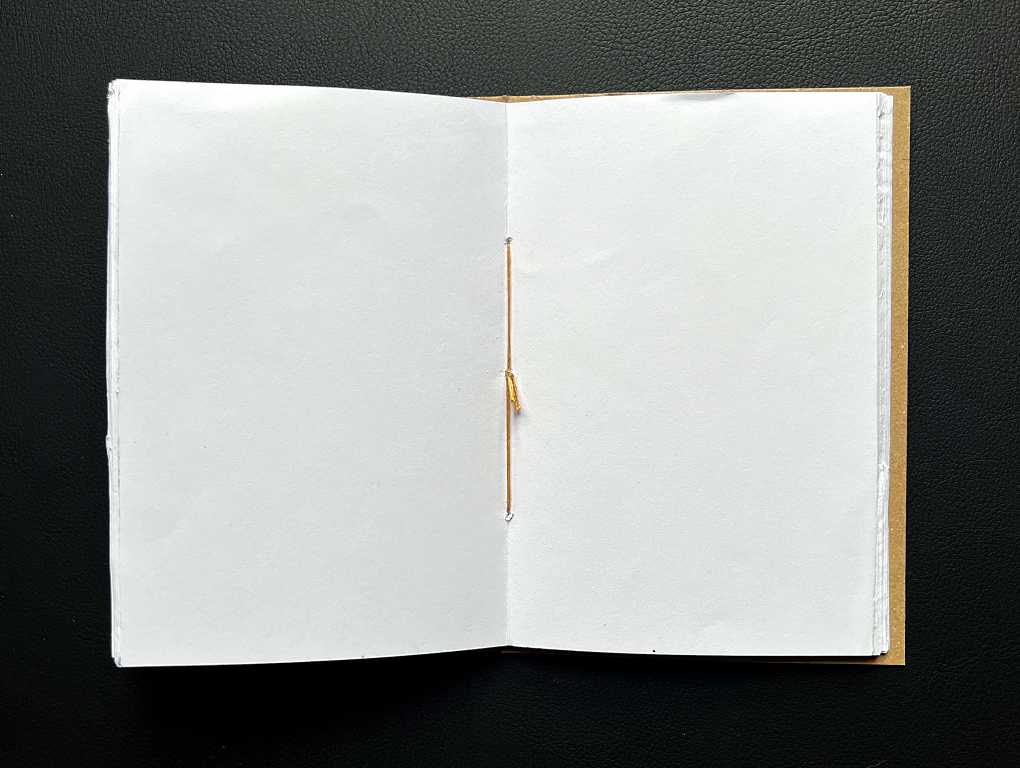
This is the centrefold, showing the three-hole pamphlet binding, done with waxed thread.
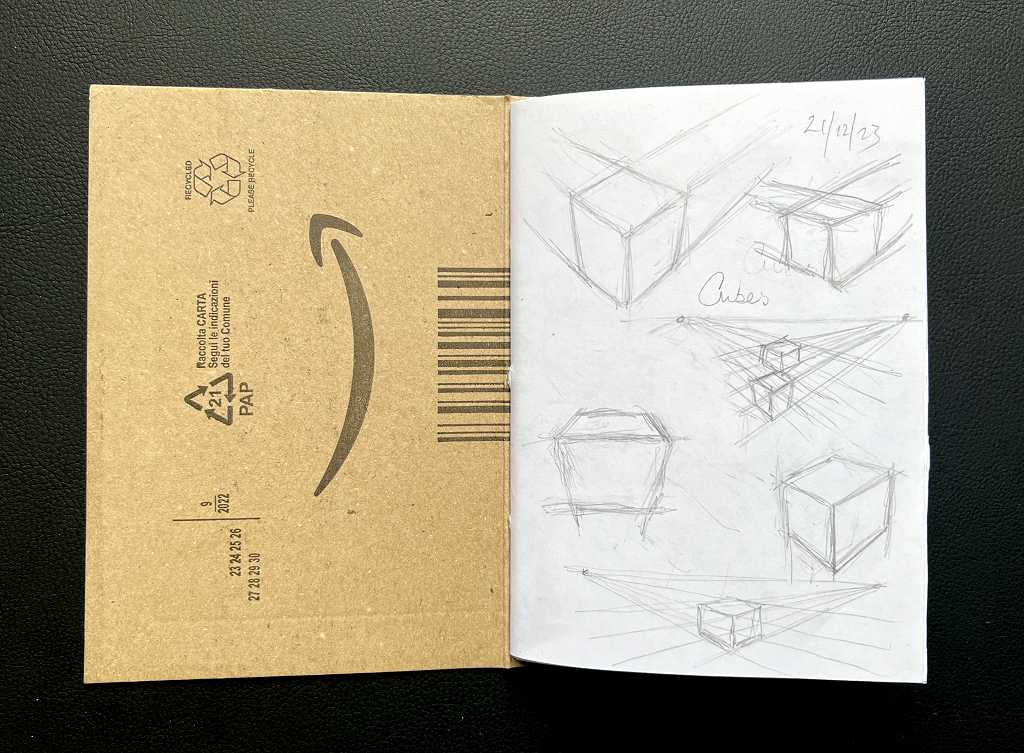
The inside cover, showing the Amazon logos! On the first page I experimented with drawing perspective cubes.
On the second page, I was practising making freehand circles using the overhand grip on my pencil. Once I had drawn a whole lot, I decided to render them with graphite pencils.
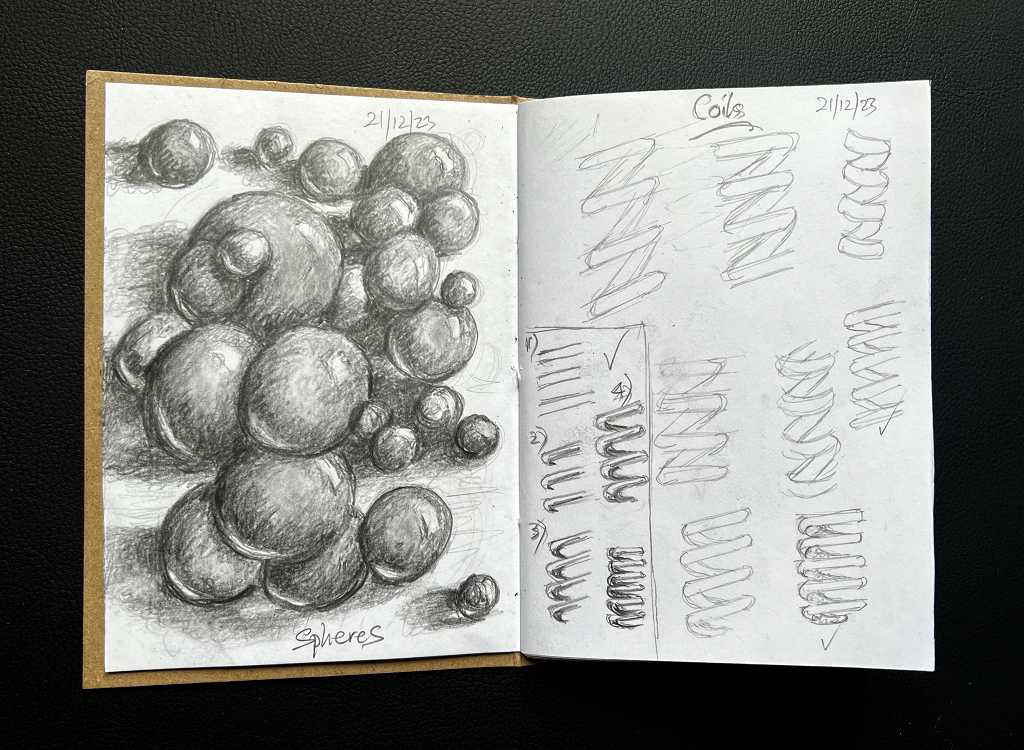
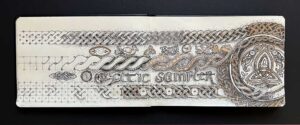
On the third page, I decided I really must try and get to grips with drawing coils properly. I tried to do some in my doodly book a while back and found it incredibly difficult, and there don’t seem to be any video instructions for this, apart from digital drawing instructins using CAD and such-like – lots of stuff about calculating angles and so on, which I really didn’t want. After a lot of experimenting I managed to get something half-way decent! If I was incorporating them into a proper drawing, I would make sure that the diameter of the coil remained constant, and the distance between the coils, but not too bad in the end!
Other drawing books
In addition to the two A4 sketchbooks that I bought for the course, I have also bought a couple of A5 ones for work not directly connected with the course, and I can develop any art ideas I like in these.
I also have my gorgeous little black drawing book in which I do occasional pen and ink drawings of a more abstract or doodly nature. I haven’t worked in this for quite a while. The paper is very smooth. I am keeping everything in that book to black and white.

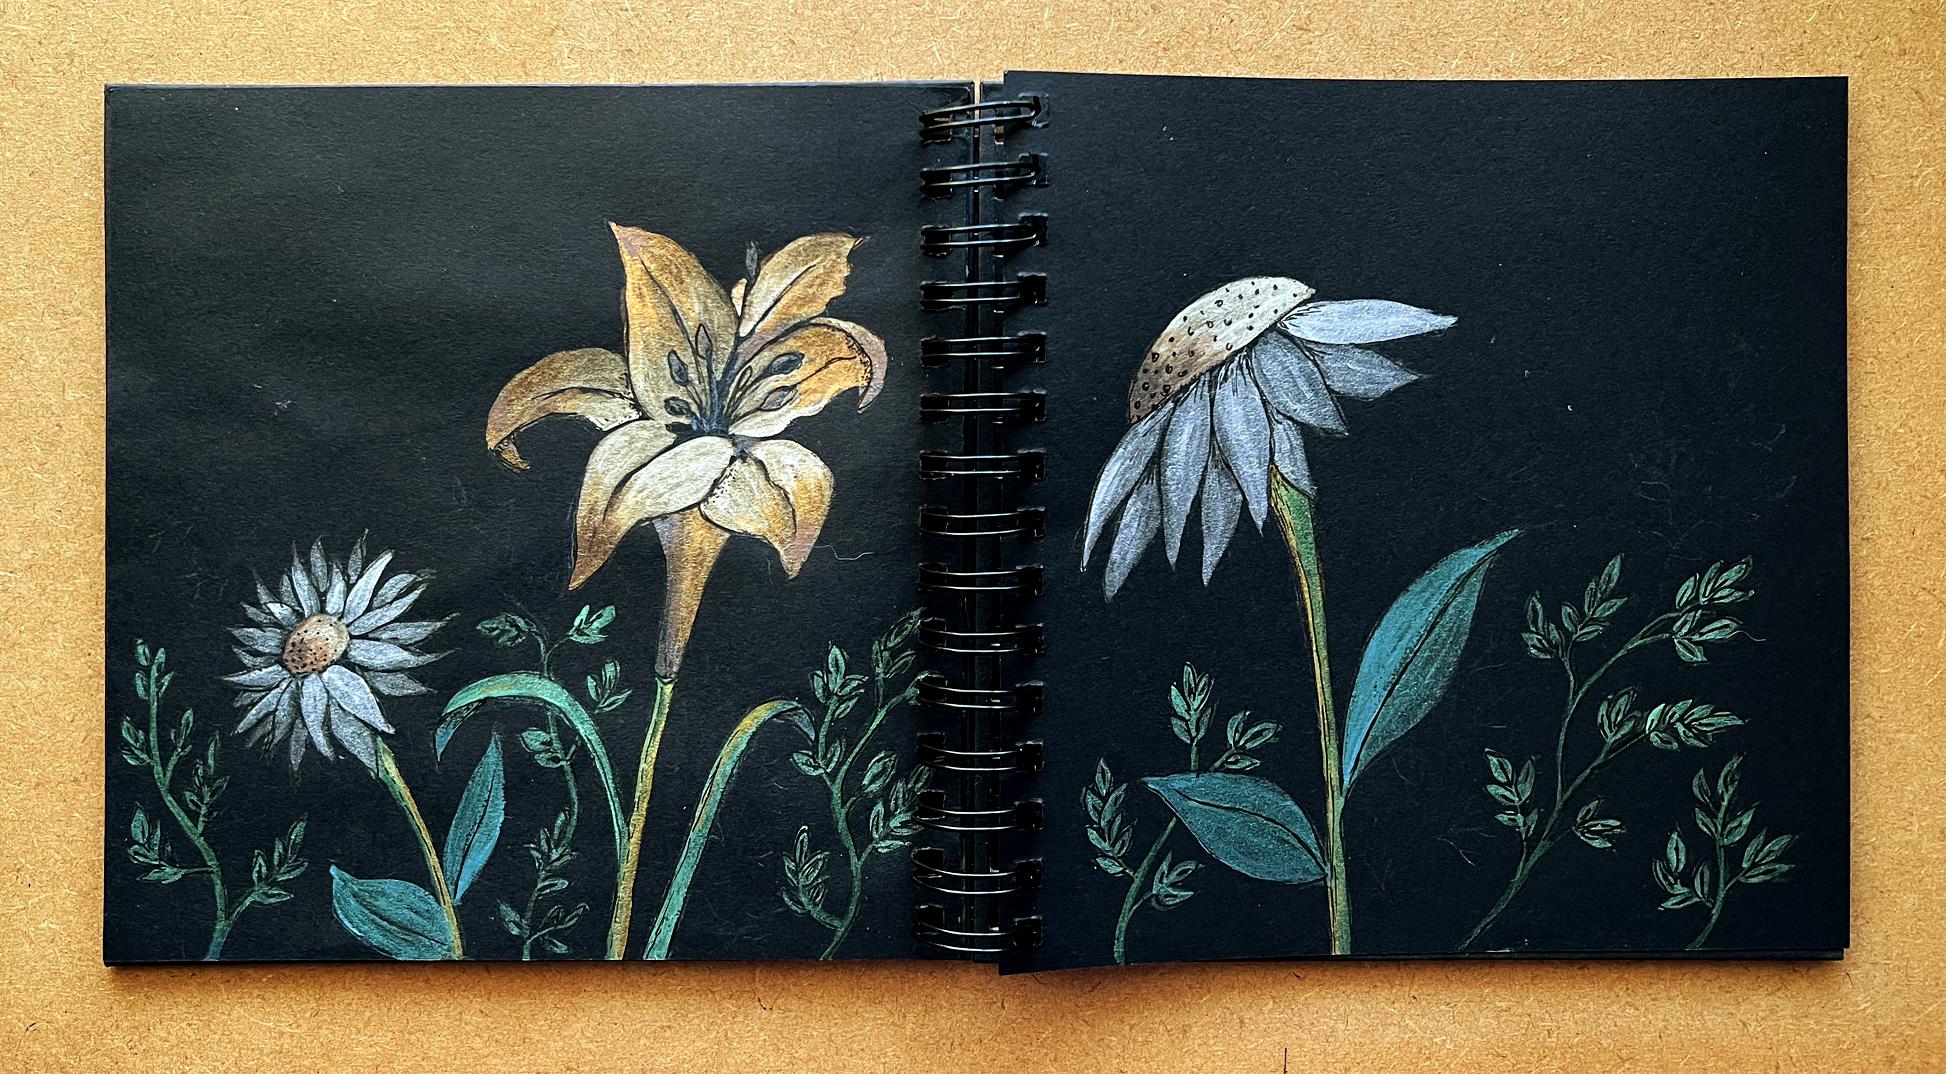
My other book is a spiral bound one with square black pages, which I have dedicated to botanical drawings and paintings. Again, I haven’t done anything in this for quite a while – something to return to when the creative juices flow in that direction once more! I am hoping that what I am learning on the drawing course will help me produce some really good floral and foliage drawings in this book as time goes on.

Beautiful artwork as always, looking forward to seeing more. I never did get on well with charcoal, I found it a difficult medium to use, but you’ll have a natural flare for it.