ONLINE ART COURSE – WORKING ON THE SECOND PROJECT
Eye studies
I’ve begun the second projct in the course, which is on drawing eyes. When I saw what we were expected to do, I thought it looked much too hard and I’d never be able to do that! However, he is such a good teacher, and takes you through everything step by step, and it is quite amazing the results you can get, even if you are a complete beginner.
In this section, we are drawing four different eyes, the first two being led by the teacher as before, with him drawing on screen, and we watch, and then pause the video and do our own drawing up to that stage. He then resumes, and repeats the process until the drawing is complete. In this case, though, he is only going to guide us through the first two eyes, and then we are on our own! This is fairly scary, but it’s good because he believes that by this stage we are capable or managing without our hands being held, having learnt the various techniques.
Warm up
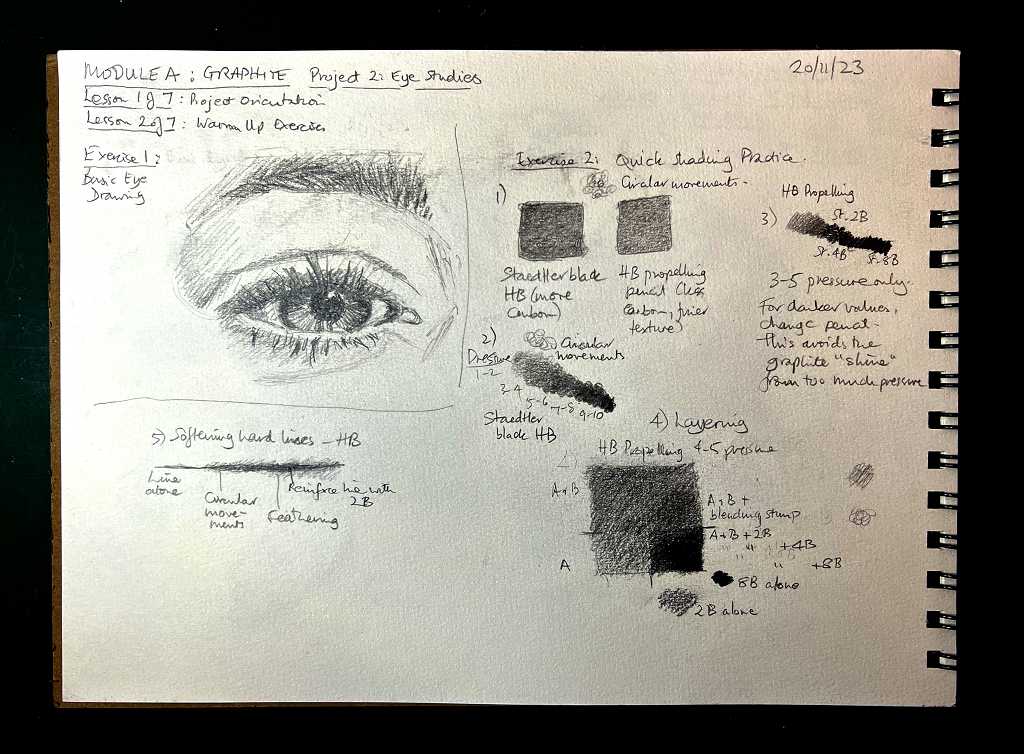
As before the first part of the project is a warm up lesson. I did this yesterday. We began by following him in a simple eye drawing. This was not from a reference photo, but just his idea of what a generic eye might look like, so that we would become familiar with the different parts of the eye and how to approach the drawing. Once we had this information under our belt, the hope is that we would be able to draw any eye in the future, human or animal. Looking at a finished drawing, it is hard to see how one would ever learn to do this, but when it is broken down into simple steps, it comes together like magic.
After we’d done our simple eye drawing, he guided us in a series of exercises to practise shading. I have never drawn with proper graphite pencils before, and it is interesting learning how each hardness varies, and how to use the correct pressure to achieve excellent shading. I found the layering especially interesting. Knowing one’s materials has to be half the battle.
In this project he encourages us to use a regular HB pencil rather than the one from the Staedtler set which has more carbon, and produces a coarser texture. I am using my normal Pentel propelling pencil which has a 5 mm lead, and this seems to work OK. I’ve probably got some regular HB pencils somewhere in my studio but for now, the propelling pencil is doing the job.
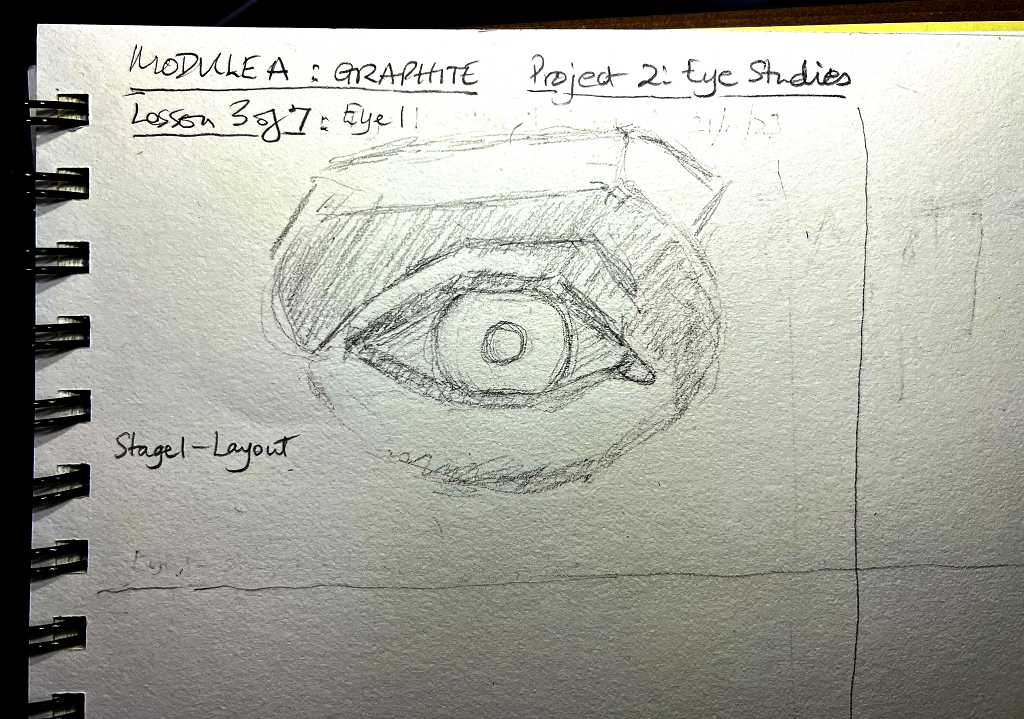
The first eye drawing
Today I completed the first of the four eyes.
Stage 1 involved getting the basic layout down. He encouraged us to examine the reference photo closely, and also his drawing, so that we got the proportions and distances right between the various elements.
Once this was done, we moved on to the next video, which showed us how to shade the drawing, building up the layers and using the different hardness pencils as we went. It is quite fascinating how in the early stages, a part which has been shaded and doesn’t look that bright, becomes much lighter once you add the darker shading around it, requiring you to adjust the shading constantly, to get a realistic result.
This is certainly teaching us how to observe, and see things we might never have noticed before.
Here is my finished drawing.
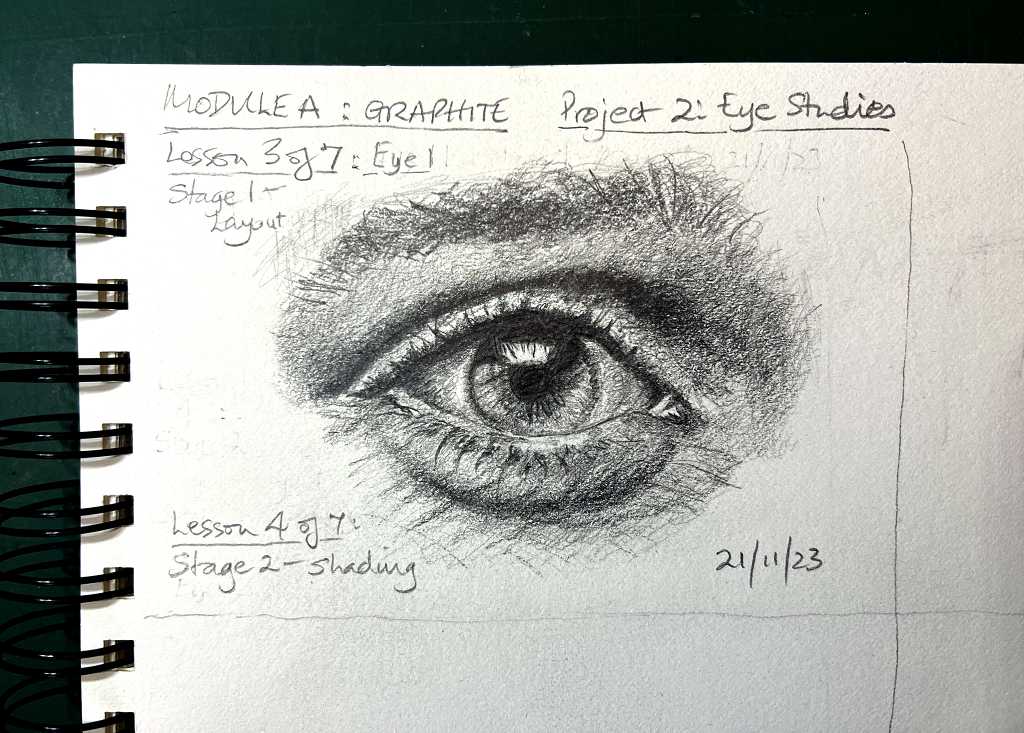
I have absolutely astonished myself… I never, ever dreamed that I could draw like this!! OK, we are following the teacher closely, blow by blow, as it were, but it isn’t simply straight copying – he is getting us to really look at what we are doing, and all the time we are practising how to use the pencils effectively. The acid test in this project will be to attempt the final two eyes on my own! Once I have completed Eye No. 2, I should be well away.
This course is totally awesome (its name, “Draw Awesome” is no misnomer!) and I am super thrilled to have started it. Who knows where this will lead?