
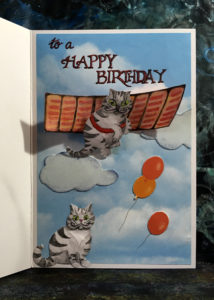
Next Tuesday is my hubby’s birthday. As I mentioned in my recent WOYWW post, I decided to make him an accordion card featuring some of our many teddies. He has always loved teddies, and tends to rescue poor abandoned ones he finds in charity shops, to give them a good home – a practice I am now actively resisting because we are getting so many! The other day I told him he was the male equivalent of a crazy cat lady with his teddies.
A brief recap on the beginnings of this accordion card
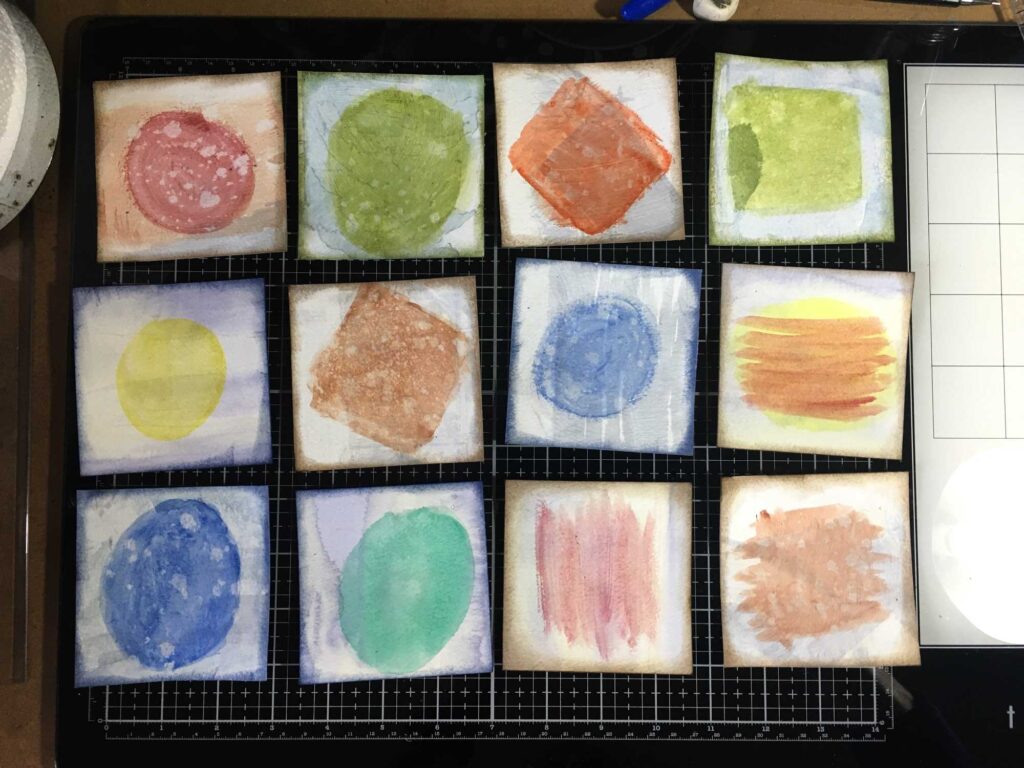
I created the backgrounds for the teddy drawings by recycling some of my hubby’s reject watercolours, cutting them into small squares measuring 3 1/2 inches.
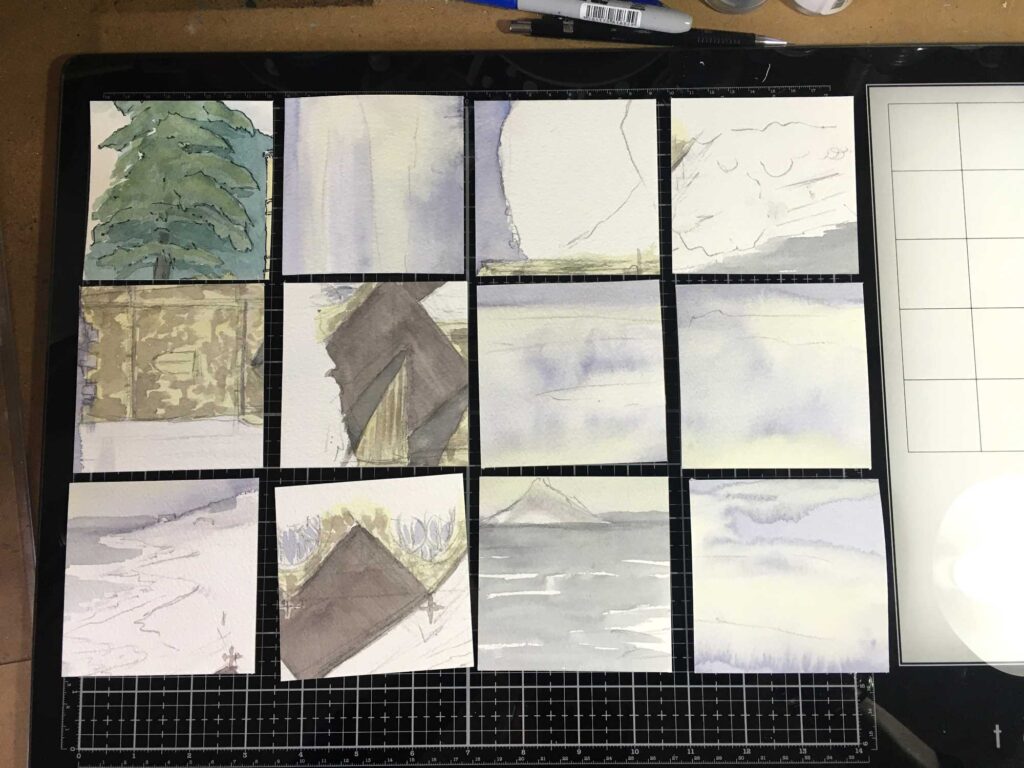
I painted some with gesso, and others I left. I added some basic shapes in watercolour, and spattered and blotted them for a bit of texture.
I photographed the teddies for reference, and also found some inspiration online for drawing basic teddy shapes, and made some preliminary sketches of the teddies.
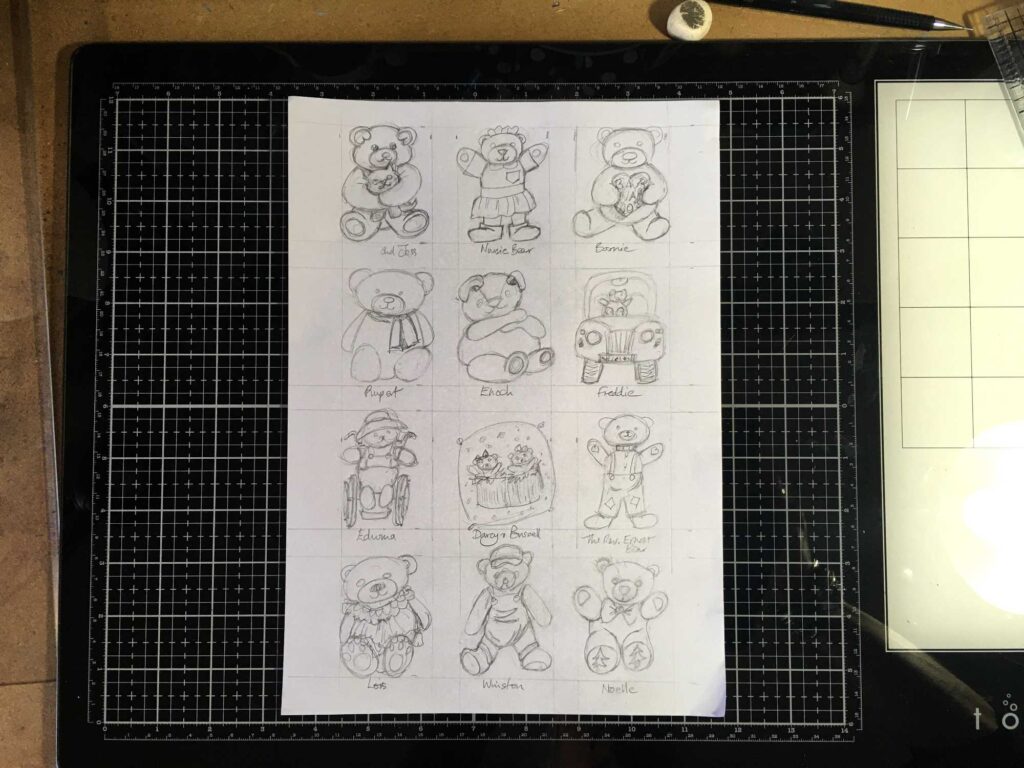
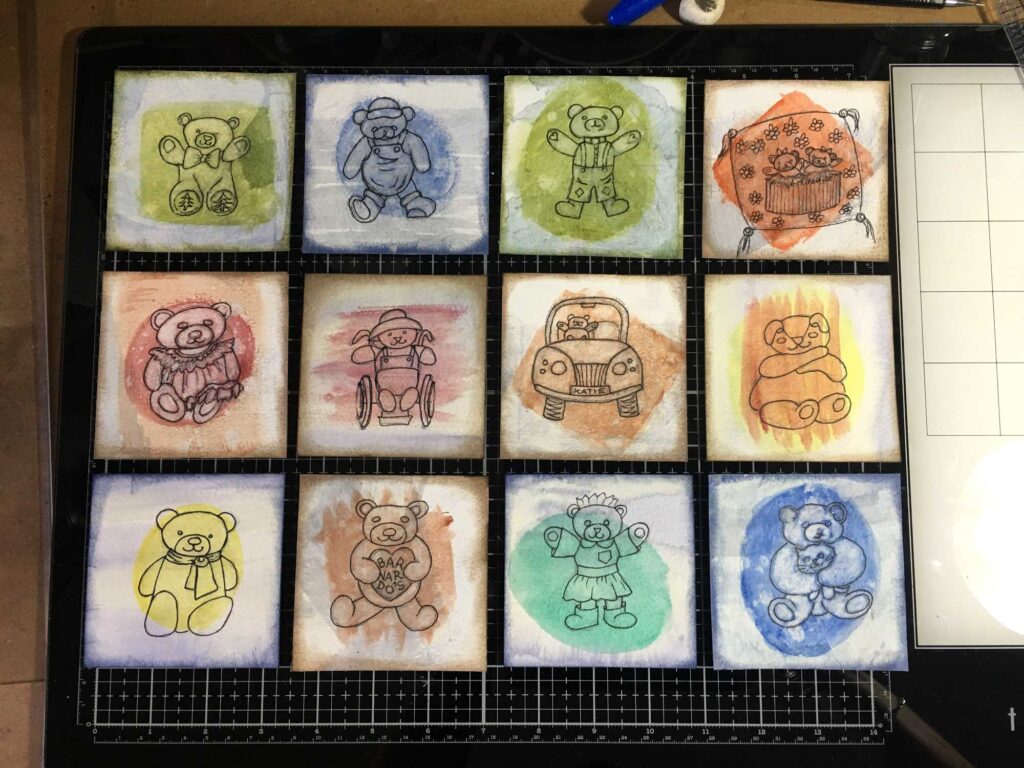
From these I was able to do the line drawings on my little background squares.
The completion of the project
I constructed the accordion card from some white A3 cardstock which was heavy enough to form the base of the card. Each “page” measures 4 inches square.
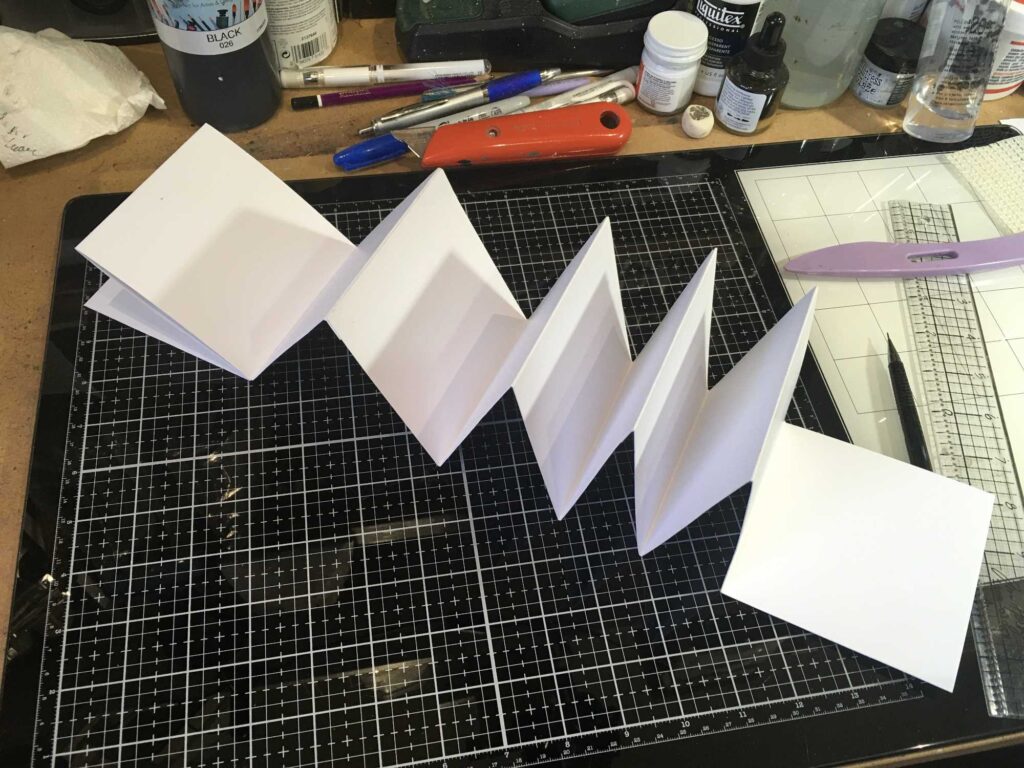
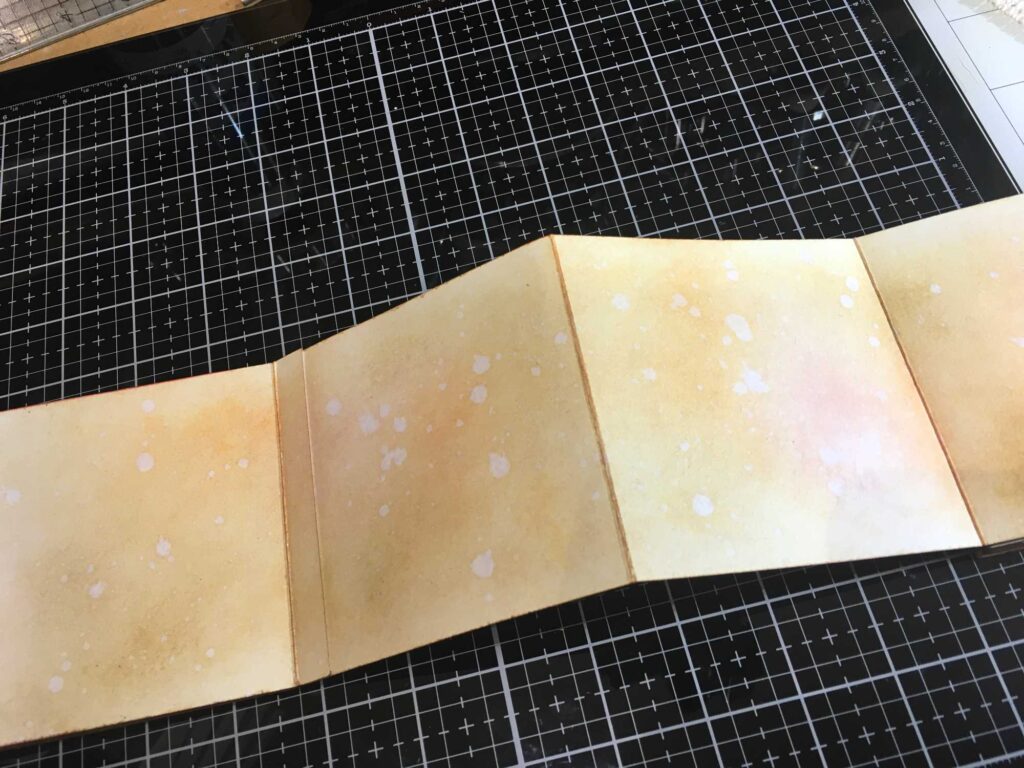
I decided to put all the drawings on one side of the long accordion strip so that they could all be visible at once. I needed to do something on the back, so I inked it using Distress Inks in various shades, basically orange and pink, on a base of Antique Linen, all applied with Inkylicious Ink Duster brushes to give a soft effect. After this, I spattered it with water and blotted it off.
To return to the teddy drawings, I tried to lift the background colour from inside the outlines of the teddies, with varying degrees of success; the gessoed ones worked a lot better than the untreated ones. I coloured the teddies using my Tombow Dual Marker pens, and where necessary, added a little Dr. Ph. Martin’s Bleed Proof White paint (awesome stuff!). I forgot to photograph them in a grid arrangement as before, and proceeded to stick them to the accordion card.
I decided on the order of the drawings, trying to pair them according to colour. I inked the edges of the accordion with corresponding Distress Inks. I stuck the drawings down with strong liquid adhesive, and added some doodling around the edges.
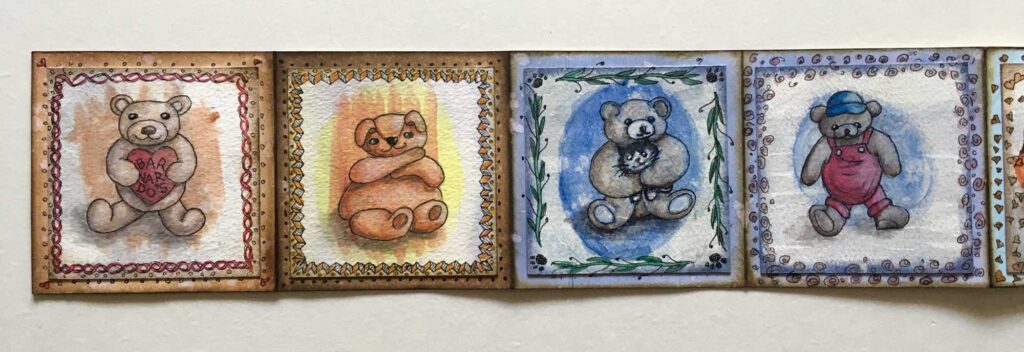
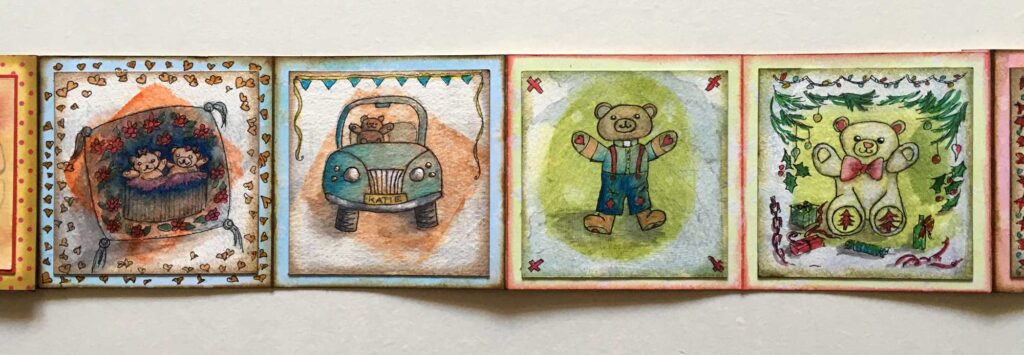
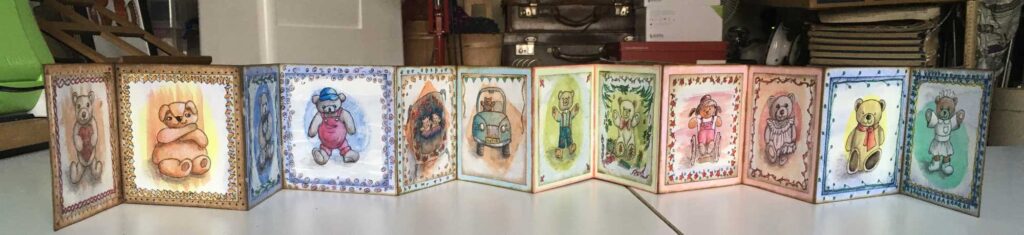
Here is the completed accordion, spread out to show all 12 drawings.

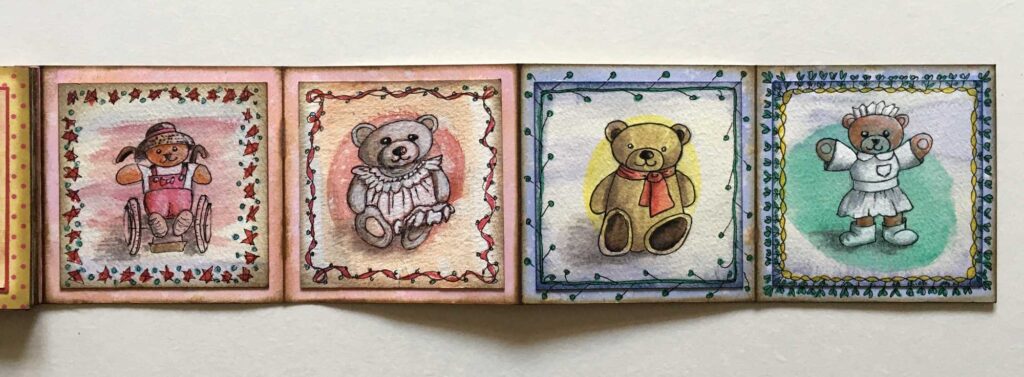
For a closer view, here are some pictures showing groups of four.
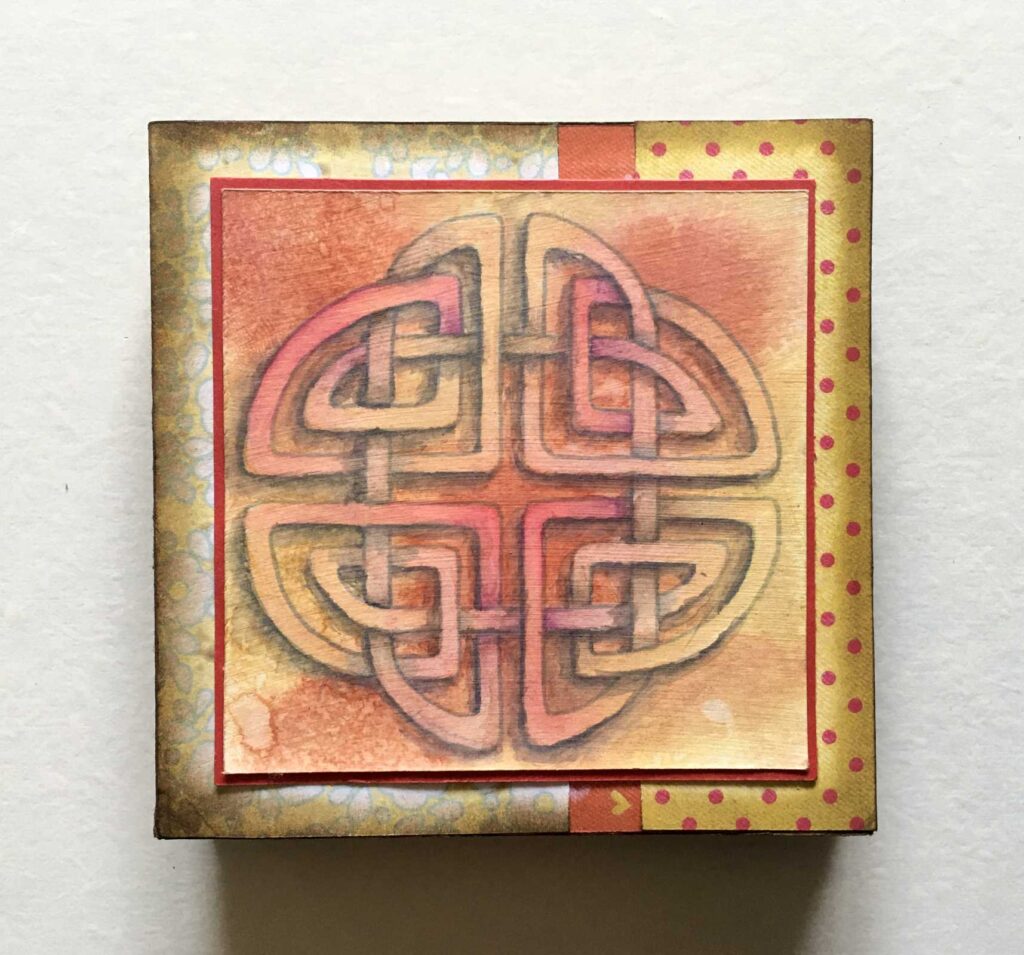
Time to move on to the front and back covers of the card. I decided to add one of my Celtic knot drawings. I know this isn’t related to the teddy theme but my hubby really liked them, and this particular one co-ordinated with the colour scheme. On the spur of the moment I decided to stick down some scraps of patterned paper to form the background, and added a bit of distressing with Walnut Stain Distress Ink around the edges. I was pleased with how that turned out.
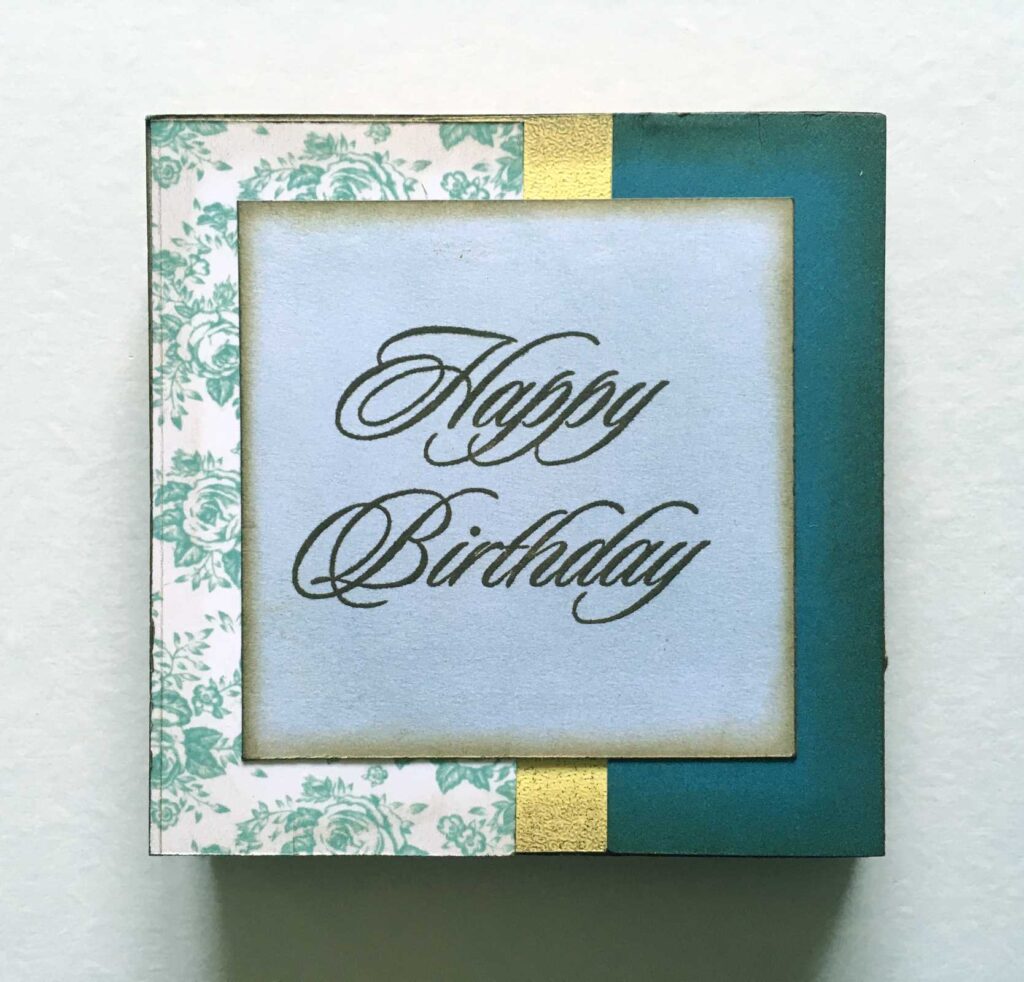
For the back, I chose a cooler colour scheme, and added a stamped sentiment, also in Walnut Stain Distress Ink.
Here is the accordion spread out, and standing up.
Obviously this card is quite thick, and won’t go in a regular envelope, so I made a box envelope using my envelope punch board. After cutting and scoring this, I inked it in the same manner as the back of the accordion.
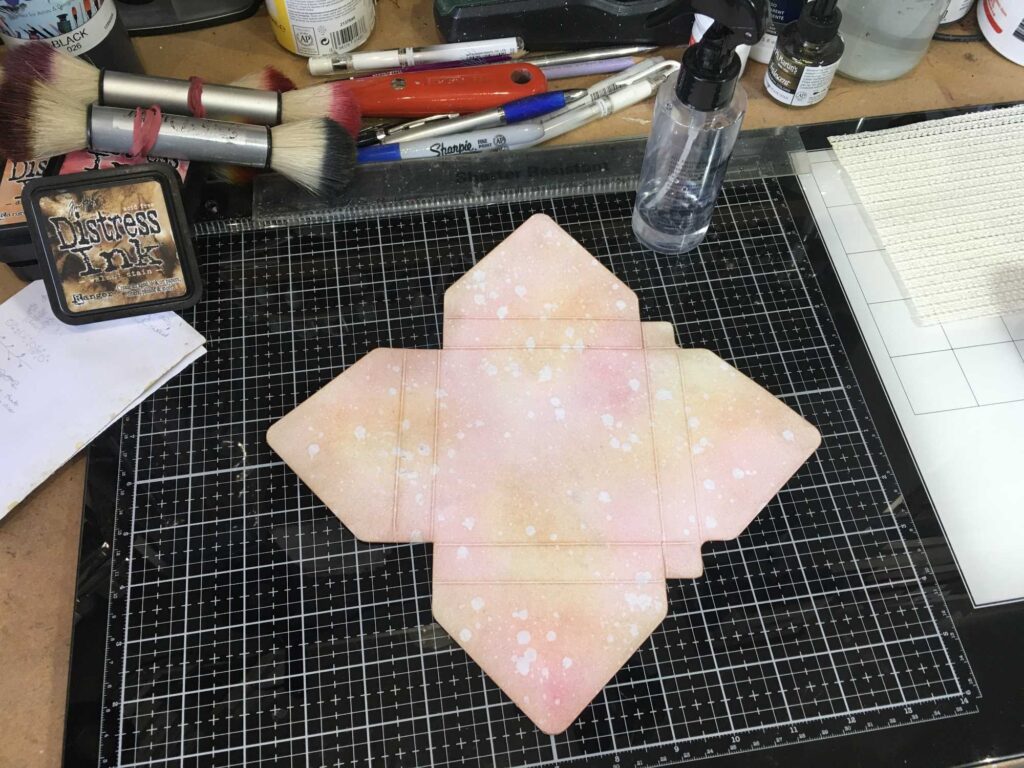
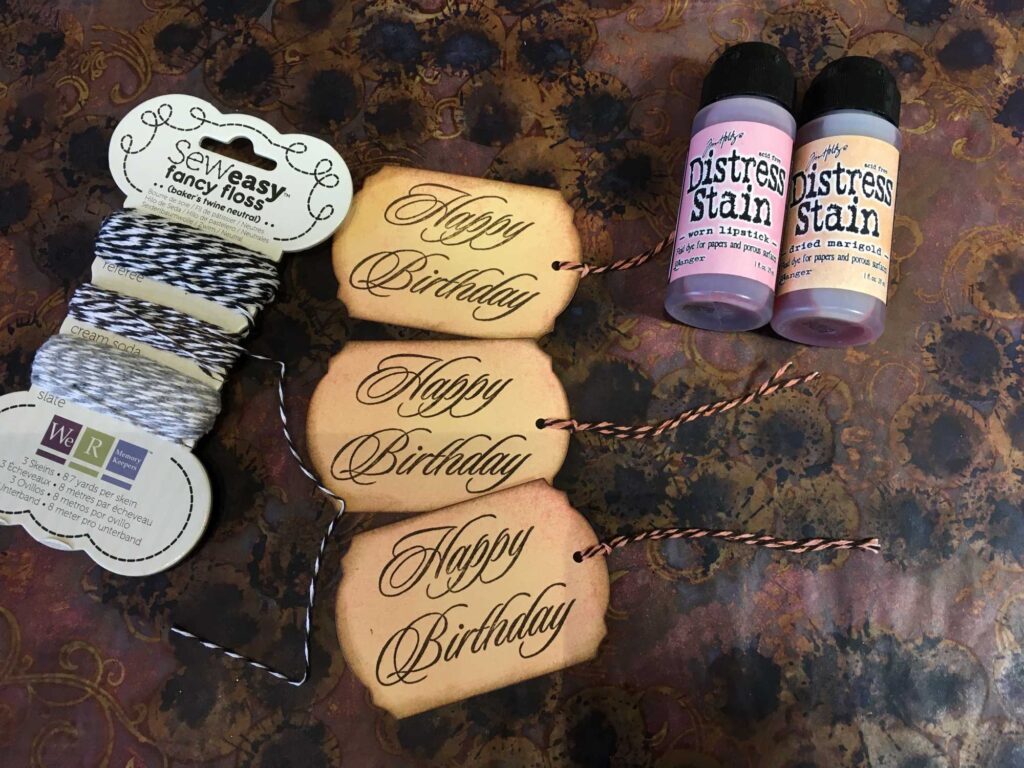
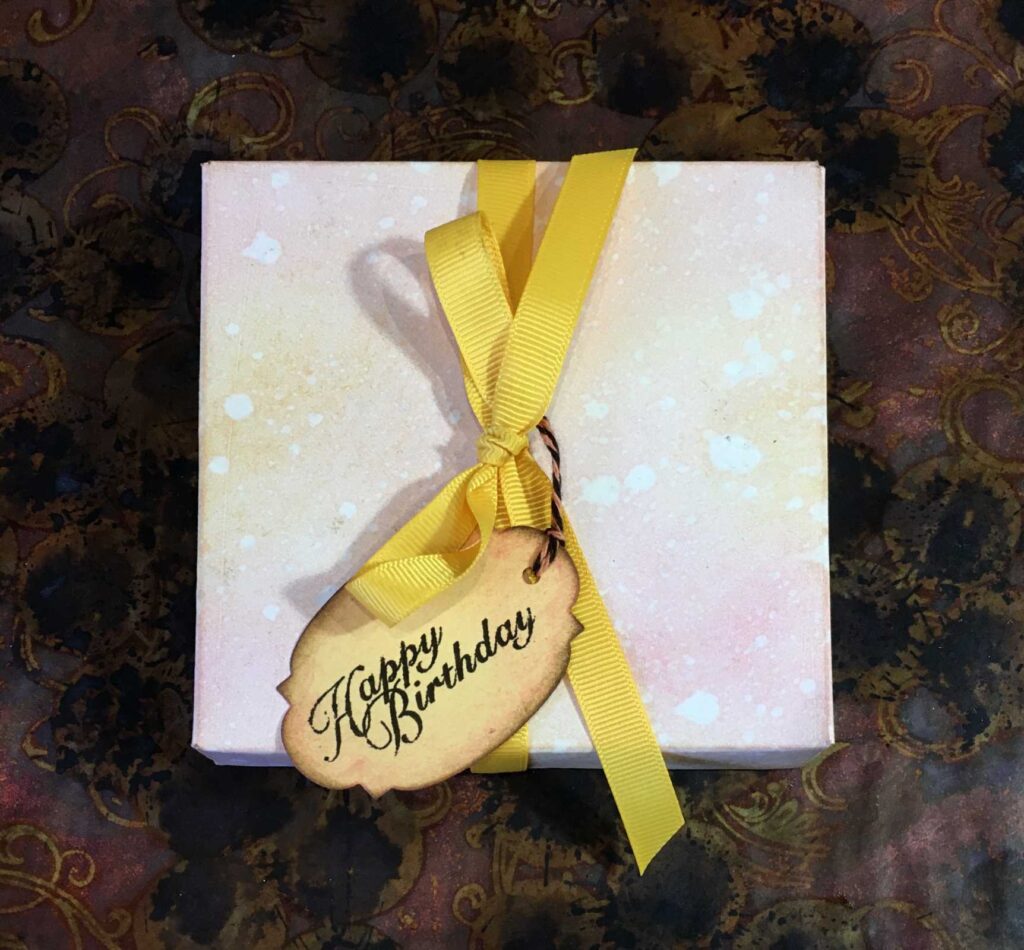
I wanted the box envelope to be a bit more permanent than a regular envelope, in the hope that once his cards come down, my hubby will keep the accordion card in its own little box. Because I wanted it to be decorative as well as functional, I didn’t want to write on it, so made a small die-cut and stamped gift tag for it. I also made three other gift tags, for the birthday presents. I have some twine but it wasn’t the right colour, so I tinted it with some Distress Sains on my glass media mat, poking it around in a pool of colour until I was satisfied with the result. To prevent my fingers from becoming totally inky during the process, I used a barbecue stick for this, and then dried it with my heat gun.
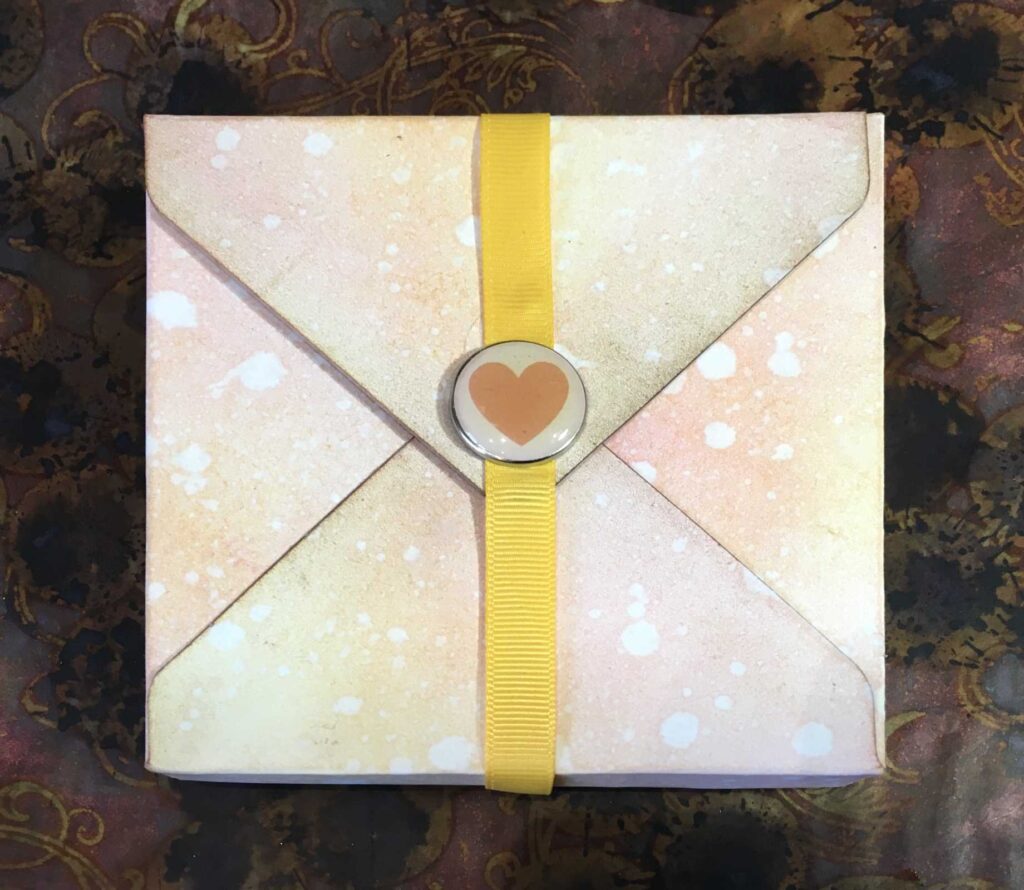
The envelope box is secured with some yellow grosgrain ribbon from my stash.
It is attached onto the flap of the envelope with a brad, and I covered the brad prongs on the inside of the flap with a small disk of card glued into place. I prevented the brad and the ribbon from rotating on the flap of the envelope with the application of a little hot glue.
I can’t wait for Tuesday now, to see his reaction! This has been a really fun project to make, and I know I shall make more accordion cards or albums in future.

Wow, wow, wow. This is such a wonderful card, there is no doubt hubby will love it! Happy Birthday to him tomorrow! Lindart
What a delightful little (long!) card and so much work must have gone into it!