Multi-coloured chocolate wrappers
A while back someone gave us a box of chocolate truffles, and each one was individually wrapped in very attractive plastic foil wrappers in several colours. They were far too pretty to throw away so I kept them after the chocolates were finished. Unusually, they were a different colour on the reverse. There were several of each of the four colours so plenty to choose from.
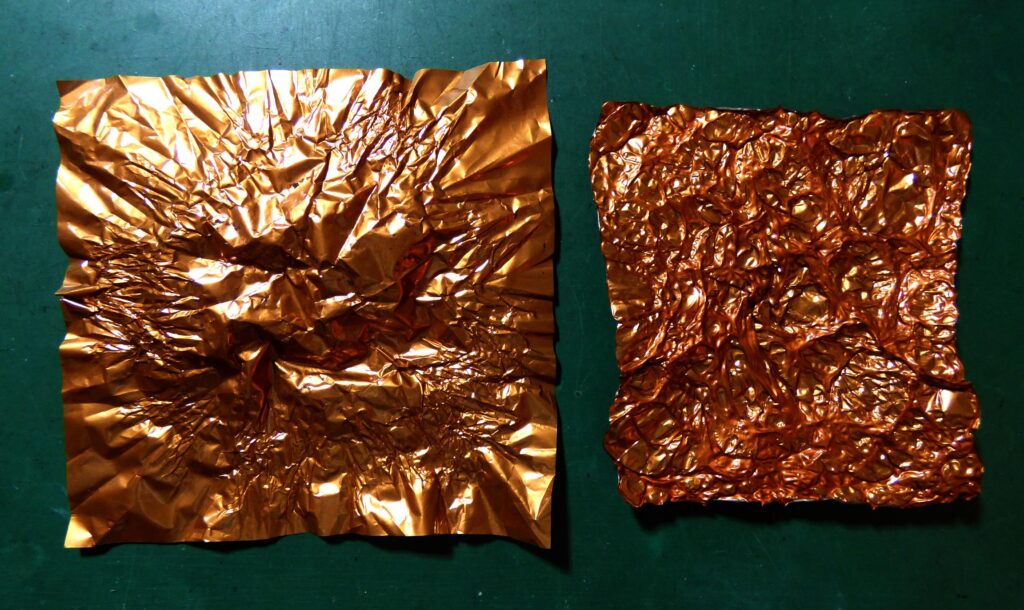
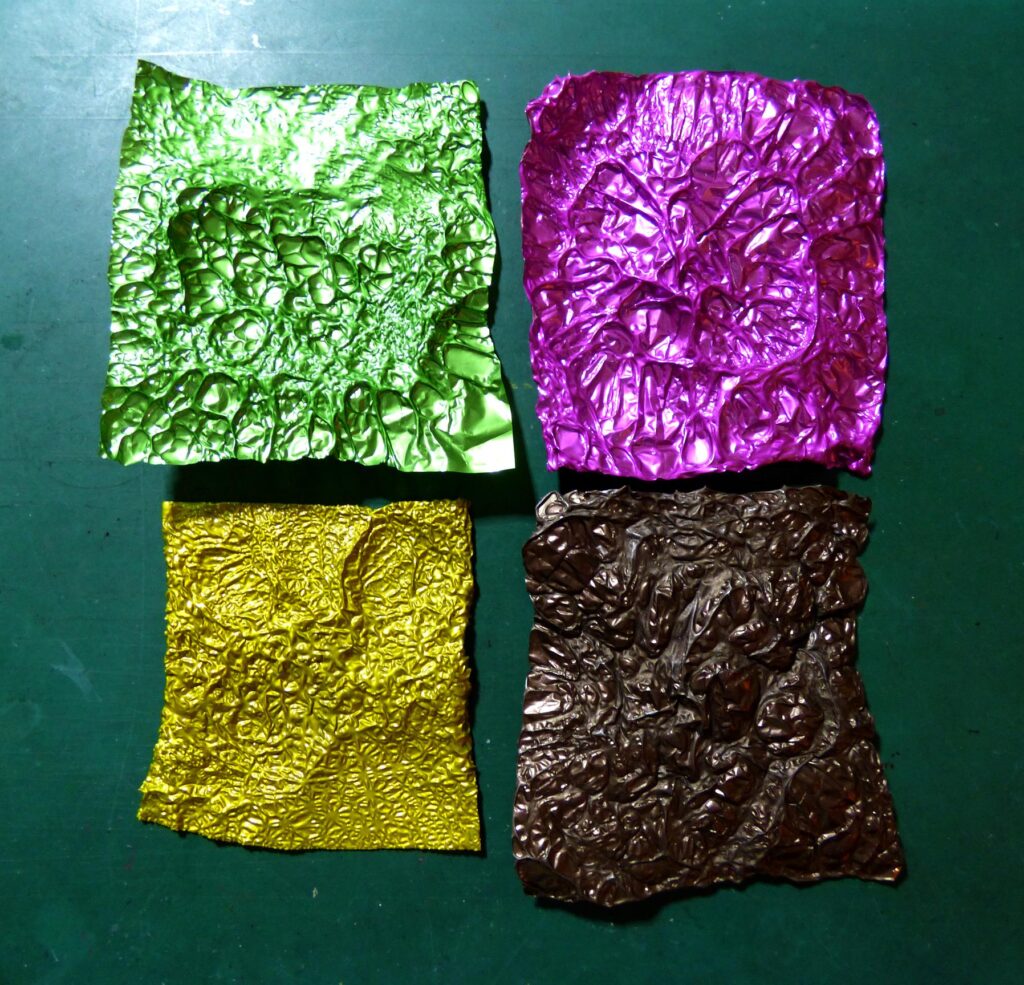
In this picture I have arranged them in pairs, in order to show the front and back of each one.
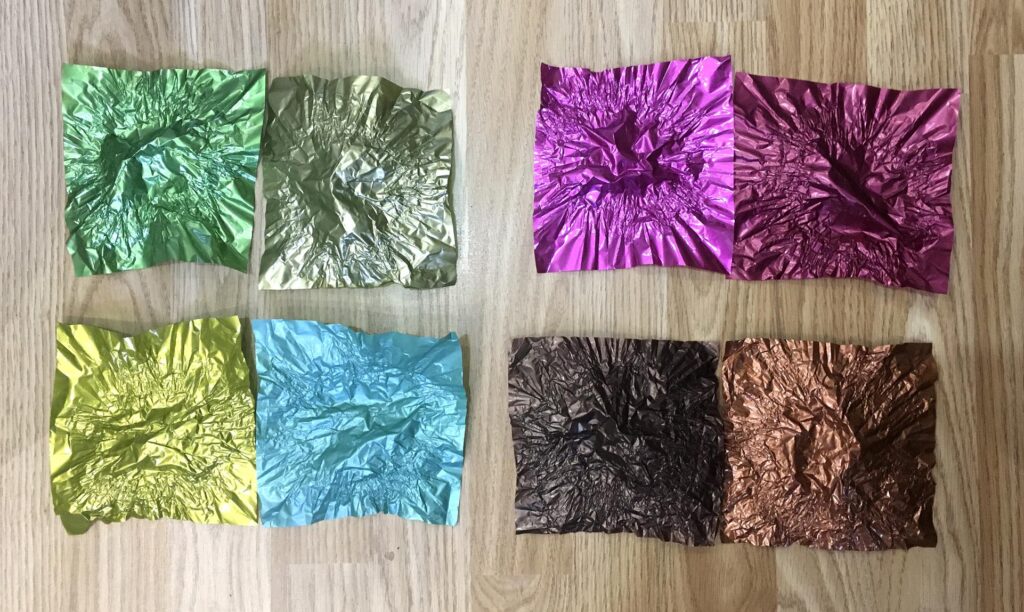
They are really crinkly, and I have found it impossible to flatten them out. I knew that being plastic, they probably wouldn’t respond too well to ironing, but I decided to try with one of them. I put it inside a folded piece of paper and ran the iron over it.
I was delighted with the result. If anyone has ever ironed Tyvek, they will know how it bubbles up and becomes really organic and dimensional. The same appeared to happen with this stuff.
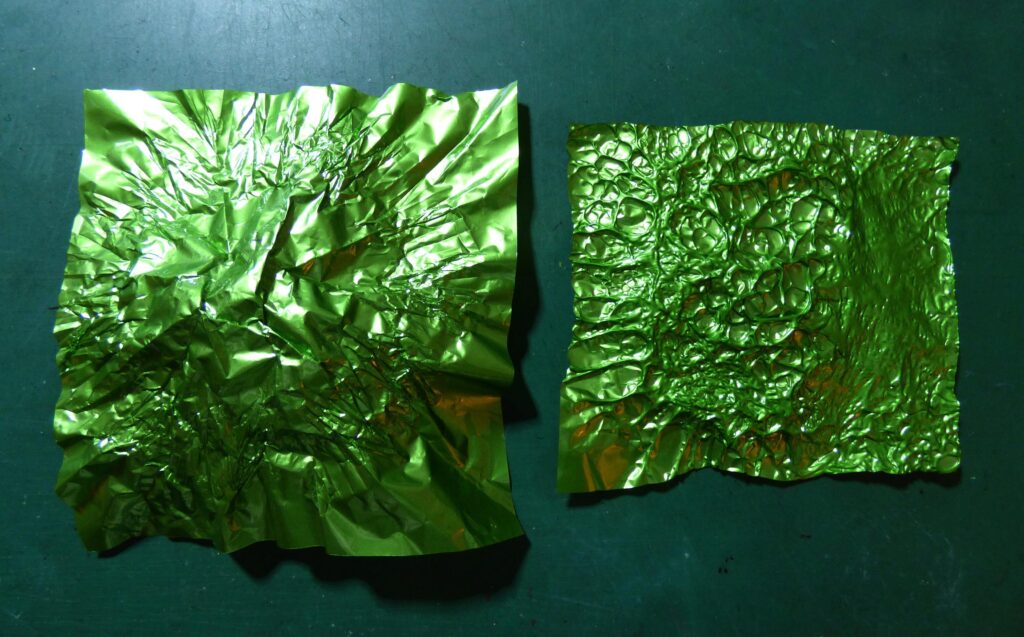
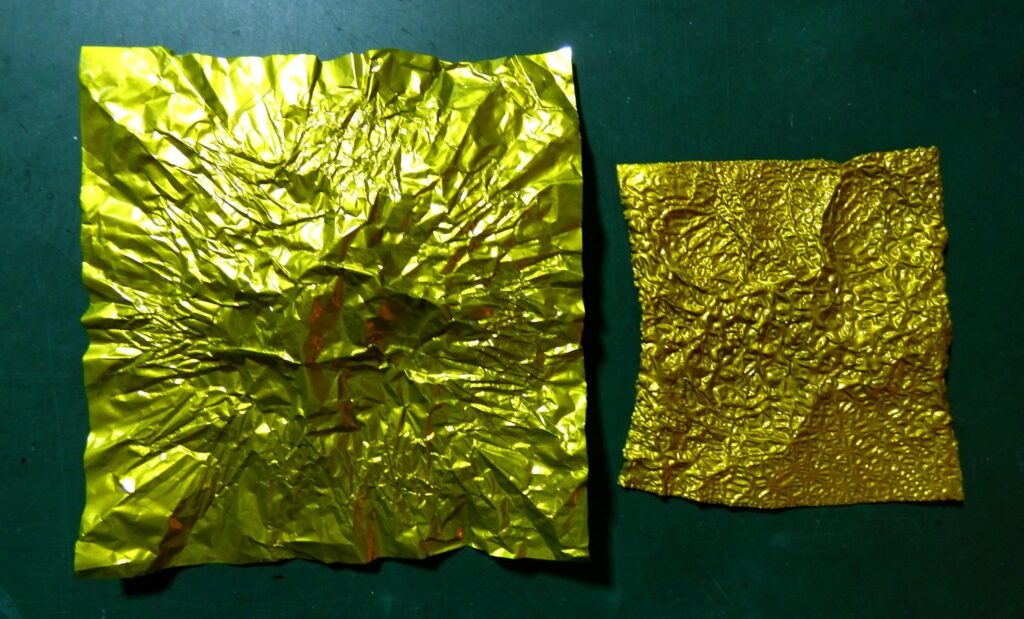
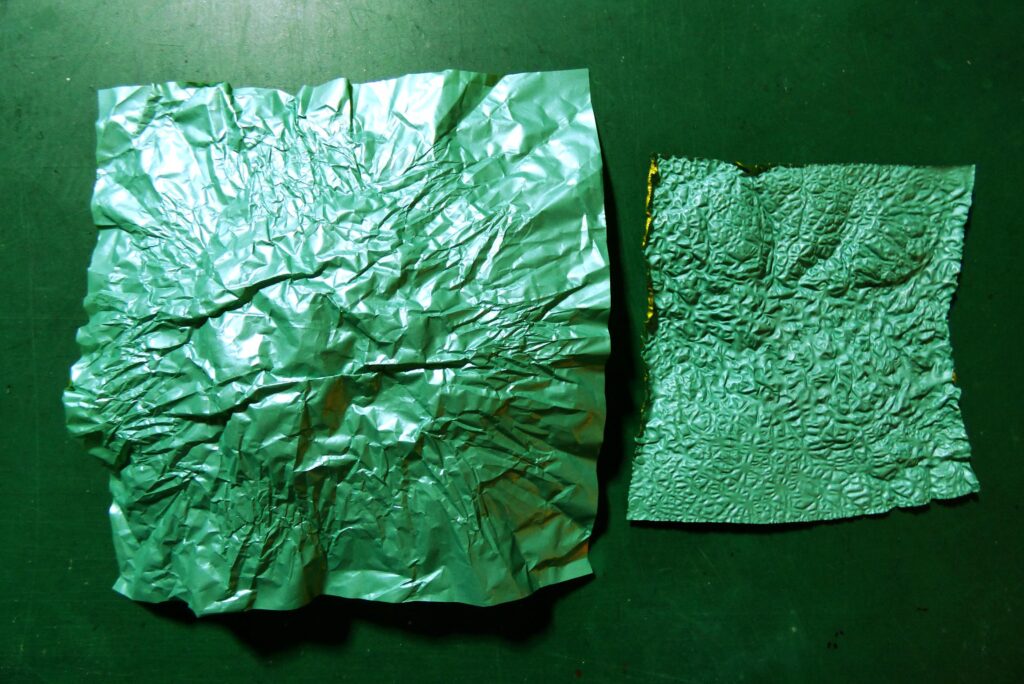
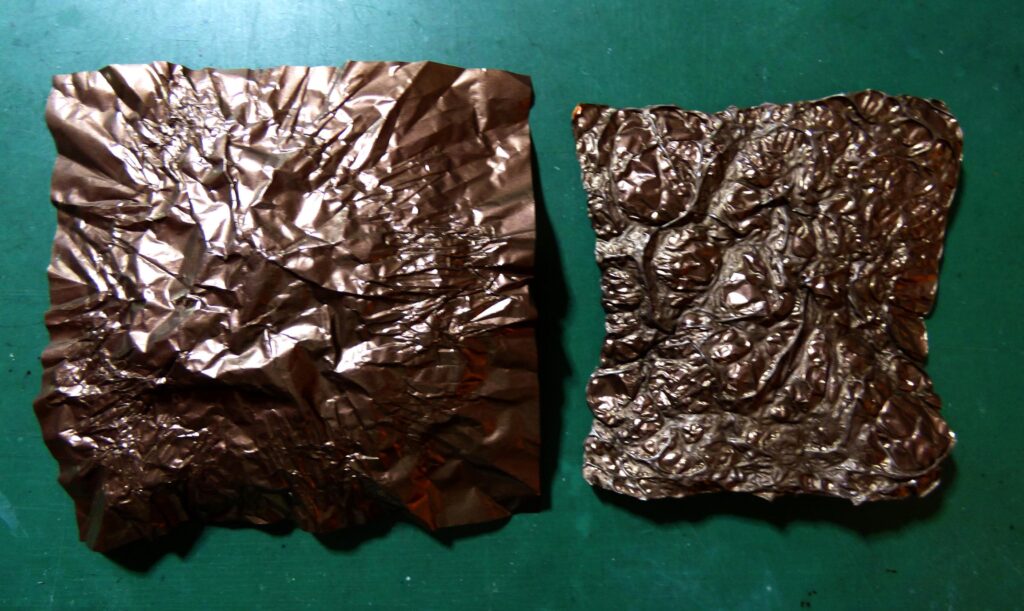
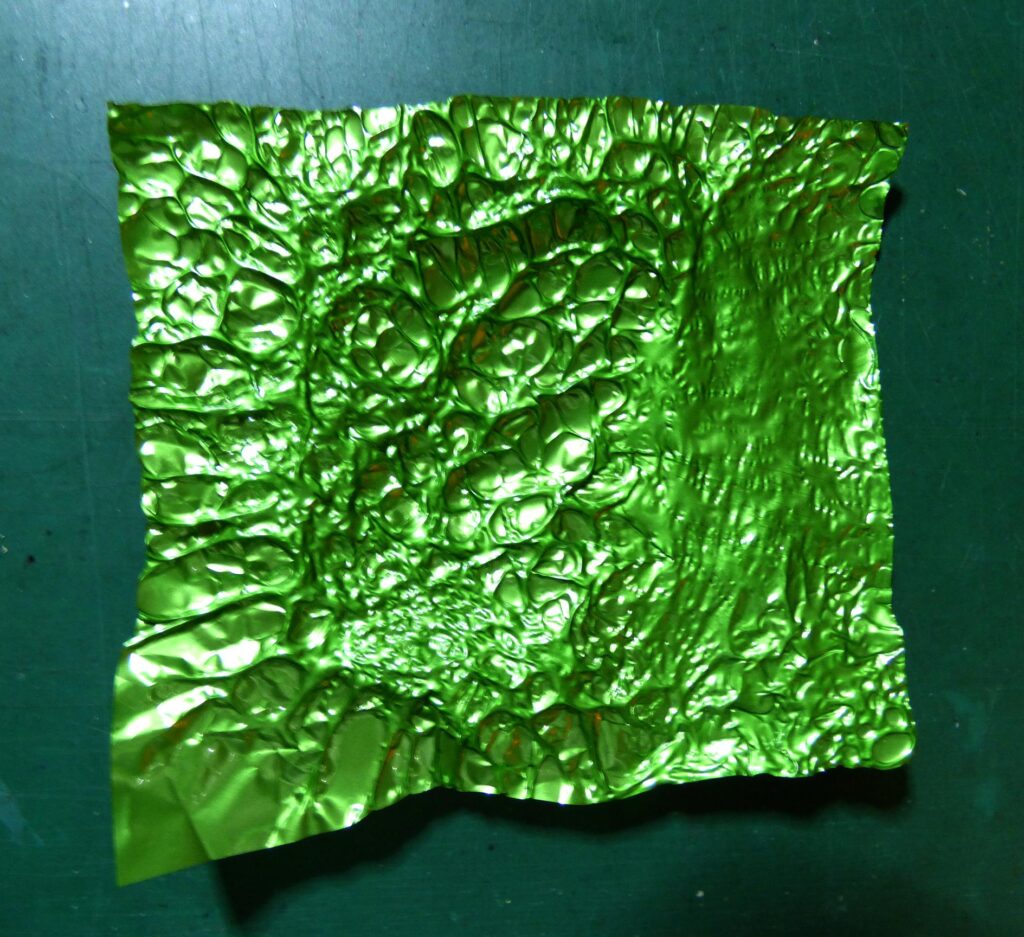
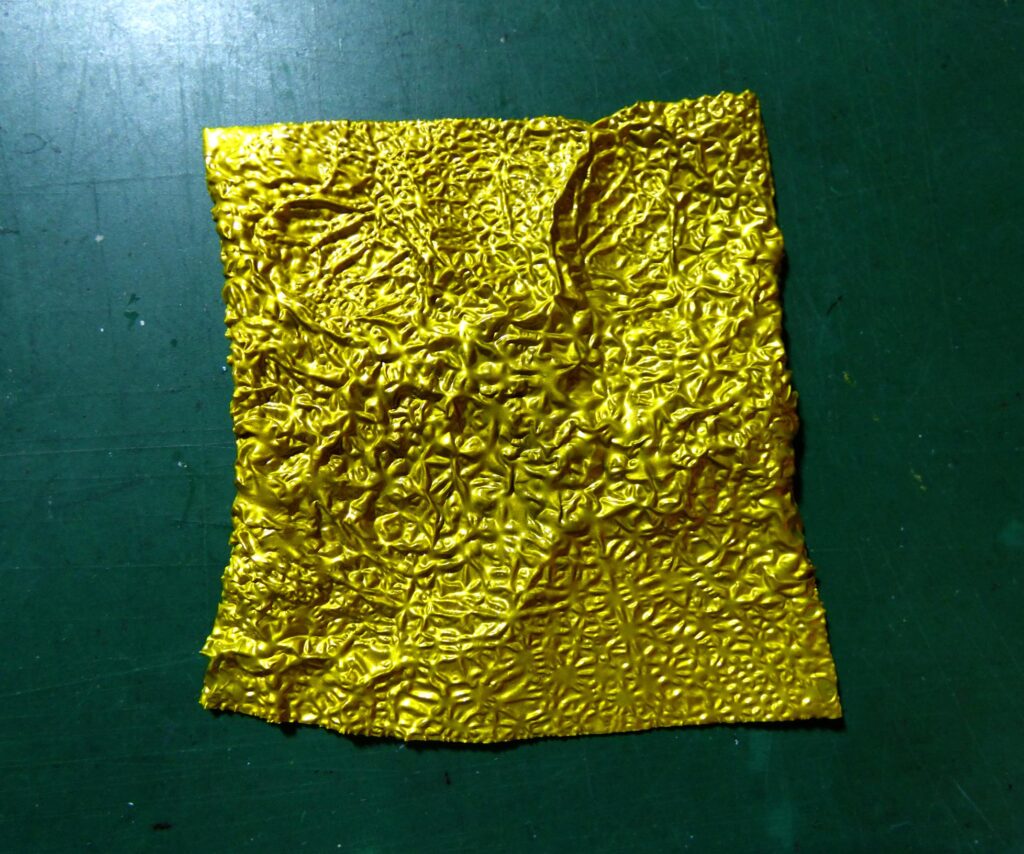
The following set of pictures shows each one, first one side and then the other, with one piece in its raw state and the other one having been ironed. There is a difference in the ironed pieces, depending on how much pressure I put on the iron. The lighter the pressure, the bigger the bubbles, and the piece didn’t shrink so much. The upper surface is an “inny” – i.e. the bubbles are concave. You turn it over to see the “outy” with the bubbles projecting.
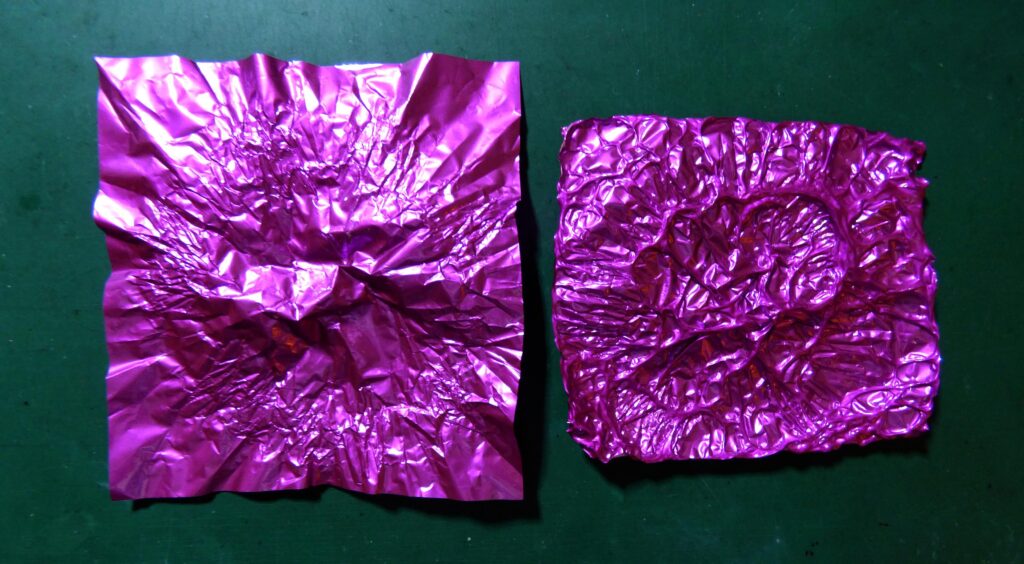
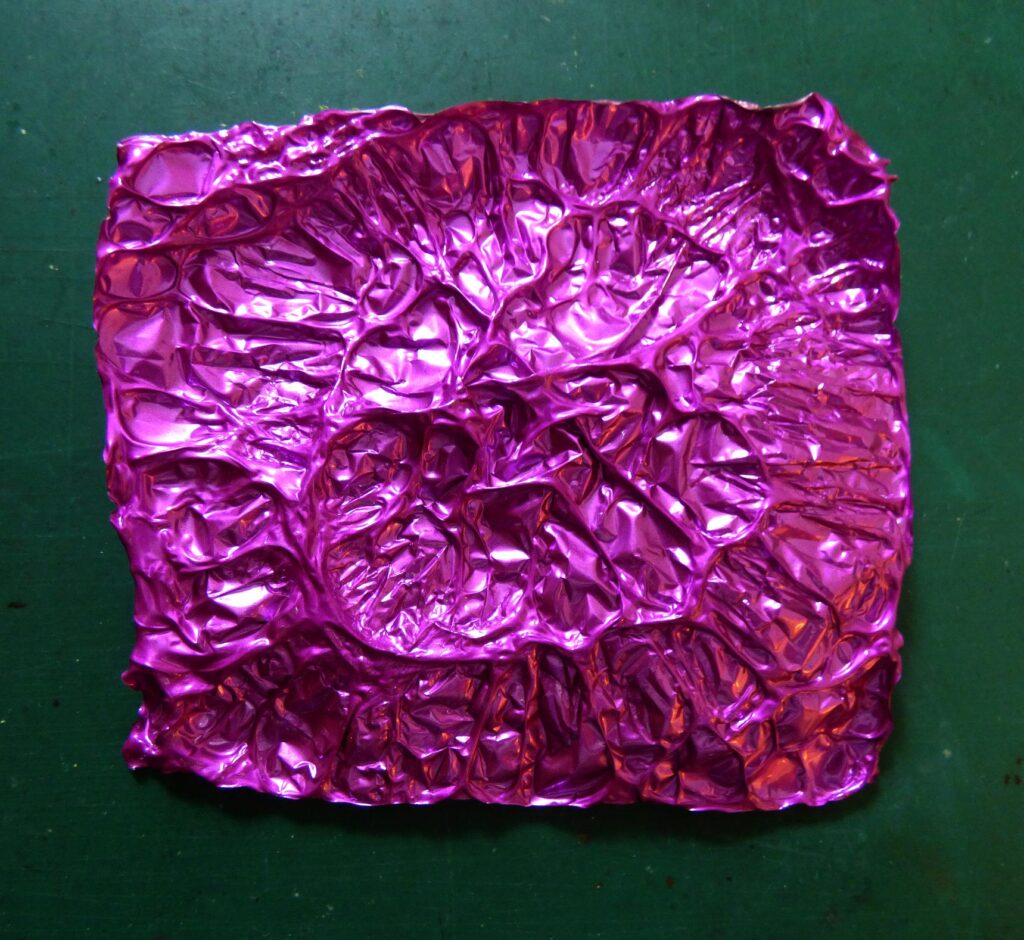
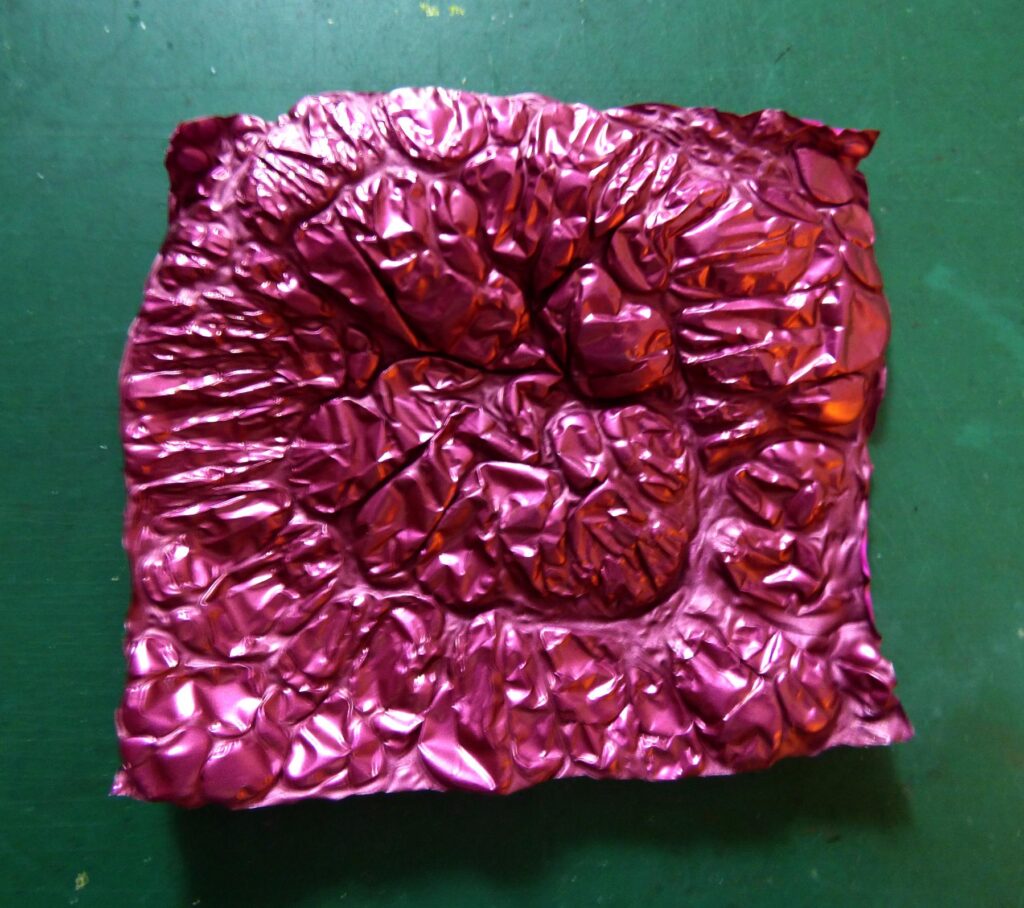
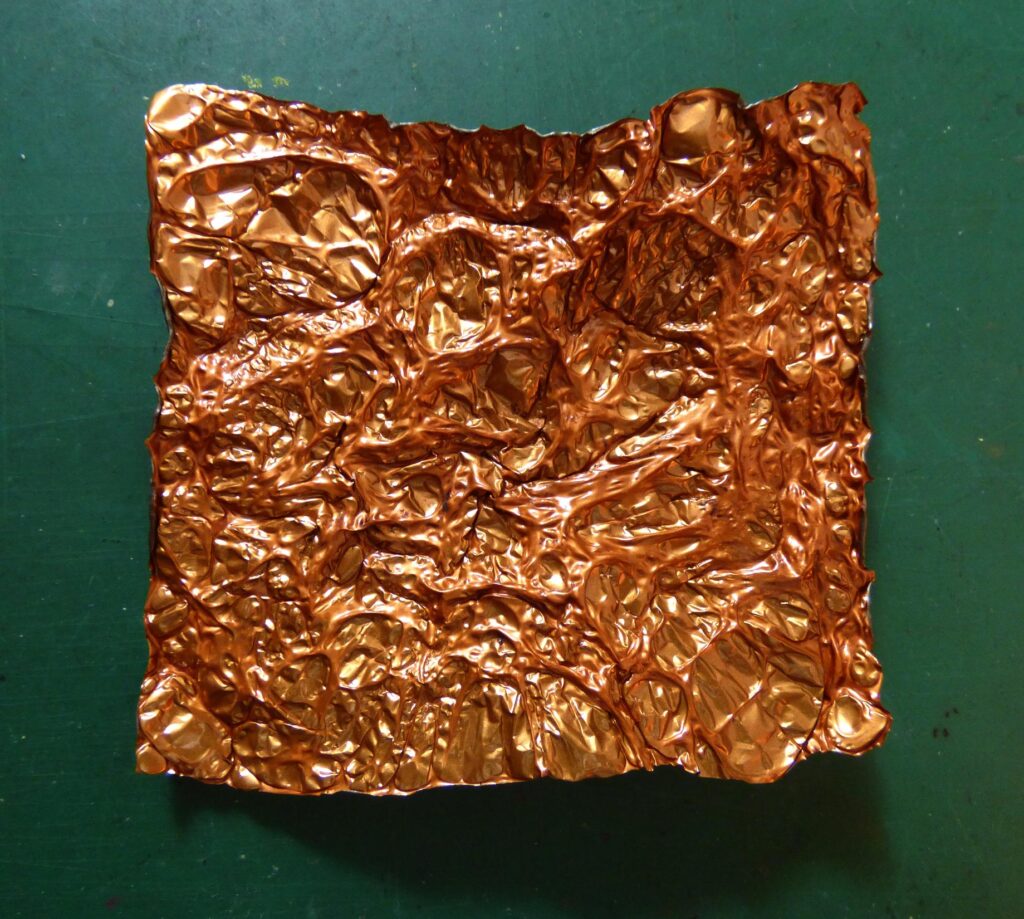
The next one is actually darker in reality – more of a maroon colour. As always, shiny things are rather difficult to photograph.
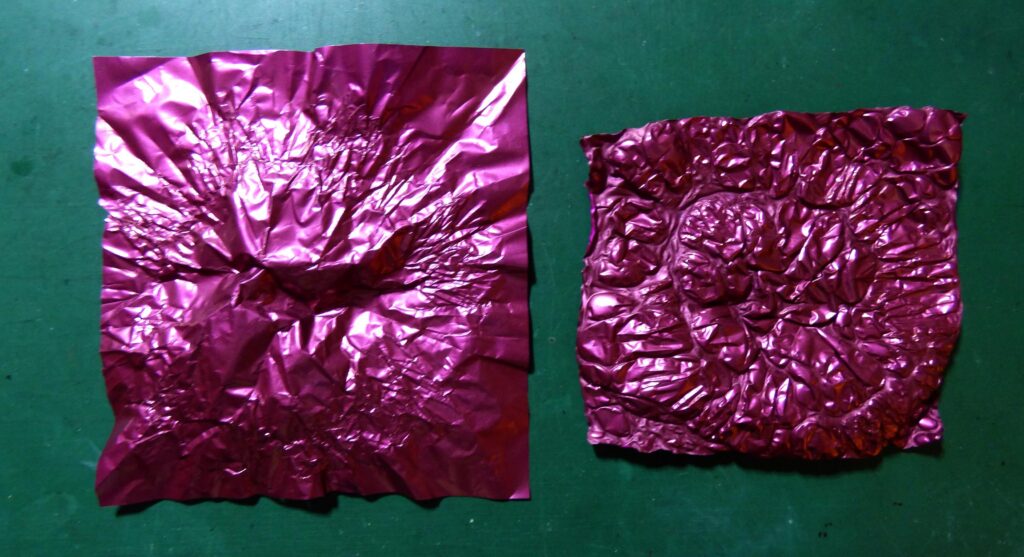
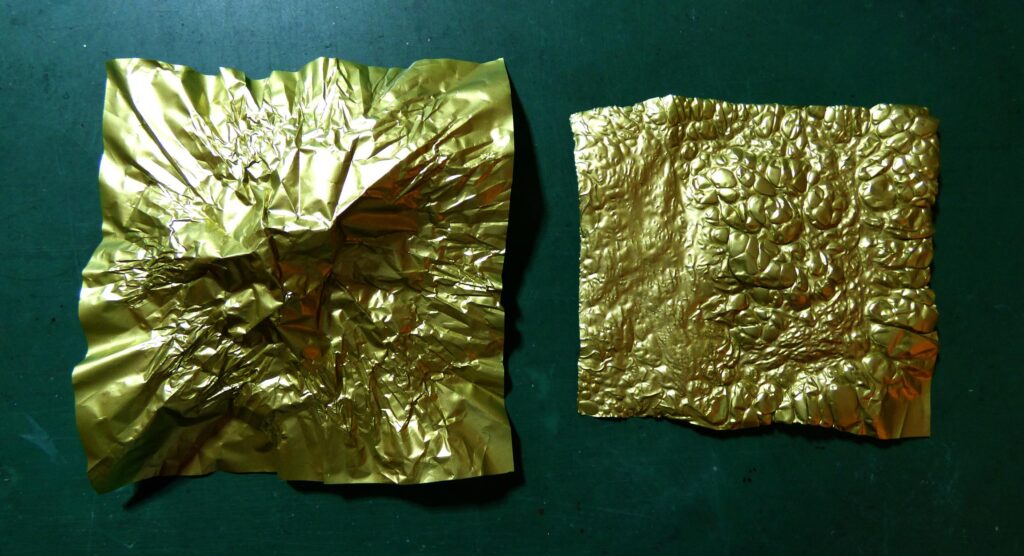
I put more pressure on this next one. It shrank to a much smaller size, and the texture is a lot finer with smaller bubbles.
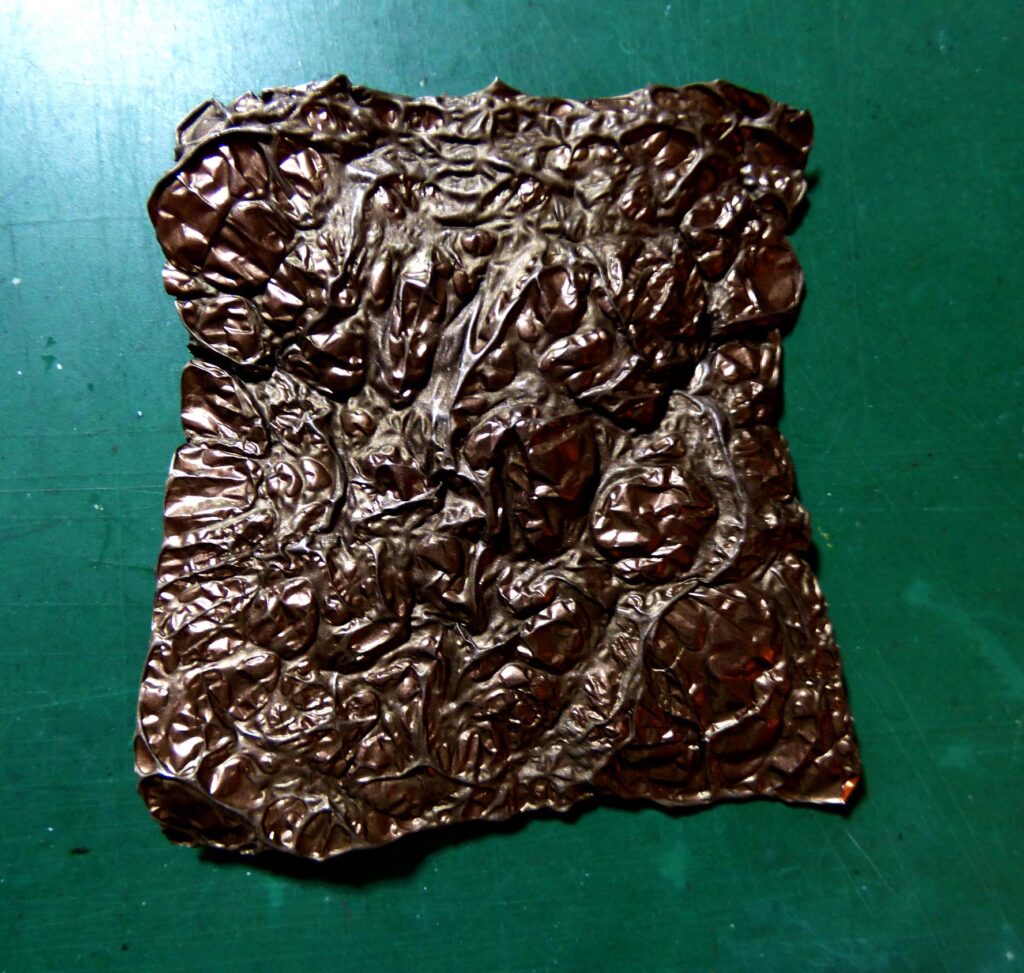
The next set of photos shows each ironed piece in close-up, first one side, and then the other. You can clearly see the “inny” and “outy” in each piece.
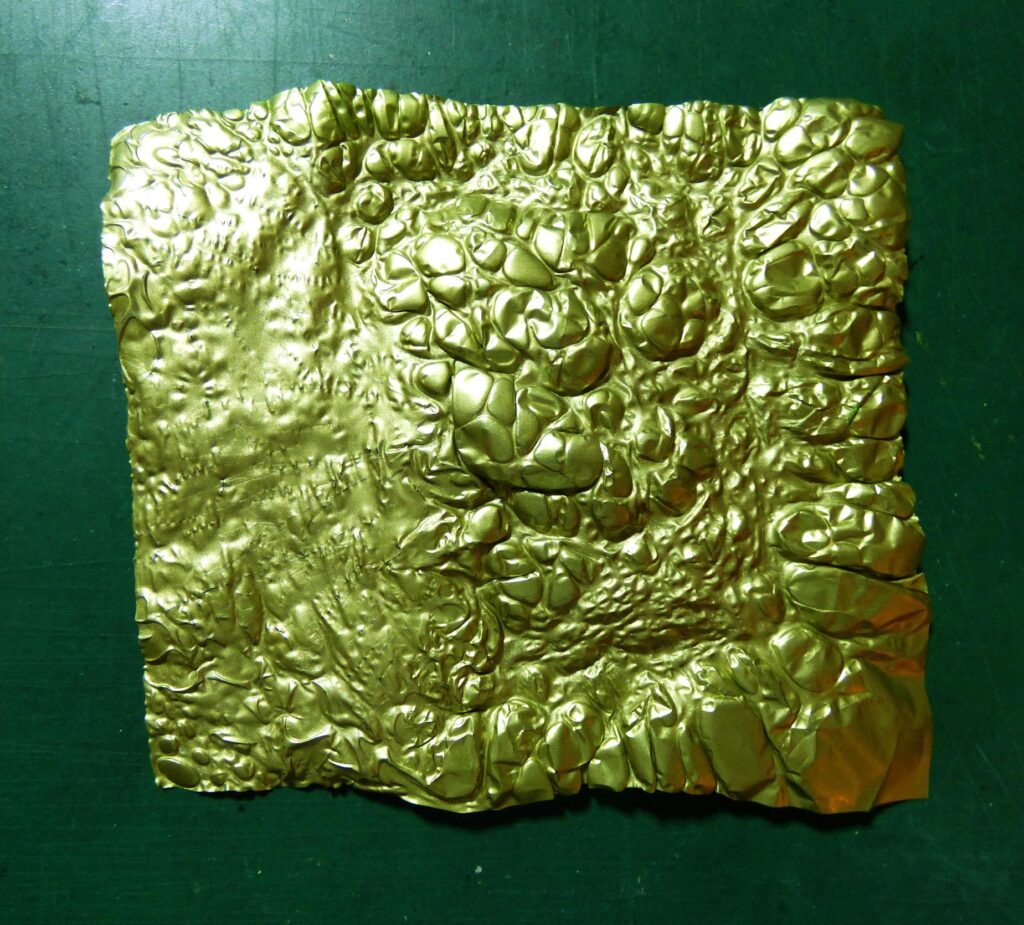
The fine-textured one again. The “inny” and “outy-ness” is less defined.
Finally, all four together. First one side, and then the other.
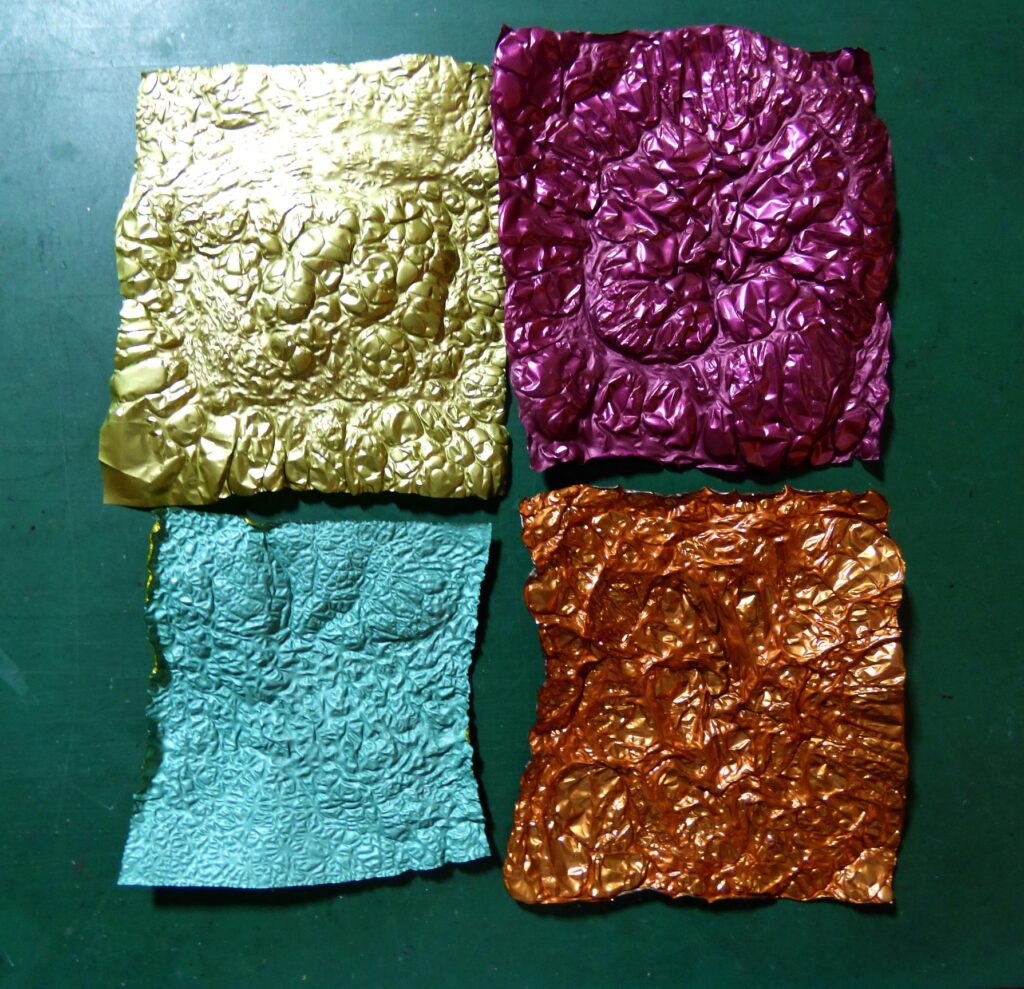
You can see how much smaller the well-ironed one is than the others.
They are really pretty, and on one side of each piece in particular, quite shiny. I have no idea yet how I am gong to use them, and whether anything will stick over the top of them.
Distress Spray Stains and Oxide Sprays
I have got quite a few of these on order. Years ago I collected most of the colours of Distress Stains in their original manifestation with the dauber top. I never got on with these and found that they always gave a streaky result. The only time I really used them was for colouring die-cut leaves or flower petals. I have tried twice to decant them into generic spray bottles – the second time only about a week ago – and despite this latest batch being reported as having a really fine spray, all I was getting was great blobs. Ranger do sell spare spray tops but annoyingly they don’t fit the old-style stain bottles, which I think is a bad move. They are only designed for the new style bottles, to be used if the existing spray nozzle gets blocked or broken.
In the end I decided to replace my Distress Stains with the spray version. The old-style ones can still be used for controlled colouring of small items like flower petals, or for smooshing ink onto the craft sheet for picking up with a brush etc., and they can also be used as refills for the new ones.
They won’t arrive for a few days, so I thought I’d practise a bit with the few that I’ve got. I have had a couple of Distress Spray Stains and five Oxide sprays for a while and haven’t used them much. I wanted to try spraying through a stencil onto a teabag for my teabag album project, and what happened after that was the result of mopping up the ink, stamping with the stencil, adding another colour etc., to a series of narrow pieces of scrap paper, with varying degrees of success. Actually they were all successful because in mixed media there are no mistakes – only more layers! All will be usable.
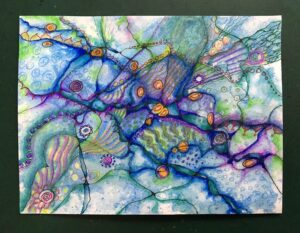
Here is the teabag, sprayed with Peacock Feathers Oxide spray.
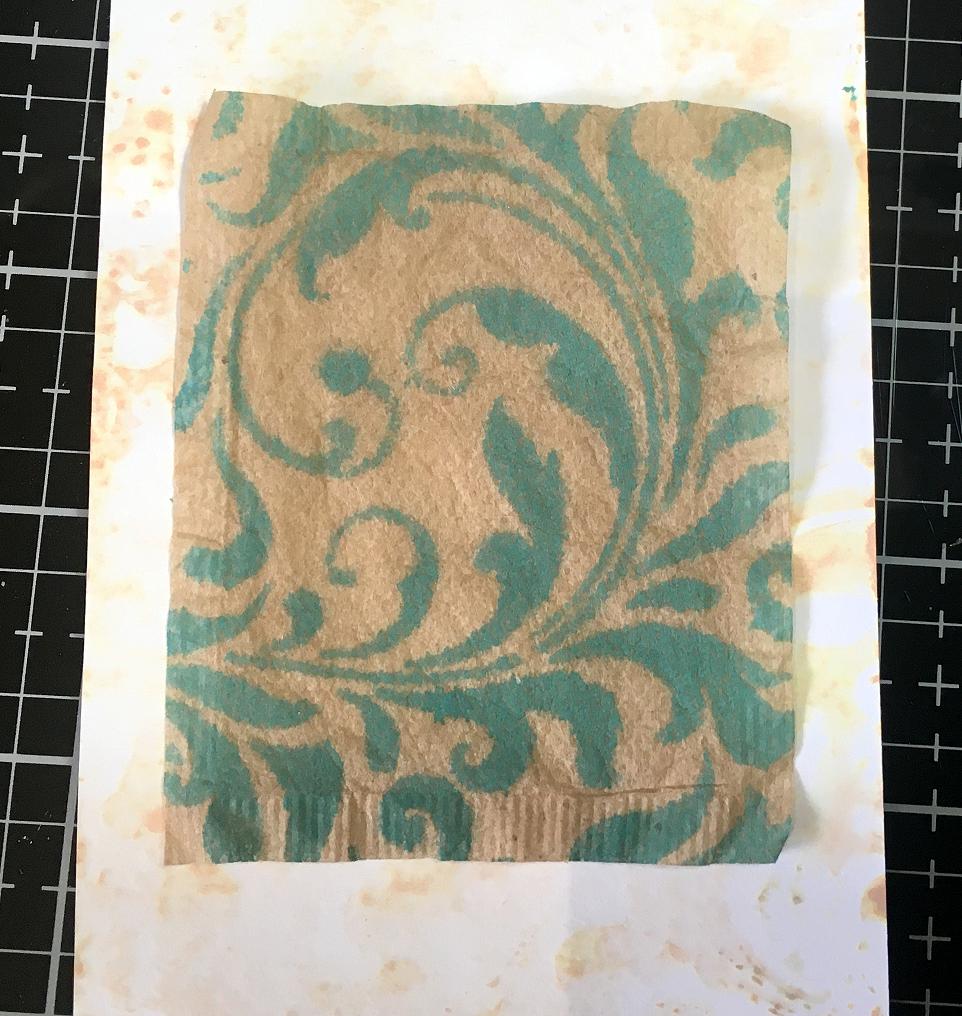
I am really pleased with how this came out. I dried it immediately with my heat tool to stop the ink spreading, and didn’t activate it with water.
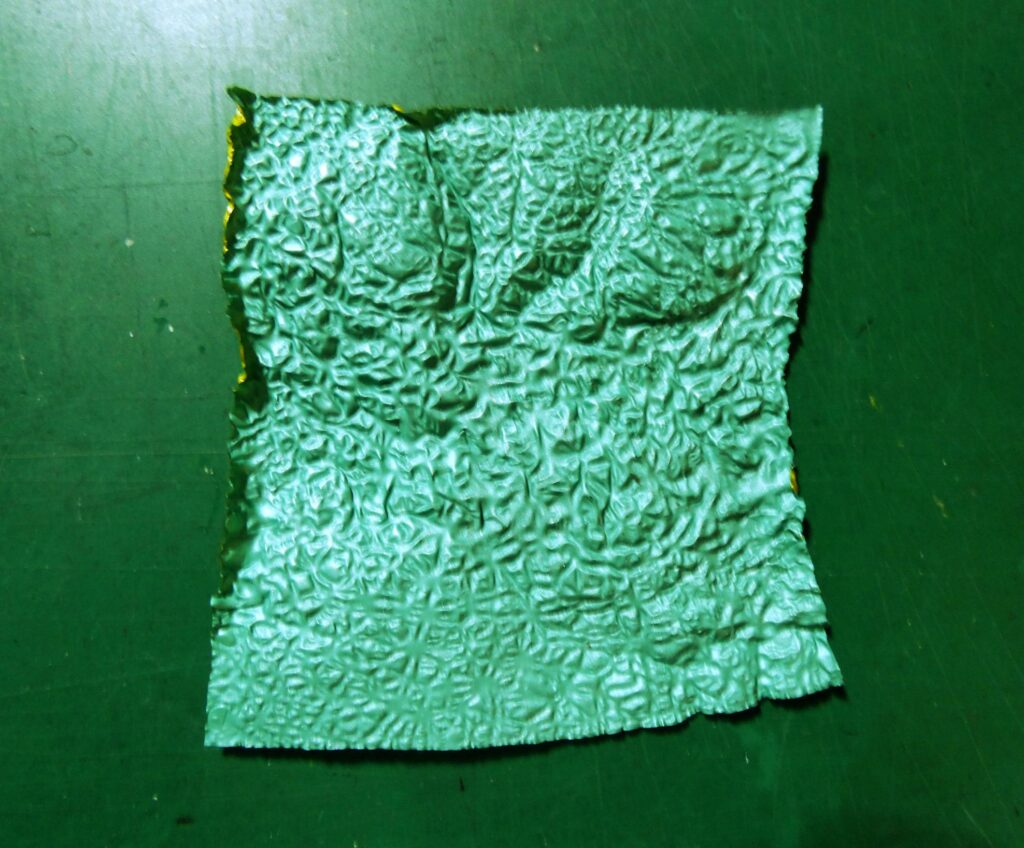
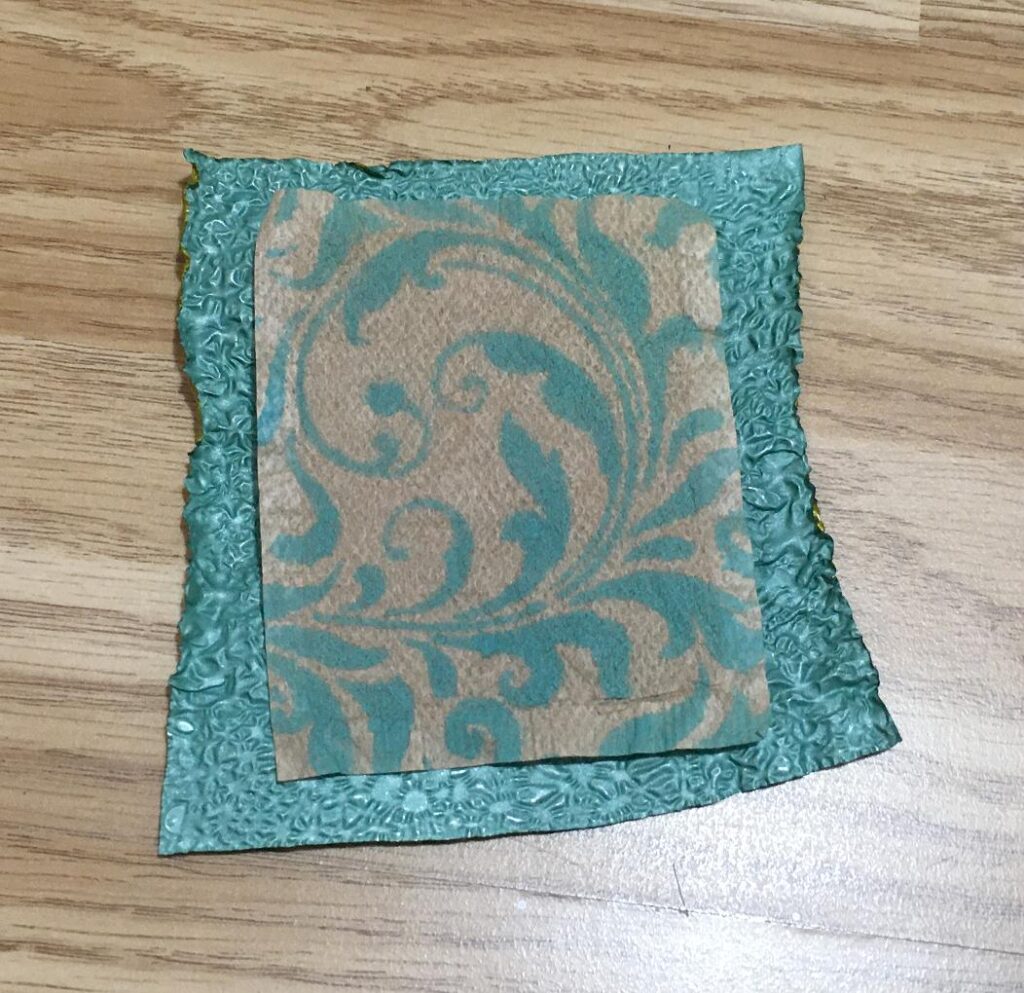
Here is the same teabag laid on top of the pale green ultra-melted chocolate wrapper. Some potential here, maybe.
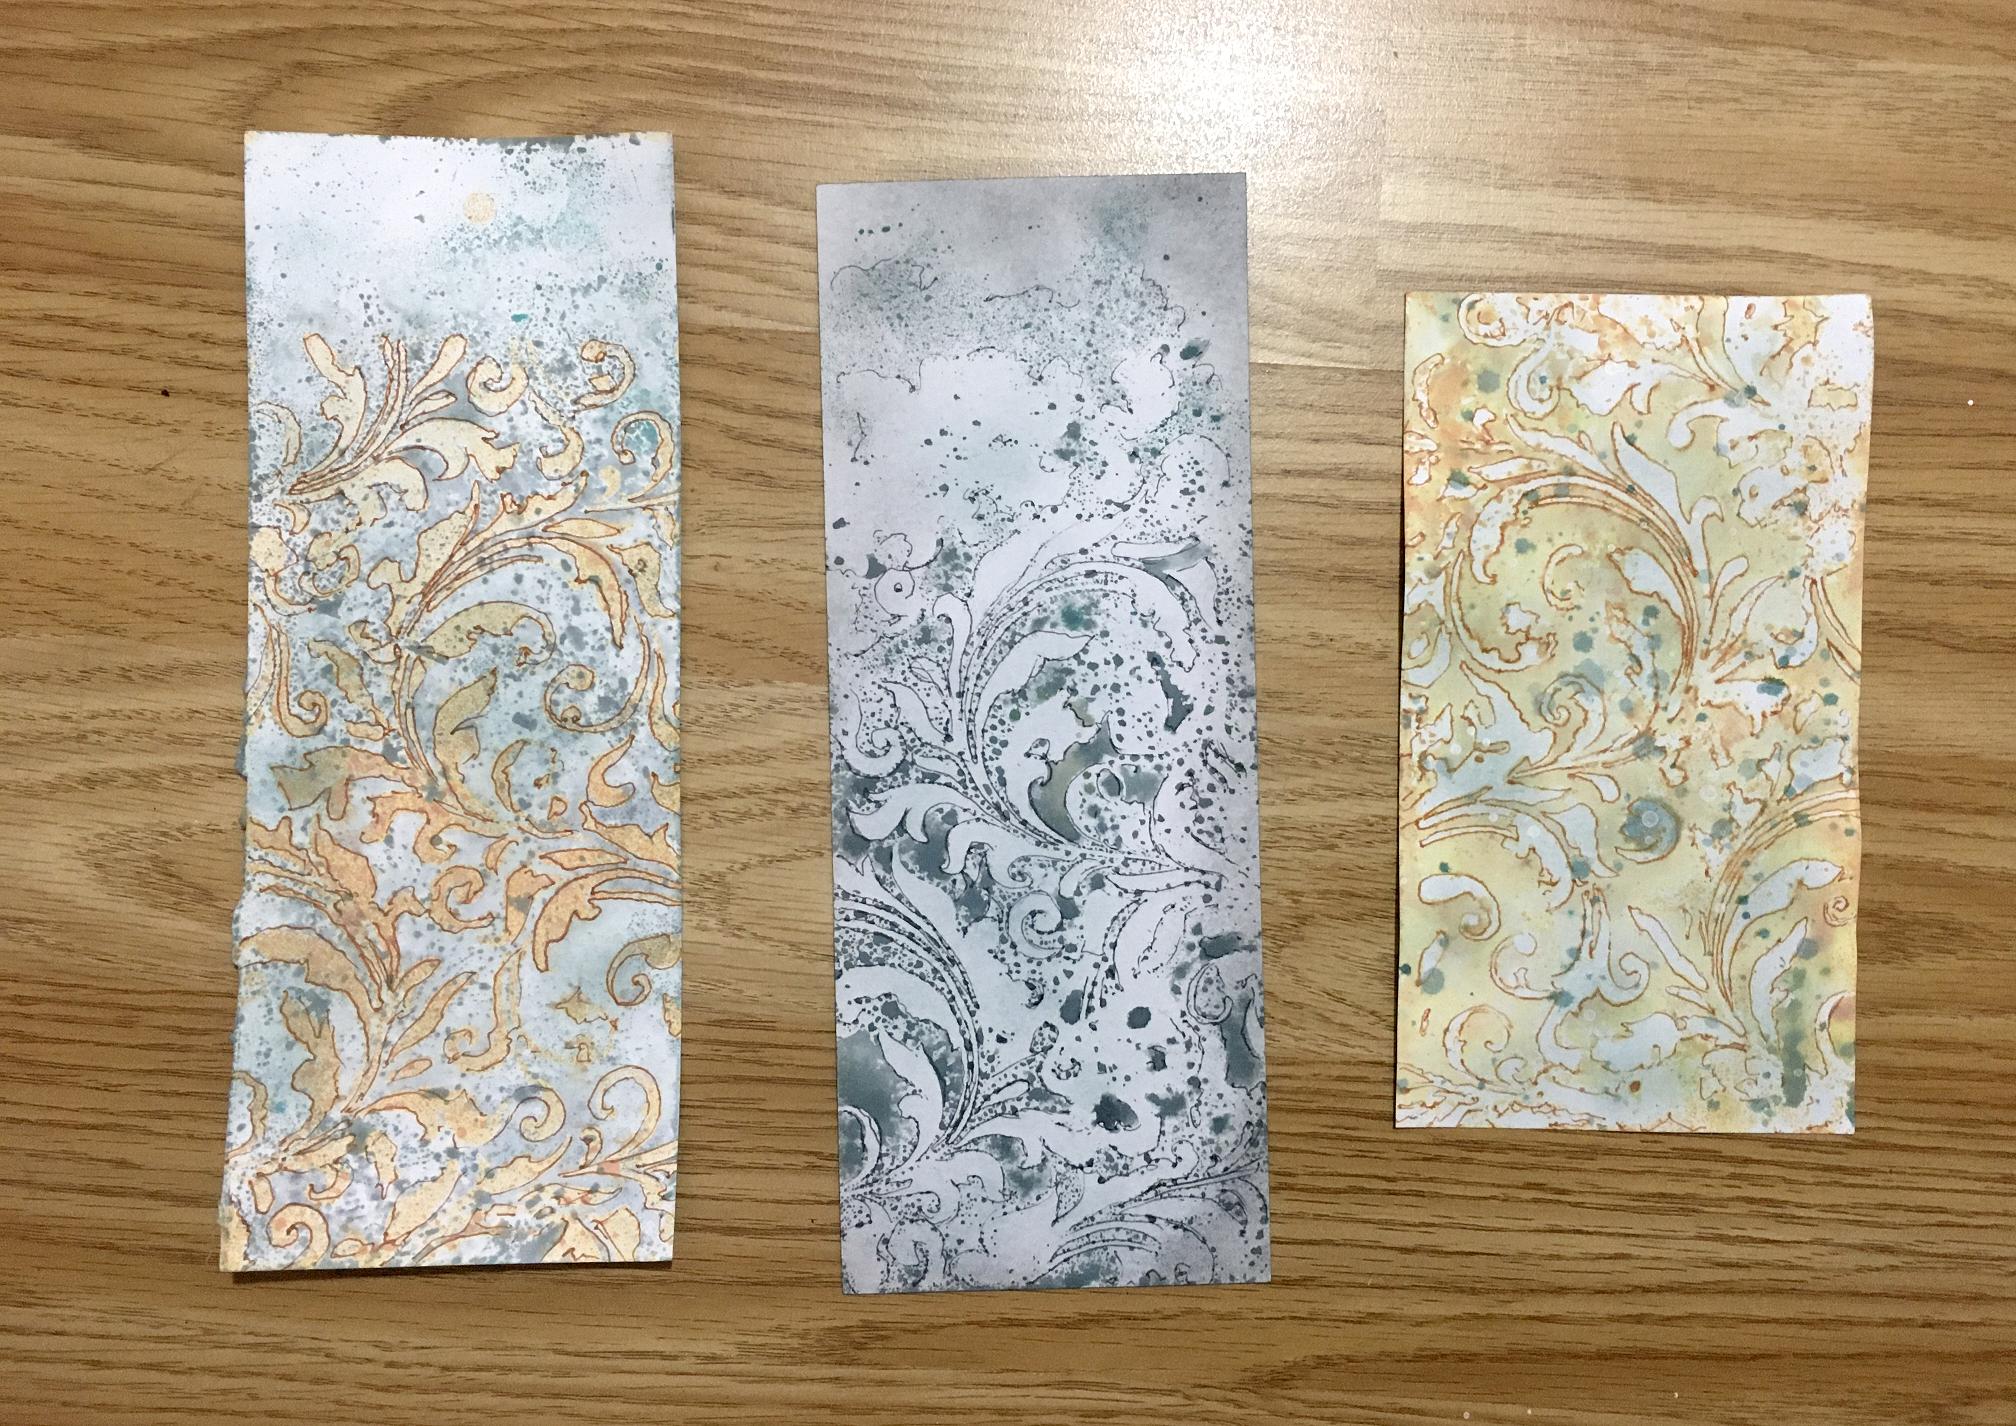
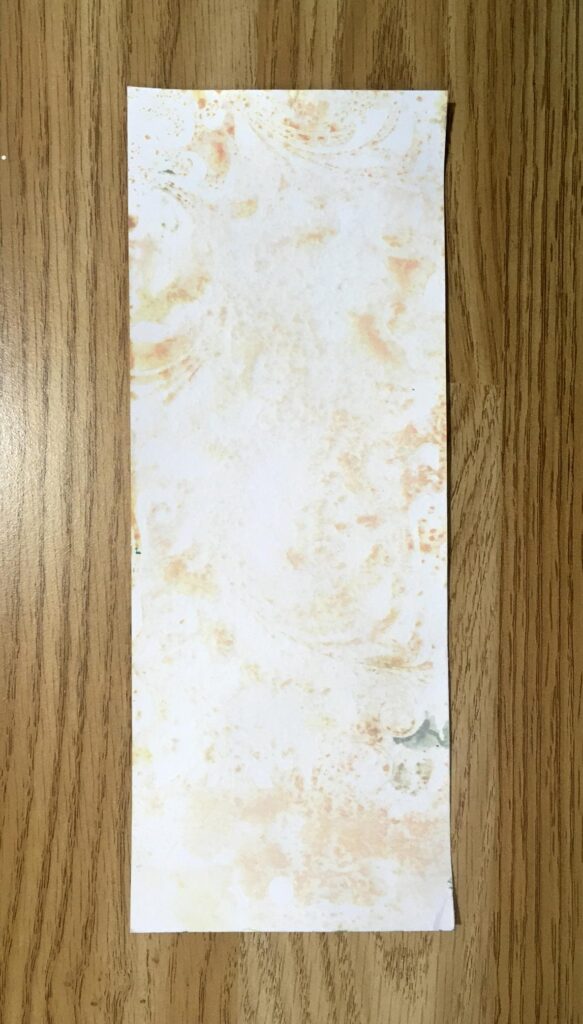
Here are the six strips of scrap paper with the results of my playing with the Tim Holtz flourish stencil. I can’t remember exactly what I did, but it was a combination of spraying through the stencil, stamping off the excess ink from the stencil, re-spritzing and repeating – you can get many examples from a single spraying, which is very economical in the use of one’s supplies!
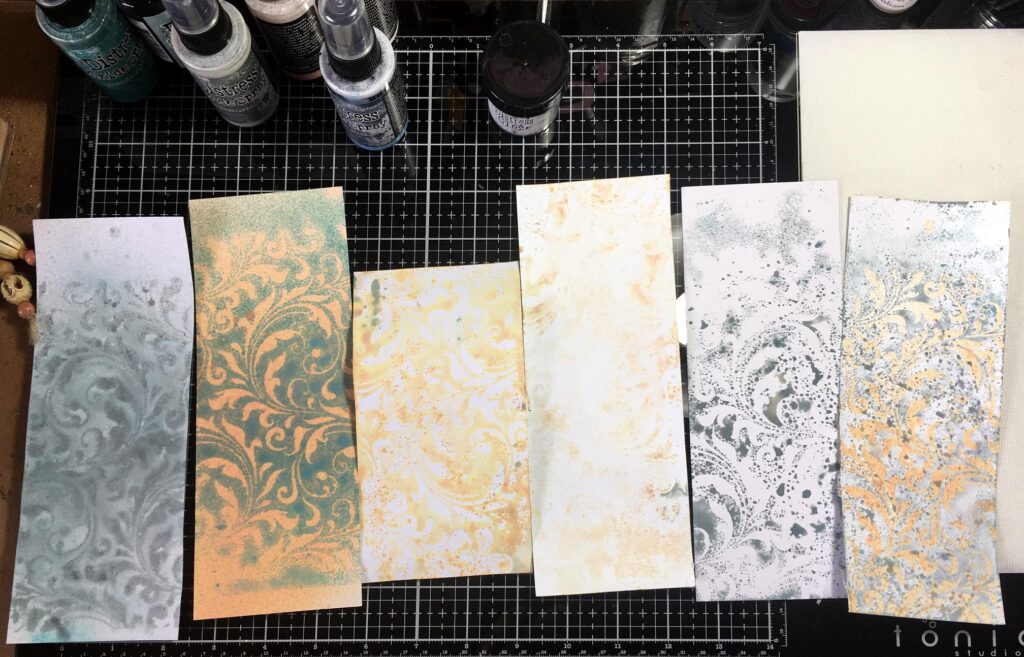
I do remember that I did the left-hand one first, and then laid the inky stencil facedown on the second piece and squished it well down with a piece of kitchen paper to give a good impression. With then stencil still in place, I sprayed over the top with Dried Marigod Distress Oxide to get this two-colour effect on white card. The others are a result of blotting off the inky stencil onto a series of other pieces of scrap card, adding more water to activate the last of it, until there wasn’t enough left to be viable – the third one from the right would be an example of this. The final one on the right is pretty messy beause I used it to pick up the remaining ink on the craft mat. The third from the right is not a total loss because it will be a foundation for something else.
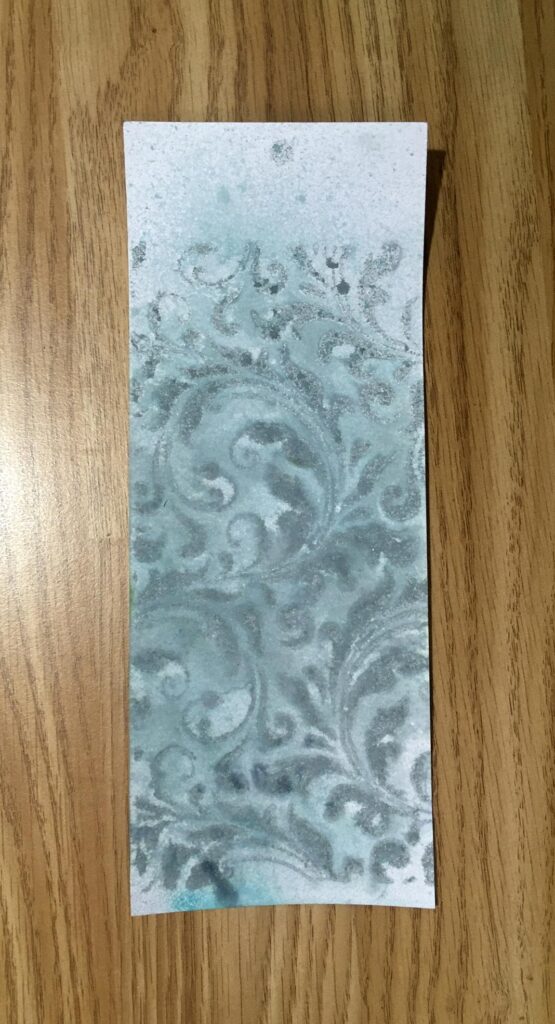
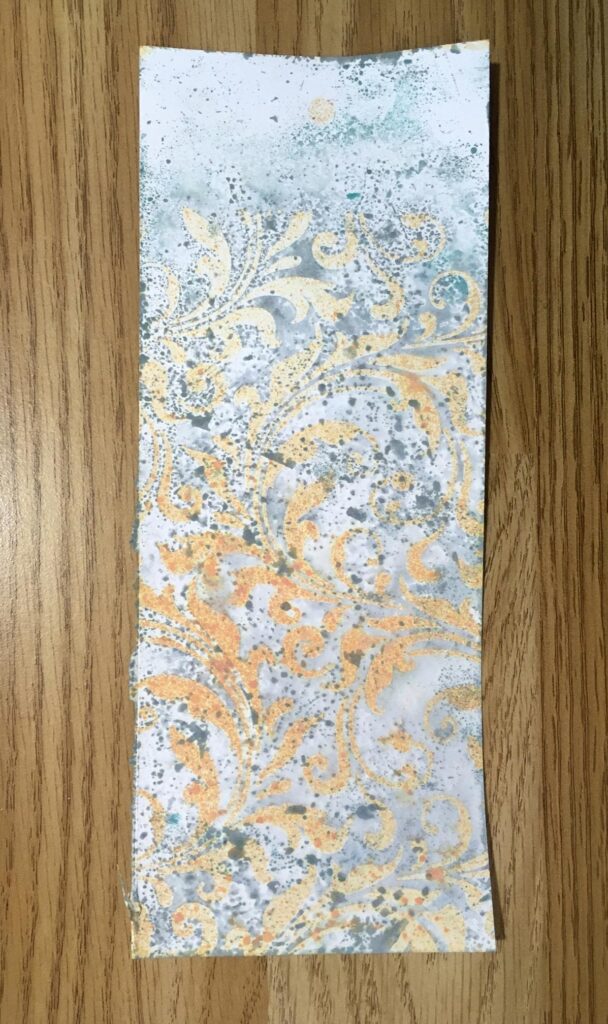
Now the individual pieces. This is the most successful. I love the subtle blend, and Speckled Egg (this time in the Spray Stain) has to be one of my favourite colours in the range.
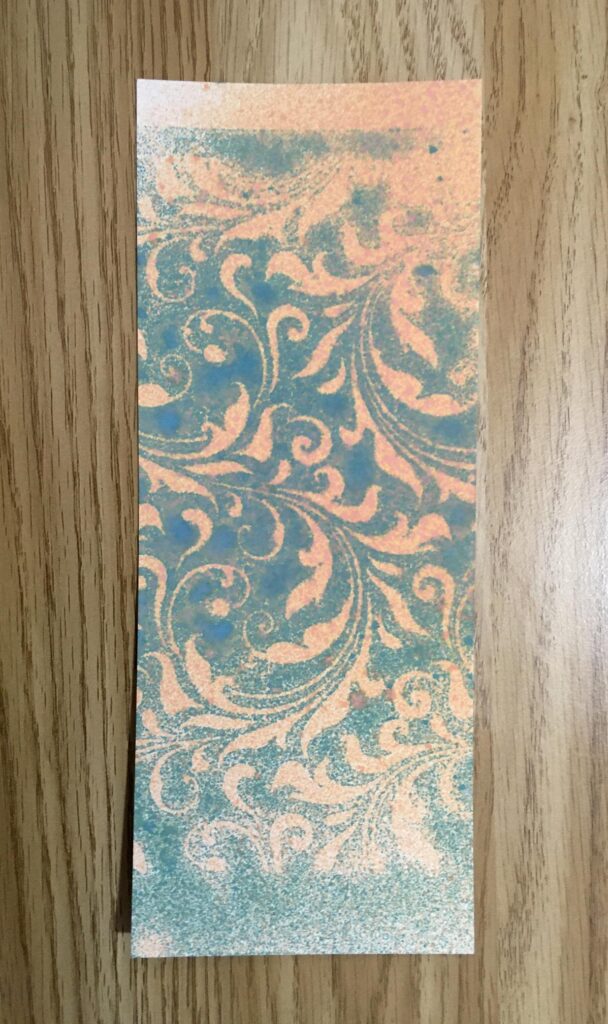

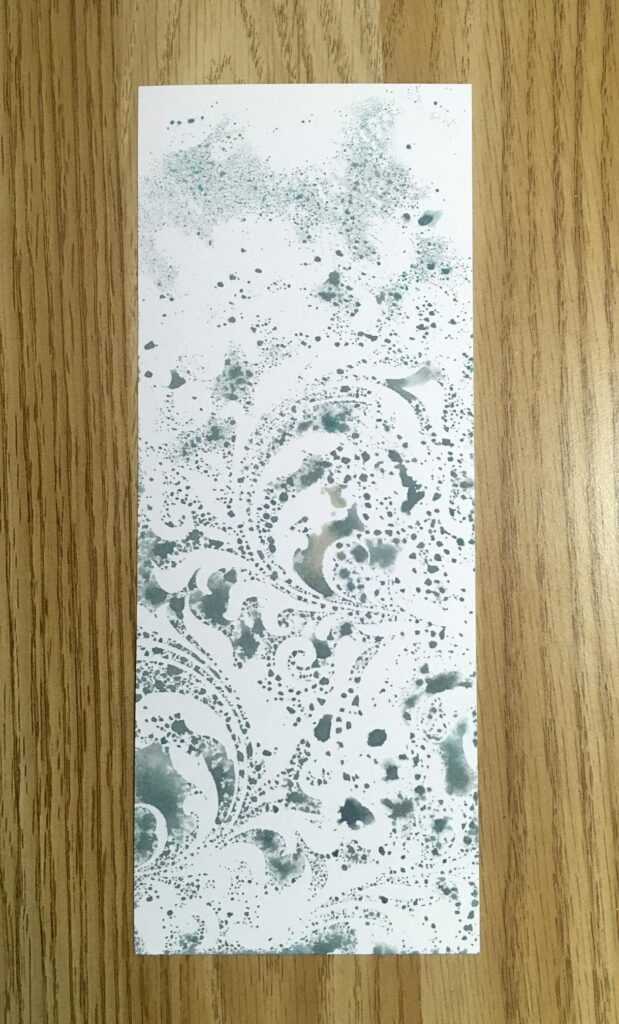
I really love the speckled effect in this next one.
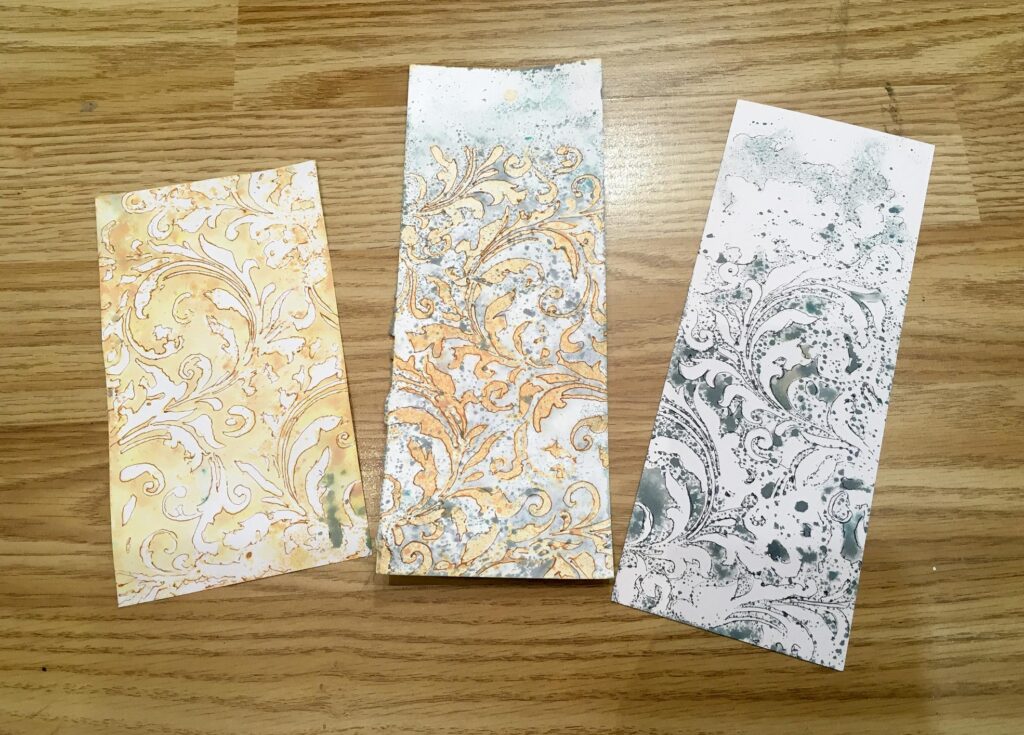
With some of the less-well defined ones, I decided to add some outlining, using a couple of my Staedtler fineliner pens, in grey and orange. I deliberately worked with a very light touch, making the lines fairly sketchy in places, particularly where the design was less well defined. Sprays do seem to be fairly organic and have a life of their own – it’s good to get into unpredictability once in a while!
As a final touch, I added some Distress Ink using a blending brush from the inkpad.

I added some water spatters which I then blotted off, but they hardly showed, so I took the spray nozzle off the top of the Speckled Egg bottle and flicked off some drops from the plastic tube. I also added some drops of Picket Fence Distress Spray Stain but this hardly showed up at all – it was probably activated by the colour underneath. Sealing the surface and perhaps using another medium altogether would be a better way to add white spatters.
These sample pieces won’t go to waste. They will be used in other projects.
I am really looking forward to receiving my new spays now! I think this medium has a lot of potential. I’ve been watching Tim Holtz’ excellent tutorial on the subject – more than two hours long!
Norton Nightmare
I am having terrible problems with Norton at the moment. They, or rather their algorithm or bot, has decided that my blog is “known to be a dangerous website” and they do not recommend visiting. Known by whom? This is totally absurd. There is nothing wrong with it! I have appealed twice and got an automatic reply back that their decision stands. I have also been on the forum and left a post there (so far nobody has answered), and run my blog through a couple of online website safety checks, and on every count it is coming back clean.
The problem is, you can never get to communicate with a real person. I’ve discovered if you dig a bit deeper there is a form you can fill in giving details as to why you believe their decision is wrong, and I have done this, but so far with no result. Others who have had the problem who have posted on the forum, have had their case resolved and they have posted the green go-ahead-it’s-OK certification of their site, but in no case does it actually say how this was achieved.
While this horrible red “dangerous website” banner remains, of course, nobody is going to visit to read this. It is also highly inconvenient, because even when I am in the private part of the blog (the dashboard, posting, moderating comments, uploading media etc.), every time I move to a new page, I am confronted with this banner and have to click my way through it each time. I’m really fed up with this. According to the forum, my experience is not an isolated one. At least I am not trying to run a business through mine, and I feel very much for those whose livelihood depends on their online presence, and when this happens to them, they are not only losing valuable business and income, but perhaps even more seriously, they are losing their reputation which once lost, is very hard to regain.
So come on, Norton, sort this out!!
Update – Monday 25th – after contacting a forum administrator, the problem is now sorted, with my blog having a green tick “safe” status. Initially I was still getting the Red Banner of Death but this has now disappeared. Let’s hope this problem never raises its ugly head again.