Photographing my teabag mini-albums
I always edit all my photos, and this usually just involves adjusting the levels, straightening perpendiculars, cloning out distractions, etc. I always check the colour balance as well, as many of my photos are taken in the evening under artificial light, and you do tend to get quite a blue cast with modern LED lighting. Moving the sliders towards the red and yellow a bit usually sorts the problem. Using old incandescent bulbs, the photos used to come out so yellow that they were uneditable.
This method has always been sufficient for the sort of photos I take of my art work, but working on these mini-teabag albums with their very subtle colour variations, I have struggled big-time. I made two or three attempts and each time, spent many hours tweaking this setting or that, and when I got one part right, something else would be thrown off. I was beginning to wonder if it was going to be possible at all. Things were no better when I photographed the pieces in natural light, which made me suspect that the camera was at fault. I usually use my iPad to photograph my art work, so I decided to try my new iPhone which is supposed to have a state-of-the-art camera, and the results were just as bad.
Doing some online research, it appears that these devices do not have the facility to alter the light settings of their built-in cameras. Other people reported that the white balance was too blue. I dug out my Panasonic Lumix camera which I haven’t used for a while, and as I normally do, I tried photographing the pieces with the “Intelligent Auto” setting which usually works very well, but again, the photos were coming out with a blue cast and washed out. I’ve got the instruction manual somewhere but decided to fiddle with the camera and see if I could find a way of changing the white balance, which I eventually discovered. I set this to “Cloudy” and straight away, was getting better results – certainly not perfect, but a good enough foundation from which to tweak.
The first photo I worked on came out great, so I wrote down every setting that I changed – principally in the colour balance adjustment. I upped the saturation a little, and finally, in the brightness and contrast setting, reduced the brightness and increased the contrast a touch. In each case I wrote down the numbers, and with all the rest of the photos, was able simply to type in the same numbers, and I was getting much better results. In one or two cases a photo needed a bit of extra tweaking, but this was a vast improvement on the struggles I have been having over the past few days.
I have now re-photographed the whole of the finished first small teabag mini-album,and also retaken the photos I took of the second one, which is still a work in progress. Here are the results.
Small teabag mini-album #1: final photos
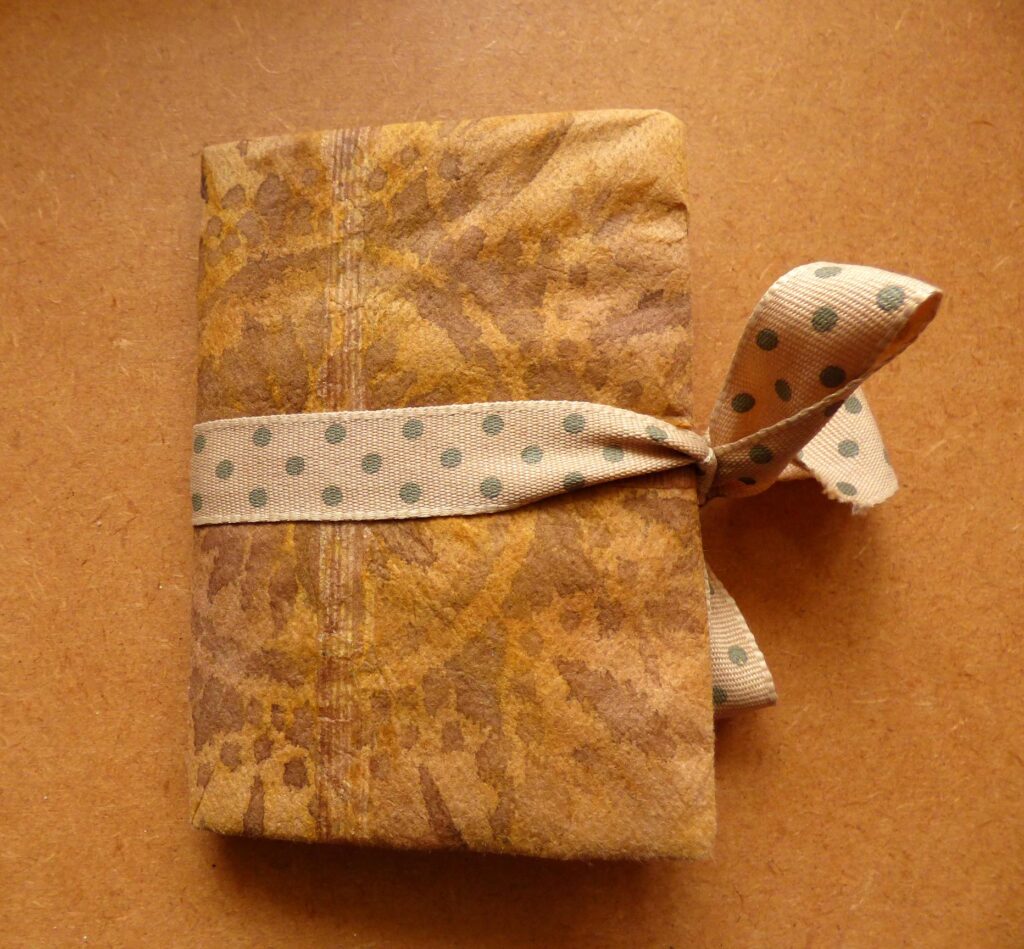
The front cover.
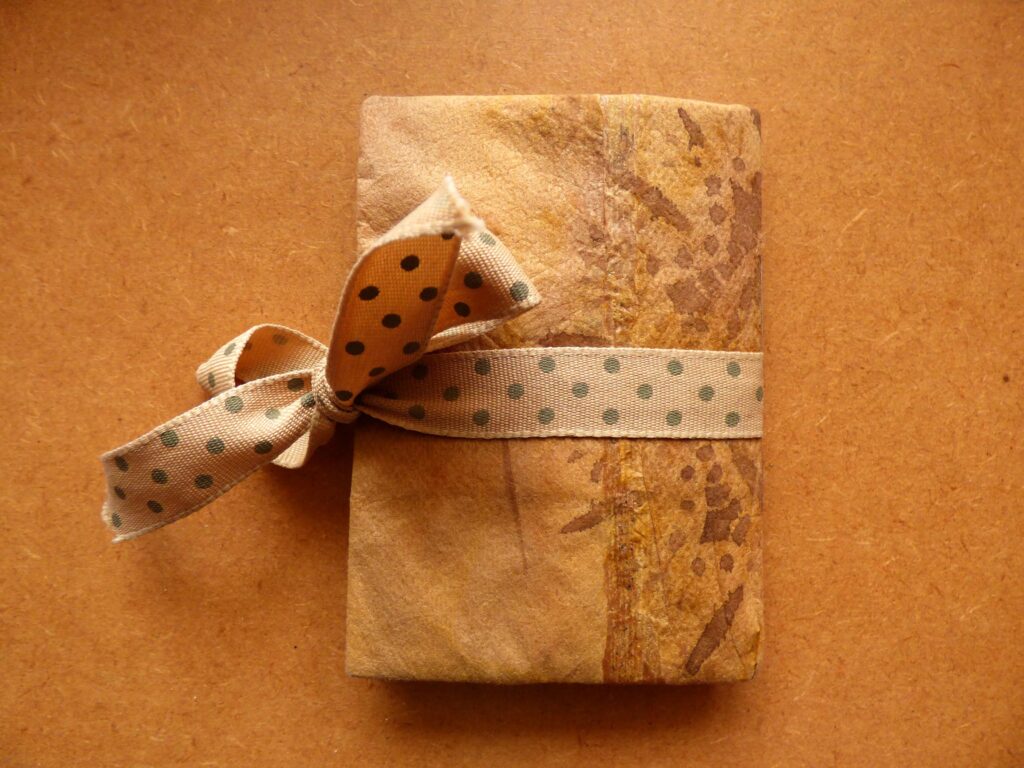
The back cover.
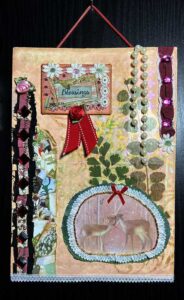
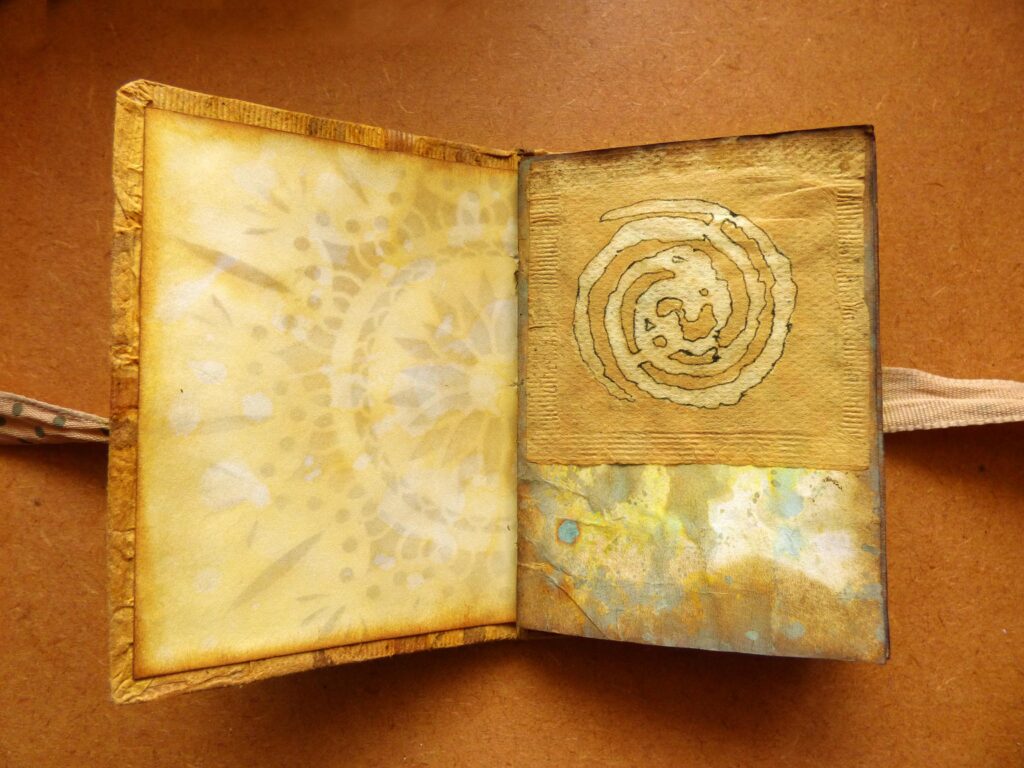
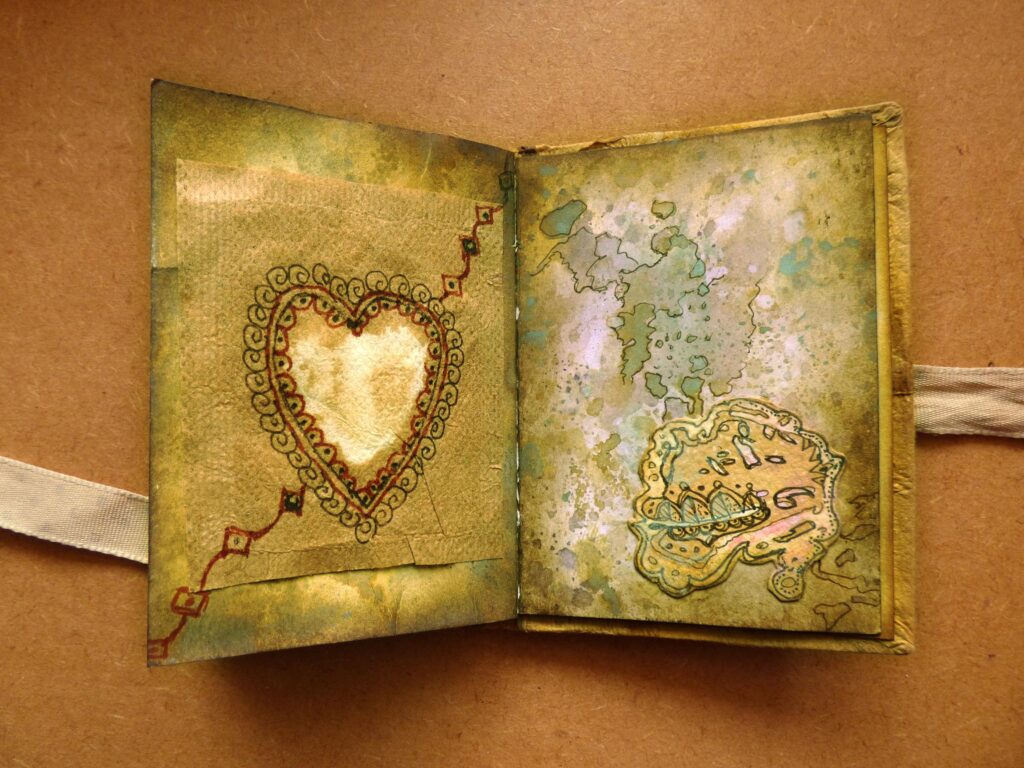
Inside the front cover and page 1.
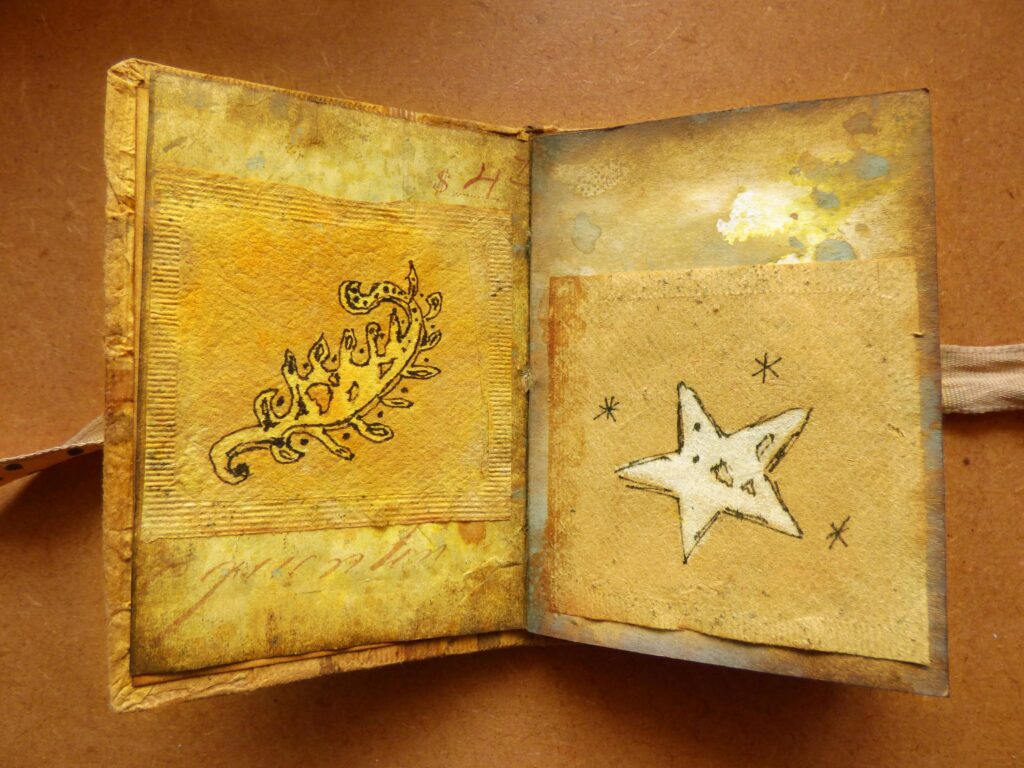
Pages 2 and 3.
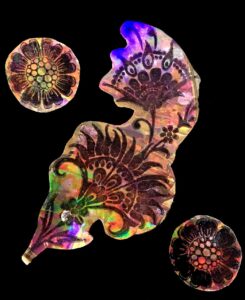
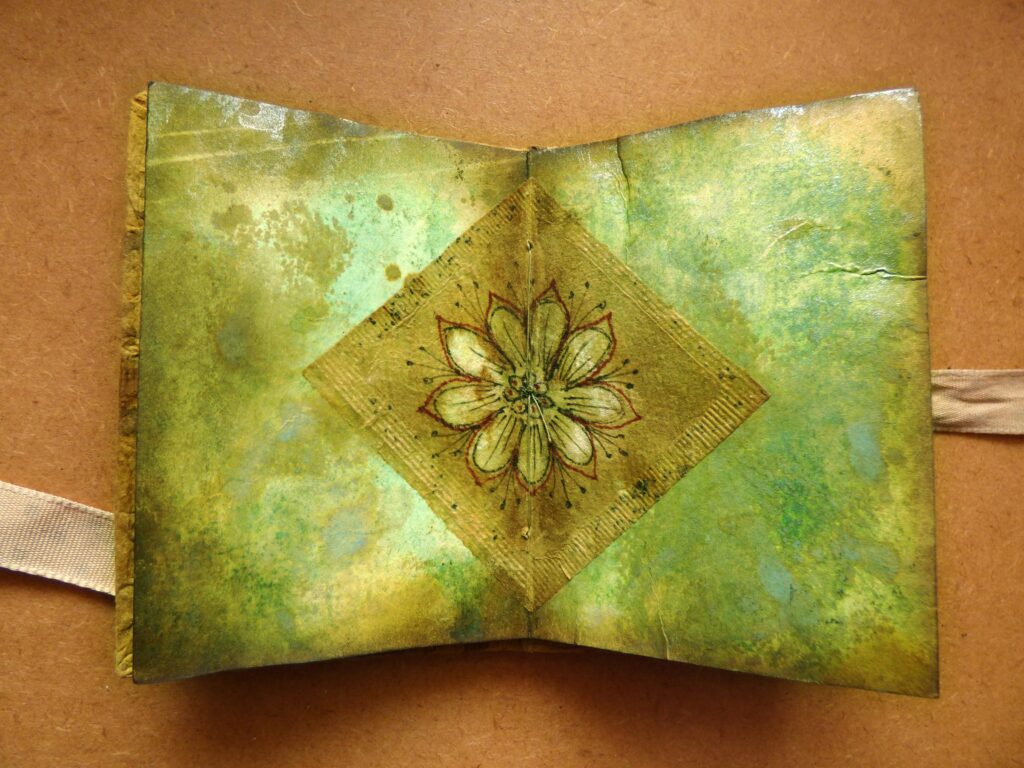
Pages 4 and 5, the centrefold of the first signature. This was one of the most problematic to photograph.
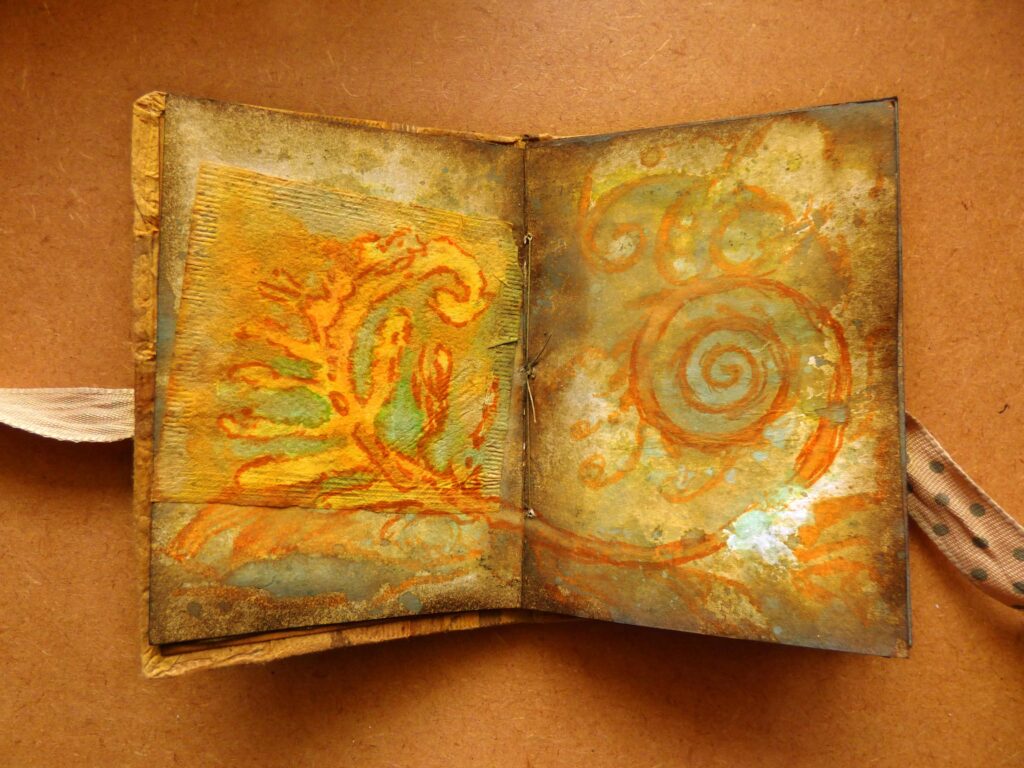
Pages 6 and 7. This one had also presented huge problems.
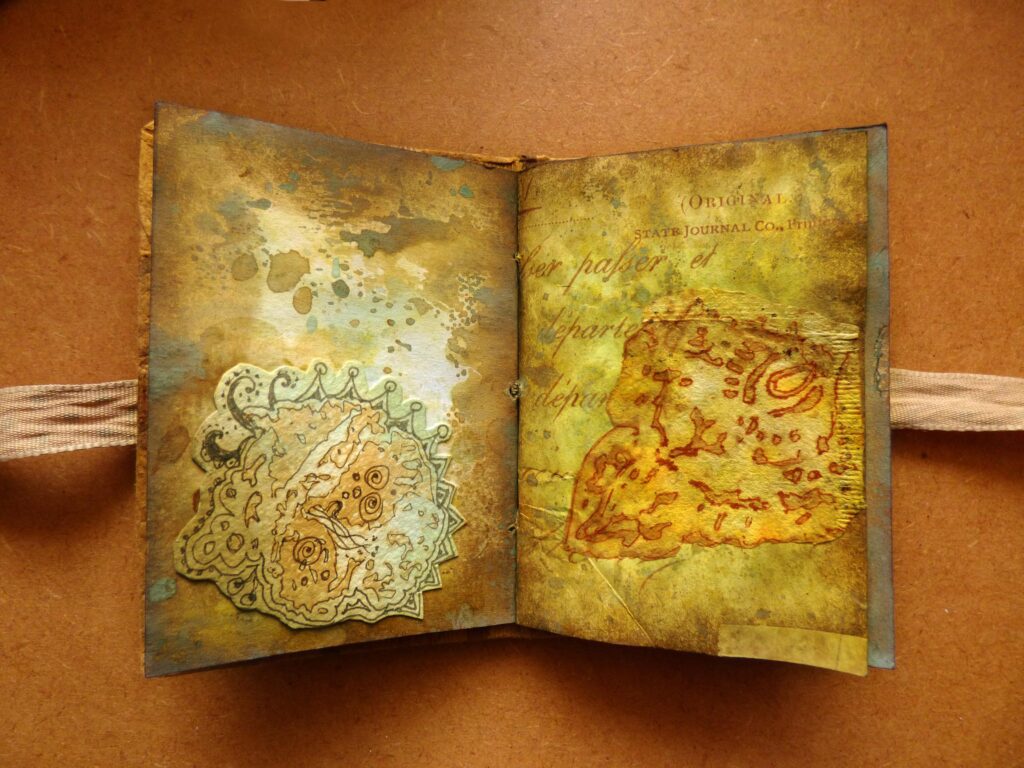
Pages 8 and 9. The centre of the book, between the two signatures. This was another spread which had been a massive pain.
Pages 10 and 11.
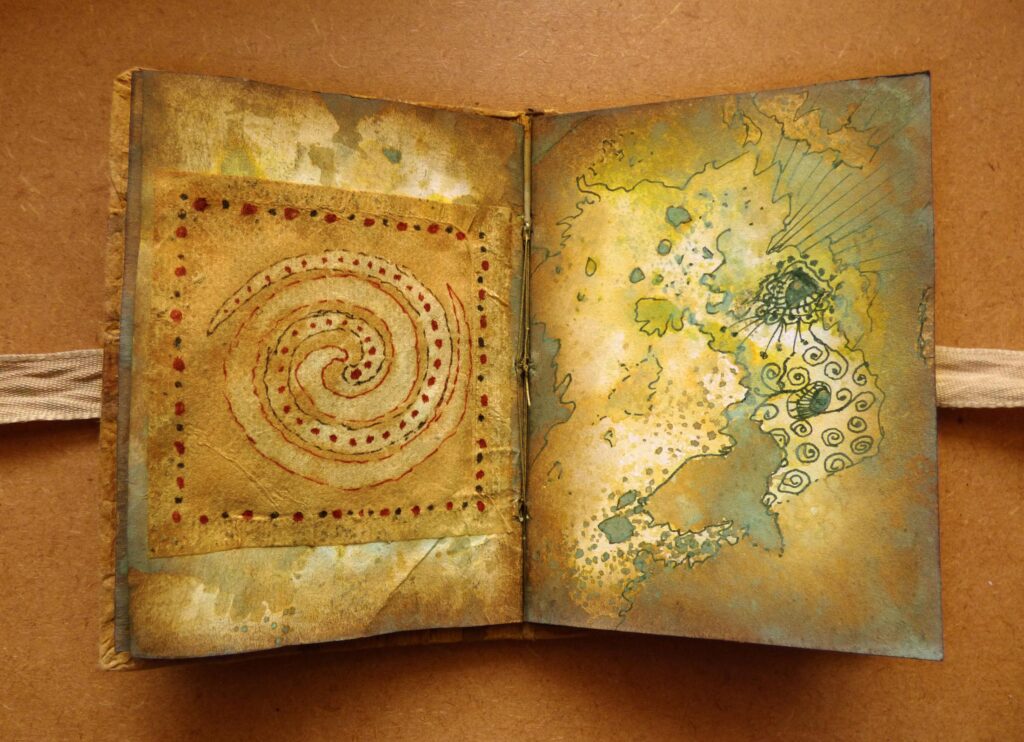
Pages 12 and 13. This was another problematic page. It is the centrefold of the second signature.
Pages 14 and 15. Previously, as was the case throughout, I had tremendous problems preserving the subtle shades of pink and blue in these pages.
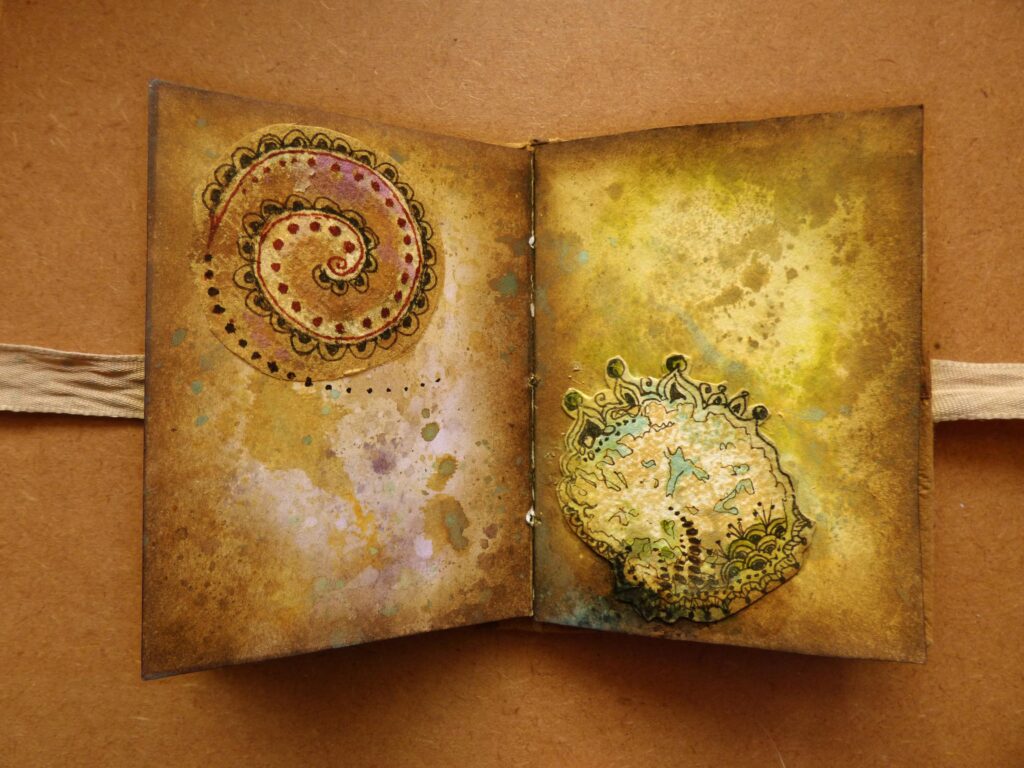
Page 16, the final page, and the inside of the back cover.

Small teabag mini-album #2: work in progress
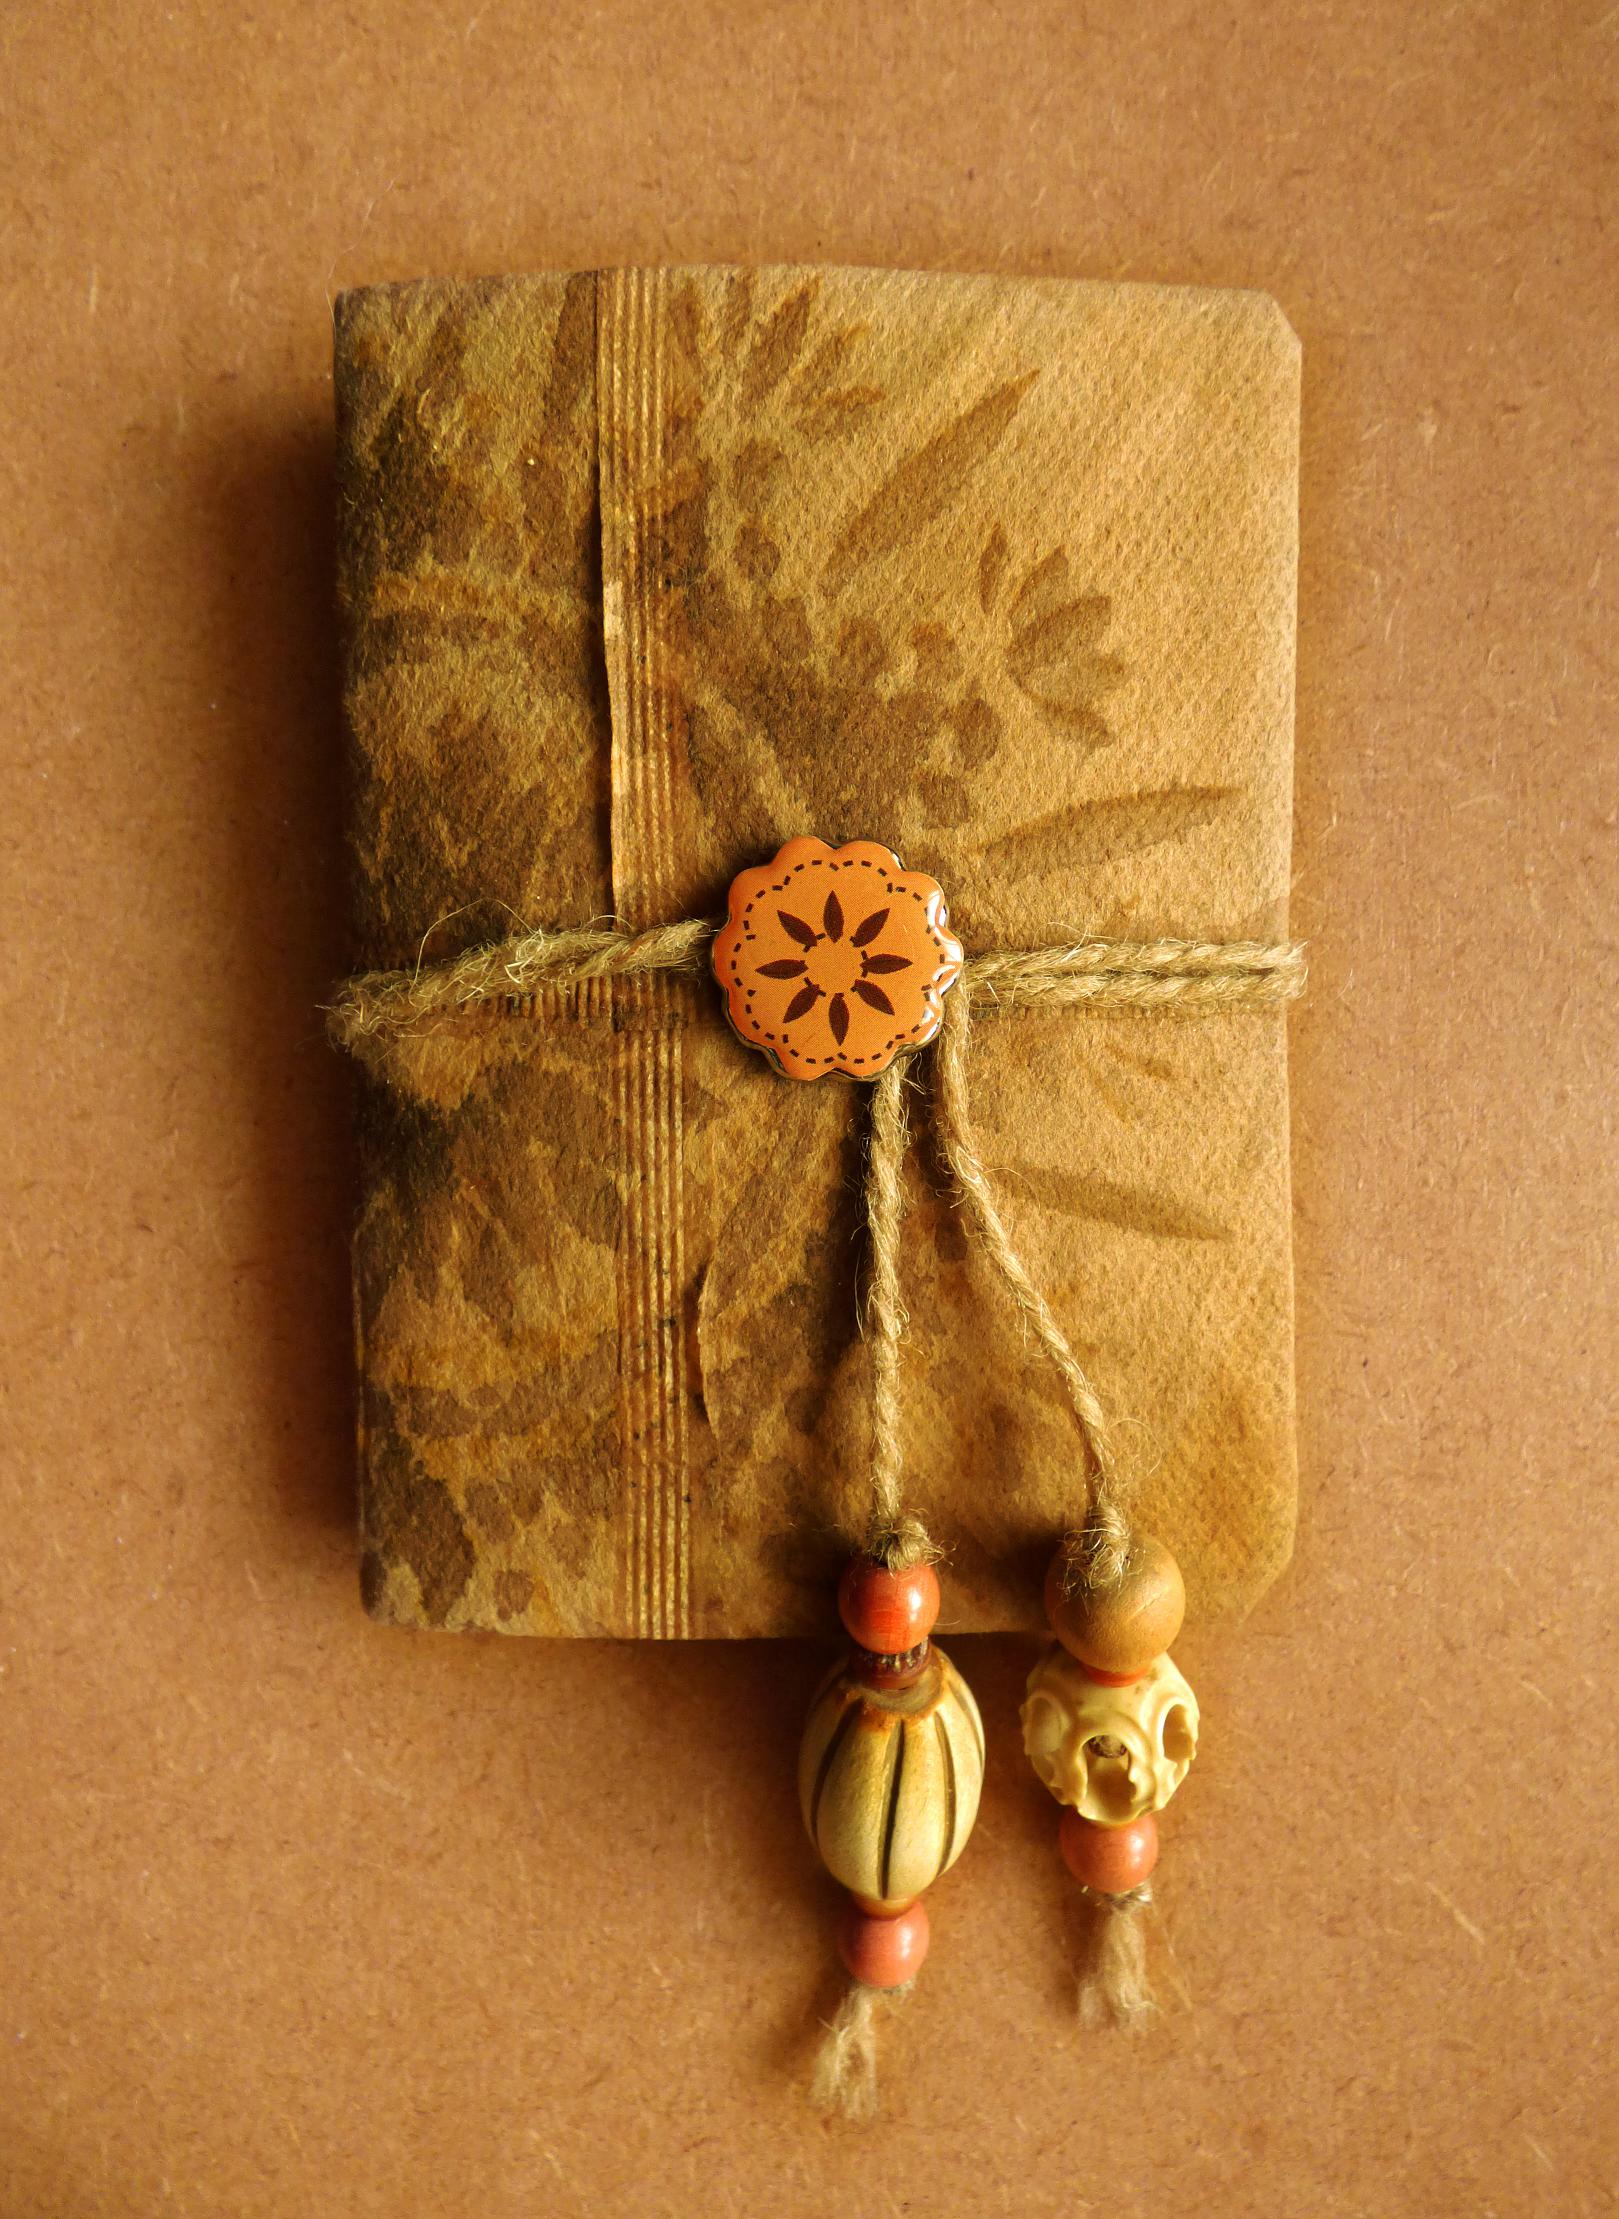
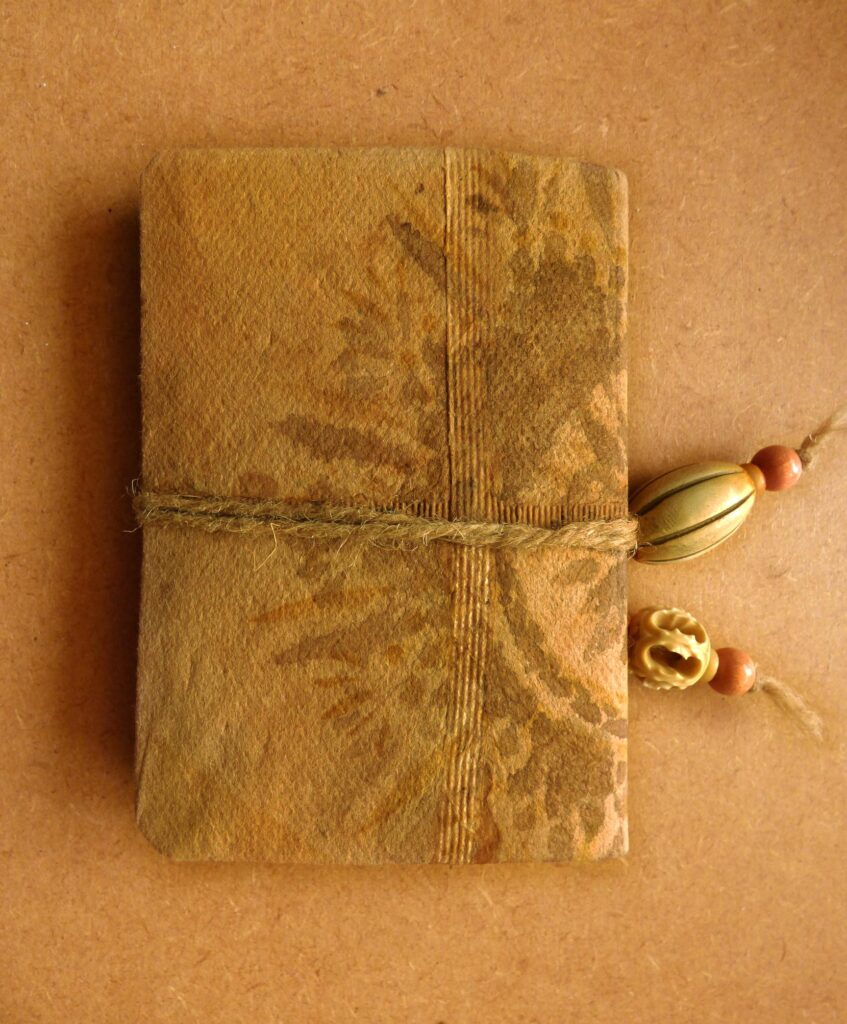
The front cover. For this mini-album, I chose a different closure; two lengths of jute twine, onto which I threaded some beads, including a couple of antique carved bone beads in my stash. The twine is wrapped around a decorative brad in the centre of the cover. Its back is covered by the lining of the cover inside.

The back cover.
The lining of the cover.
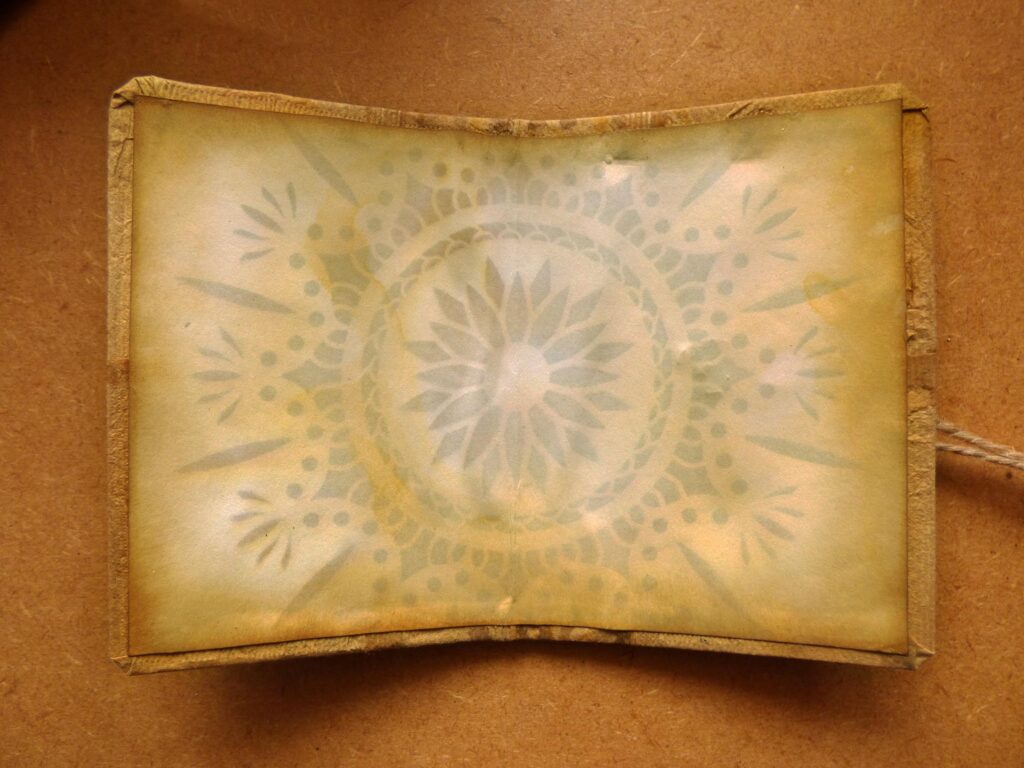
This completes the cover of book #2, in every respect identical to that of book #1 apart from the closure. I used the same stencil throughout.
The contents of this book will be slightly different from the first one. Although the emphasis will still be on teabags and teabag stains, there will be some additional collage too. Please see my previous post regarding the collage on page 1.

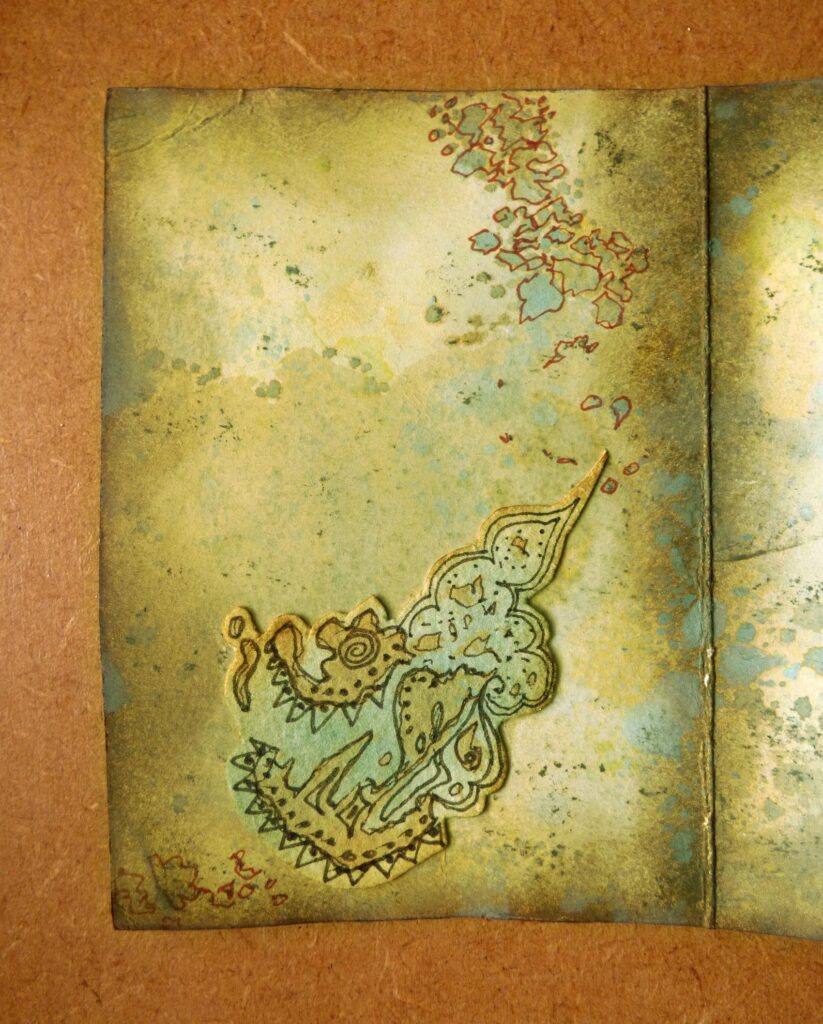
Page 2. This features a doodled teabag stain.
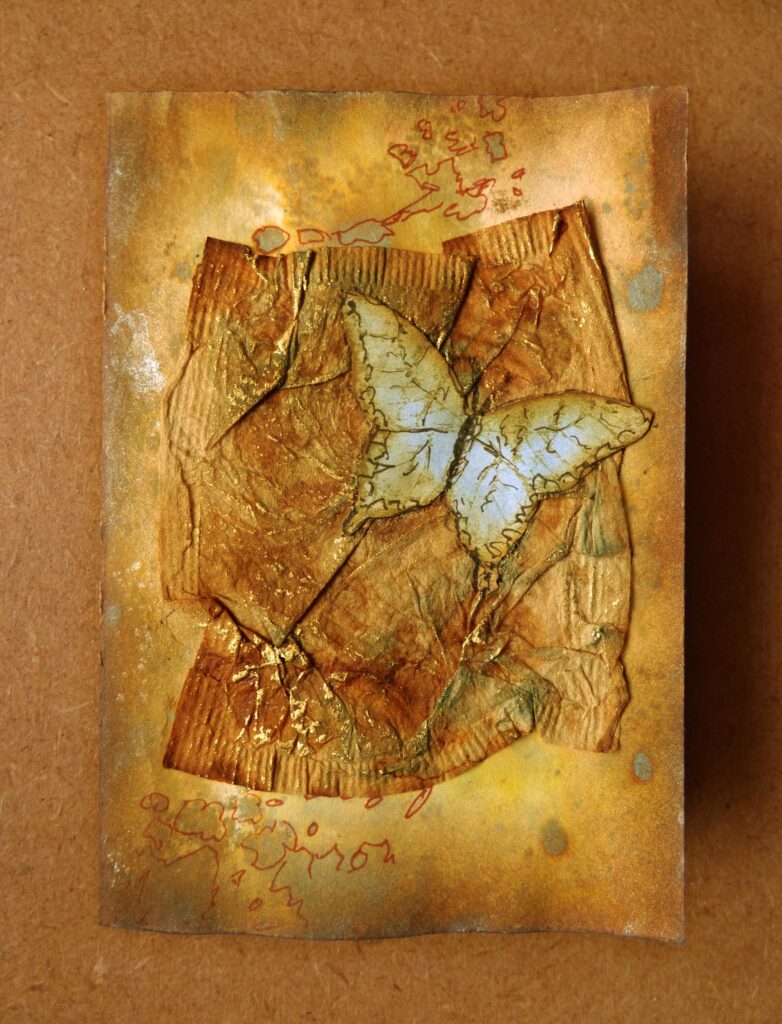
Page 3, with a crumpled teabag which has gold gilding wax applied.
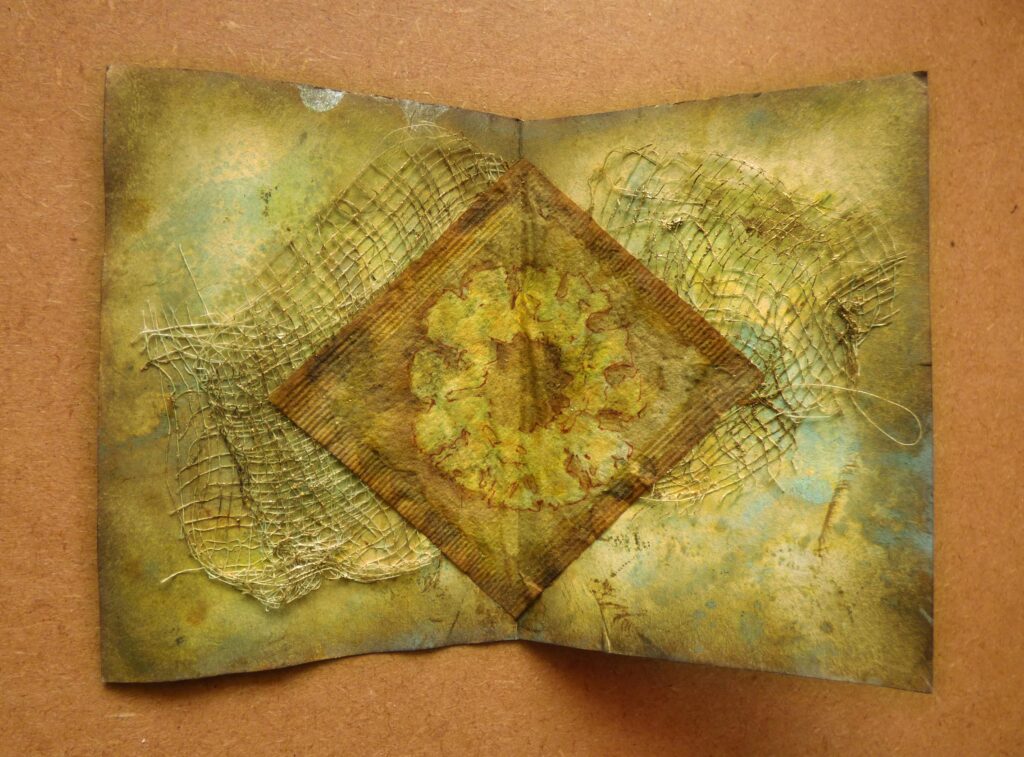
Pages 4 and 5 are the centrefold of the first signature. The scrim has some gold gilding wax applied.
I haven’t managed to do any further work on this book since then.
These results are much better than my previous efforts. I am very pleased to have got the photo aspect of the project sorted because it was driving me nuts! I now have another slight problem in that I can’t find the charger for my Panasonic Lumix camera… These things are sent to try us!
While on the subject of teabags, here are my pink teabags from the fruit “tea” all opened out and ready for use.
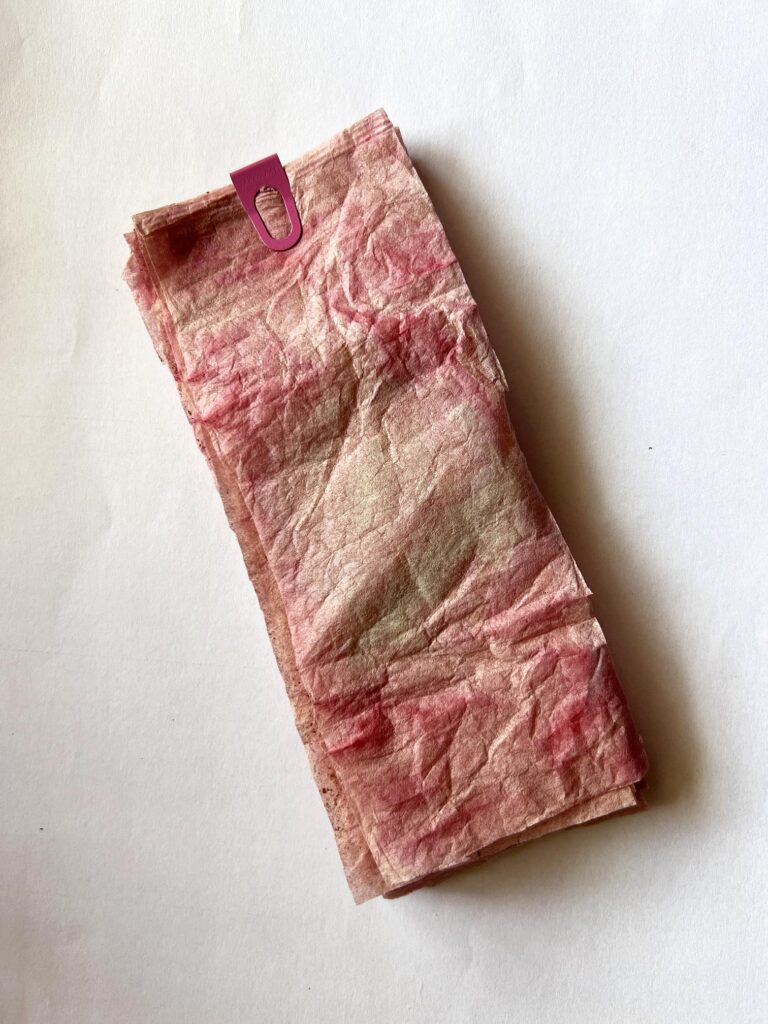
The adorable little pink paperclip came with my new pens (see below).
![]()
New pens
The Sakura Pigma Micron pens I ordered the other day have come – a little wallet of four grey pens – three in different thicknesses and the final one being a brush pen.

This is just what I wanted. I needed something softer than black, that wasn’t brown! I think this set of pens is going to be very useful, and I can see myself using them for shading on my black ink drawings. Sakura also do other colours (a fairly limited palette) in their archival pens and this might be something worth exploring. They are waterproof and permanent, which means you can work over them with water-based media with no risk of smudging.
Health update
After I received the letter from the hospital on Saturday, pontificating about length of waiting lists etc., I hadn’t expected to hear anything else for ages, so I was very surprised when I got a phone call on Monday, asking if I would like to come in for my operation to repair my parastomal hernia on Wednesday week, 13th April! This quite took my breath away. I said I couldn’t confirm until I’d spoken to my husband, who of course was out. I asked if I could see Mr. Daniels, the surgeon, beforehand, as I had a number of questions I needed answering, and she said no. She asked me to phone back when I’d spoken to my husband. A bit later, Mr. Daniels’ secretary phoned me, and she suggested I emailed her with the questions and she would get him to answer them and she’d email me back. Not very satisfactory, but better than nothing. His outpatient waiting list is very long and if I wanted to see him, this would delay things even further. She also said there was a later date, Thursday 28th April, available for the operation, and I said that would probably be a lot better, as it would give me time to make arrangements. She said they would be sending me an appointment in due course for the pre-assessment, and I had the letter about this today – it is on Wednesday 20th at 4.30 p.m. I am glad this is going to be a face-to-face appointment rather than by telephone; they probably want to run more tests anyway. I had bloods taken, and an ECG, after I saw Mr. Daniels in January and the ball was set rolling again for the operation to take place after all this delay (2 years since I’d seen him last).
When my hubby came home he said that the first date wouldn’t have worked anyway as it was a busy week for him. I don’t particularly want to be in hospital over Easter anyway – over a holiday weekend the staffing is often peculiar and routines are upset as people are off for the extended weekend. He wants to know how much time he will need to set aside in order to look after me in the early days, and how long I shall be in hospital etc. I have no answers to any of my questions yet. I emailed the secretary and told her he was fine for the 28th and sent her my questions, and also a copy of the letter from the anaesthetist to my GP following the pre-assessment before my last colorectal surgery in 2018 as the details were still relevant, about my particular needs. I asked her to make sure this was attached to my notes. I shall be taking a hard copy of this letter with me to the pre-assessment in any case, as I can’t rely on the hospital not to lose it, given their previous record of messing things up at almost every step on this tortuous journey.
I still have a sense of unreality about the whole thing. It’s been theoretical for so long, and I had all that hassle trying to get answers out of them for months, and being lost in their system, and the complaints department losing me in their system too… I do need to know whether I have to be on a special diet afterwards, and how long I can expect to be out of action etc., as I need to make plans about meals and what to cook for the freezer, and other arrangements. I hope they aren’t too long replying to my questions as I want to get on so that I don’t have to do a whole lot of stuff at the last moment.