Today I resumed work on the second of two small teabag mini-albums. You can see the first one here.
I had already made the backgrounds for album #2, and I have also made the cover, which I will share once I’ve finished the rest of the book. As before, I had great difficulty in photographing the pages accurately and had to do extensive editing, and they are still not right.
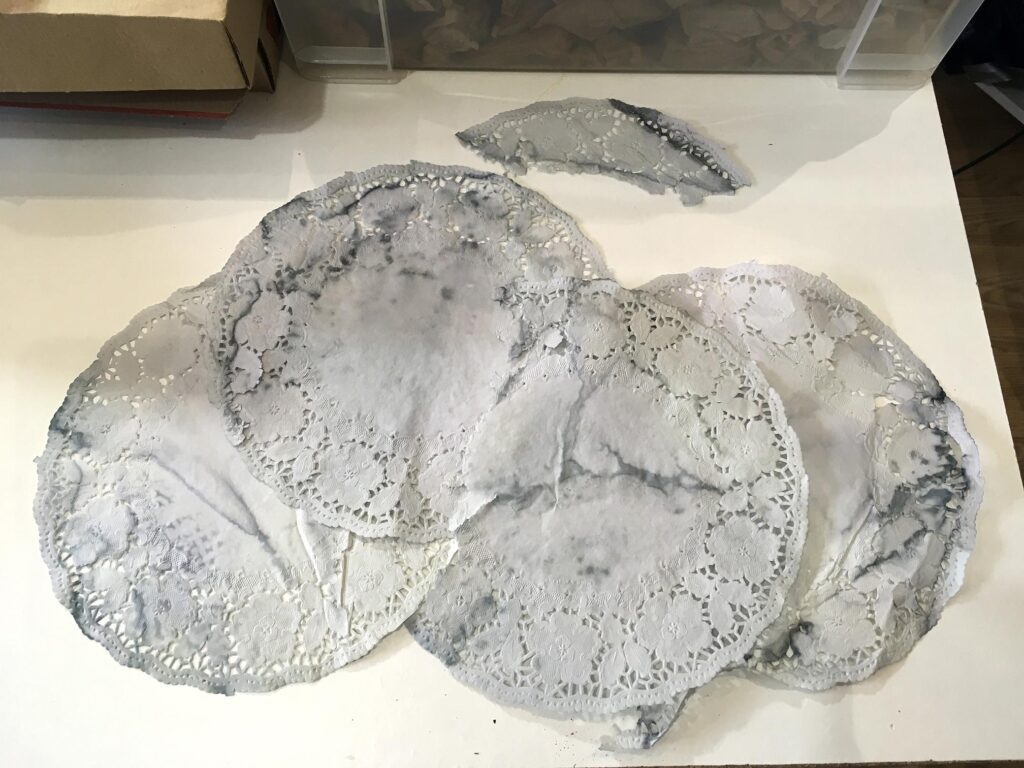
Before I began work, I had a lot of papers and ephemera to sort out and put into boxes. I now have some empty boxes after transferring all my Distress Inks to their new storage tower. I spent a bit of time cutting out some interesting snippets from a clothing catalogue that had landed on our doormat yesterday, and also going through a couple of boxes of greetings cards and gift tags that have been taking up space in my desk for years and have never been used, nor are they likely to be. I have decided to use these for junk journals. Putting my recently dyed papers using the fruit “tea” which came out a blueish grey into a box, I extracted some of the damaged doilies, which happen to be the most interesting as far as dye patterns are concerned, and ironed them.
I also discovered a piece of scrap paper with some pale brown butterfly images stamped off onto it, from a previous project when I’d cleaned off the ink from the stamps by repeatedly stamping them on the paper.
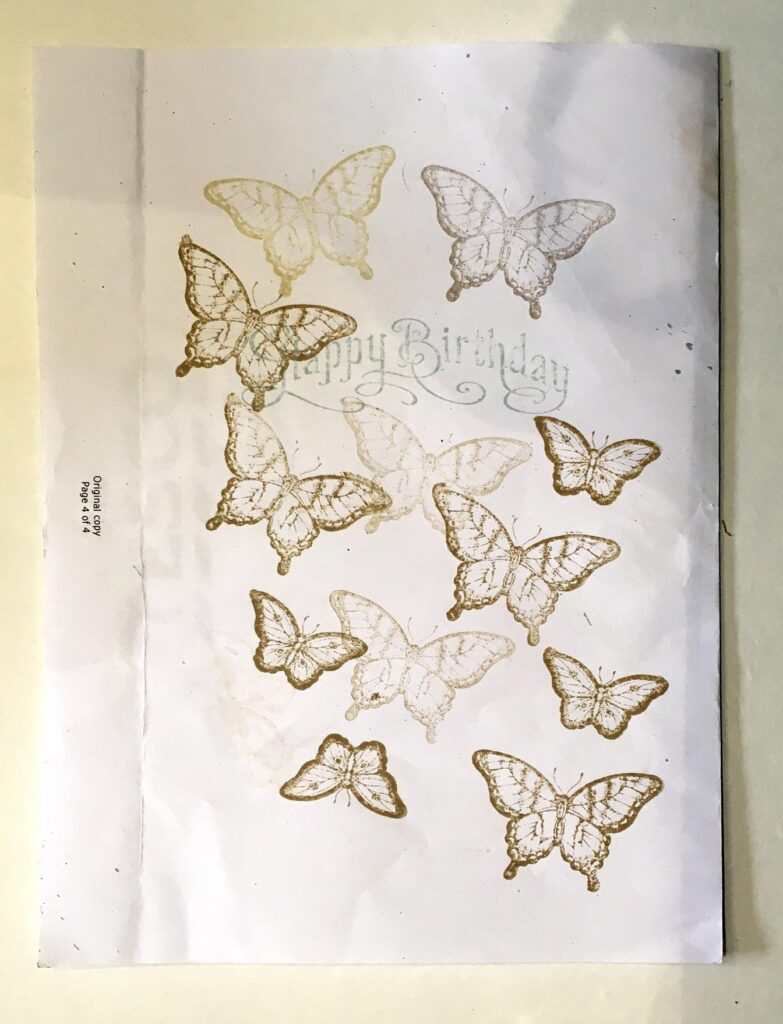
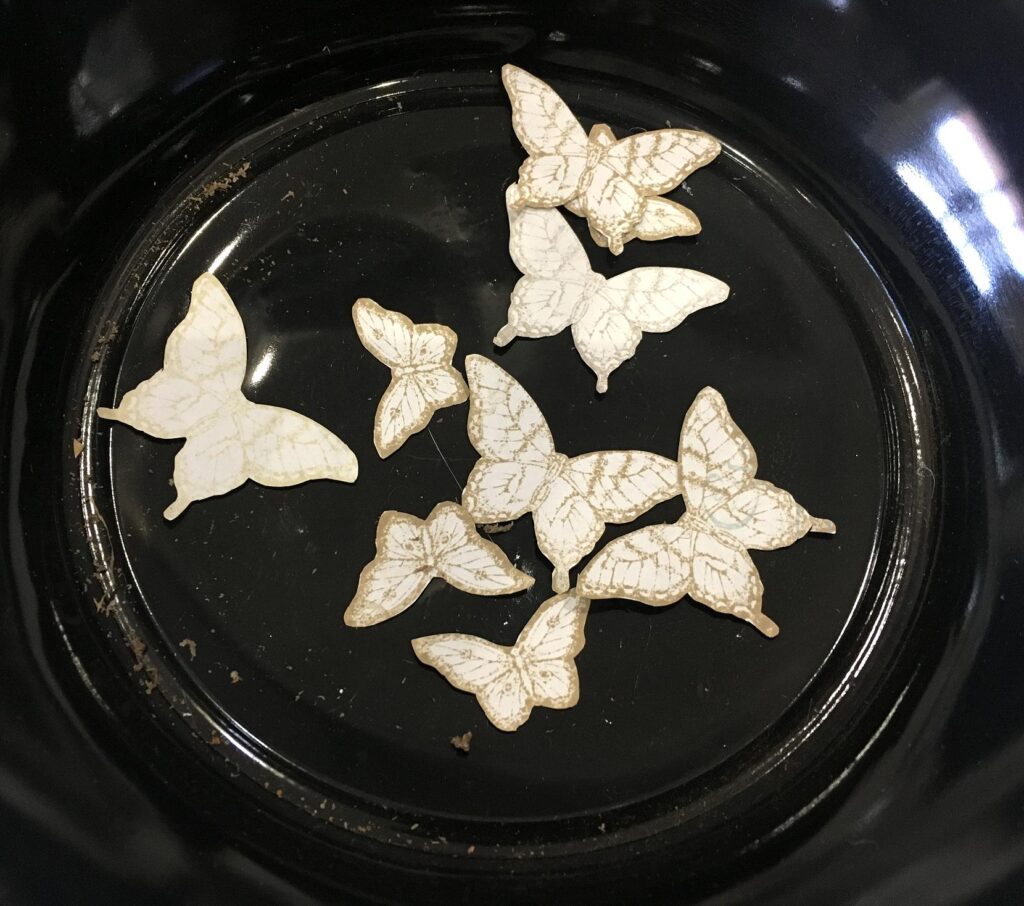
These seemed too good to waste, and the colour scheme was right, so I rescued them and fussy-cut them out.
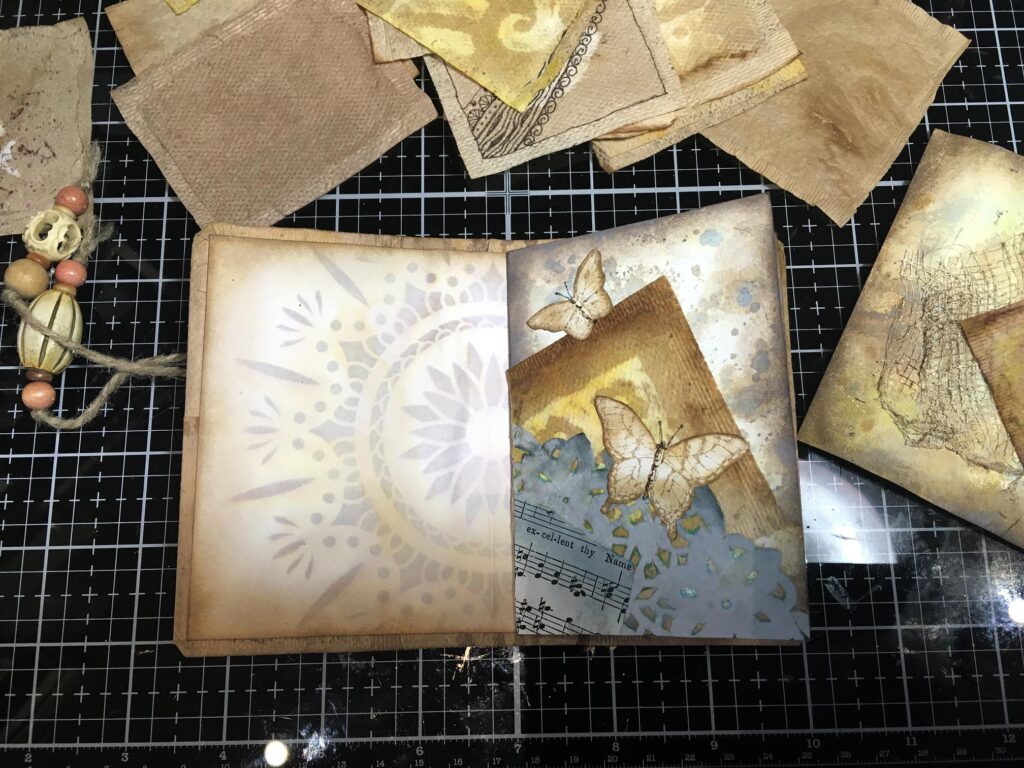
The second teabag album seems to have more blue in the page backgrounds than the first one, so I decied to incorporate a fragment of one of these doilies on page 1. I made up a layered collage with a teabag from my original bleached batch (with no added doodling), a doily fragment, and a tiny fragment of music paper. I inked the latter with Speckled Egg Distress Ink. (Oh what joy, to be able to reach over and take an inkpad from the storage unit, use it, and put it back! No rummaging in boxes! I am alread enjoying this new system so much.) This picks up on the spots of the same colour in the background. Finally, I took a couple of the fussy cut stamped butterflies and distressed their edges with some Vintage Photo Distress Ink, and added a touch of Speckled Egg, and then emphasised the details of their wings a bit more with a fine sepia pen, and also added their antennae.
Turning the page in order to work on pages 2 and 3, I fussy-cut out one of my teabag stain doodles and distressed the edges with Vintage Photo Distress Ink, and added a little Speckled Egg Distrss Ink to the centre. After I’d applied it to the page, I added a small amount of ouline doodling to the pattern in the page background, using a fine sanguine pen.
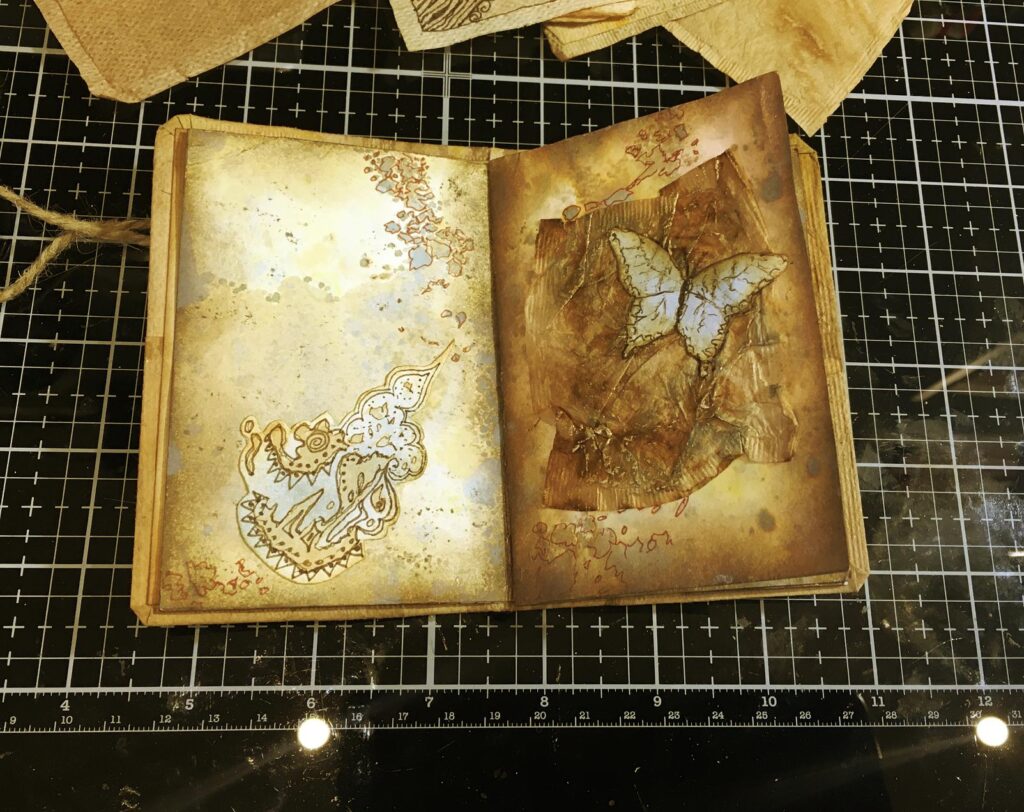
Page 3 features a scrumpled up teabag which was originally quite dark in colour. I added a little Vintage Photo Distress Ink to the edges, and stuck it down using fabric glue, taking care to rumple it up to produce some nice wrinkles. After this I rubbed the Speckled Egg Distress Ink pad gently over the raised areas, and once this was all dry, I applied a little Treasure Gold gilding wax to the raised creased of the teabag. Unfortunately, as usual, this gold doesn’t show up very well on the photo. For a focal point, and to add balance to the complete page spread, I stuck down one of the butterflies to the teabag. The final touch to the page was a little outline doodling with the sanguine pen to some of the background patterns, which tied it in with the previous page.
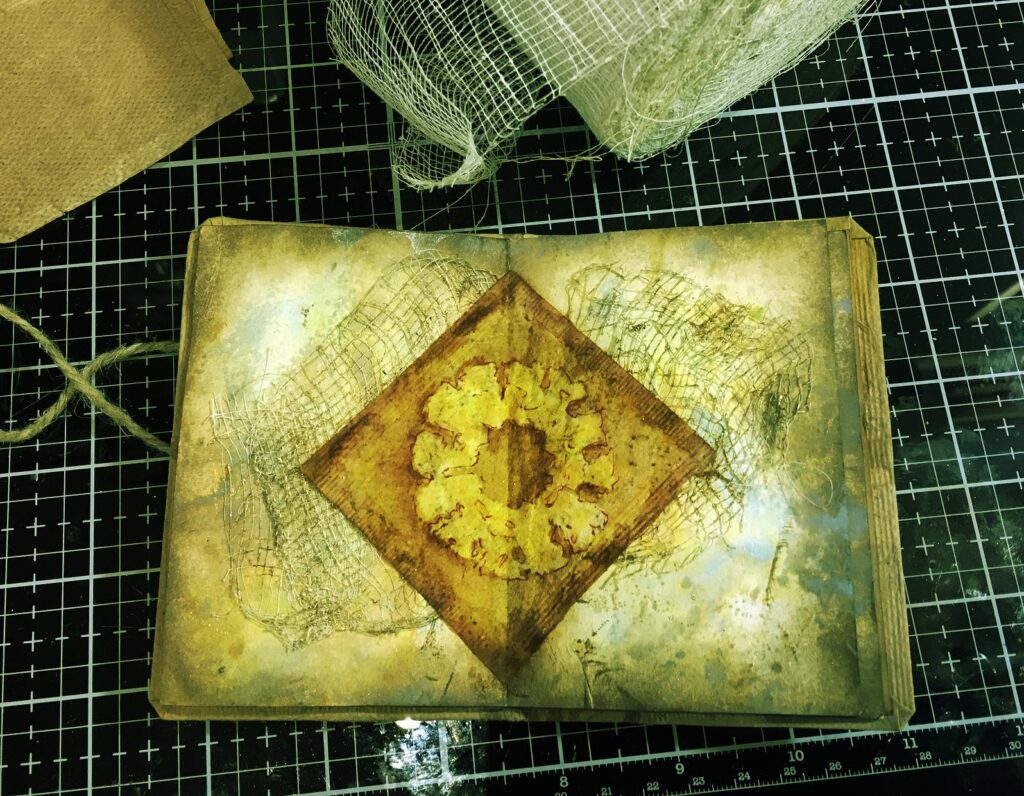
The final thing I was able to do in the studio this afternoon was to complete pages 4 and 5, which are the centrefold of the first signature. As with the other mini-album, I applied a teabag diagonally across the fold of the page.
The teabag was one from the original bleached set, and I doodled the outline with a sanguine pen, and then painted on some shadows with Vintage Photo Distress Ink. Before adding it to the page, I took a short length of scrim from my roll, scrumpled this up and applied it to the age with a liberal amount of high tack adhesive. I applied some Vintage Photo Distress Ink direct from the pad, and then applied some Treasure Gold
That was all I had time for today.
New Pens on Order
Working on my blue-grey teabag stains with a black archival pen, I realised that I really need a grey pen. For that project, black is OK, but sometimes black is too harsh. I found a set of Sakura Pigma Micron pens in three different sizes plus a brush pen, in Cool Grey, and have ordered these. I have a couple of greys in my Staedtler Fineliner set but these are water-based and not permanent, so I would not be able to add water-based media over them.
Health Update
Yesterday I had a letter from the Exeter hospital, not, as I’d expected, with a date for my long-awaited operation, but merely a further communication about waiting lists and delays and the usual excuse of the disruption to our lives that we’ve been enduring for the past two years. I have pretty much resigned myself to this operation never happening at all at this rate. At least the letter proved that they hadn’t forgotten about me and lost me in their system as they did before. Meanwhile, I keep plugging on and dealing with the ongoing problem – the parastomal hernia which is affecting the management of my ileostomy bag. At least I’m not in constant pain like many people who are also awaiting operations, and my problem doesn’t affect my life to a huge extent, although it is slowly getting worse. It’s more of an inconvenience and an irritation than anything else, and it would be good to get it sorted.