DRAW AWESOME ALBUM PART 5 – MORE BINDING
Assembling the end papers and title page
Before beginning the binding of the cover, the first step was to assemble the end papers and title page for the front of the book. Both had tabs to be inserted into the slot between pages 1 and 2. I began by sticking these tabs together so they could be inserted as a single unit.
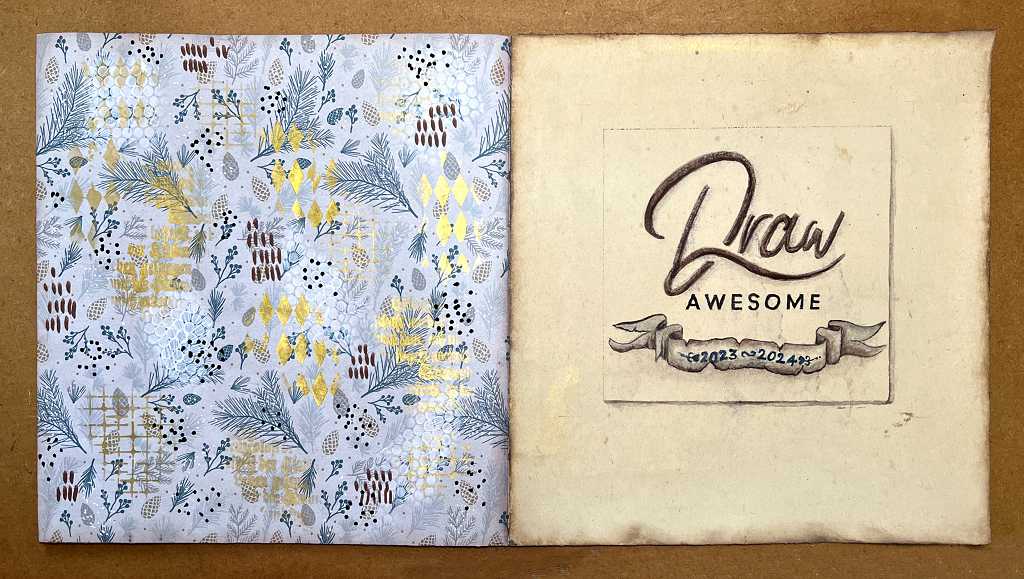
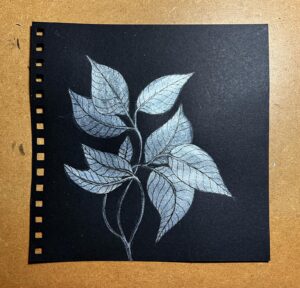
The back of the title page was plain, and I thought it looked a bit boring. Page 1 of the book isn’t very exciting either, being our very first exercises in how to hold the pencil, and some basic shading. This spread definitely needed a bit of jazzing up!.
A little while ago I bought some unbranded stencils from Ali Express, including a very large mandala stencil. This was designed to fill a 12 x 12-in page, and I thought it would be ideal for the back of my title page.
I taped the stencil down to prevent it from moving, and applied Tea Dye Distress Ink through the stencil, using a blending brush.
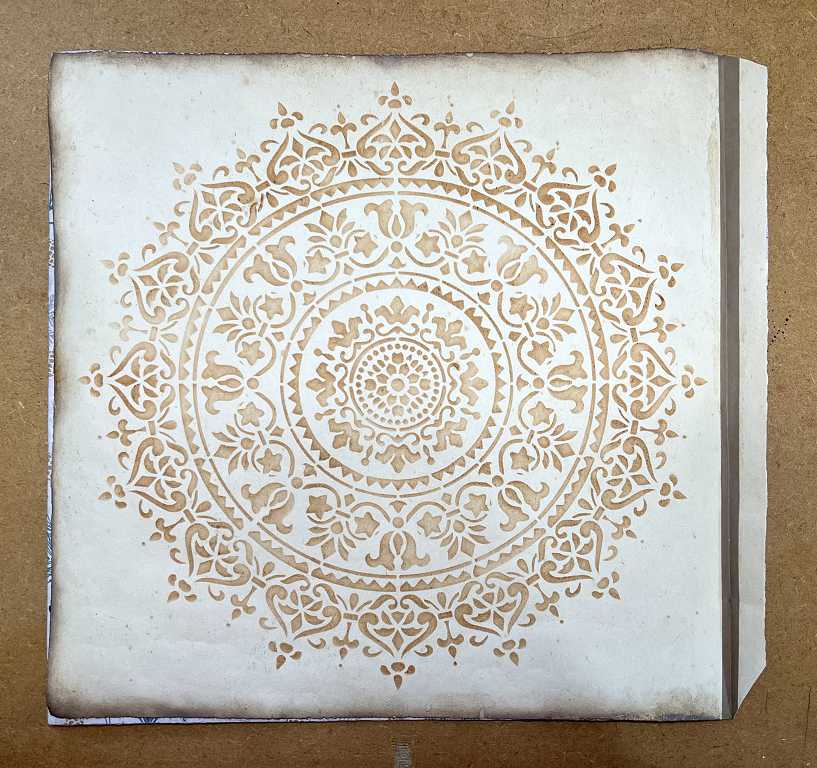
This is the first time I’ve used this stencil, and I am pleased with the result.
Once this was done, I inserted the end paper/title page unit into the front of the book, and the other end paper into the back of the book. It was now ready to complete the binding of the spine.
The cover boards and the spine binding
The cover boards were cut shorter than the full width of the book, with a view to butting them against the wrapped-around spine binding. As this is quite thick, this technique will result in a more or less flat join.
However, I then realised that there would be nothing to hold the page board and spine binding together. I therefore cut two pieces of card from some Amazon packaging envelopes (the non-corrugated kind), the size of each completed cover, and glued these on the backs of the cover boards. To provide the correct thickness, I needed to cut two more smaller pieces, to raise the spine binding to the level of the cover board.
Once this was done, I proceeded to cover them with brown paper, turning the edges over to the back and mitring the corners. It was quite difficult pushing the brown paper into the corner where the edge of the page board was, and on one of them, I managed to split the brown paper along this line. No matter – I glued back the parts that had a life of their own. I may end up running a piece of washi tape or perhaps a fabric or card strip over the junction of page board and spine binding, but no definite decisions have been made yet.
Adding the roofing felt to the hidden hinge binding
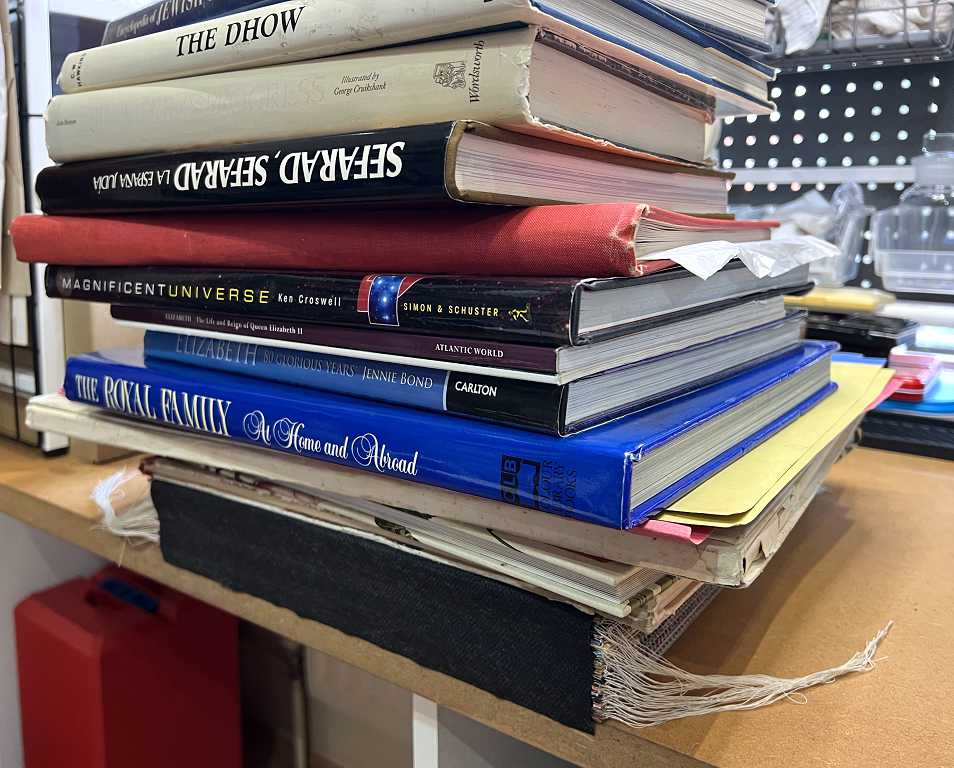
This proved extremely difficult. Part of the problem is that the hinged pages are not exactly lined up and flat. They also needed to be squashed together as tightly as possible, because at present they were rather floppy and pulling open a little. They weren’t actually coming apart, but I needed to get them as tight as possible. Unfortunately the book press I bought recently is too small for this large book. I wondered about a couple of G-clamps and some pieces of wood but could only find one clamp. In the end, I put the book on the desk with the bound edge just hanging over, and put a lot of large format heavy books on top. I then attempted to glue the roofing felt on. It kept falling off. I used quite a large quantity of tacky glue and eventually it seemed to stick, but I had no way of pressing anything against it to ensure good adhesion.
In the end this didn’t matter too much. The most important part was to glue the overhang onto the book, front and back. This exerted tension on the spine binding piece which would be left to dry overnight, and any adhesion to the spine itself would be a bonus.
I left it overnight to dry.
Another problem was that I had cut the strip of roofing felt a bit too narrow. It could have done with more of an overlap onto the end papers. You can see that I have managed to fold the top over, but the bottom is still hanging down, ready to be glued once the rest of the glue has set.
This part of the binding process was proving quite difficult. Working on a smaller book is a lot easier, especially as I could have used my book binding press which is too small for this book. This is the largest book I have attempted so far, and there are definitely lessons to be learnt.
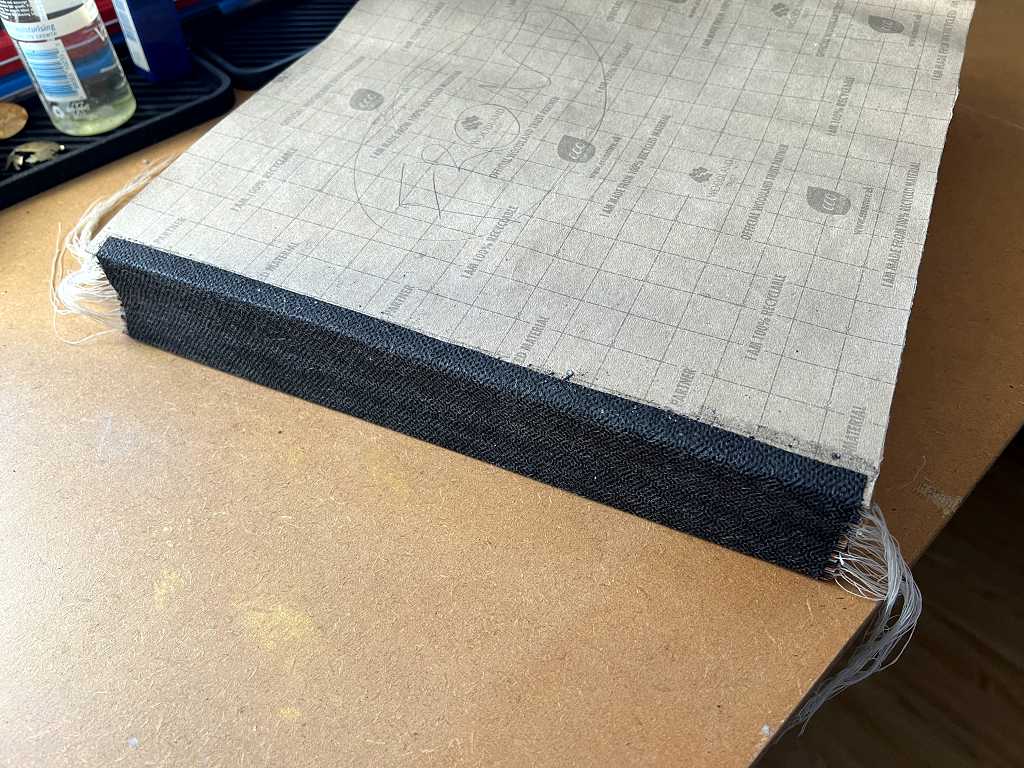
The inner spine binding complete
When I returned this morning, everything had dried beautifully and the inner binding for the spine, stabilising all the page hinges, was complete. The small wrap-around overlap was not a problem after all but has worked well.
Working on the outer spine binding
I cut a piece of corrugated cardboard for this. There was only backing paper on one side of the corrugations so I cut a piece of paper-type Tyvek for this. Here are the pieces after I painted them with black acrylic paint.
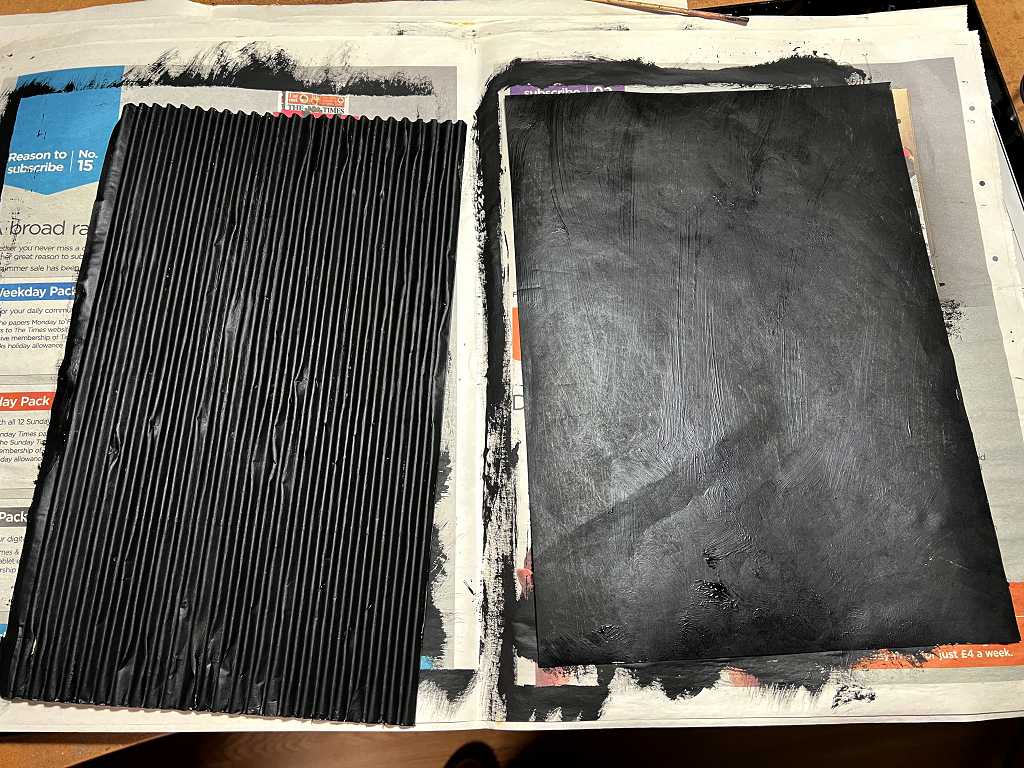
Once they were dry, I spread tacky glue all over the back of the Tyvek and laid the corrugated cardboard on top. I curved the whole thing around, using the book itself as my former. I had originally intended to put the Tyvek on the inside and have the backing sheet of the corrugated cardboard on the outside but I got this wrong, so had to go with the flow, as I couldn’t curve the whole thing the other way once the glue was dry.
It is now sitting on the desk awaiting a decision about embellishment. I don’t think I want this piece to be plain black. I have some gorgeous black/brown acrylic paint with a slight bronzy sheen which might work well, perhaps applied through a stencil… plenty to think about.
The book closure
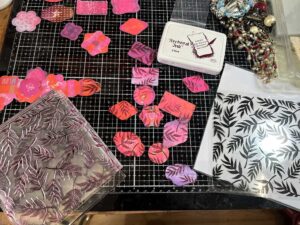
I have decided to go for a simple ribbon bow closure for this book. Looking through my stash, I couldn’t find enough ribbon wide enough, apart from this roll of bright white satin ribbon. This was far too stark for my project and I toyed with the idea of tea-dyeing it, but I was working on this very late last night and I really didn’t want to start messing about making tea in the small hours! Anyway, I decided that it would be better coloured blue to tone with the rest of the secondary colour. (This secondary colour really decided itself – it wasn’t my intention to add pale blue, but quite often projects seem to make themselves!)
I chose a Tim Holtz Distress Spray Stain (a water-activated dye ink) in Weathered Wood, which is a lovely subtle smoky pale blue, just right for this book. I tested it on the end of the piece of ribbon and liked the result.
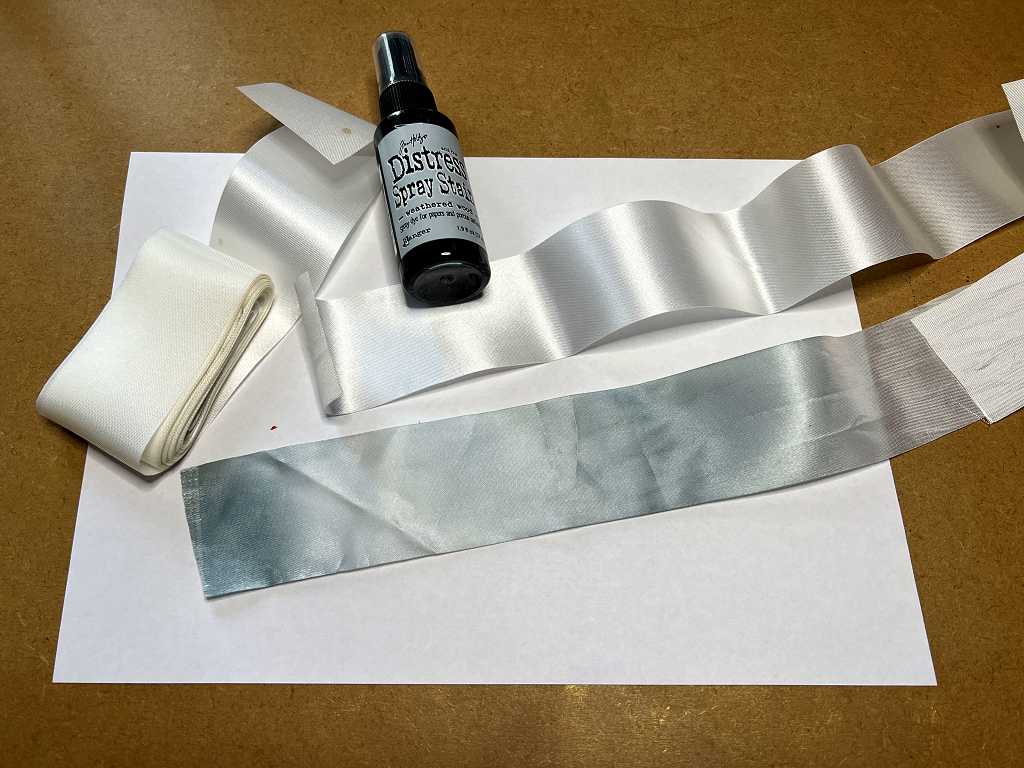
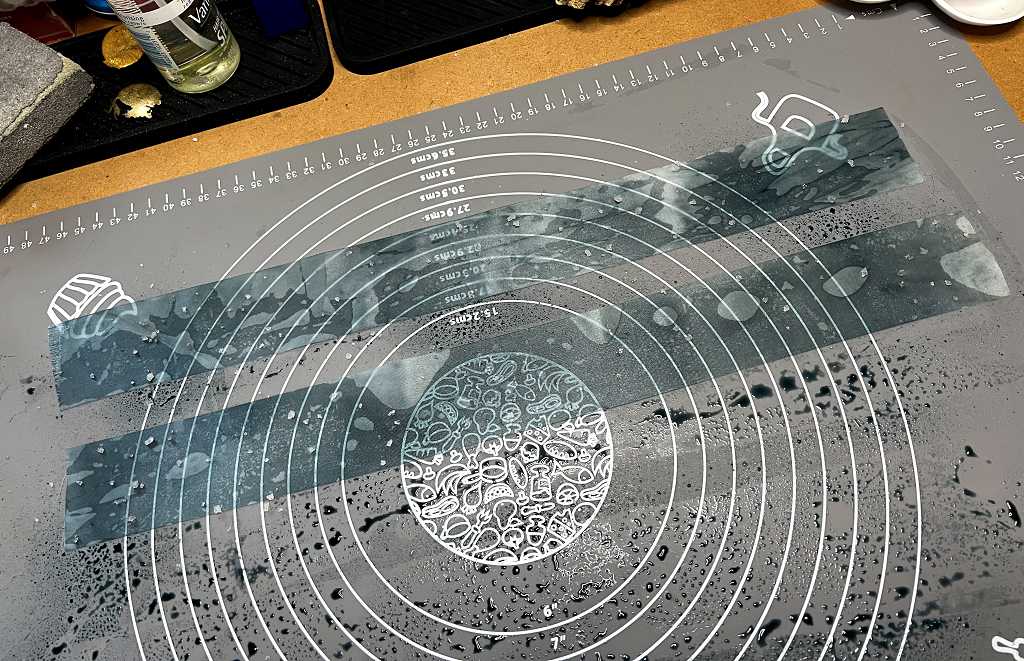
I cut two lengths of the ribbon for the tie closure, and laid them out on my silicone mat. I sprayed them with water and the spray ink, and then at the last minute decided to add some coarse grained sea salt.
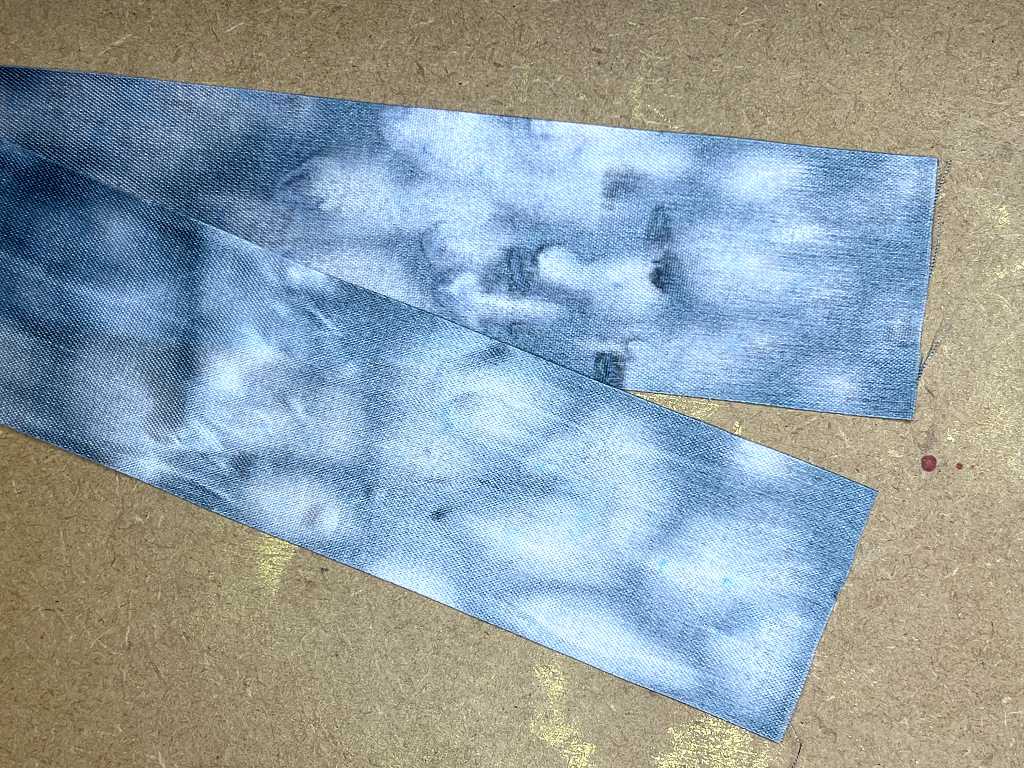
When I returned in the morning, everything was dry and I was very pleased with the effect of the spray ink and the salt. The latter had absorbed the colour and left very indistinct patterning. I had expected the spots of removed colour to be more distinct, but in the event, I really like the effect. Here are some pictures of the ribbons in detail.
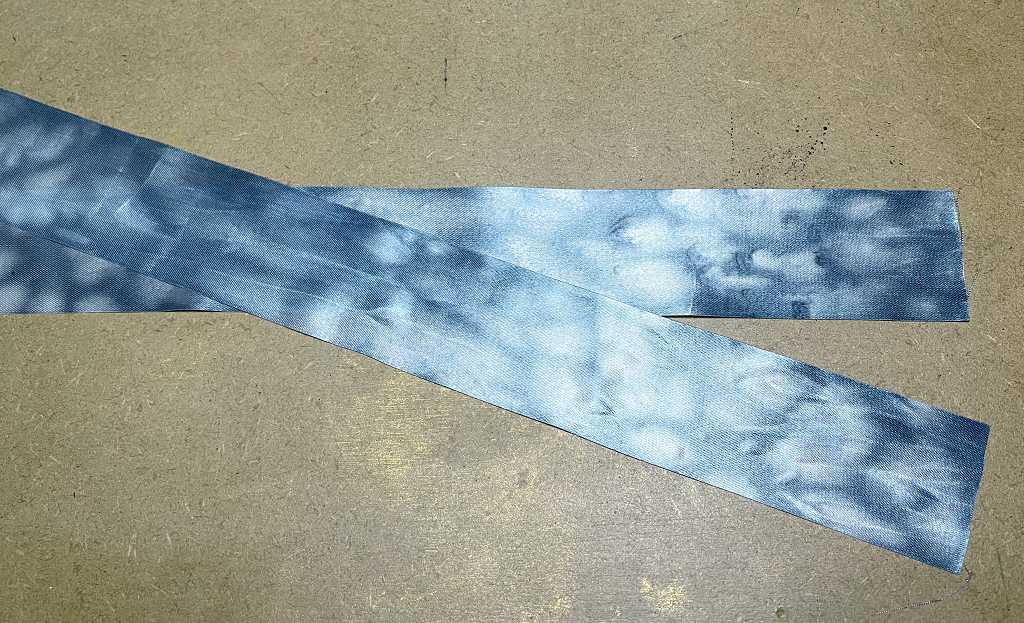
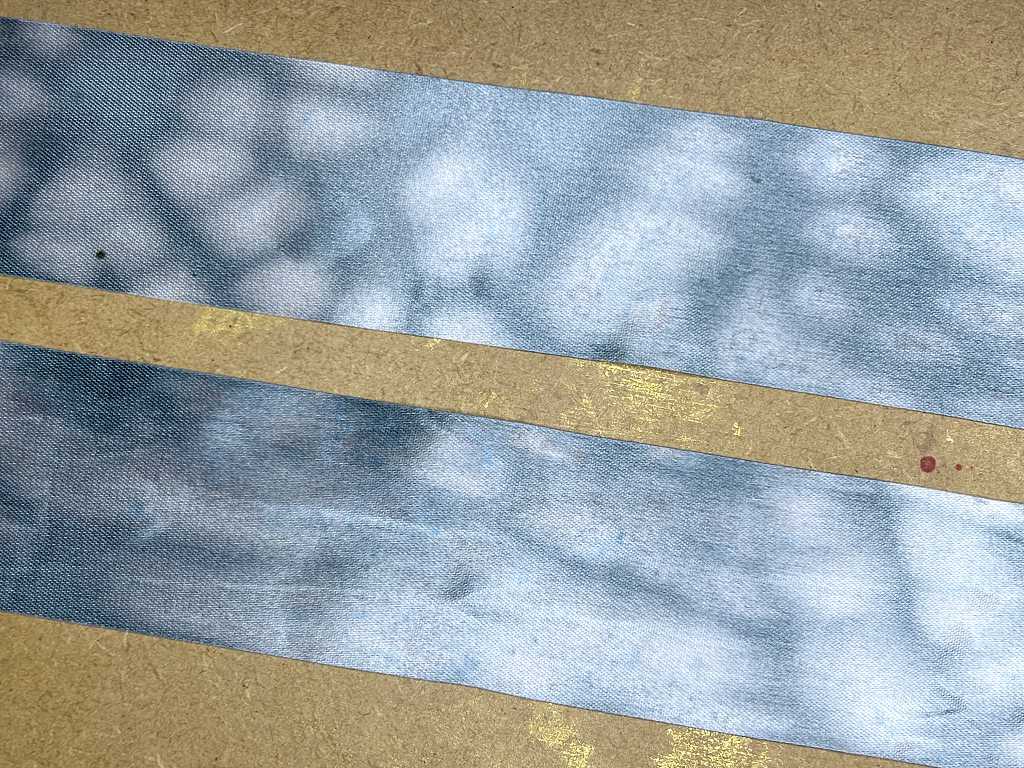
One end of each ribbon will be glued securely between the cover board and the end paper, front and back.
Sari silk
One idea I had had for the closure was to use sari silk. You can buy this in strips, also known as sari ribbon. It comes in many different colours and the edges of the silk are frayed. I bought some small bundles of this a while back, and managed to find two identical strips with a blue background, and removed these from the bundle. On examination I decided they were too flimsy for the book closure, so I set them aside for a while.
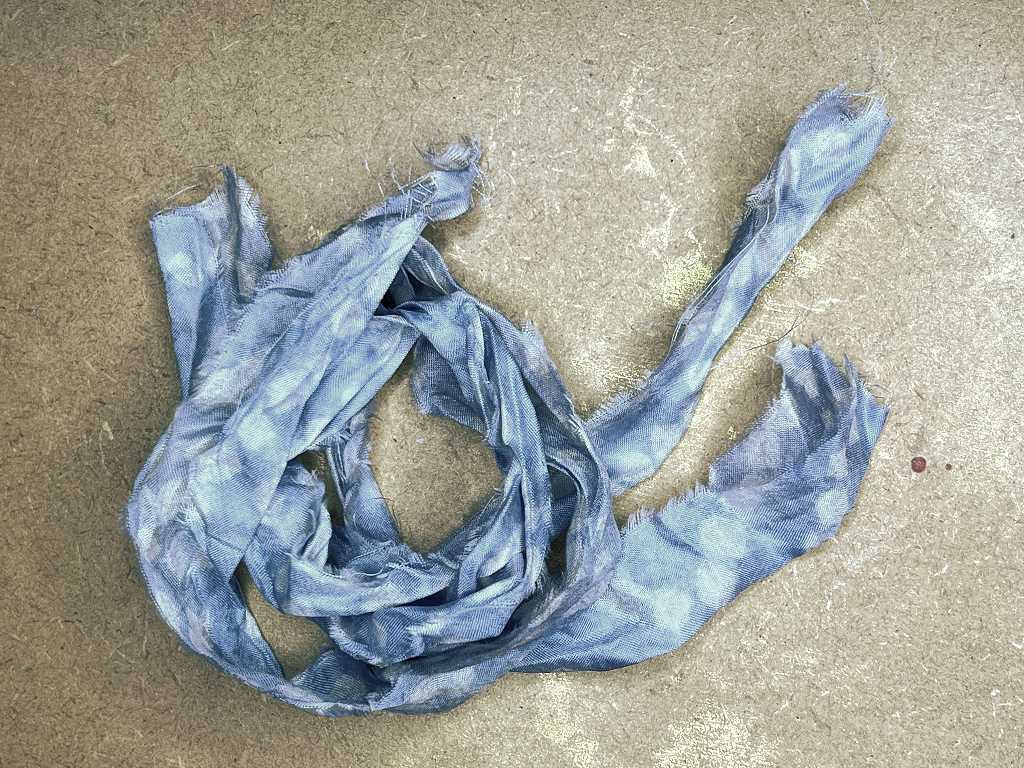
They are surprisingly similar to the inked ribbon. I shall incorporate them somehow into the cover/spine embellishments.
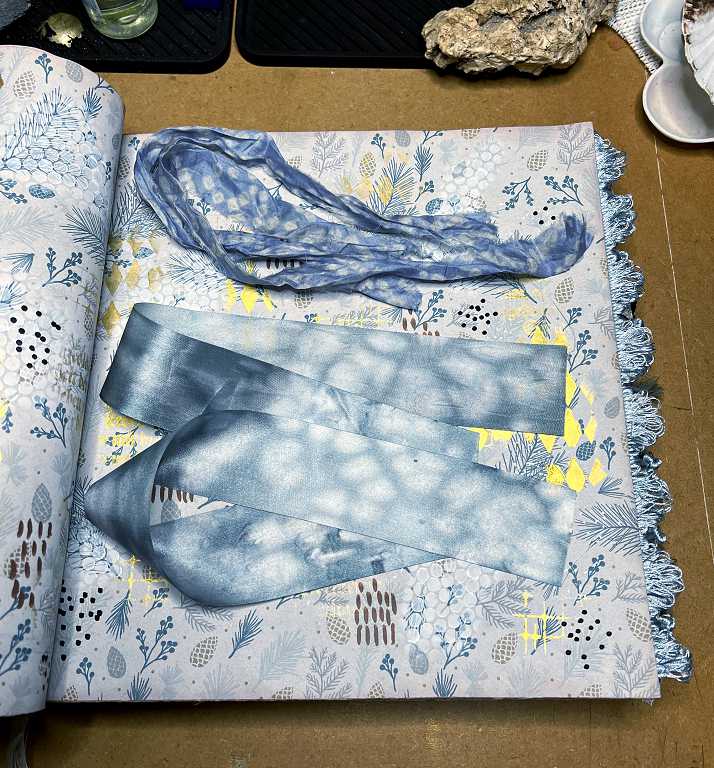
Here is the sum of the work done late last night regarding the ribbon trims.
Back to the spine binding
When I laid out the glued curved piece flat (as it would be when the book lies open), the two layers separated over the curve. I’m not too worried about this. It’s quite a sharp curve and it is unlikedly that I’d be able to construct an outer spine binding that didn’t separate, giving the materials I am using. When closing the curve again (as it would be when you closed the book), everything looked smooth and dandy again.
There will be photos of this outer spine binding in the next post, which will describe the embellishment of the cover. I am still giving this a lot of thought, and I am quite glad for the delays in progress on the work, as it gives me the chance to mull things over in my mind, and also to avoid any pitfalls. I want a cover rich in texture from different materials. This kind of art is extremely creative and fun, especially when you have a large stash of bits and pieces through which to rummage!