CURIOUS CABINETS MINI-ALBUM
A little while ago I came across a wonderful YouTube video showing how to make a “one-page wonder” mini-album from a single sheet of 12 x 12 inch card, which you score and cut, and then fold and glue. This results in a 3 x 3 inch mini-album with alternating pockets at the tops and sides of the pages. Once you’ve folded it, you have to glue it and I found this pretty complicated, and ruined my first effort. Eventually I secured each page with paper clips which helped. Before glueing, the wretched thing has a habit of unfolding itself and it’s extremely complicated getting it back into place! Perhaps my brain isn’t wired in the right way to grasp this! Eventually I got it right, but later, when I was adding embellishments, it started to come apart again. I had only secured it with double sided tape and glue stick, which obviously wasn’t strong enough, so I had to zap in some superglue in an emergency as it all started unravelling again and taking on a life of its own!! At this stage I thought the whole thing was going south and I was tearing my hair… Fortunately I managed to rescue it before it totally fell apart.
When I make this again, I shall use tacky glue for the construction.
Another problem was the quality of printing of the page mats and embellishments from my new colour laser printer. When I printed on thicker card, the toner tended to rub off. I discovered that you have to set the printer for “heavy paper” which makes the paper go through more slowly, allowing the heat to penetrate it better, to make the toner fuse to the surface. As it happened, the papers have a somewhat distressed look which is quite nice! When I make this album again, I may even sand the papers a little to replicate this effect. I am hoping with this one that no more toner will rub off. I did spray one or two pieces with matte varnish to try and stabilise it a bit.
So – this is by way of a prototype, but generally speaking I am very pleased with it.
On the original video, she used a collection of papers by Graphic45 called “The Olde Curiosity Shoppe” and I absolutely fell in love with this paper! I immediately sought it out, only to discover that as the video was two years old, the company has discontinued this collection. (I do wish they wouldn’t do this… it’s very frustrating, watching a lovely video and then finding that you can’t get the papers.) What a bummer. Actually it turned out to the good in the end, because I decided to make up my own version of the collection, using mostly images from the Graphics Fairy Premium Membership site. I’ve ended up with a lot of gorgeous backgrounds and object images and I can print them out in whatever colour and size I want, and on whatever thickness of paper I want as well, so this is a better option! I didn’t use them all in this project.
Here are the photos of the finished mini-album. It’s really dinky, at 3 x 3 inches.
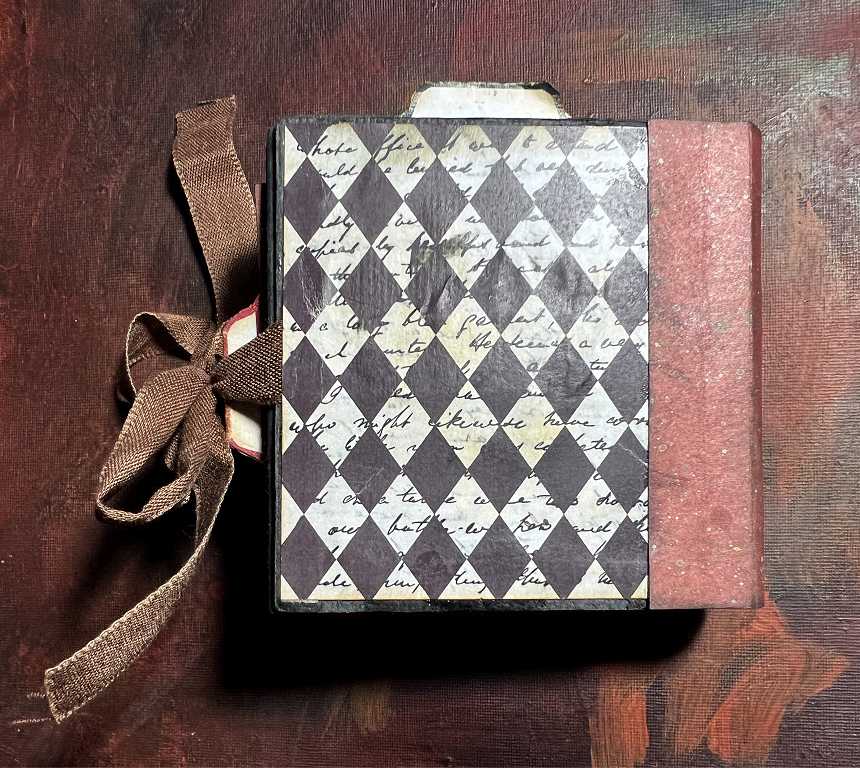
The front cover. On the original, she didn’t cover the spine, but I thought it looked more finished this way, and it also gives the little book a more vintage look. I also gave it a title, “Curious Cabinets” – I added the text to a plain label from the Graphics Fairy collection, using my desktop publisher, and getting it the exact size I wanted.
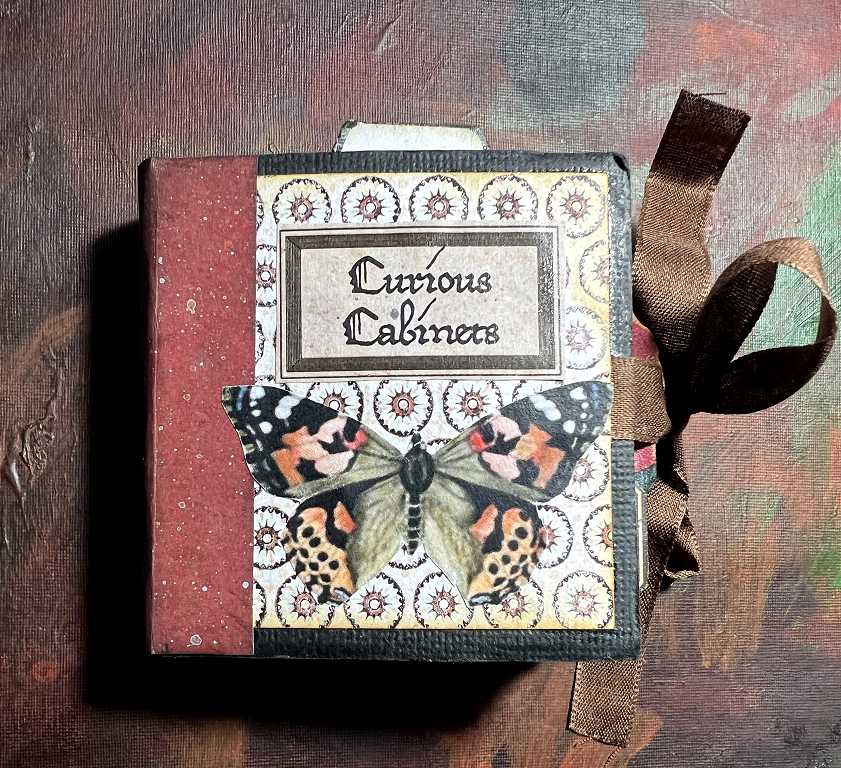
I have quite a large collection of ribbons, both on rolls and scraps, but didn’t have anything in brown that wasn’t sparkly, which wouldn’t have worked for the closure on this project. In the end I found a scrap of brown tape in one of my haberdashery boxes, which is perfect.
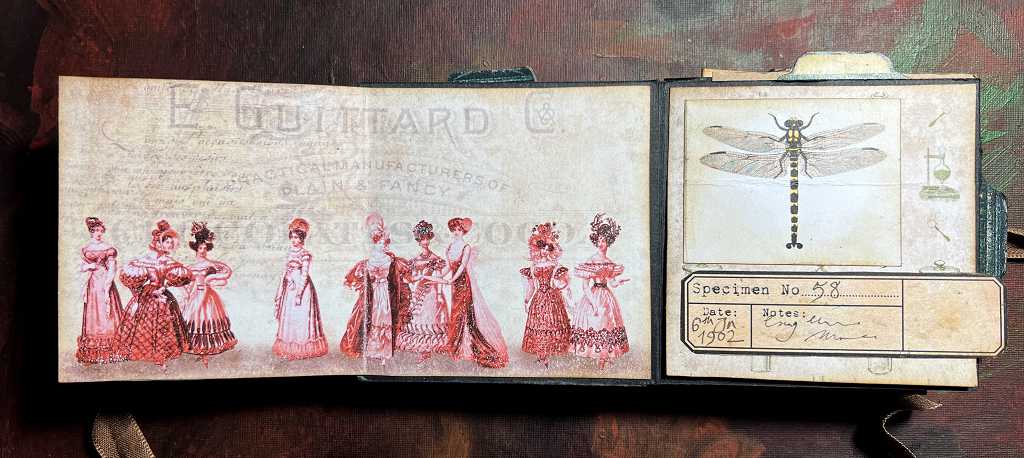
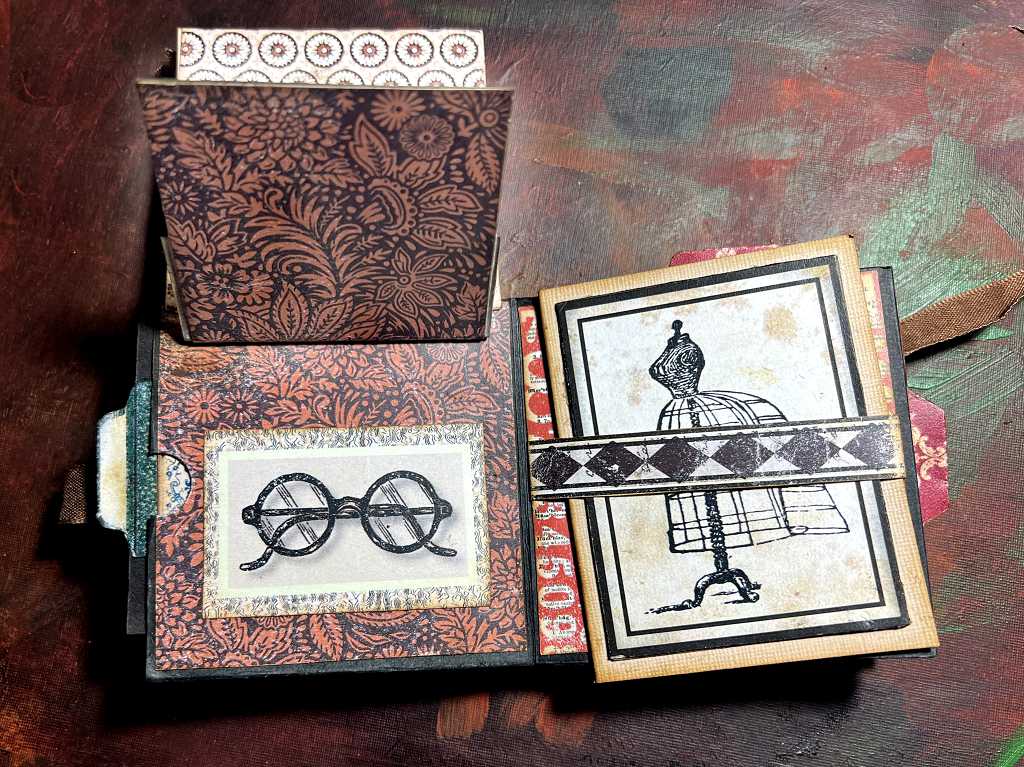
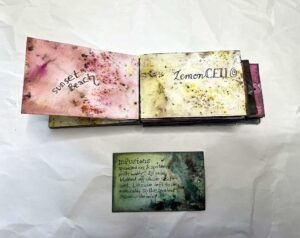
Pages 1 and 2.
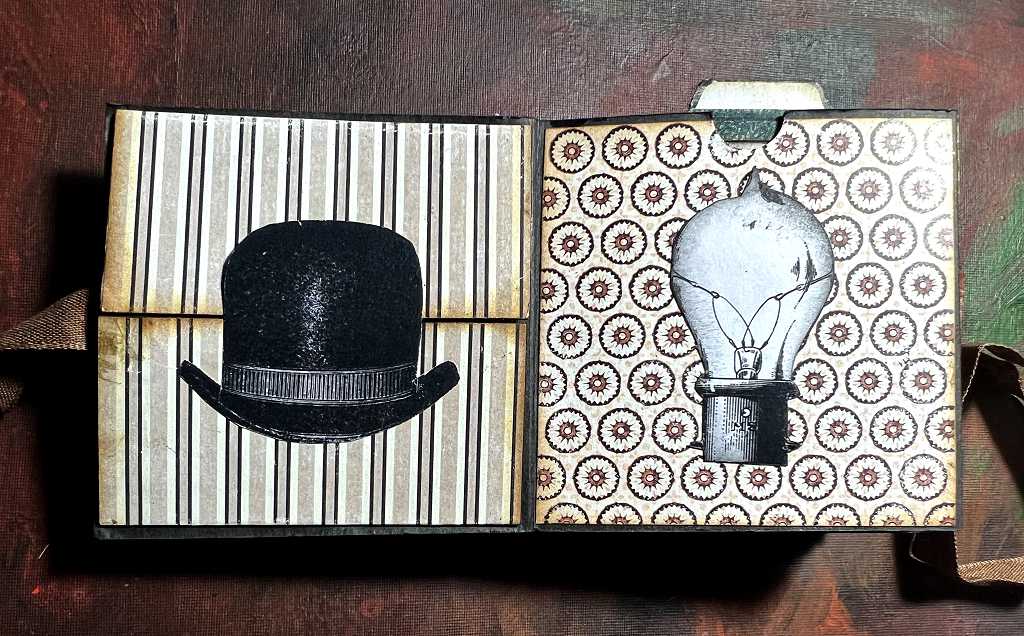
You can see the tab on top of the tag inserted into the top pocket of page 2. This will feature throughout the book. Page 1 has two flaps, top and bottom, which reveal, when opened:
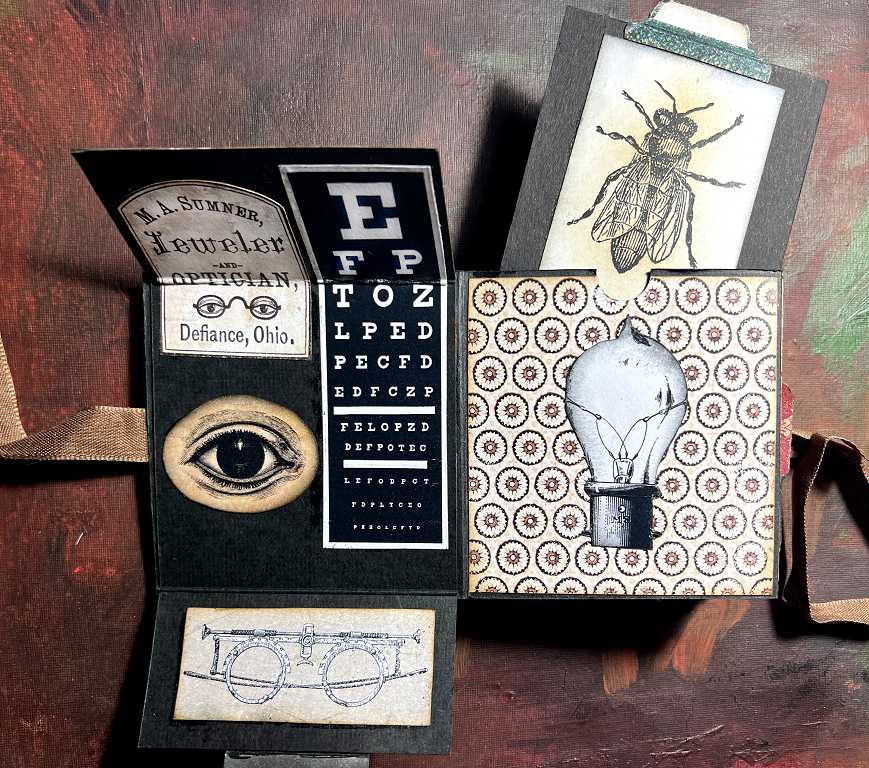
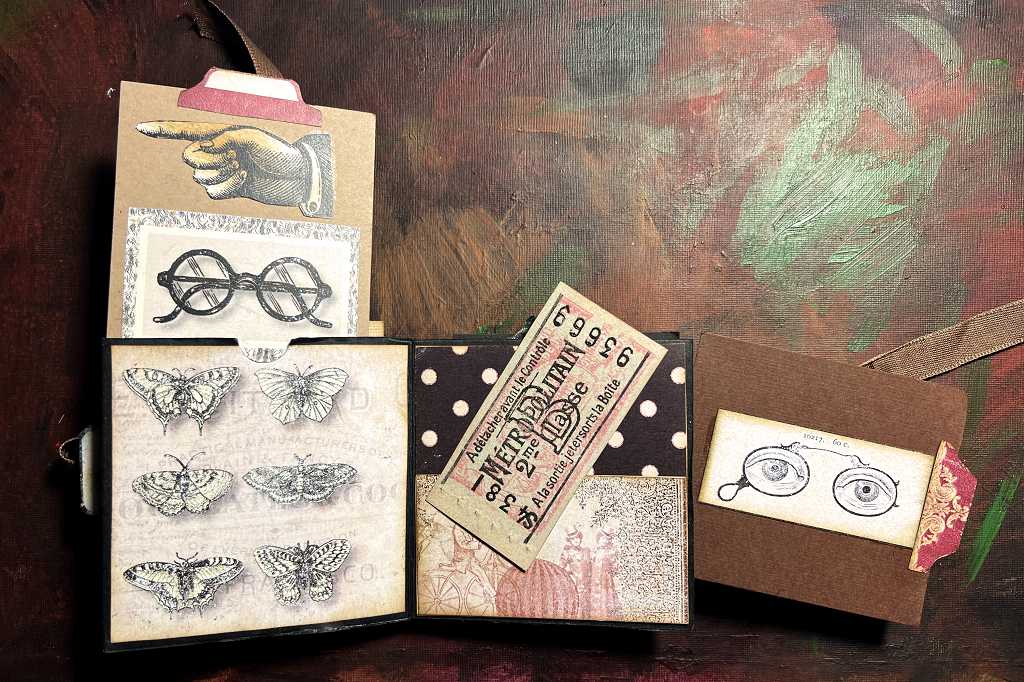
Each expanded photo will show the tags being pulled out of the book construction pockets. They are double-sided.
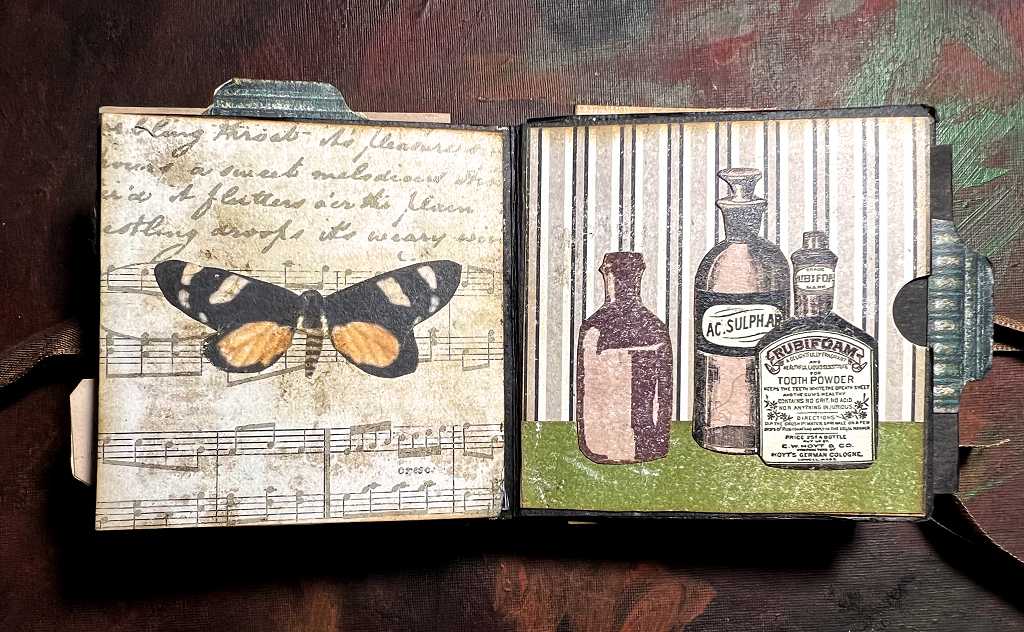
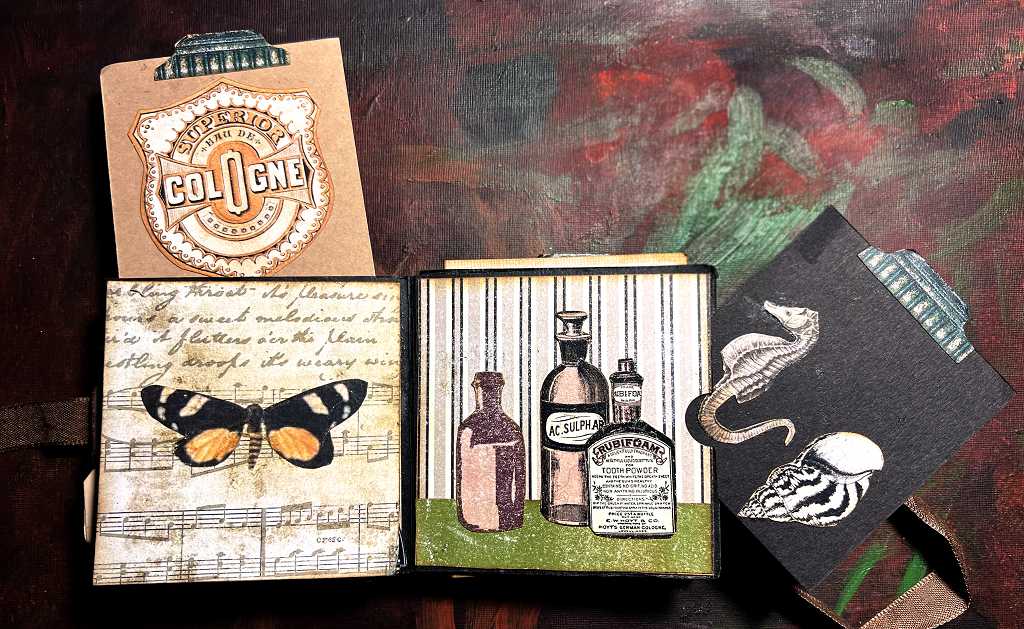
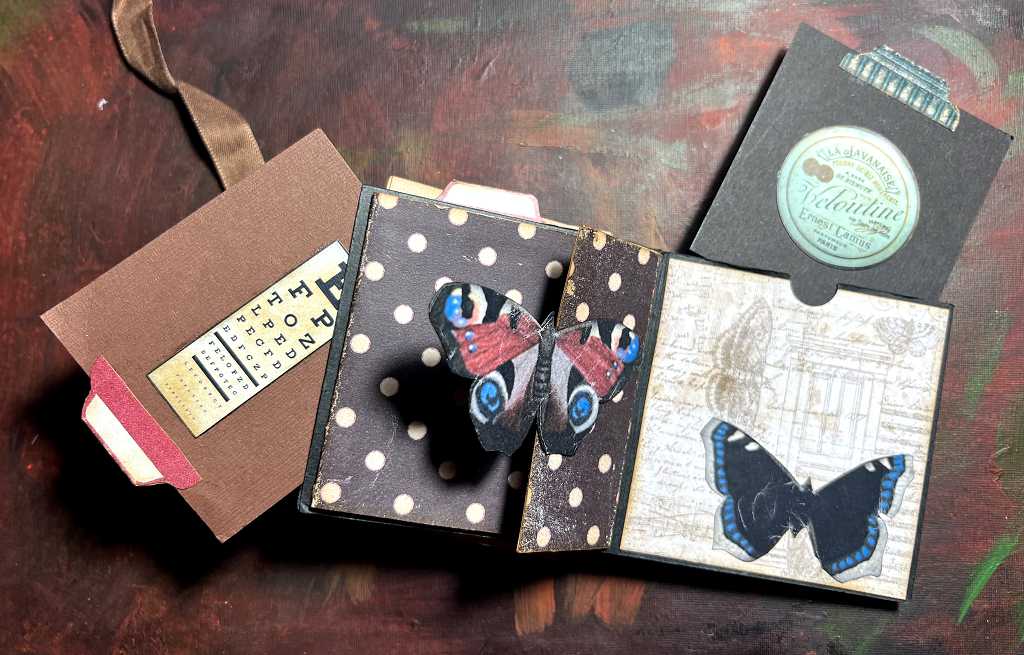
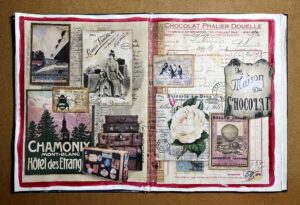
Pages 3 and 4.
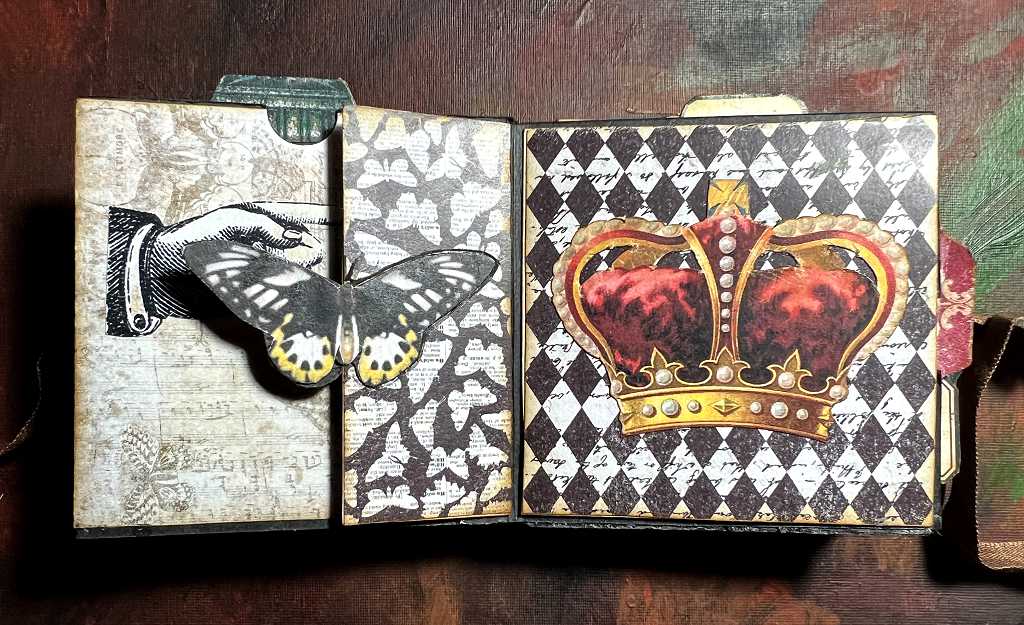
There is a small flap on the right-hand side of page 3. I cut two copies of the butterfly and stuck them on either side of the flap.
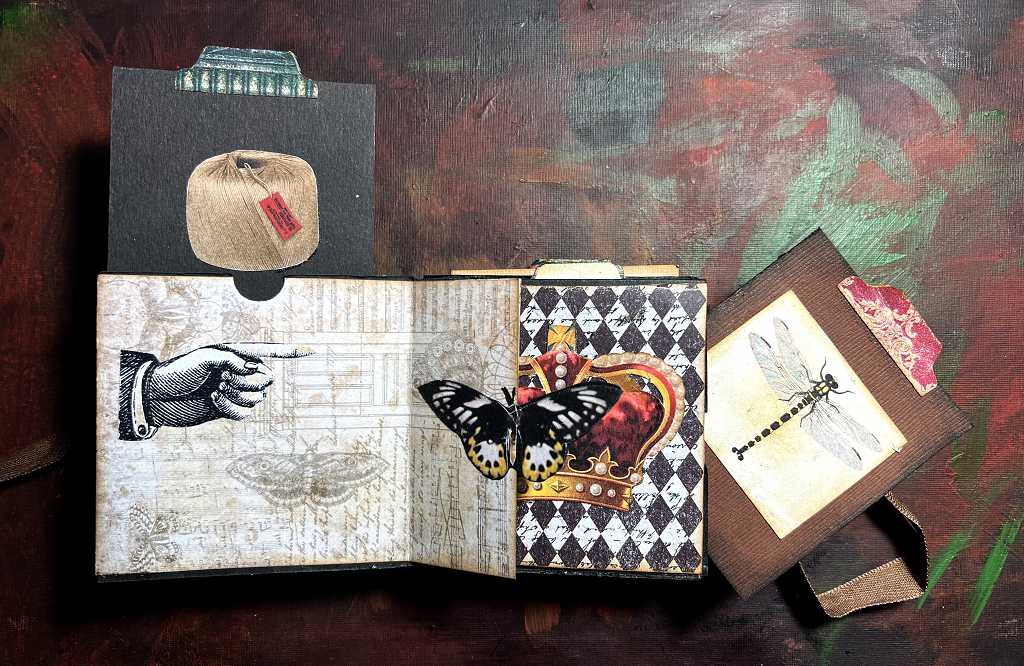
Page 4 has a full-sized flap opening from the bottom, revealing a picture inside.
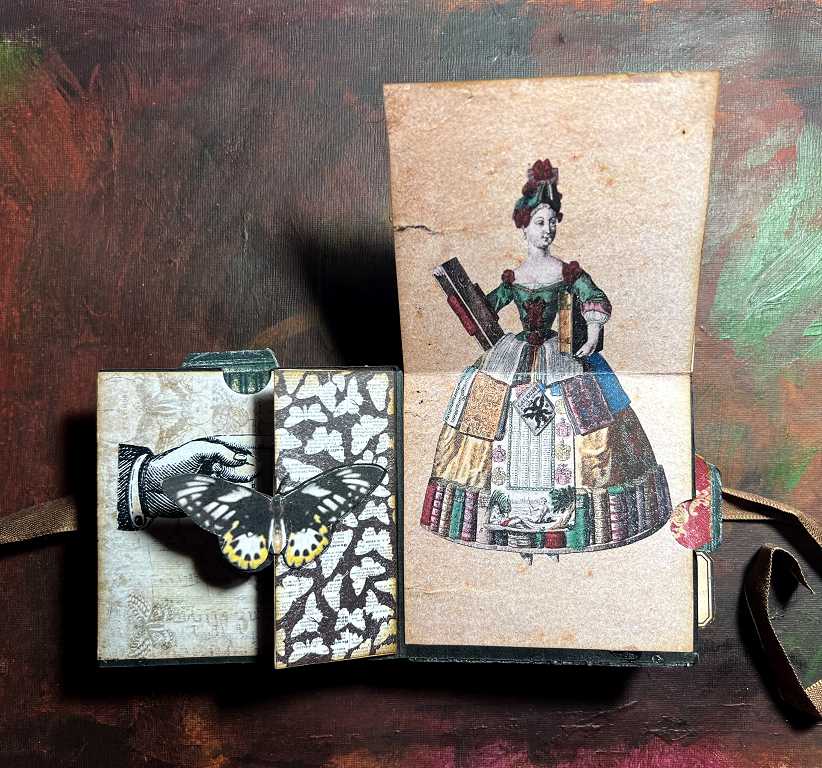
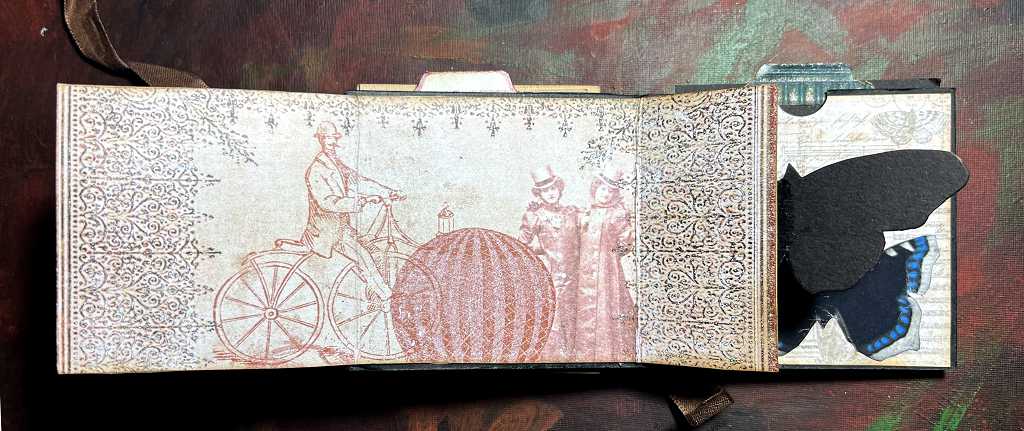
Pages 5 and 6.
Page 5 opens out to reveal the picture. I made this montage in Photoshop with a combination of a couple of backgrounds, a French text document and a selection of images of ladies, all from the Graphics Fairy collection. I spent a long time on this, working with blending modes and layers, and colourising the ladies, and adapting the aspect ratio to fit this album. I also have a more standard-shaped version for use in other projects.
Pages 7 and 8. The bottles were printed and fussy cut before glueing down. The toner has rubbed off quite a bit on most elements on this page, unfortunately, but it does have quite a nice grungey look about it!
Page 7 has a full-sized accordion fold. This is the first opening of it.
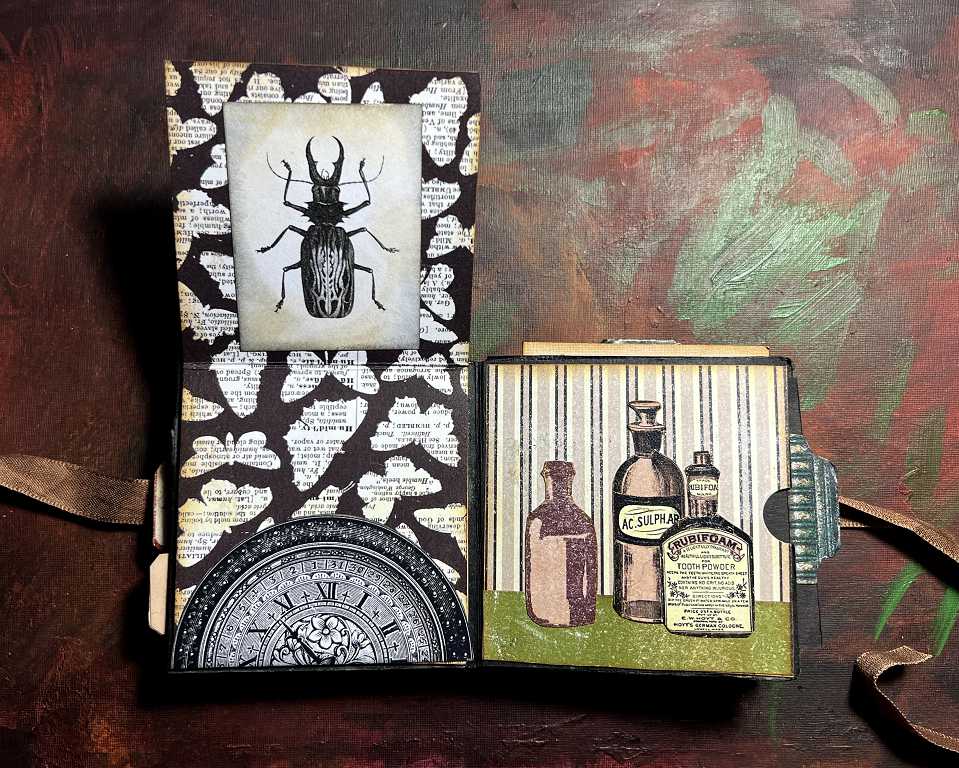
Pulling down from the top reveals the rest of the accordion fold.
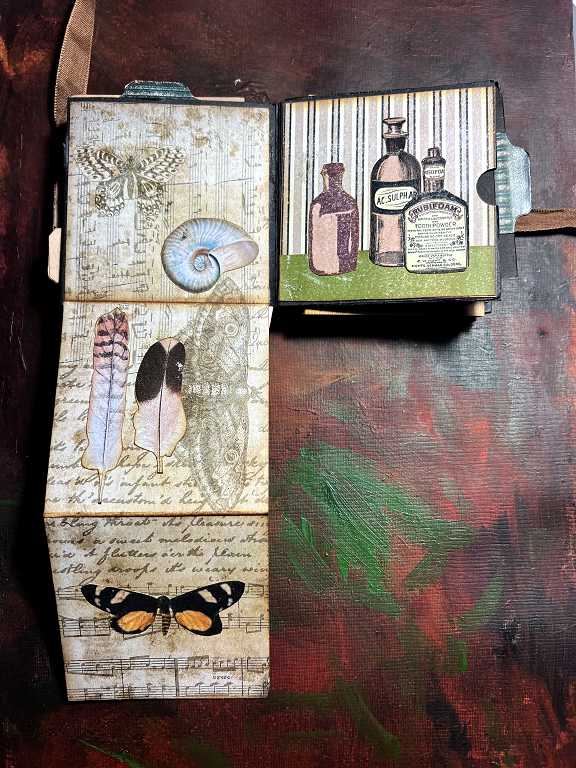
All these elements were fussy cut and glued down onto the background which is an original from the Graphics Fairy.
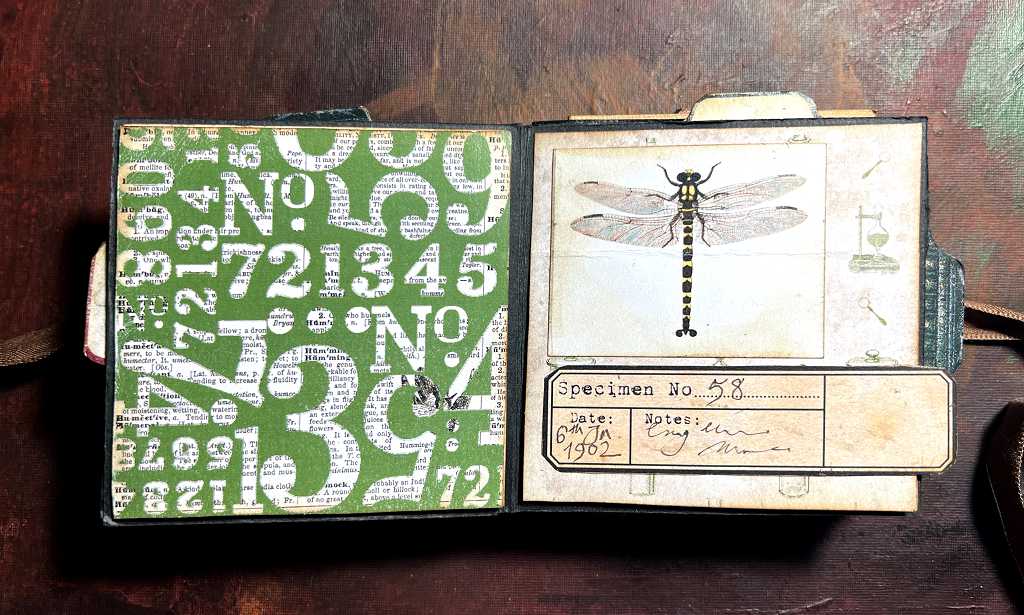
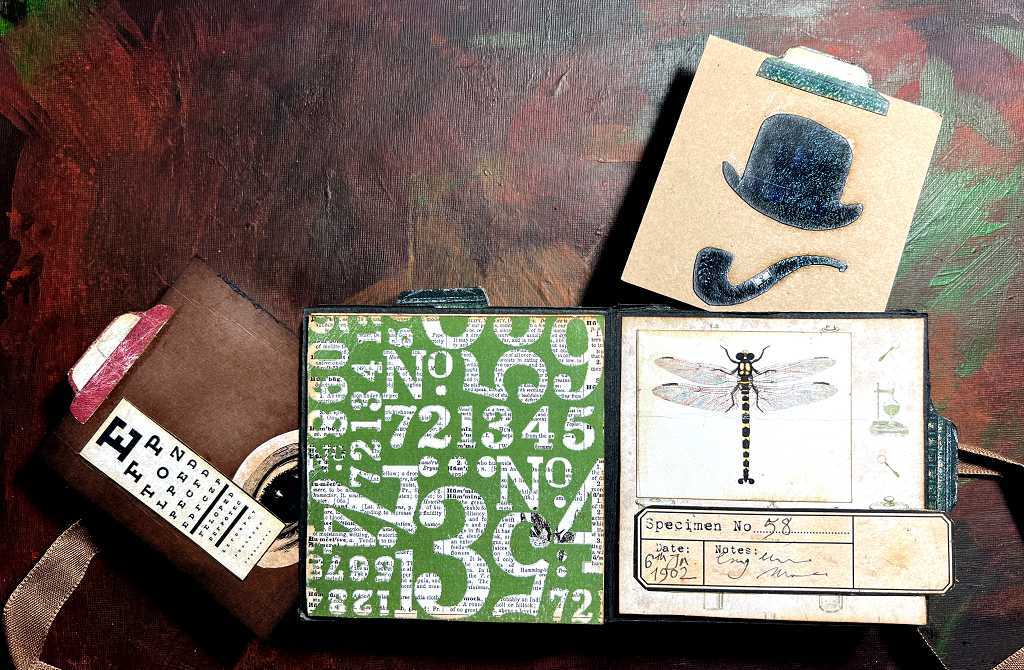
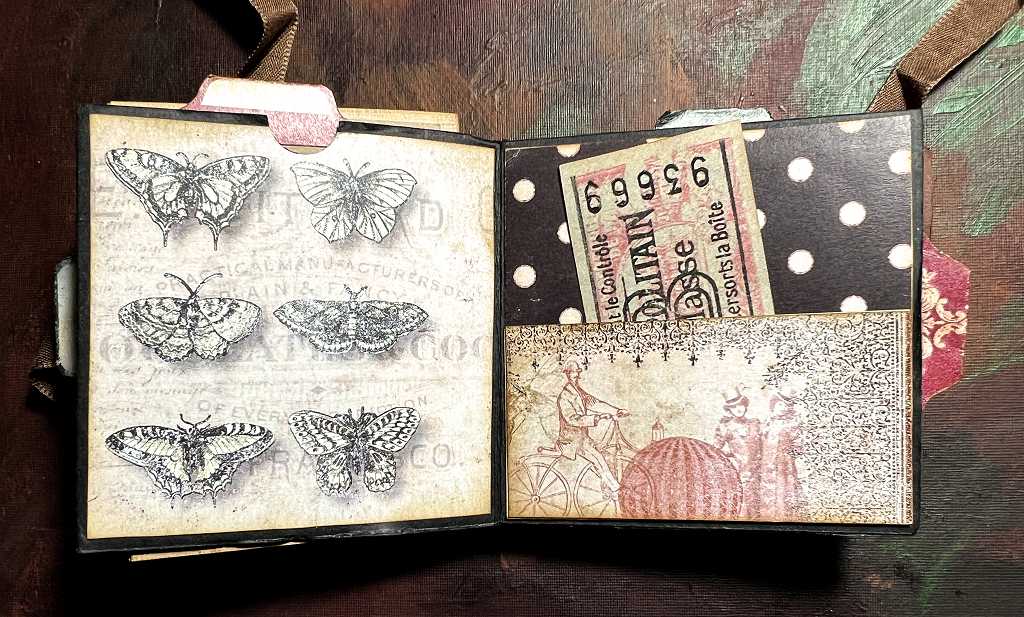
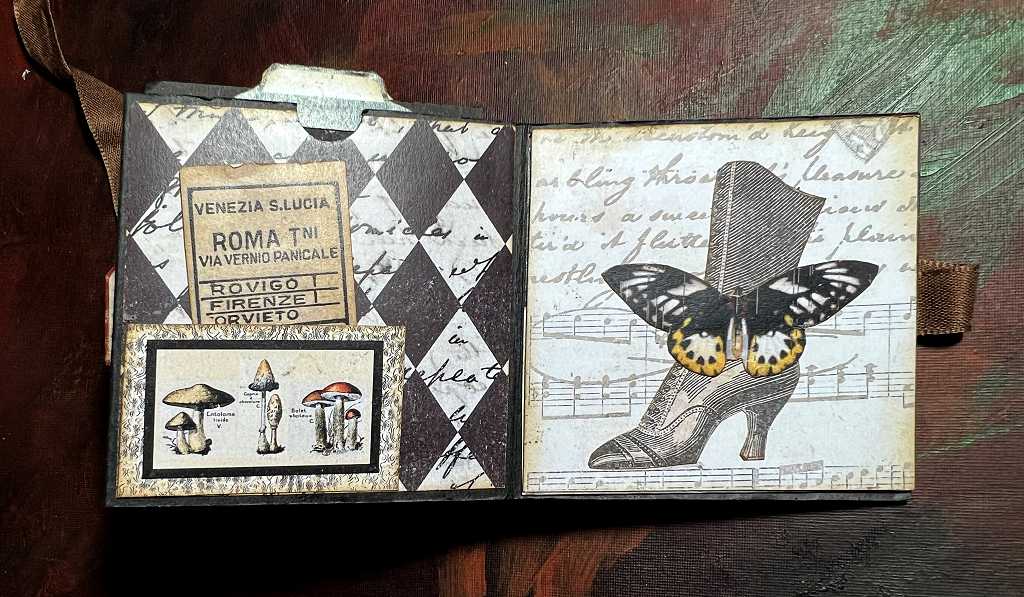
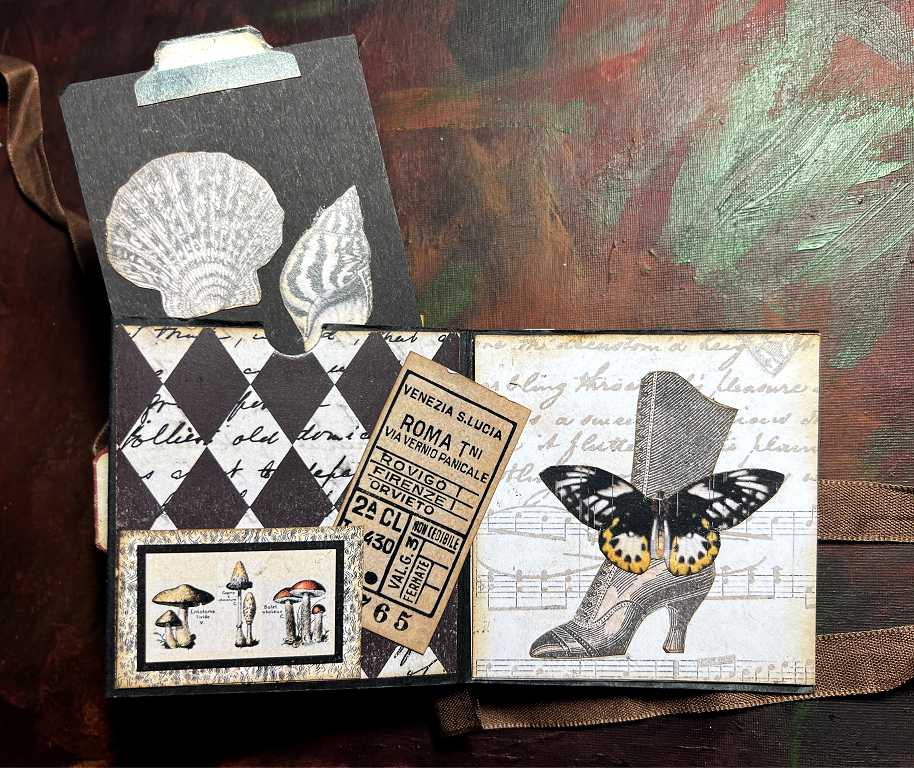
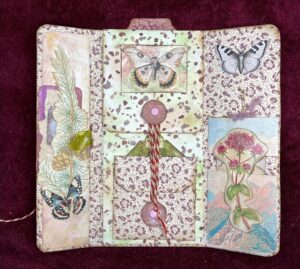
Pages 9 and 10.
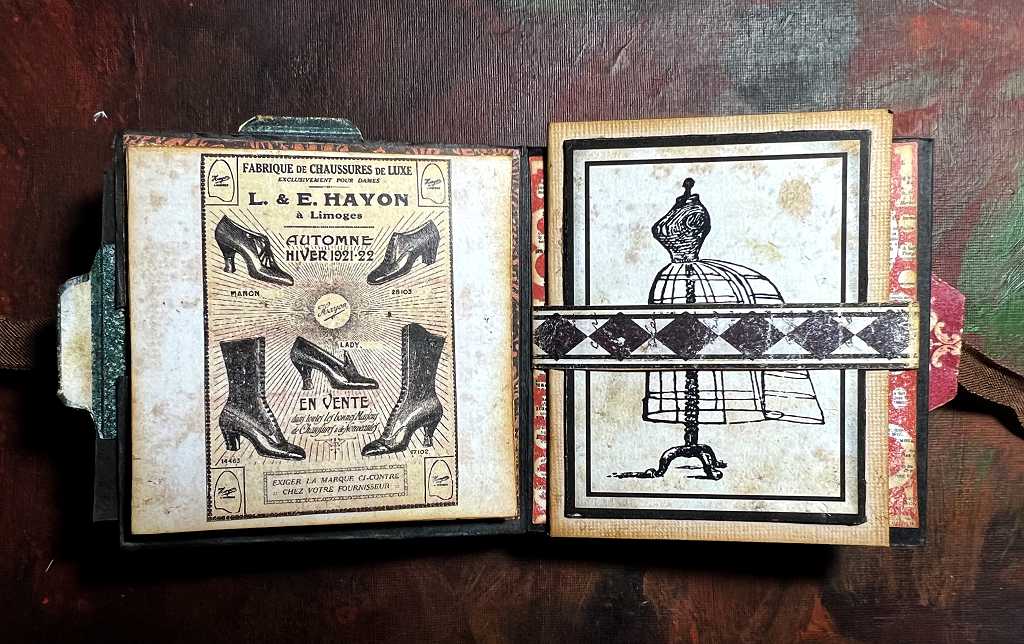
Page 10 has a belly band holding a little folded card which is blank on the inside.
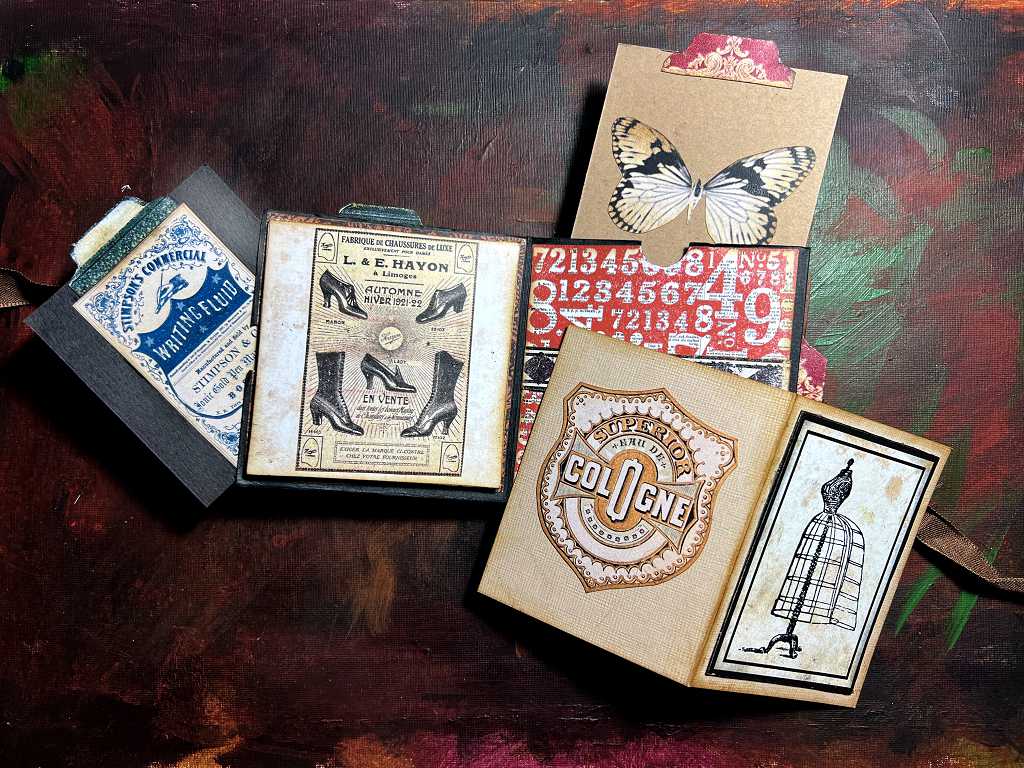
Page 9 is quite interactive, with a series of overlapping flaps.
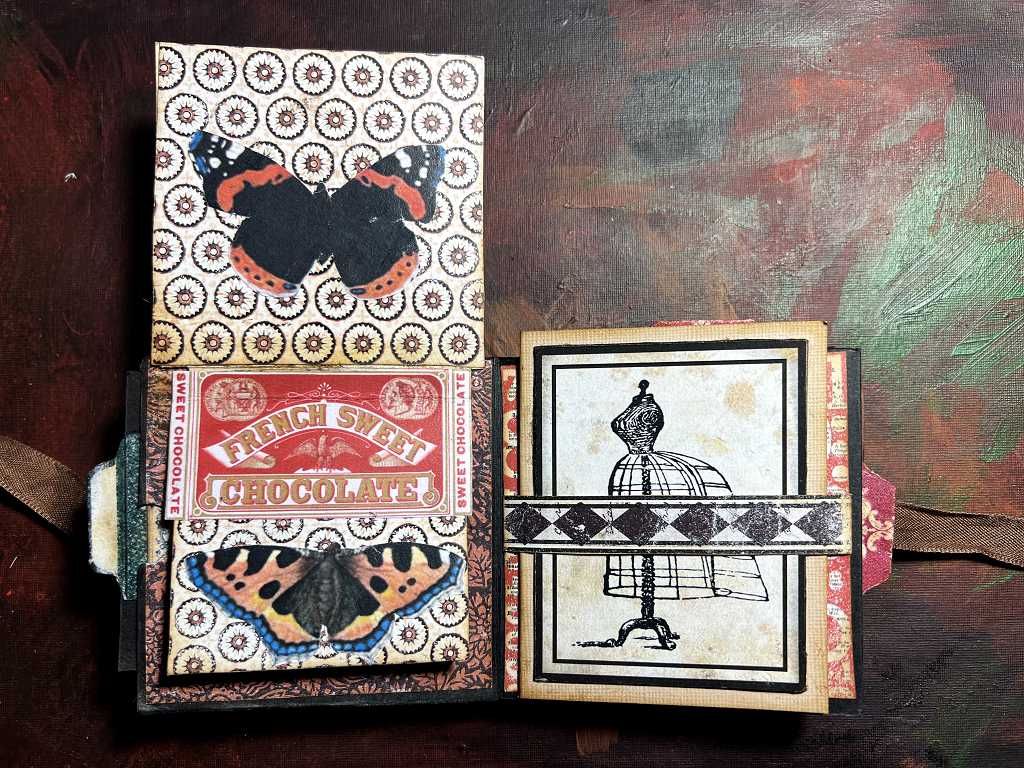
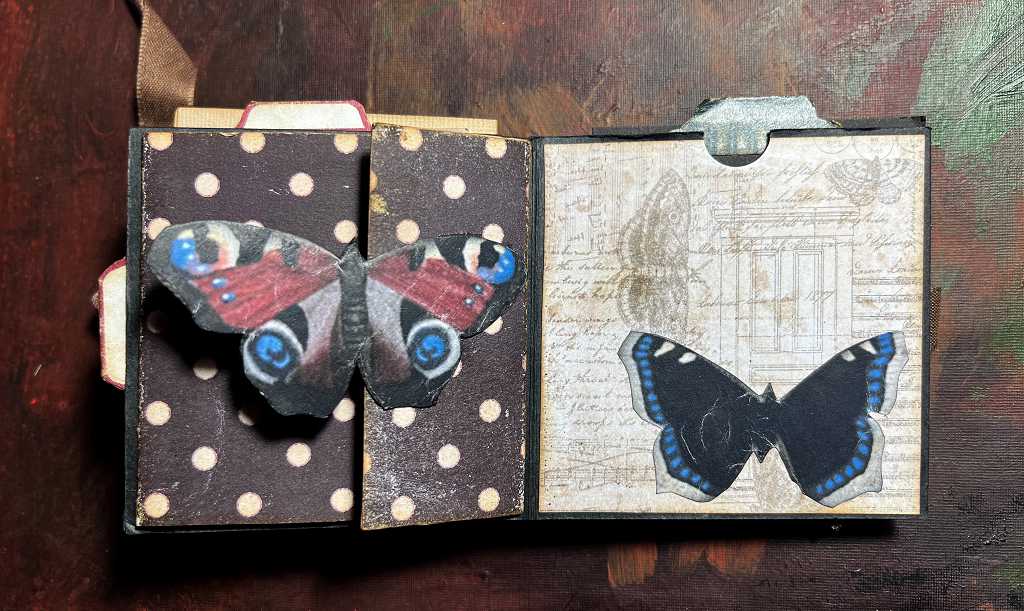
Pages 11 and 12.
Page 11 is a ready-made background from the Graphics Fairy, to which I added the monochrome butterflies with their drop shadows, and the steampunk background on the pocket on page 12 is one of my own montages, cut from a much larger piece.
Pages 13 and 14.
Page 13 has two unequal flaps, the smaller one overlapping the larger one. They open up to reveal a larger iteration of the steampunk montage I created and used for the flap on page 12.
Pages 15 and 16, the final spread of the book.
Page 15 has a tuck spot with mushrooms on it, and which is glued only along the left-hand and bottom edges.
Page 16 folds down from the top, to reveal the frame with the butterflies, and an additional bit of background at the bottom.
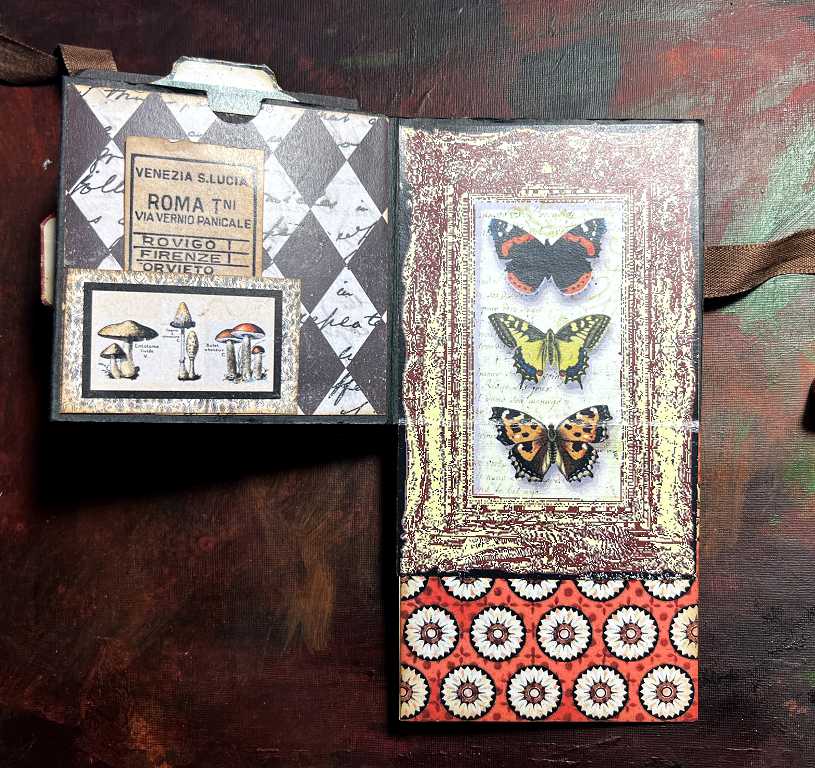
I wasn’t very happy with the choice of this little background piece as it doesn’t really go with the rest of the page, and I will do something different when I remake this book. The frame was a Graphics Fairy image which I adapted in Photoshop to make it longer and altering the colour, and I chose a text background and butterflies, adding drop shadows to give depth.
The back cover of the book.
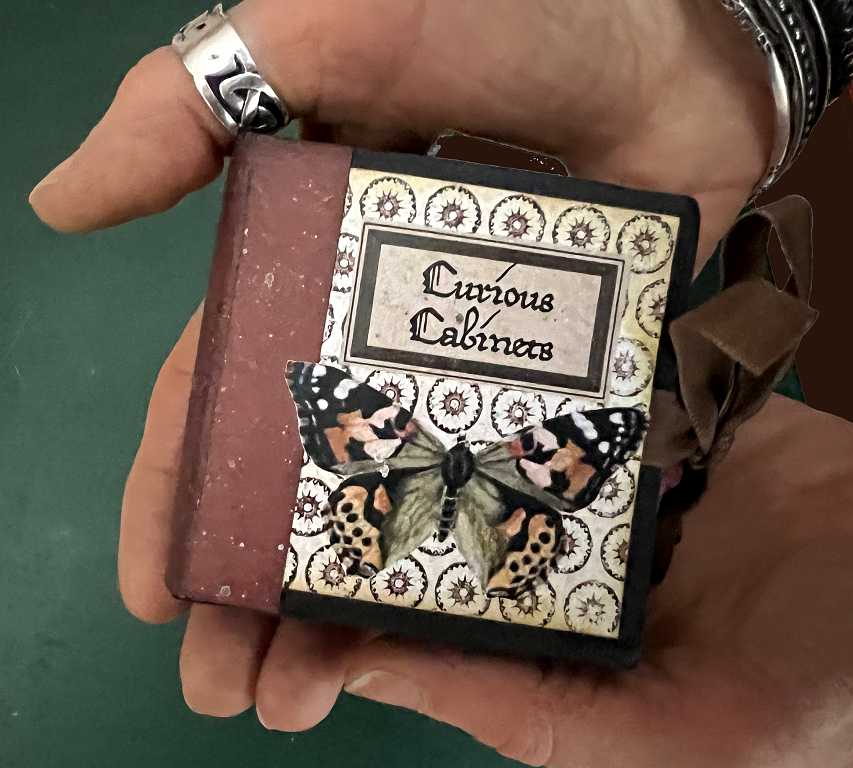
Finally, I got my hubby to take this photo of me holding the little book in my hands, to give a sense of scale. It’s really very small!
There are quite a few things wrong with it, and having made it, I now know what to put right when I make it again.
Most of the page mats and pockets etc. were designed on my desktop publisher and I scaled the images and backgrounds to fit. I was then able to make some printables which I could cut out and apply. When I started making up the book, I discovered some errors in my measuring (page 1 with its two flaps was one example, and the accordion fold on page 7 was another). I have now altered the templates, but the printables still need to be corrected.
You could make the basic structure from any plain colour of 12 x 12, or even of patterned paper if you wanted, and embellish it however you wish. I just love the eclectic nature of the “cabinet of curiosities” theme, and its vintage look, and I love the bold dark colours which are best set off against a black background in this case.
The paper covering the spine was from my scrap box and I think it’s the only piece I’ve got! It was perfect for this. I glued the tape onto the book before sticking down the cover mats and adding the spine cover. The title and butterfly were added at the end.
I hope you have enjoyed this mini-project. The construction of it, and all the interactive elements (which I followed as exactly as I could from the video) are very clever, and it’s amazing how much variation you can get in such a small book. I definitely want to make it again and correct the mistakes I made, and also try it with a different theme. I certainly need to practise with the initial folding of the scored and cut piece of 12 x 12 card, as I am sure it shouldn’t be as difficult as I found it to be! I shall also be making a larger album on the “Curious Cabinets” theme, using some more of the backgrounds and images I have created and filed away ready. Watch this space!
This is just such wonderful work Shoshi – so unique and a piece of history presented in such beautiful artistic way, what intricate details are continue din there – it’s stunning. Well done!