DRAW AWESOME ALBUM PART 6 – BEGINNING THE COVER EMBELLISHMENT
Today I had the most fun in my studio that you could imagine. This is Shoshi in her element… After the main construction of the book, this is where the real fun begins!
The spine
If I had thought about it in advance, I would have done better to embellish the spine cover before I assembled it. I made a mistake in that the Tyvek should have been on the inside rather than the outside, but in the end it doesn’t make too much difference. As I mentioned in the previous post, when I flattened it (as it will be when attached to the book, and the book is opened), the two layers separated. It doesn’t matter, though. The whole thing makes a gorgeous crackly noise when manipulated. This is something I really enjoy about many hand-made albums – it’s just one more sensory experience!
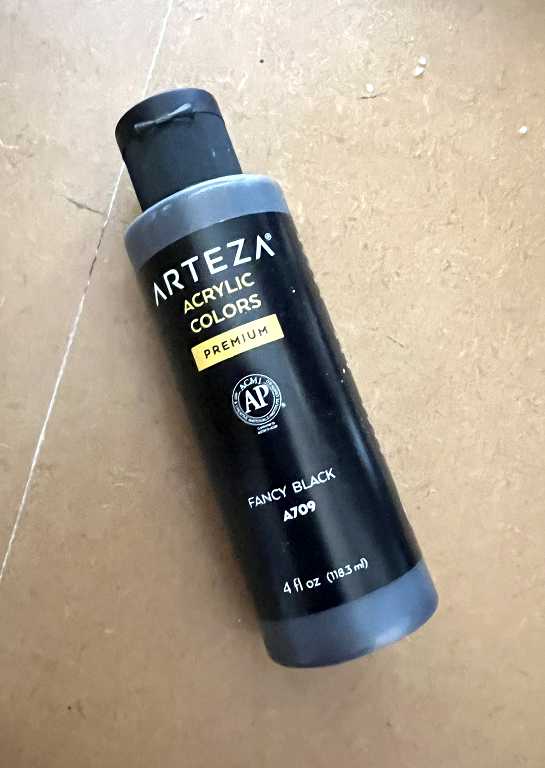
The spine had been painted with black acrylic paint. I didn’t want to make too much of the embellishment or it would detract from the main cover. I selected one of my favourite acrylic paints, Arteza Fancy Black, which is almost a dark brown in reality, with a lovely bronze shimmer to it.
Using the book itself as a support, I propped it up between two heavy boxes in order to work on the stencilling.
Working with a swirl design stencil wasn’t the easiest as I had to curve it around the spine, and bits of the stencil stuck up. I wasn’t too fussy about lining up the stencil, which wasn’t big enough to cover the entire spine anyway. I had to keep moving it, and as the Fancy Black was almost as dark as the background, the result was a pleasing iridescent suggestion of swirls which caught the light according to the angle. I applied the paint with an ink blending brush, stippling it on in an attempt not to go underneath the stencil.
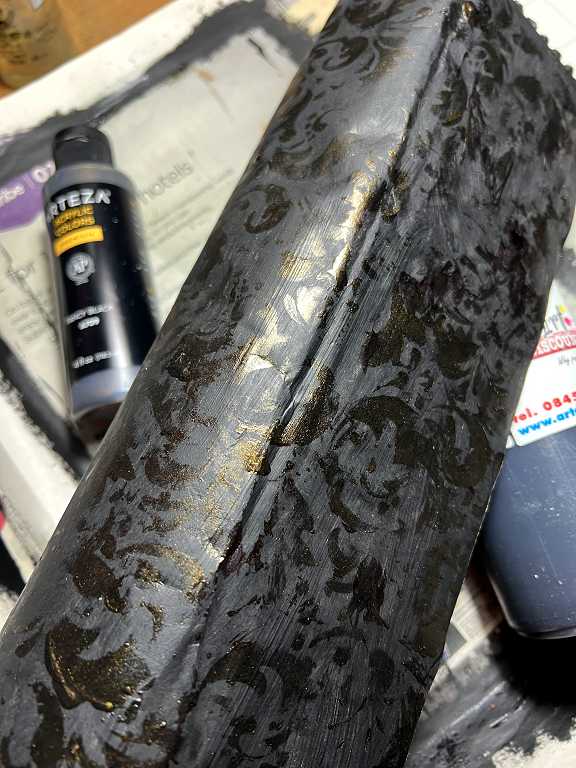
I really like the result of this. It is subtle, but the shimmery paint adds a richness and depth.
Beginning the embellishment of the cover boards
I bought a roll of brown gift wrap paper at the recent villege fete, with gold stars on it. As soon as I saw it, I knew I’d have to incorporate this into my book cover! I cut two pieces and ripped the top edge. I inked this, and stuck the papers down onto the cover, turning the excess over onto the back and mitring the corners as I glued it down.
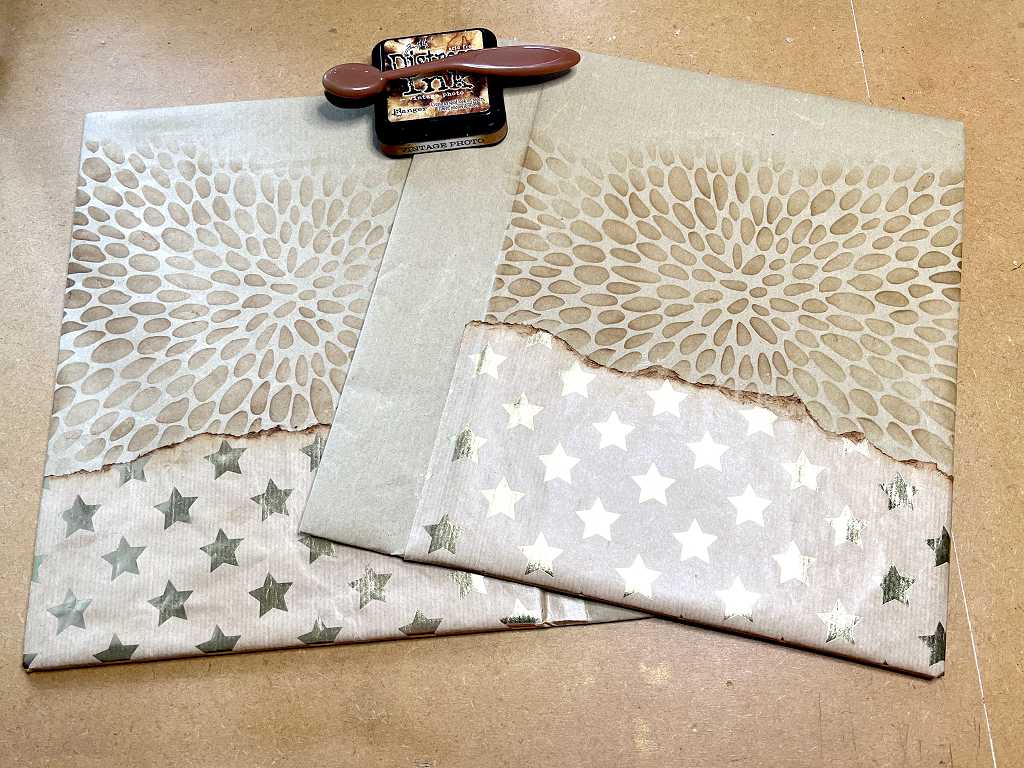
After this, I selected one of the stencils I’d designed myself and cut from Tyvek on the electronic cutting machine. I taped it down and added ink through it with a blending brush, fading it out towards the top.
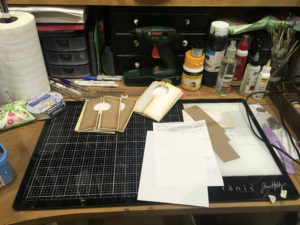
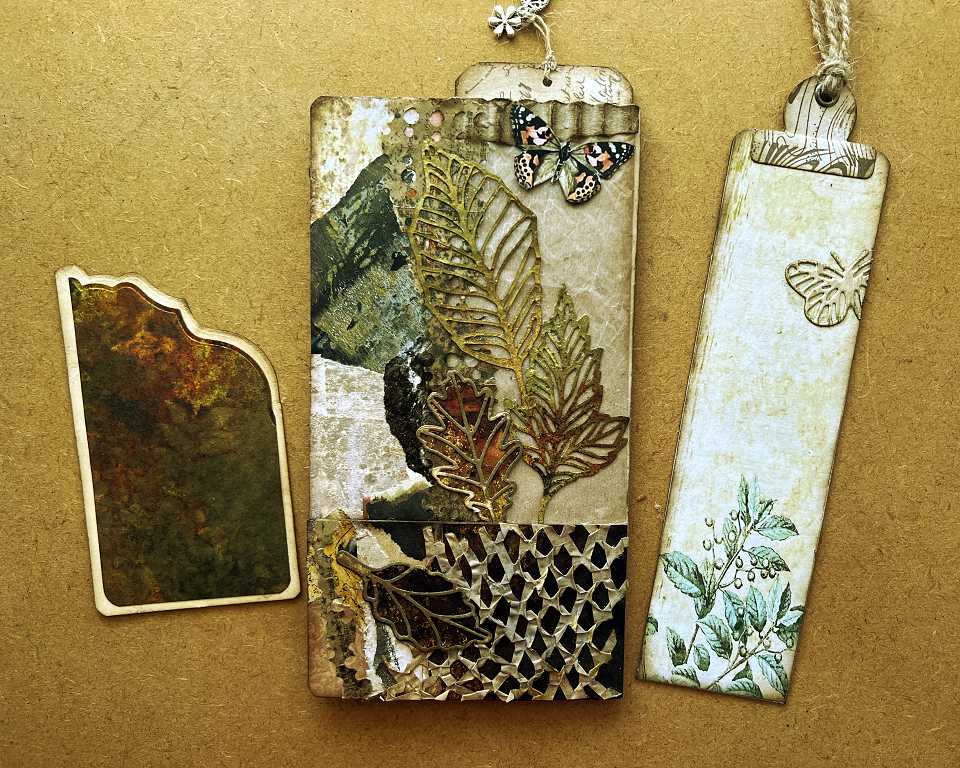
Choosing the materials for the cover
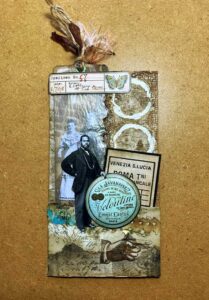
This probably took the most amount of time during this afternoon’s studio session. It was also tremendous fun! For the picture, I’ve put in the cover boards so far, the spine and the title label.
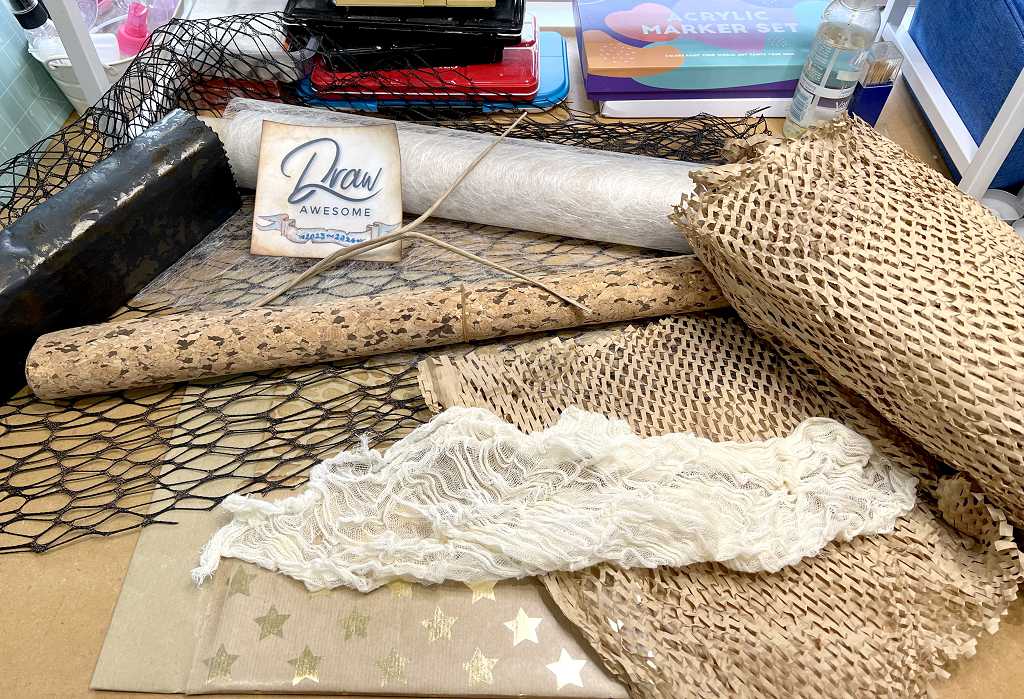
When I make a selection like this for a photo, I may not use everything there, or I may add further materials. This is just a guide before I start.
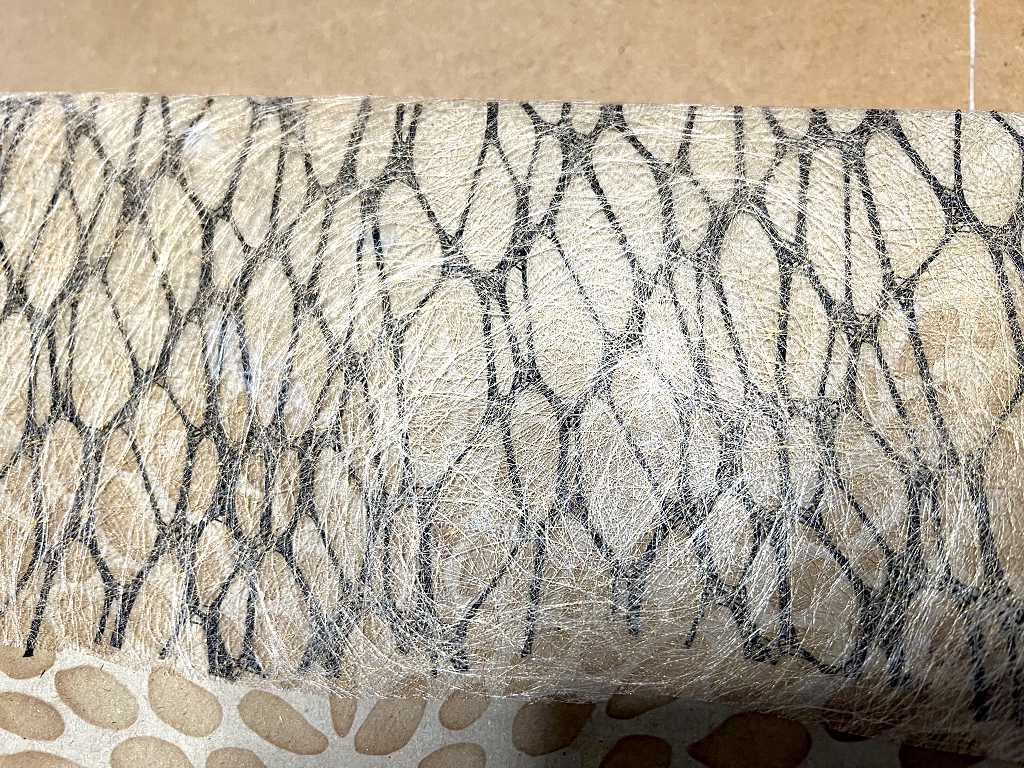
I have several rolls of that plastic mesh stuff. It’s really difficult to use in art as it is very unresponsive, hard to glue down, very springy and difficult to control. With the right treatment, though, it adds an interesting dimension. Also in the picture is a roll of gossamer-like white paper. I have no idea where this came from, but I have an idea it’s used by florists. Then there are a couple of rolled paper handles cut from a gift bag, and a roll of fabric-backed real cork – one of two that I bought several years ago at a craft show and have never yet used. It feels absolutely gorgeous – like soft suede. Then there’s a fragment of scrim-like unbleached cotton fabric, very loosely woven. Somewhere I’ve got a pack of similar stuff that I got at the hardware store – called Cotton Grout Removing Cloth:
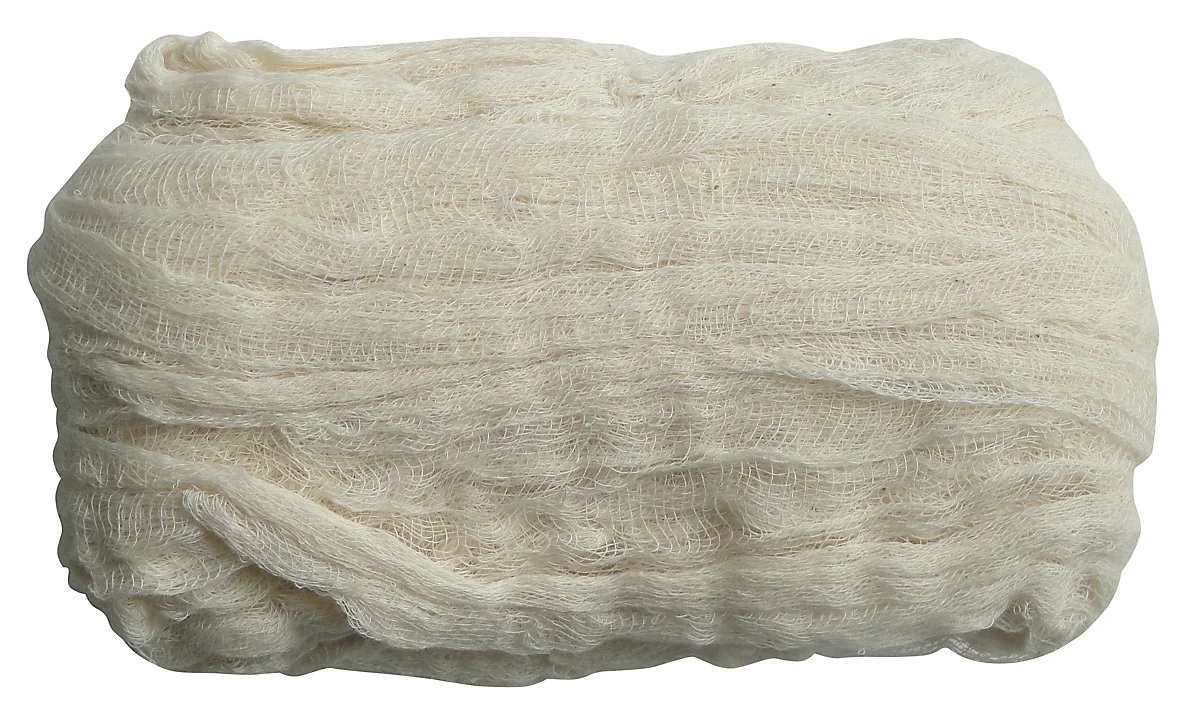 but I couldn’t find it anywhere. Since I tidied my studio, not being able to find stuff has become an occupational hazard, it seems!
Finally, I’ve got a lot of this paper mesh packaging material. This stuff is absolute manna from heaven for mixed media and collage artists! It consists of brown paper with little slits cut in it, and it puffs up when you pull it apart and the slits open up. You can stick it down as-is for gorgeous texture. You can spray it, and if you put something underneath while you do so, it acts as a stencil and you get double for your money. It also makes interesting texture when printing on the gel plate. I really must incorporate some of this somewhere on this book cover!
Here are some pictures of it in use in other projects.
Inking through it with a blending brush and ink pads.
Spraying and stencilling paper mesh.
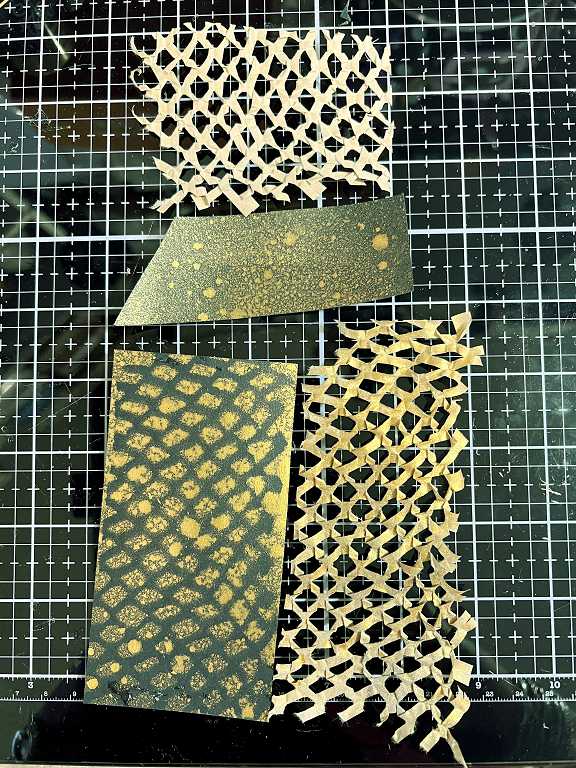
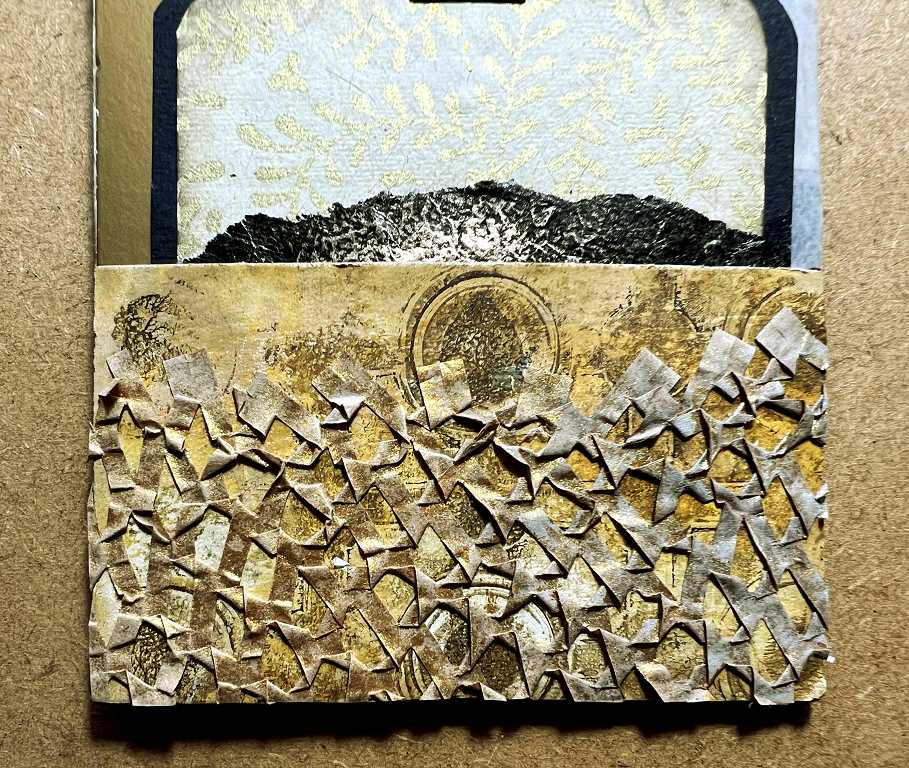
Gold-sprayed, applied as texture and flattened.
More collage.
All these examples were taken from an album I made a couple of years ago from recycled Tesco bags – brown paper with a glassine panel. I love paper mesh.
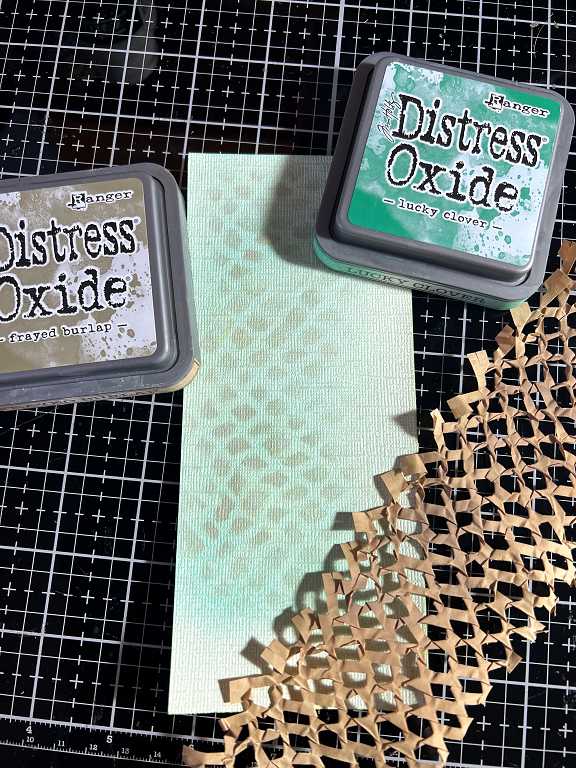
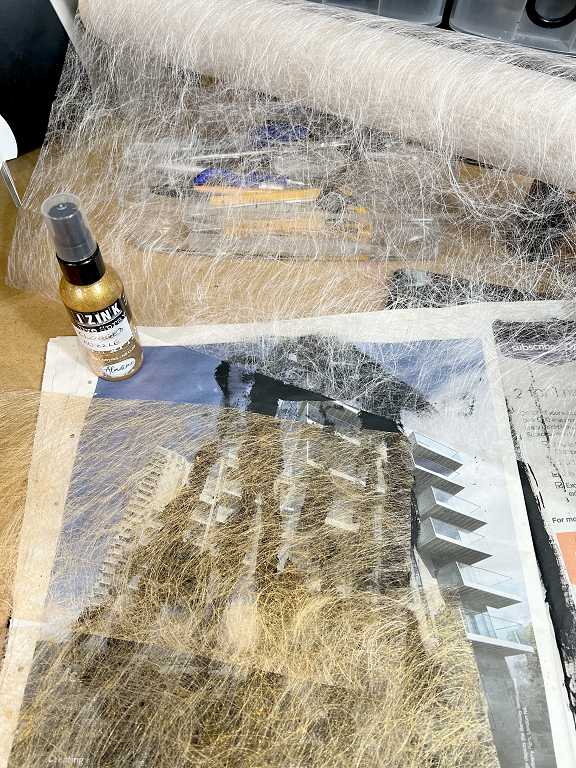
Spraying the gossamer paper
The black plastic mesh looked much too harsh against the brown paper background of my book cover, so I decided to layer some of the gossamer paper over the top. Again, the white was a bit too bright, so I cut the pieces and sprayed them with Seth Apter iZink gold ink spray. Unfortunately the nozzle is blocked on this bottle but I decant a little with a pipette into a mini-mister for a really fine spray. This is the result, waiting for the pieces to dry.
In situ on the page.
I spread some glue stick on the page and lightly adhered the black mesh down to stop it moving. Then I applied a fairly liberal layer of glue stick to the back of the gold-sprayed gossamer and laid this on top, folding the excess around to the back of the page board as before. It not only mutes the stark black of the mesh, but holds it in place as well.
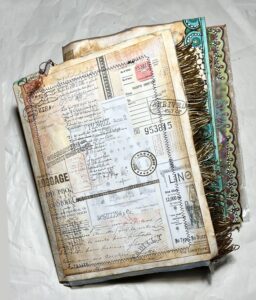
A mock-up so far
I assembled the pieces to give a work-in-progress idea of how things are panning out thus far.
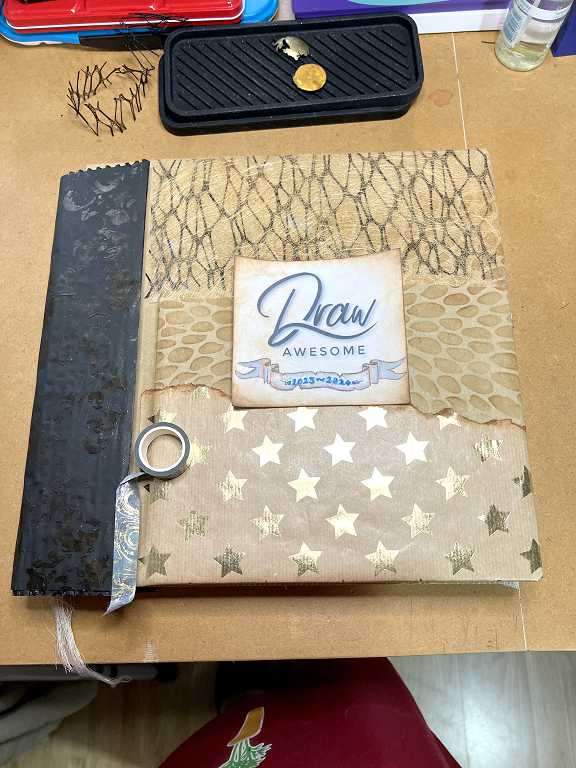
I laid a bit of washi tape (pale blue with gold) along the junction of the spine and cover – I haven’t decided whether I shall use this or not, but I quite like the introduction of another little touch of blue.
There’s still a lot of work to be done, especially to create some layering behind the title to form some kind of a frame. I have some ideas for further materials, too. It’s been great fun digging through all my stash and I feel I’ve barely scratched the surface! I didn’t even go near my folders of collage fodder… Anyway, so far I am pleased with the progress and am looking forward to my next session when I’ll take it further.