DRAW AWESOME ALBUM PART 7 – COMPLETING THE COVER EMBELLISHMENT
Another session of complete fun in the studio, as I completed the embellishment of the front cover of my book.
Working on the title panel
The printed title needed a nice frame to set it off from the background of the cover.
Punched medication leaflets
Seveal years ago I saw someone on YouTube making some interesting collage paper by accordion-folding paper and then punching it. When you unfold it, you get an interesting sheet full of little holes. She went to a lot of trouble to fold the paper, and it occurred to me that I had a ready supply of paper already accordion-folded, in the form of the insert leaflets in my medication packs! (Shoshi thinking outside the box.). These papers had the added advantage of having printing on them, which adds texture and interest.
I used my Crop-a-Dile hole puncher to punch rows of holes of the two different sizes the tool offers. I tried to line the rows of holes up as accurately as possible but enjoying the inevitable slight irregularity that happened as a result of doing it by eye.
When unfolded, I sprayed the sheets with inks, and they acted as a stencil to the paper underneath, so I got a nice spotty piece of paper as well! Nothing like a twofer!
I have used these sheets on lots of different projects. They tear along the perforations and you can create interesting irregular edges, and narrow borders too. These papers are so versatile!
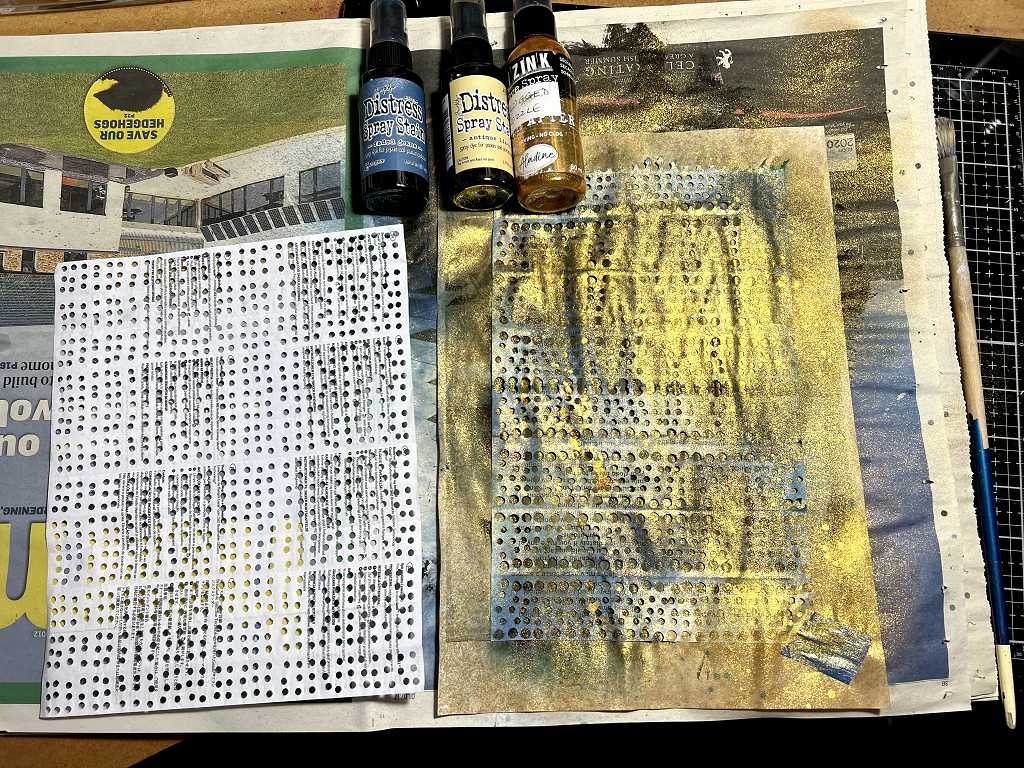
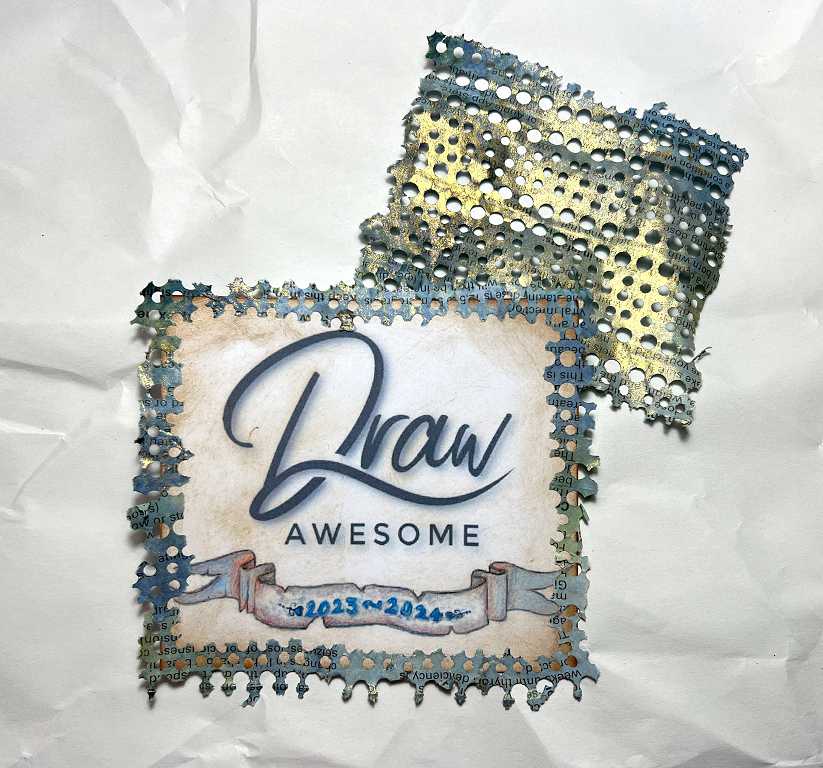
For my project today, I dug out some fresh medication leaflets, and also a piece of scratch paper with irregular black acrylic marks on it to act as the stencilled piece. In the photo, there’s an unsprayed piece on the left, and on the right, I have sprayed with two colours, and also gold.
After lifting up the sprayed piece, this is the result.
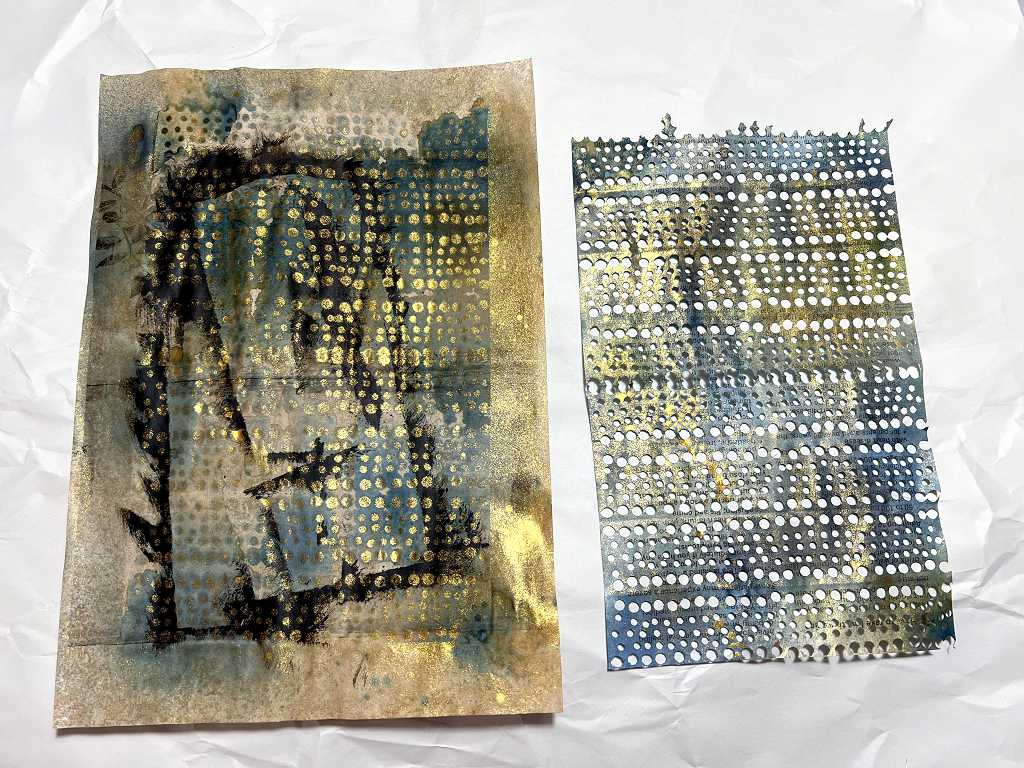
Wowsers! Two gooorgeous pieces! The one on the left is going in my collage fodder folder, and there’s plenty of material ready to use from the punched sheet.
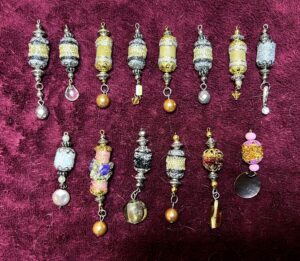
Here are a couple of examples of where I’ve used this collage paper in the past.
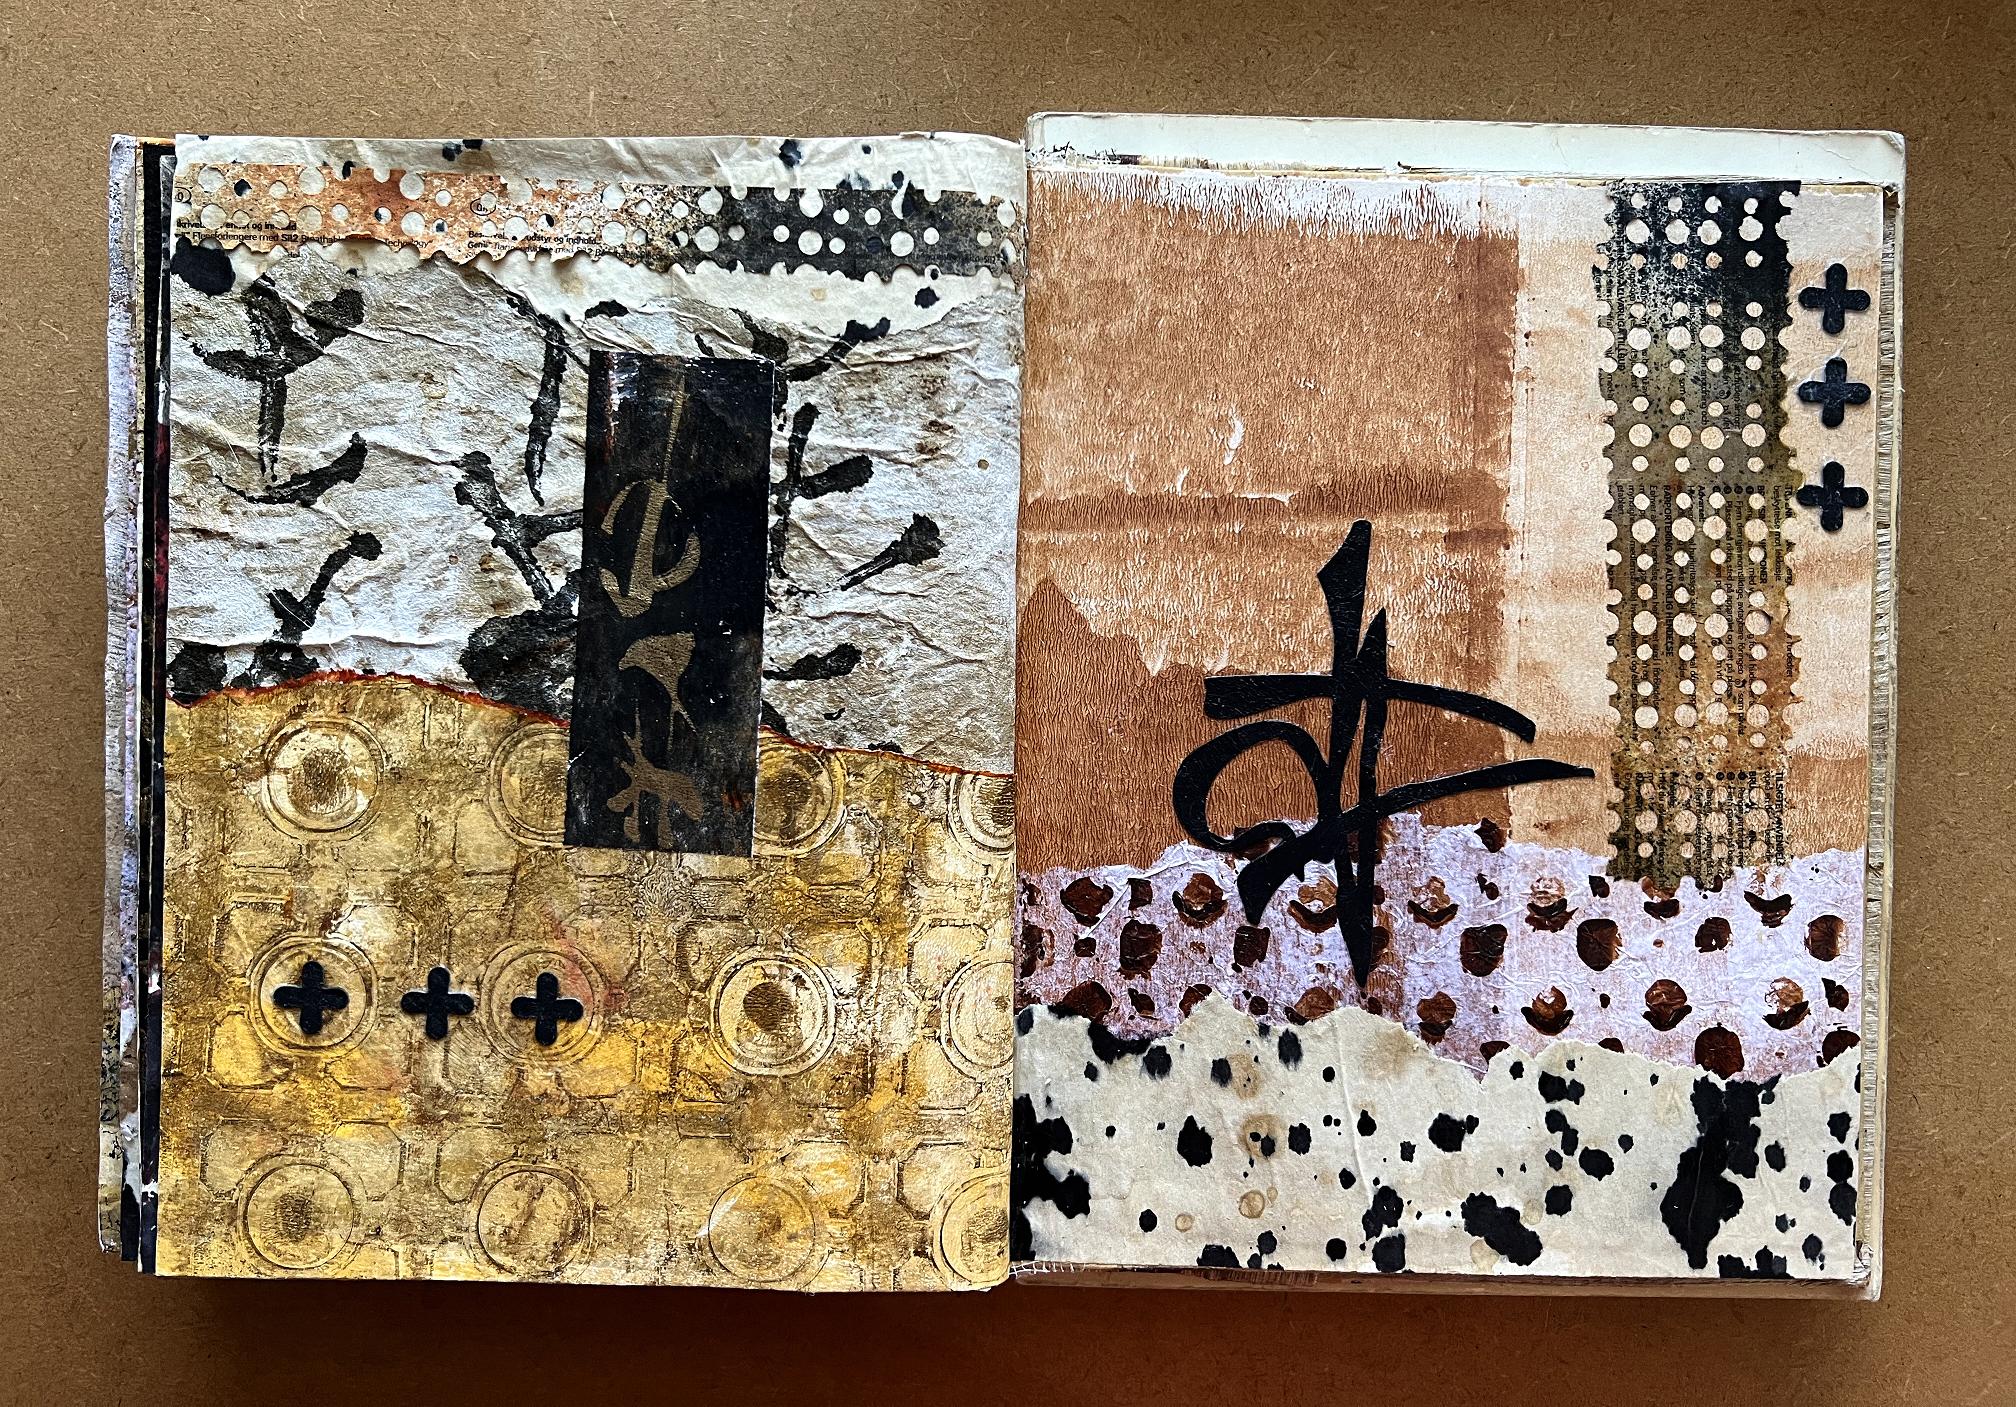
This was an intuitive collage spread in my “Organic Journal” which I made in 2022.
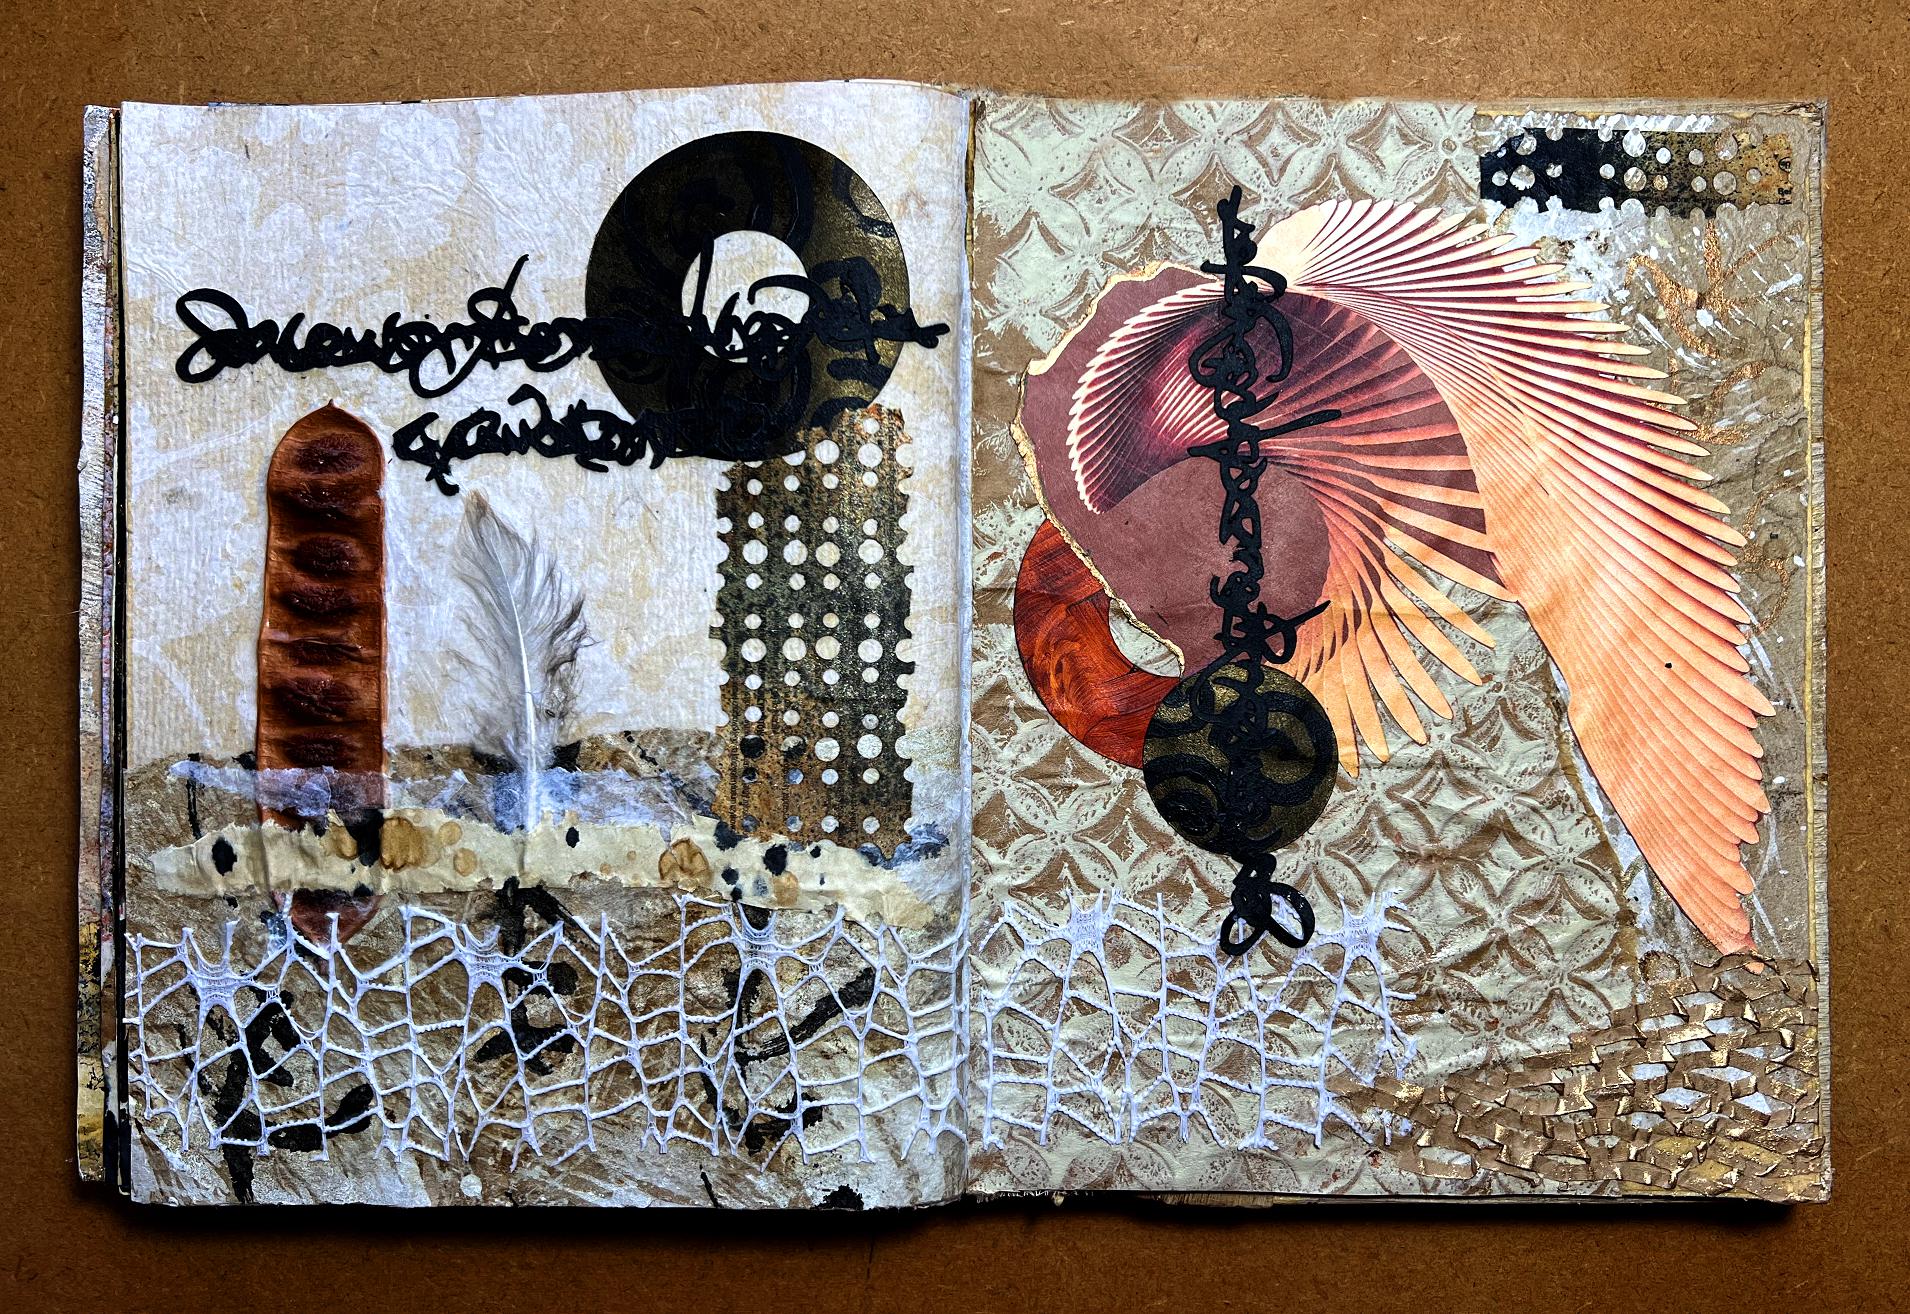
Another spread from the same album, entitled “Wings.” You can also see some paper mesh packaging material, and some of that plastic mesh, this time in white.
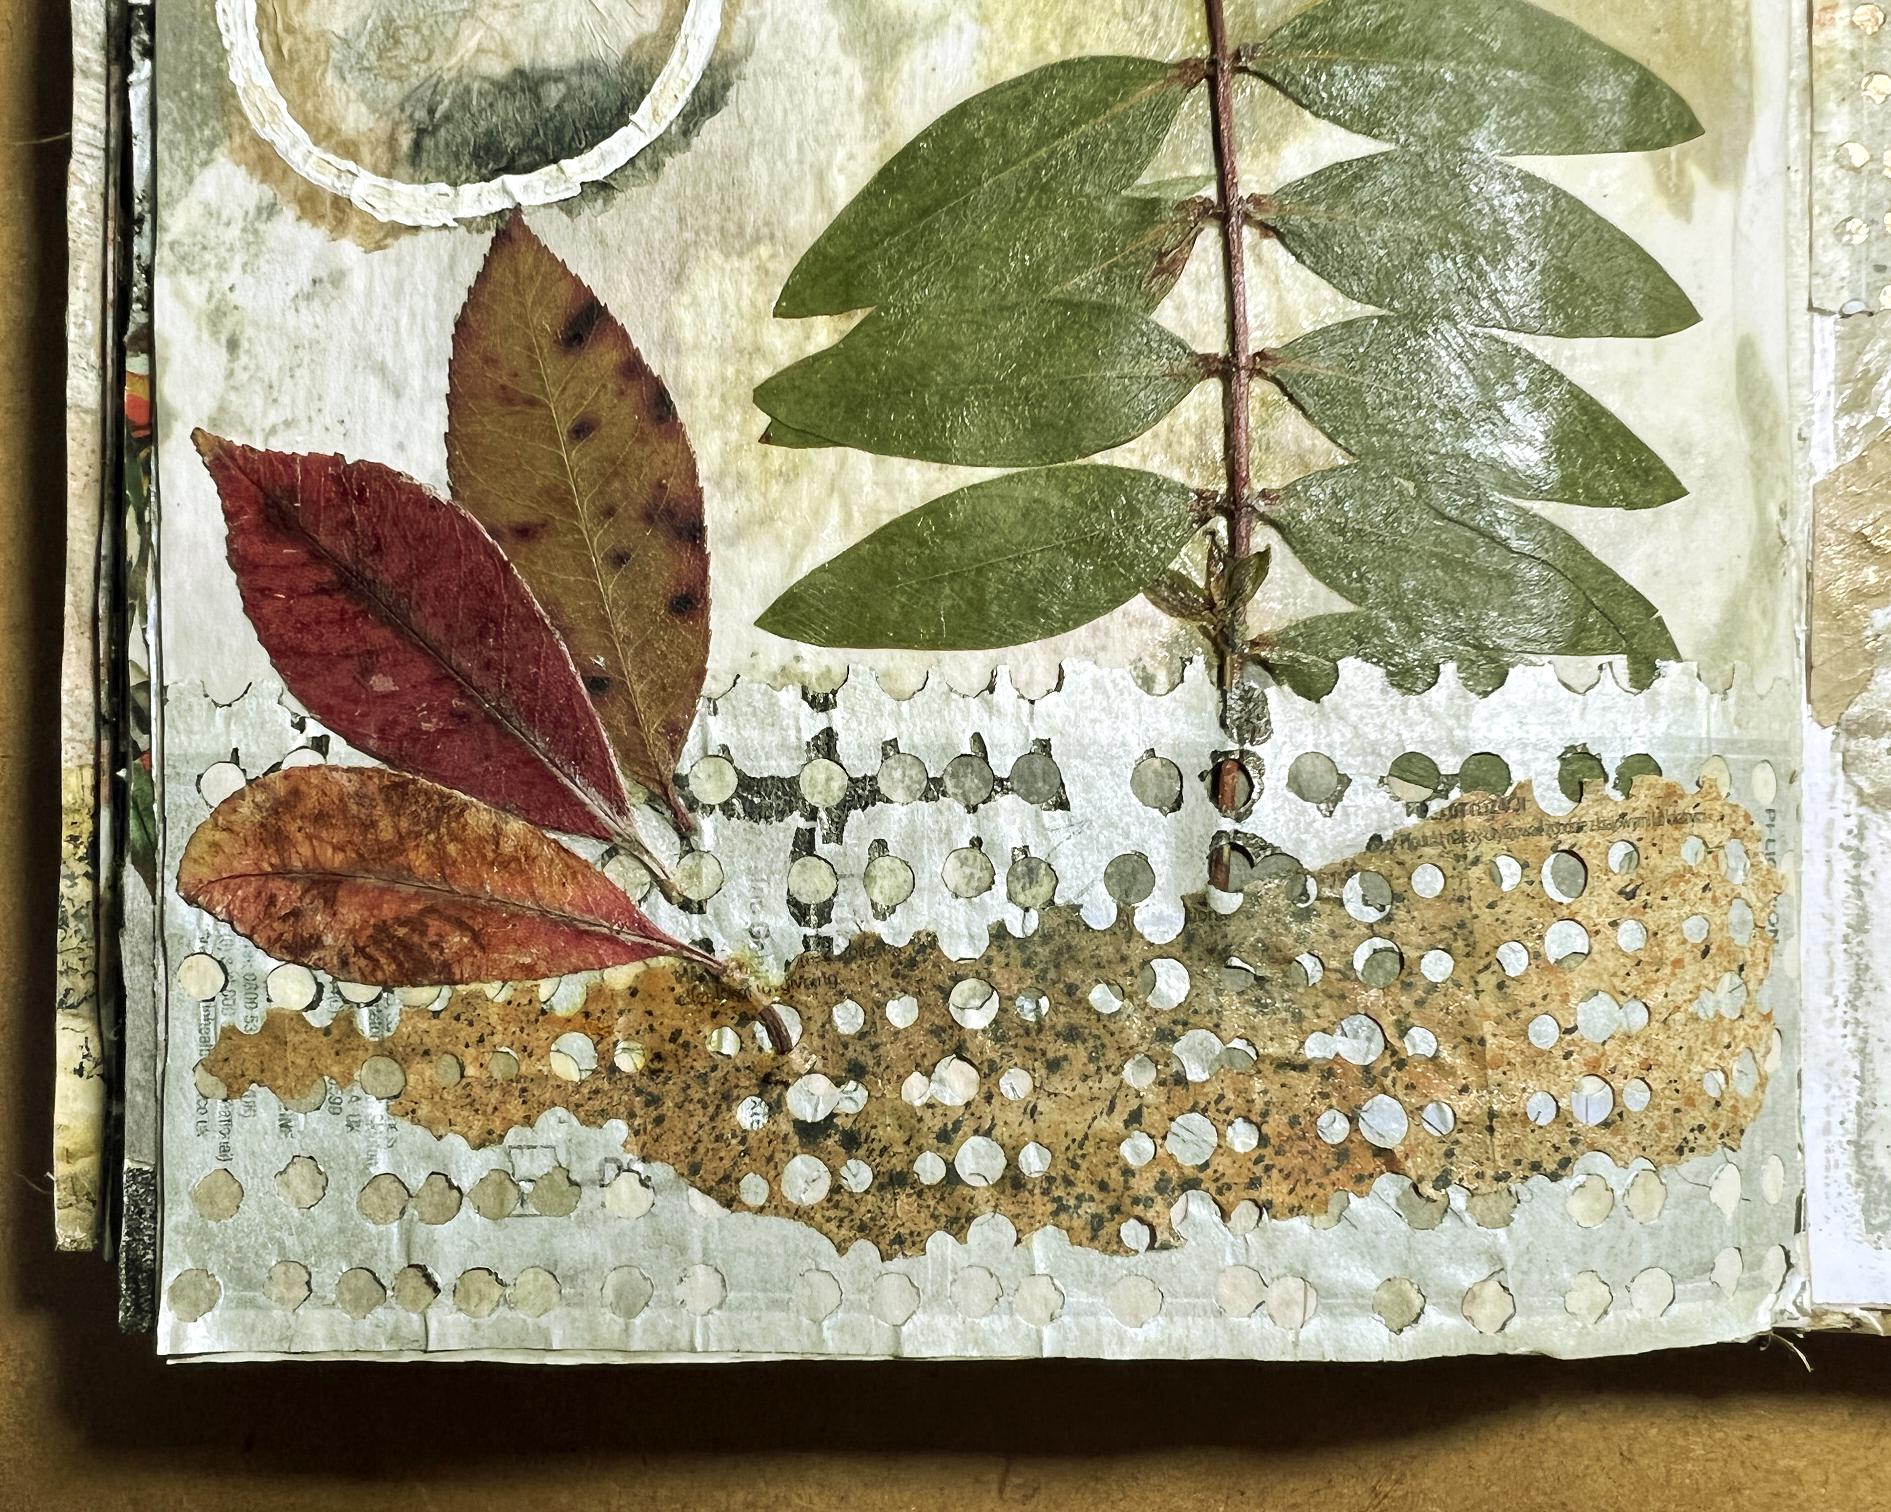
In this example, a detail of a page from the same album, I hve layered two pieces of the punched paper and threaded some organic material through the holes.
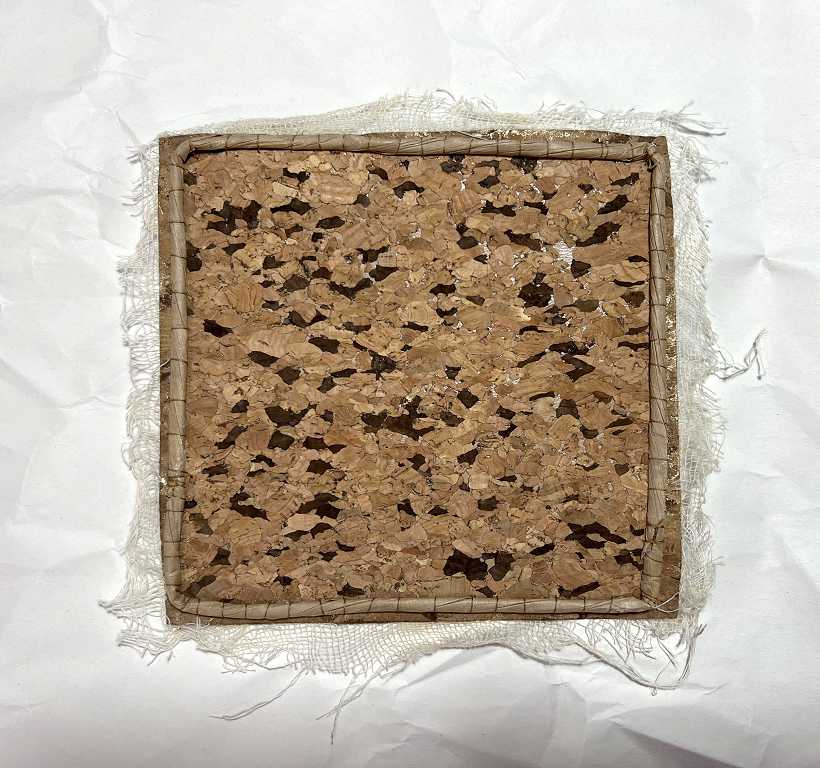
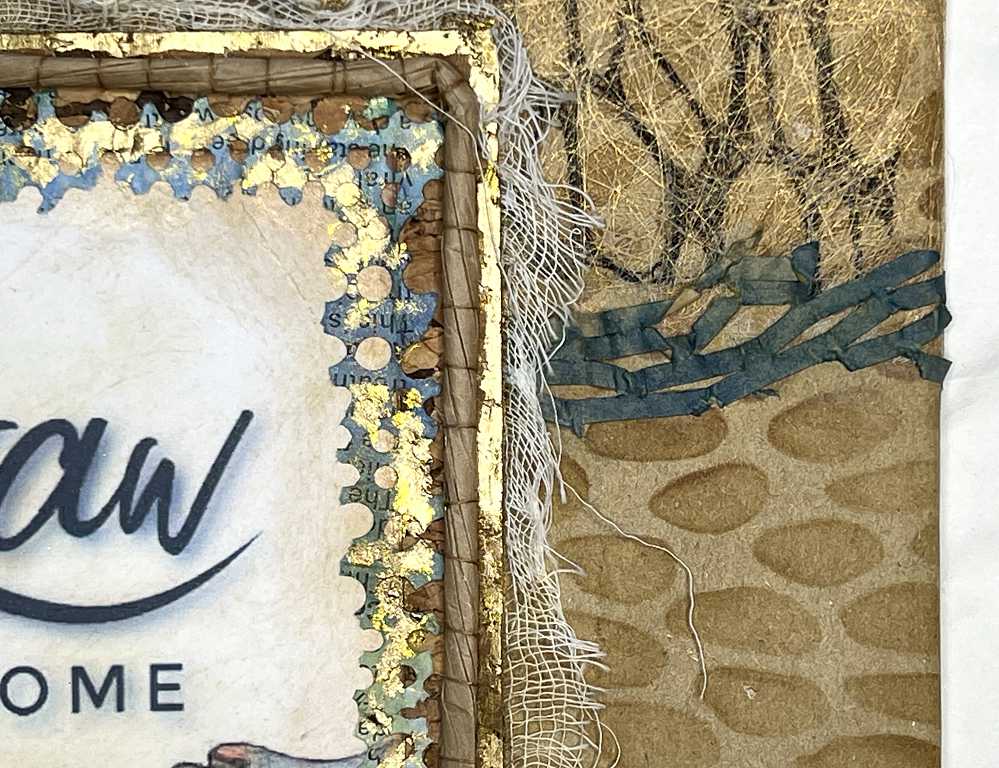
Making the frame for the title
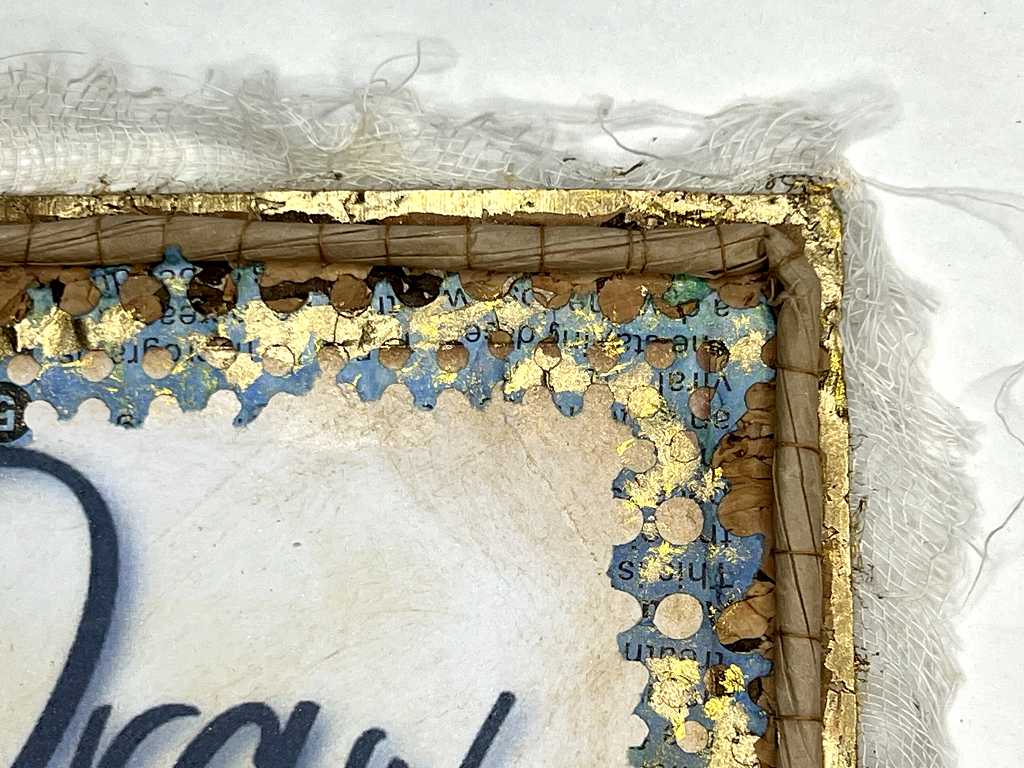
I cut a piece of the fabric-backed cork and stuck a piece of scrim on he back. Then I took the two rolled paper handles from the gift bag and couched them around the edge to form the frame.
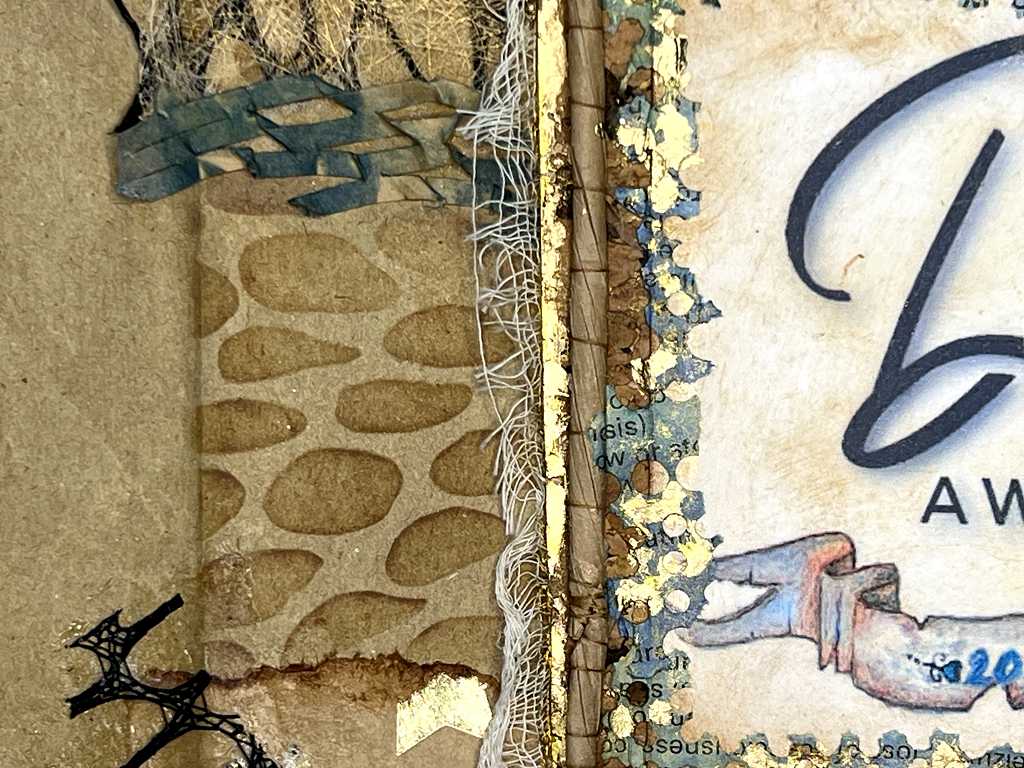
Creating a frame for the title using the punched paper
I tore out a frame from the sprayed punched medication paper and stuck it around the title piece.
I had forgotten that the Seth Apter iZink gold spray ink does tend to rub off unless it is fixed, and by the time I’d glued the paper onto the title, most of the gold had gone!
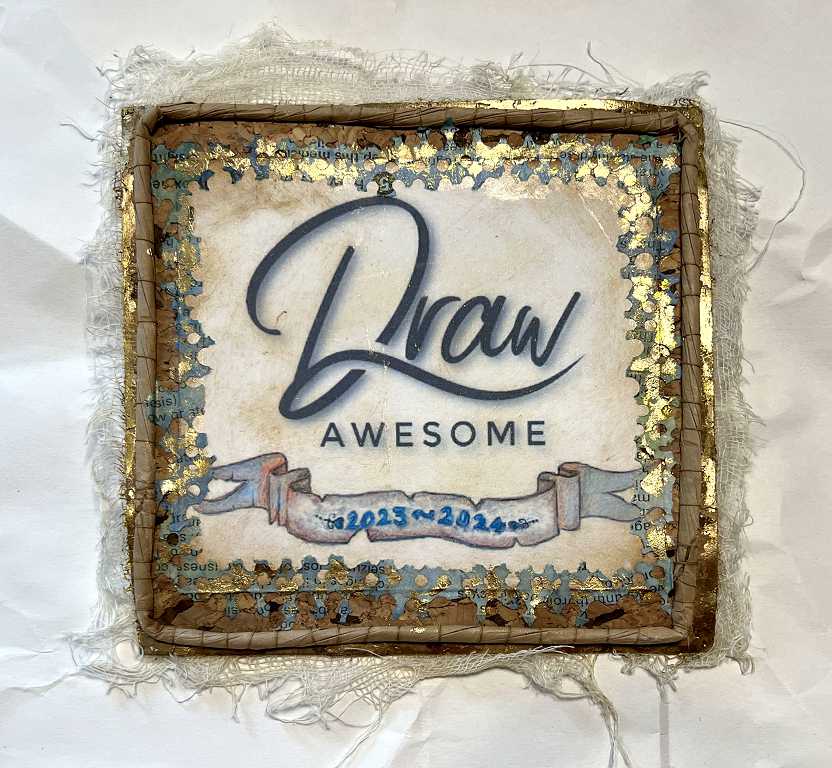
After I’d assembled the piece, I added some spots of gold (Golden iridescent bronze fine fluid acrylic) with a fine brush, and also repeated the process around the edge of the cork. This completes the title panel.
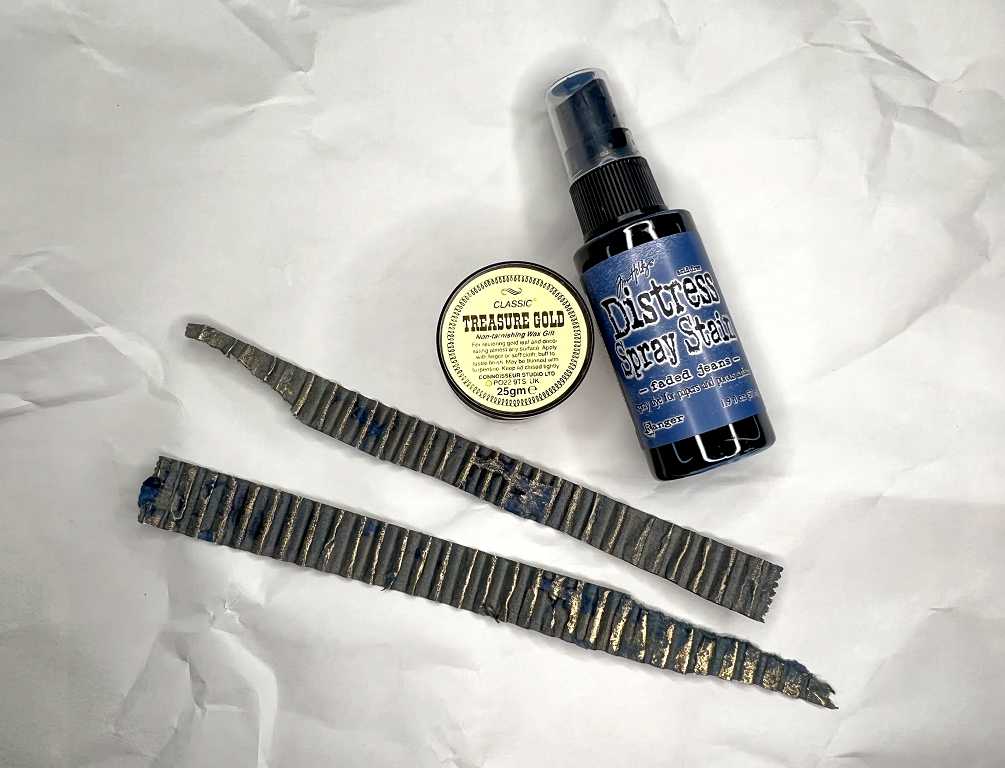
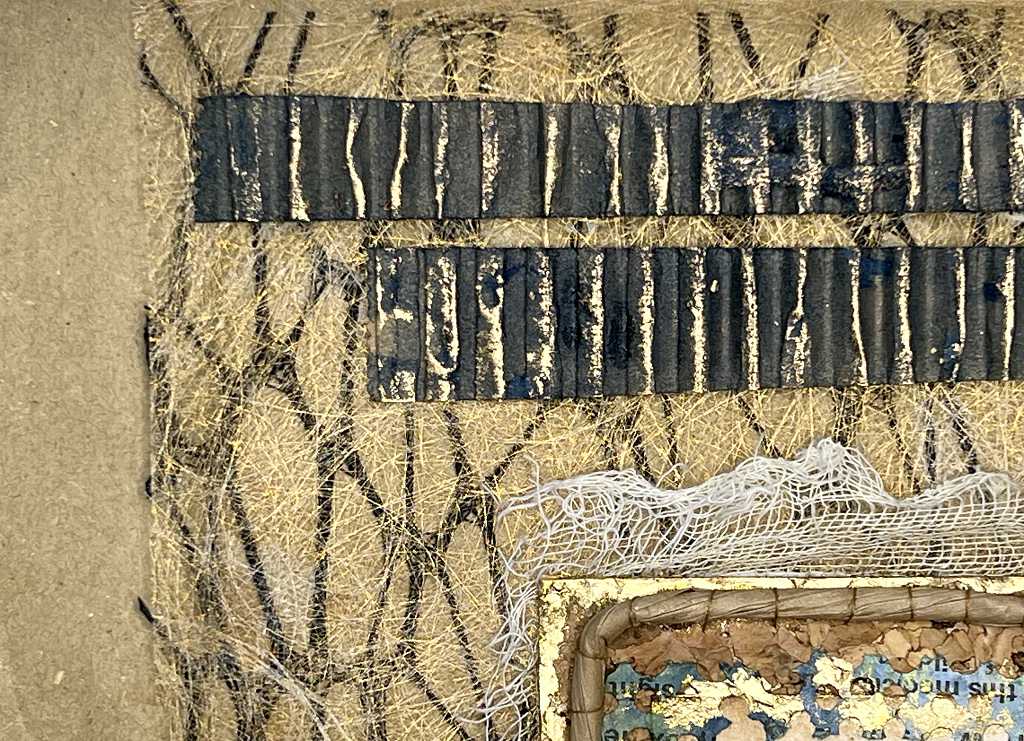
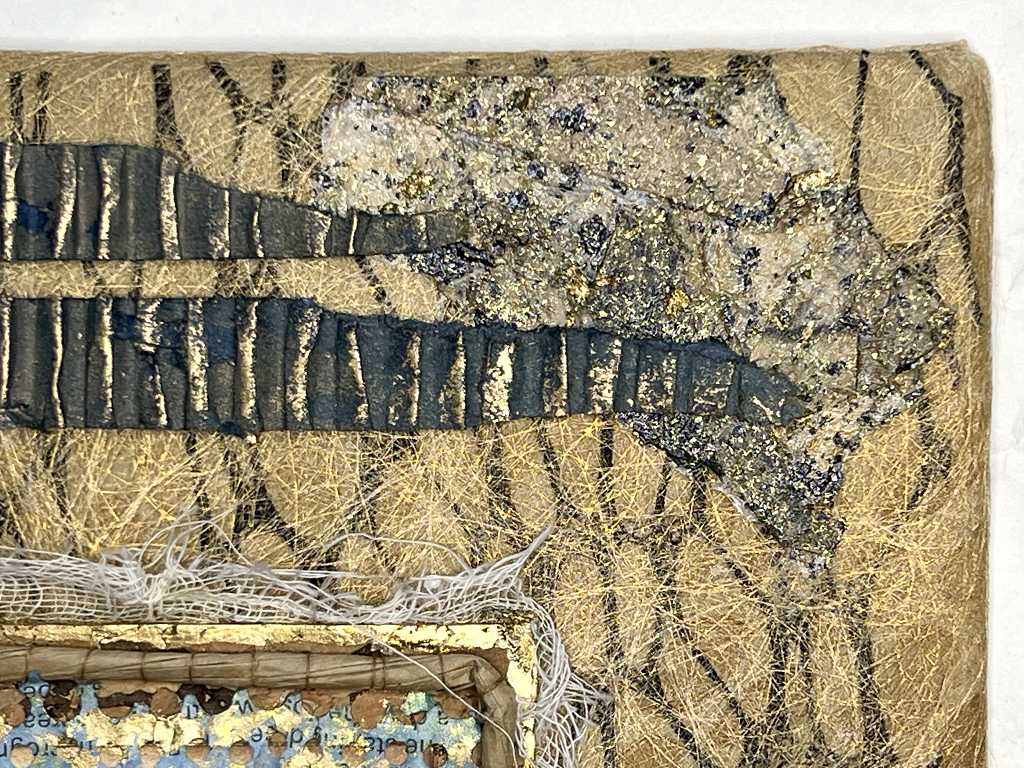
Corrugated cardboard strips
Digging around in my collage fodder, I found these two fragments of corrugated cardboard, so I sprayed them with ink and then lightly applied some gilding wax with my finger.
The back cover
While I was waiting for everything to dry, I finished working on the back cover. I’d already done the ground work and it was just a question of adding the black mesh and gold sprayed gossamer. I kept the embellishments simple for the back of the book so it could be laid down flat, but it would echo what was on the front.
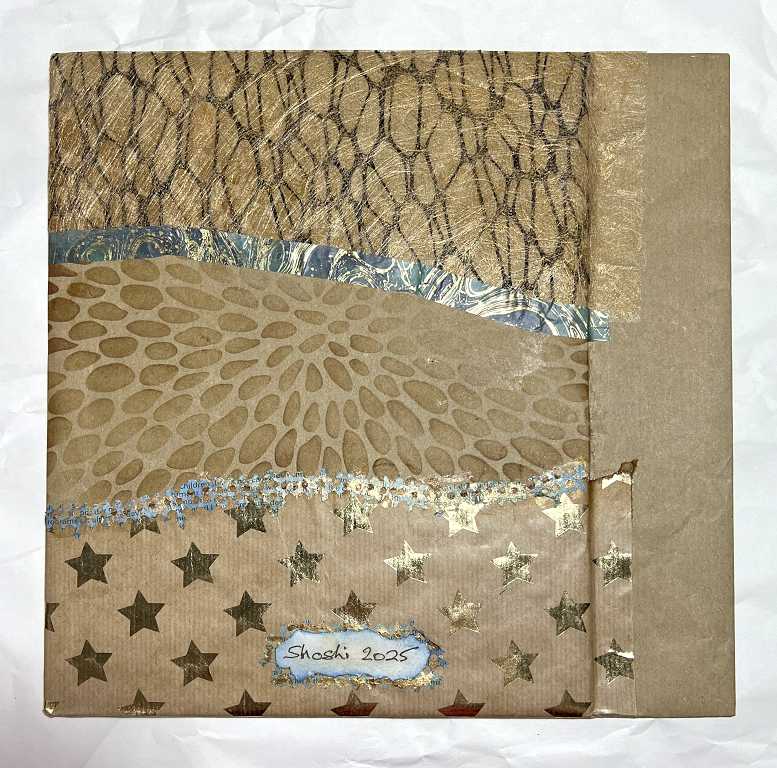
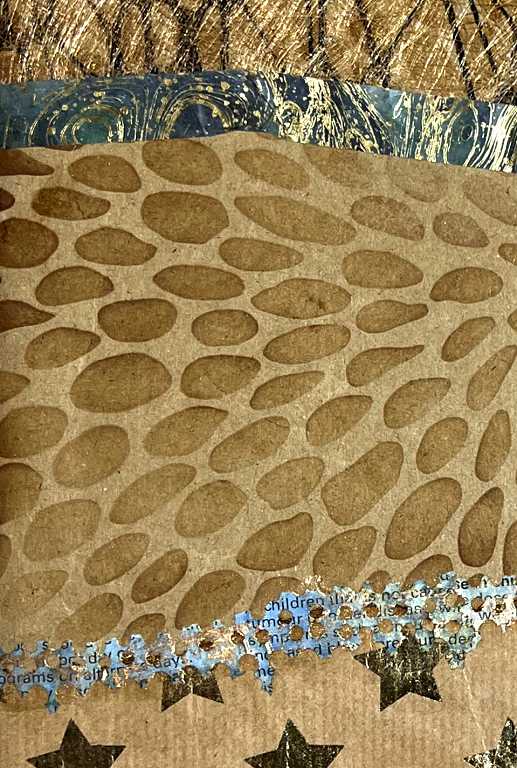
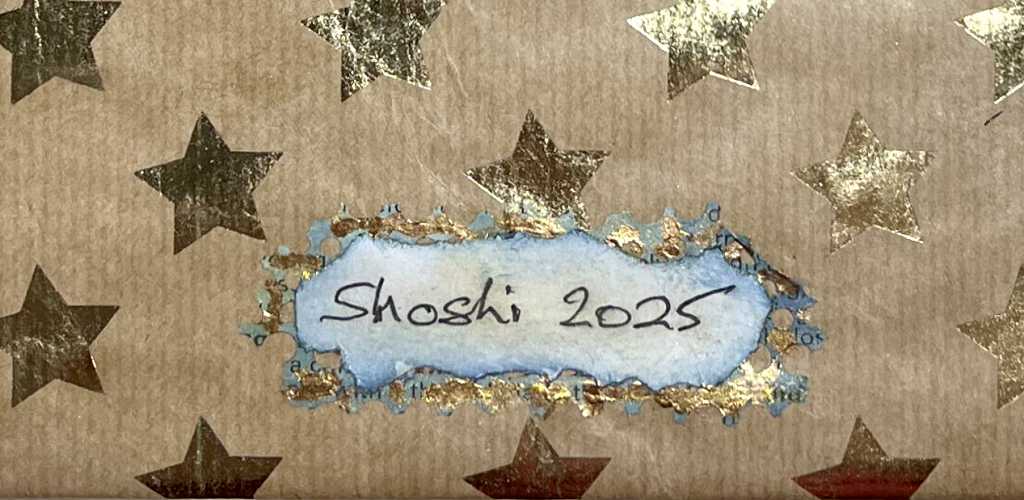
I added some more of the sprayed punched paper to cover the edge of the starry paper, and used some washi tape to repeat the process with the other join. The final step was to add my signature at the bottom, again using a fragment of the sprayed punched paper.
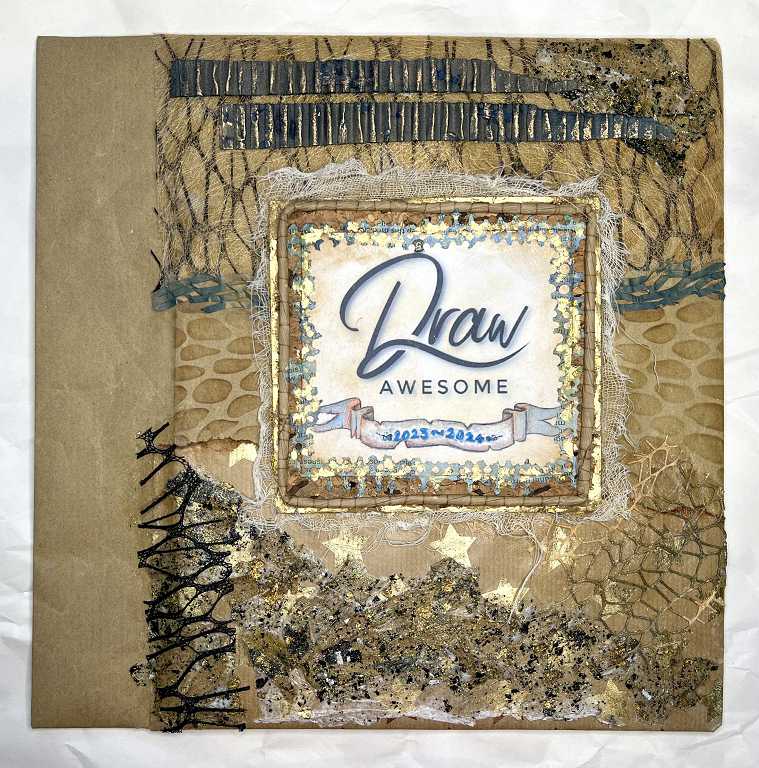
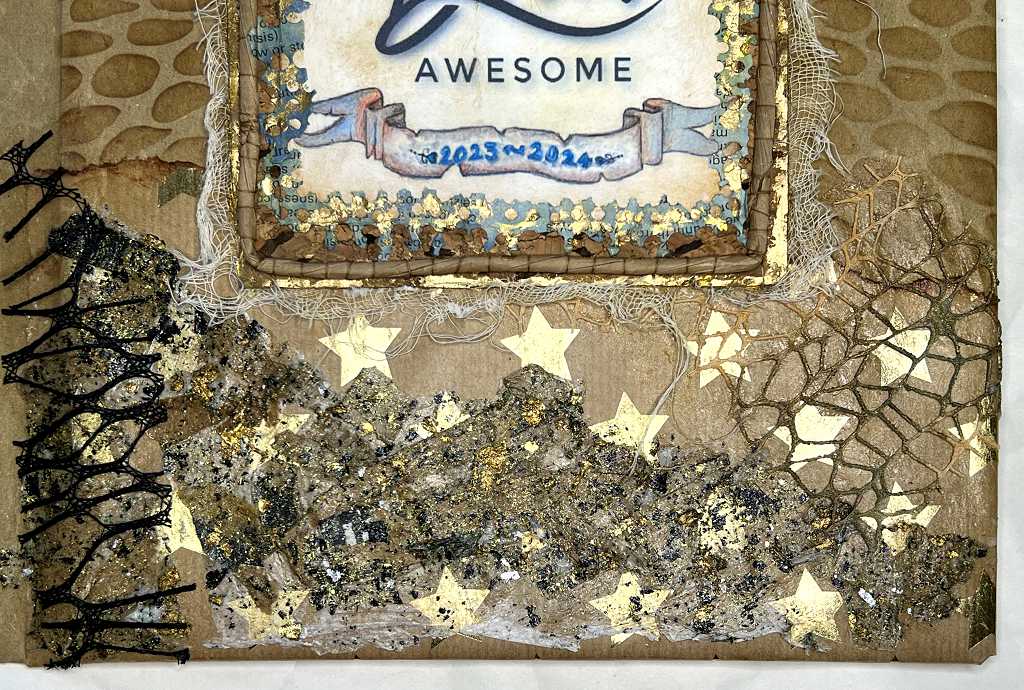
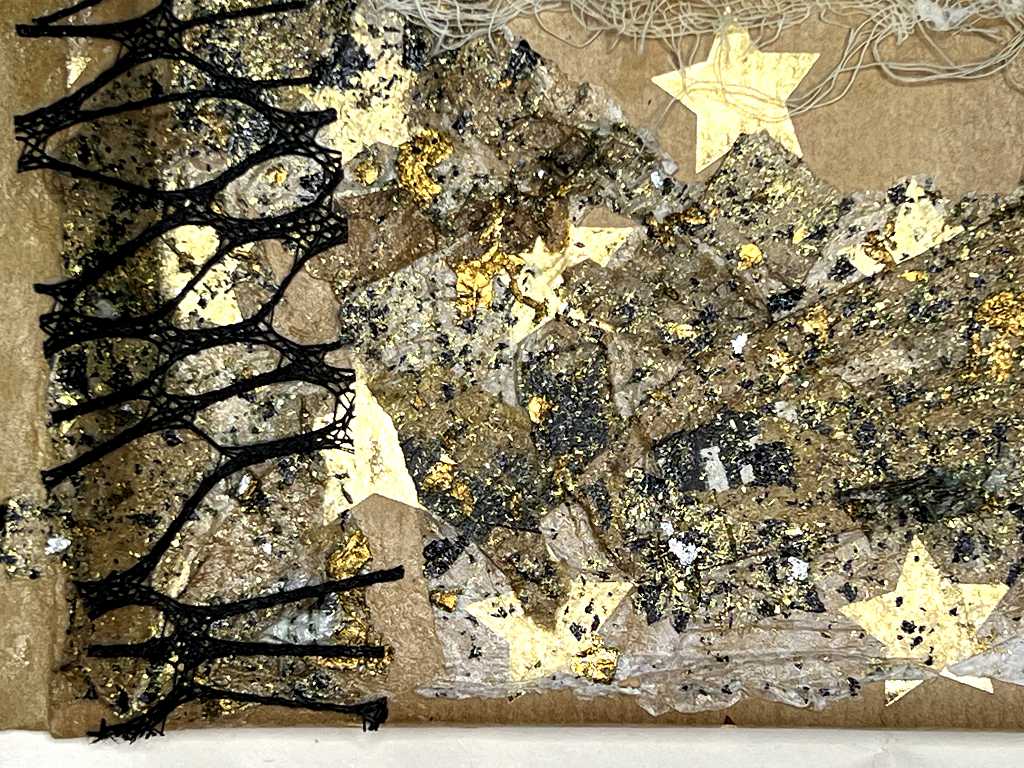
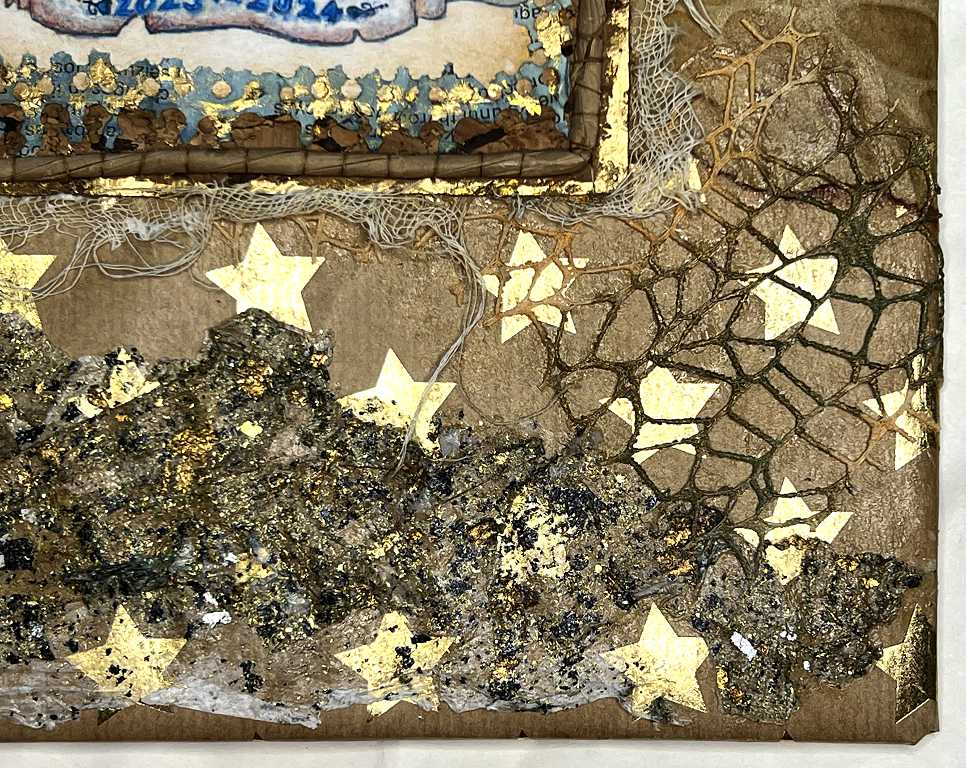
Completing the front cover
I also found some acrylic skin in my collage fodder, which I’d made ages ago. To make this, you pour a liquid acylic medium onto a non-stick surface and add all sorts of bits and pieces – I used scaps of paper, gilding flakes… it’s a long time ago so I can’t remember exactly! It tears quite nicely and goes down well with gel medium. This particular piece is very glittery and sparkly. I also added some more of the black mesh, and a small fragment of white which I had painted at some stage. This all went down, along with the corrugated cardboard strips and, of course, the title panel. Tada!
Some detail shots before we go.
Concluding mock-up
This is how the book will look once I have attached the spine binding and the ribbon tie.
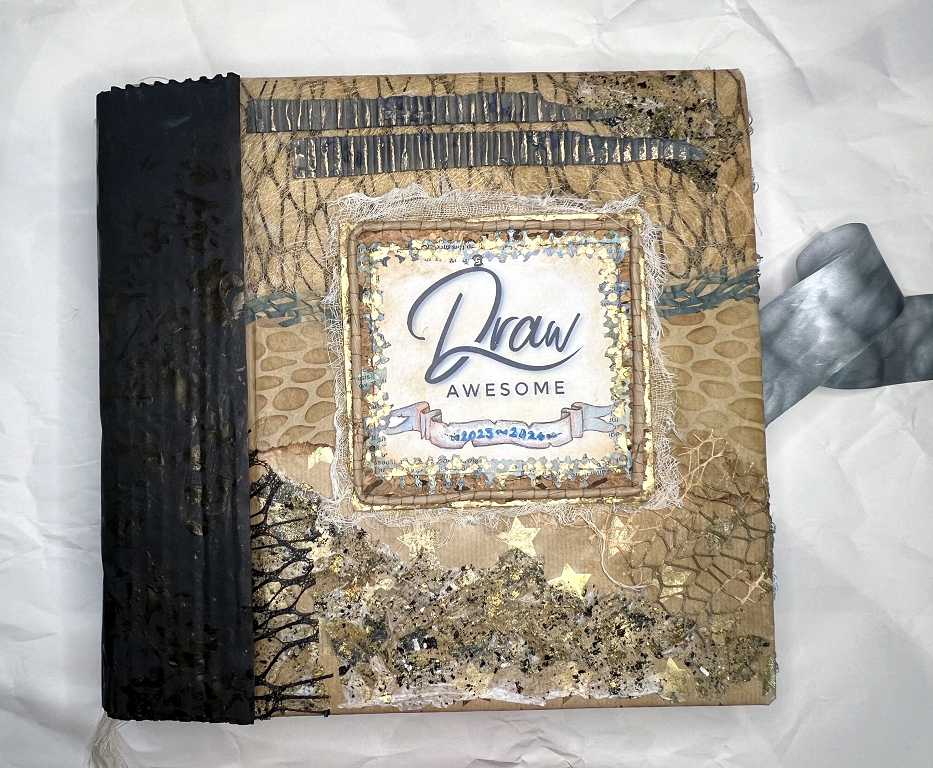
I didn’t have a clear idea of how this would turn out from the outset. I knew I wanted to divide the background and certainly to use the starry paper, but it kind of grew of its own accord as I pulled out various materials from around my studio. Some of the pieces were a surprise – I’d forgotten what I’d got in my collage fodder collection because it’s about a year since I did anything like this! All of last year was dedicated almost exclusively to DrawAwesome. How it has turned out is as much a surprise to me as it probably is to you… Happy days!!
Final steps to come
Attaching the cover boards to the book, including incorporating the ribbon ties. I am going to reinforce the cover hinges with roofing felt, as the end papers won’t be robust enough on their own to support all the weight and movement.
Attaching the spine cover and making a removable embellishment for it.
Making a video flip-through of the completed book.