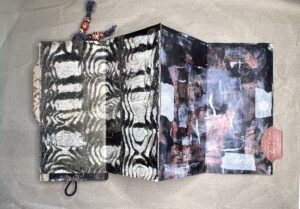
JUNK JOURNAL – MAKE A JOYFUL NOISE PART 3
Working on the noise makers for the front cover
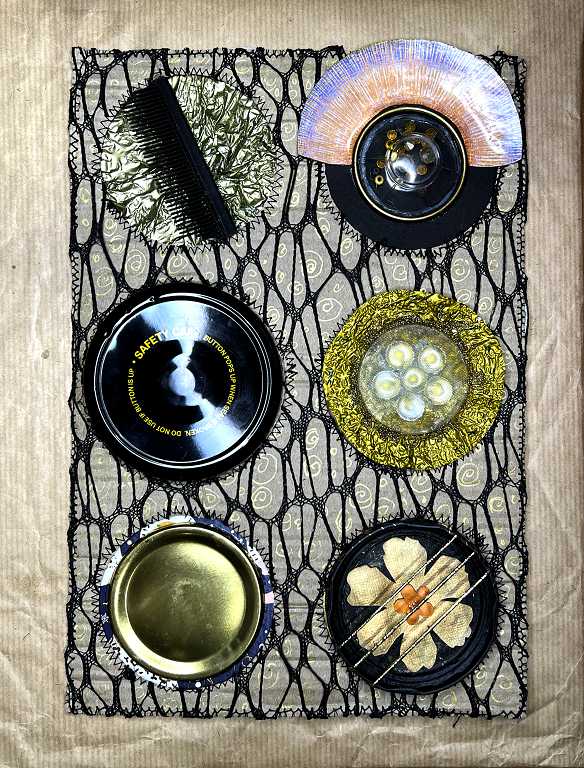
The six noise makers for the front cover are now complete. I had to use a variety of glues to attach them. The whole thing is pretty three-dimensional and they need to be firmly affixed.
Also, nearly all of them needed to be backed onto something else before attaching the the yoghurt tray background, because there was some space around them. In most cases I simply used a scrap of card for this.
Here they are, one by one.
Elastic plucking strings
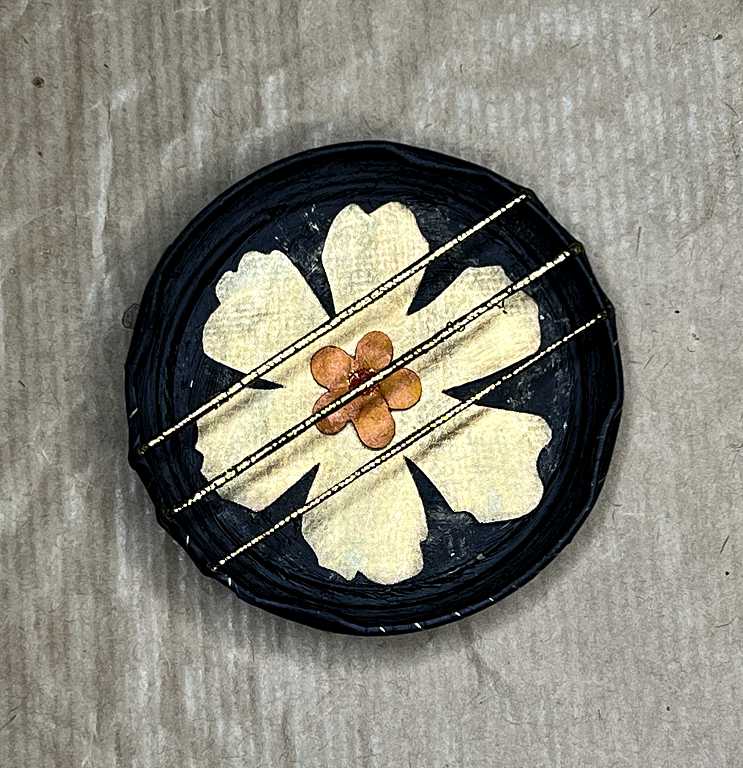
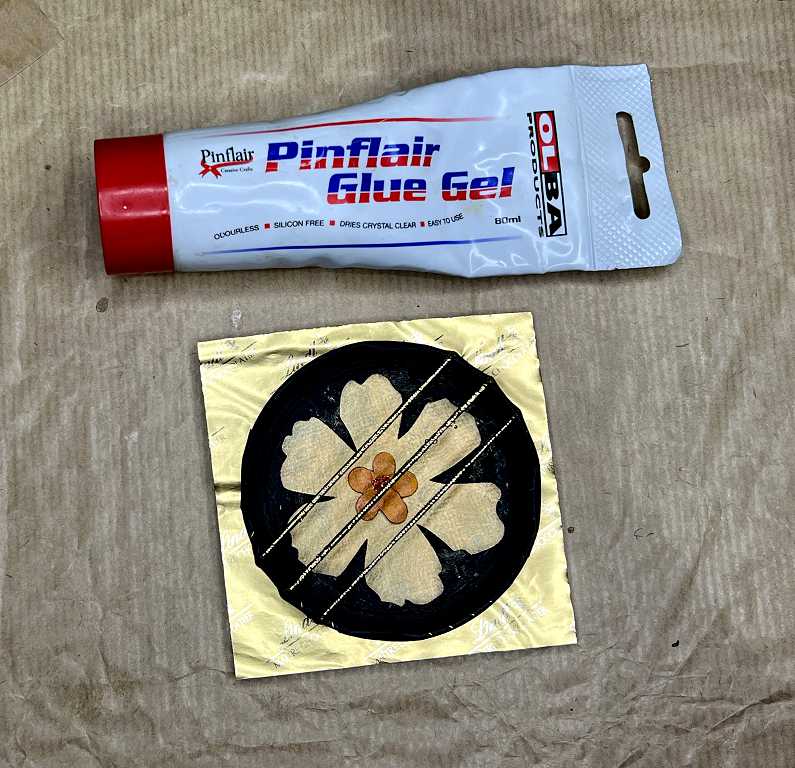
This was great fun to make. I took a jar lid and painted the inside first with black gesso and then with black acrylic which I dry-brushed very lightly with some gold, and glued a layered paper flower in the centre, which I had painted gold (as usual this doesn’t really show up very well in the photo). For the noise maker, I initially thought of using normal elastic bands but these have a habit of perishing, and it would be very difficult to replace them in that event. I used some gold circular elastic instead. I tied short lengths into a loop and added some tacky glue to the knots to make sure they would not come undone. Then I stretched them over the jar and secured them with masking tape on the back. It was hard to get the outer ones to stay in place so I added some washi tape around the rim of the lid and tucked the excess onto the back.
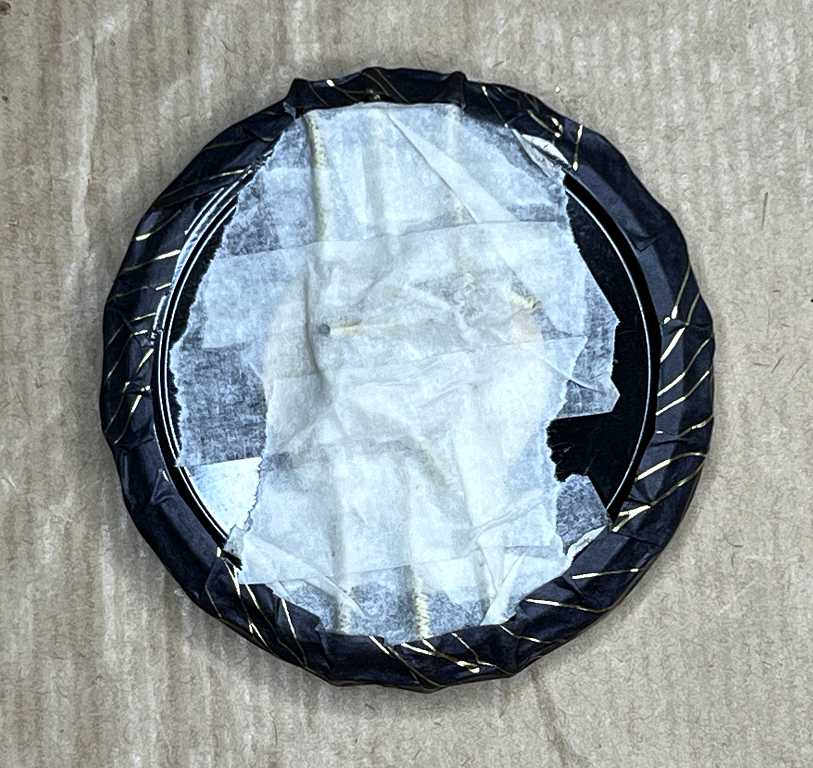
The back is a bit of a mess but at least it’s secure, and none of this will show. The plucking strings don’t make as much noise as plain elastic bands but they will do.
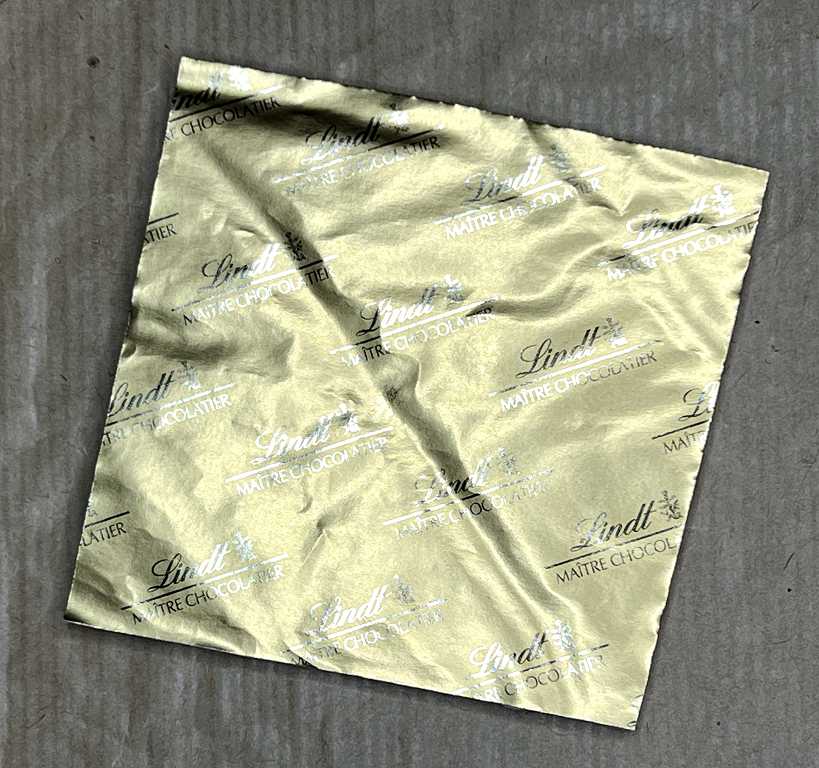
For the backing for this element, I cut a piece from a sheet of padded gold packaging paper which had come out of a box of chocolates.
I stuck the element down onto this with some Pinflair gel glue. The tube is rather old and the glue has turned a bit brown and it’s very thick to get out of the tube, but it seems to work OK. This dimensional glue is very useful for 3-D work because it dries clear and rubbery. It remains softer than hot glue but it does take a very long time to dry.
Mason jar lid
This is the centre part of one of the metal lids that came with my wide-necked Mason jars. I don’t like these lids as they tend to rust, and it’s a pain having them in two parts. I bought a set of plastic screw lids which I use instead in the kitchen. This centre part makes quite a nice sound when you press the middle of it.
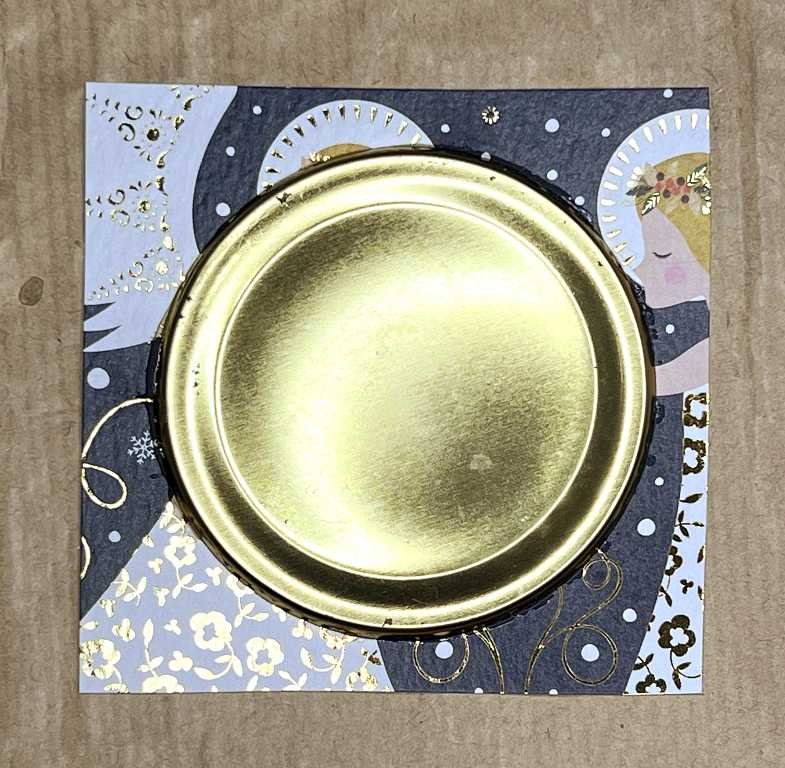
To back this, I cut a piece of an old Christmas card. So little of this is going to show that any picture will not be identifiable, but it will add some interesting texture with the black, white and gold.
LED light bulb cover
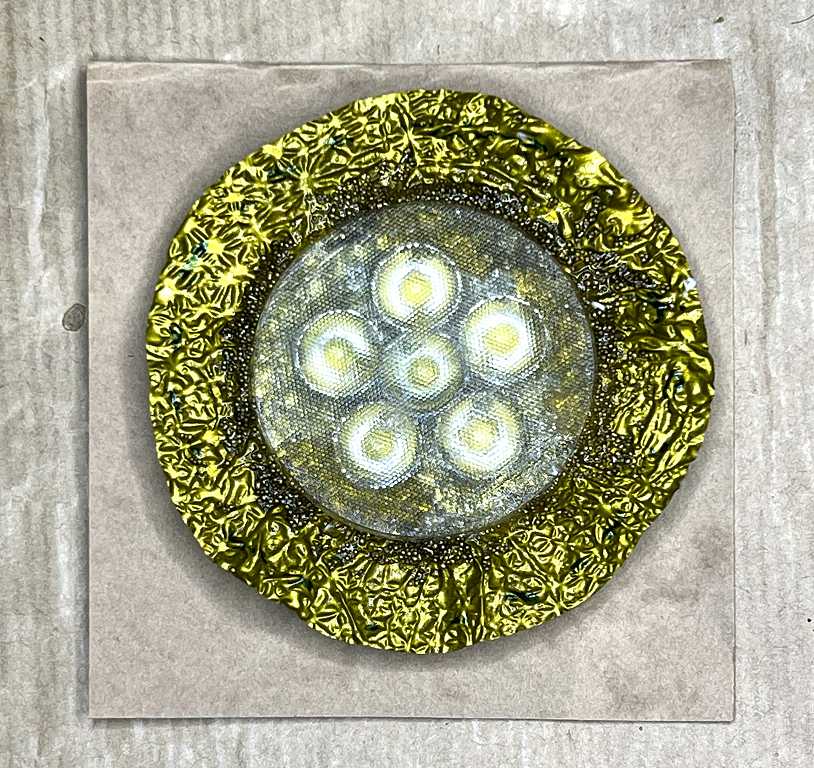
This fell off one of our kitchen spots some time ago, and I put it in my stash, thinking it was quite interesting. It has a fine texture on the surface which sounds great when you scratch it, and you can see through it to the rounded projections on the back. I stuck it down onto a chocolate wrapper. I have several of these wrappers – they are very screwed up and wrinkly and are different colours front and back. I wanted to make the edges of this stand up rather than being flat onto the background, so I put a bead of Pinflair gel glue around the edge of the bulb cover and supported the whole thing on a ring that was slightly larger, and put a weight on top till the glue was set. I also added the last bit of some ancient gold mica powder onto the glue which came out looking slightly different from what I’d expected but it’s OK. Lifting up the edges of the foil has introduced some folds into it, and it makes a great sound when you fiddle with it. Very crunchy.
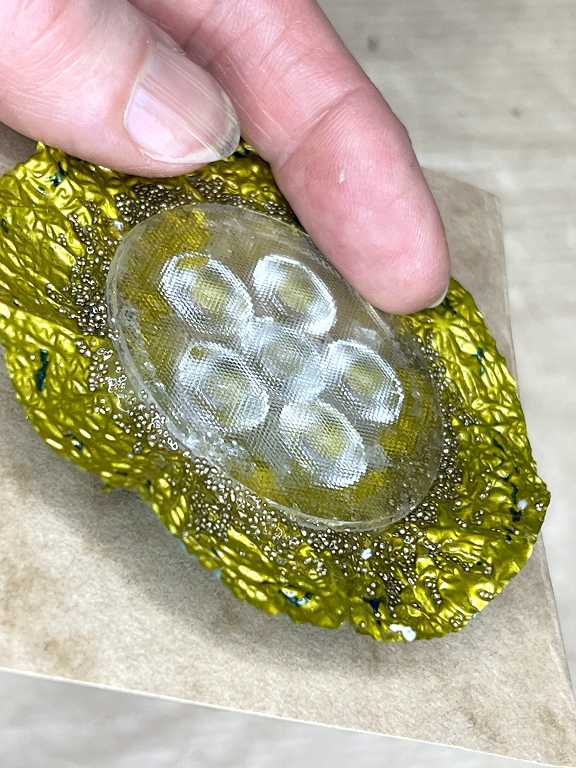
Here it is from the side. You can see the texture of the bulb cover and the gilding stuff around the edge a bit better in this picture.
Safety cap jar lid
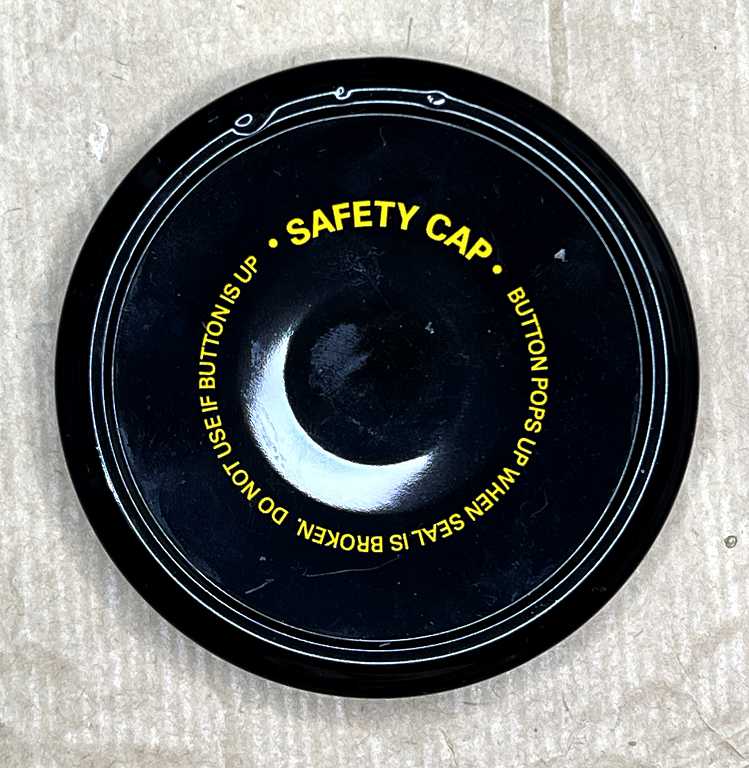
So far I haven’t added any embellishment to this, and may leave it as it is. It’s nice sometimes when using recycled materials to keep them in their original state, to celebrate their recycled-ness. Pressing the safety button on this lid makes a very satisfactory sound. This is the piece which is going in the hole that I enlarged on the yoghurt tray as it is slightly larger than the holes on the tray.
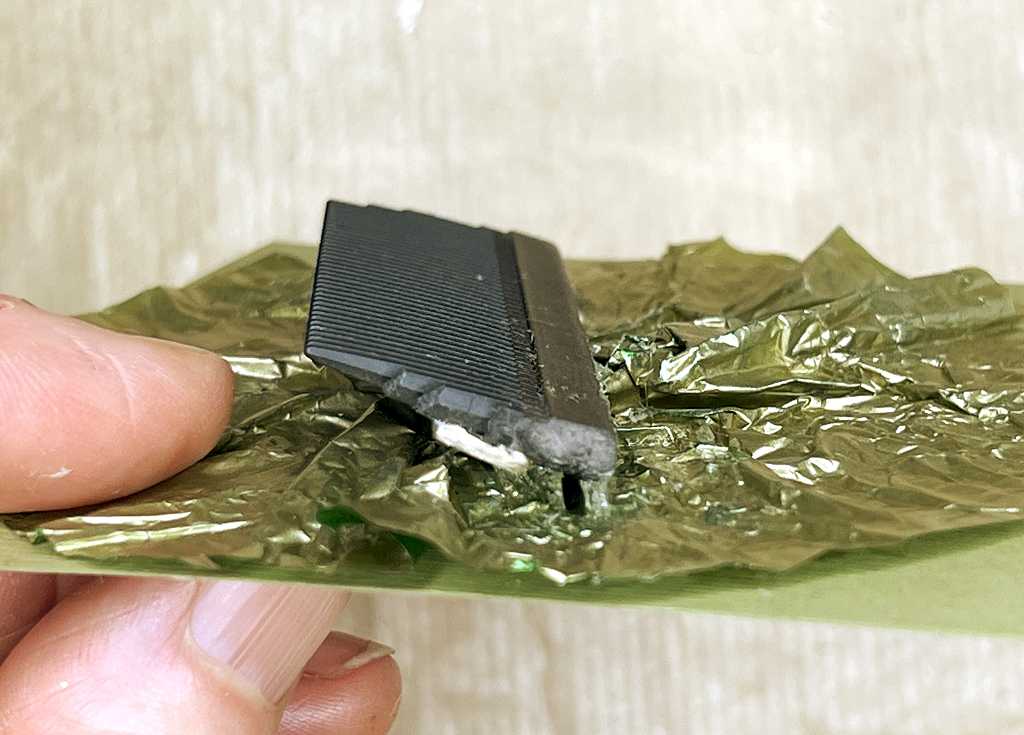
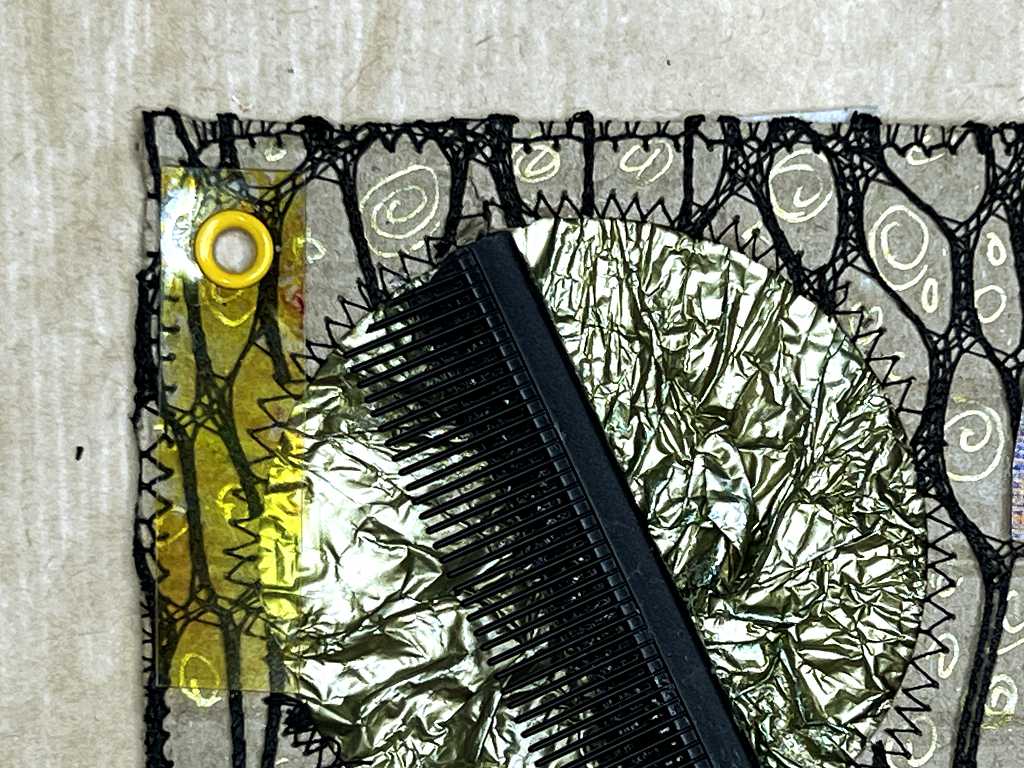
Comb
I cut a piece from a black plastic comb and stuck this down on another of those crinkly chocolate wrappers. This was backed onto a piece of plain card.
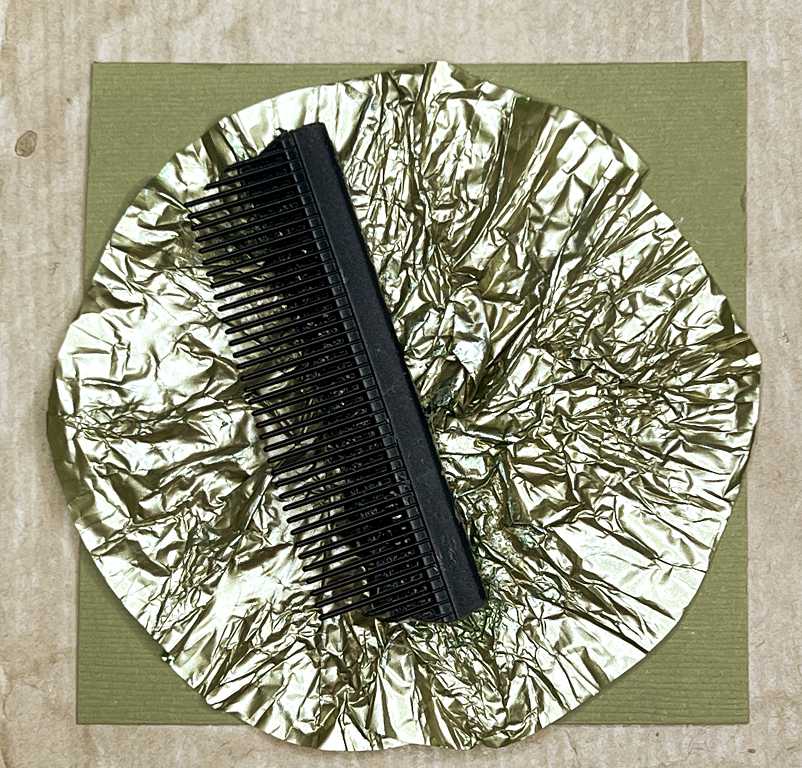
In order to make it pluckable, I had to find a way of mounting it so that the prongs would stick up. I cut a narrow strip of mountboard and glued this onto the back, and glued the comb down with Pinflair gel glue to fill the gap. It’s a bit difficult to see how this works in the photo but I think you can get the idea.
Shaker
I had this small plastic flower-shaped thing in my scrap plastics scrap box for ages. I can’t remember where it came from or what it was part of. It looks like a tiny bowl with a lip for a base. The edges of the petals were slightly curved with tiny gaps between them around the top edge, so I sanded it flat so that the shaker contents wouldn’t fall out. It’s nice to find a use for this strange little piece at last.
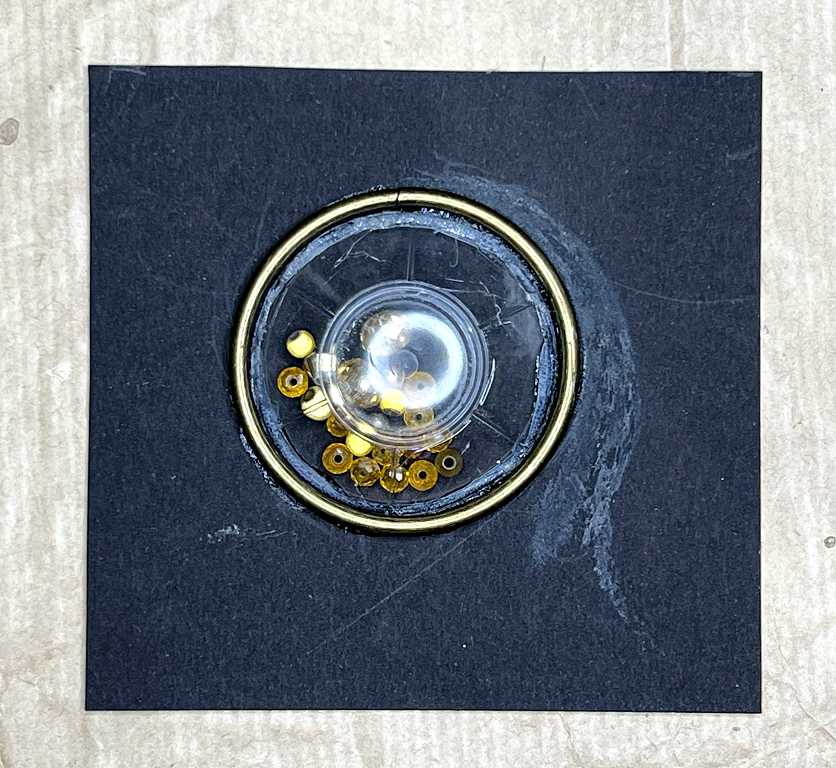
I glued it down onto a piece of black card with tacky glue and made rather a mess of it, but I wasn’t too worried as I had planned to add something else around the edge anyway, as this piece was rather small. I found a brass ring in my stash that was exactly the right size to frame the plastic part so I added this with tacky glue too. Stickling the plastic part onto the card was difficult because I’d put in the little beads and they wanted to spring out onto the floor all the time!
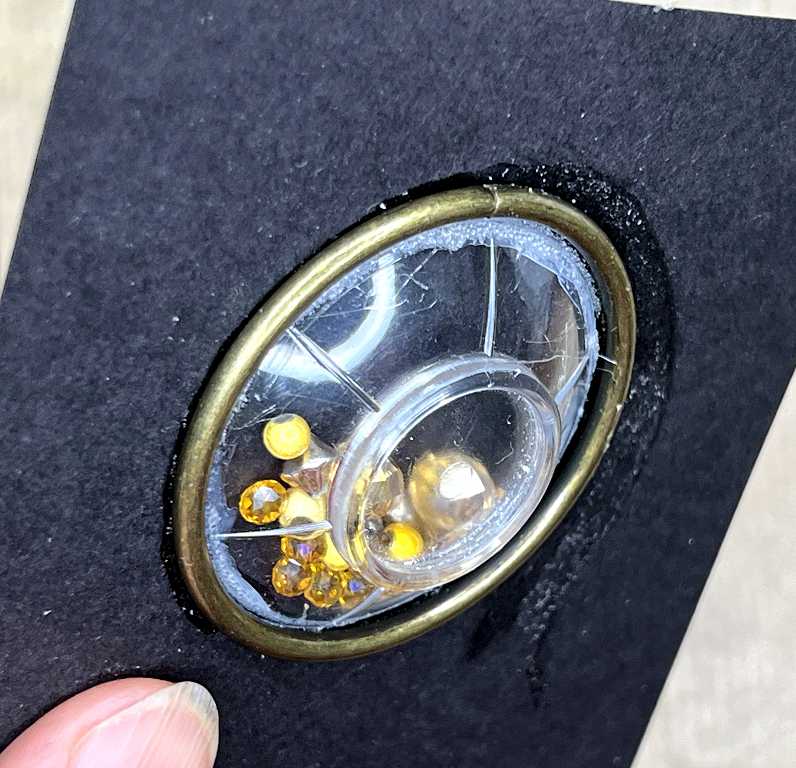
Here it is from the side, to give a better idea of the shape of the plastic part. I’ve tipped it up to show how the shaker beads move around.
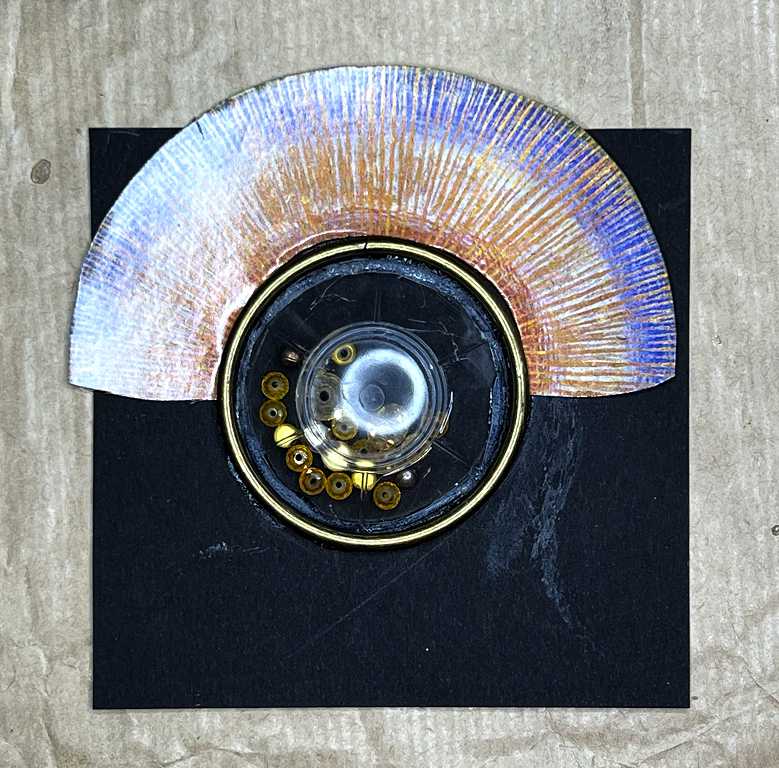
I have a lot of old greetings cards in my stash, and sometimes I cut elements from them if I don’t want to keep the whole picture. I have a few of these stylised rainbows and thought one might just fit around this shaker, and with a bit of trimming, it was perfect. This photo is just a mock-up – when I finally stuck everything down I arranged things so that it would cover up the glue mess.
Attaching the noise makers to the yoghurt tray
Once all the elements were complete, I was able to attach them to the yoghurt tray, one in each hole. I did this with strips of masking tape. This isn’t desperately secure, so before attaching the whole thing to the actual front cover of the book, I shall probably lift each piece of tape in turn and add some glue to make sure everything stays secure. I had to stick the tape onto the backs of each element first, and then centre them in the holes before pressing the tape firmly into place.
As planned, I stuck the safety cap jar lid into the hole with hot glue on the back. You can see how the border around the Mason jar lid works – no evidence of a picture, just interesting texture. Viewed from directly above, the backings on the elements don’t really show up, but they help neaten the result.
A final addition – a slap strip
In the top left-hand corner of the yoghurt tray, I punched a hole through and attached a small strip of acetate with an eyelet. I had cut three strips of acetate and coloured them with alcohol ink and stuck them together, hoping to make a multi-layered slap strip but they came apart straight away, so I decided on a single strip. When you lift the end and release it, it makes a satisfying slapping sound. I will probably attach some yarn through the eyelet with further noise makers attached, before finally sticking the yoghurt tray down onto the book cover.
I am pleased with how the noise makers work together on the yoghurt tray background. Each one is different, but with the common elements of black and gold, they make a coherent whole. There will be further noise makers on the book closures which I am already planning, as these will need to be attached inside the cover before I add any endpapers.