JUNK JOURNAL – MAKE A JOYFUL NOISE PART 4
Over the past couple of days I have made some progress with the pages.
I have had fun rummaging through my stash, and discovering bits and pieces which I pulled out to use. Some of them have been lying around for too long and it’s nice to have the chance to show them the light of day.
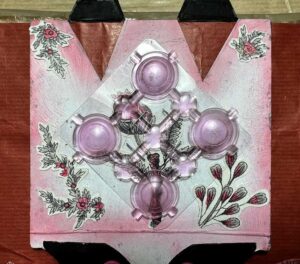
Pistachio nut shell embellishment
In the course of my rummagings, I found a jar of pistachio nut shells. Several years ago we had supper with some friends and were happily cracking away at the nuts, and I thought the shells were so attractive that I asked if I could have them. I never did anything with them till now. They make a gentle rattling sound when shaken.
I pierced a hole through the centre of each one with an awl, and strung them with some beads to make a dangly embellishment. The ring at the top was one of those colour-coded rings you get when you buy toothbrush heads for an electric toothbrush. They end up in my stash when I get a new brush head. I have a box labelled “Rings, Shapes etc.” and there are quite a few interesting bits and pieces in there that may or may not come in useful at some point!

I’m not sure where this embellishment will end up at this stage.
Fused cereal box liner
I’ve been collecting cereal box liners for some time now. We don’t eat them but our neighbour kindly keeps them for me. These plastic bags are quite crinkly and come in a variety of degrees of transparency. They are easy to tear apart at the seams, and ironed between two sheets of baking parchment, they will fuse together and get quite wrinkly.
I fused these pieces with a piece of napkin sandwiched between. You separate the napkin into its layers – some are two-ply and some three. What you need for napkin collage etc. is just the top printed layer, which is quite thin and flimsy, but very useful.
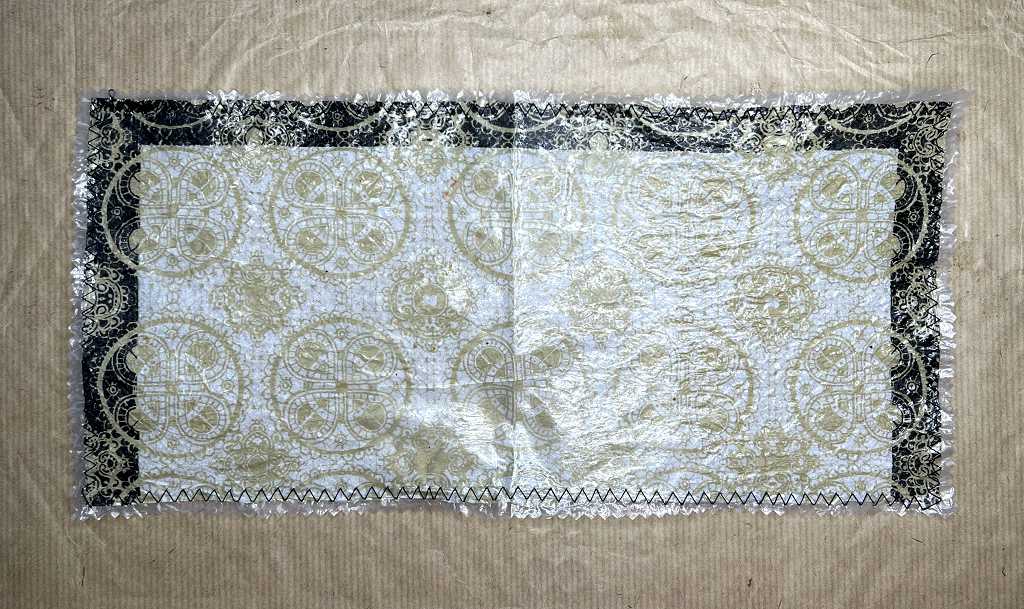
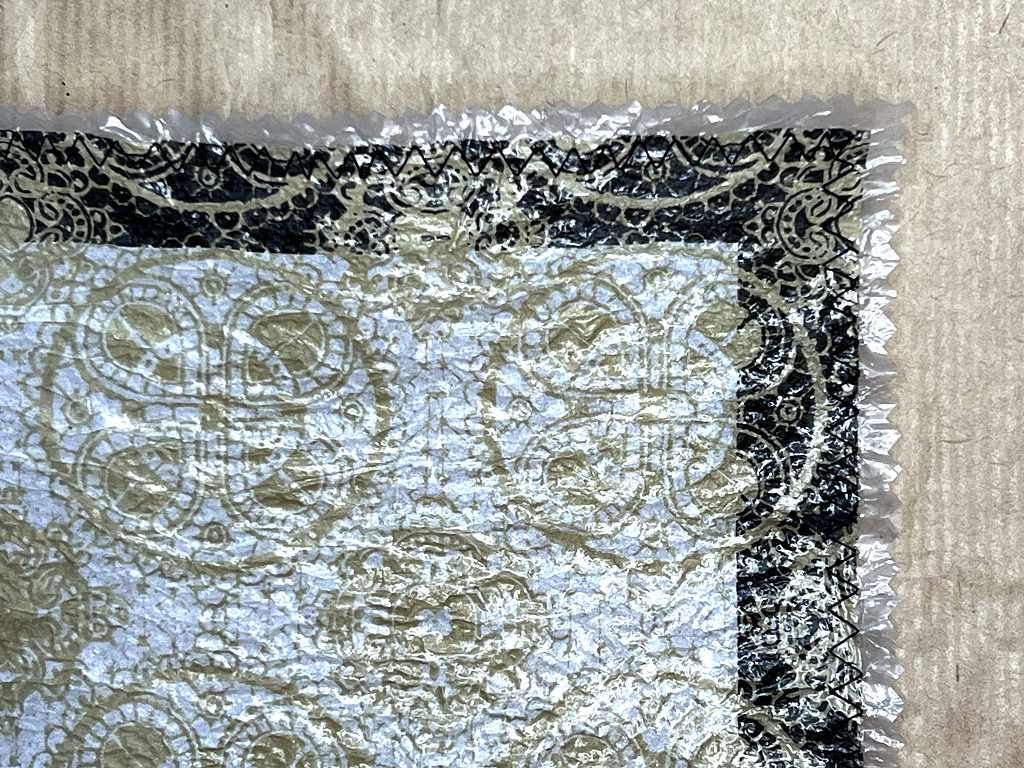
After fusing it, I trimmed it down with my pinking shears and then ran a zigzag stitch around it with the sewing machine. Nice and crinkly. Here’s a detail.
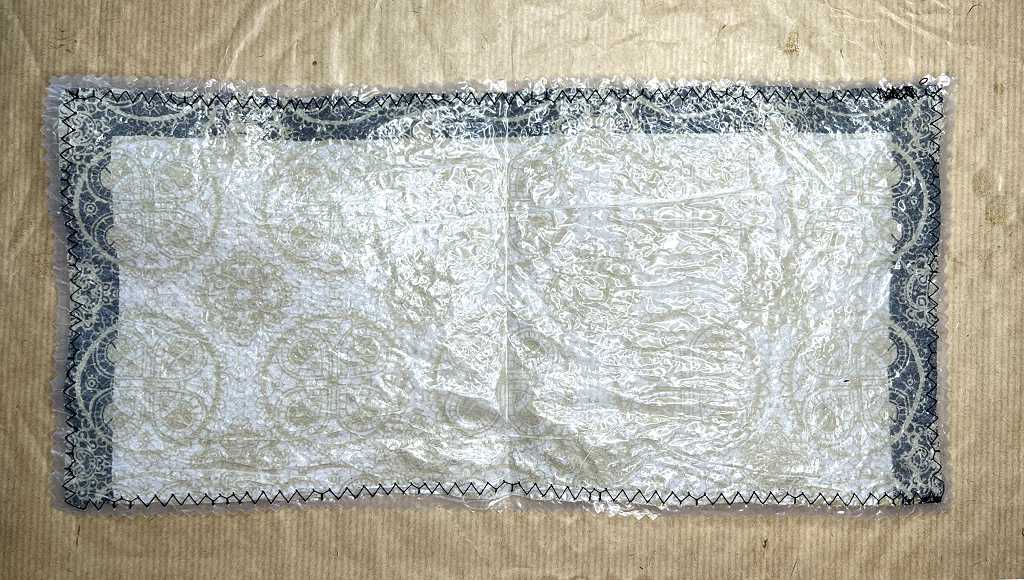
Here’s the reverse side – similar, but the napkin printing is more muted.
Coffee packaging
My hubby recently started using a new brand of instant coffee. I don’t drink it, preferring real coffee in my cafetiere. His first batch was in a lovely jar which I have kept for kitchen storage, and you can now buy refills in what they describe as “paper” packaging but I think it has plastic in it as well. The bags are extremely crackly and I knew I just had to incorporate one in my album!
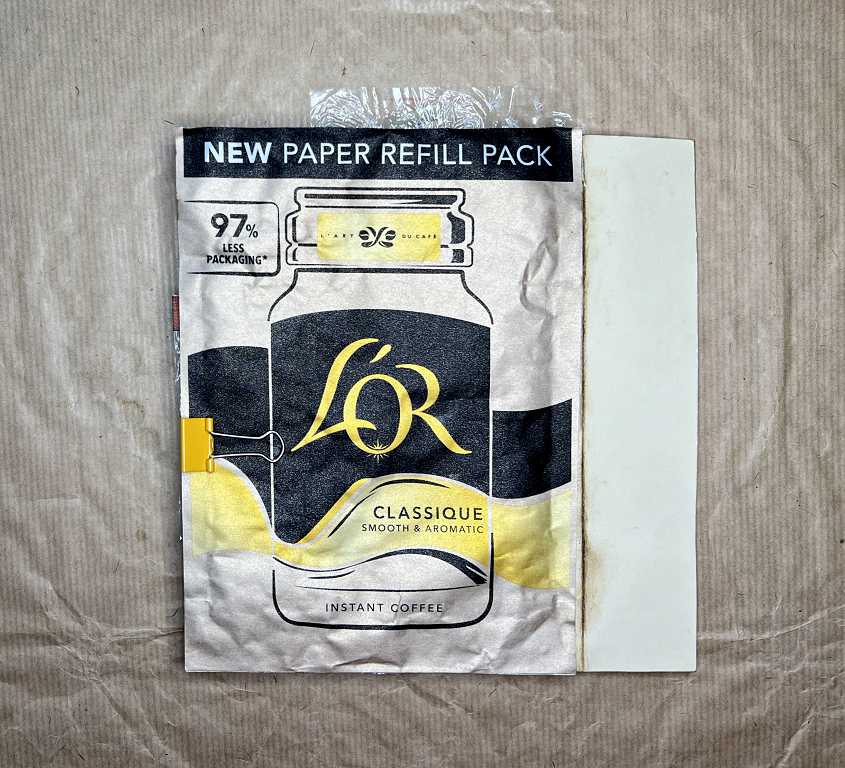
I decided to leave this bag front as-is. I like the colour and the design of the original jar. You can see that I have glued a strip of card to one side. This will form the hinge with the adjoining page, ready for binding.
This is what I have done on the other side.
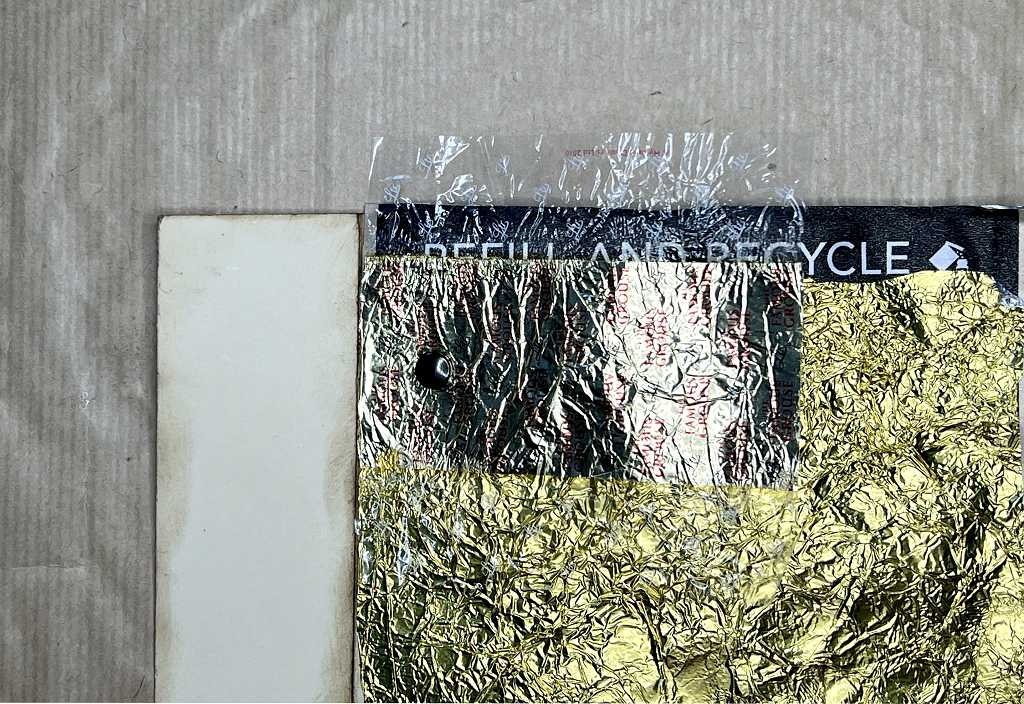
The binding strip is concealed beneath some gold foil glued down over most of the back of the bag. I’ve left a little exposed at the top where it says “refill and recycle.” This page is really a celebration of recycling. There is a small chocolate wrapper at the top left which has transparent edges to it. I have attached this only on the left, with a brad. It is crinkly to fiddle with.
I cut down a cellophane bag which originally had something in it that I’d purchased – these flimsy bags are a pain to deal with in use because of the fiddly sticky strip along the top, so I usually decant whatever they contained (dies, stamps, stencils etc.) and save the bags ready for use in projects like this. They are nice and crinkly. I have reinforced the top with strips cut from the 12 x 12 in cardstock that I used for my DrawAwesome album. Again, I decided to use them as they were, to show that they were recycled.
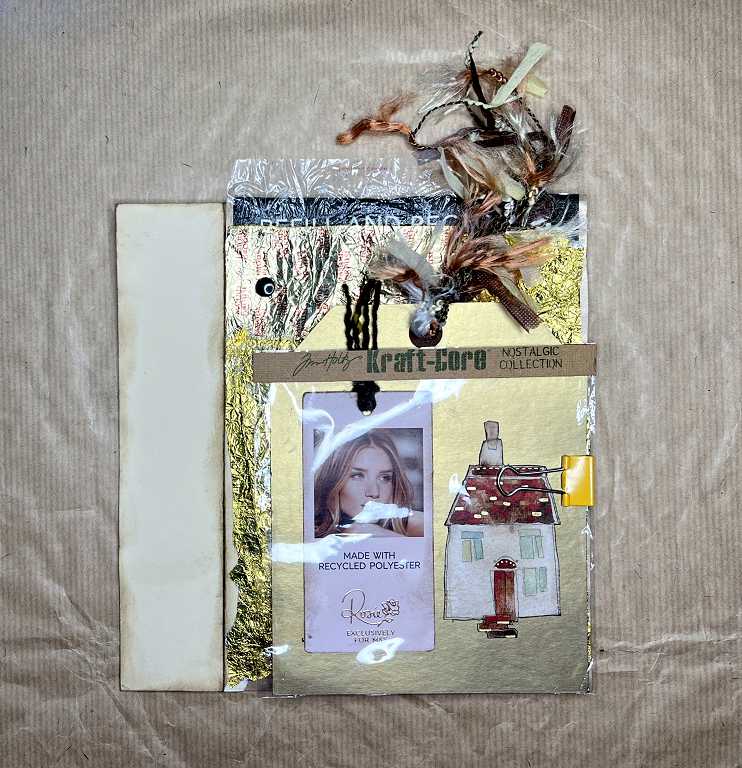
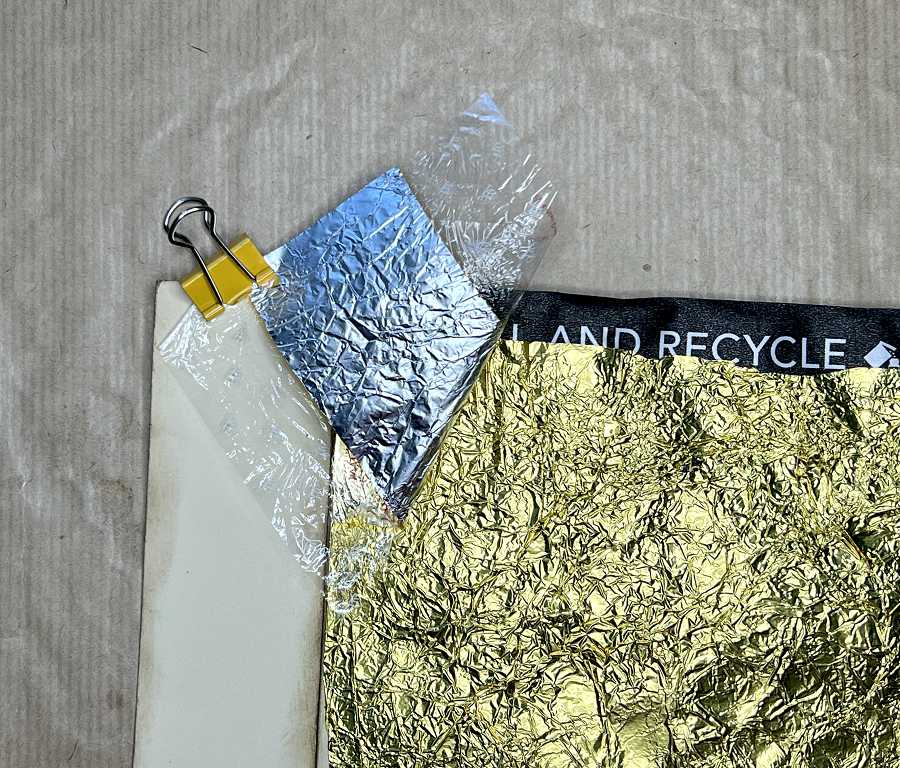
The clear pocket is clipped to the side of the page with a small yellow bulldog clip, and contains a double-sided tag. On the left is a clothing tag with a pretty image on it, and the words “made with recycled polyester” – I have no idea what this garment was! I inked the edges and punched a hole at the top, through which I threaded some coarse brown twine. On the right is a quirky house image I cut from a greetings card. I think the background gold card was part of an Easter egg packaging. I punched a hole in the top and added a reinforcement on either side, and some fancy yarn as the tag topper.
When the clear pocket is removed, you can see the whole of the page. The bottom of the gold foil was already rather ripped, so I left the recycling details on the bag exposed.
![]()
Detail shots of the page minus the clear pocket.

The chocolate wrapper turned back.
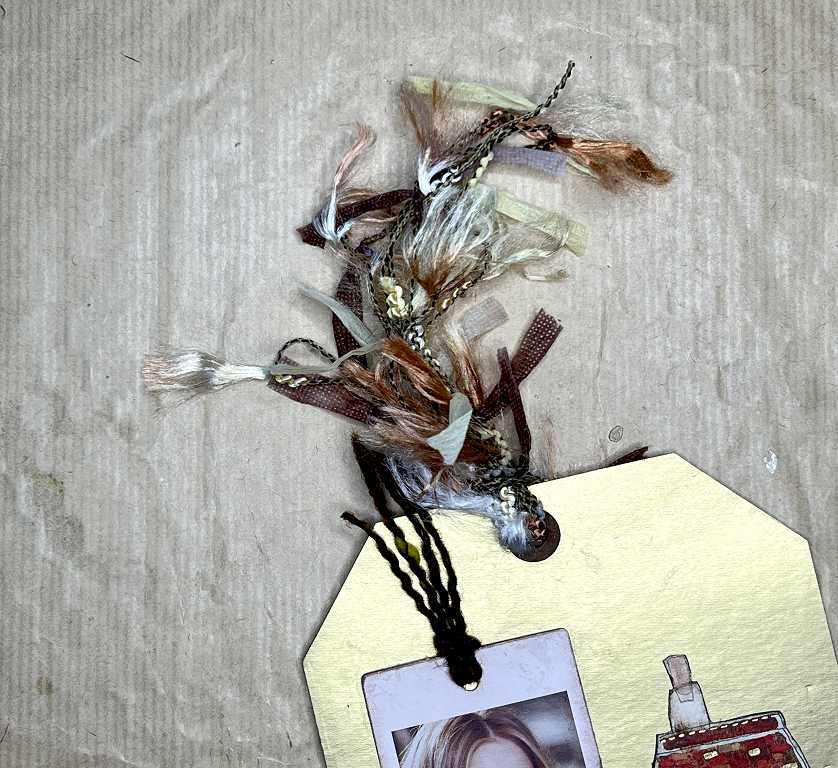
The tag removed from the clear pocket.
![]()
Detail of the top of the tag.
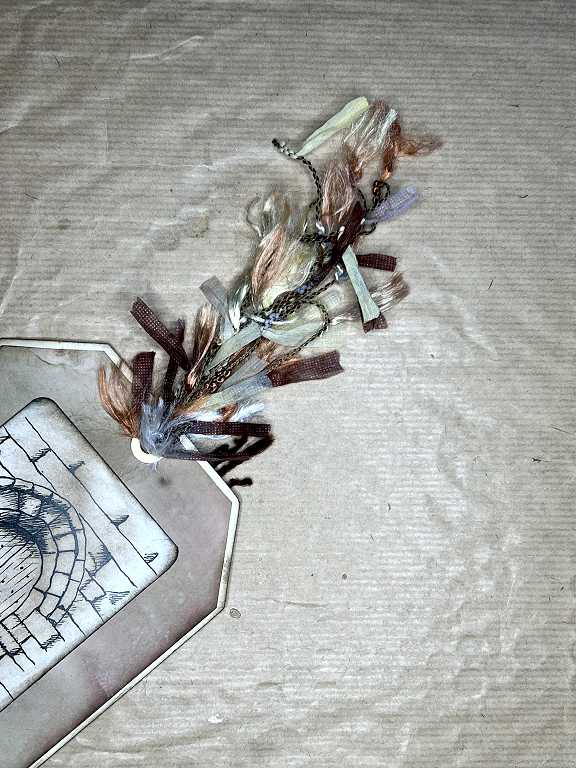
The reverse of the tag.
![]()
I am not sure where the image came from. It was a printed black-on-white piece of card. I rounded the corners and inked it to get rid of the stark white. I covered the white back of the gold tag with a piece of paper cut from one of the large ones I tea-dyed some time ago, and inked the edges.
Detail of the top.
Sunflower page
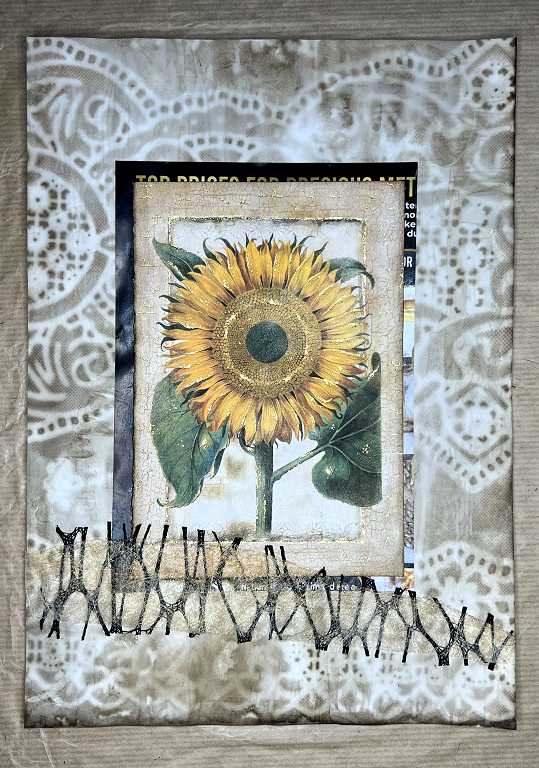
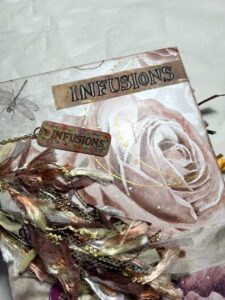
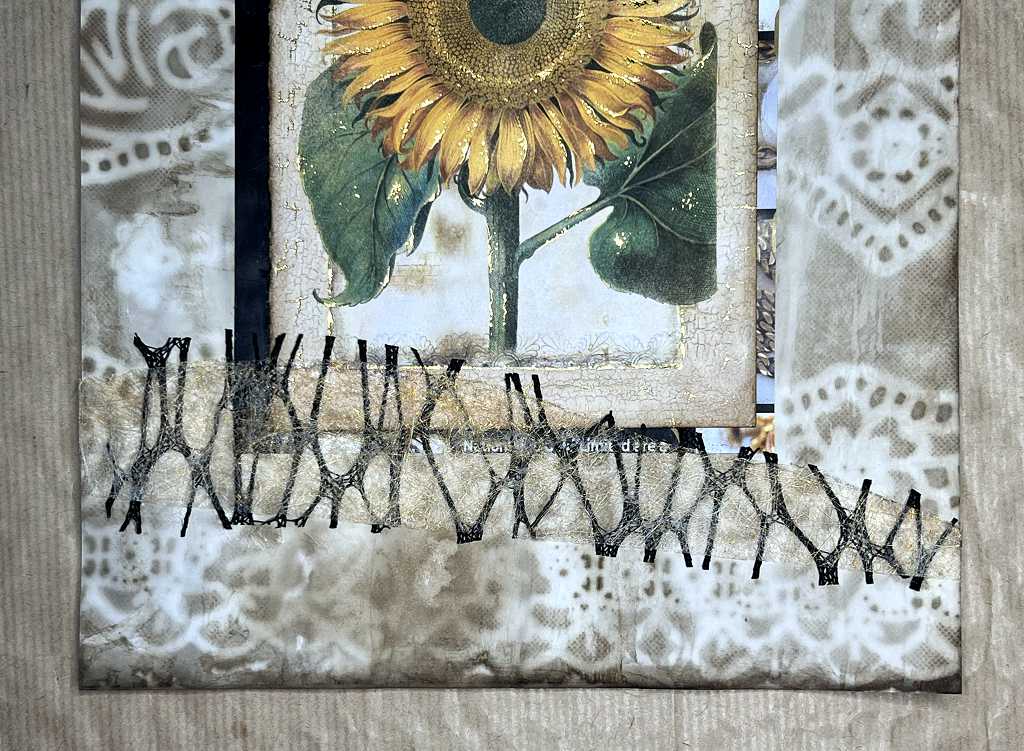
This image was cut from a greetings card. I matted it onto a piece of junk mail. I like the effect of the printing which adds a bit of interest but because it is so narrow, it is not readable. The background was a piece of the tea-dyed paper I did with plastic lace, and I added some further embellishment with an offcut of the black pastic mesh stuff, overlaid with a scrap of fine translucent mesh. I am not sure of the source of this, but I used some of it in my Infusions album.
How these pages will be joined
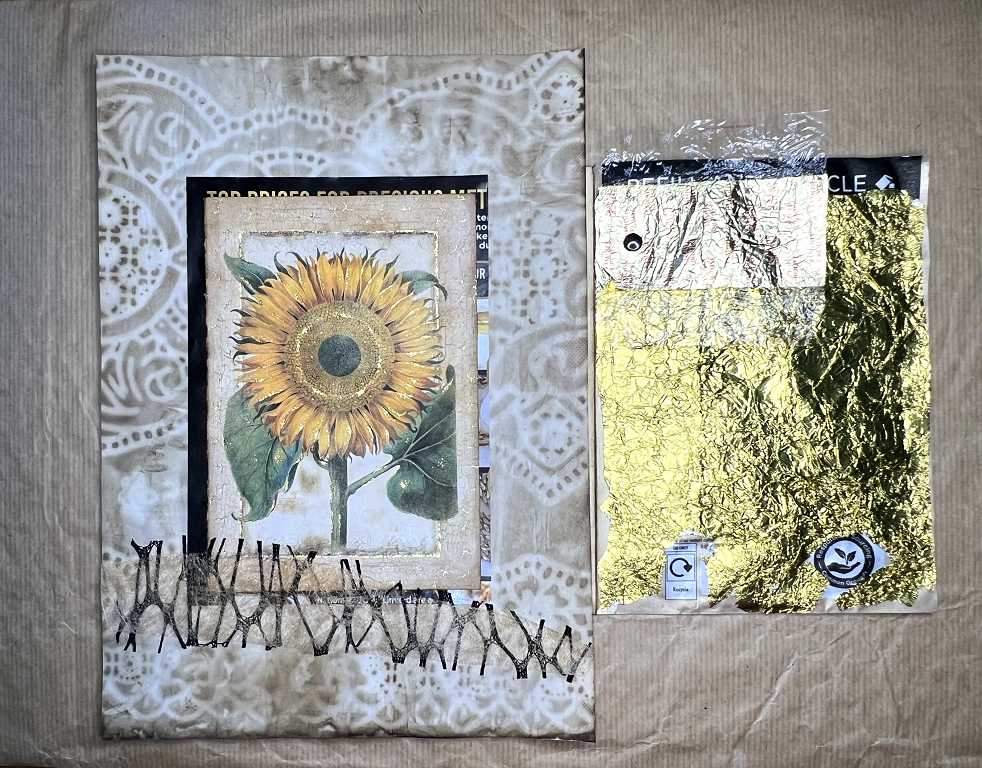
This is a mock-up of the two pages laid side by side. The other half of the hinge piece will be glued to the back of the sunflower page, which will later be backed by another piece, which I have started working on but not yet completed.
At this stage I am joining opposing pages at random to form individual folios. There isn’t really any plan, and I shall choose what goes best with what, when I come to make up the single signature which will form the book block. This will then be bound with a three-hole pamphlet stitch into the cover.