A NEW PROJECT – BONNIE BAGGIES! – AND A NEW LAMP
Preparation for an exciting new project
Just recently a new channel came up in my YouTube feed, from a wonderful creative lady in the USA who upcycles old clothing and jewellery into beautiful boho-style clothes and bags. This really got my creative juices going, and also reminded me that I need to do some serious stash-busting in my studio (and elsewhere, as it turned out), if I am not to be completely overwhelmed by Stuff.
I have made a few little bags in the past but it was always a bit of a hit-and-miss affair as I didn’t really know what I was doing. I don’t seem to have any photos so perhaps I should take some…
Tracy (the YouTube lady) has such a simple method of making bags, from basic patterns of squares, rectangles, curved flaps etc., and some basic techniques that are pretty much common to every bag. The main emphasis is on the choice of materials and embellishments, and giving your imagination and creative juices full rein!
Since I am now in the mindset of looking at everything with a discerning eye as to whether or not I can make art out of it, transitioning into this area of creativity isn’t going to be hard.
Before Covid I started a box of stuff for charity shop donation and then never got around to dealing with it, what with the lockdowns and so on, and it has sat in the bottom of my wardrobe all this time. I also have various scarves and articles of clothing that I know I’m not going to wear and these will also get the once-over.
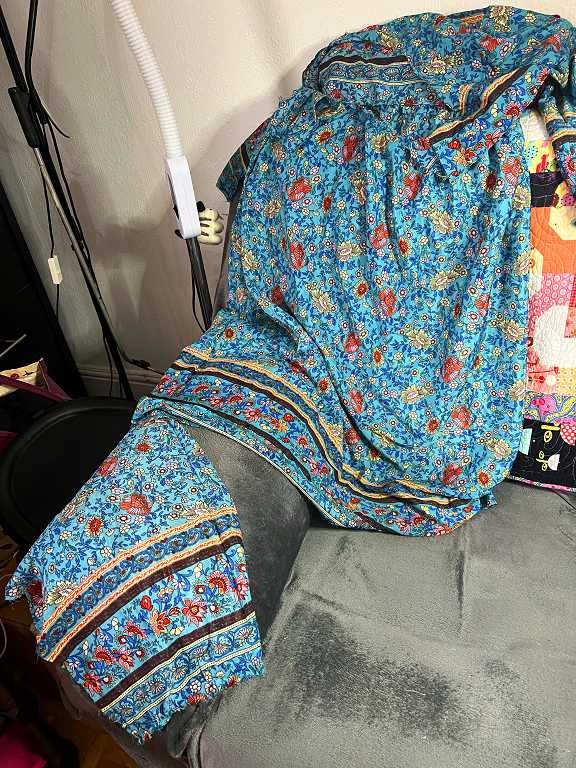
Last year I bought a maxi dress on Ebay, and this turned out not to be quite as maxi as I’d hoped, and the top never fitted me properly. The fabric is very pretty and has lots of borders, and it had panels outlined with bias binding, and added tasselled cords for embellishment. I have never worn it and it was stuffed in my charity shop box. I am glad I didn’t get rid of it! I took it all apart, saving everything – I intend making a skirt from the lower part of the dress, but there is plenty of material available from the bodice and sleeves for lots of creativity.
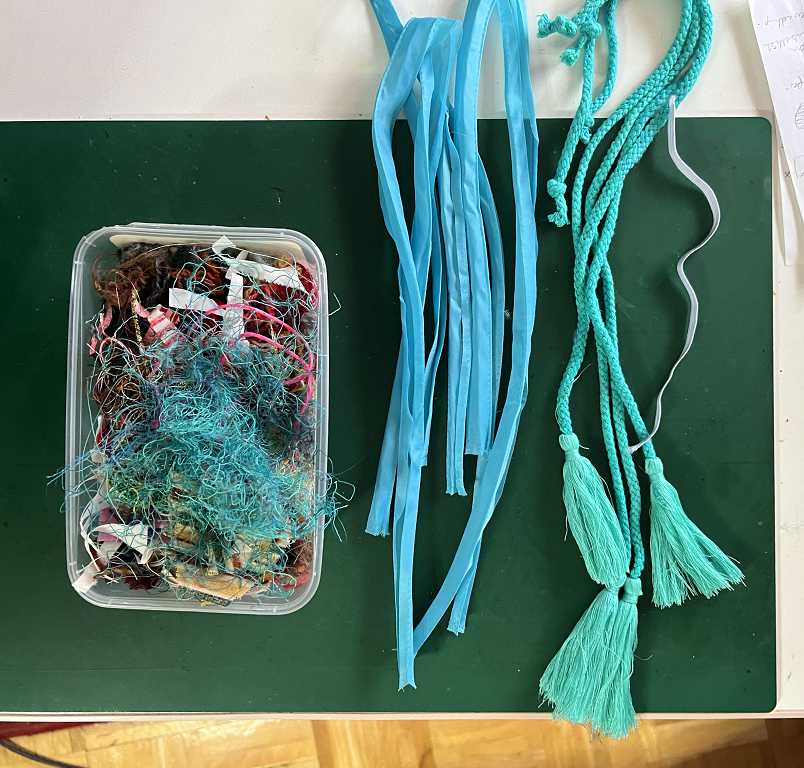
I have a small plastic box (ex-Chinese takeaway) in which I put scraps of threads, fibres and fabrics, and I have been adding to this.
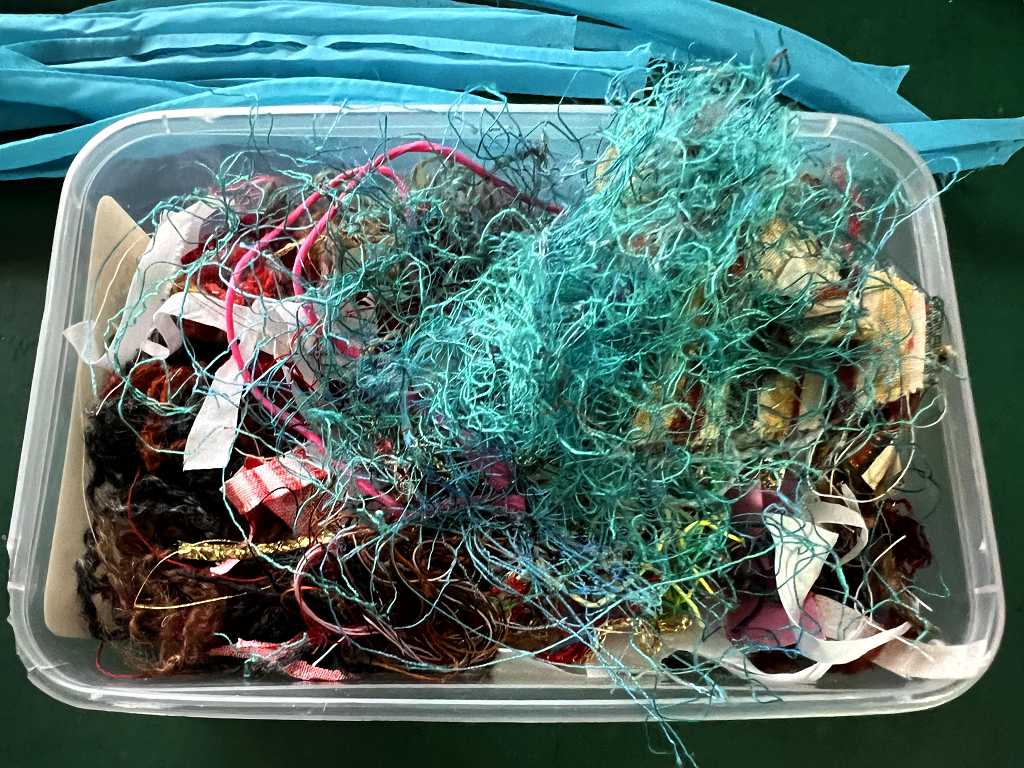
Most of this stuff has been collected for adding to “hand-made paper” and other mixed media projects, but I recently saw a video of someone making boho beads, where fibres like this were wrapped around a fabric core, and I shall definitely be trying this.
Every time we go to the village fete where we used to live, I raid the white elephant stall and denude it of all of its junk jewellery so I have plenty of material for embellishments. Up until now I had journal covers and tag embellishments in mind for these but some of them are quite large and not really suitable for mixed media work.
I have three small vintage leather suitcases in my studio, absolutely stuffed with lace, trimmings and ribbon and it’s great fun having a rummage in those. I have been given a lot of stuff over the years, either by people who have given up making things, perhaps due to age or failing eyesight, or going through the contents of deceased relatives’ houses, and knowing that I can make use of a lot of material such as fabric scraps, embroidery threads, etc. etc.
It was definitely time to start making inroads into some of this material, a lot of which has been hanging around for many years. Funnily enough, quite a bit of it isn’t at all to my taste but since thinking about this, these materials suddenly seem a lot more attractive – see the handle of my first bag (below) as an example of this.
Over the years I have sometimes bought lengths of fabric with the thought of making something out of it, but never got around to it. I have decided to bite the bullet and start cutting this up and making use of it.
I had a huge rummage in the studio the other day and the room looked even more untidy than usual, once it was all on the pull-out units and on the floor! I selected various bits and pieces, and cut off a few small fragments of fabric and gathered them together on my spare trolley so that I could work on them from the comfort of the recliner. Since these bags, at least initially, are going to be small, I intend hand-sewing them all. Tracy uses her machine, and this is certainly the better option for the larger bags as hand-sewing long seams takes an age.
Here is my initial selection of materials and equipment.
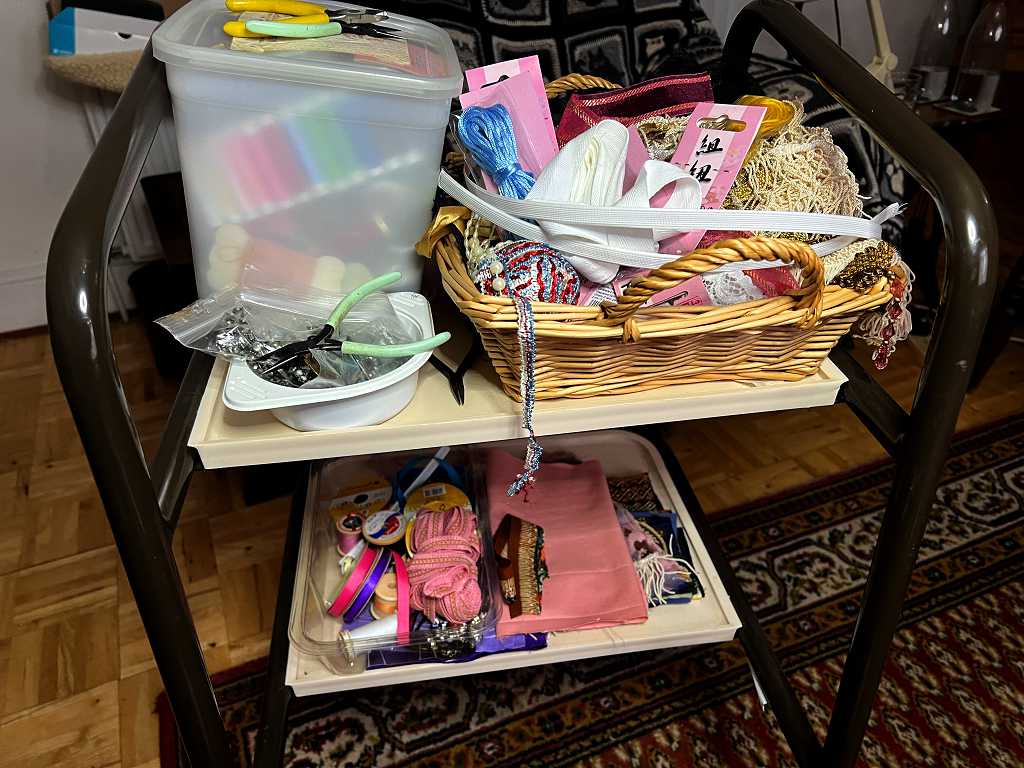
The large plastic box holds all my spools of sewing thread. The basket conains a selection of trimmings and other bits and pieces I thought I might use. The small white plastic bowl has some junk jewellery bits in it, and on the bottom layer is a selection of stuff for the first bag.
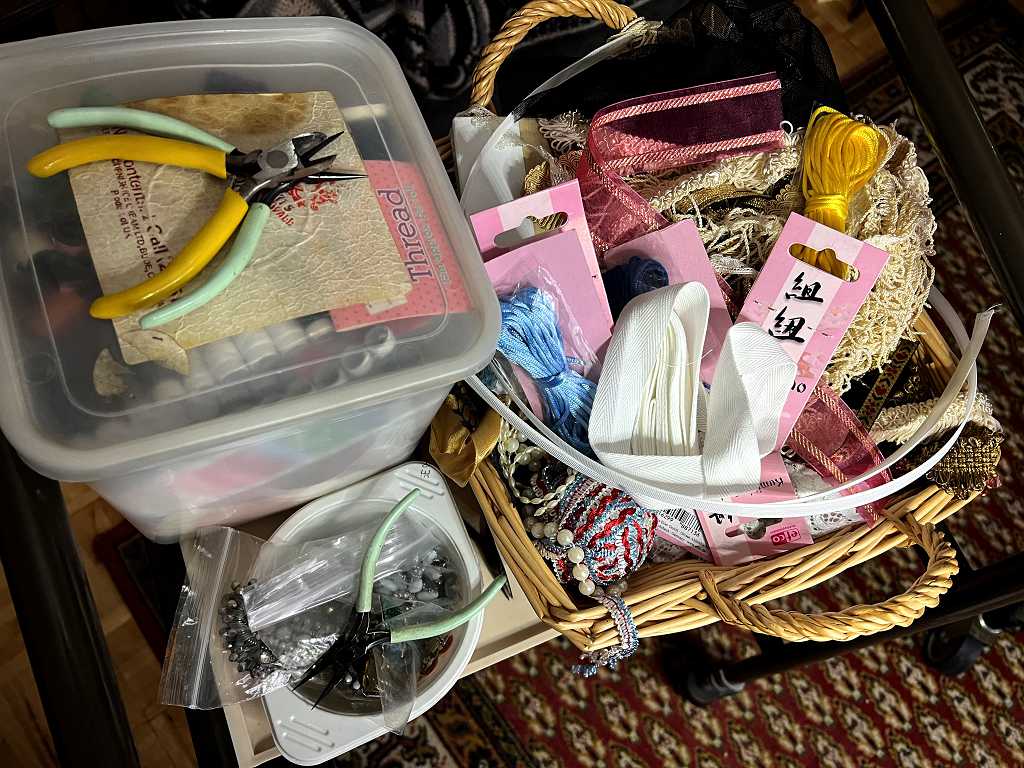
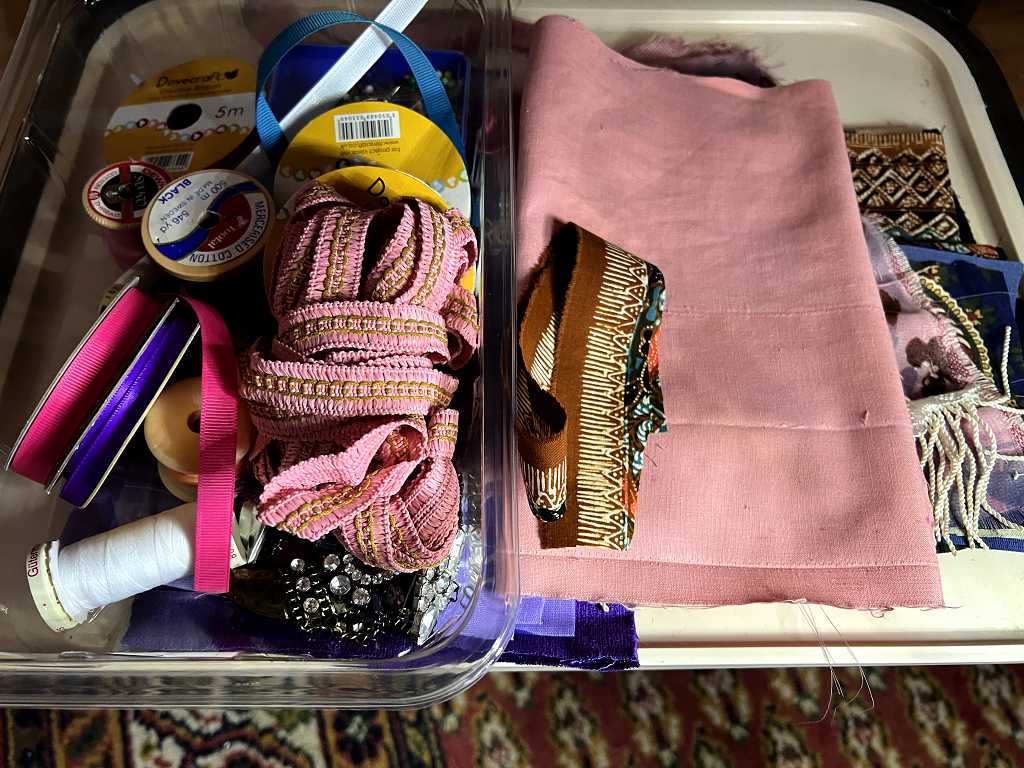
The bundle of pink braid is what I ended up using for the handle of this bag – this braid has been in my stash for years and I’ve never liked it, but suddenly, it is ideal! Just goes to show… never, never throw anything out! The pink fabric on the right is from an old cotton bed sheet and I chose this for the lining of the bag, and the brown strip is cut from a length of batik fabric which I never made up into anything.
Bonnie Baggies!
When I really got going with making albums, I wanted a collective name for them, and since Natasha of Treasure Books had already claimed the ideal name, I had to think of something else. I came up with the name “Bonnie Books.” Bonnie is a very commonly used word in Scotland and means anything pretty, positive or good, and it derives from the French word “bon,” meaning “good.” My Scottish grandmother used the adjective “bonnie” for everything, and my sister and I were always the “bonnie wee lassies.” I thought the use of the word “bonnie” would sum up what I was doing, and also be a nod to my Scottish ancestry, so Bonnie Books were born.
What better name, therefore, for my new bag project, than “Bonnie Baggies”? Many years ago when my dad and I were visiting my grandmother in Scotland, he brought his newly acquired French horn to show her. I remember him explaining how the valves worked, and about harmonics etc., and I could see her eyes glazing over as it all got a bit technical, and her eyes wandered to the open case on the floor, which was lined with opulent gold-coloured fur fabric. She completely took the wind out of Dad’s sails by uttering the immortal words, “It’s a bonnie baggie.” Lol!
So, Bonnie Baggies it is. Thanks, Granny!
Tracy did a video on small amulet-style neck purses and this is what came up in my feed. I knew I had to make some of these! Someone in the comments said it would be great to make one for one’s phone, so this is what I decided to do.
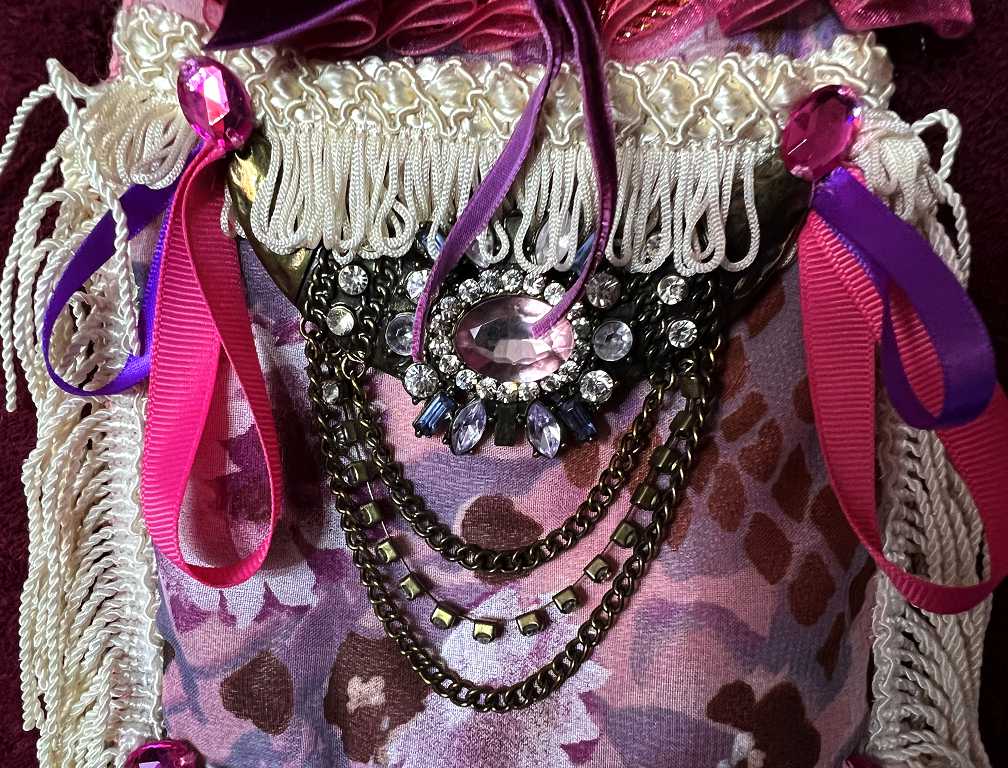
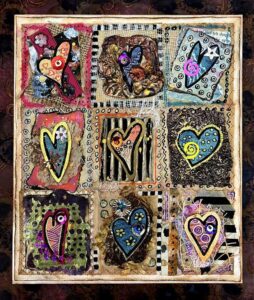
Bonnie Baggie Number One – Boho-Style Phone Baggie
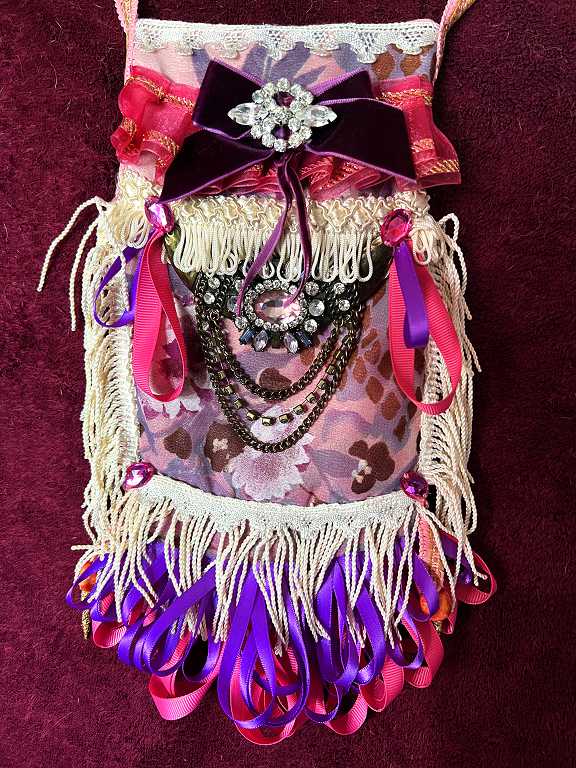
OTT or what? The problem with this sort of project is knowing when to stop!
All the materials were from my stash. I chose a self-patterned pink fabric for the basis of the bag, which had been part of a long stole-scarf I’d bought in a charity shop – I had used some of this on the sleeves of my Tudor gown which I made for the Tudor banquet we attended in 2019. The choice of this material for the baggie was a mistake as it is very soft and rather loosely woven, and tended to fray badly. I should have stabilised it with some iron-on interfacing but in the end, used some sew-in interfacing on the lining. This means that the baggie probably isn’t as durable as I would have liked, but never mind, one lives and learns!
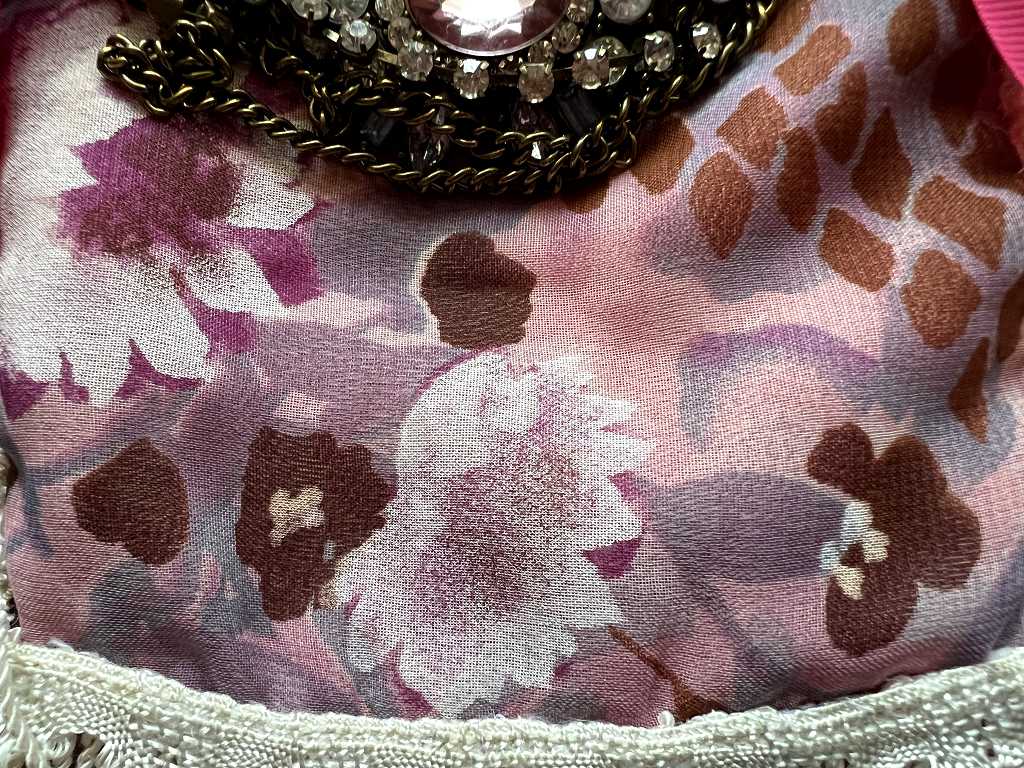
For the front of the bag, I overlaid this with a piece cut from a length of printed chiffon I bought years ago. I chose a part with some interesting patterns on it. You can’t really see the underlying fabric through it.
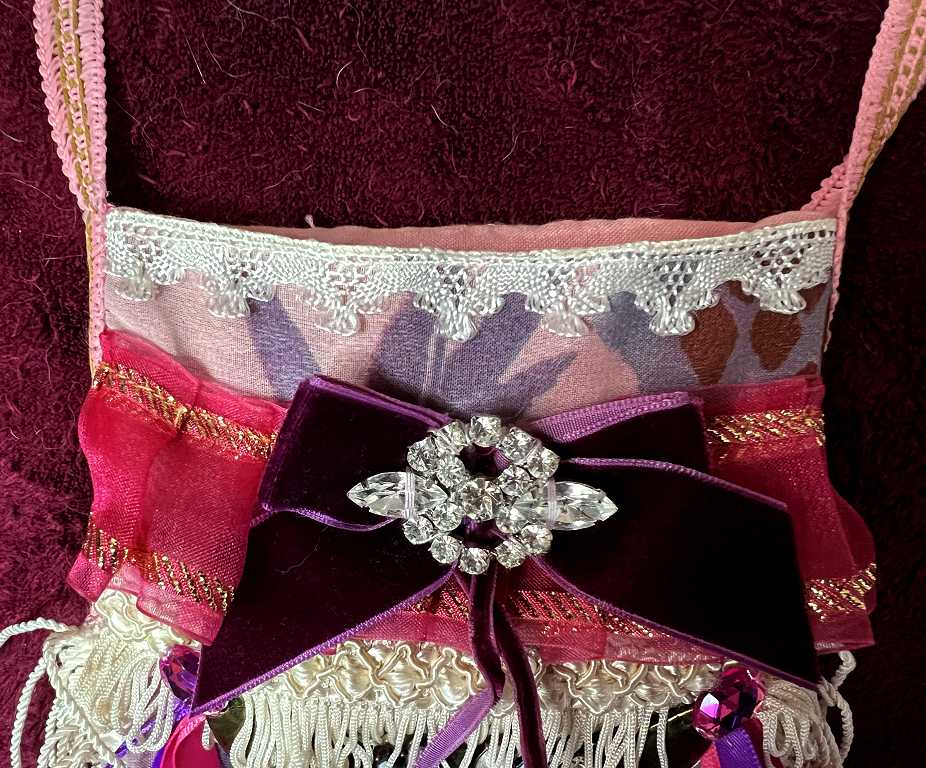
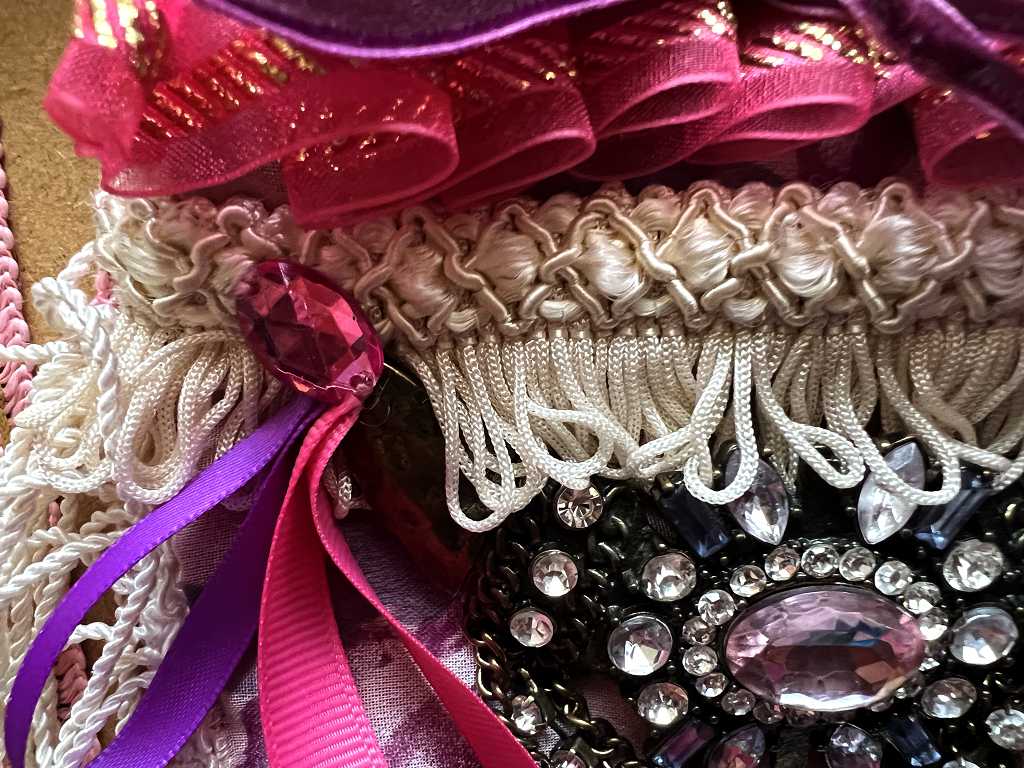
I trimmed the top with some lace from my stash, and pleated some pink and gold chiffon ribbon, over which I sewed one of several purple velvet bows in my ribbon stash. I pinned a sparkly brooch on top and stitched it in place.
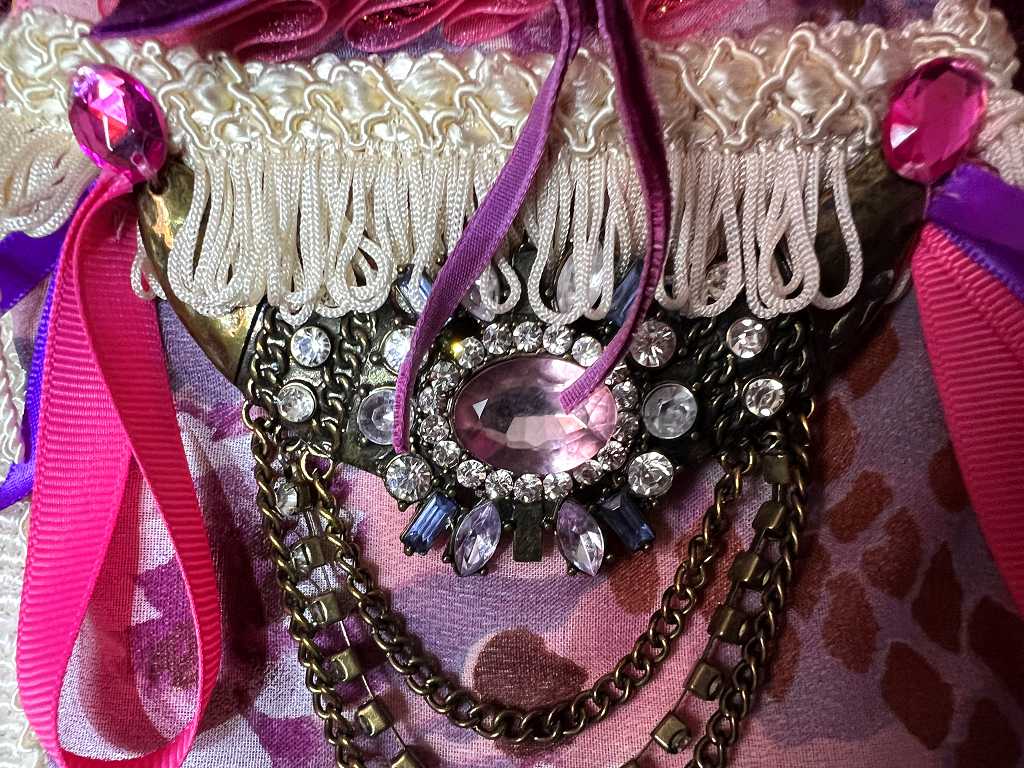
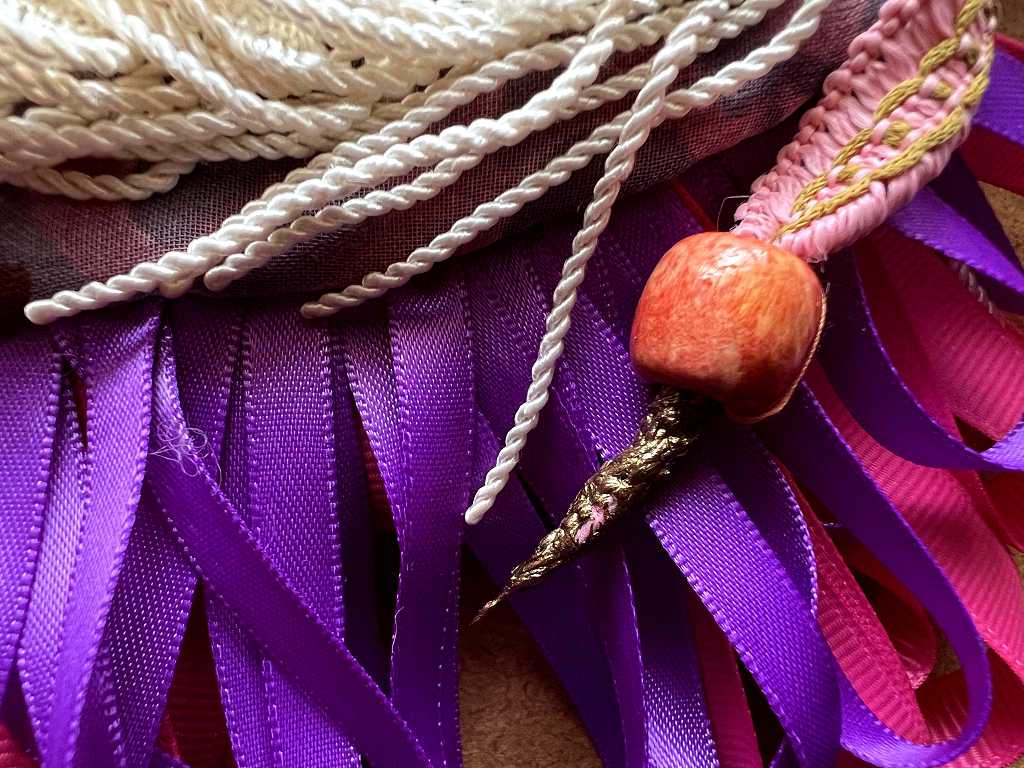
The main embellishment on the baggie was taken from a necklace in my junk jewellery box. I removed the chain from the back, and sewed the curved metal piece onto the baggie. It is very sparkly! I covered the ends with gems and a couple of twisted ribbon fringe pieces (more on these later). Another scrap of fringed trimming across the top.
A closer look at the embellishment.
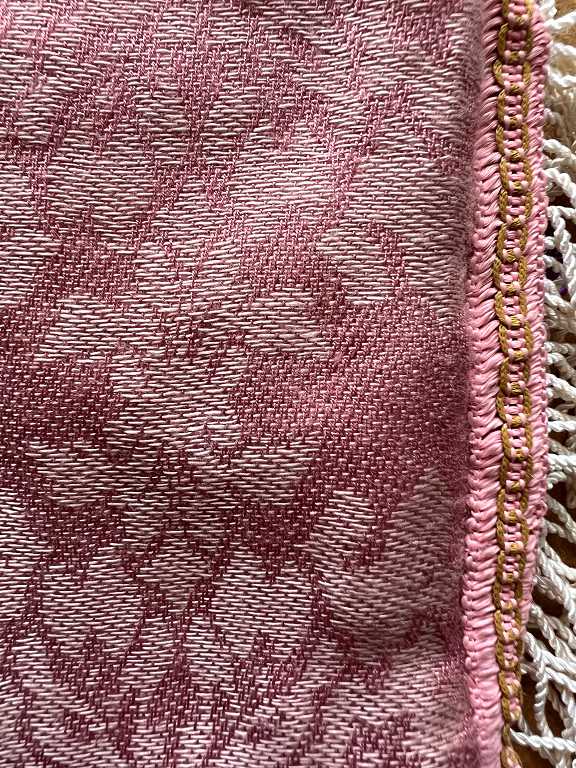
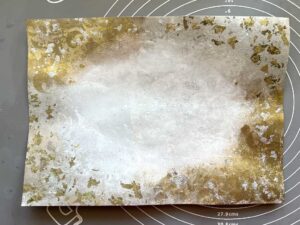
The background fabric.
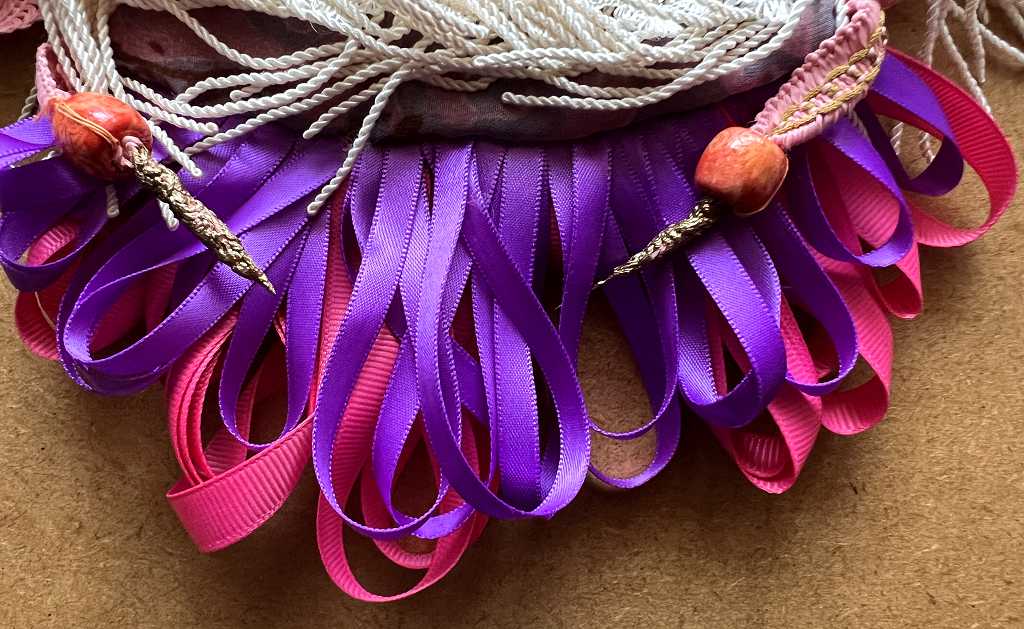
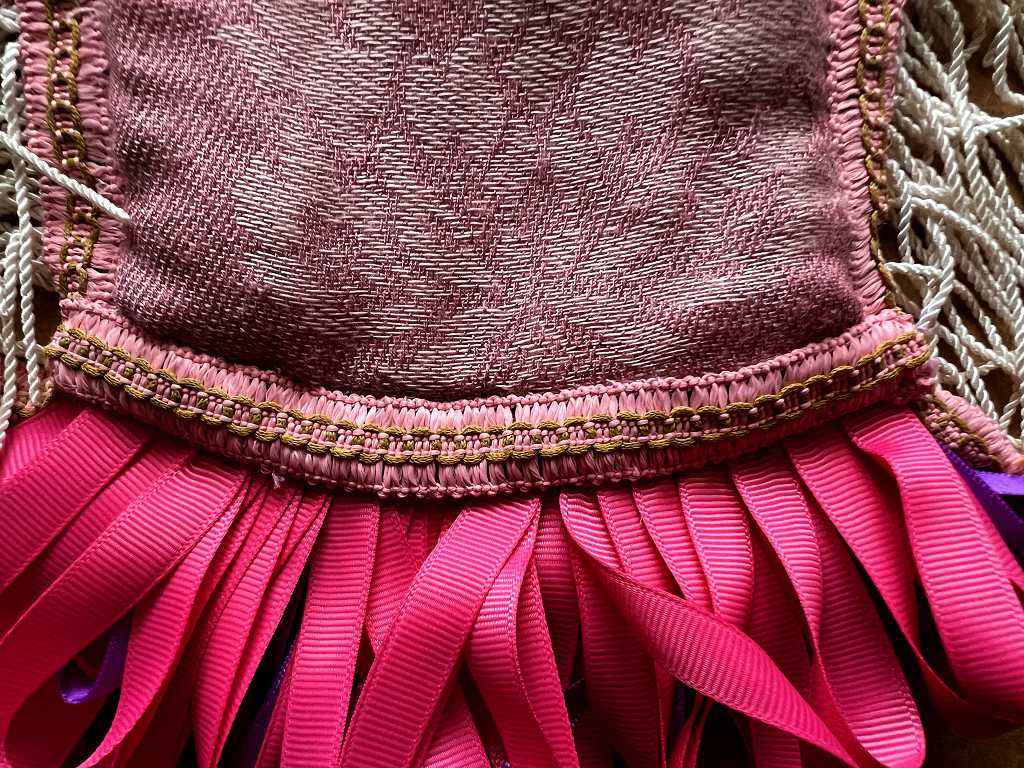
The bottom of the bag. I’ve got a lot of this cream fringed trim. I edged it with more of the lace, and underneath is a double row of twisted ribbon fringe. You cut different lengths of ribbon and put a single twist in them before stitching the ends together and adding them to the project. This is a tip I got from Tracy on her videos.
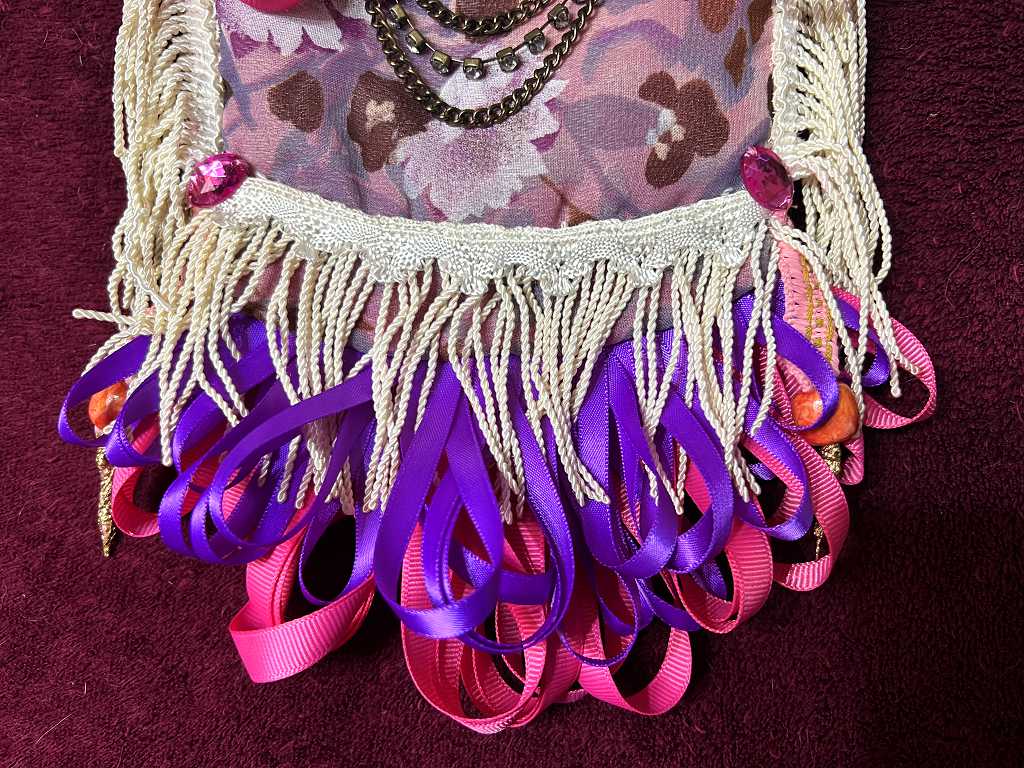
When I’d done this, the whole baggie was looking a bit long and narrow, so I decided to add further fringing down the sides. I added further gems at the corners.
Because the bag fabric was so fragile and likely to fray, I covered the side seams with the extended bag handle. I twisted the ends and threaded them through some new painted wooden beads I got on Ebay, and then glued the ends of the braid into points. Once the glue was dry I painted them with gold acrylic paint.
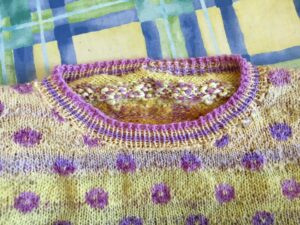
The back of the bag, showing the original pink scarf fabric, and the edging of braid down the sides and along the bottom. This gives a nice finish, along with further lace along the top edge.
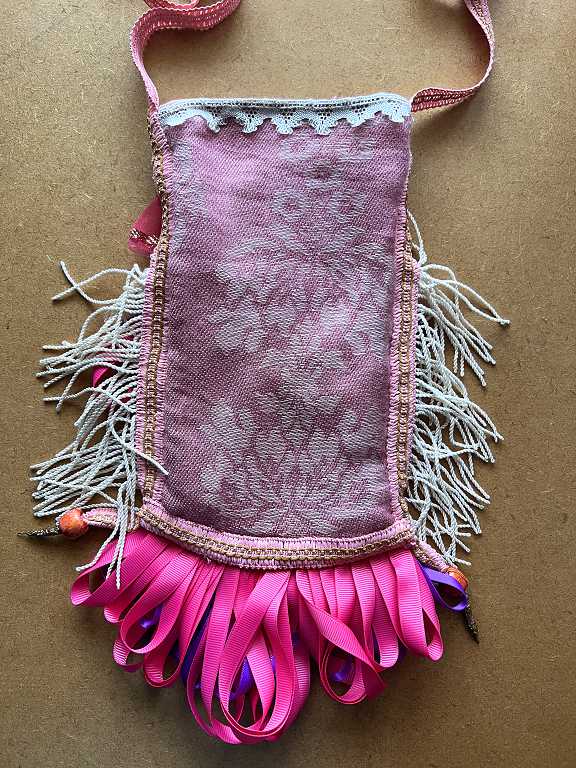
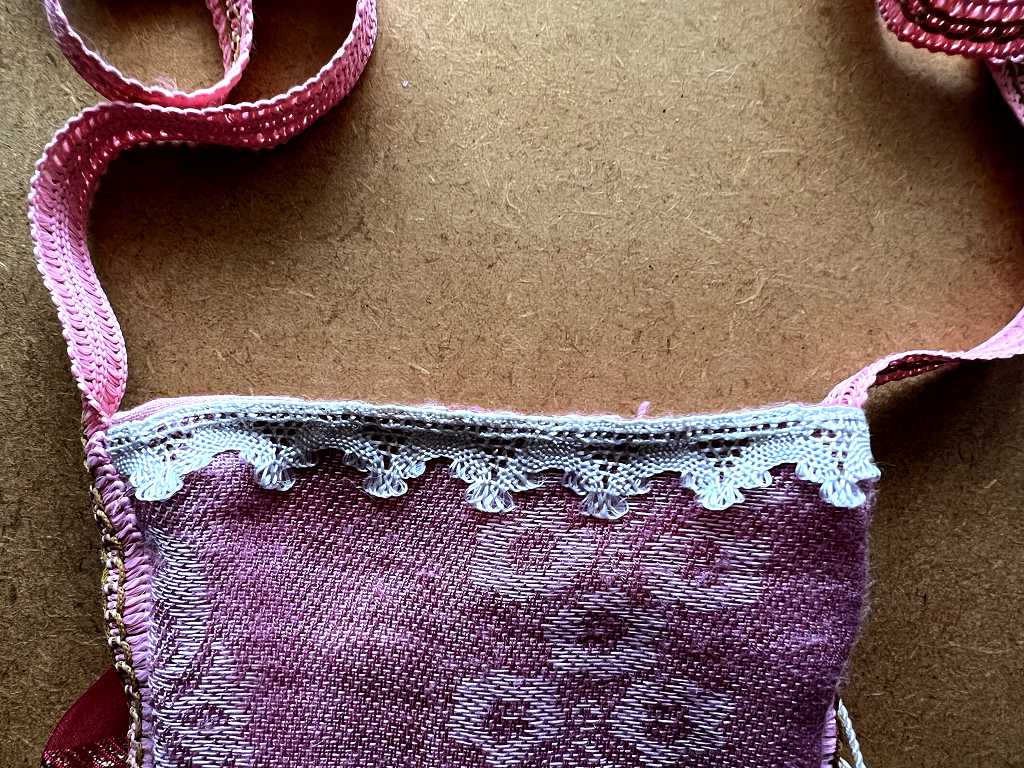
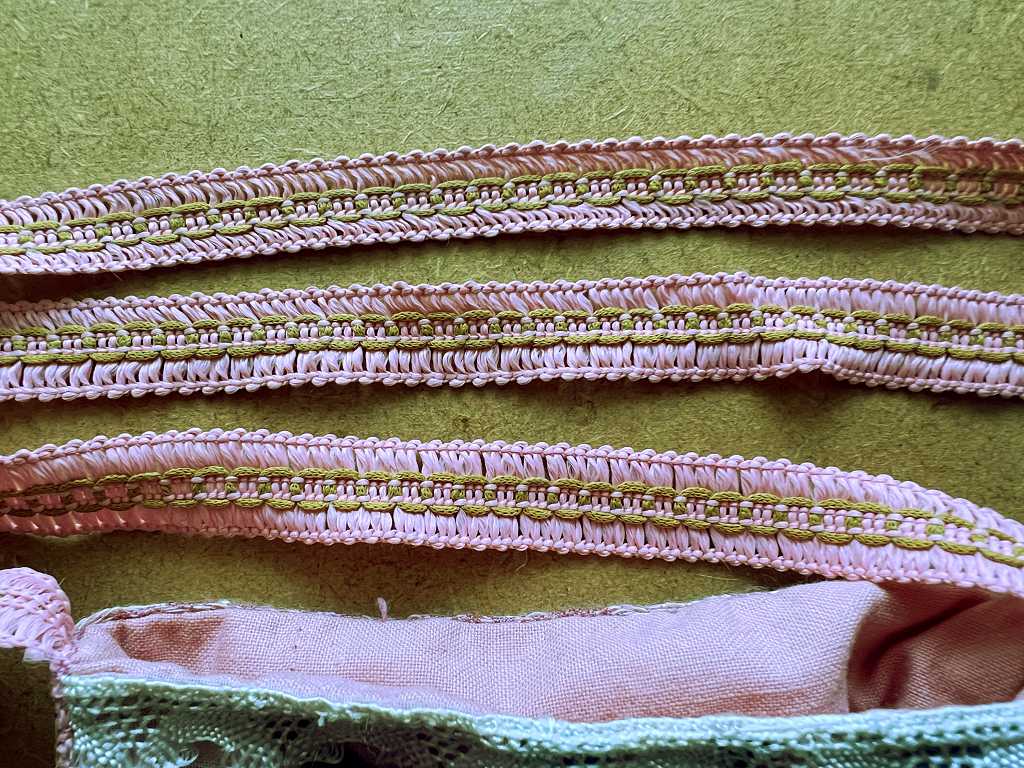
Finally, a detail shot of the braid I used for the handle, and for trimming the edges of the baggie.
A totally over-the-top boho hippie-style phone bag! There is one problem though – I wore it today with my phone inside, while I was working in the kitchen, and was listening to some YouTube videos, and after a couple of hours I noticed it was feeling rather warm – my poor phone was heating up! Probably not a good idea to keep it in the baggie while doing this, but it should be fine if I’m out and about and just want my phone with me to use as a phone and not for videos!
My new lamp
I have a floor-standing magnifying lamp, and some time ago the goose neck came loose at the top. I didn’t get rid of it and it was cluttering up my studio, and I threw out the clamp that came with it, that enabled you to use it as a table lamp. After this my hubby said he could mend it, and he did, after a fashion – it’s still a bit loose and I’m reluctant to manipulate it too much. The problem with it is that it takes up floor space when I need my trolley beside my table in the sitting room – I put my materials on this, and the whole area was getting too cluttered.
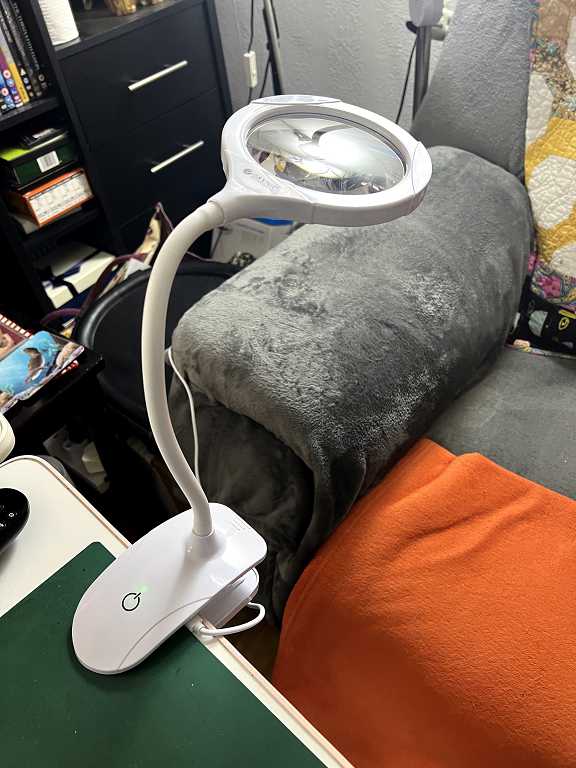
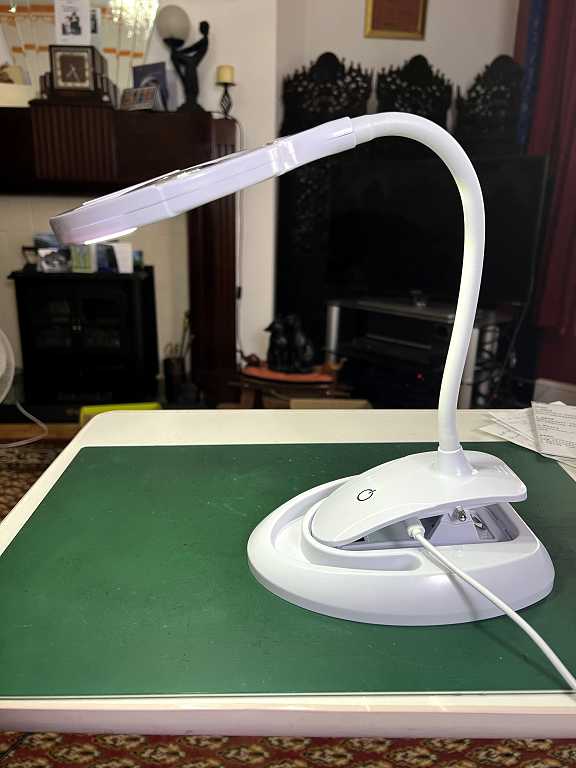
I decided to invest in a smaller magnifying lamp, and was immediately attracted to one I found on Amazon, which has a clamp for the table or for an embroidery frame or whatever, and it also comes with a base to put on the table. You click the clamp into the base – really neat!
The magnifying lens is 5x (as opposed to 2x on my old lamp) and it also has a small circular area of 10x which is a bit too small for my purposes so I shan’t bother with that. It has three LED lamps underneath and it also has three levels of brightness. The whole thing is very compact, and the goose neck will turn through 360 degrees which is very convenient.
It is powered by a USB cable which also charges an internal battery. According to the customer reviews, the length of time it will work on the battery really isn’t long enough to be practical, but in the event of a power cut this would be useful. The cable is only a metre long, and this is only just long enough for my use so I may invest in a 1.5 metre one eventually. There’s a USB charging socket on the side of my recliner and it easily reaches that.
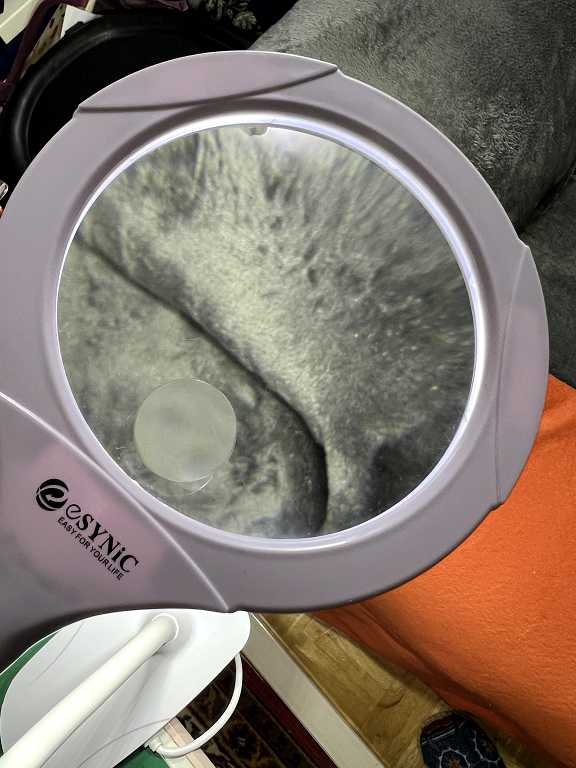
The next photo shows the lens. You can see the small 10x area.
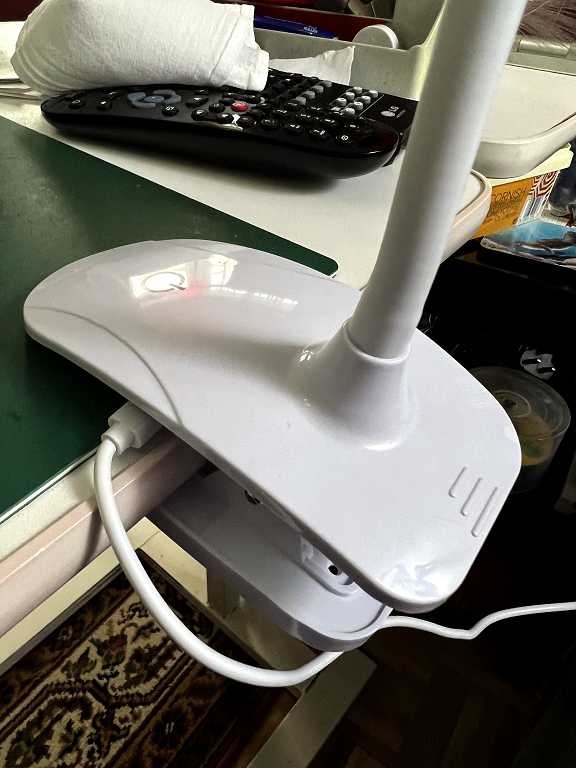
The clamp slotted into the base. Unfortunately the lovely non-slip rubber base is slightly recessed so it is absolutely useless!!
In this photo showing the underneath of the base, you can also see the underside of the illuminated magnifier, showing two of the three LED lamps.
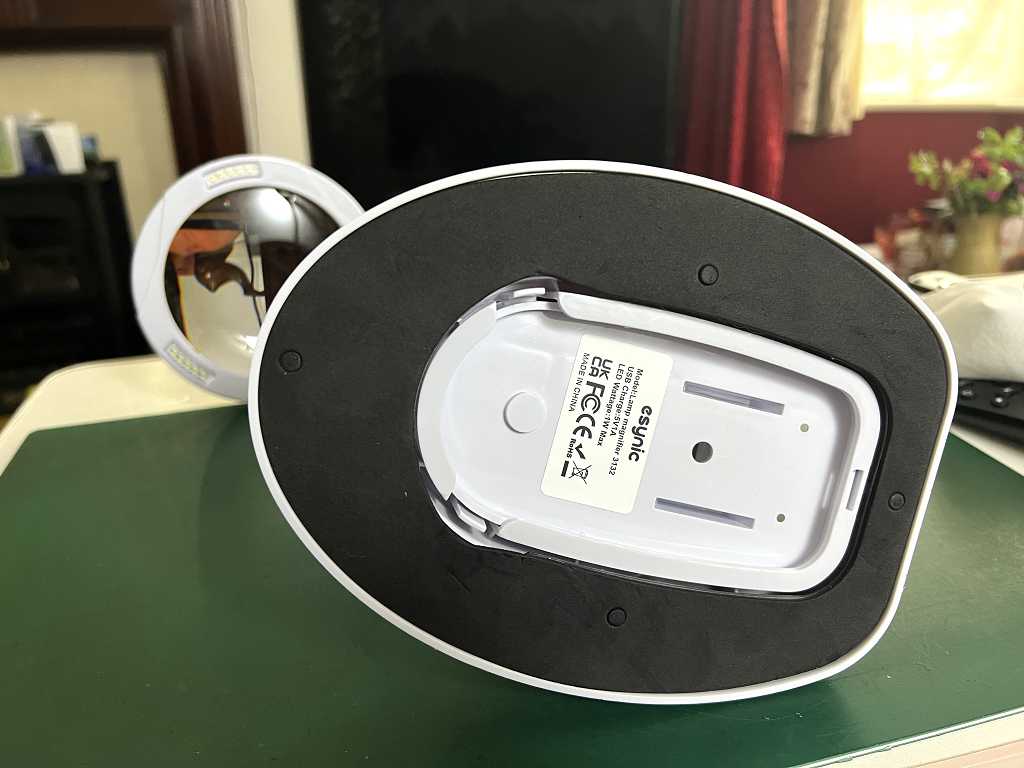
I am very pleased with this purchase. It has already proved invaluable in the making of my first Bonnie Baggie. With my cataracts, even with a magnifier, I struggle to thread a needle sometimes! This is a very useful tool.
Watch this space for further Bonnie Baggies. Tracy has really started something!
A final look again at the completed first Bonnie Baggie.
Oh lovely Shoshi, what a perfect names for your Books and Bags – Bonnie Books and Bonnie Baggies and wonderful link with your Grandma!
These bags are very popular these days, you could make a mint selling these on Etsy or Ebay!
It’s very Boho as you say, it’s unique and there’s not another like it in the world! (unlike my phone bag which I bought off Amazon!)
I look forward to seeing more of these Bonnie Baggies, they’re delightful!