JUNK JOURNAL – MAKE A JOYFUL NOISE PART 12
Bits and bobs
During today’s studio session I completed a couple of pages and made a pocket insert, and also some tabs.
Completing the reverse of the greetings card folio
I had made a start on the inside of the umbrellas greetings card but had remained undecided what I wanted to do to complete it.
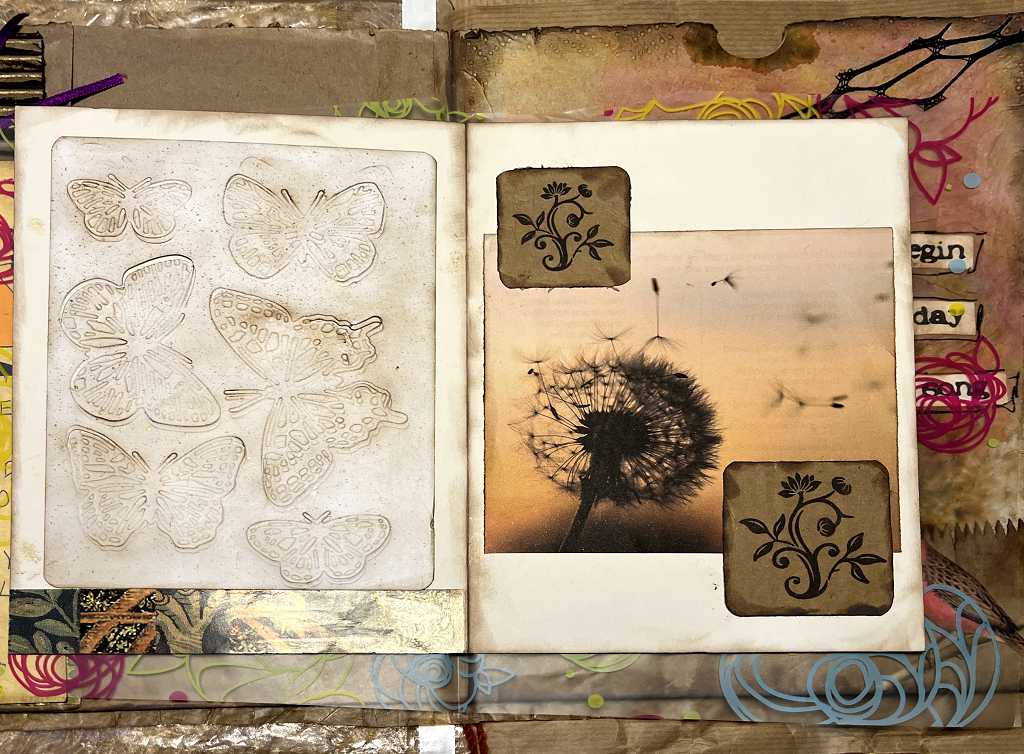
The butterflies page on the left needed something more bold to balance the washi at the bottom and also to tie it in better with its companion page in the signature. I selected three butterflies from my fussy cut butterflies pouch and arranged them on the page, sticking them down with tacky glue.
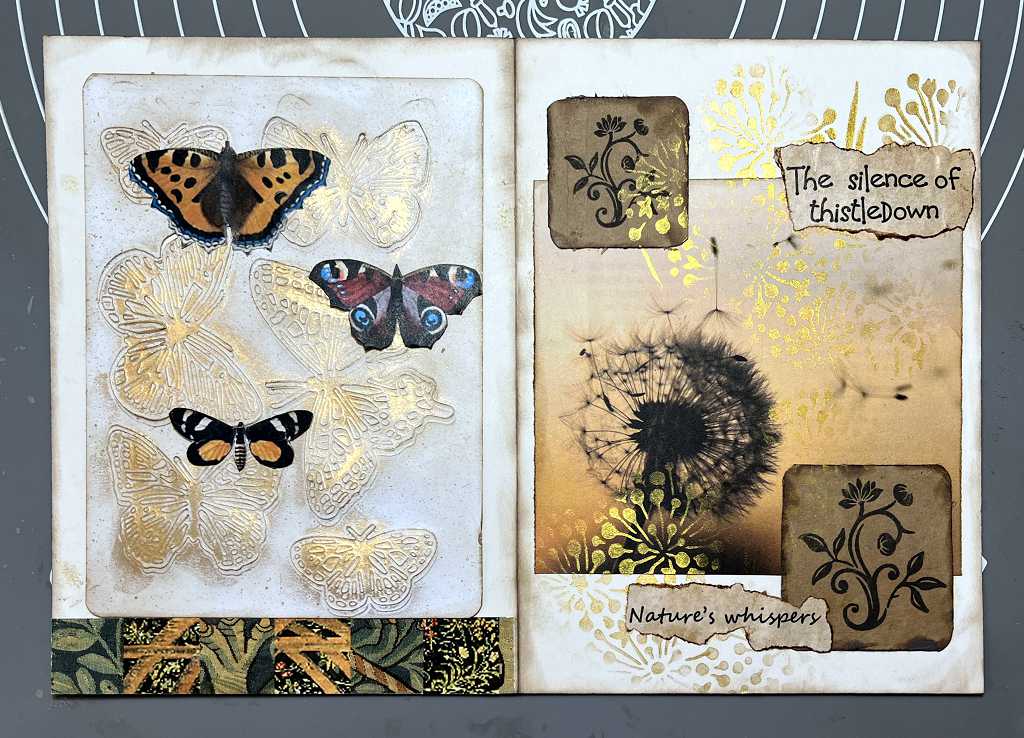
The other page was also incomplete and definitely requiring something extra. I added some gold stencilling with the Kuretake gold mica paste, going off the picture top and bottom. I made a couple of text bits on the computer and printed them out. I tea-dyed the paper and when it was dry, I painted on some acrylic wax. I was hoping this would make them translucent but it only gave a rather pleasant slightly shiny surface, and definitely added strength to the printer paper. I tore out the pieces, and after inking the edges, I stuck them down with tacky glue.
I showed my hubby and he immediately pointed out that this was a dandelion seed head and not thistledown – but it was too late to do anything about that now because it was all stuck down! Anyway, the theme of this page in the midst of all the noise-makers was silence. Originally this folio was to form the centrefold of the signature but I later changed my mind about that.
Here is the butterfly page in situ in the signature, which is now looking more balanced.
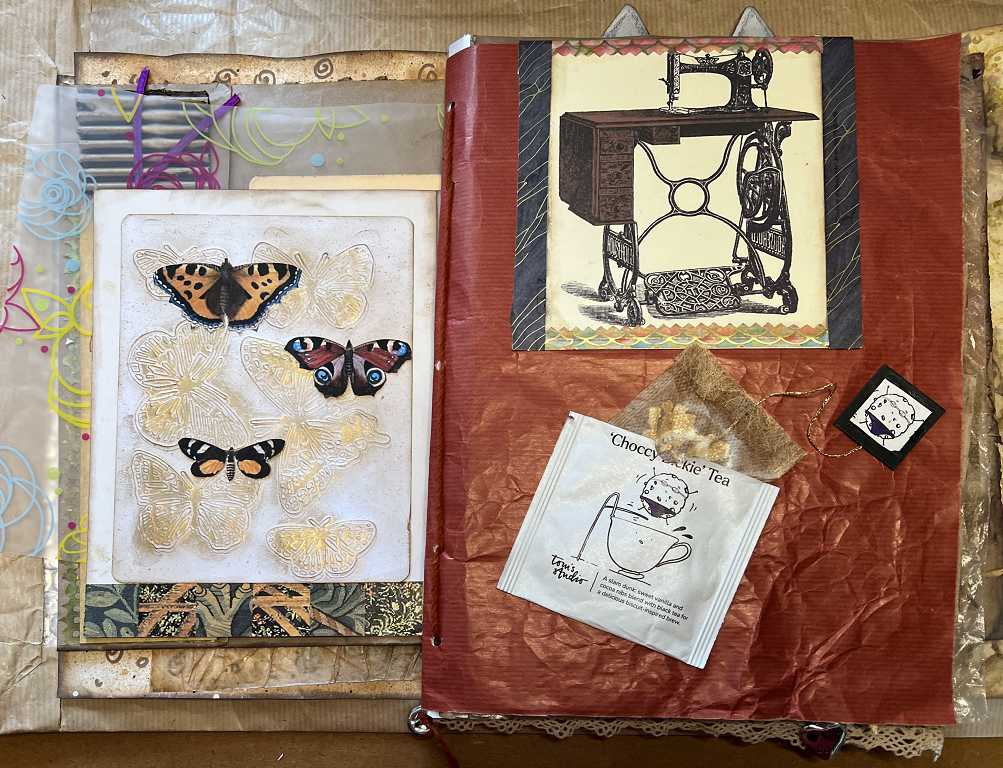
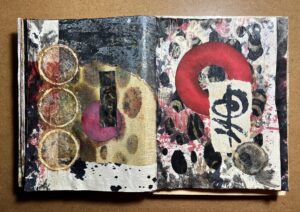
The other page of that folio, in place in the signature. There isn’t very much in this page to tie it in colour-wise with the page on the left, but the subsequent pages underneath do reveal a little red. I am reasonably happy with this result, and super-thrilled with the gold stencilling. The contrast between the ultra-noisy left-hand page and the silence of the right-hand page is marked! Perhaps it is fitting that there is no colour tie-in.
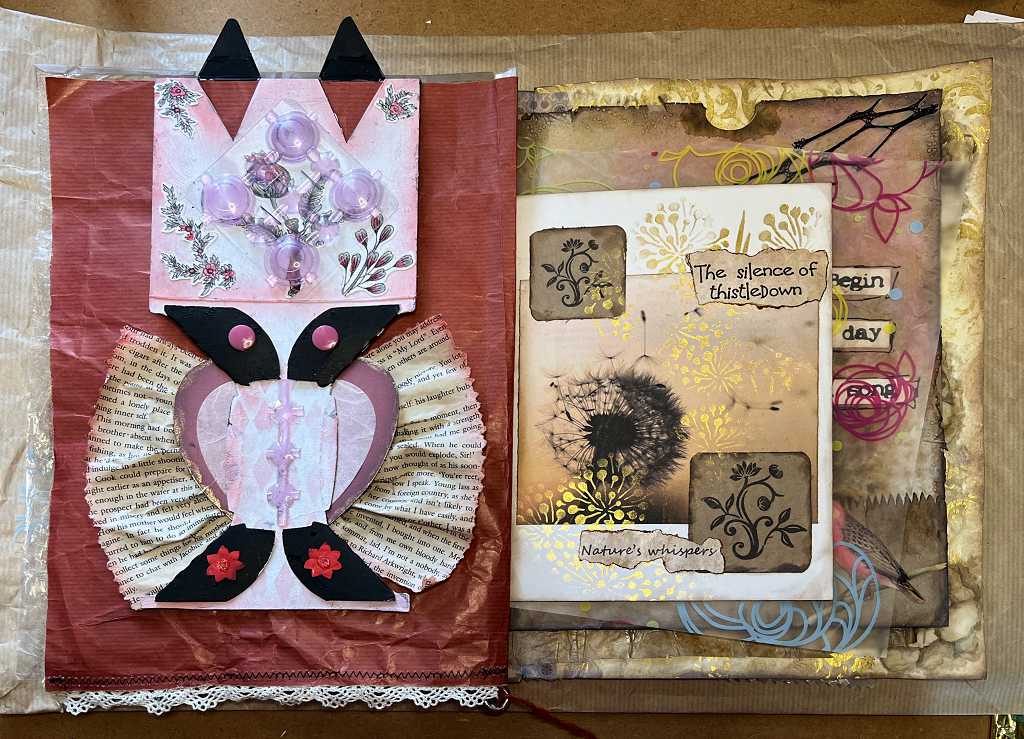
Birds page
The birds page was lacking something to fill the large pocket created by the paper bag. I had lined this paper bag with some scrap card and I am glad I did, because the bag is extremely delicate. It was already starting to tear down the binding edge so I glued it back down with some tacky glue.
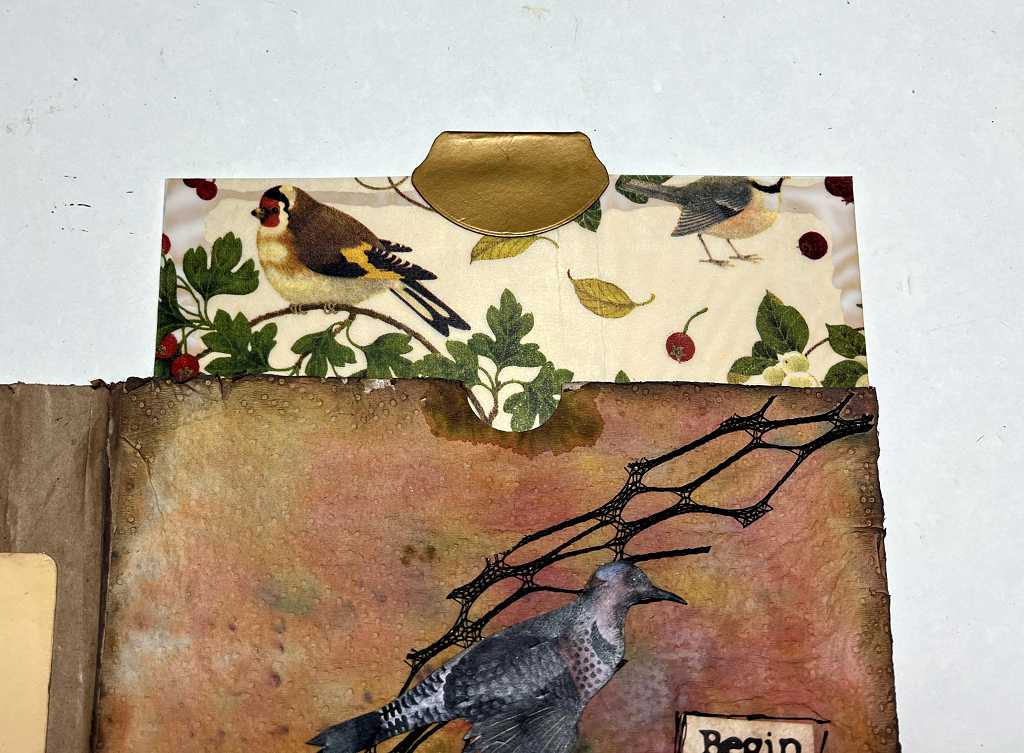
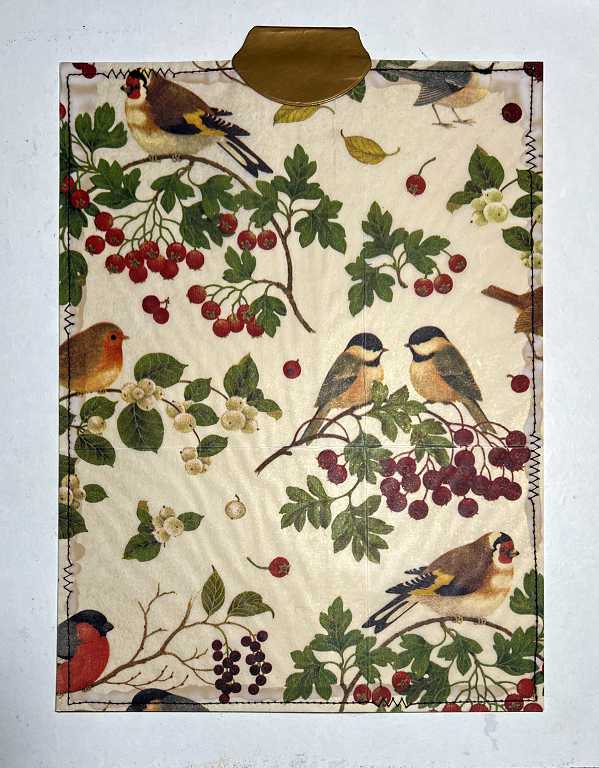
Laminated napkin
I took a napkin with birds on it, and carefully peeled off the top printed layer. I did check to see if this napkin was two- or three-ply and it appeared to be two-ply only. I cut it down to fit an A4 matte laminating pouch and put it through the laminator with a piece of paper to add a little thickness. I trimmed it down again to fit the pocket. At this stage, the back layer of the laminating pouch peeled away, attached to the second layer of napkin which I had not detected. It didn’t really matter because the back was now paper rather than plastic, which is always easier to deal with.
The piece had a pleasant translucency and was quite scrunchy and noisy to handle. I would very much have liked to leave it like this, but it was not sturdy enough to push into the pocket. I tried it against various backgrounds and decided that it looked best over gold.
Ages ago I ordered some gold foil faced card, and it got damaged in the post, with nearly all the sheets having a noticeable crease right down the centre. The only way I could use this was in smaller elements. I was able to use a whole sheet for this, as the crease really didn’t show that much on the back, and it was not noticeable on the front, once covered with the napkin.
Unfortunately the bead of glue I ran around the edges to attach the laminated napkin to the gold card does show a bit.
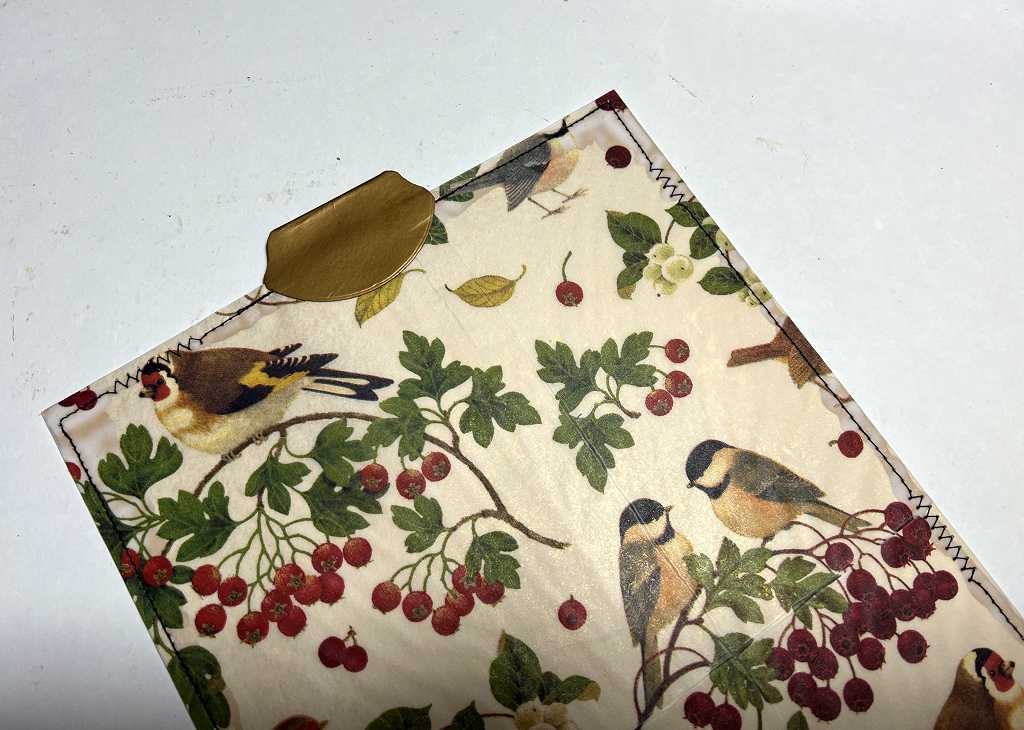
In the next photo you can see the piece partially inserted in the pocket. More about the tab on top in a moment.
The page in its place in the signature.
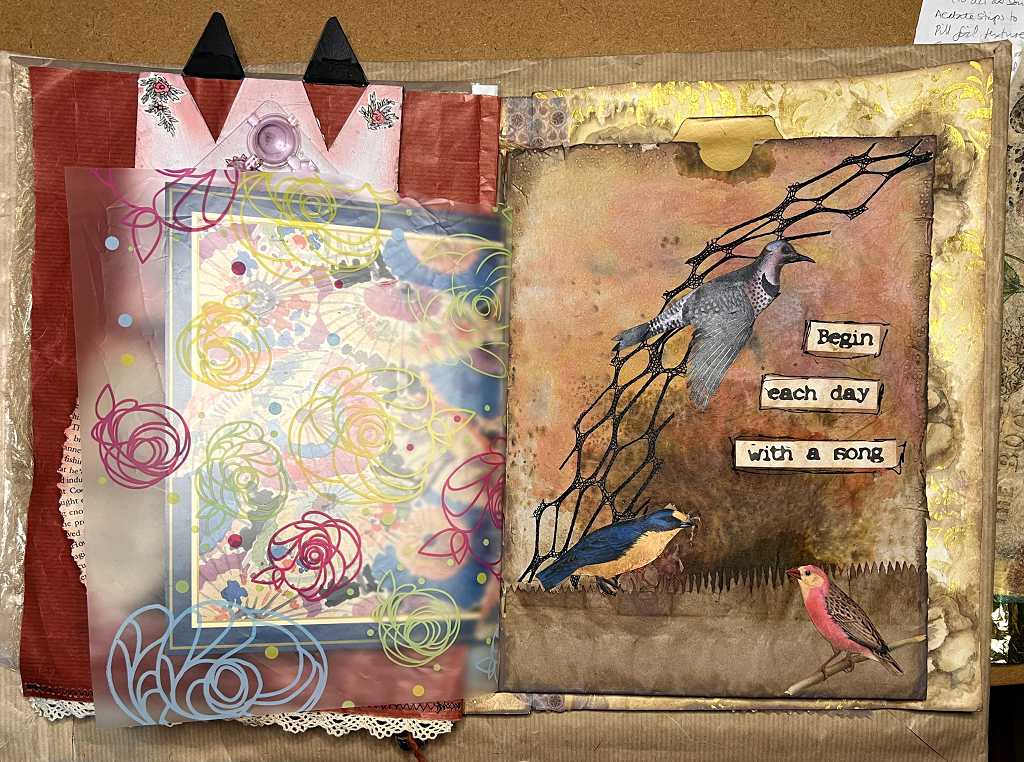
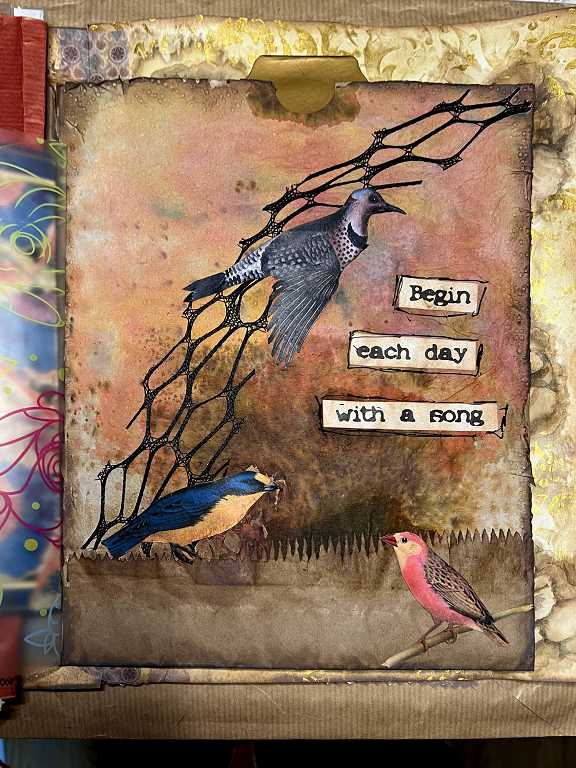
I felt that the insert needed something extra, so I machine-stitched around the edge, using a straight stitch with small portions of zig-zag stitch for decoration. The glue bead is slightly less noticeable now.
I have not yet decided what to do on the back of this page but I shall probably tea-dye and stencil it and add some fussy-cut birds from old book pages. I have a Reader’s Digest book on British plants and animals that I got second hand on Ebay for this purpose, and no doubt I shall eventually use the cover to make another book. I have another couple of similar books on order from Ebay with larger pictures in them.
Making whale tail tabs
These attractively shaped tabs are commonly used in hand-made journals. Many people have a punch to cut them out, but I do not. I had to search on YouTube to remind myself how to make them, and found some very helpful videos.
You start by cutting a 2 1/2 inch circle with a circle punch of that size. I have quite a few circle punches but my largest one is 2 inches, so I had to use a circle die instead, which took a bit longer.
I selected a number of different pieces of card and scrapbooking paper from my scraps box and cut a lot of circles. I had to cut each one individually, of course, because I only have a single die.
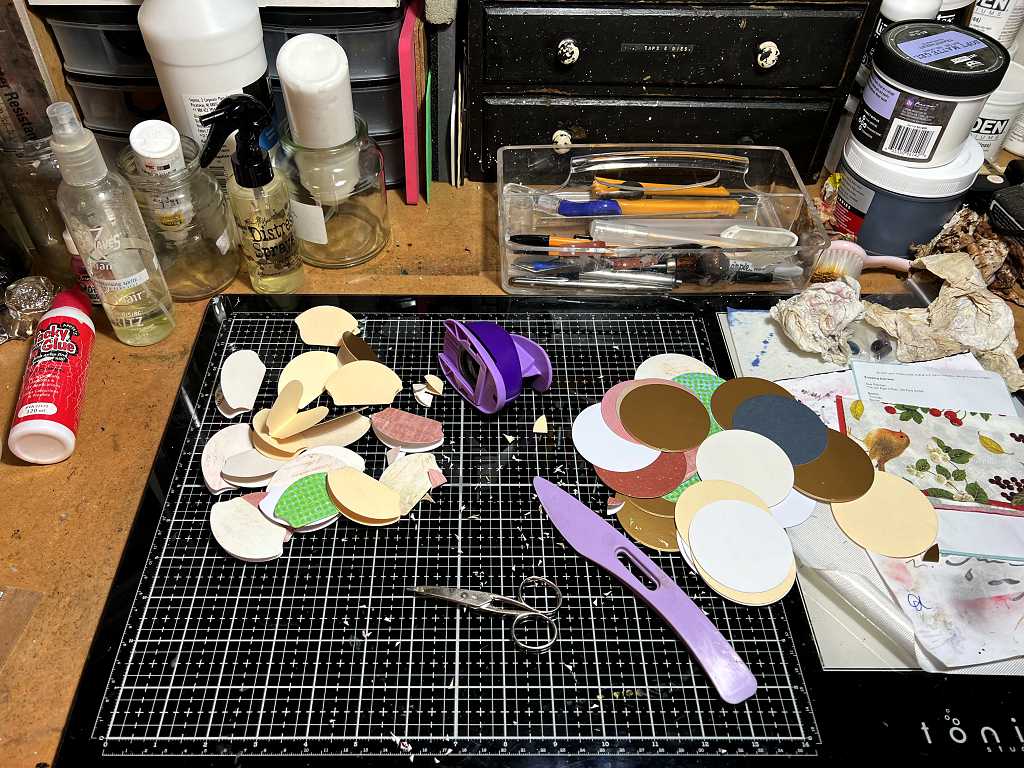
You then fold each circle in half, and use a 1-inch circle punch to cut the indented shape either side. The corners are rounded with scissors.
Here is a selection of completed tabs. You spread glue on both sides inside, and place them over the edge of your page and press them into place, lining up the top edge of the smaller circle cut with the edge of your page.
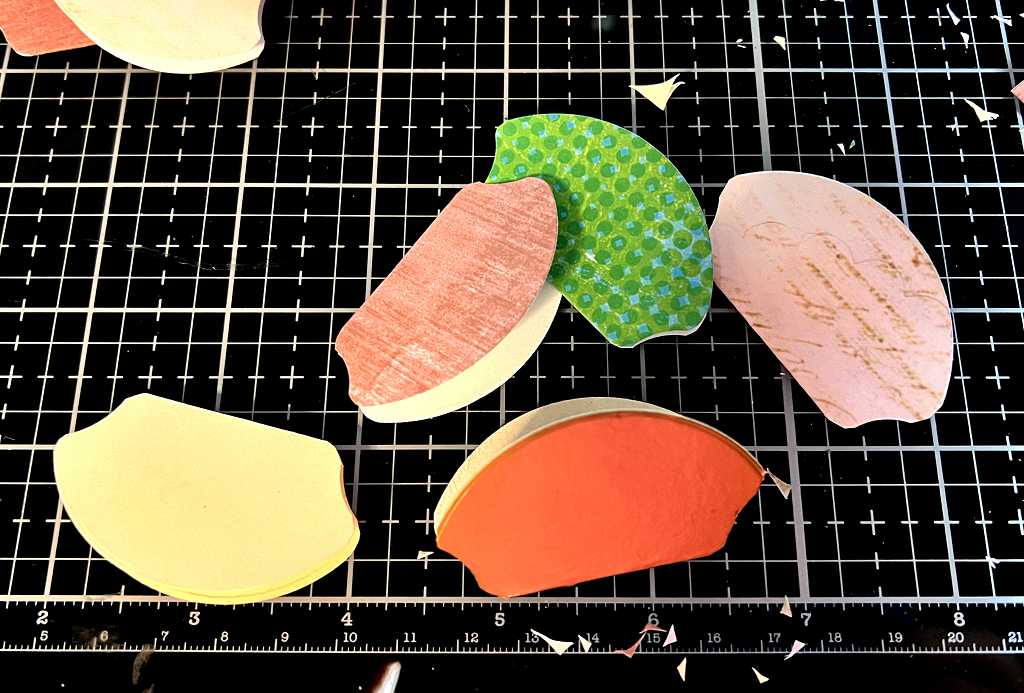
They can be cut from any paper or card which the punch can cope with. It’s best not to make them out of paper that is too thin or they won’t be robust in use. You can embellish them how you like – embossing, collage, stamping, painting etc. The one in the centre front in the above picture is actually a dull gold, but it is reflecting red from something.
I have made a lot of these today, and will continue to complete them and embellish them. They can all go into my stash for future use.
I intend to add an eyelet to the one on my page, and attach some sort of noisy danglies to hang out over the top of the album.
Still to do to complete the first signature
I need to make some inserts for the pockets created in the first and last pages of the signature, and I shall probably add more tabs to the page edges where appropriate.