RECYCLED PAPER-GLASSINE BAGS ALBUM
Today I made good progress on this new project and completed the first page of the first bag.
Recap
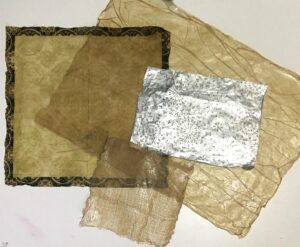
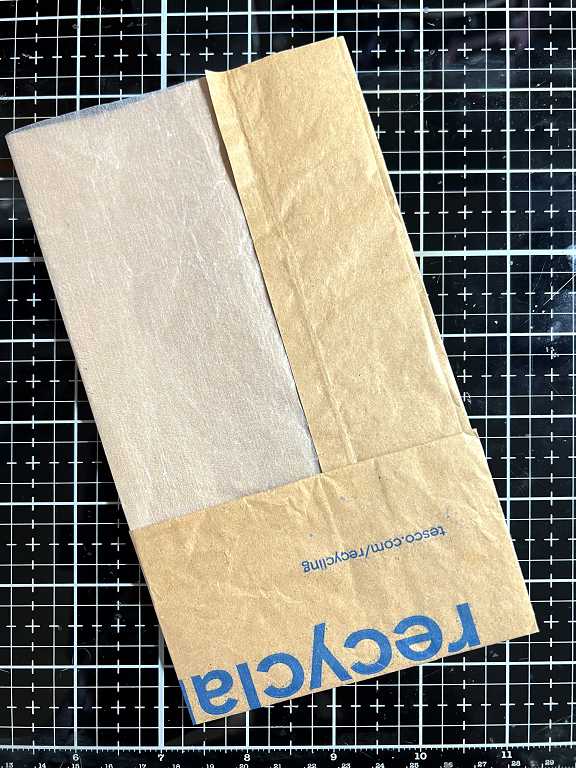
Firstly these are the bags I am working on. They are made of thin brown paper with a glassine panel on the front. They are no longer being used by the supermarket but I saved quite a few undamaged ones.
The structure of the folio made from one bag.
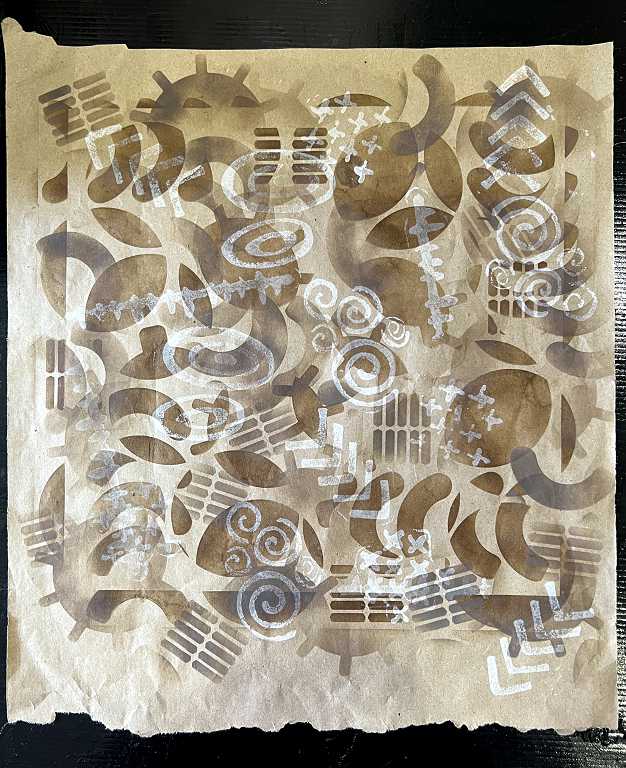
The initial collaging and stamping I did the other day.
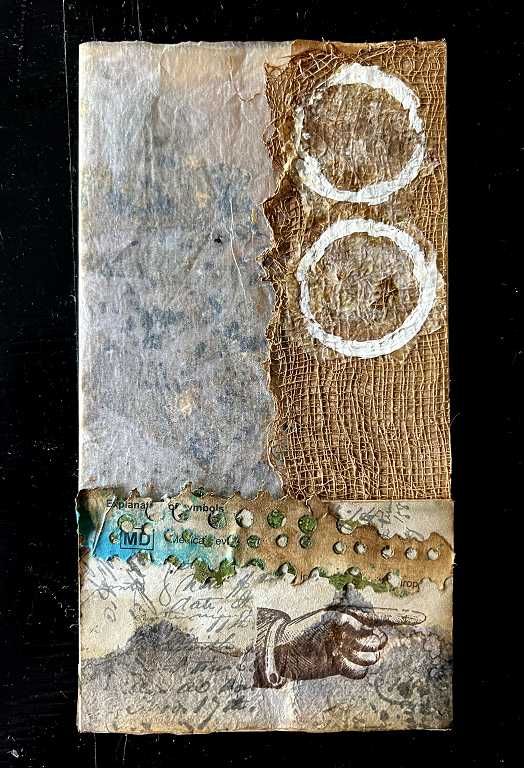
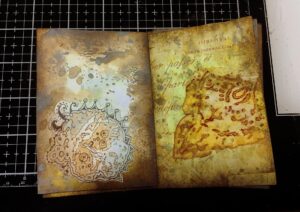
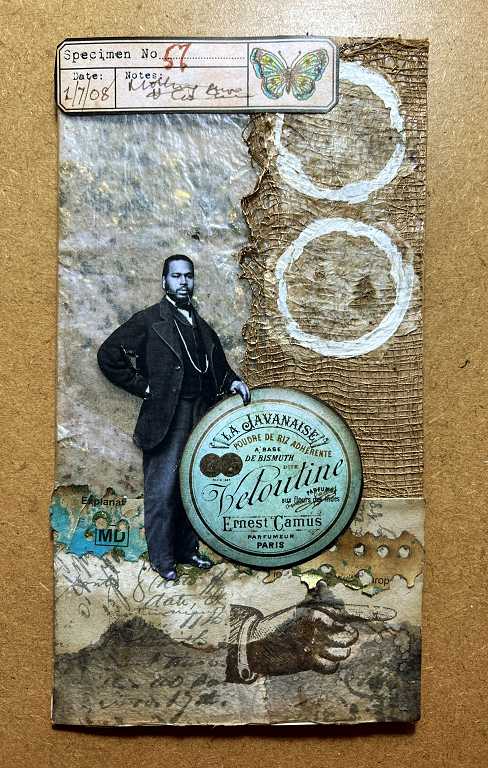
The completed first page
Because there was a little splash of turquoise on the punched medication leaflet paper at the bottom of the page, I decided to use this as the accent colour. Here is the completed first page.

The details
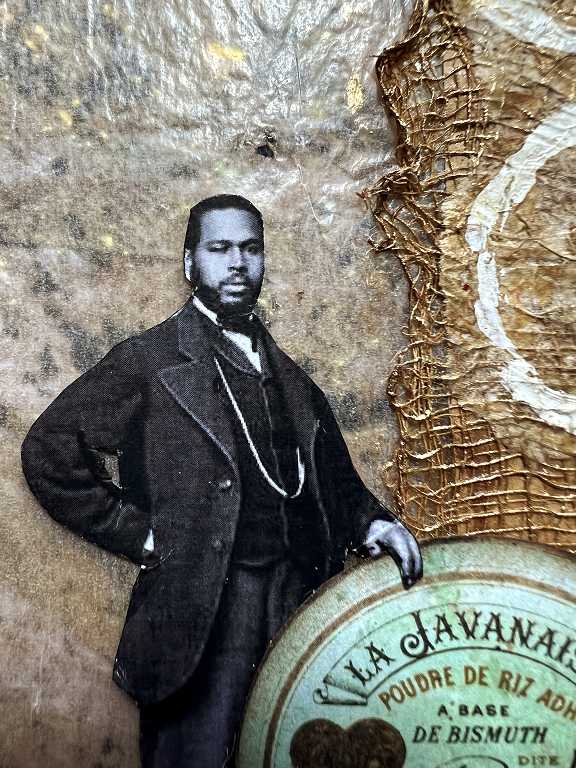
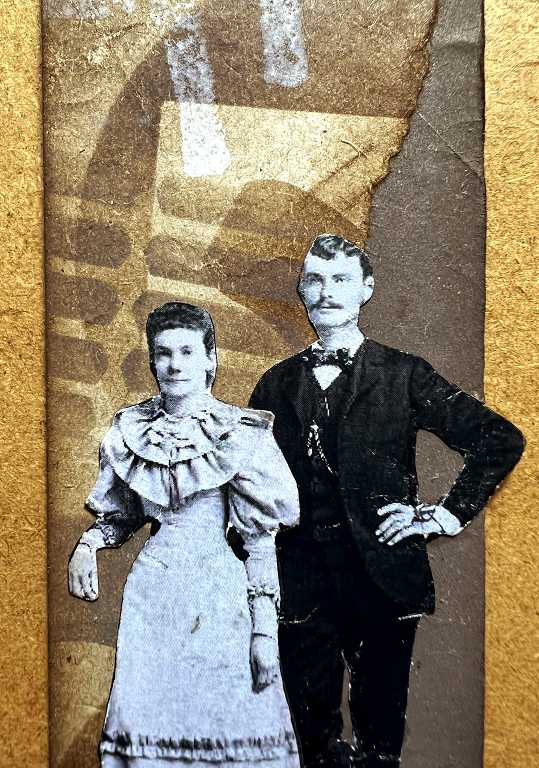
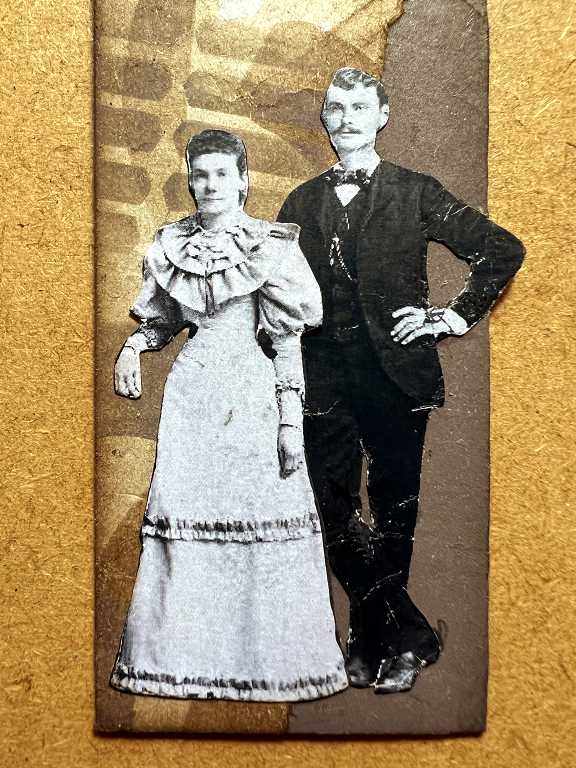
I used three of my newly fussy-cut Digital People from the Graphics Fairy Premium Membership site as the focal point of this page. The top edge of the glassine is very flimsy and I thought that with the removal and insertion of the tag, it might rip, so I reinforced it with one of my specimen labels (also from the Graphics Fairy Premium Membership site, with my own text and image added).
In this image, you can see a little of the gilding wax I added to the mesh on the righ-hand side.
The top of the tag is designed to stick up above the top edge of the page. More details about the tag later.

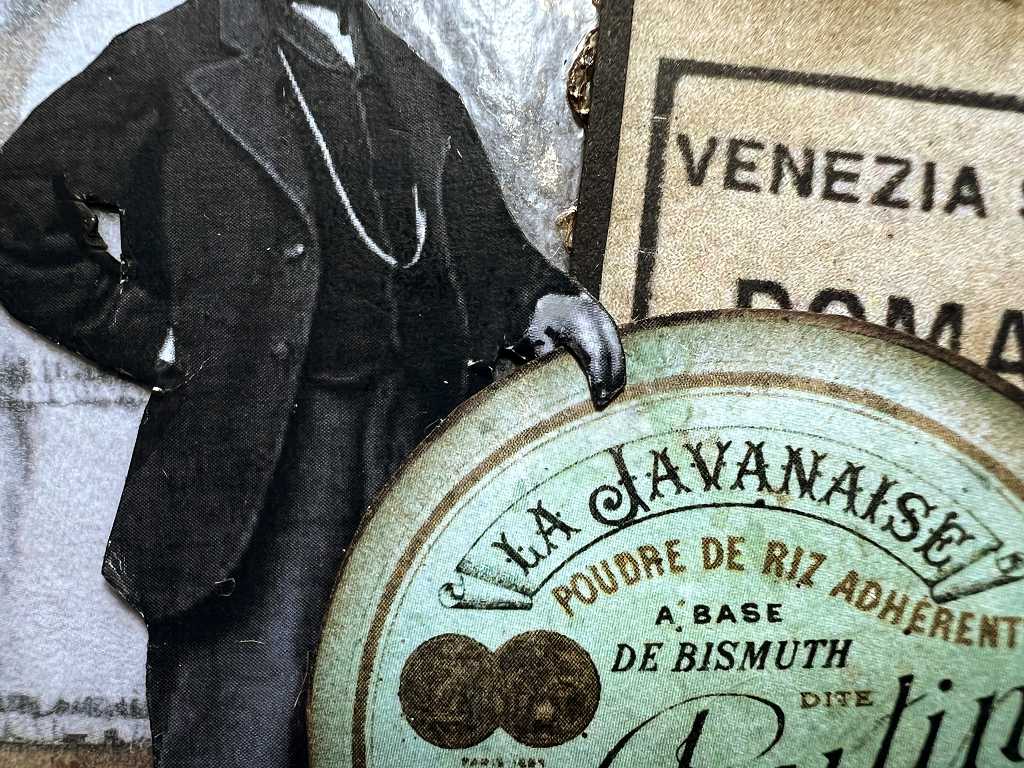
The centre part of the page shows the figures on the tag showing through the glassine, and the main focal figure in front. I think the vague shadowy images give an impression of depth.
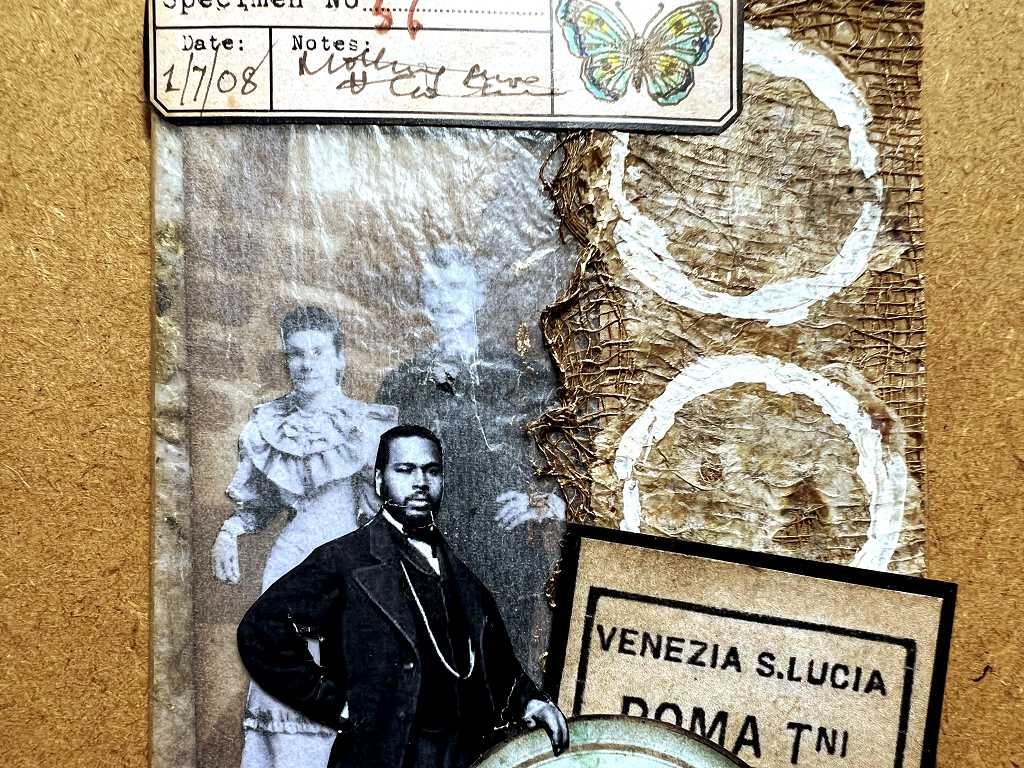
The bottom of the page shows the main figure, resting his hand on a large circular label from the Graphics Fairy. The pale green colour suits our focal colour very well. It also ties in with the two white acrlylic paint circles on the upper right of the page; I did want another circle to provide the odd number which is more pleasing.
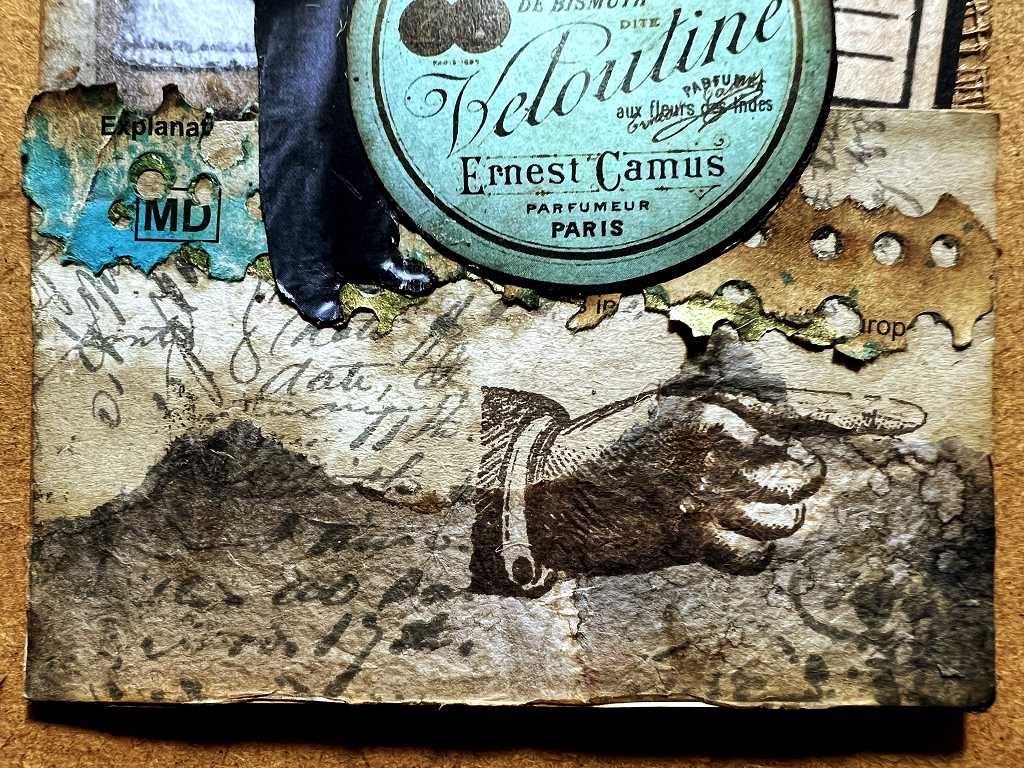
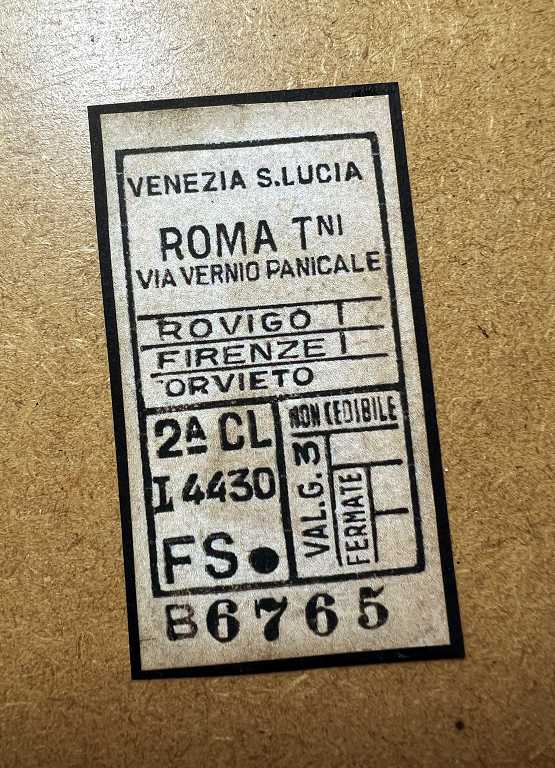
When I had stuck the gentleman and the circular label down, I suddenly realised I had forgotten that the bottom of the page is folded up to form a pocket, and I’d glued it shut! I managed to peel away the right-hand side so there is now a half-pocket only on that side, and I found a printed ticket in my ephemera (Graphics Fairy again, I think) and as it was made from rather flimsy paper, I backed it onto a scrap of black cardstock.
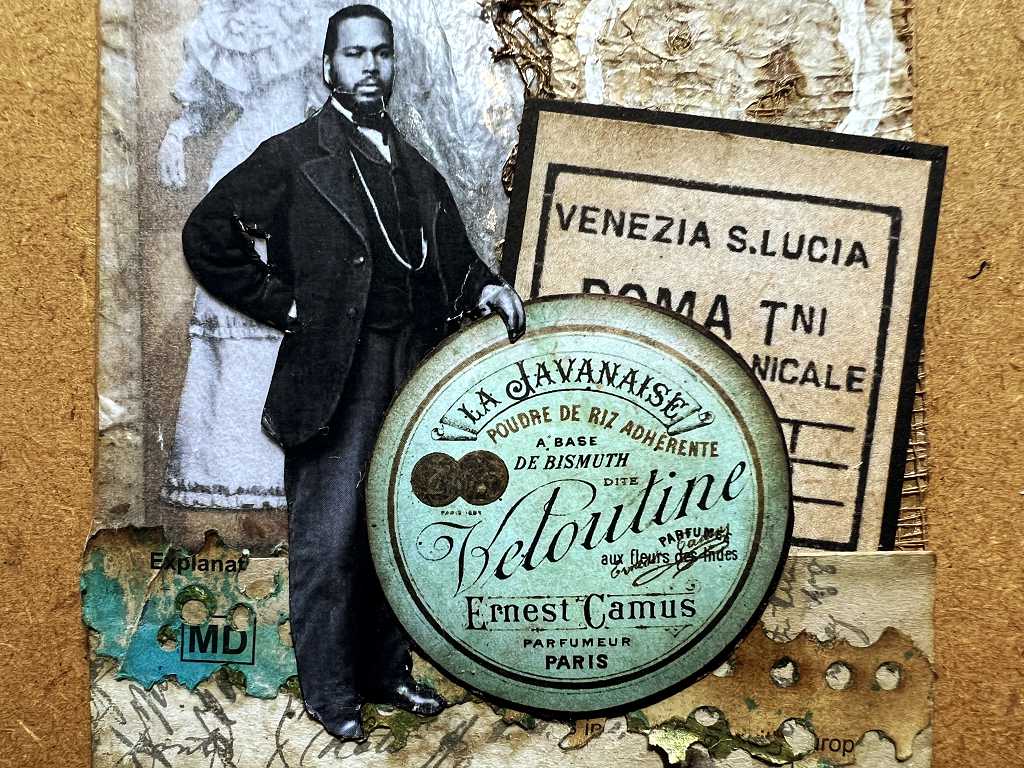
I was rather pleased with this detail of the man’s hand. I glued him, and the label, down completely, with the exception of his left hand. I tucked his thumb behind the label and then glued the rest of his hand into place.
A detail shot of the bottom of the page. You can see the turquoise colour on the medication leaflet paper.
Here is the page with the tag removed. You can see the scrap and gilding flake background paper through the glassine again.
A closer look. YOu can clearly see the gilding wax on the mesh on the right now, and you can catch a glimpse of the gilding flakes through the glassine.
The tag
The tag is made from one of the panels from a cardboard box which contained one of my stoma products. These boxes are tall and thin to hold a plastic bottle, and they are made of quite sturdy white glossy cardboard. When I took the box apart, I trimmed off the various flaps and carefully trimmed the edges using the guillotine. They measure about 2 inches across. I have shaped the top of two of them, using some new edging dies I bought recently, centring them over the tag and taping them down prior to running through the die cutting machine. They are quite a bit wider than these tags and not all of them are suitable, but this one made quite a nice bracket-shaped top, improved by my rounding the corners. You can’t really see the point of the tag now because of the embellishment on top, but it is there! The embellishment is made from some fancy yarn and a little piece of jute string that came with a recent order. It is pushed through a pale green eyelet which I set with my Crop-a-Dile.

I covered the whole of the tag initially with some of the dark brown paper which came with my birthday flowers recently. The other day when I was doing my studio organising, I managed to tear off a corner from the experimental paper piece which I made recently, so I decided to incorporate this scrap into the project.
Here is a detail of the tag with the collage papers, and the addition of the two Digital People.
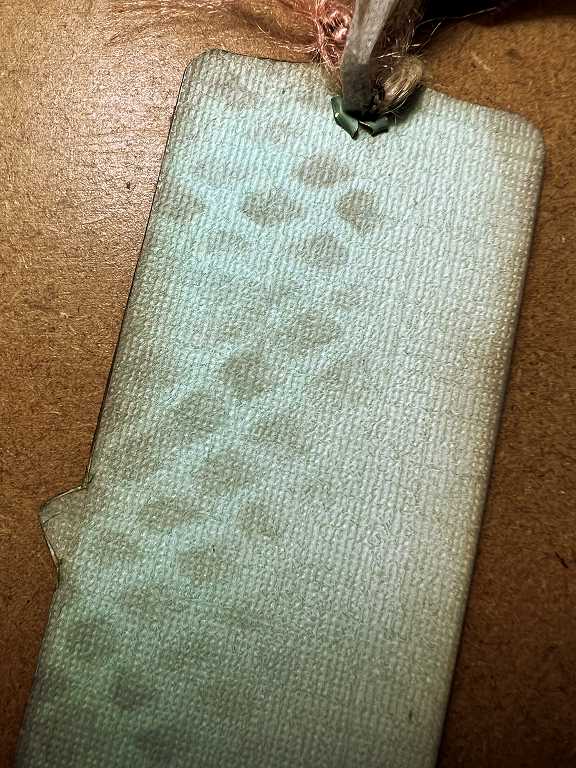
The back of the tag
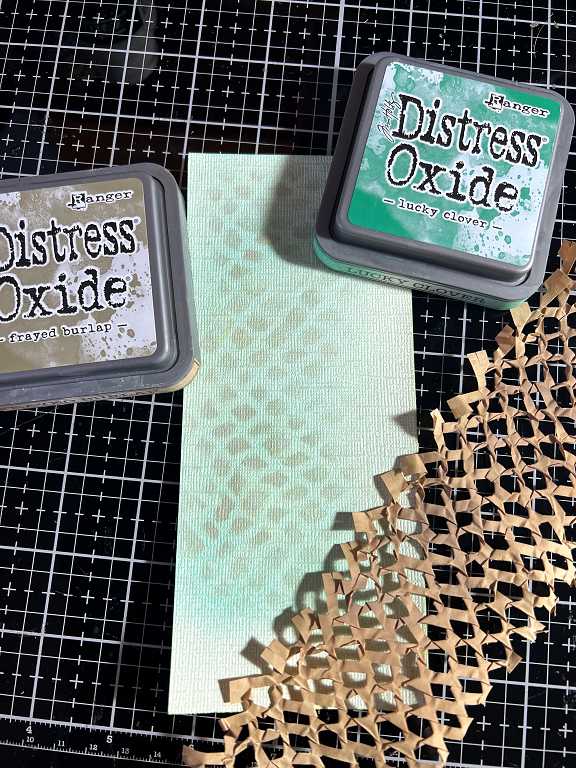
I found a scrap of vile lime green card in my scrap wallet. It had a pale green textured back to it, so I used this side, adding Lucky Clover Distress Oxide all over with a blending brush, and then taking a piece of ironed paper mesh (packing material) and using it as a stencil to brush on Frayed Burlap Distress Oxide. I only went half way across because the tag is only two inches wide.
I stuck this paper to the back of the tag and then realised that I had used the wrong half of the backing piece! The stencilling therefore only goes half way across the back of the tag, but I actually quite like this effect, so to quote Natasha of Treasure Books on YouTube, “Let’s pretend I did that on purpose” lol!
Finally, the ticket, backed with some black cardstock and distressed with Walnut Stain Distress Ink around the edges, with a few splotches in the centre.
A final look at the complete page once more, complete with tag and ticket.
I am super-pleased with how this turned out, and I just love the squishy crinkly feel of the whole piece. It is very tactile and makes a lovely sound when you handle it! I am really enjoying making use of these flimsy paper bags.