PACKAGING PAPER CLUSTERS WITH GOLD HEAT EMBOSSING – COMPLETING THE SET
I have now used up all the die-cut butterflies I made for this project. I still have quite a few of the gold heat embossed base pieces left but consider the butterfly project complete for now. I shall store the bases for another time. You can use any focal point for these embellishments.
I decided to use some different materials for the various layers.
Angelina fibres
For many years I have had Angelina fibres in my stash and it’s been a long time since I used them.
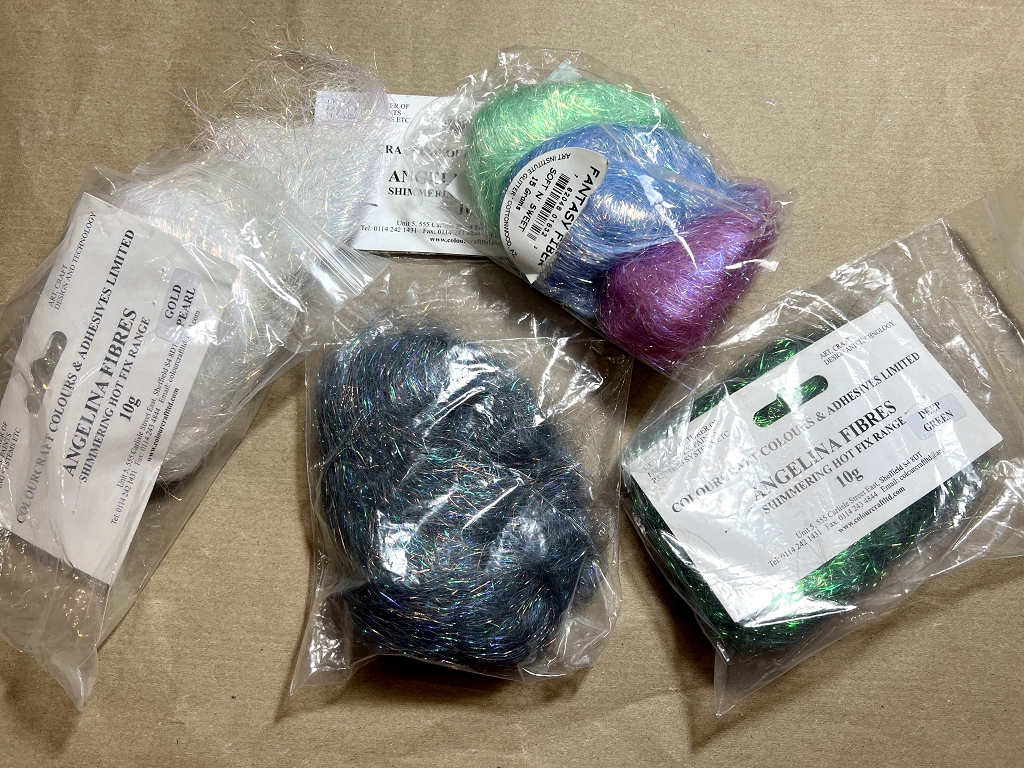
These shimmery fibres will fuse together when you iron them between sheets of baking parchment. They will stick to each other, but not to anything else, so you need to use glue if you want to attach them to anything.
I pulled out a mixture of the silvery white one and the dark one and mixed them together. I divided the fibres into several sections and ironed them separately.
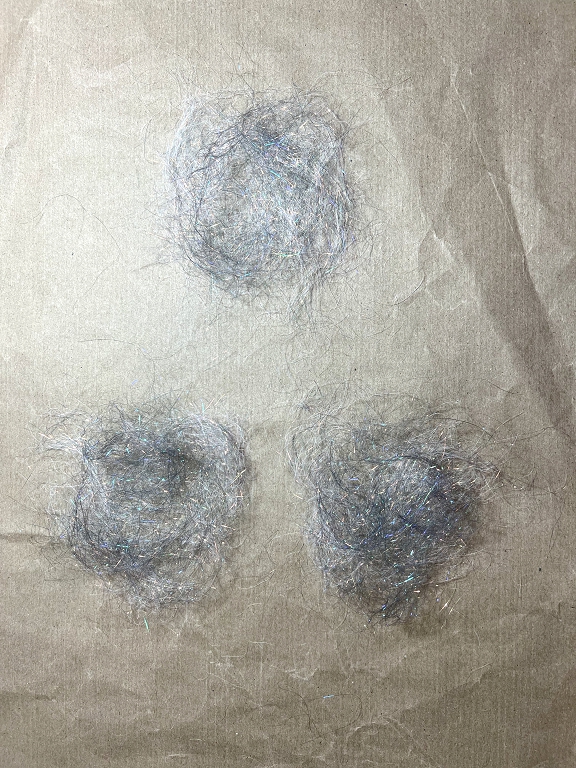
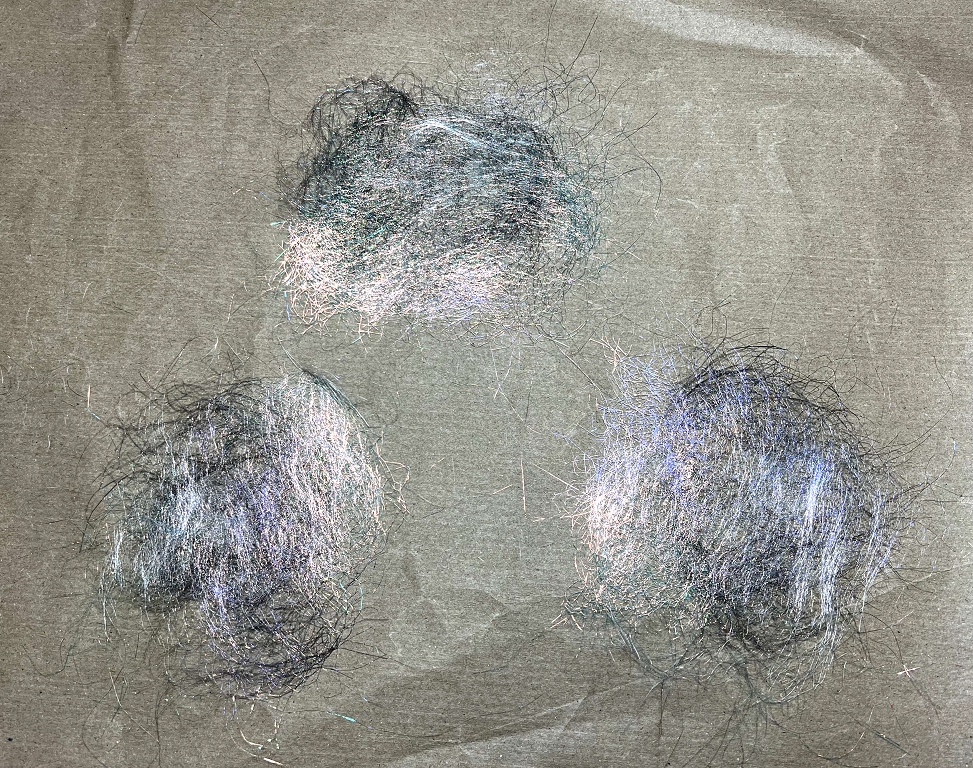
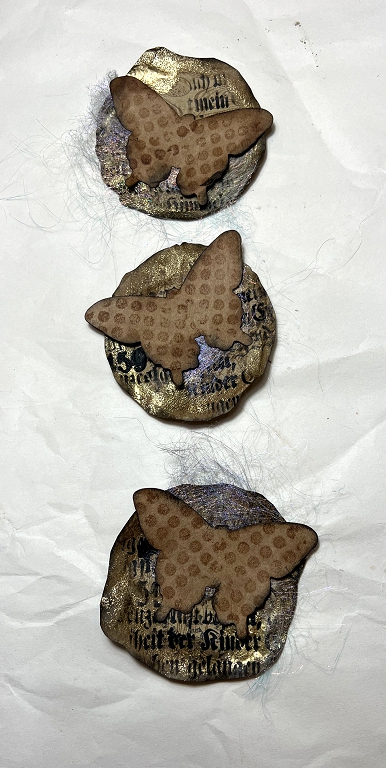
Unfortunately the photos don’t show how shimmery these fibres are. Here they are, glued under the first butterfly layer.
Corrugated cardboard packaging mesh
This came wrapped around something in the post. I don’t have much of this particular packaging material and initially I didn’t think it would be much use for art, as it’s quite thick.
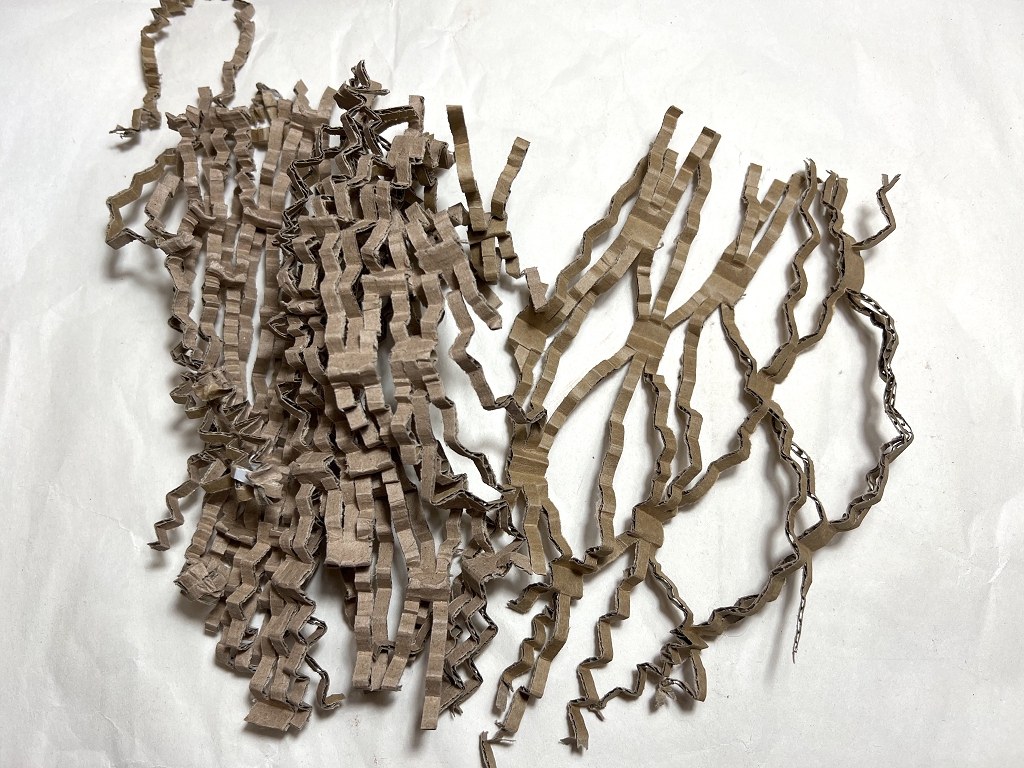
However, when I examined it, I realised I could remove the top layer to expose the corrugations which were quite interesting.
It is a bit different from the usual packaging mesh. That is plain brown paper with little slits cut in it, and when you pull it apart, it bulks up. This paper has much longer cuts in it, joined by small areas where it is not cut. This makes quite an interesting texture.
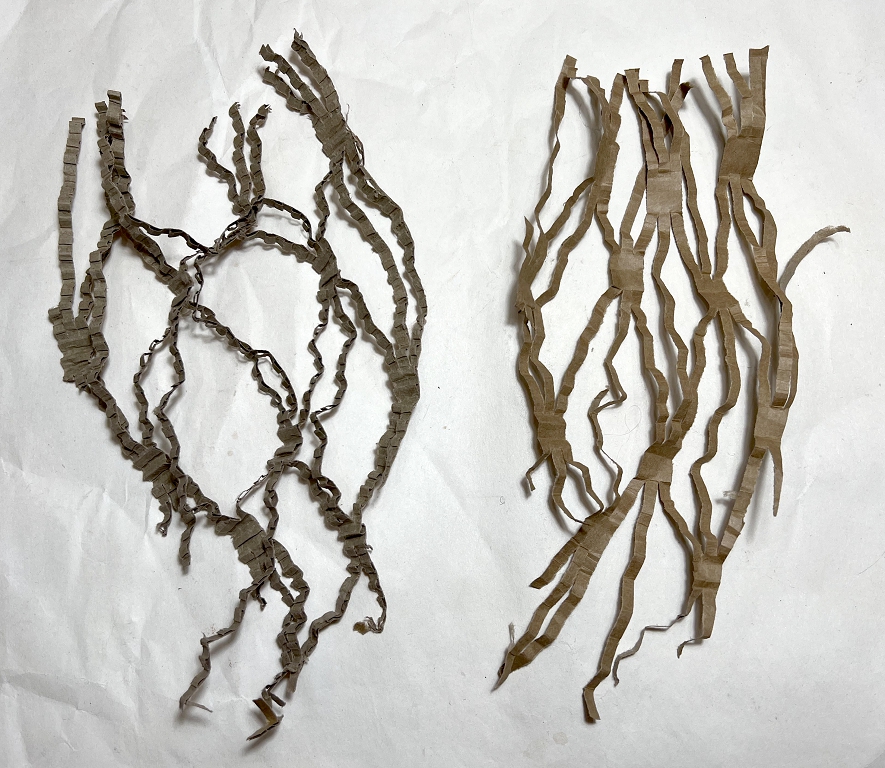
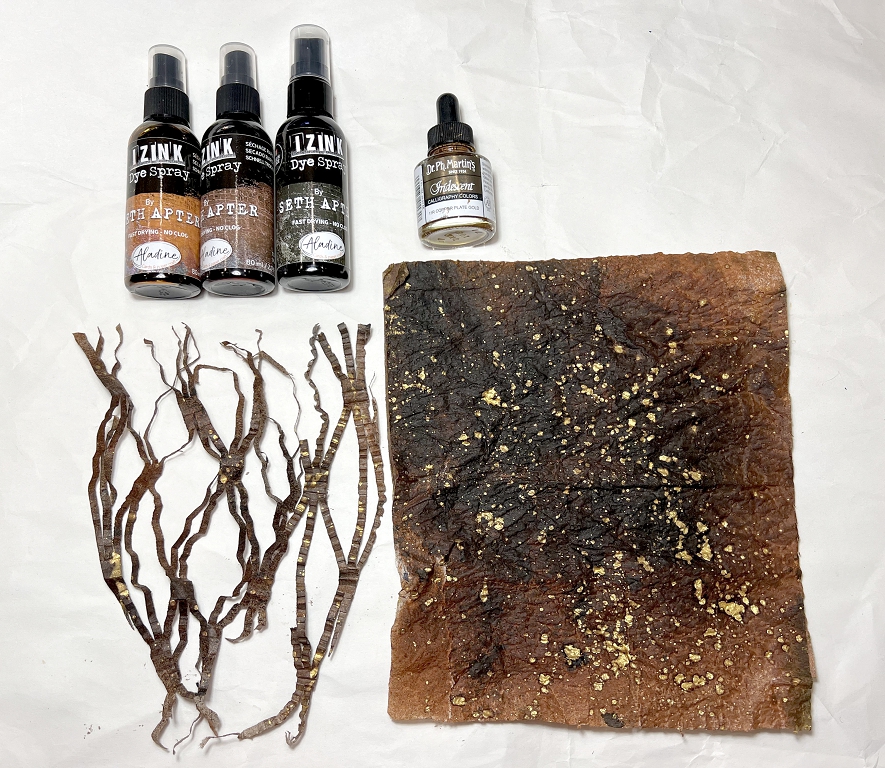
It was a bit bland and boring so I put it in my splat box and sprayed it with a combination of Seth Apter Izinks, and then spattered it with Dr. Ph. Martin’s gold calligraphy ink. On the right in the following picture you can see the piece of kitchen paper that was in the splat box. It is absolutely glorious and is going in my inked kitchen paper box for use in other projects.
Much more interesting!
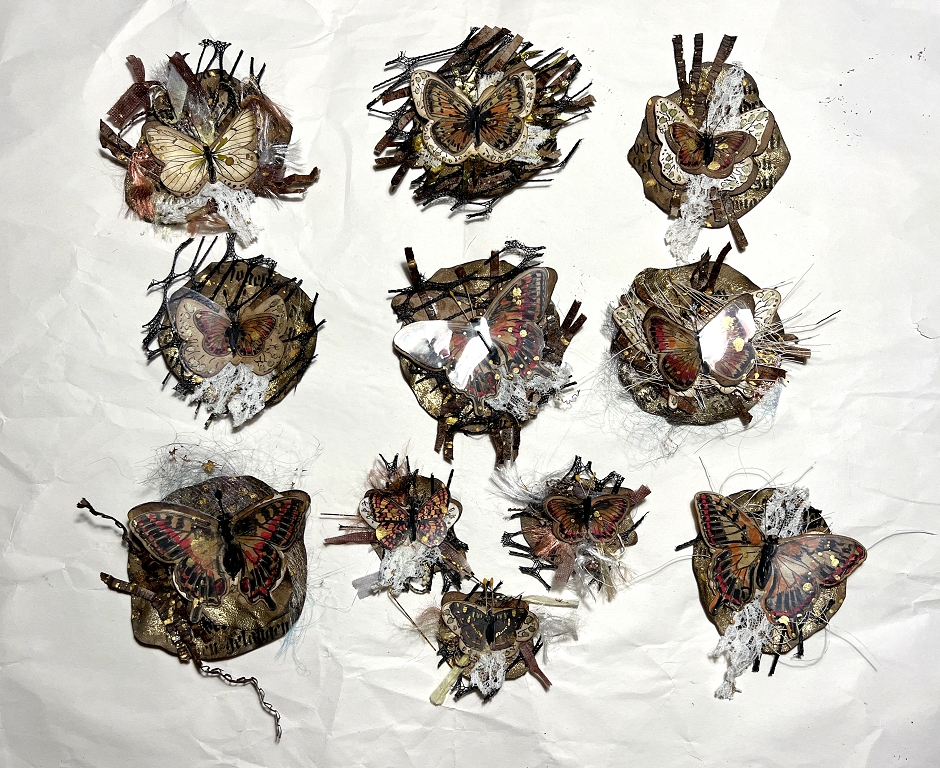
The complete collection
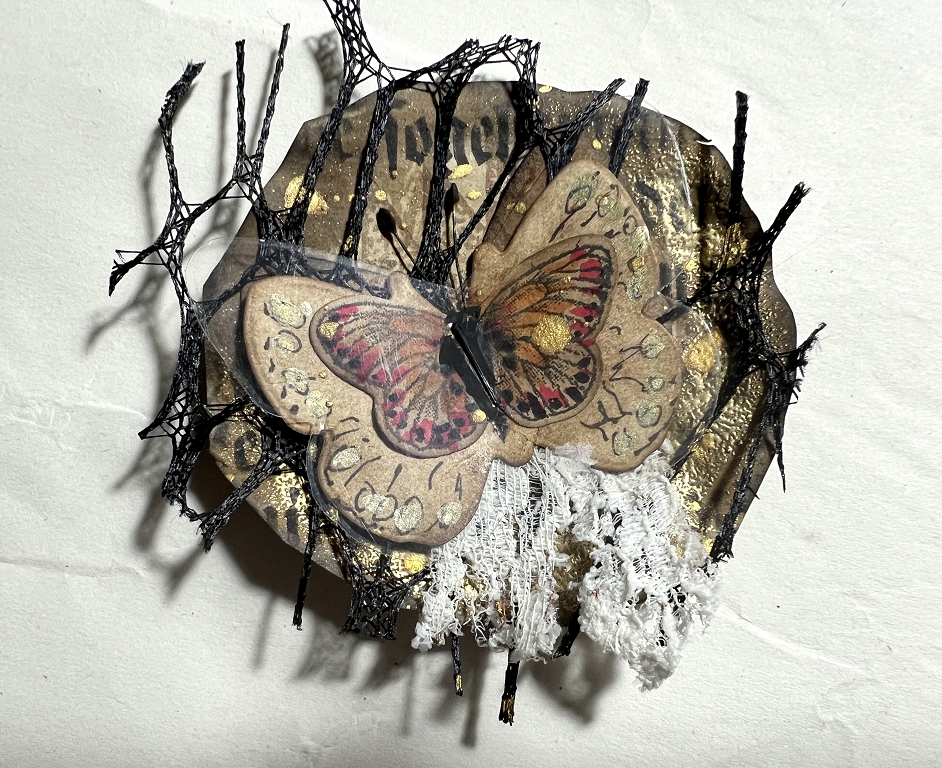
There is some reflection from the final acetate layer. As a final touch, I spattered them all with Dr. Ph. Martin’s gold calligraphy ink. I stapled all the layers together as before, and this time I ran a black Posca marker over the staple to hide it.
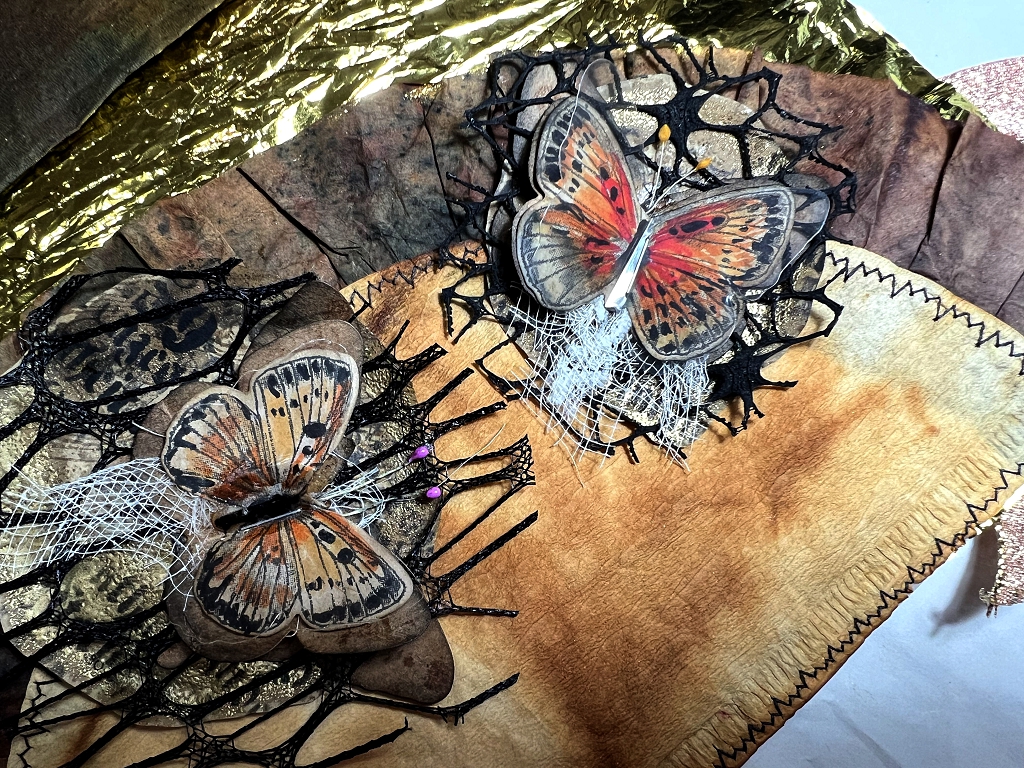
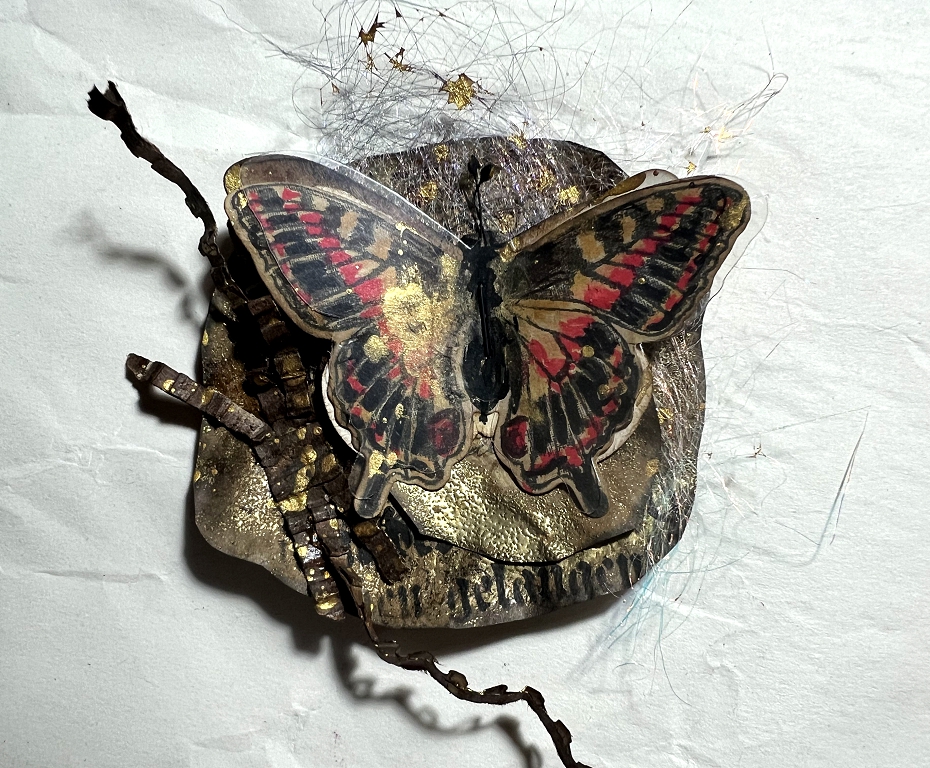
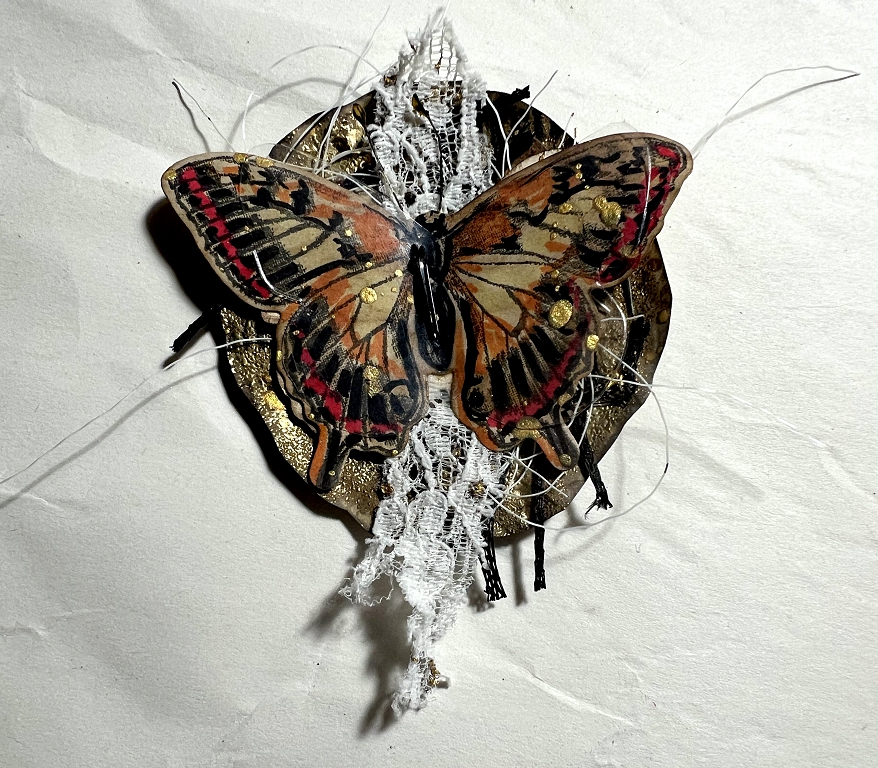
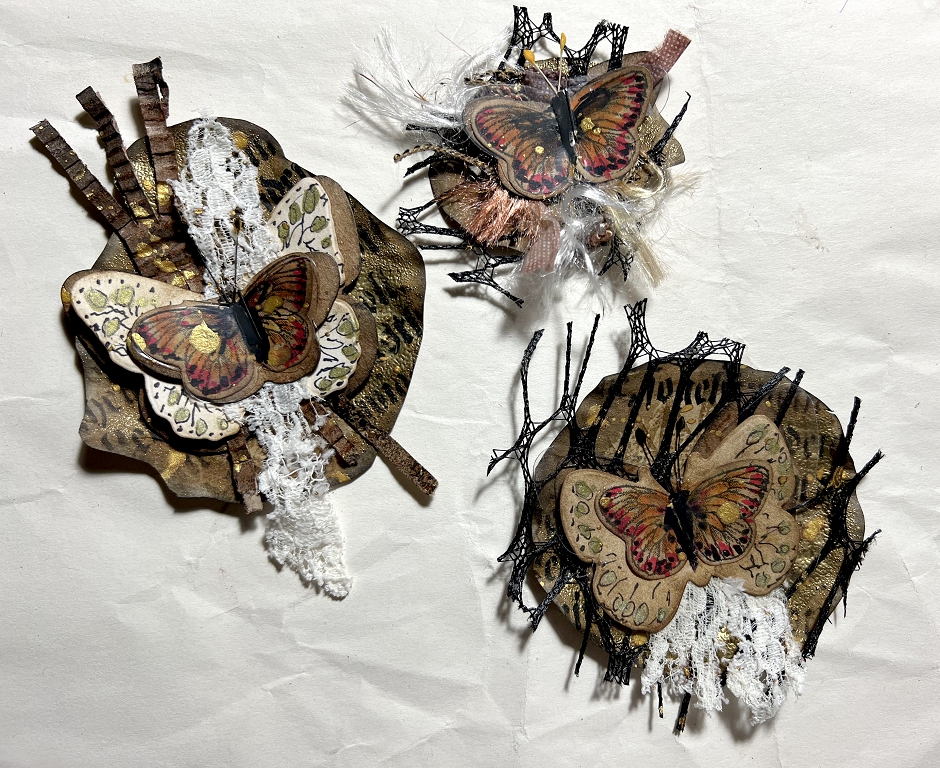
Large butterflies
The one on the top has an extra background layer. One of the small circles ended up being completely covered with gold embossing and I didn’t want to use it, but I am pleased with it as an addition to this particular one. It also has some of the Angelina fibres, and the corrugated packaging mesh. The bottom left one has a few fibres frayed from the woven plastic mesh I bought recently, and a scrap of lace. The final one has the original plastic mesh which I painted black, and a scrap of lace.
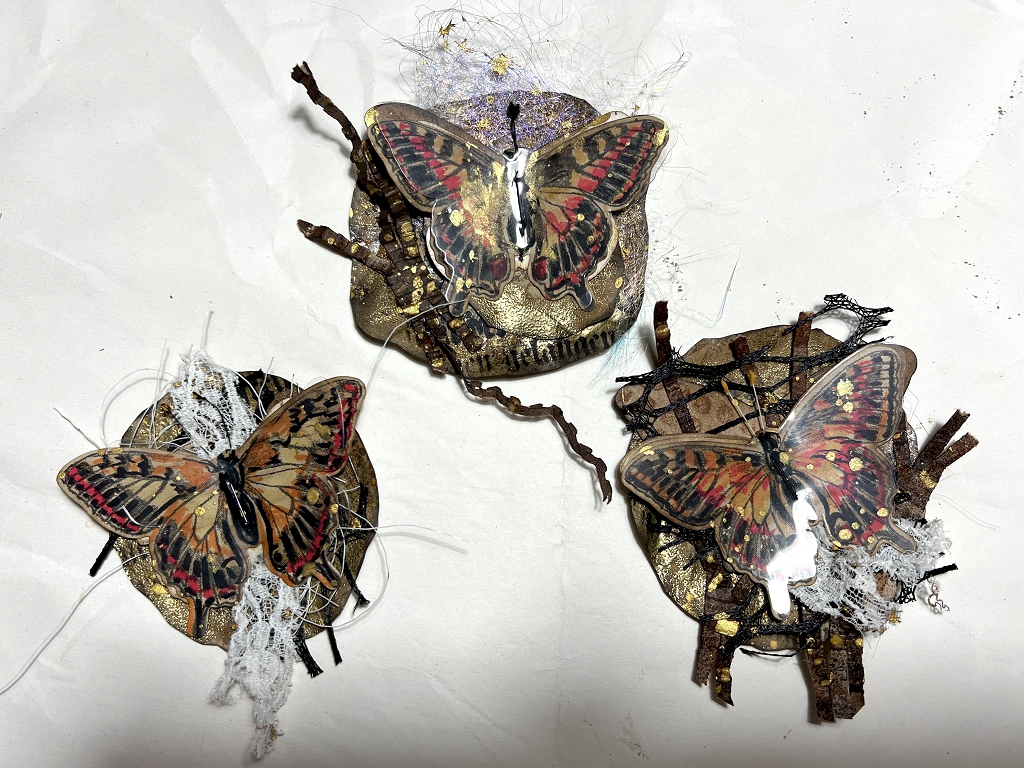
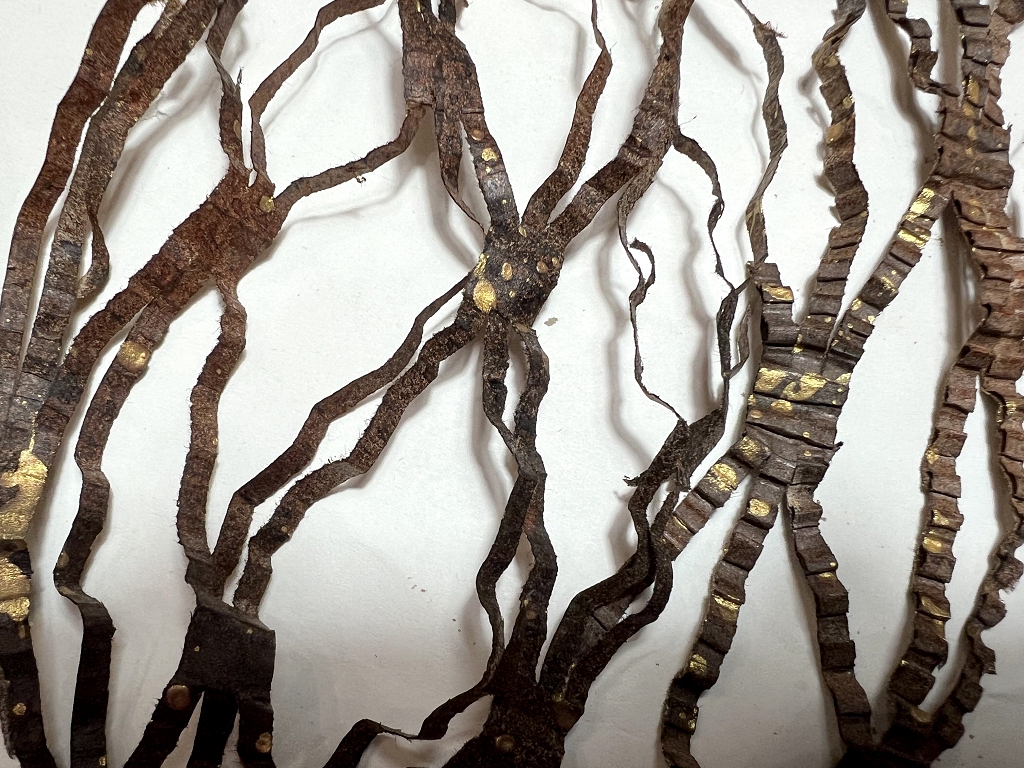
The corrugated mesh looks almost like branches, or dead vegetation.
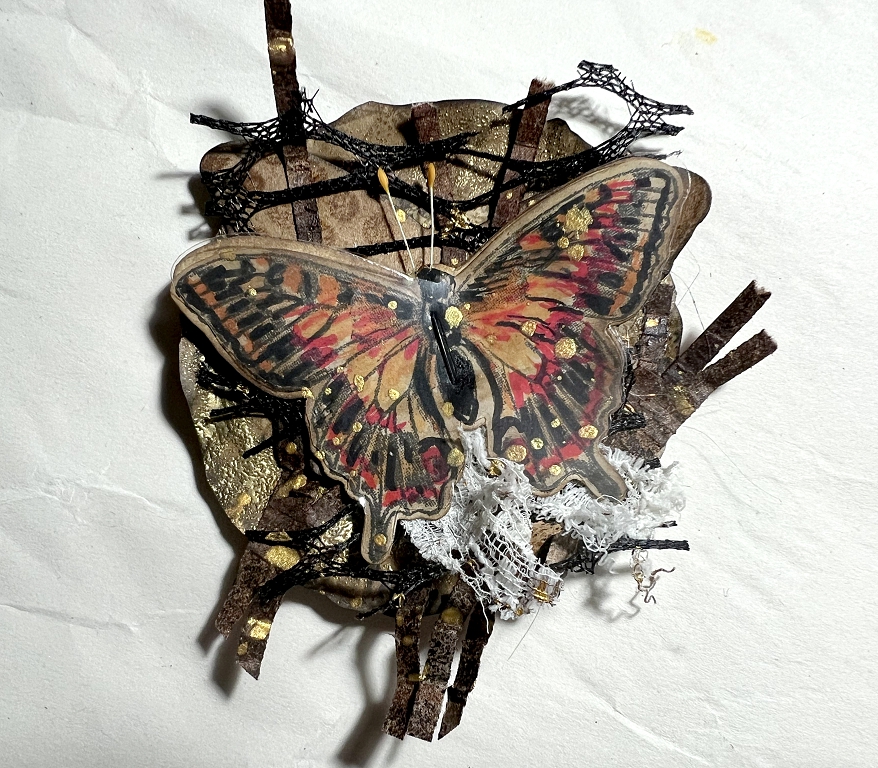
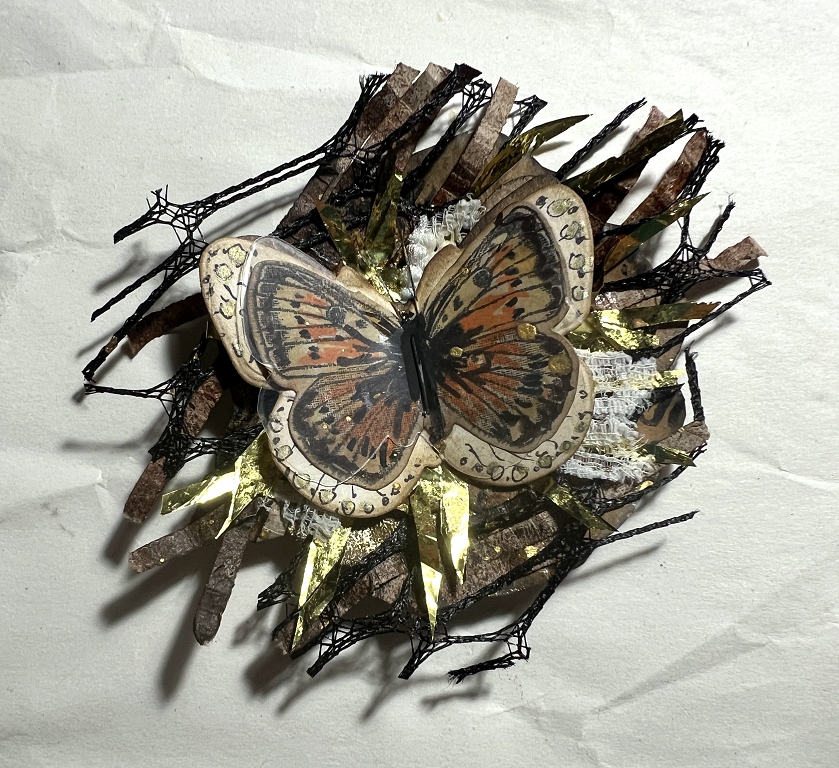
Medium sized butterflies
When I was attempting the die-cut the acetate butterflies, I ended up having to put a couple of pieces of scrap card in to act as shims, to make it cut properly. I ended up with quite a few of these white butterflies and didn’t want to waste them. They were a bit too stark white for this project so I inked them to distress them a bit, and layered them up. Once the glue was dry, I added a bit of doodling on them where the edges showed, and I was quite pleased with the result.

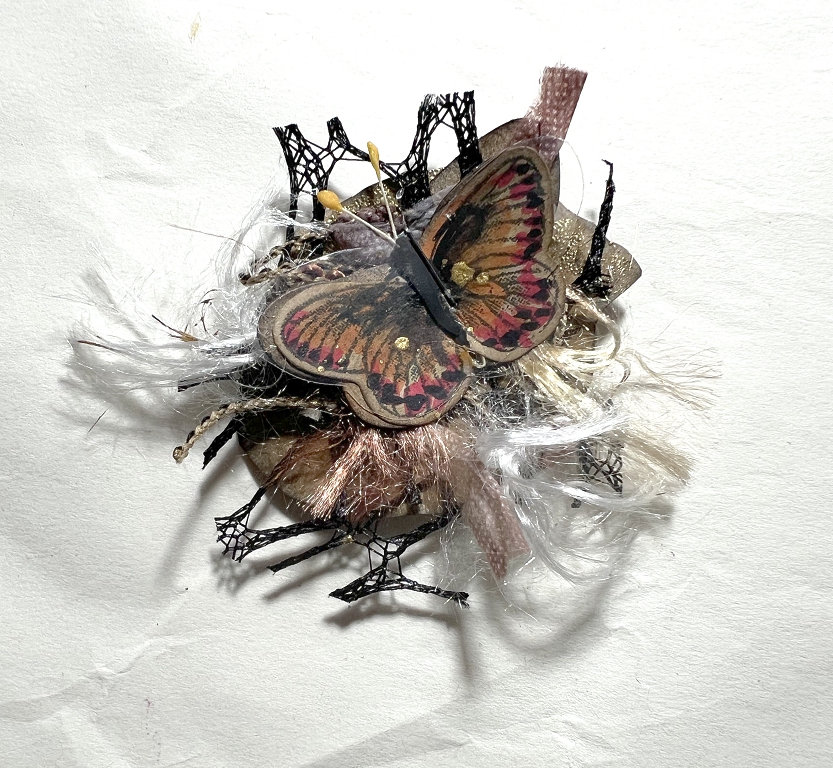
The one on the left looks as if it has landed on some dead vegetation on the forest floor! I’m really pleased with how this mesh worked out. I also added some of the regular black mesh, and a bit of scrap gold foil from my “Make a Joyful Noise” junk journal (still a work in progress). This stuff was very difficult to handle and it kept sticking to my fingers rather than to the project! Once I got the butterfly stuck down, things were better. The one on the right has Angelina fibres and some of the frayed woven plastic mesh.
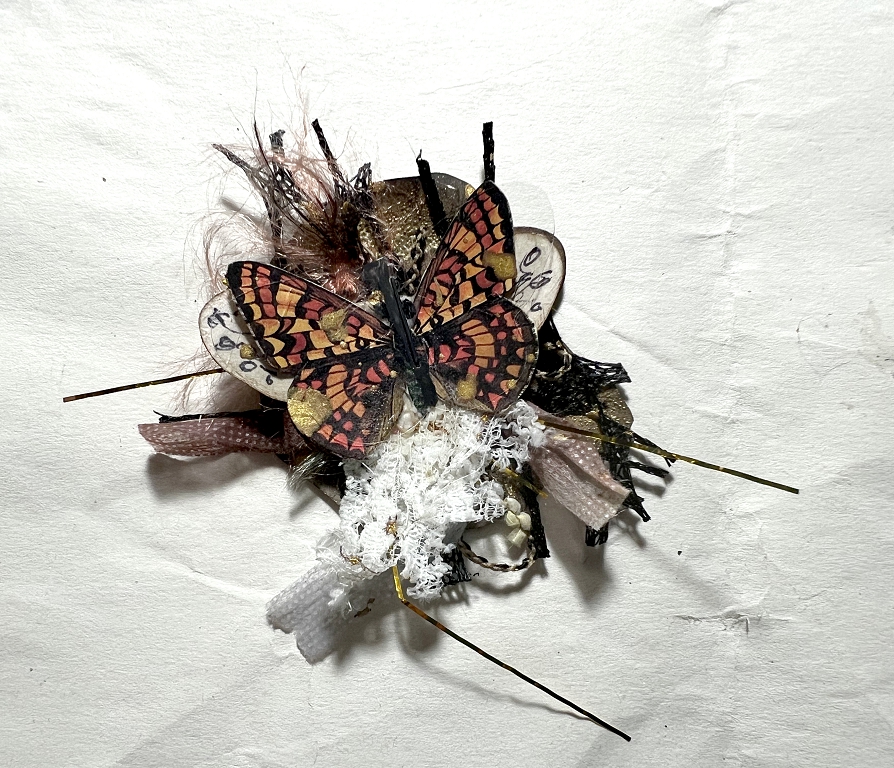
This one is another with the white butterfly layer underneath. I had run out of medium sized top layer buttrflies by this time, so I used one of my fussy cuts. These were cut from book pages and were a bit flimsy, so I glued them onto a piece of scrap card. I cut them out, this time removing the white border. I think this is one of my favourites. I also added a bit of fancy yarn to this one.
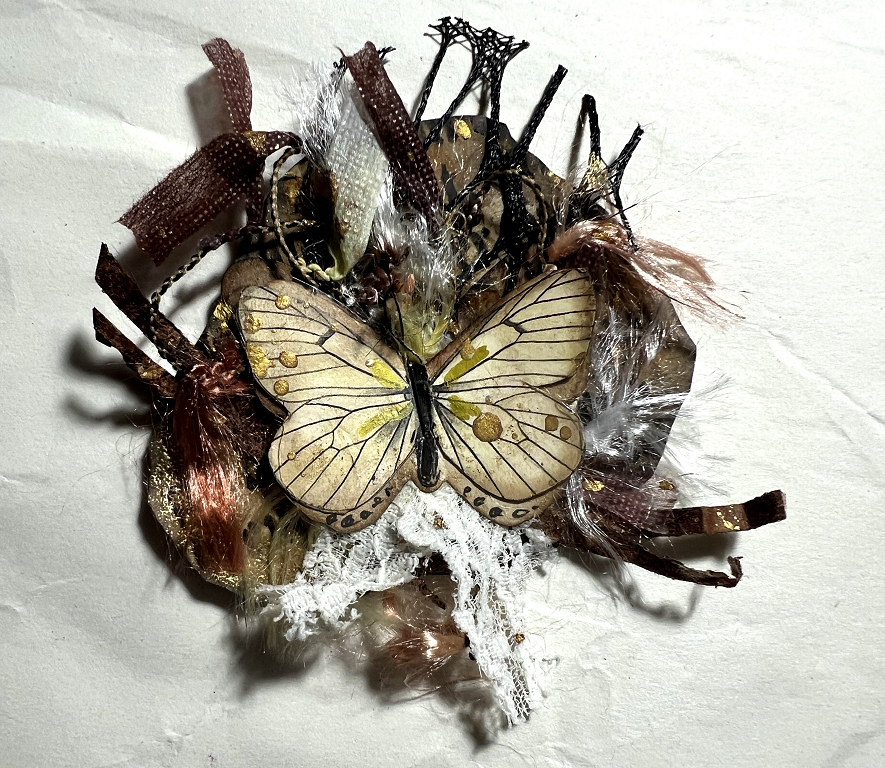
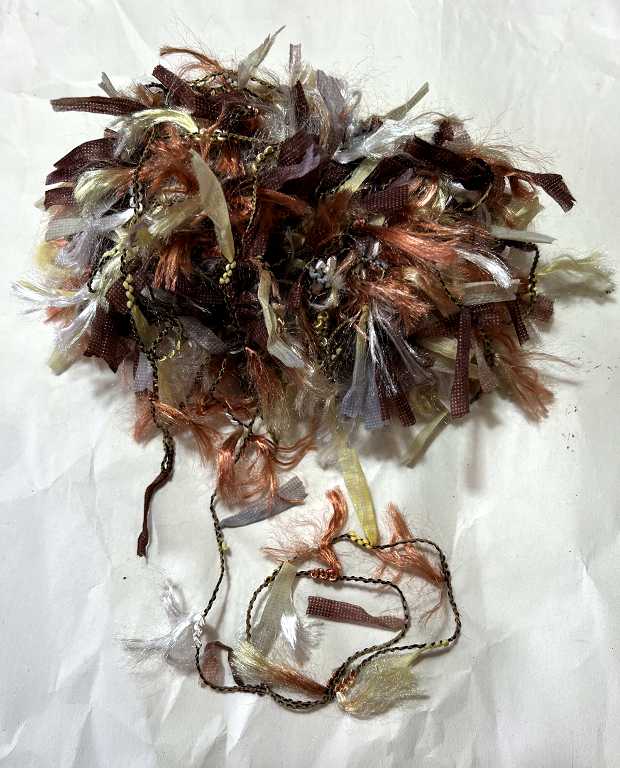
This is the yarn. I often use this in projects because the colours really suit my style!
Small butterflies
Again, white butterfly layers, and a mixture of meshes and fancy yarn.
I’d run out of small bottom layer butterflies by this time so I used a larger white one. Not my favourite butterfly but I like the way the background layer shows through the mesh a bit more in this one. There’s quite a good amount of gold heat embossing on it too.
More of the fancy yarn combined with the black painted mesh.
Quite a bit going on with this one – black painted mesh, fancy yarn, distressed lace, and some of the gold fibres from the frayed woven mesh – unfortunatley they show as black in the photo. The butterfly also has a white under-layer.
All in all, quite a varied collection of embellishments to use in future projects!
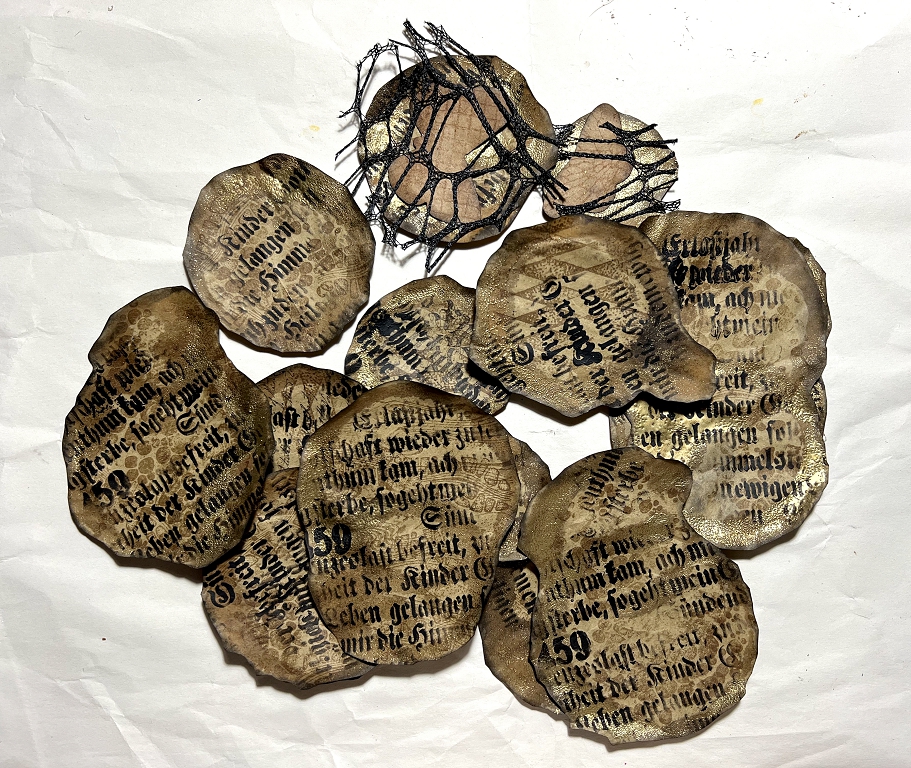
Here are the remaining background layers. One or two have mesh and first-layer butterflies on them.
This has been an interesting project and definitely something I shall pursue further. Layering gives a lot of depth, interest and texture, even if some of the bottom layers end up being pretty much covered. You get glimpses and that all adds to the interest.
As a reminder, here are some of the original ones in situ on a page in my “Make a Joyful Noise” junk journal, on a frilled coffee filter stained with rust.